
Monkey Works Star Wars A-Wing
1/24th Scale


 Page Number
Our story begins as these stories often do...
With A Pile Of Resin Bits
Greetings gang!
How we all doing?
Well now, this wee turn out is for no other reason than to do it
rather than tripping over the box it's in all the time.
Well that and since I did all that faffin' about with the masters,
may as well build the kit to round it off and then move on.
So not so much a blow by blow account, other folks better suited are taking care of that.
So for now, here's my put a few things straight and
how some bits were made to behave themselves.
Shall we?
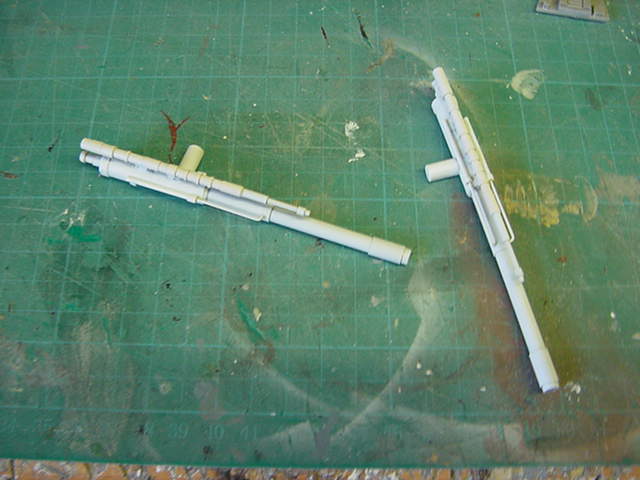
So the first thing to straighten out were the side guns.
Mainly because the resin ones were not all that straight.
Like so...
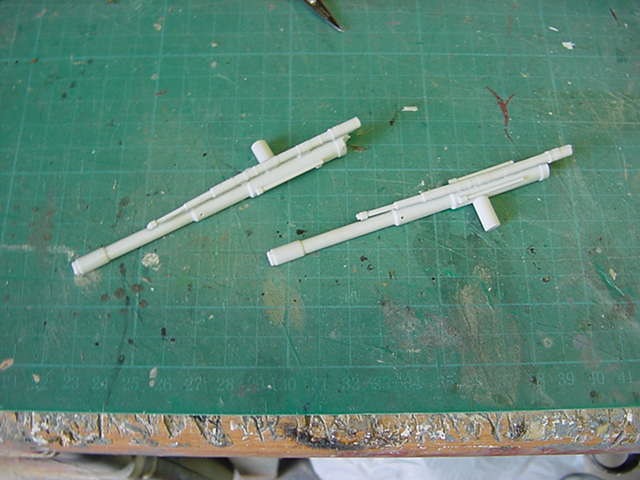
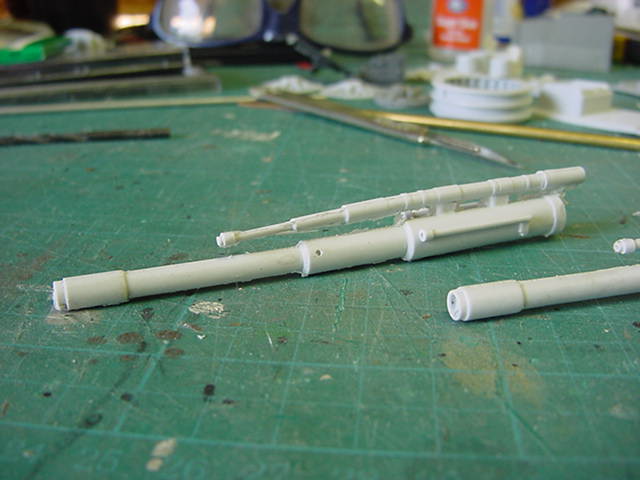
OK, tried the hot water/heat gun/reshaping thing several times but to no avail.
Just would not behave and I didn't want droopy bits somewhere down the line.
Or warped guns for that matter...
What?
Ok so out with the aluminium tube and brass rod, time for some slicing,
lathe, drill and epoxy action methinks.
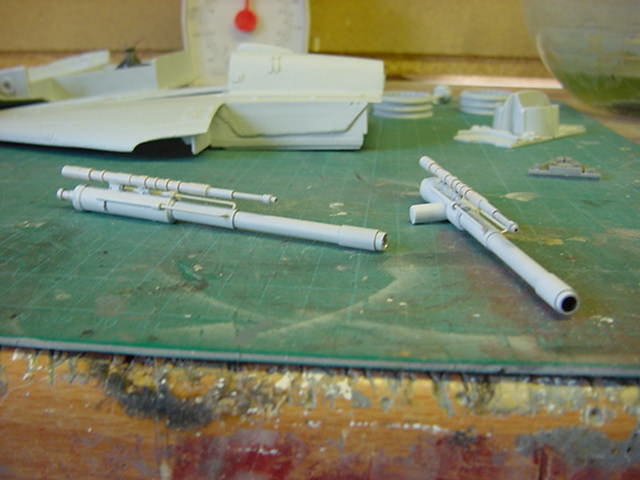
The aftermath of which looked something like this...
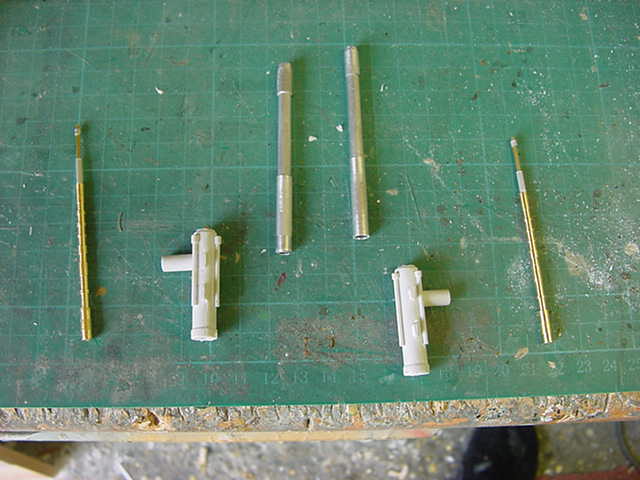

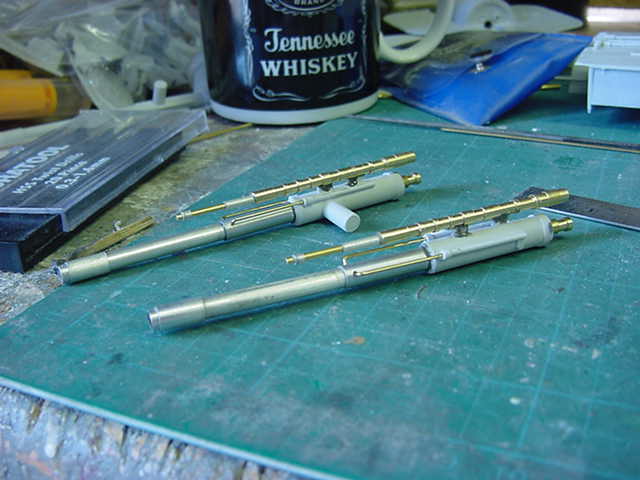
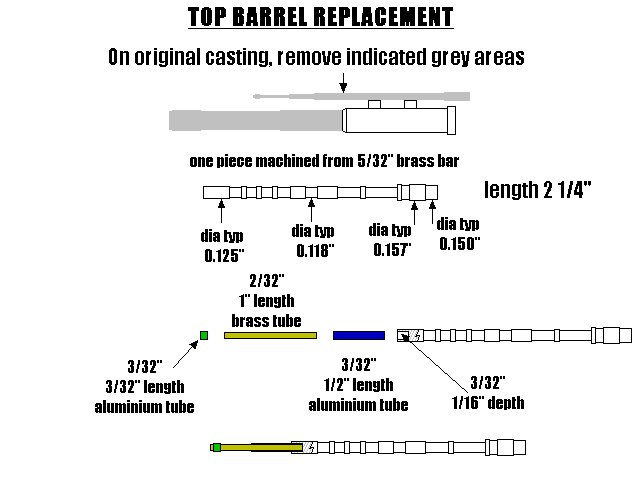
Ok now not long after doing this, I was asked for some details
on the how, what and so on.
The following diagrams are rough at best but may show some of the sodding about done by yours truly.

So then, job done there and a dab of primer to finish.
So next bit, the stand.
in need of summat to stand this wee beastie up on and do the lighting up thing.
Taking one of my cast resin bases, a hole to take some 1/4" brass tube with machined
down ends was duly drilled and made ready.
I cannibalized a 2.1 x 5.5mm plug and socket from an old
scrap lead and soldered the plug, wired up, into one end.
The bottom had a goodly amount of roughing up and was epoxied into the stand.
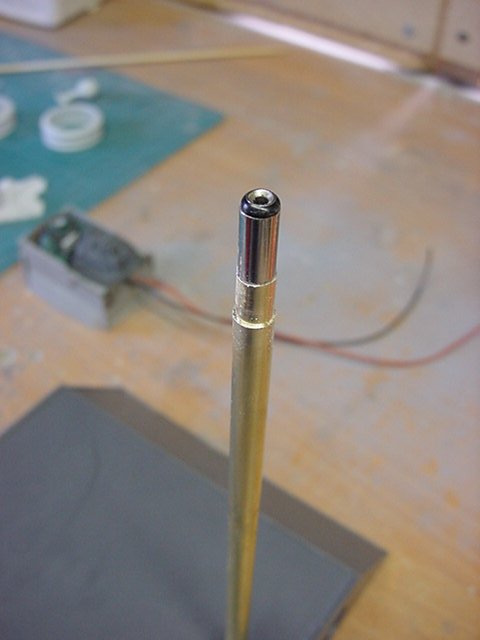
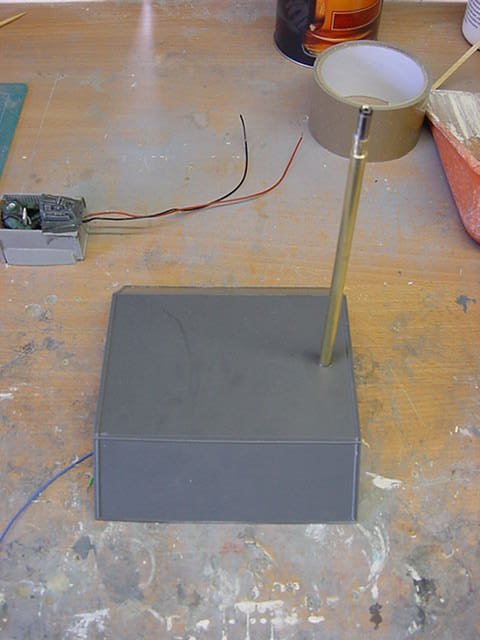
A stepped hole was drilled into the bottom fuselage to take the plug and pole.
The socket was unceremoniously jammed into said hole with
a fair dollop of epoxy 'stay put ya bugger' gunk.
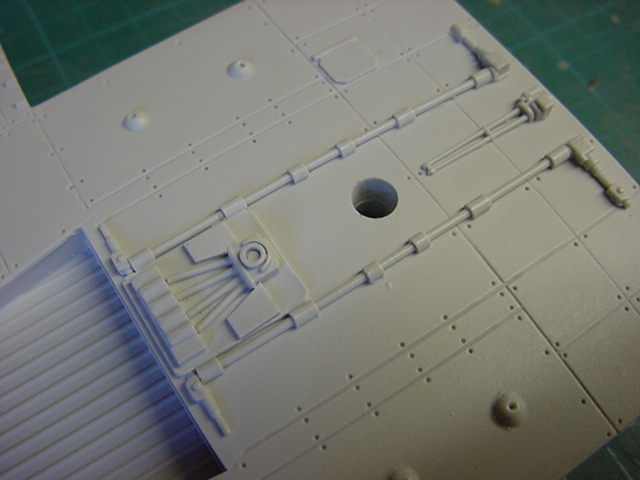
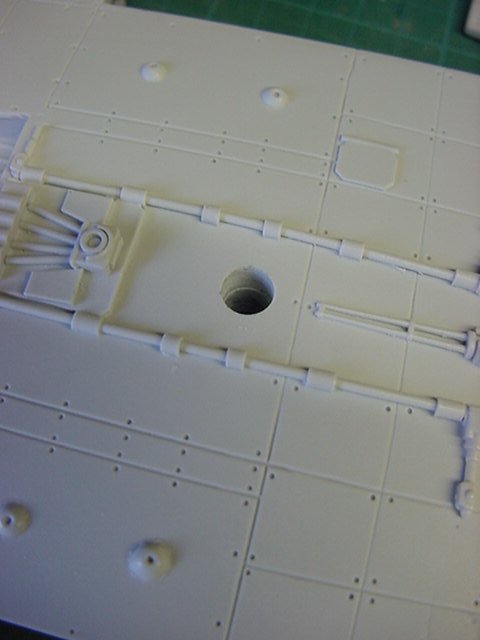
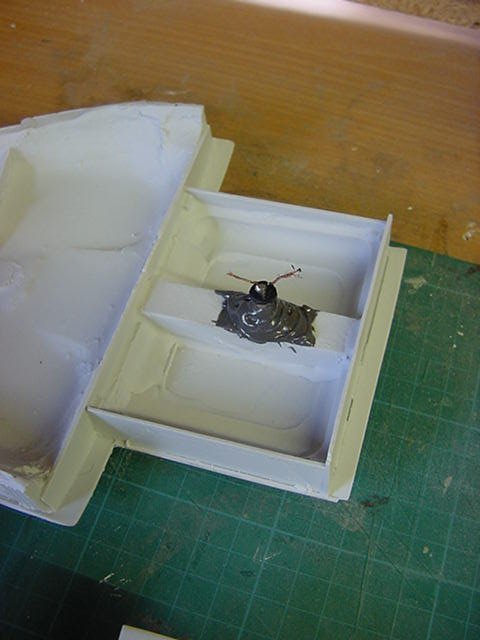
Dry fitted top and bottom fuselage together and placed on pole for a looksee.
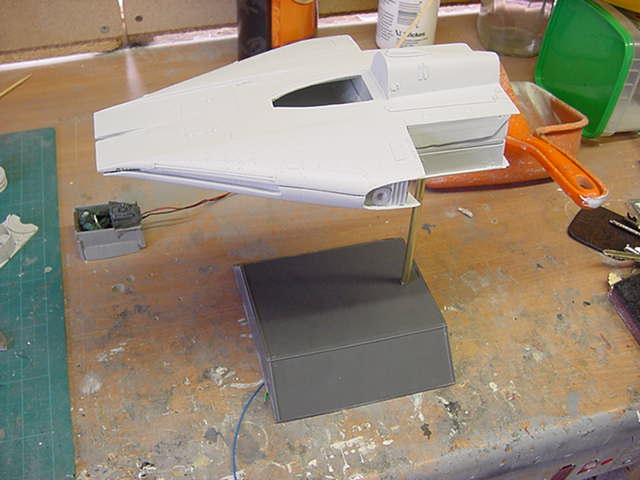
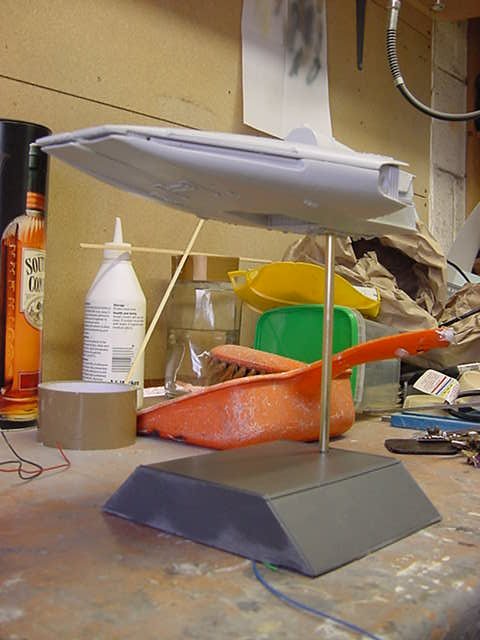
So far we be winnin' and grinnin'.
A swift test fit of the battery box and switch.
The battery is in a snap in drawer to make changing a bit easier.
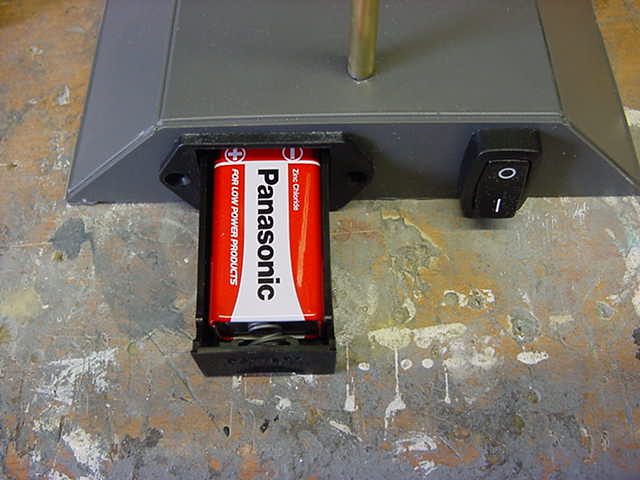
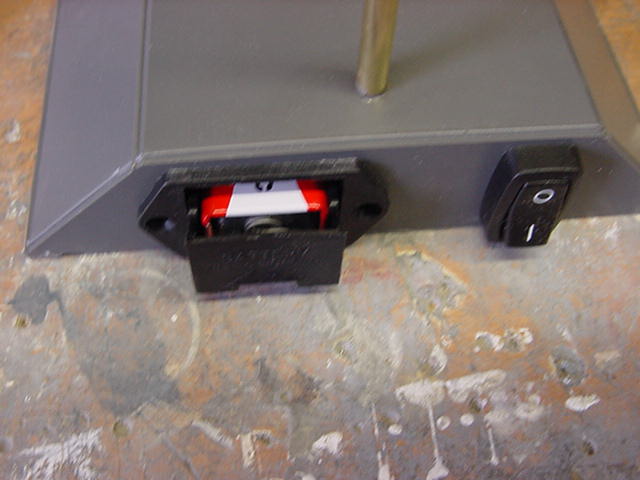
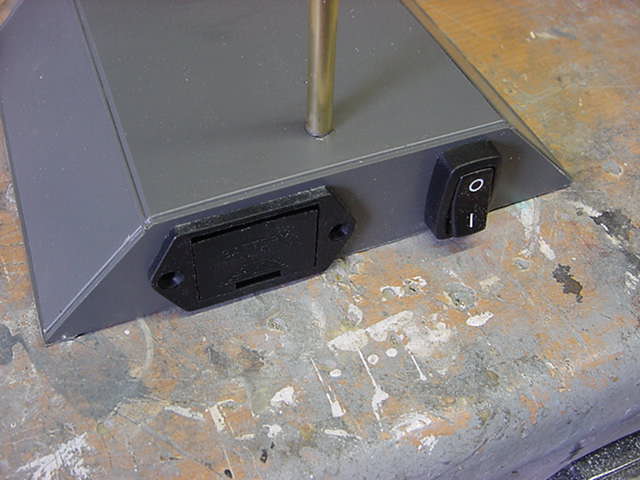
Neat and simple, way I like it.
Well next bit, them thar engine thingies and more...
...On the next update page so get thee hence and go easy gang!!


 Page Number


