
Colonial Marines M-577 APC
1/16th Scale


 Page Number
I Ain't No Uri Geller...
So Pliers To Bend Wire is All I Got.
Welcome back to the hellhole gang.
All well and with it I trust?
Jolly good!
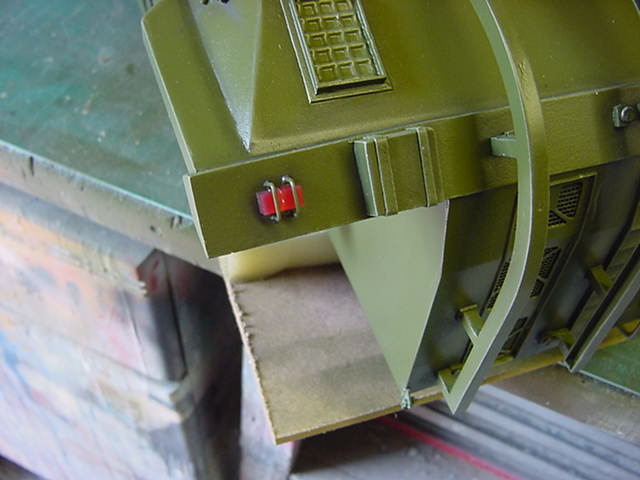
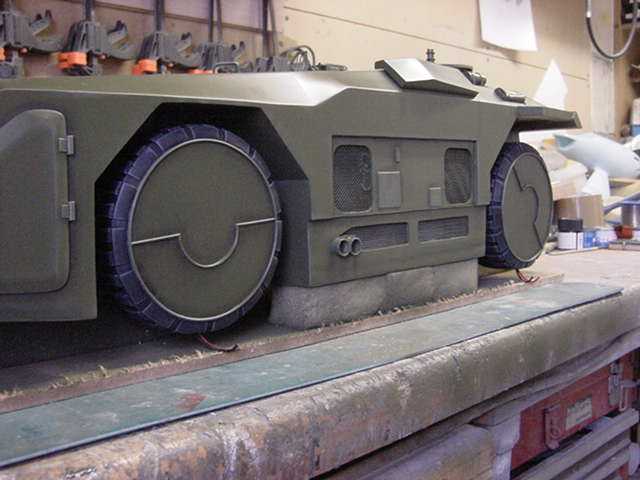
Right then, brass wire bending time for the stone guards on the front and rear lights.
Simple enough deal, some holes drilled by hand with a pin vise.
Main reason being I didn't want to use a power drill, go too far and straight through a damn wire.
To say that would have been disastrous is sugar coating it!
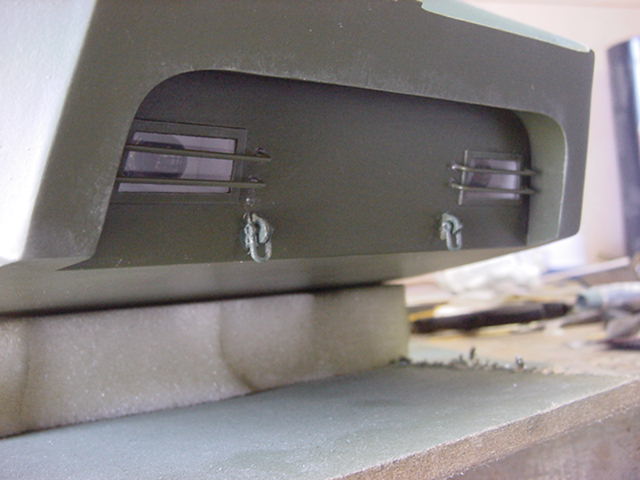
After that done, some thin brass wire selected, bent up, test fitted and then painted.
Once all settled, some stay put ya bugger gunk and all was right in the hellhole...for a change.
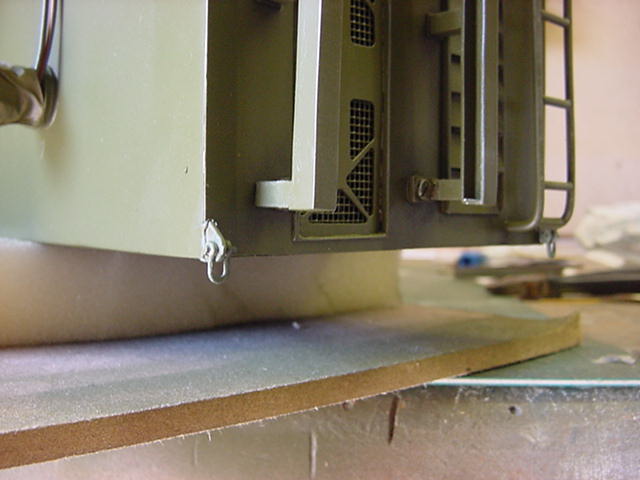
While faffing about at that, also fitted the towing hook shackles or whatever the proper name is that I can't be bothered to go look up.
Seemed like a good idea while I was in the vicinity like.
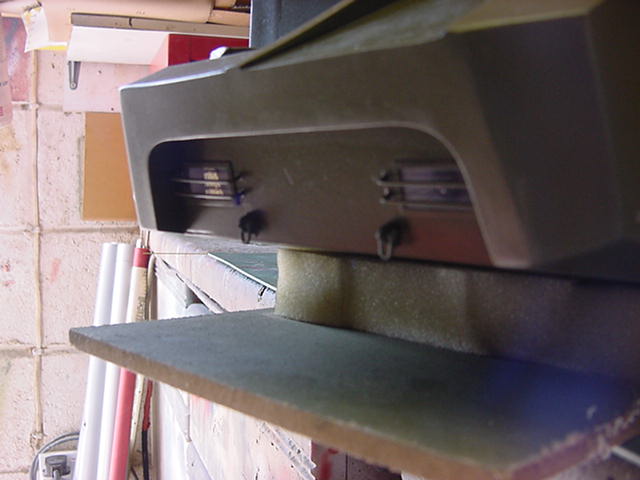
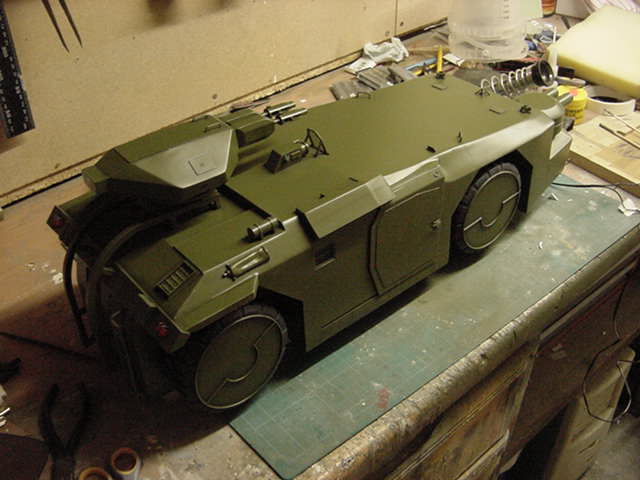
That lot in place and behaving itself, time to turn one's attention to the round things that go on the sides...
WHEELS!
...Aye that's them
Simple deal of just two parts cast from the same mould.
Well they were in sore need of a bath after all these years so that got sorted sharpish like.
Nothing too drastic assembly wise, just a clean up, a sand down of the mating surfaces and glue together.
One side twisted slightly to get an offset tread pattern so to speak.
So once all cured and set, some holes drilled in the back face for the axle pins and wiring to fit into then much laying on of primer and Tamiya spray.
The same weathering treatment of black pastel/light OD enamel.
Then a coat or two of acrylic matt black where the tyre should be...or there about's.
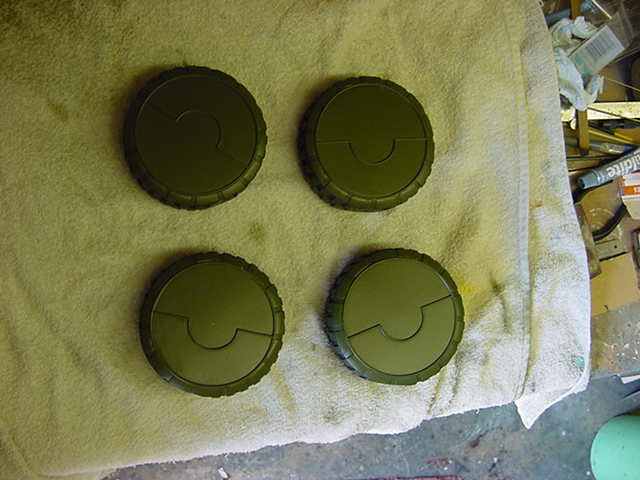
Once the black had settled down then in with a moderate drybrush of dark blue grey enamel.
Swiftly followed by a light drybrush of light blue grey.
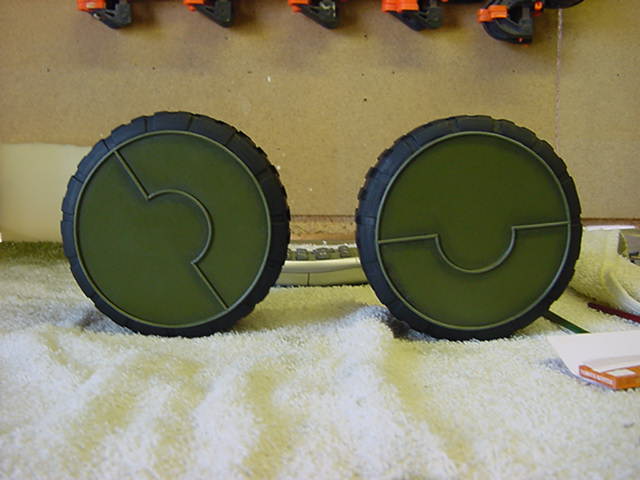
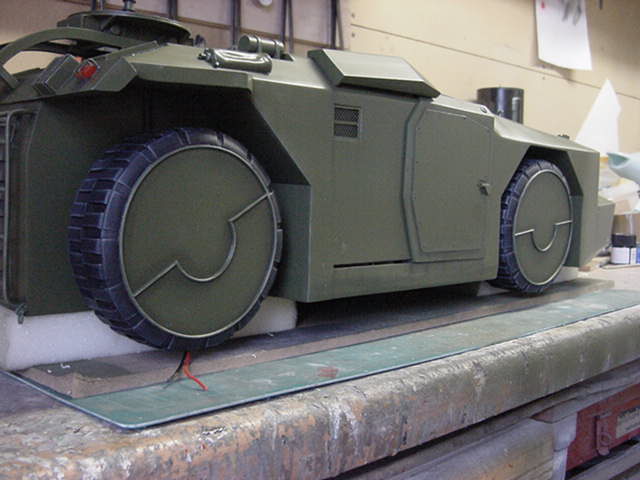
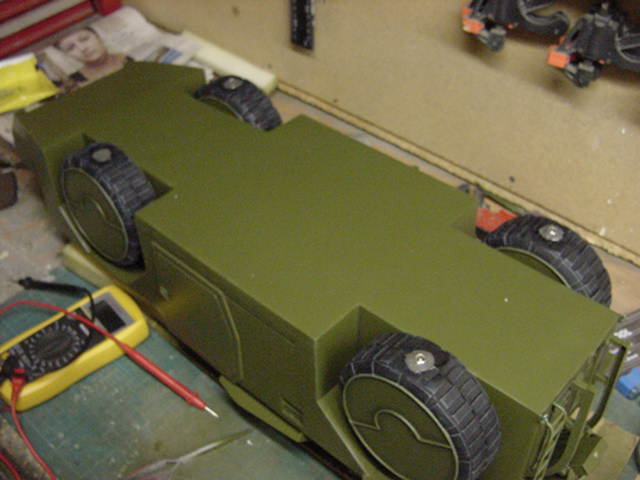
And this is what we ended up with.
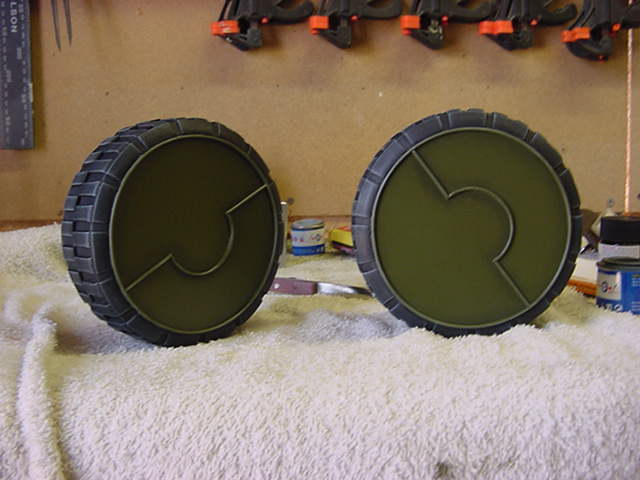
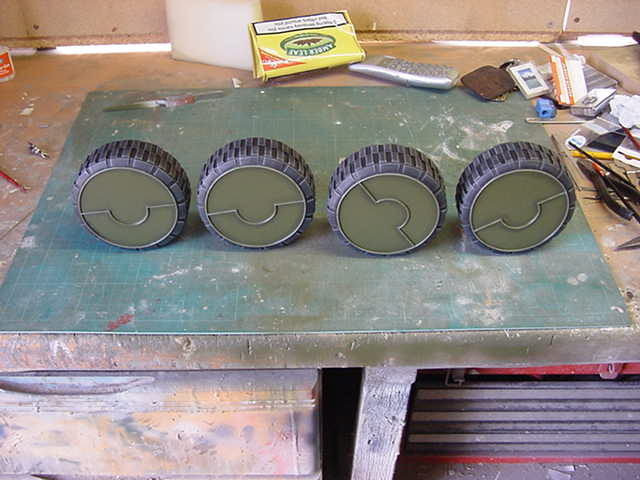
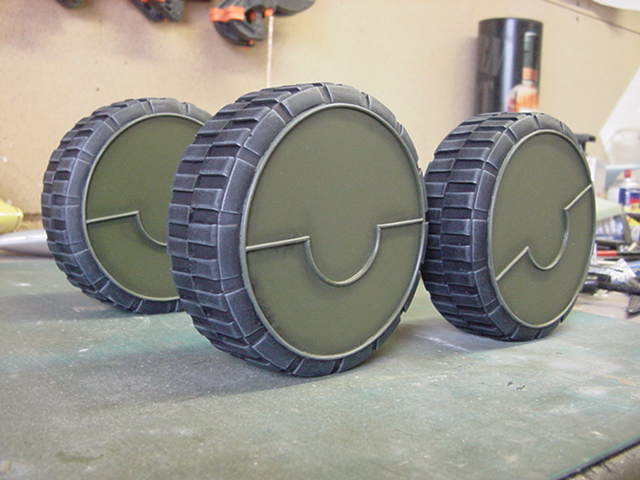
Well have to say not too bad lookin'.
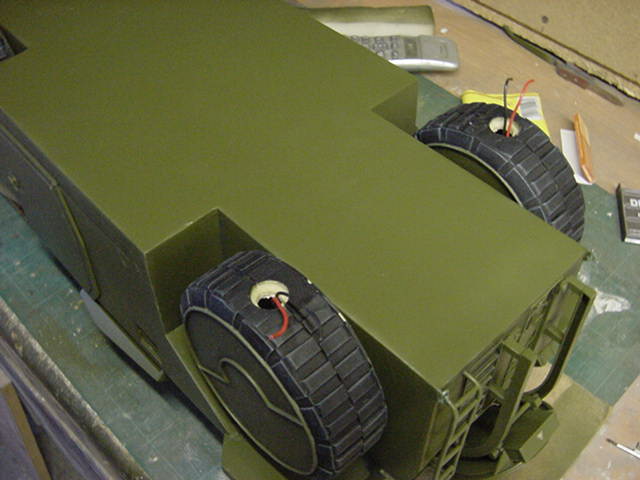
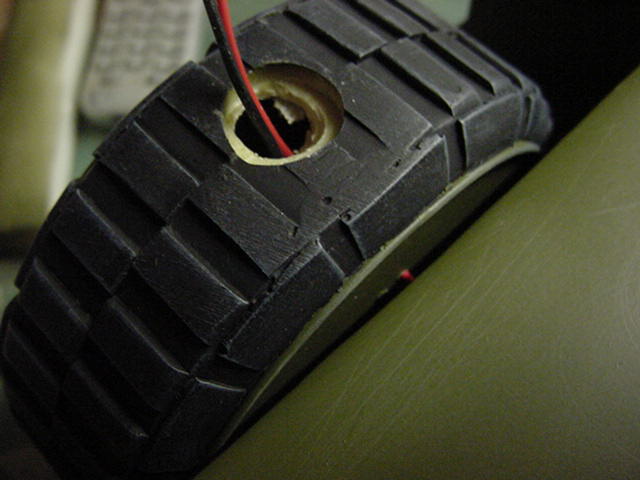
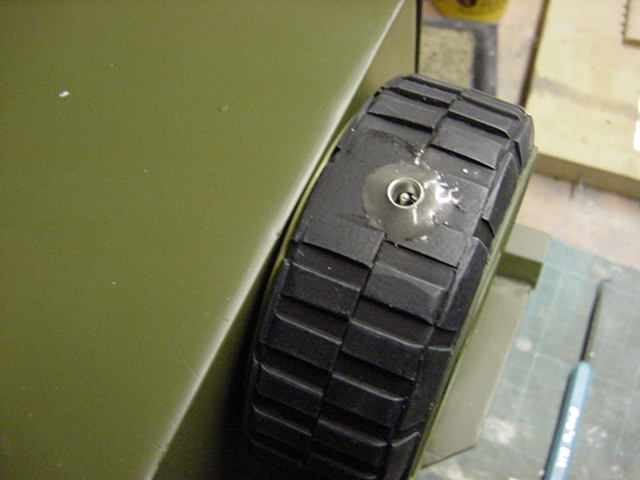
One thing, all of them have a flattened area on the tyre to stand in for the bottom so to speak.
This is where the large hole is for the wires which will eventually be fitted with a socket for that lovely elastictrickery make the lights work stuff.
I hope.
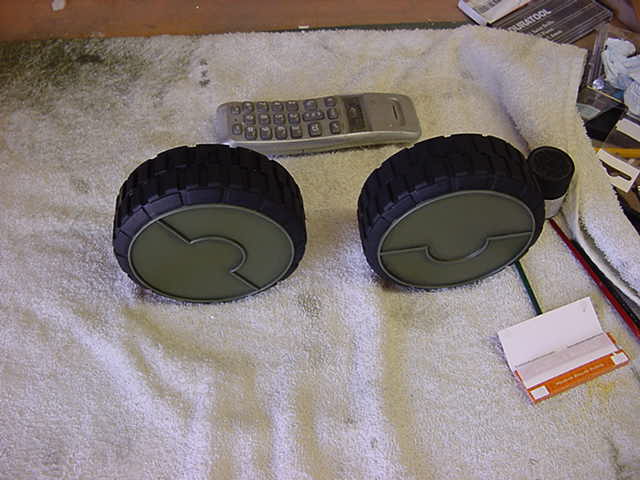
Well it makes them kinda look like this on a flattish surface.
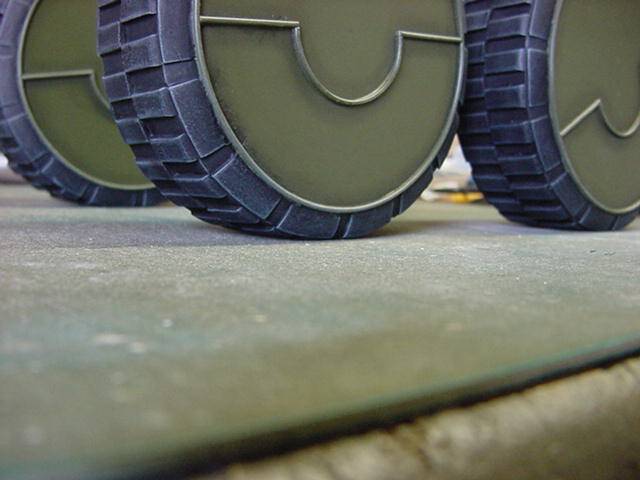
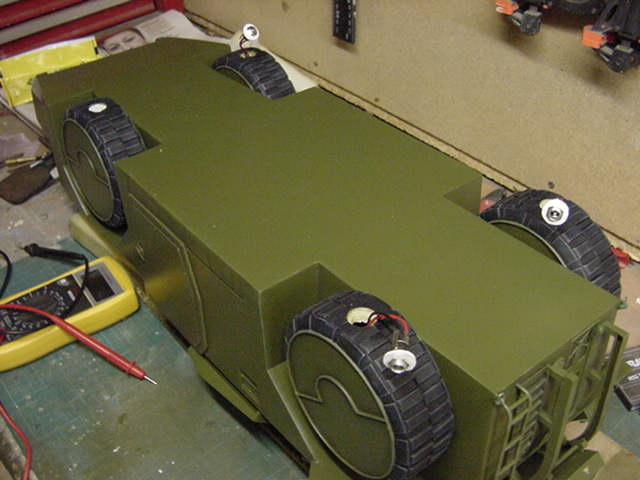
So then, with some trimming of wires and a bit of shoving here and there, lotsa hold still gunk applied and wheels fitted finally.
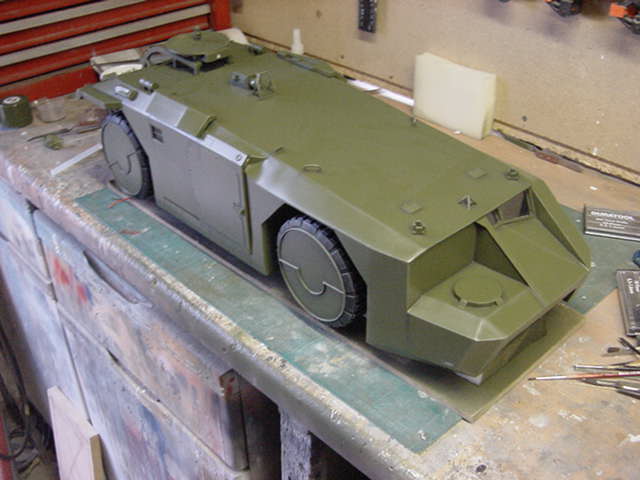
After getting some grub down me neck, the gunk now solid as a rock I am happy to say so onward!
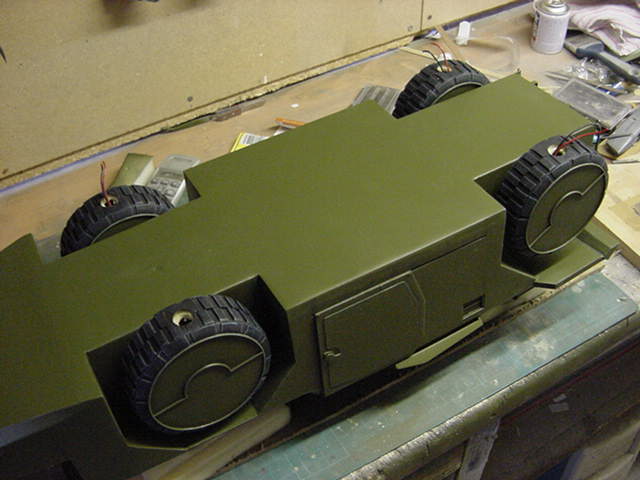
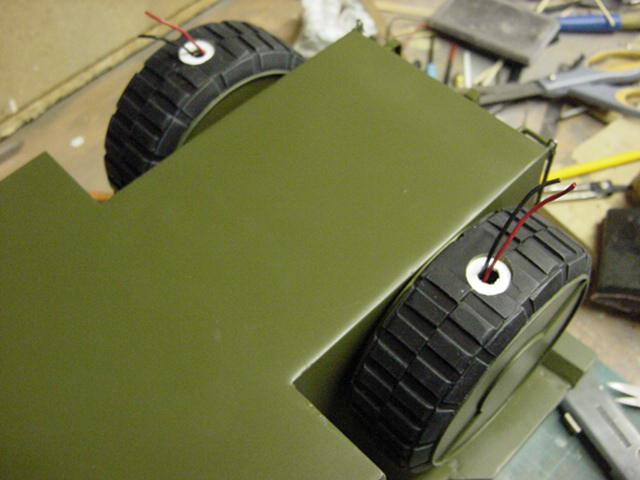
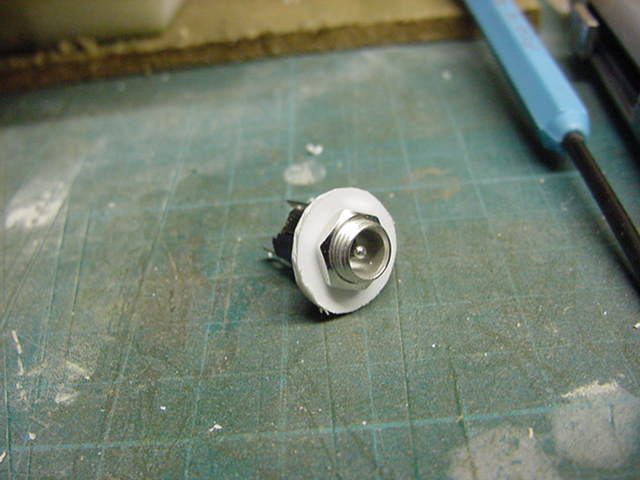
So the poor old thing now resting upside down on foam pads, time to wire the sockets up.
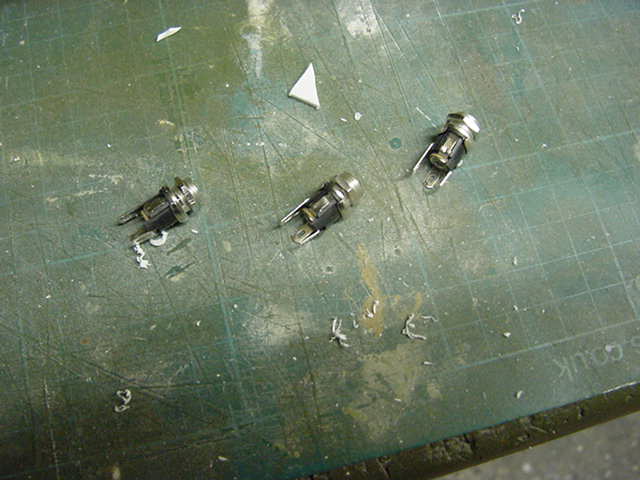
Straight forward deal, wiring sticking out was relieved of some of the sheathing and plastic discs cut to take the sockets.
When sorted, sockets secured to discs and soldered to the wiring.
Placed where they should be and secured with a decent dollop of stay put epoxy gunk.
Cuppa time and a bit of fiddling about while that lot takes hold and then on to the final bit, oh yes me hearties...
Lighting test!
So hooking up the sockets in turn, first the top searchlight.
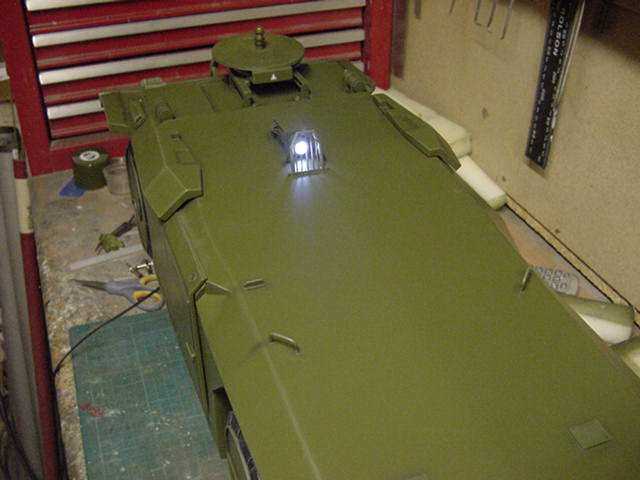
Bright enough to see them creeping xenomorphs before it's too late...one would hope.
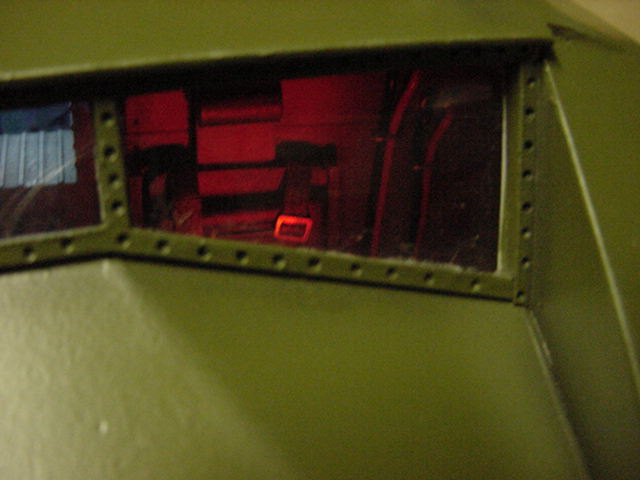
Then the front and rear lights.
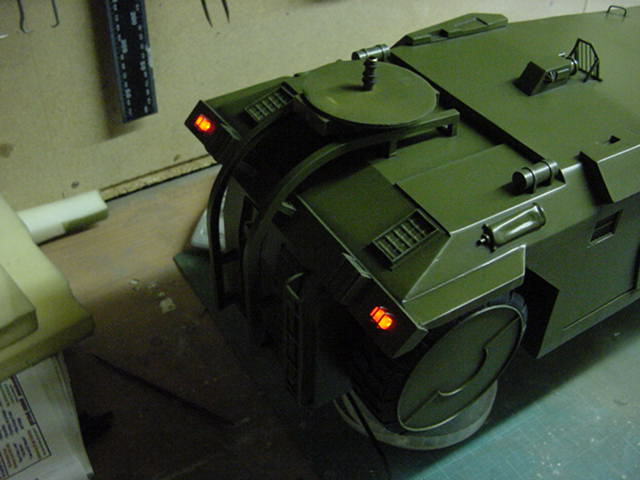
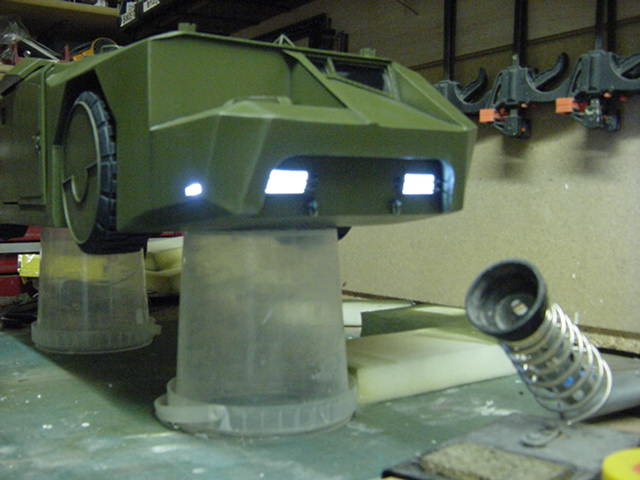
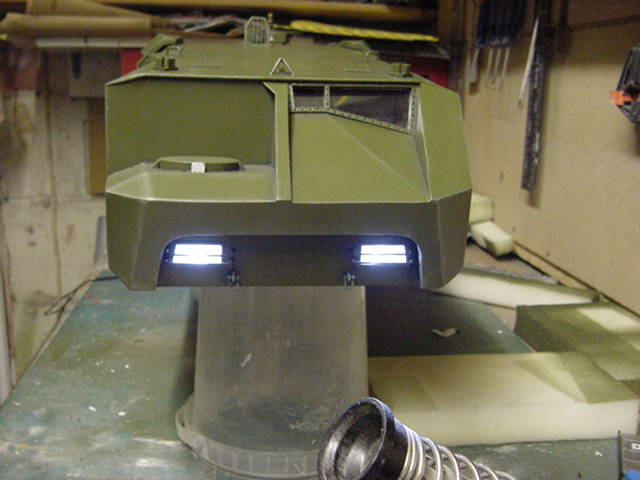
Nice!
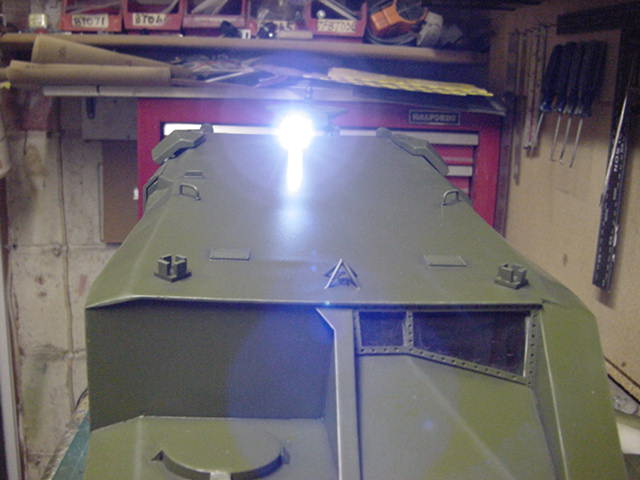
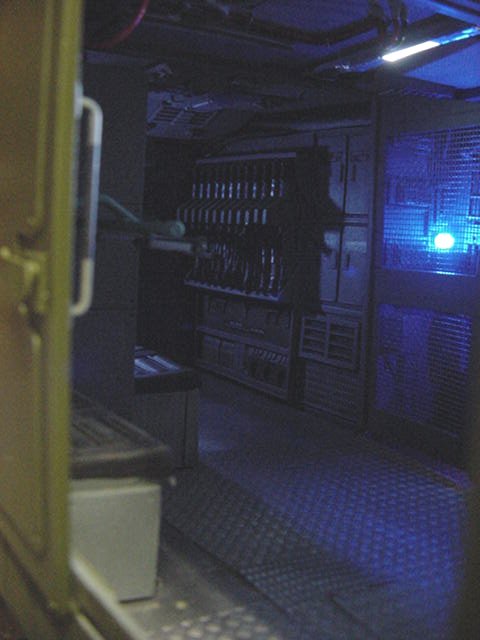
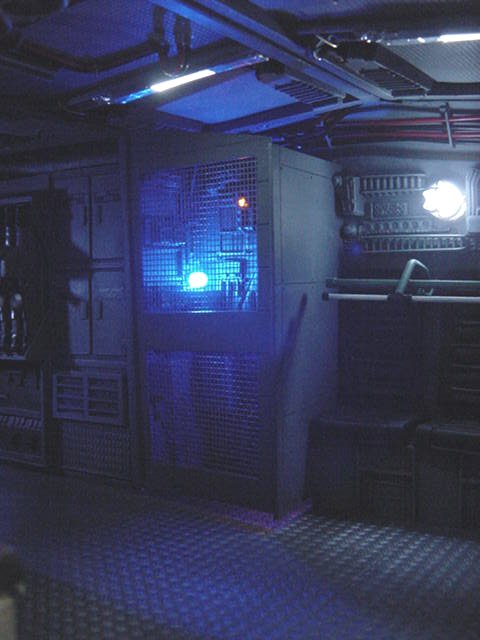
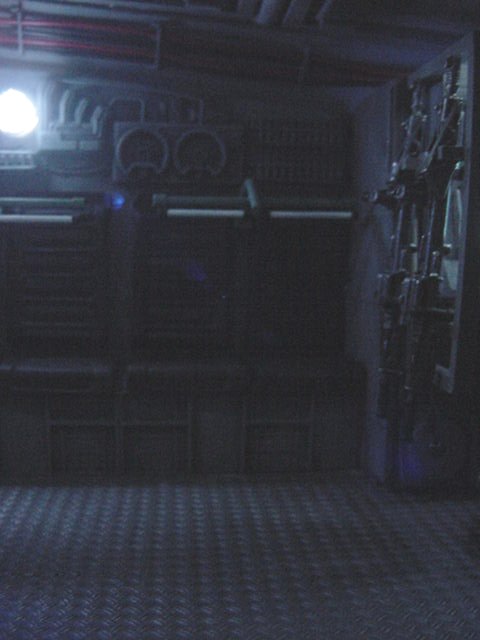
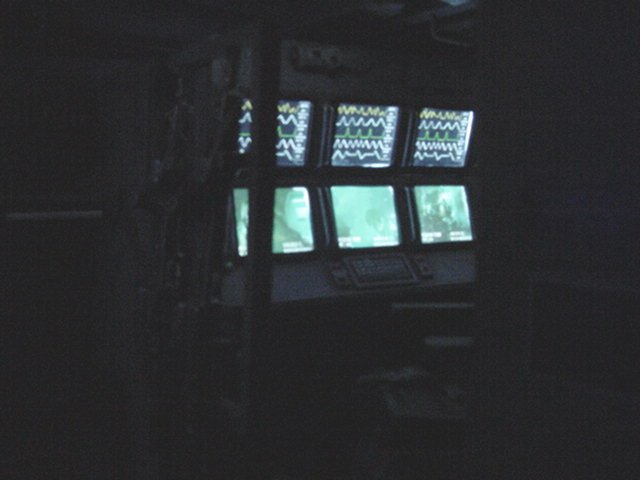
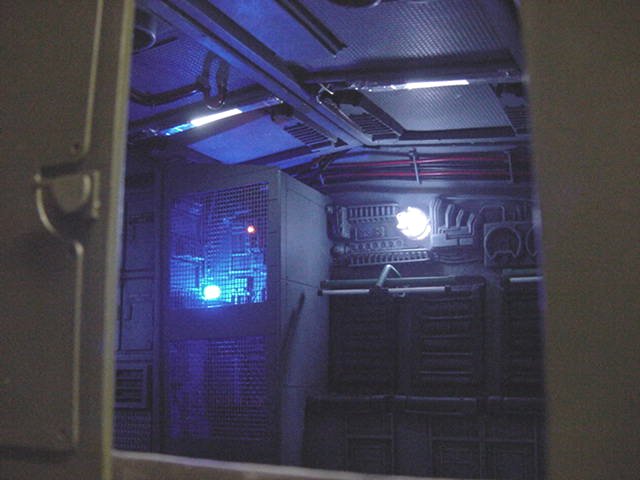
And finally, the inside deal.
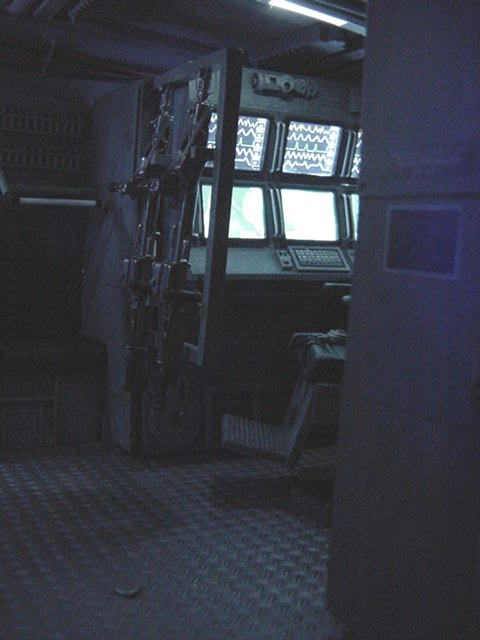
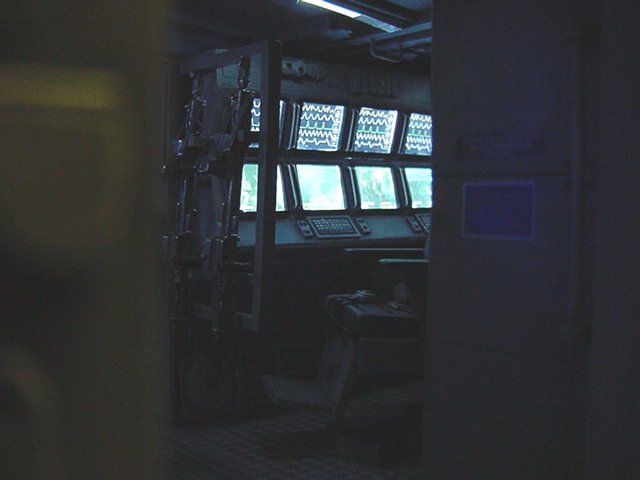
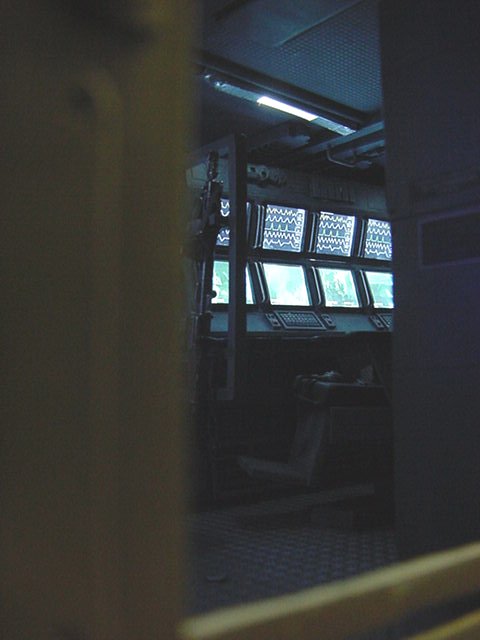
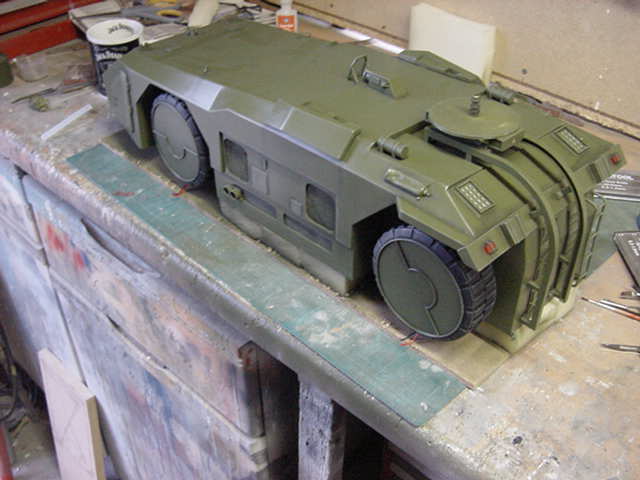
And last but by no means least, slap dem turrets on and take a looksee...like I do from time to time.

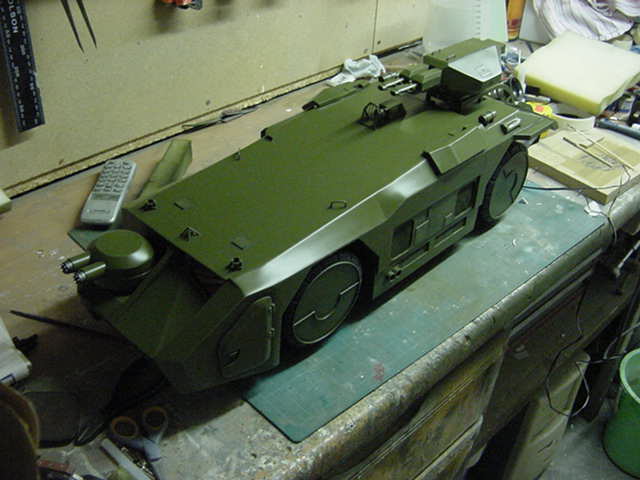
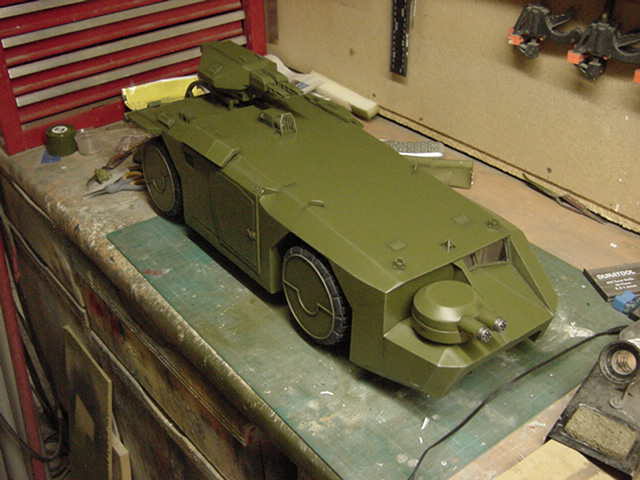
Well now, that's pretty much it for the main model build bar a couple of small things.
The stenciling on the front, possibly some decals about the shop and a blast out with the air hose and hoover to rid meself of the unfortunate frag that may have crept in along the way.
The plugs for the power will be set into the base and wired to three switches.
Those being for interior, exterior and searchlight functions so the client has the choice.
The base next, a wee patch of LV426 real estate with some nice rockery and tire tracks here and there.
That's for the next bit so untill then, you lot go easy out there and take care of yaselves now.
Page Number