
Colonial Marines M-577 APC
1/16th Scale


 Page Number
Bits and bobs...
Or An Odds And Sods Clear Up if Ya Like.
Greetings troops and troopettes!
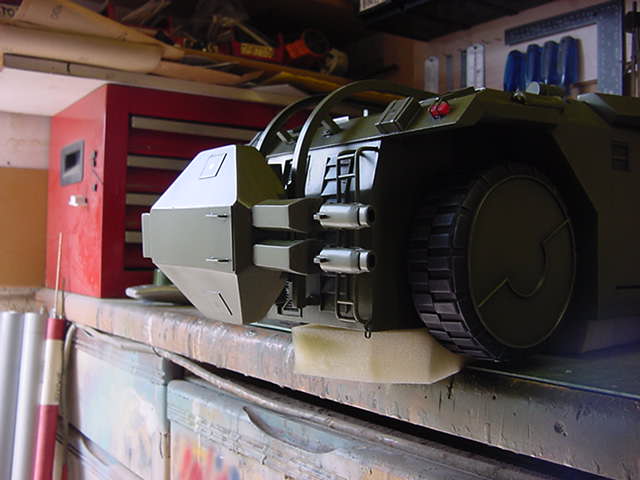
And it's that finishing details time on the APC.
Well some markings left to add on the exterior so let's be a getting to it.
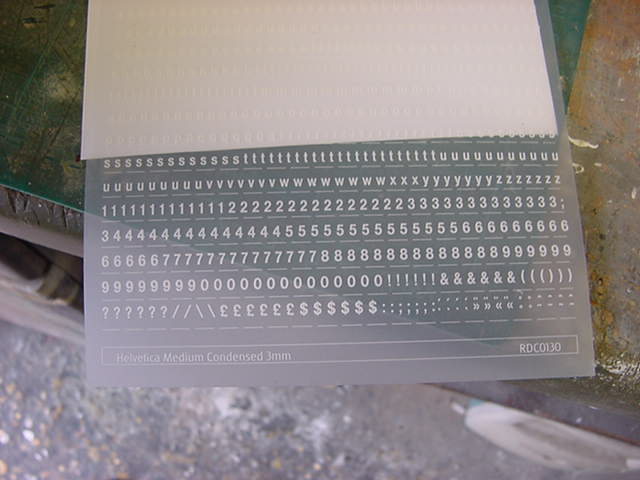
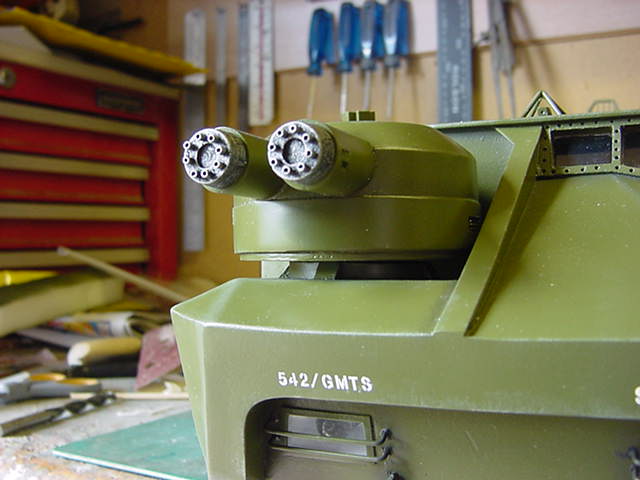
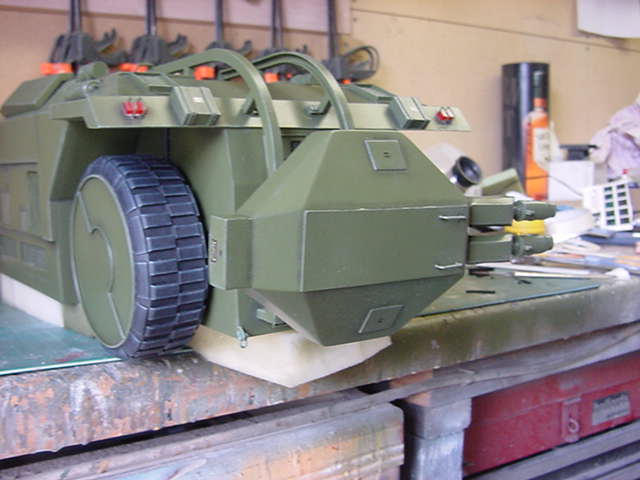
First up is the stenciling on the front.
Letraset to the rescue!
Now I couldn't find the absolute correct font so close enough would have to be good enough.
Helvetica medium condensed to be precise.
Two sheets, one at 3mm and one at 7mm size, all white.
Now the thing is is the kinda military stenciling with bits missing from the letters/numbers so how to sort that.
Well here's a bit of the 3mm sheet and very nice it is too.
So with fresh scalpel blade and steady hand, a bit of VERY gentle cutting and point flicking took place, the result as follows...

I think you get the general idea.
Just enough pressure to cut the decal but not enough to go through the film.
Done to the appropriate lettering on both sheets.
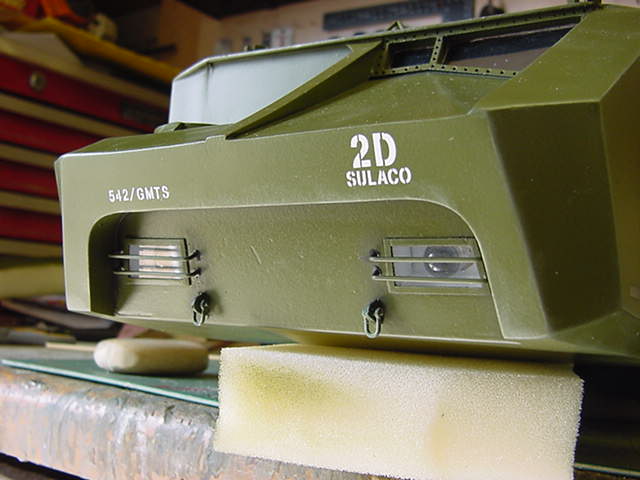
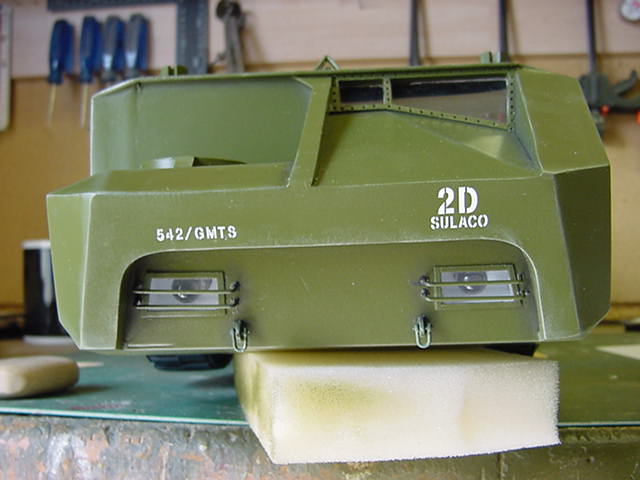
So apply in the standard rubdown fashion and this is what hopefully happens...

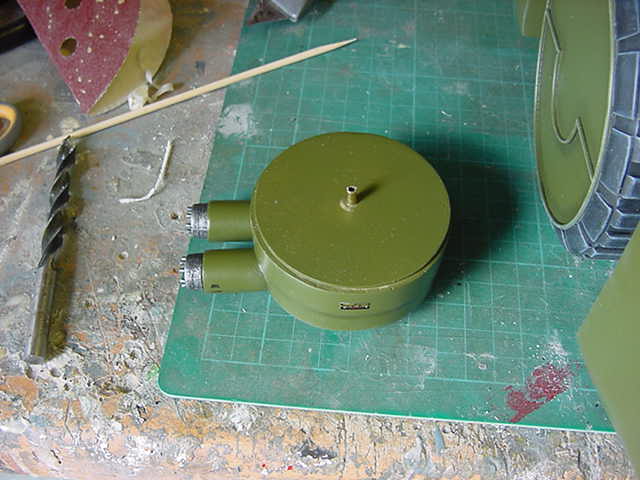
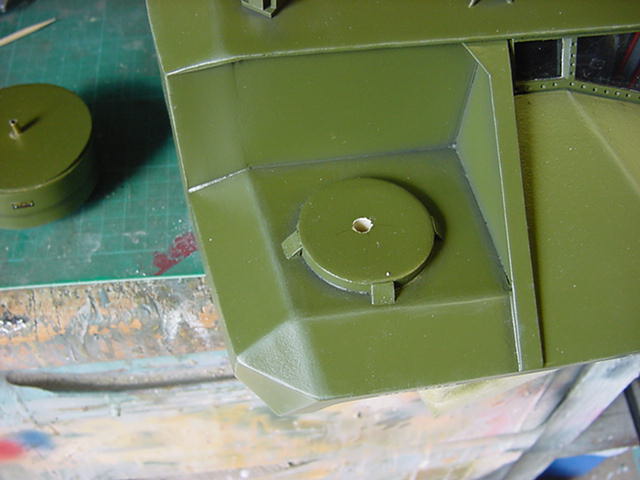
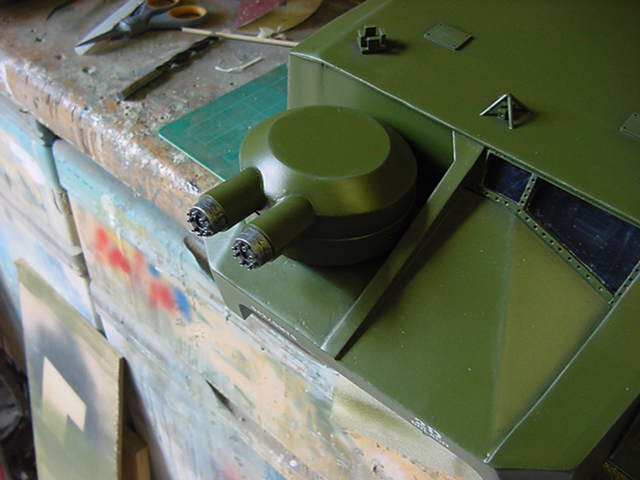
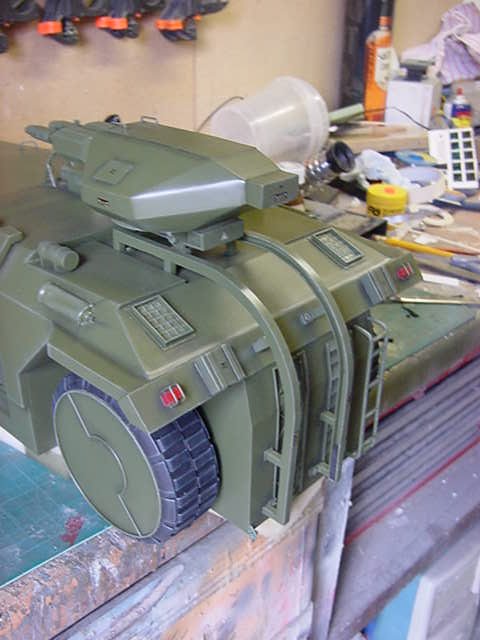
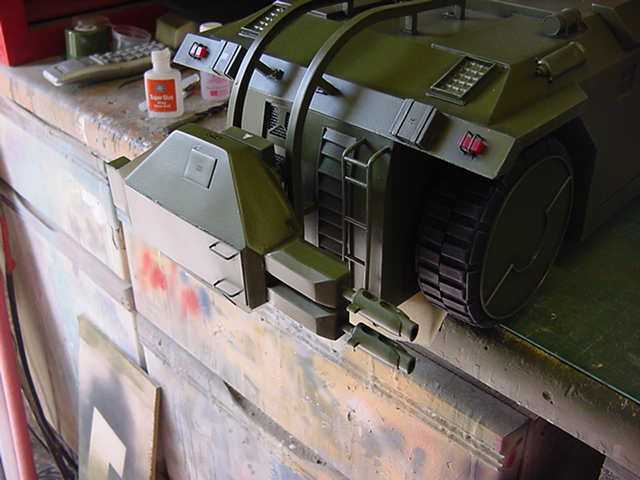
Next bit, simple pin location for the forward gun turret.
Two holes drilled out, a short length of brass tube hammered home and a done deal.
Nothing more complex required for the simple disassembly/packing/unpacking/assembly dance.
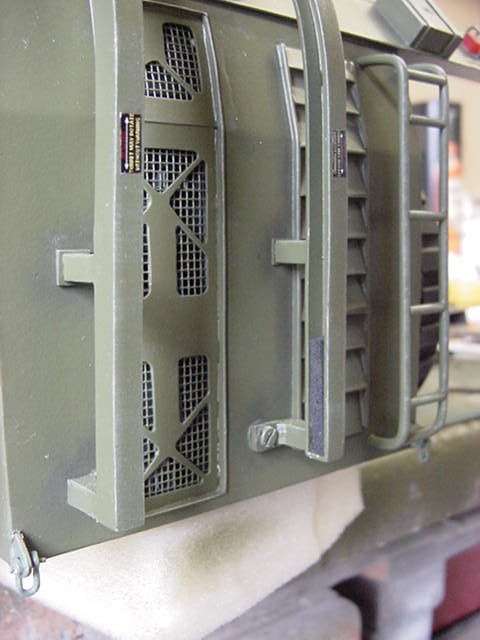
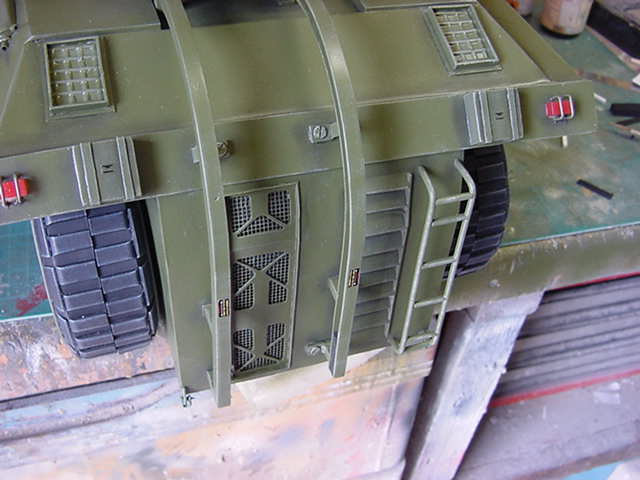
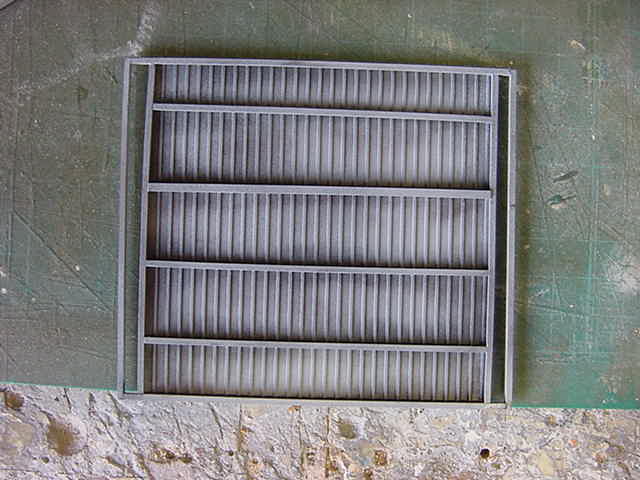
So straight to the back end of this beastie and time to apply just a few more decals.
Also two small bits of dense black foam secured to the bottom of the main gun turret rails.
For one, it puts the stop point for the carriage above a certain level.
That level being where the main turret hits the floor which is not exactly righteous.
Plus just for added safety, if the top turret slides down of it own accord for whatever reason, there may be a chance that the foam will stop the weight of the turret from breaking the carriage and rails off.
it's no small weight so just for safety's sake like.
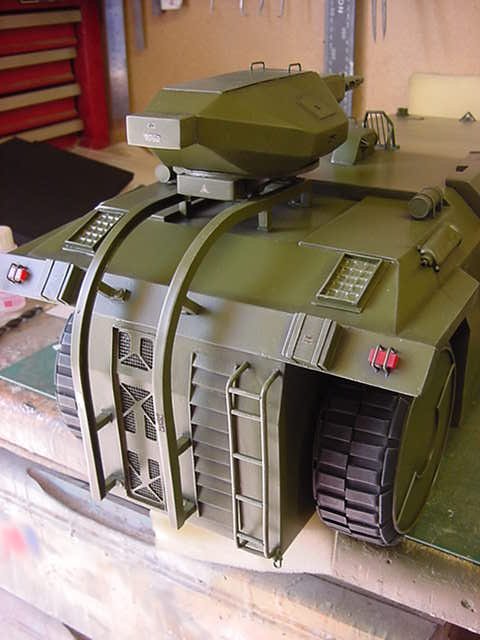
And so that's complete.
And now...
It's The Basics Of The Base work Time!!
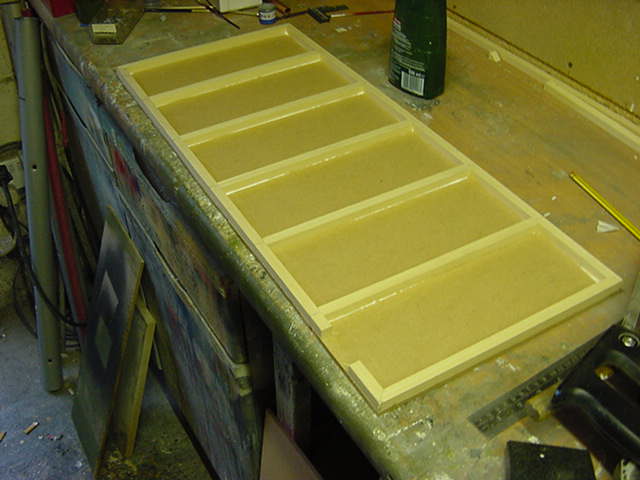
Now then, on a rough workout, i'm thinkin' a 29" x 12" x 1" base will do the trick.
MDF and parawood being my weapons of choice here.
Solid, stable and takes stuff being glued/nailed to it pretty damn well so on with the glue and nails then.
Two pieces of 29" x 12" x 1/4" and frame one with 1/2" square parawood strip.
This will keep it rigid, lighter than solid and a lot easier to run wiring through and fit the plugs before the other bit of MDF gets placed in a permanent fashion.
Also chopped a lump out so I could fit the switches and power feed socket in a slightly recessed fashion.
Request was to make them as unobtrusive as possible so okedoke says I.
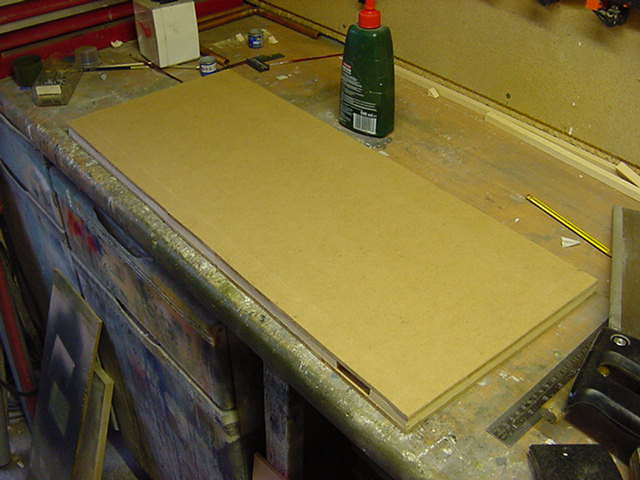
And that'll about do it for size wise.
So first up, a bit o' detailing.
Or if you like, a nod to the movie this large green wheeled thing is from.
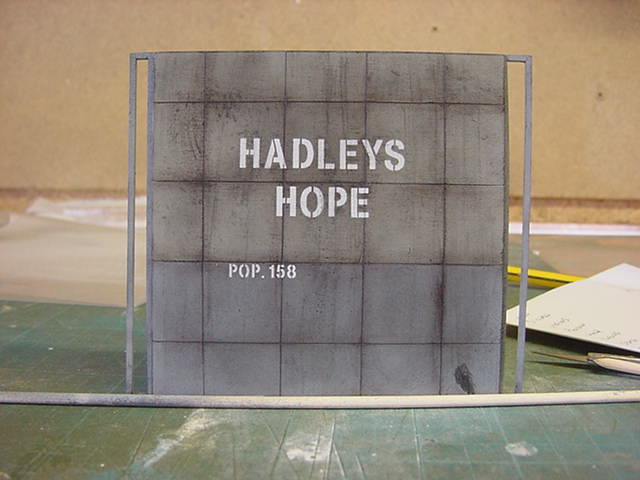
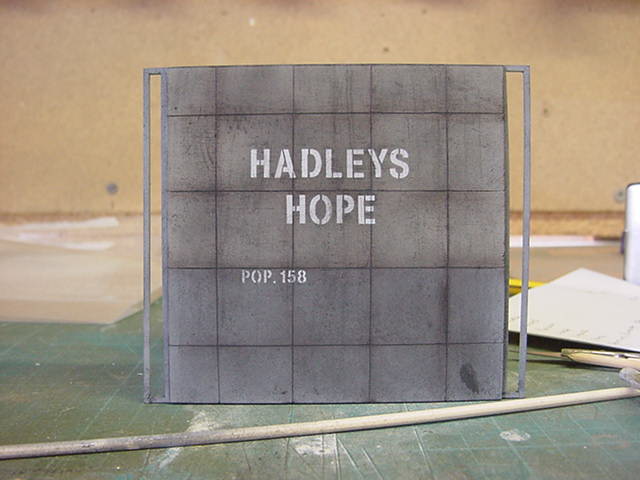
in the movie or at least in the extended edition, there is a signpost of sorts declaring the place where the fun and games happen to be...
HADLEYS HOPE
POP.158
So fair enough thinks i.
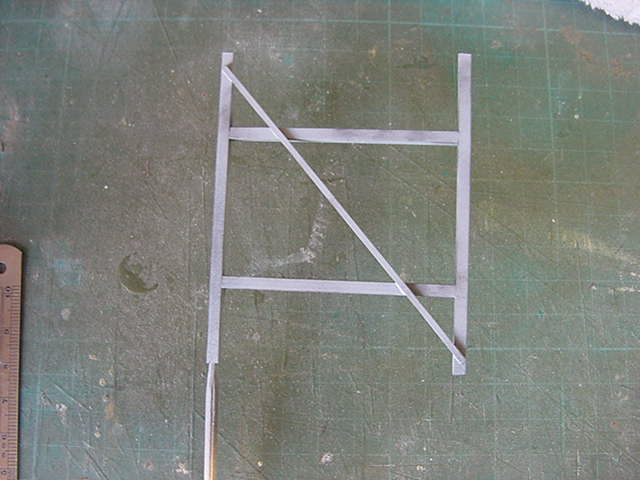
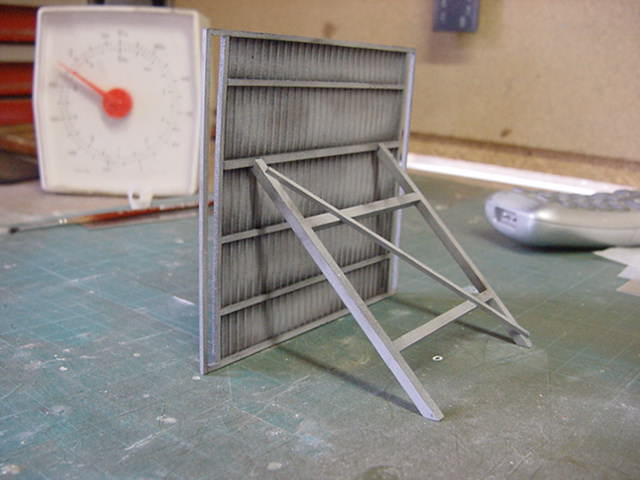
Grabbing a sheet of scrap plasticard approx 3" square, cleaned up and the front face scribed.
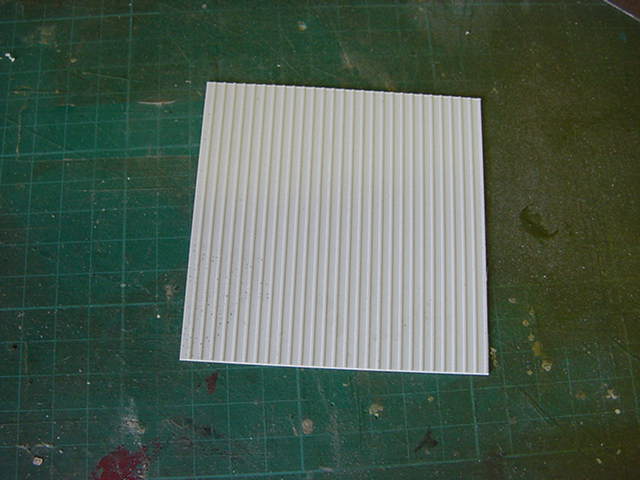
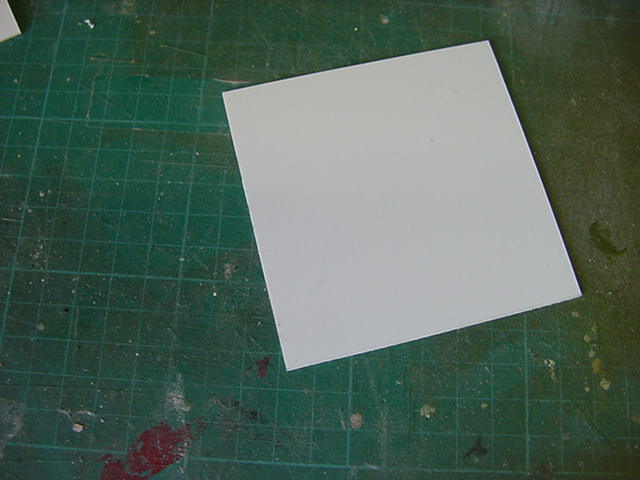
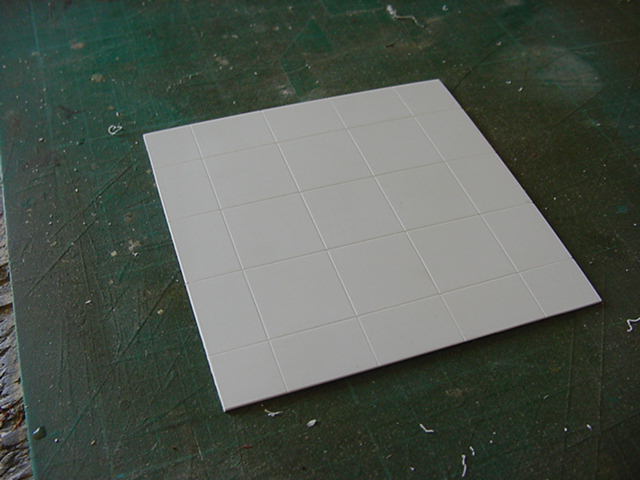
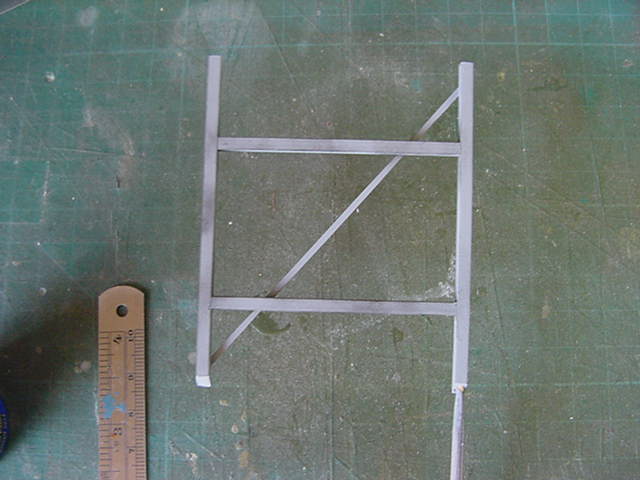
Some plastic strip back framing, a rear frame support and a dab or several of primer.
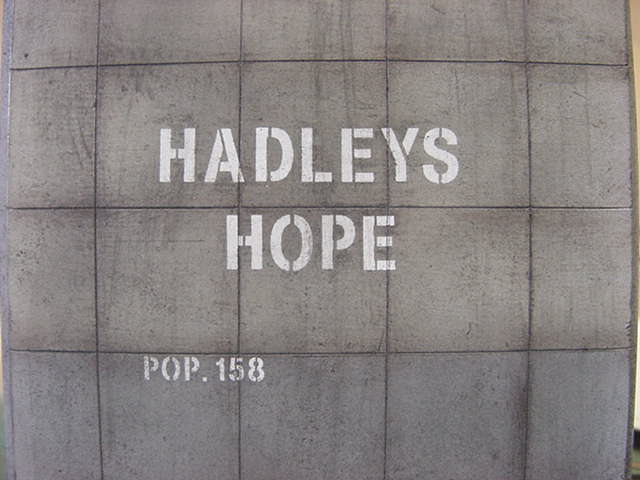
A wee bit of two toning of the grey paint just to be different.
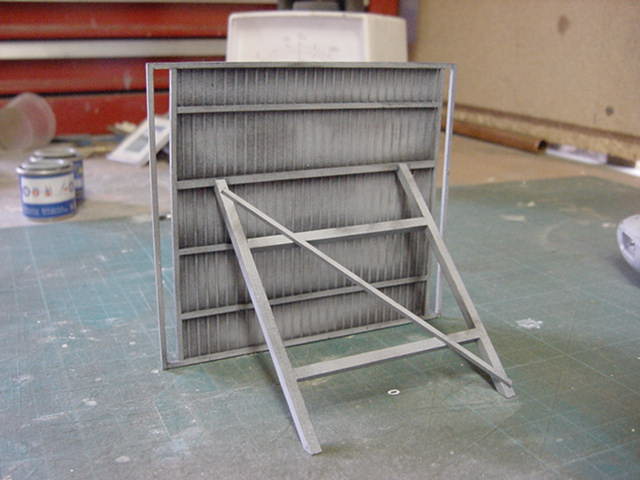
Then a bit of dirtying down ala pastel chalks.
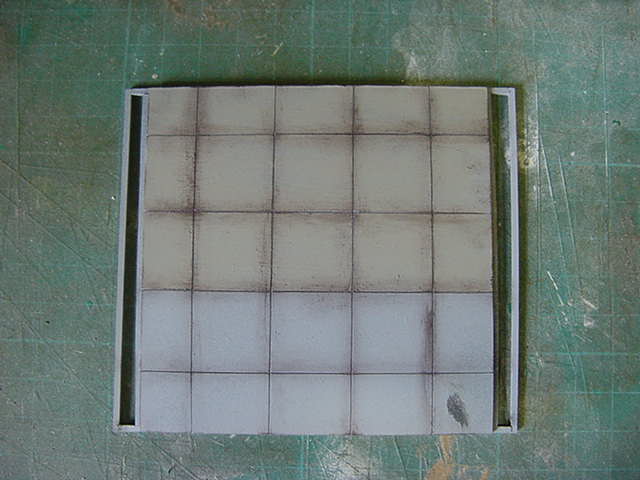
That sorted and a bit more dirt plastered on along with some Letraset sliced into stencil style the same way as the stuff on the front of the APC.
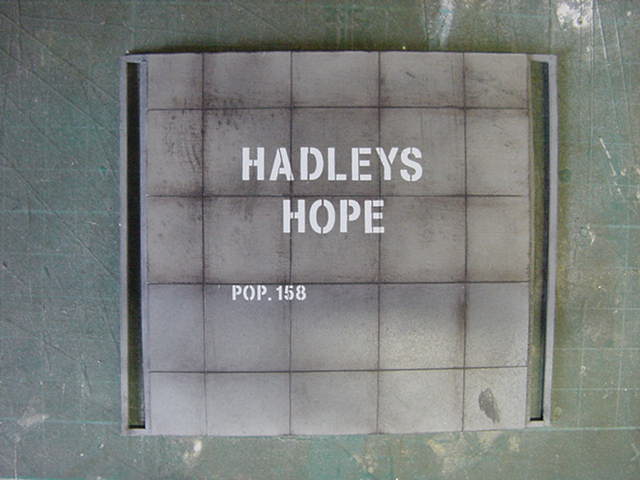
And more dirt...maybe just a little dab more...that'll do.
And attach back support frame.
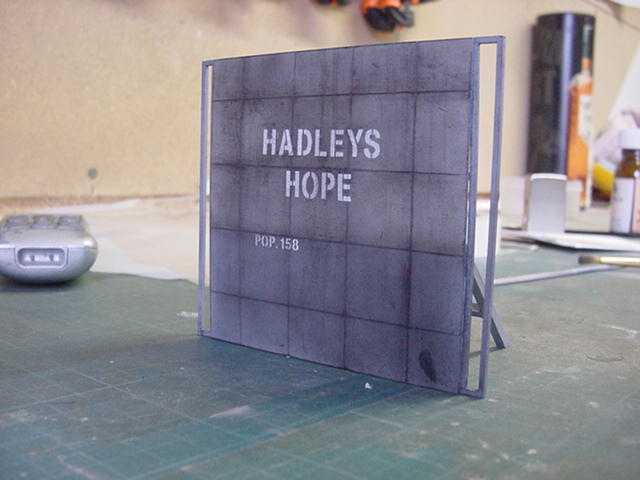
And this beastie will find it's way onto the base as we go along.
That's on the next page by the way...so off ya toddle then and i'll see ya there..
Page Number