
Colonial Marines M-577 APC
1/16th Scale


 Page Number
Hold up a sec...
Need Something To Hold Them Down.
Howdo all!
Right then, the seating and interior wall panels almost sorted so a few details to clear up and this is the main one.
The restraint bars that pivot up from the seats, think fairground ride 'hold you down' things but without the nice padding.
There's military cheapskate procurement for ya.
Anyway, it's sort of like a 'T' bar thing and after some brass bar bending, slicing and soldering, we get this little lot.
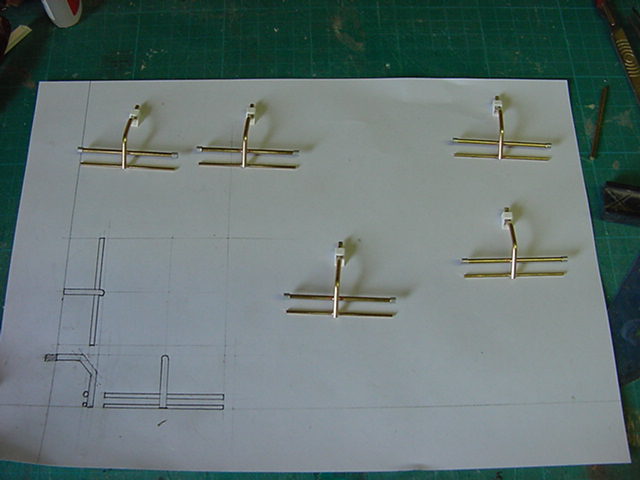
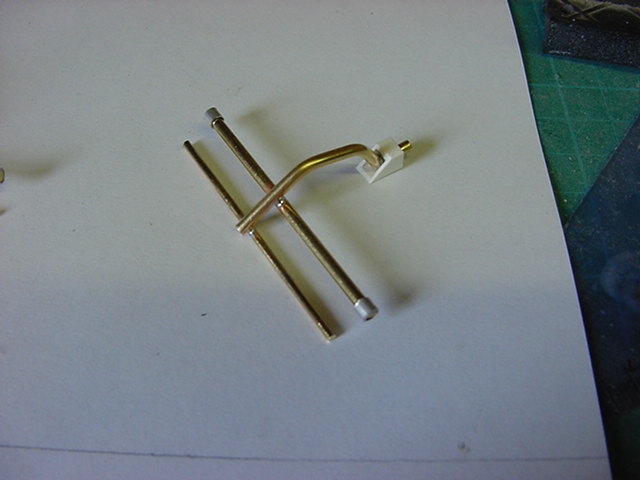
As noted through watching the movie, the bars are a light greenish colour with a lit strip along the bottom.
Well lighting this up to simulate the fluorescent tube used was more than a little impractical considering the bar and where to hide the wiring for LED's or fiber optic and after a couple of tries it just wasn't going to work out.
White paint would simply have to stand in.
Can't win 'em all sadly.
So painted up with some additional tubing painted black, holes drilled and all was installed.
Decided to have them in the up position as that was deemed to be more appropriate since no one will be home so to speak.
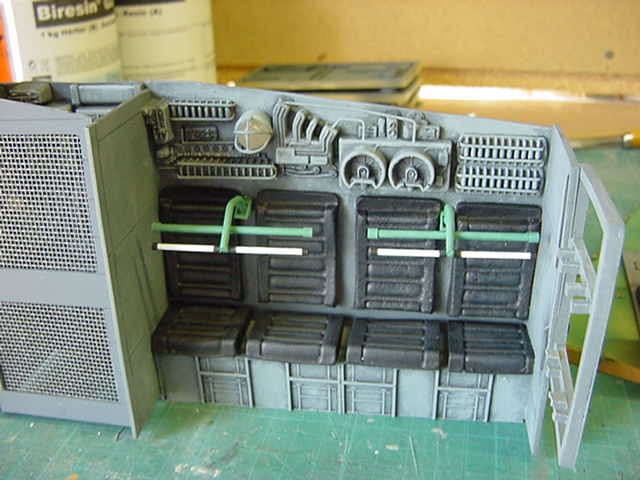
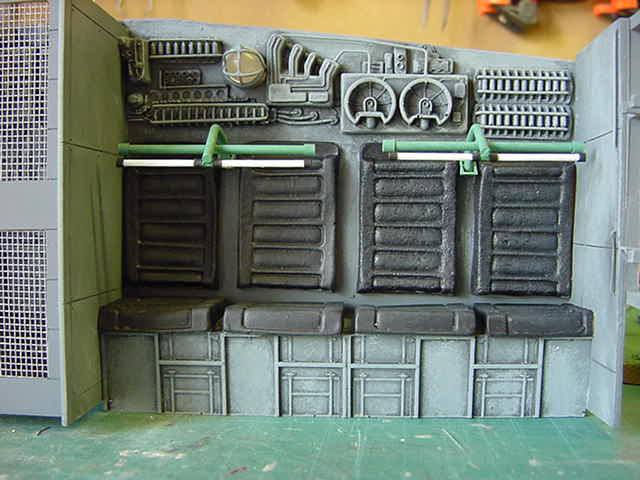
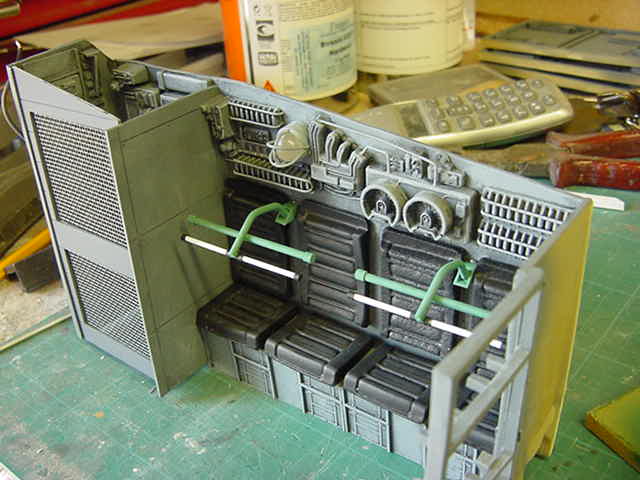
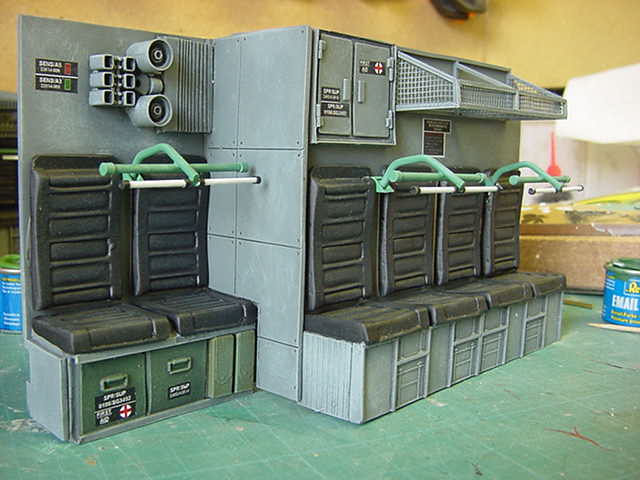
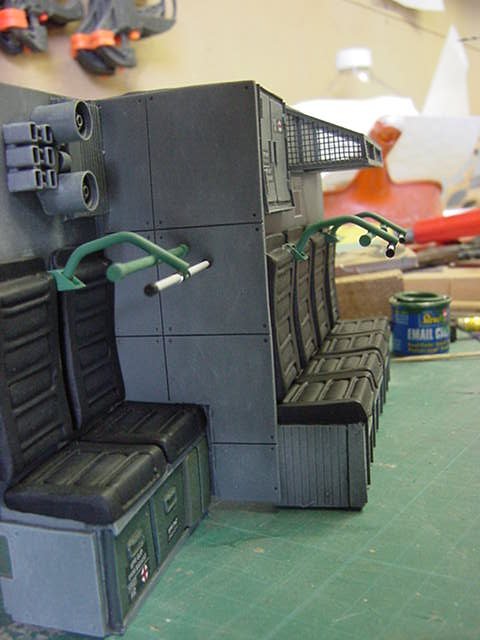
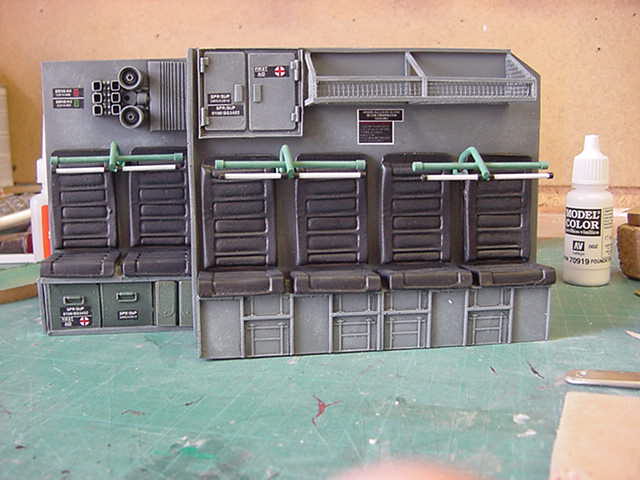
Okedoke then, that completes the main build on the wall panels.
Nice and with only a few wee things to attach.
Those being the pulse rifles into the rack, the smart guns likewise and a couple of fire extinguishers to be made up and strategically placed.
So then, now for the ceiling panels..
Panels all over the shop i'm tellin' ya!
So this be they in the grey with dark wash and after a tiddly bit o' the drybrush action....
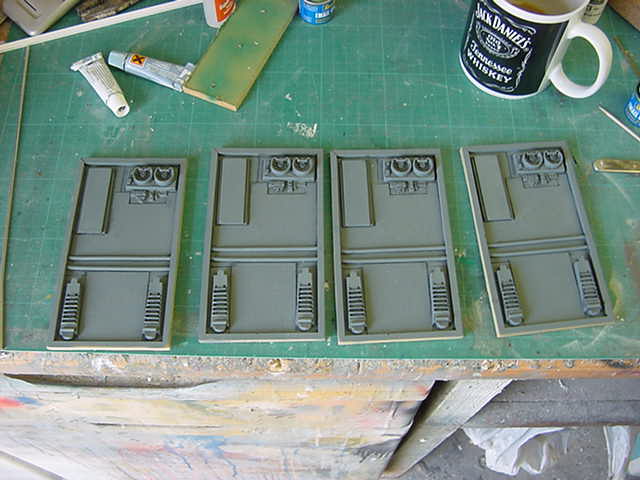
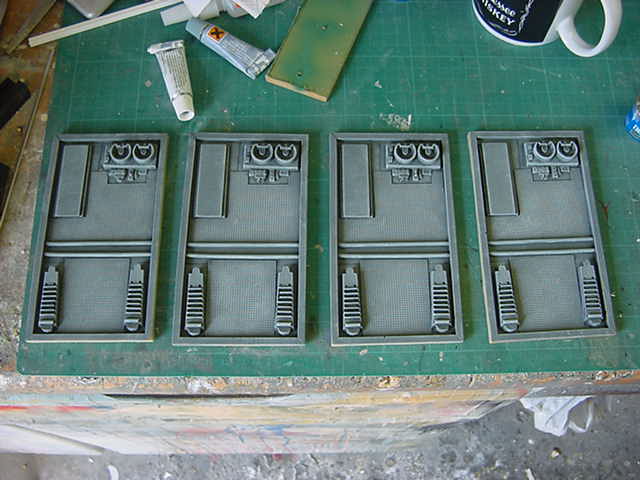
Not too bad so far.
Now time for some more lighting lark...on the ceiling that is.
So one lighting strip kinda thing per panel and this was how it all got sorta sorted.
Just under 1/4" square hollow stock styrene with a slot cut out and said slot filled in with some clear styrene.
And much sanding was done upon the parts
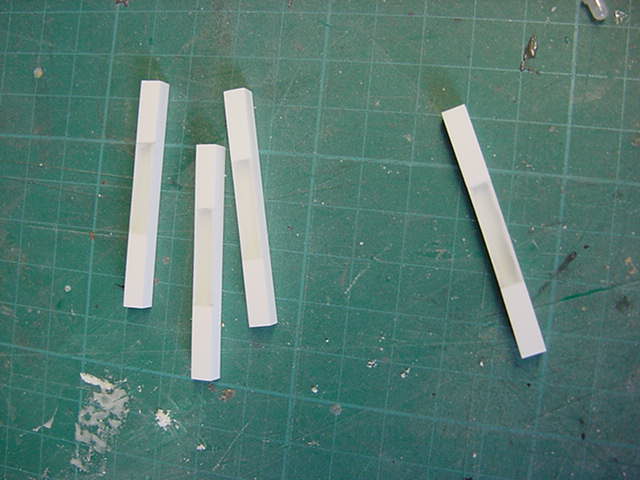
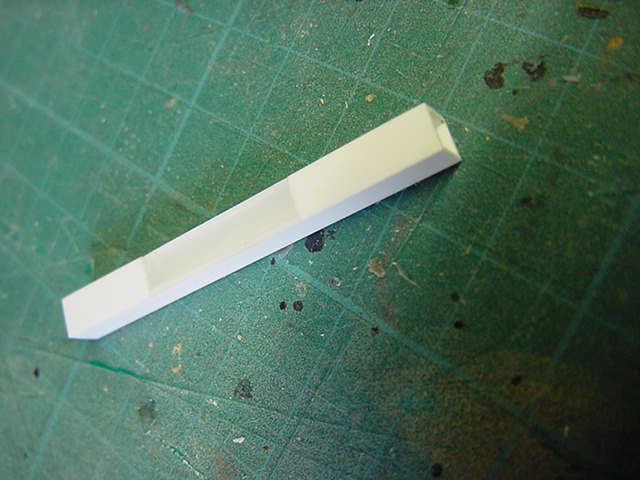
Now simply put, one end was fitted with a 3mm diffuse white LED and the other just blanked off.
Much of the silver sticky foil stuff was laid on and one was test fitted and had the standard battery shoved on the wires.
Just for a look see like you do.
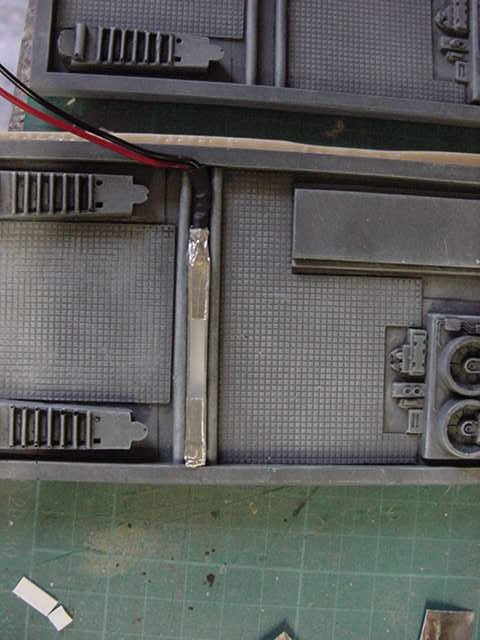
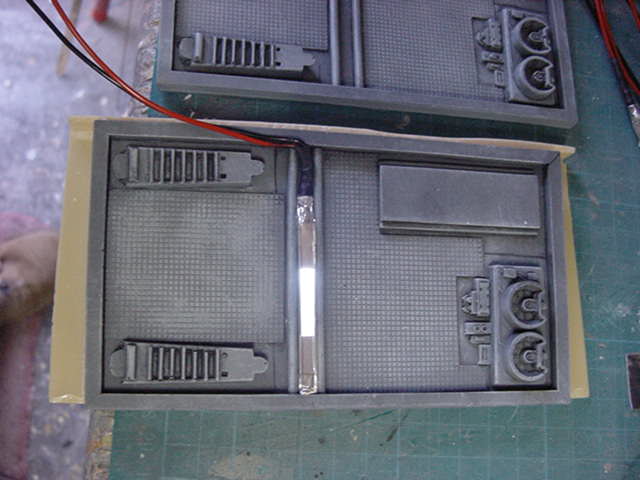
Okedoke.
Now these panels were never made to have one of these things attached, at least the first ones I did never had roof lights so what to do about the wires.
Well if they can't be hidden, may as well make them part of the scenery so to speak.
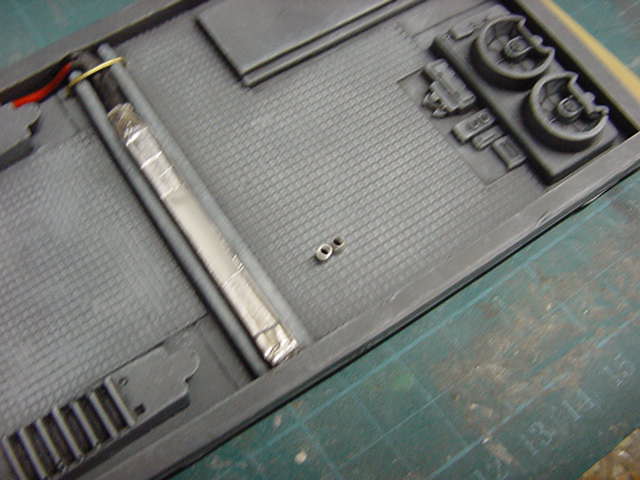
So a bit of feeding into convenient spaces, a bit of drill bit violence and some 1mm brass wire later we get this...
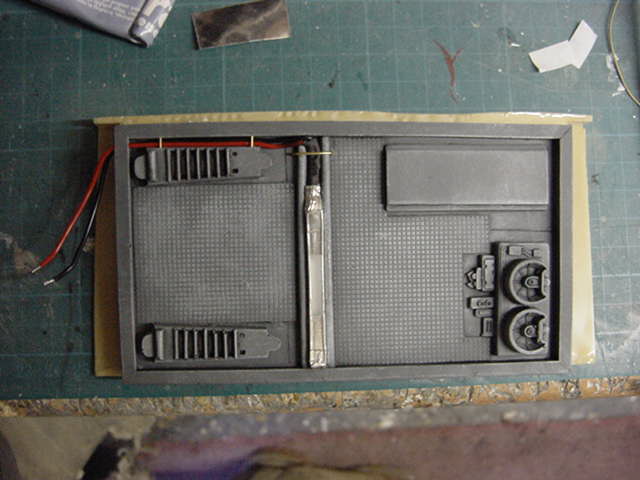
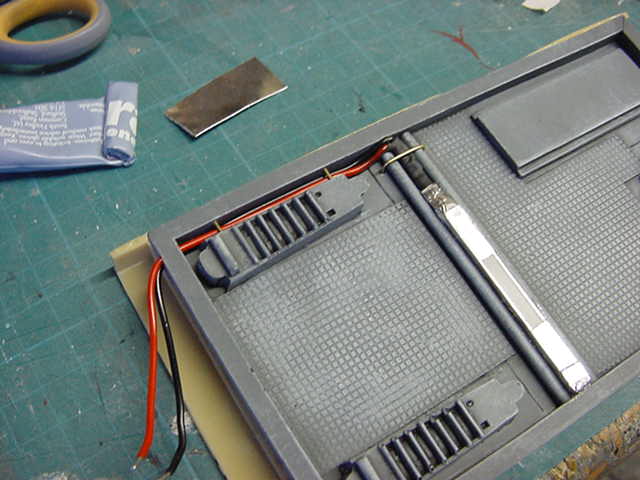
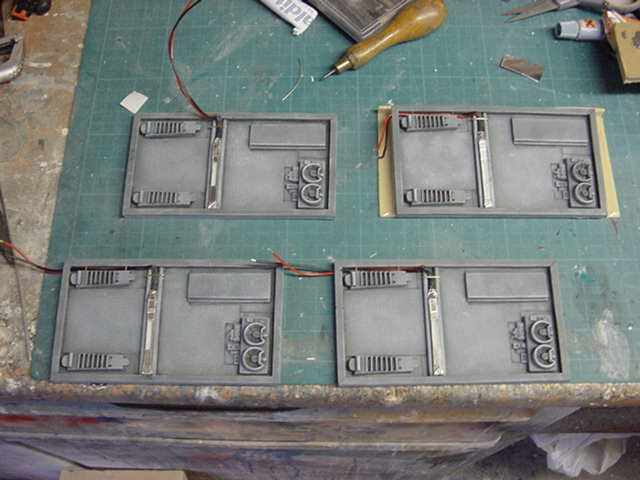
The one at the top left of the pic has the wires unsecured as I will have to chop a lump out of the panel to make it fit in when the roof goes on.
The one at the top right is already fixed to a roof panel as I have to run the wiring for the top searchlight through it.
Speaking of which...
Here's a quick pic or pics to be accurate of the single roof panel where it should be with light off and light on.
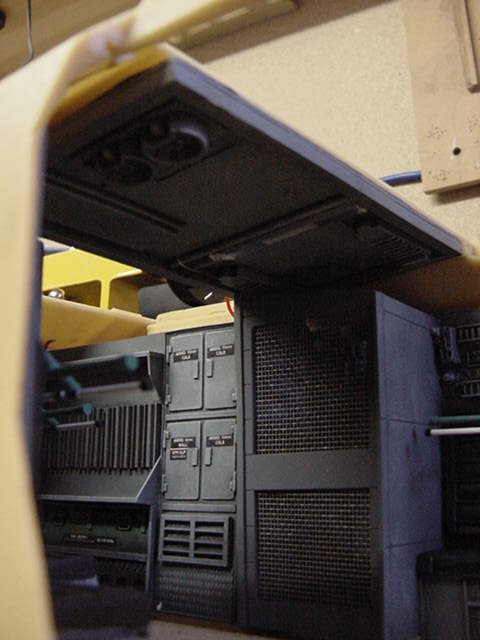
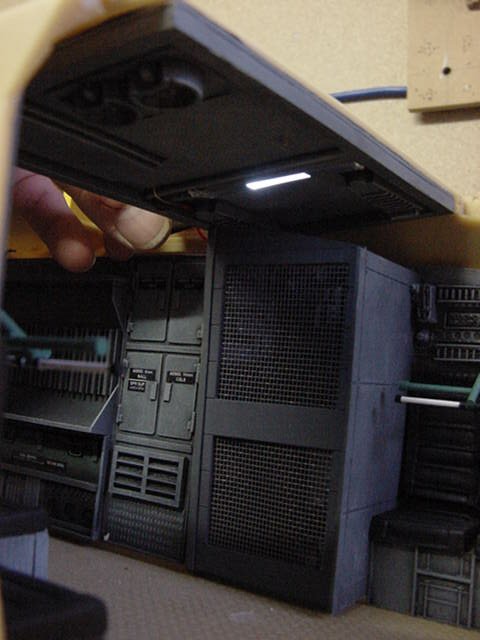
Not screamingly bright but that's not the intention.
The subject matter at hand calls for a bit of...mood lighting...so to speak, more on that later.
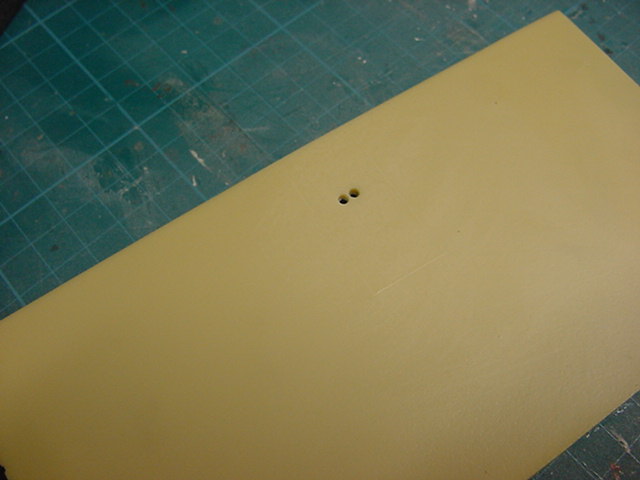
And so to fit and wire up the top searchlight, a couple of holes drilled and some short lengths of aluminium pipe in said holes for the feed through.
Just makes the interior wire run a bit neater.
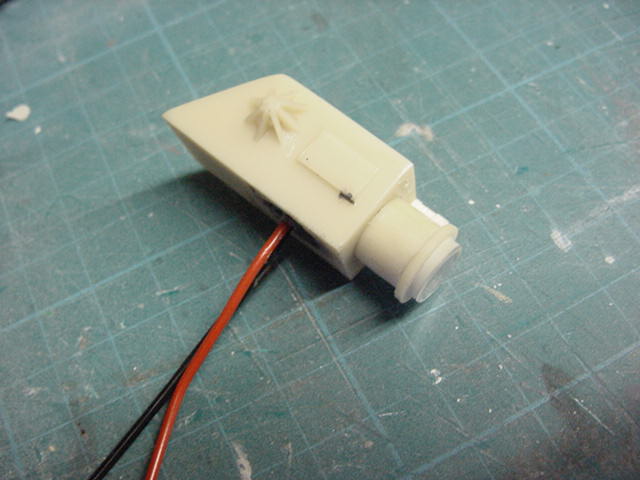
The searchlight is made up of two castings which were drilled/machined up and out to take a 5mm hyper bright white LED.
The tube was drilled and then painted matt black, then silver.
Some clear styrene was cyano glued to the front then the whole thing given a whirl in the lathe to clean up.
Then it was fitted with said LED and sealed up.
Once done the light unit was glued to the main block.
Just added the extra sticking out bit in the top right of the front of the block just for some extras greeblie detail.
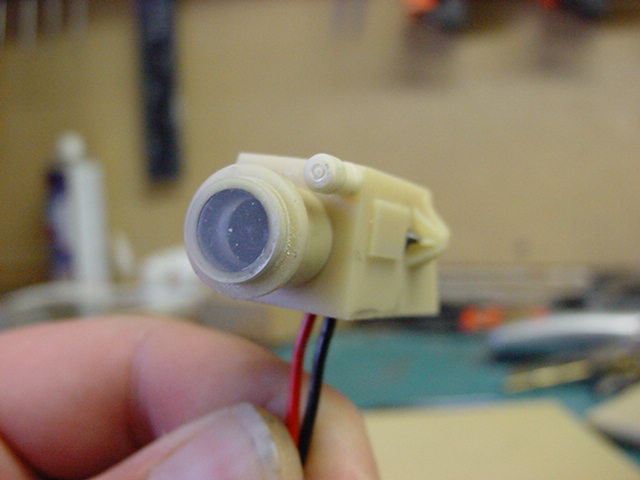
Of course the inevitable battery hook up test...
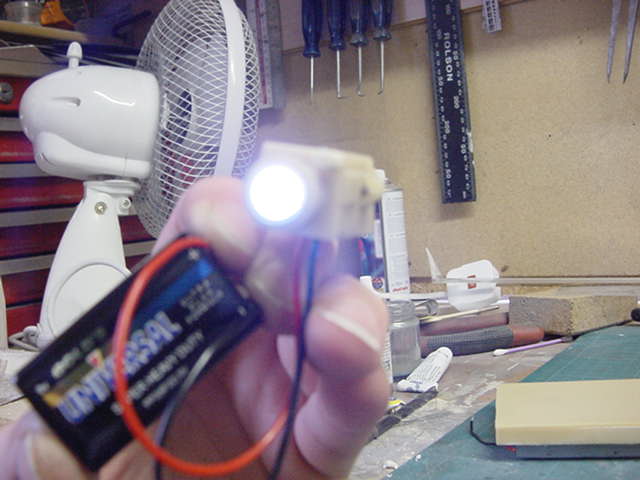
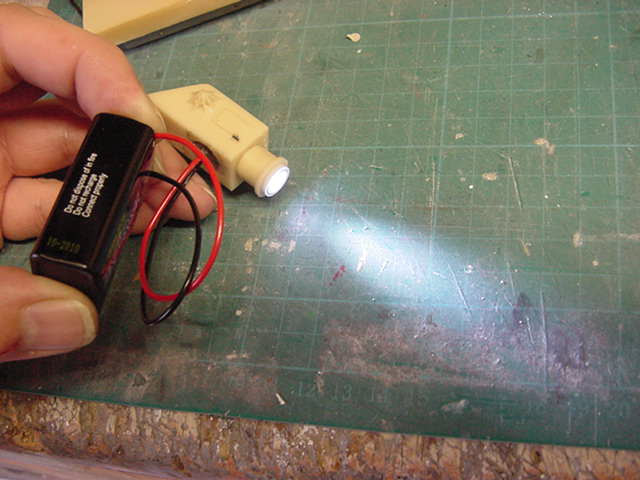
Aye, that's the stuff!.
So a quick test fit.
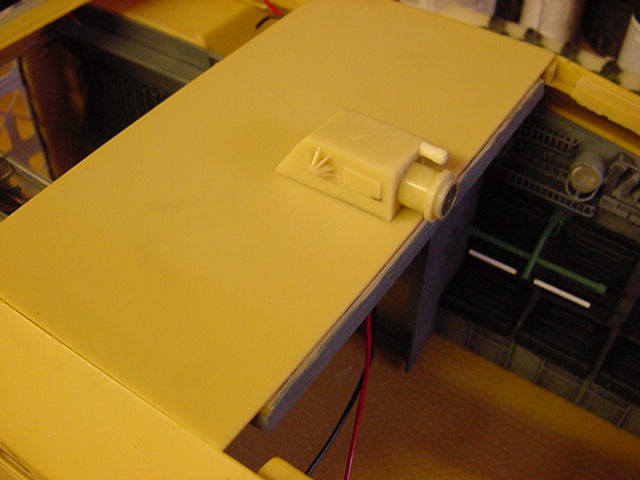
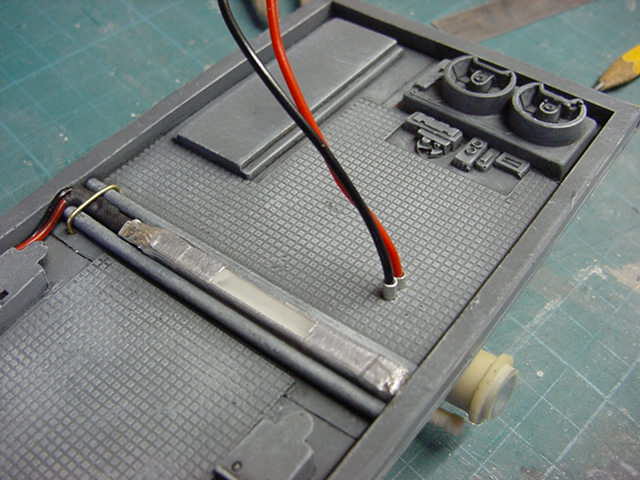
The wires on this will be secured in almost the same fashion as the light bar wires so will look like part of the whole deal.
Well since this is the last one, may as well do the pretty it up as much as possible methinks.
Well more to do but almost finished with the interior stuff so then it'll be time to migrate to the outside.
Which is a fun deal in itself but that for the next update page...probably a few updates after that as well.
Go easy all!


 Page Number


