
Colonial Marines M-577 APC
1/16th Scale


 Page Number
You sit down, get comfy & grab a drink...
And i'll Gab On About Gun Turrets
Howdo all!
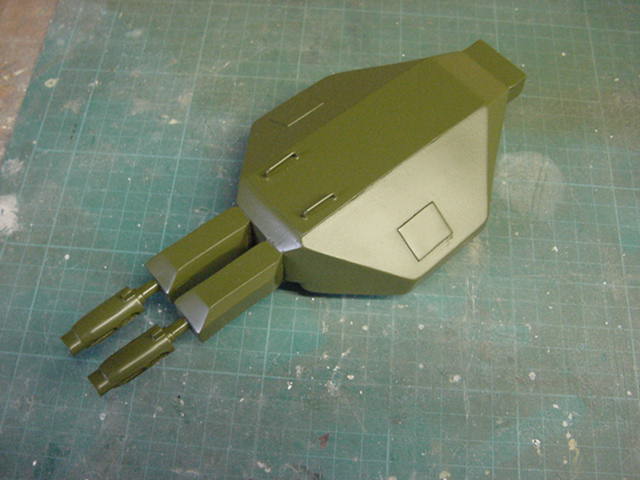
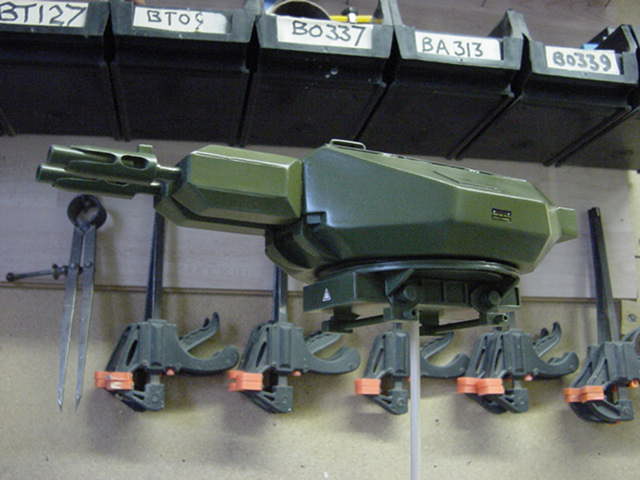
Right then, gun turrets be the thing and this thing has two of 'em.
Castings went through the standard wash, fill, rubdown, prime and paint.
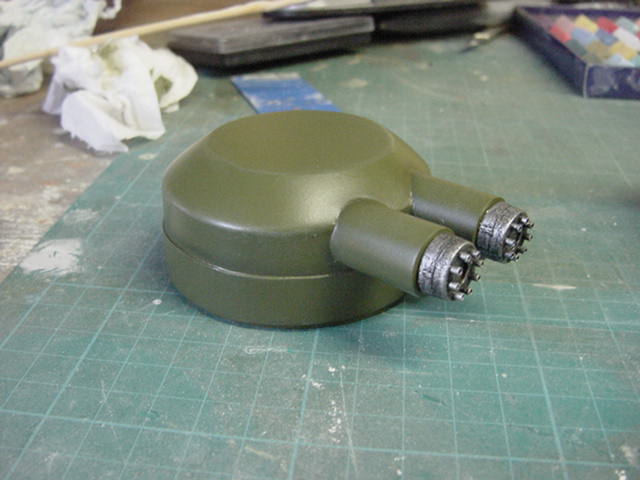
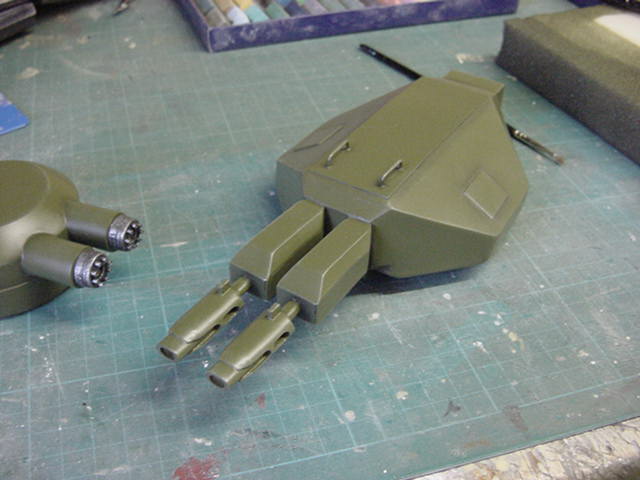
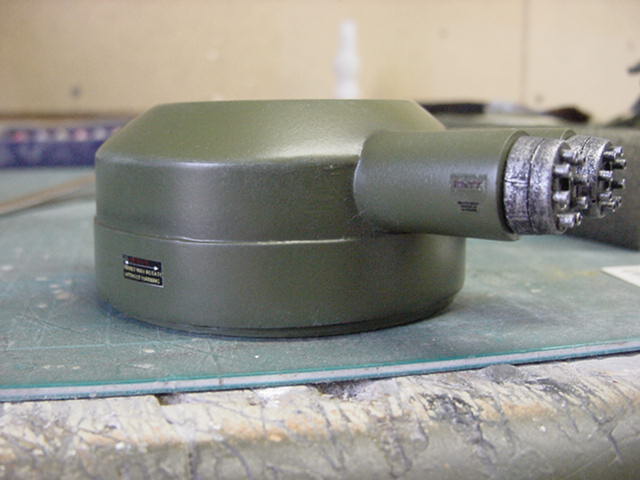
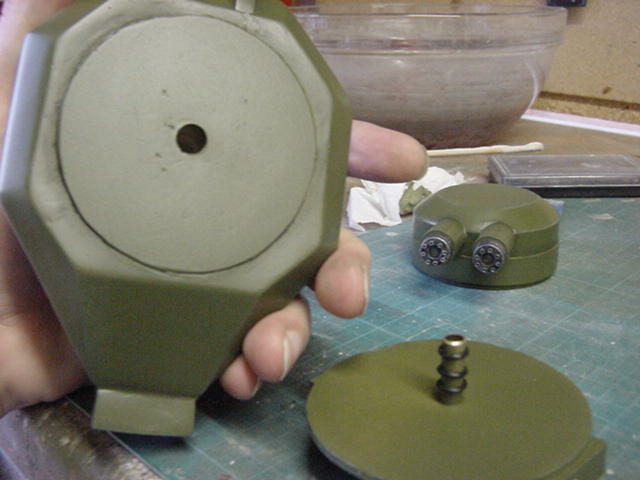
The big top twin barreled bugger consists of 5 parts, the main body, two barrel parts and two brass wire top handle things.
The smaller front turret was a three piece job in all.
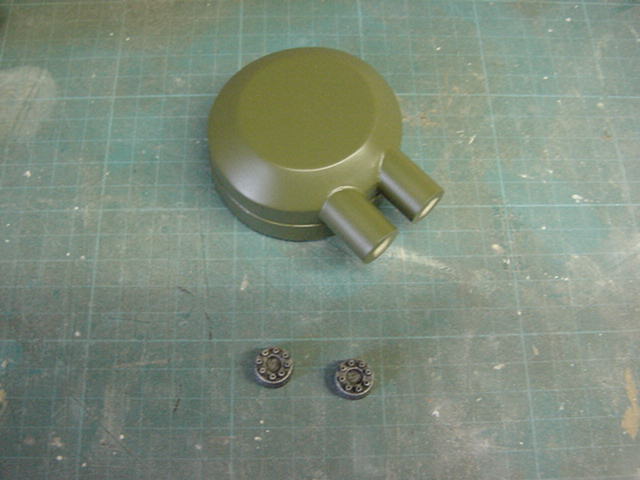
Main body and two gatling gun like ends.
The ends are resin castings with 8 holes drilled in each and fitted with aluminium tube.
This was what yours truly ended up with...
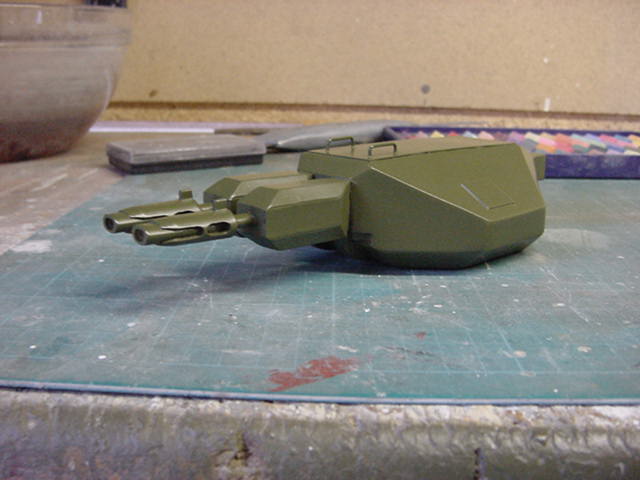
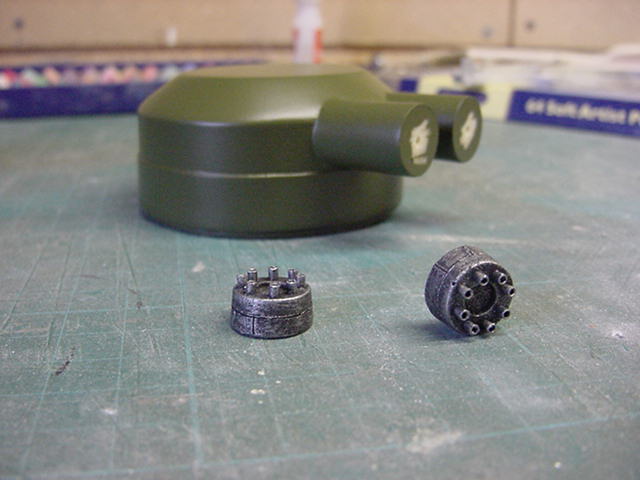
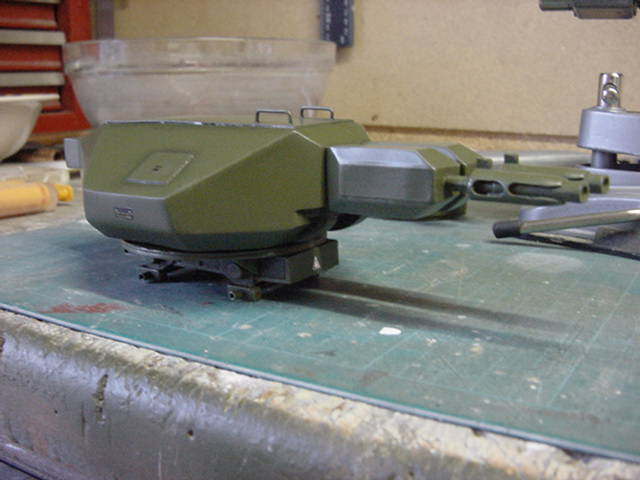
So the fronts glued on to the small turret then both given a going over with some pastel shading and light olive drab dry brushing.
Very lightly on the dry brushing just to accent the edges, natural light does the rest there.
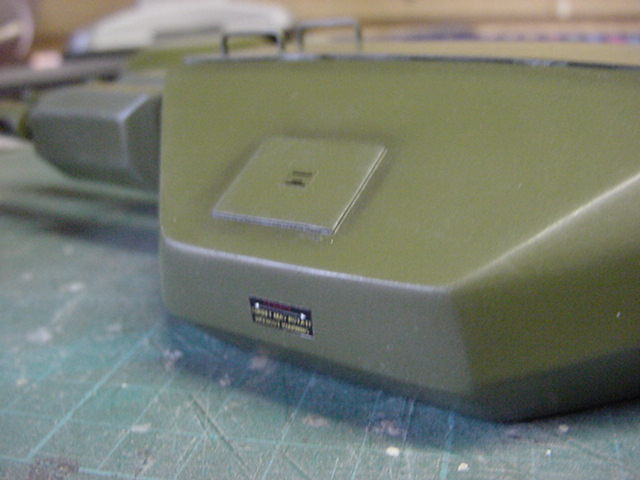
Once done and varnish coated, the inevitable stencil decaling took place.
Decals all home brew DiY jobs.
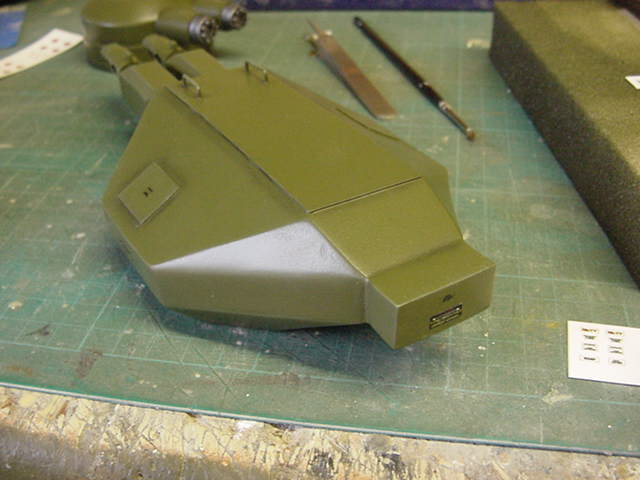
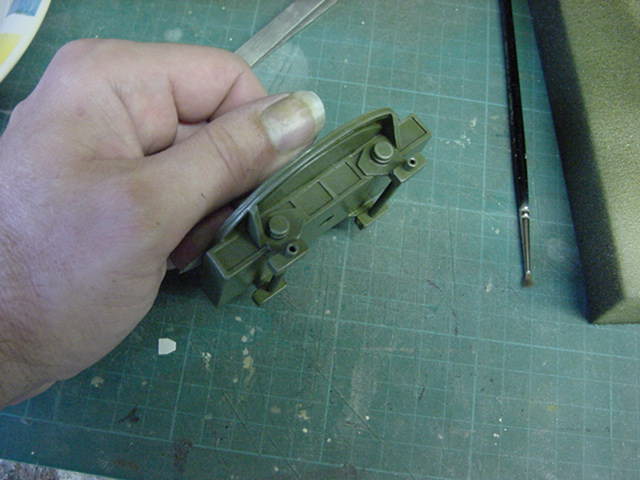
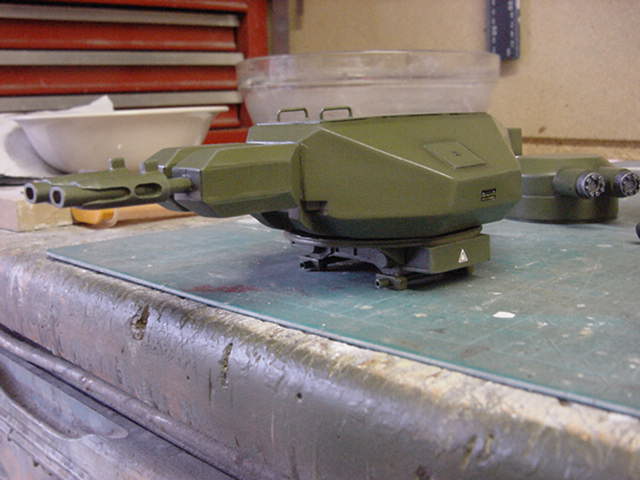
Once all settled and happy then another varnish coat and on to the top turret carriage.
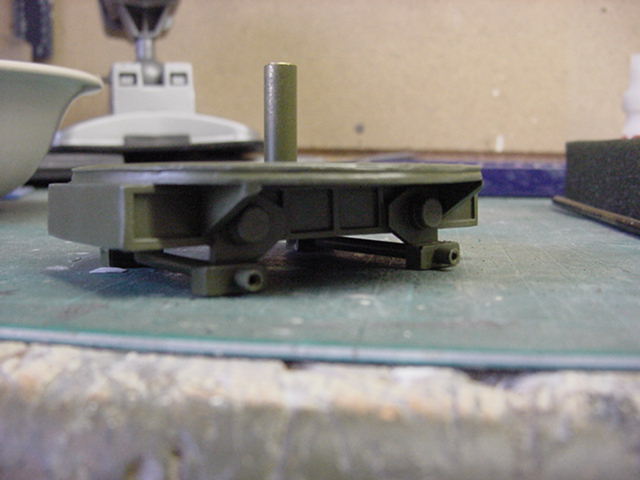
This is the thingy that the big guns rotate and move back and forth on in the movie.
A one piece casting with brass tube cross bars.
Same colouring with the pastel shading/drybrush/decal treatment.
Now then, this beastie is going to have a long journey ahead of it once done.
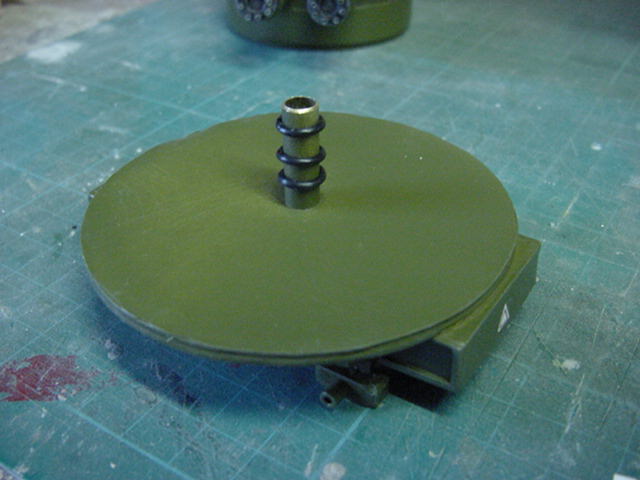
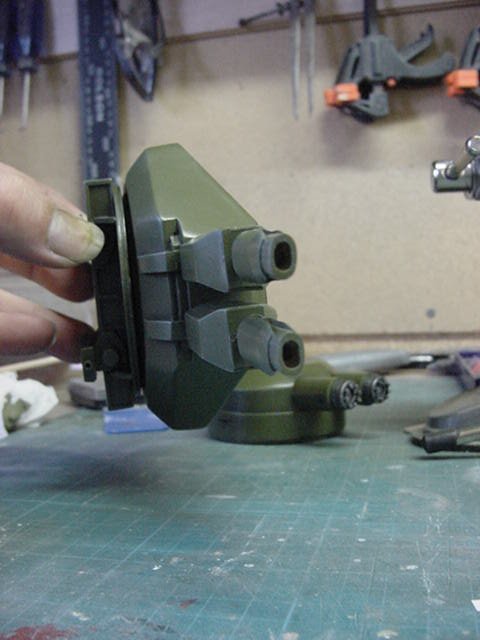
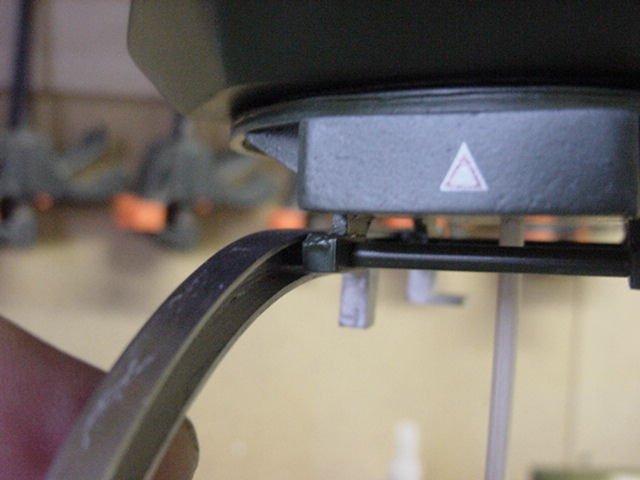
So the top turret pivot had to be done so the thing can be removed but easily refitted on arrival.
To this end, the pivot post being 3/16" brass tube pressure fitted into a 3/16" hole in the carriage.
Took a bit of knocking with the rubberised mallet to get it in there so it ain't comin' out in a hurry.
So this here pivot post had three neoprene 'O' rings fitted, that brought the diameter out to a smidgen over 1/4".
The big turret had a hole drilled that was just a smidgen under 1/4".
Useful unit of measurement the smidgen...
The result being a fit that needs nothing more that a gentle twist back and forth when pushing the gun body on to the carriage but means the gun will stay put and can be rotated at will.
Though I have nothing personal against will you understand...
Also means easy to remove if the model needs repacking and transporting anywhere.
So that taken care of.
Now the carriage itself will be fixed into rails that run from down the back of the APC to level on the top rear.
These are one piece metal castings which by sheer chance look like this.
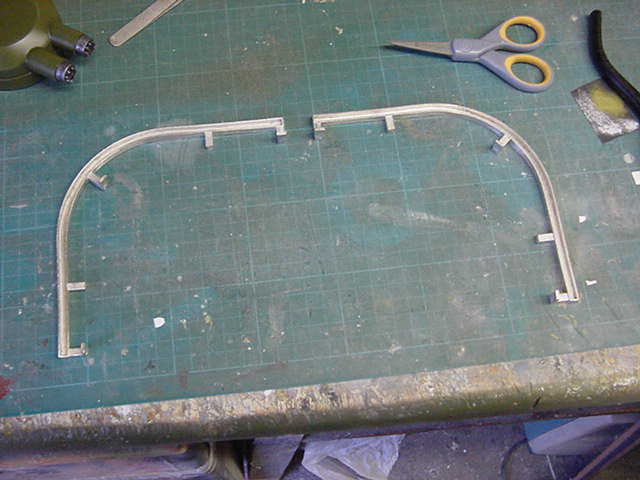
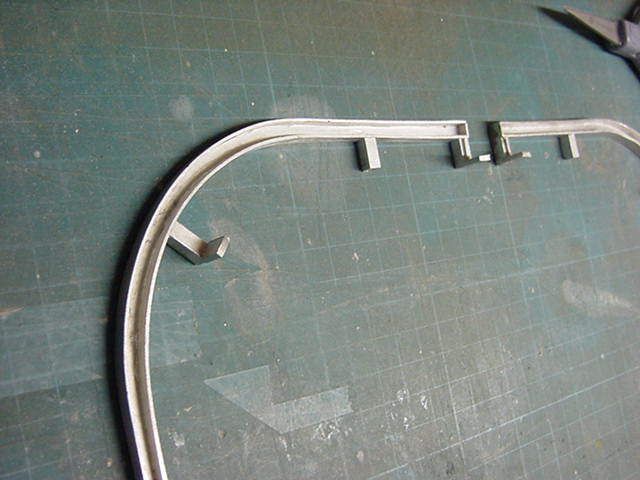
Deal being these will be fixed to the hull of the APC and the carriage fitting like this in the slots...
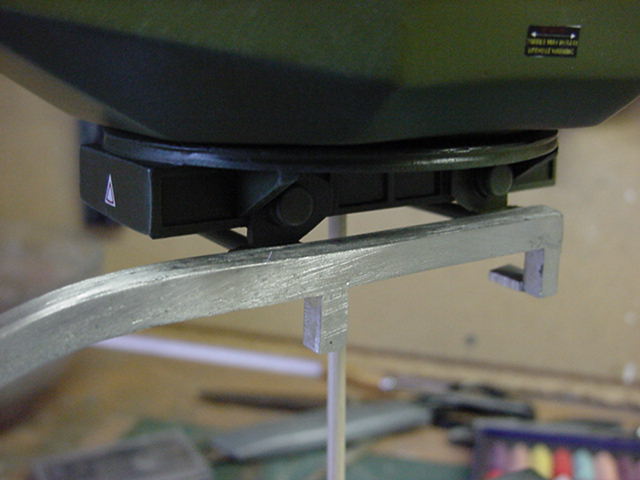
One fringe benefit being that any paint wear by sliding said turret back and forth shows metal underneath.
So no problem with resin showing through, just looks like honest wear and tear.
Plus it's a bit stronger than resin as the top gun turret is no light weight item.
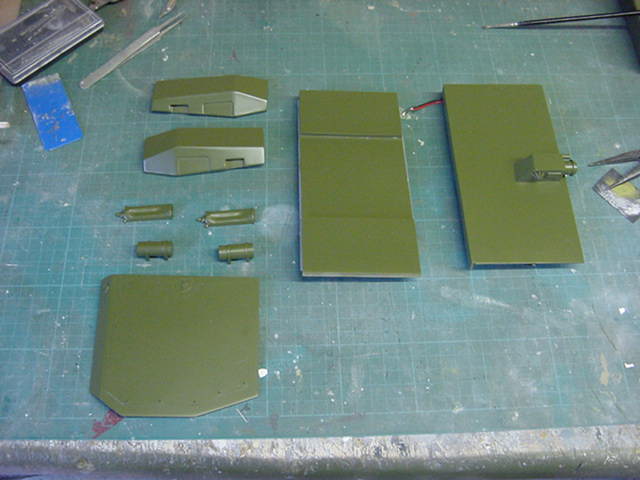
So then, a bit more tinkering about.
Exterior roof panels and parts given a coat of the righteous paint.
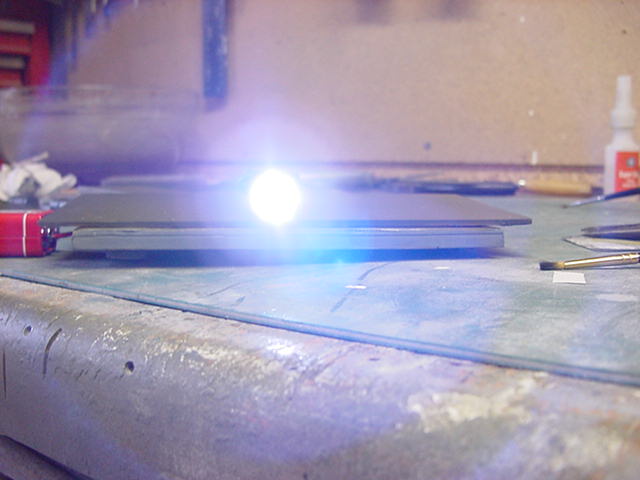
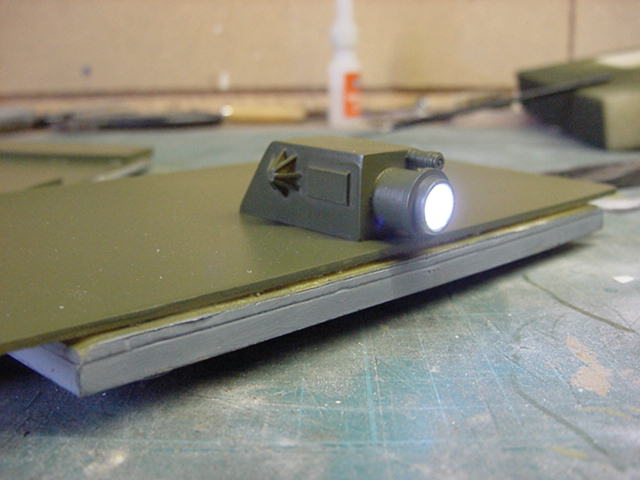
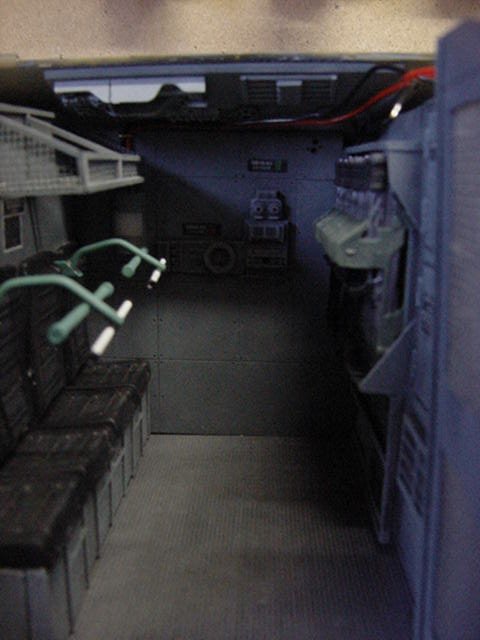
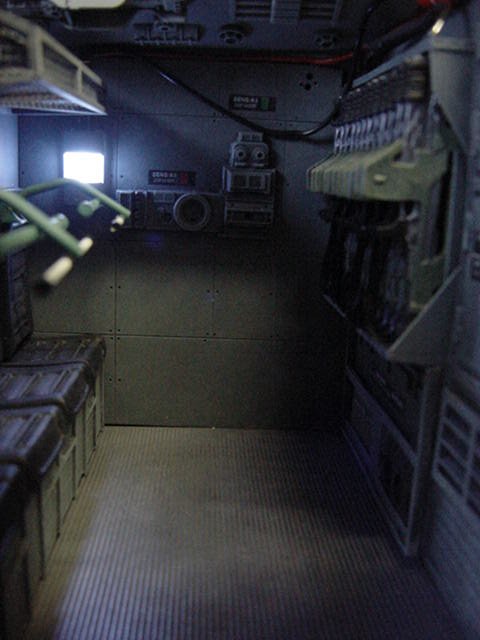
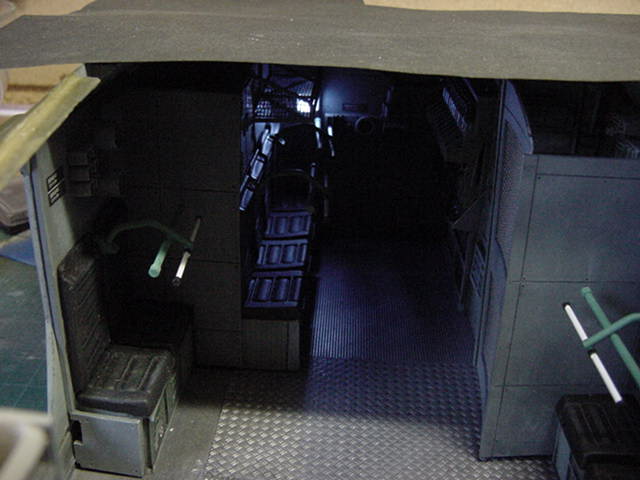
Then the top searchlight tested and an additional bulkhead lamp fitted to the rear wall tested.
Just a wee bit extra which should add nicely to the rest of the interior lighting when the rest of the bits are fitted and wired up.
Speaking of fitting and wiring up, that's next up for the next update.
See ya then and go easy all!
Page Number