
Elite Cobra Mk III
1/48th'ish Scale


Da Sixth Bit
Final Details Part 1...
Weekly Meeting Of Antennas Anonymous.
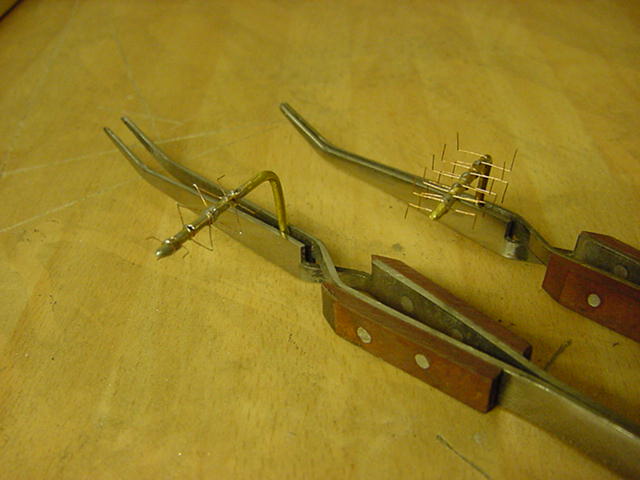
Right then, this beastie has 4 in total,
two on the top which look kinda like TV
antennas and two dish like thingies below.
First up, the top lot.
Just 2mm brass rod, duly bent then thin copper
wire soldered on in some form of shape.
Painted with the now familiar aluminium enamel.

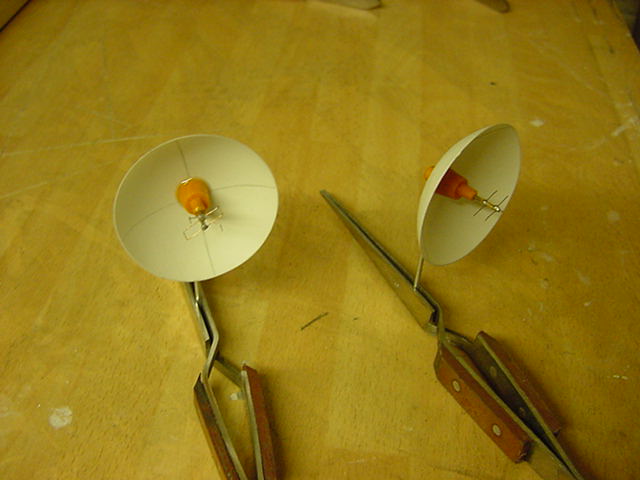
Then came the two underside dishes.
These were push moulded from 20thou plasticard.
For those not familiar with push moulding,
imagine vac forming without the vac.
Simply put, a piece of plasticard fixed over a hole in some MDF,
heated and while soft a shape is pushed into said hole.
In this case a plastic dome from my stock of bits.
Just trimmed up,
a center antenna from brass,
plastic spare part and copper wire and back rod added
then painted in two shades of metallic paint.

That little lot sorted so time to drill some hole and stick these wee devils where they should be.

Final Details Part 2...
Peaceful Space Trading Through Superior Firepower.
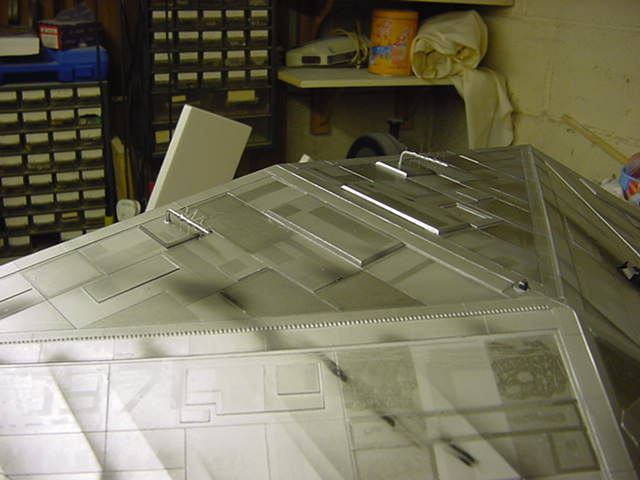
Some simple 2.5x4mm plastic strip for the pylons.
And a length of 2mm half round along each side and that be the pylons done.
Some decals and rubdown transfers from
the spares pile and the missiles be done.
Mounted with the assistance of some 1mm brass rod at each end
of said pylon with a wee bit sticking out the top.
Those went into drilled holes and held
in place with plastic glue and epoxy.
Starboard side pylons hold two NN-500 Naval missiles...
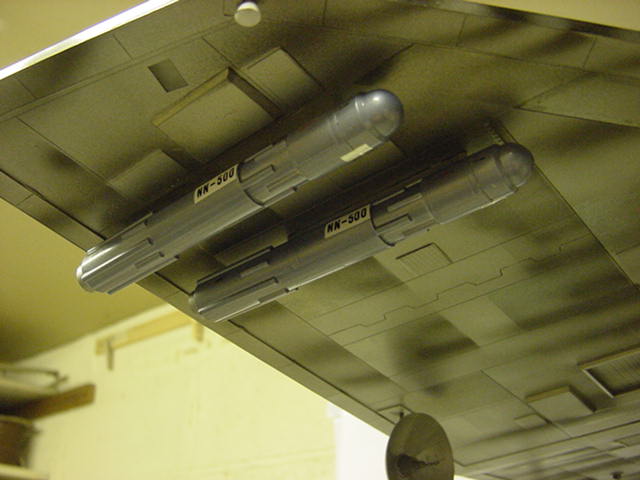

Port side pylons hold two NM-590 Naval missiles
with nuclear payload...just in case...


Final Details Part 3...
Still Gotta Steer This Crate Somehow.
As with all things space going craft,
they have to maneuver in some fashion so thruster sets
are the order of the day here.
Nothing more complex than a whole load
of push moulded cones, holes drilled
then glued on and painted.

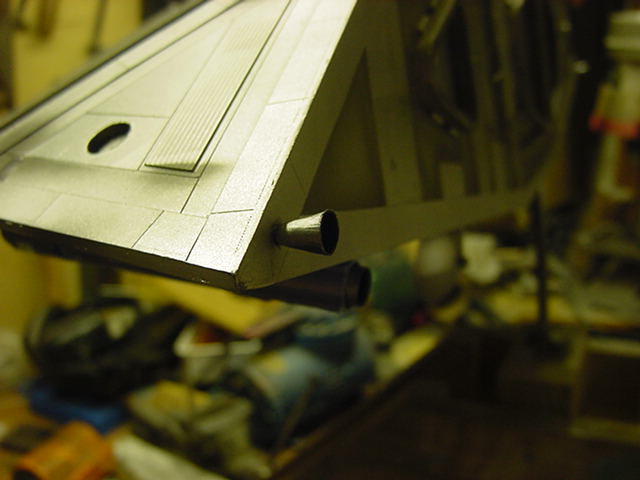

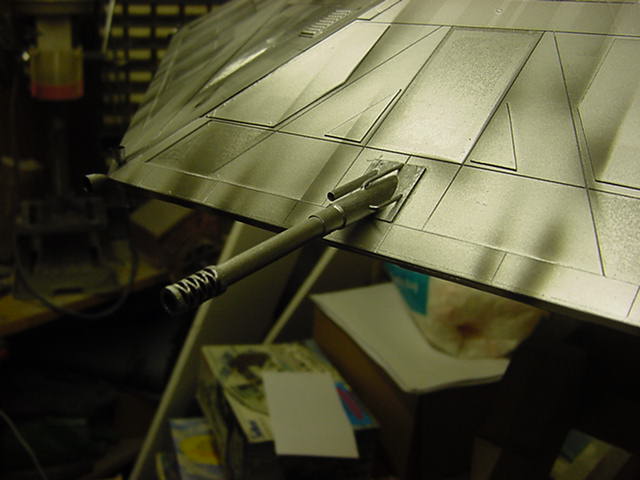
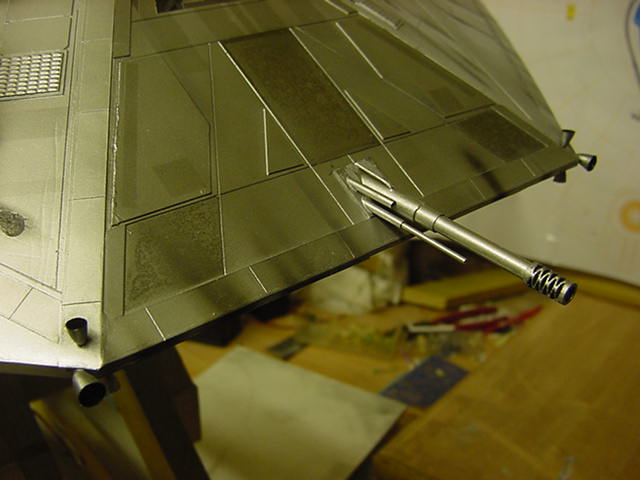
Final Details Part 4...
Just One More Thing, Summat To Shoot With.
The fangs of the Cobras' arsenal so to speak, the forward laser.
In this case, a Lance & Ferman military grade laser.
My personal weapon of choice for
dishing out the destructive tendencies.
This one was a combination of plastic and
aluminium tube with some brass wire thrown in.
The flexible part off a jack plug casing for the muzzle.
Simply painted and stuck into place, there we have it.

And for the main model build, we be done my friends!

That's that that. Never did take pics of the base mounting and whathaveyou.
Sadly but it wasn't that interesting...honest.
So that be that and I hope you've enjoyed this little plastic pounding party.
For those who may wish to do so,
clicketh the link pic below to take you to the finished model gallery.
There's even a movie of the lighting effects
and whathaveyou hanging about there someplace on the
first large pic page link as well.
Enjoy!
Go easy people !