
Panart Gun Deck Section
1/23rd Scale


 Page Number
Good evening all, and welcome...
To The Giant, Economy Sized, Free From Artificial Additives,
Fully Packed, Almost Plastic Free, Wax Coated,
Woodstained, No Expense Spent, Treenailed,
Superglued, Brass Pinned And Acrylic Cased...
Final Update!
Now that's the intro done.
So then , the downhill stretch so let's be getting to it!
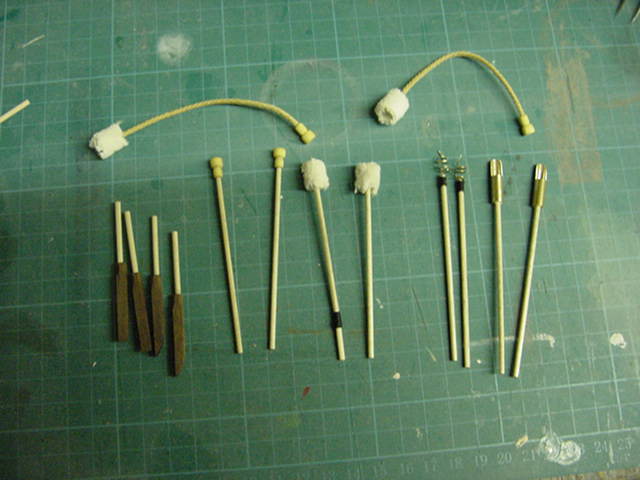
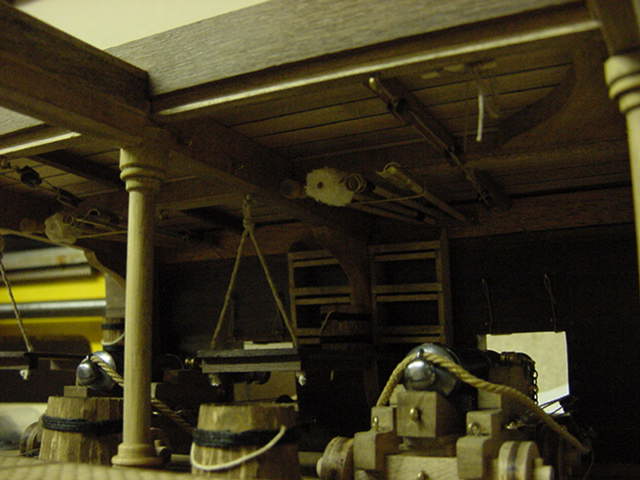
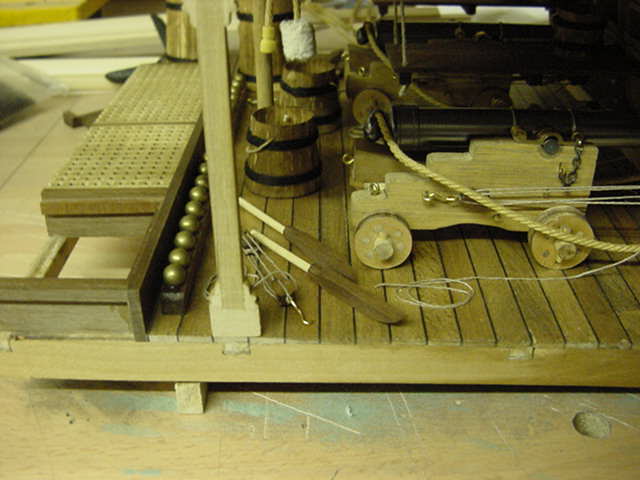
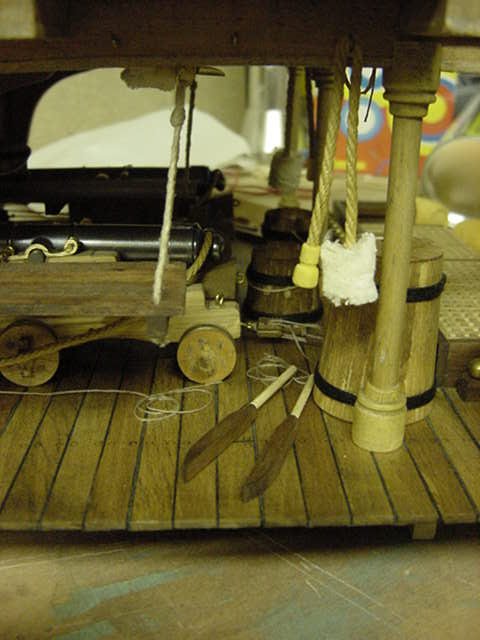
So next on the agenda is the gun handling equipment.
Namely hand spikes, rammers, worms,
powder scoops and sponges, both flexible and rigid types.
The sponges being the most amount of work happen thusly.
Taking the supplied material and slicing it up
in wee squares and gluing them on a cocktail stick.
When dry just put the material festooned stick in
a drill chuck and give it some high rev work over a
sheet of rough grit paper.
The start and finish look summat like this.
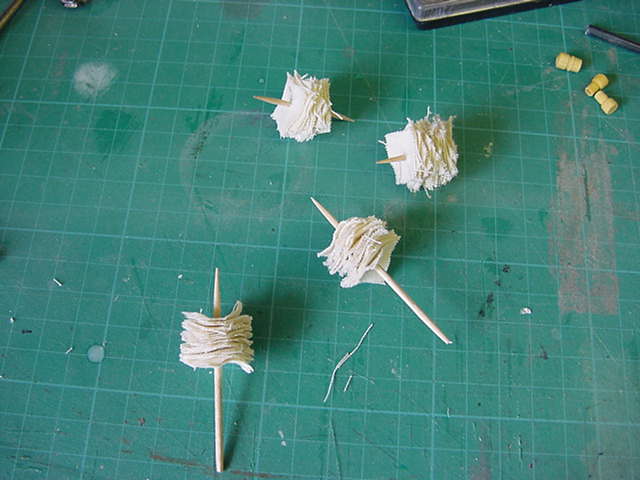
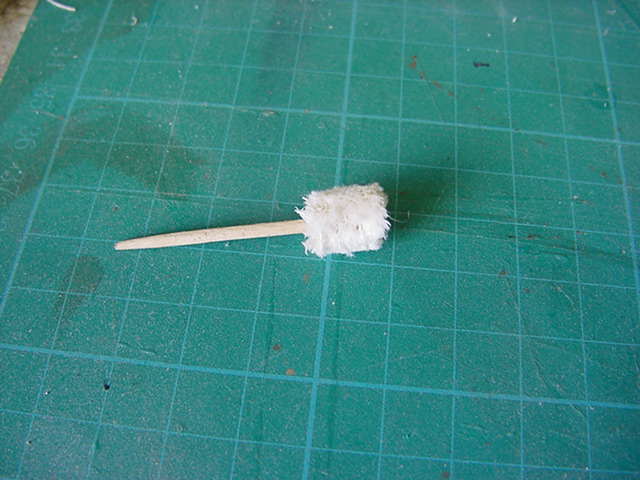
Then just trim the stick and glue to a piece of 2mm lime wood dowel
cut to length for the rigid sponge.
The flexible sponge is the same deal with the making except
it gets attached to a length of hawser rope.
The rest of the gear is fairly straight forward,
rammers are just a stick with a wide flat end for shoving the charge,
wadding and shot down the barrel before the
gun can go bang with the purpose of putting a severe crimp in someone's day.
The worm is a stick with a curly piece of metal on the end
for cleaning out the barrel of anything jammed in there.
The ladle was like a big scoop and was used in lieu of
charge bags to load powder or remove it
from the barrel in case of misfire.
A tool in extensive use before charge bags came along but always kept handy just incase.
The handspikes were large lumps of wood used in the
main for lifting the breech of the cannon so the chock
could be adjusted for gun barrel elevation.
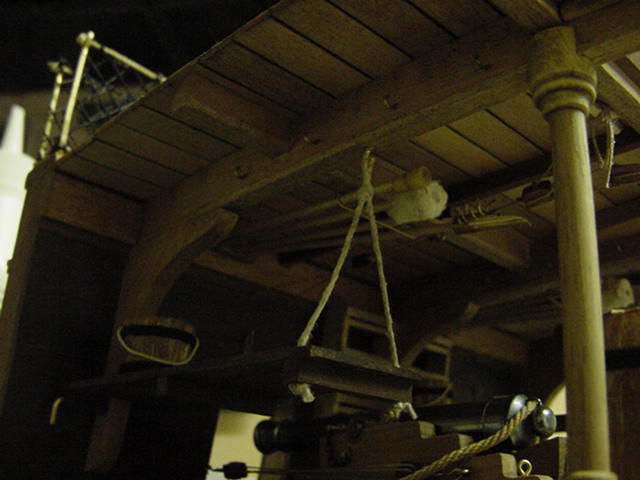
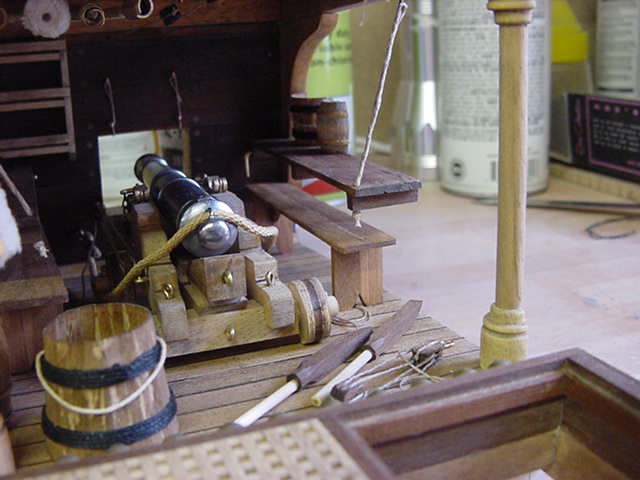
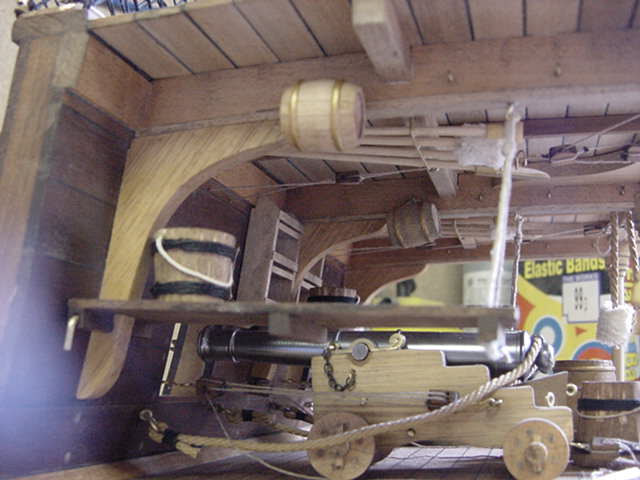
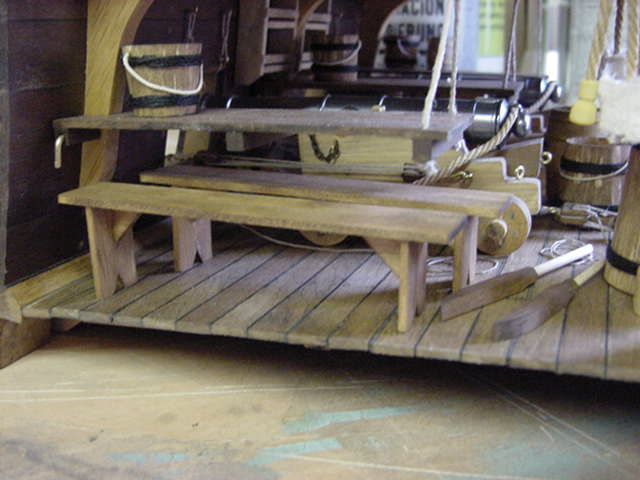
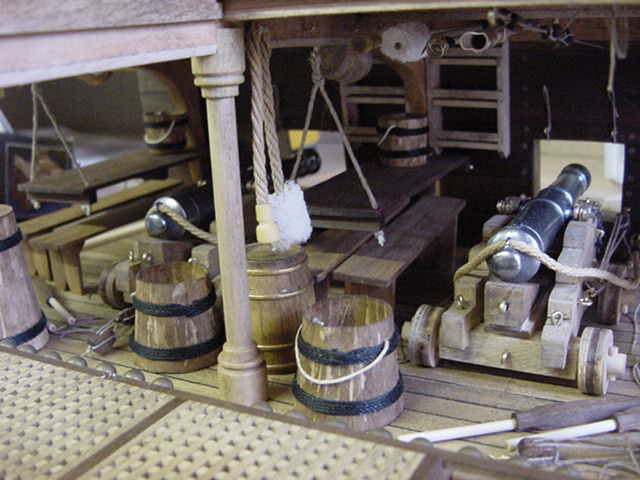
The whole pile o' goodies look like this and
how they be in their appropriate places for use...
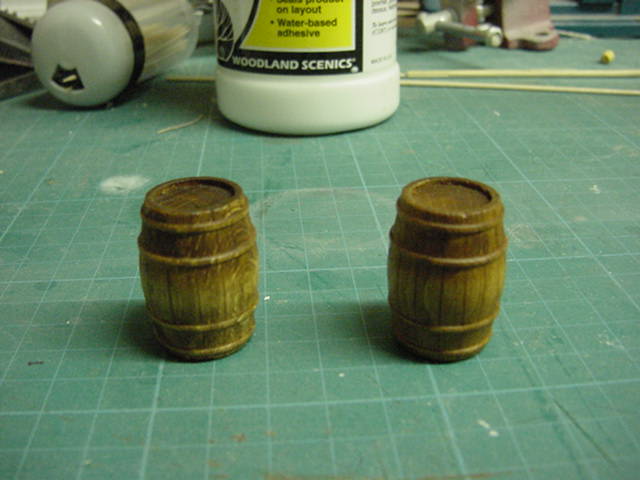
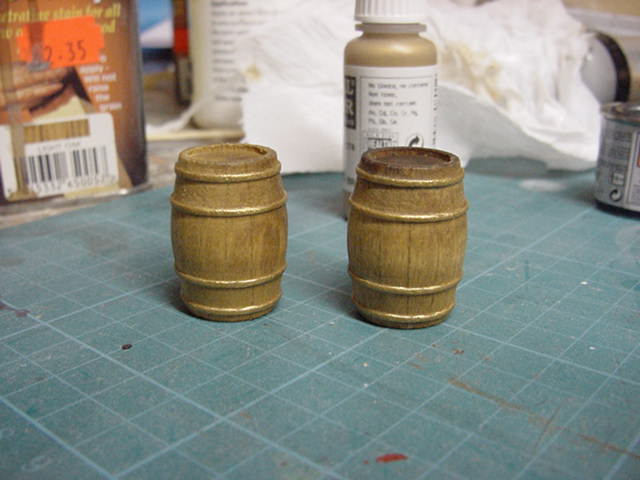
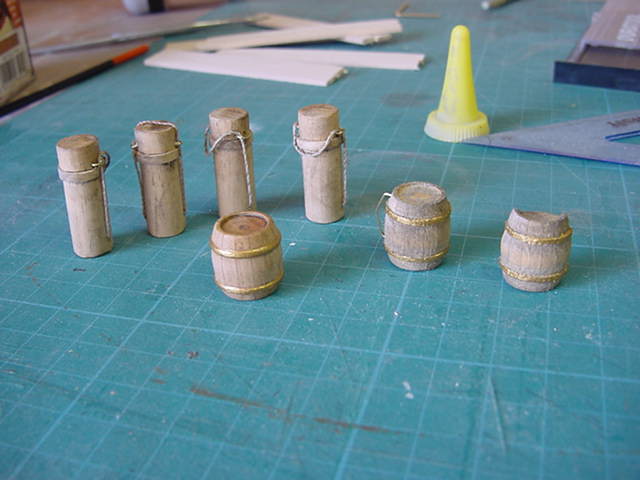
On to the powder barrels now.
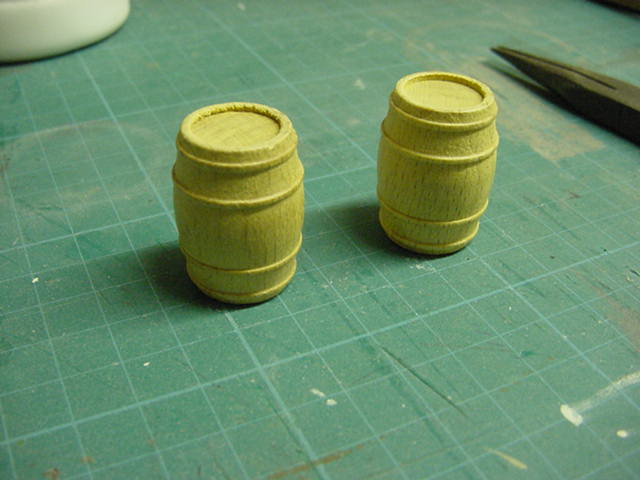
Two barrels supplied in the kit,
good as is but always room to make them look a bit better.
These are they in the raw so to speak,
then with lines to simulate the individual strips scored in with a blade.
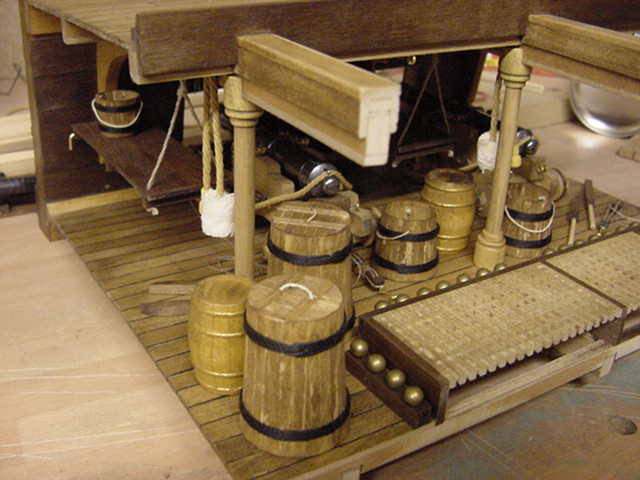
A dab of stain and some acrylic brass paint for the banding.
Pinned up in the same manner as the cannons and put in position.
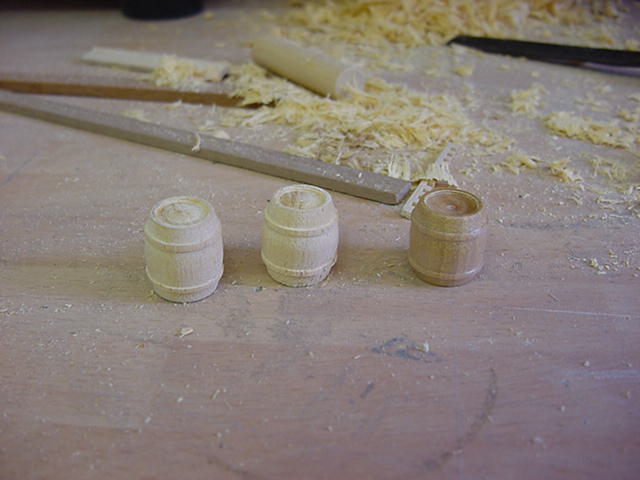
Right then, drinking water barrels.
Only one supplied but I needed three so out with the redoubtable
spare broom handle and into the lathe with thee I say!
After a bit of chisel action and wood chips all over the gaff,
we had what was needed.
Then the cartridges were made up.
Simple dowel with some cord for a carrying handle.
These things were used to carry the
powder charge bags from the magazine to the gun.
Usually contained 1 to 3 charges depending on the type
of gun they were destined for.
Yes, thine peepers do not deceive you,
there is only half a barrel there and now
i'll explain why for those still awake at the back.
Two of the water barrels will be hung
above the tables but one will be on the
half table along with half a bucket.
Why?
Well they will be mounted like so...
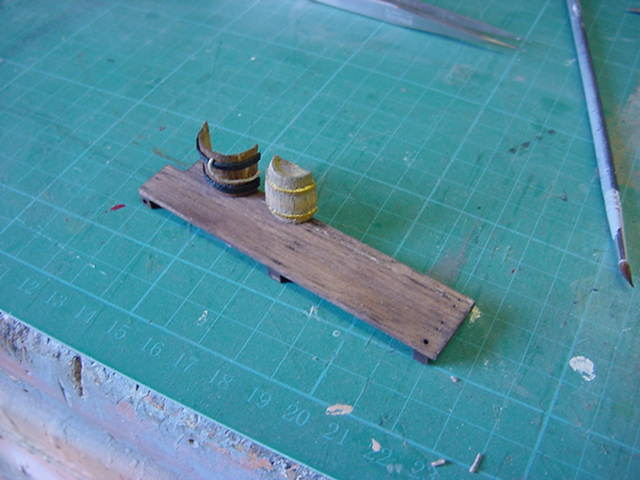
But since this table will be up against the mirror, you get this...
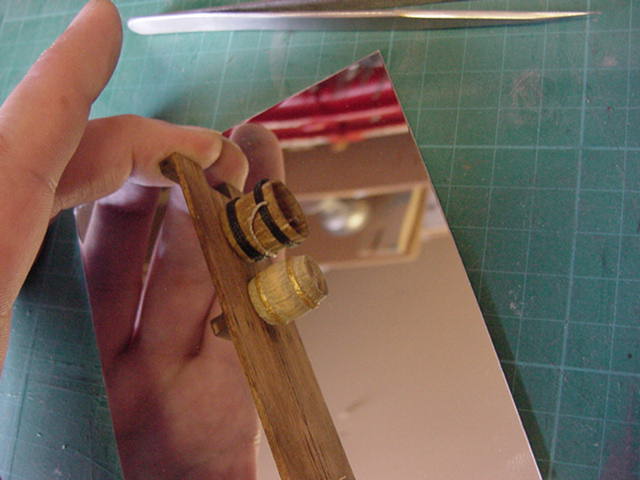
See?
There is a reason for all this knees bent,
running about, modeling behavior.
Honest!
Right then, half table put in position.
Water barrels and cartridges likewise.
Last wee bits were the bench seats.
Simply built with 2 x 8mm lime wood,
stained light oak and pinned in position.
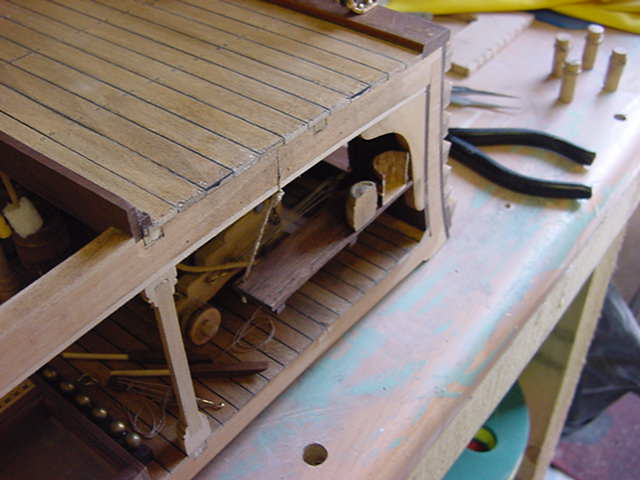
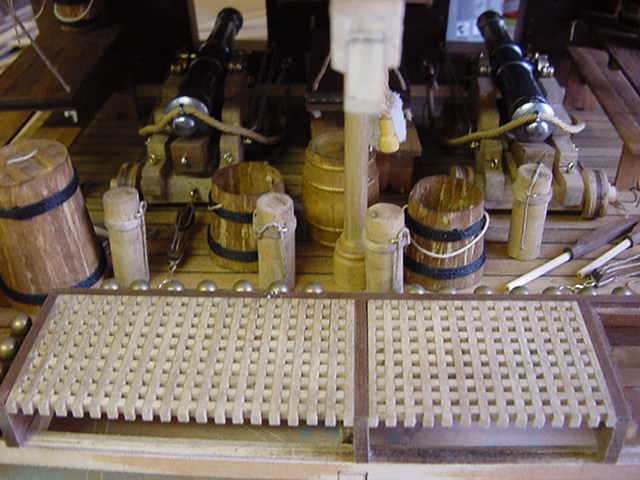
And that is about the end of the main model build phase of this hoo-ha.
I decided not to add any hammocks as it's crowded enough.
Properly crowded mind you but i'd prefer the viewer not to have to strain
their peepers too much trying to see what's in there
if you know what I mean.
Well now, time to get this beastie secured down to summat flat and tidy lookin'.
Cue the base of the display case I bought in for that very purpose.
A simple paper template, a few holes drilled and four screws later
and we have what i'm after for starters.
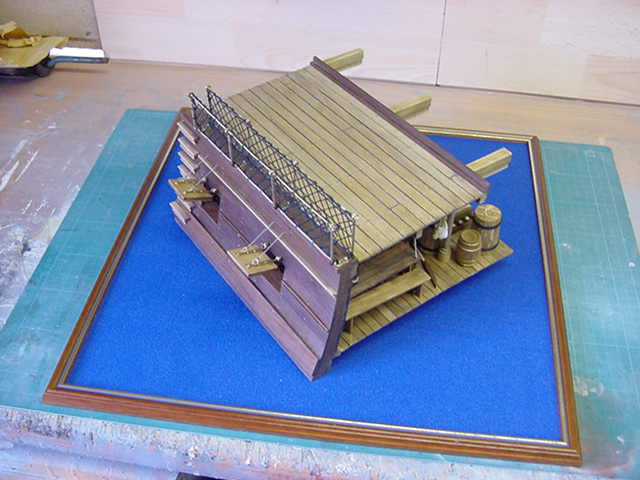
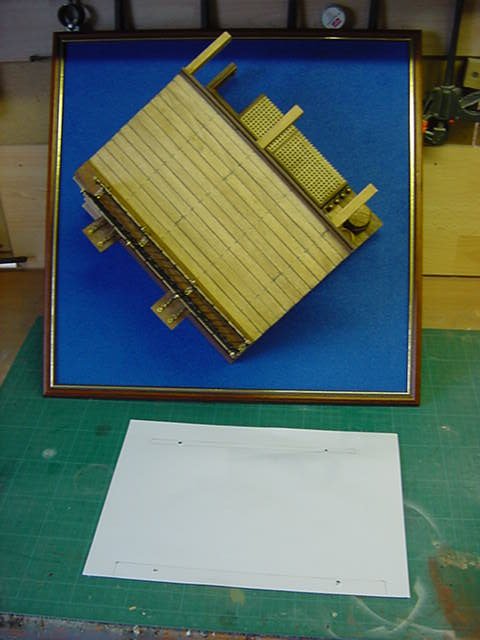
Okedoke, now for the mirror plates.
Opted for 6mm MDF rather that 12mm as that
was a bit more overkill than needed.
So the end plate worked out first.
Cut to size and holes drilled for the
screws that would fix this to the end frame.
Pilot holes also drilled in the frame.
Same deal for the back plate.
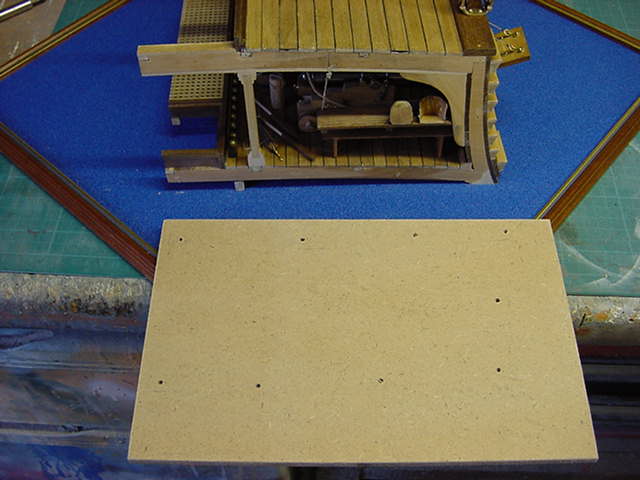
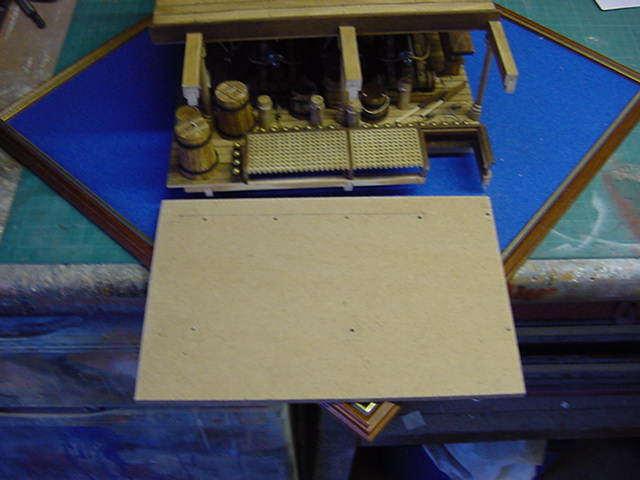
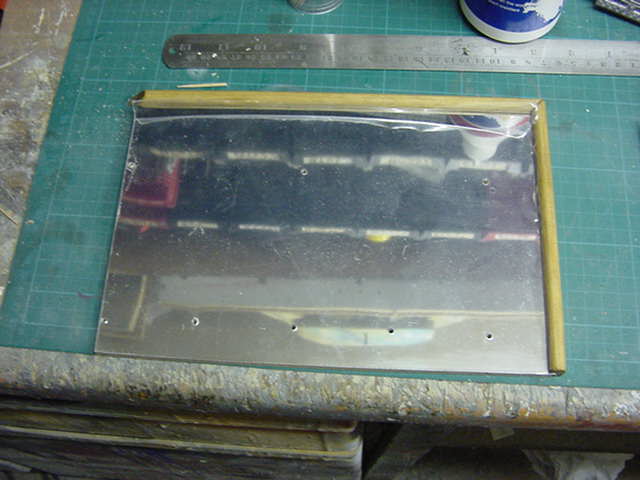
So, a decent amount of spray glue applied to the
back of the mirror plastic sheet and MFD plate then put together and holes drilled
through for the impending woodscrew action.
The plate was then given a surround of wood to
frame it all up nice and tidy.
The protective clear sheet peeled off and
the plate screwed into position proper.
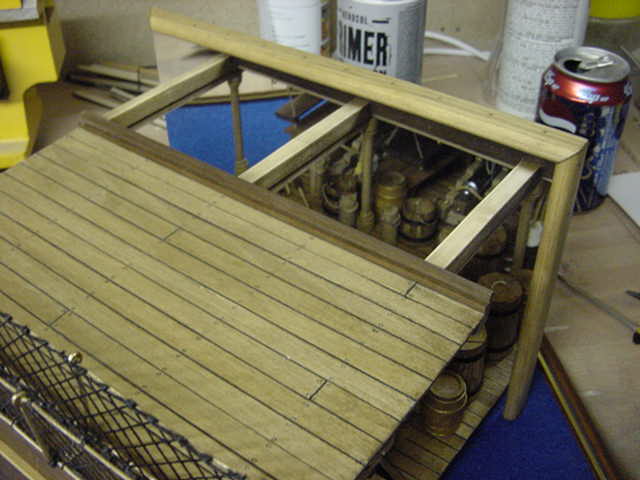
A same style job done to the end plate and placed as it should be.
Finally a little looksee round,
a good blow down to rid me of the dusty stuff and bang the lid on.
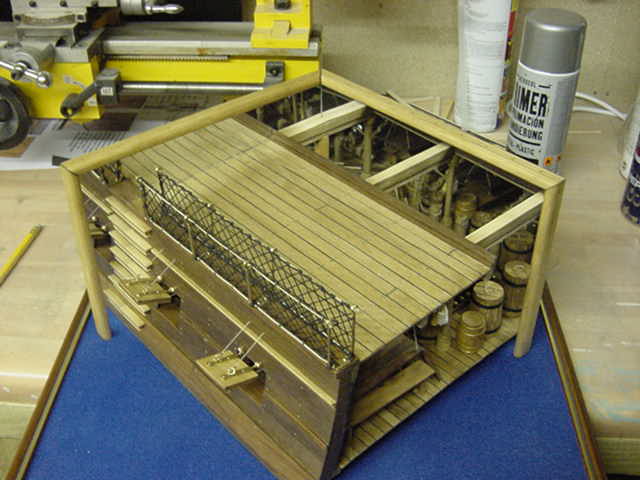
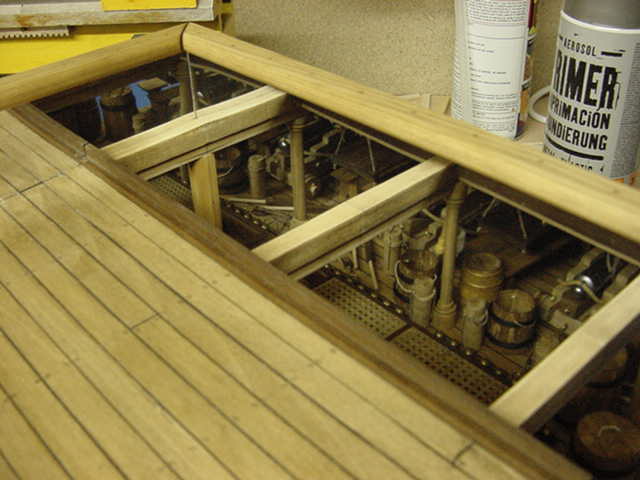
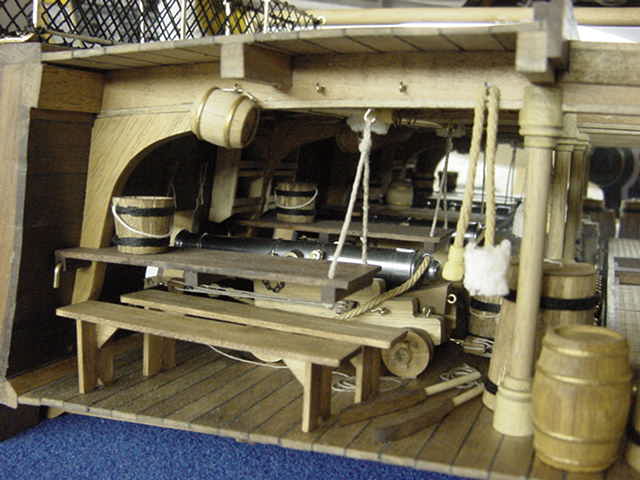
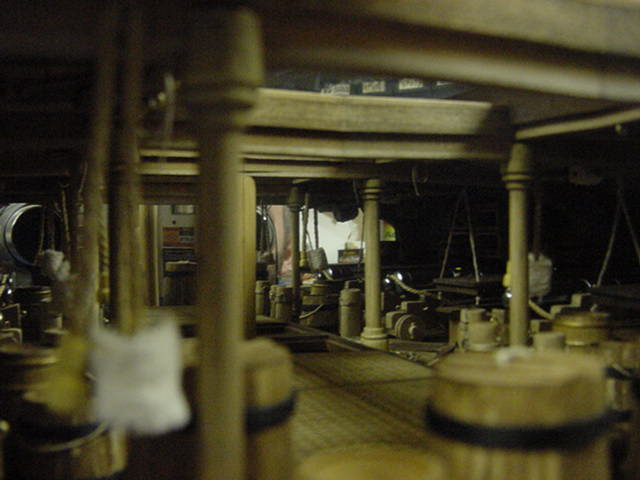
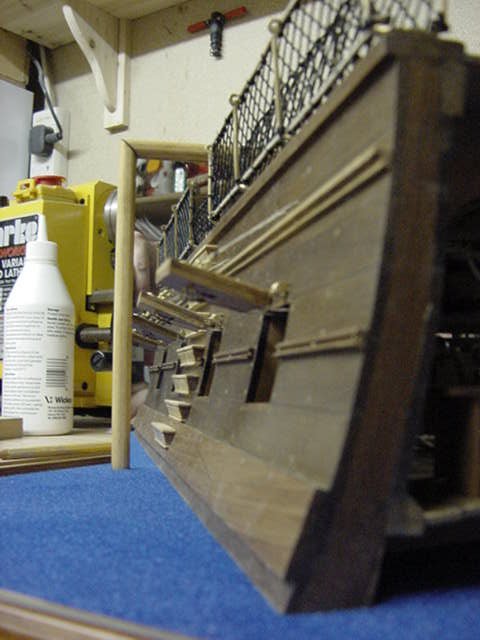
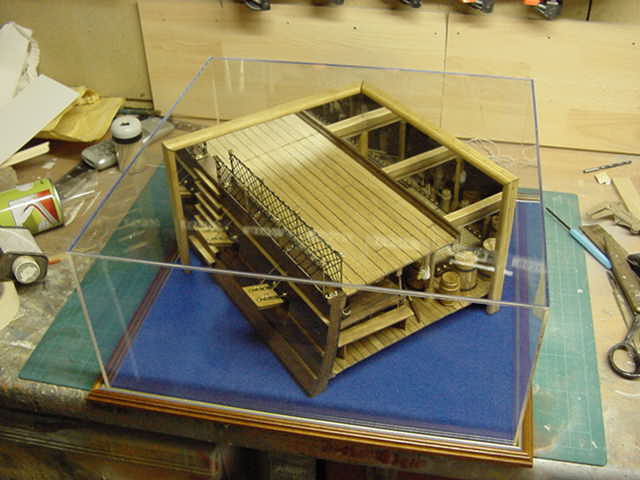
And that as they say, is that ladies and gentlemen!
Well not perfection personified but then I don't do perfect.
I do like how this has worked out though so i'm willing to call it a win for our side.
finished gallery with da big pics can be got to by clicking the piccie link below.
This WiP is a done deal people.
Well I hope you've enjoyed this little side trip into timber world but now,
it's back to the rest of the stuff.
You goodly lot take care of yaselves now and
i'll see thee about the hellhole later on.
Nowt else to say but go easy gang!


 Page Number


