
Panart Gun Deck Section
1/23rd Scale


 Page Number
And now...
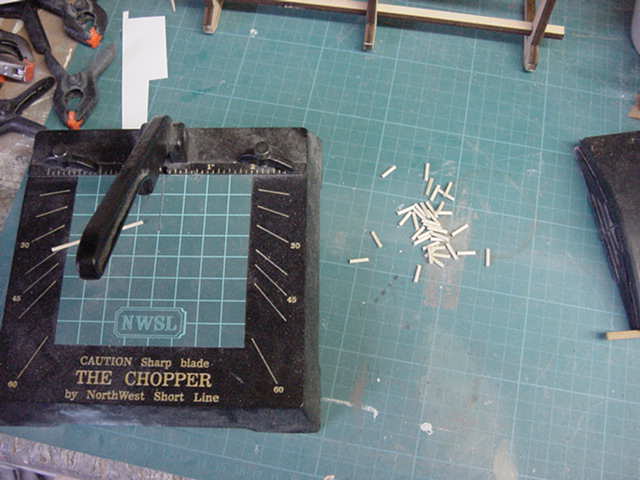
Let's Knock A Few Nails in...Treenails That is
Or some 2mm lime wood dowel to be precise.
Now most of this is supposed to be put
together with glue and brass nails,
well ok with the glue part and brass does look pretty enough I grant you.
But brass nails weren't exactly the prime
'hold things together' piece of kit on the real deal.
Long wood pegs or 'treenails' were used for the
planking so who am I to fly in the face of convention.
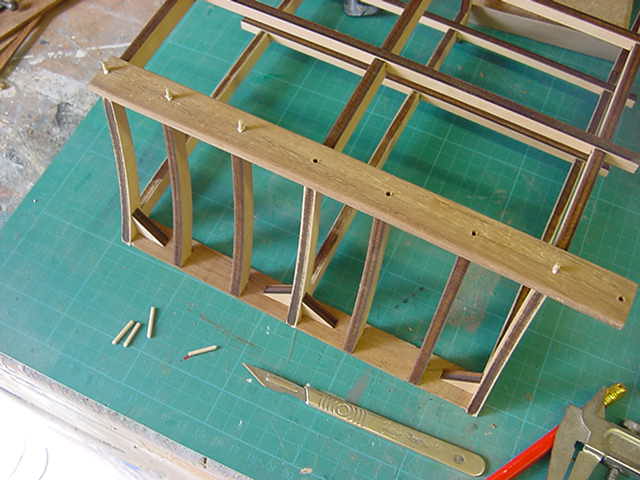
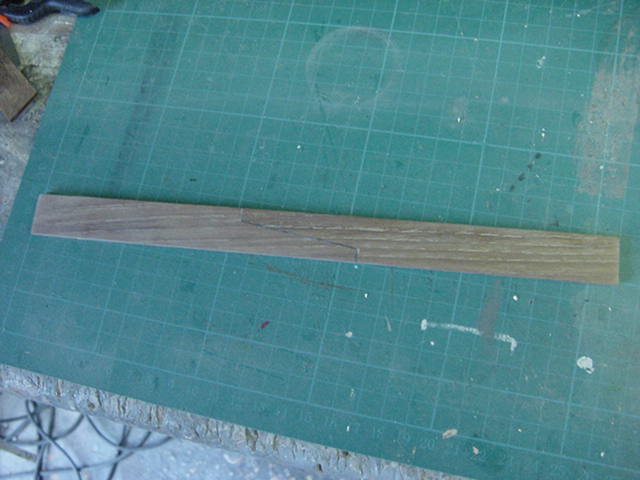
So then, top rail made from a couple of scrap lumps of teak
duly glued together last night and sanded the living daylights out of today.
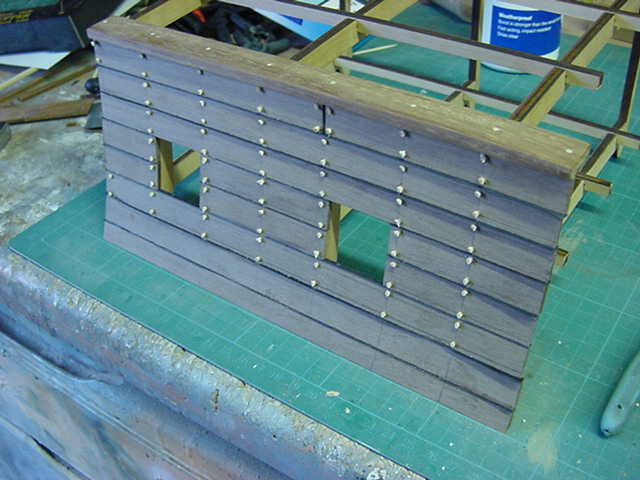
So some 1.9mm holes drilled in to rail and
a dab of glue,
then me smallest tack hammer was given a few gentle swings
to hammer said treenails in.
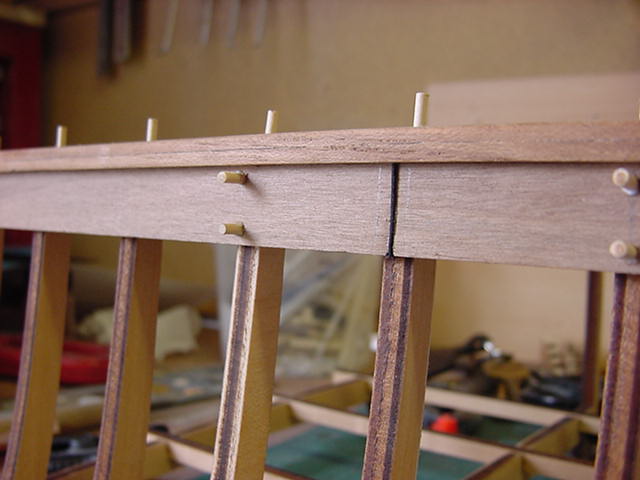
When that very gentle bit of violence was done,
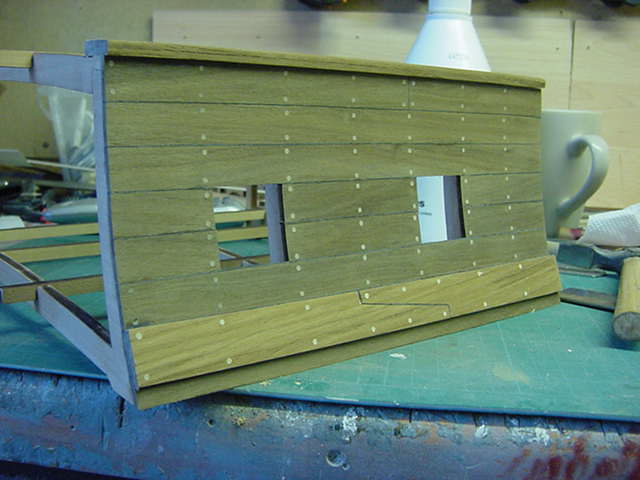
the walnut planks were drawn out and time to start the outer side planking up.
Pretty much the same glue and nail deal with one slight difference.
now when the real thing was put together,
the seams between planks were caulked with oakum and
then sealed with pitch.
This to my mind needed representing in some way and
in tried and trusted fashion,
an old tip from ship modelers came into play.
That thing being black card between the joins.
inserted like so.
So the strakes were started and in between them drying off,
the top rail treenails were trimmed and sanded flush.
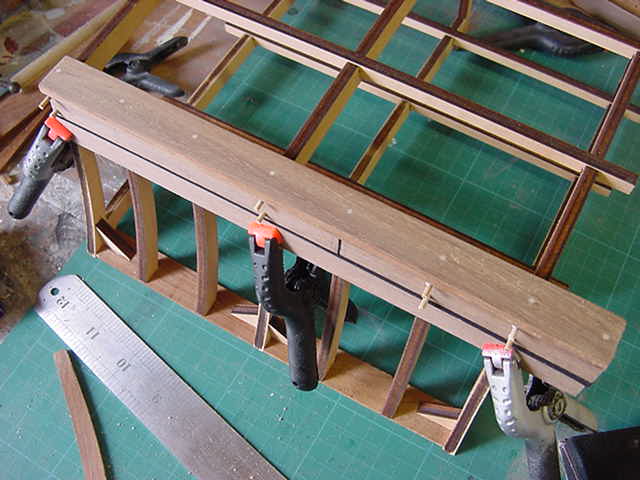
Nice
So working downward and using a strip of black card in between each plank.
All affixed with PVA glue and plenty of these.
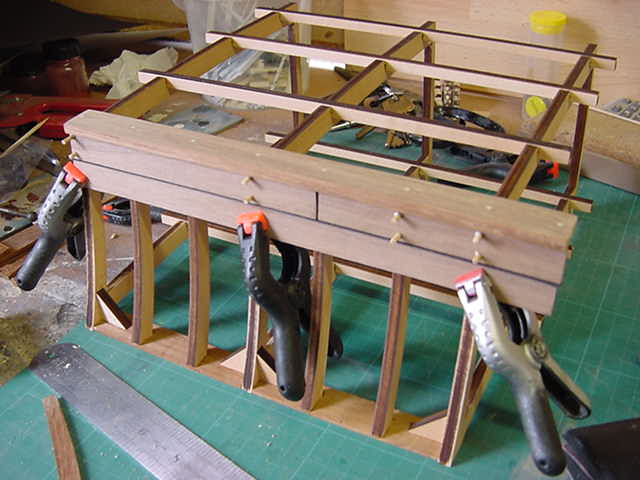
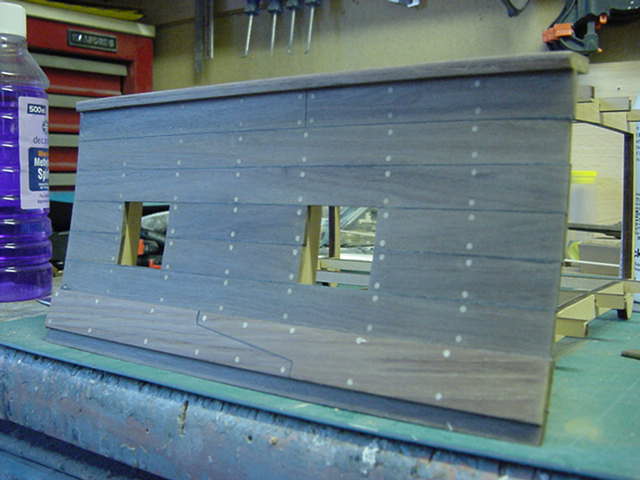
And so the slow creep down the outside gets completed finally.
So much sanding down and smoothing later and we get summat like this.
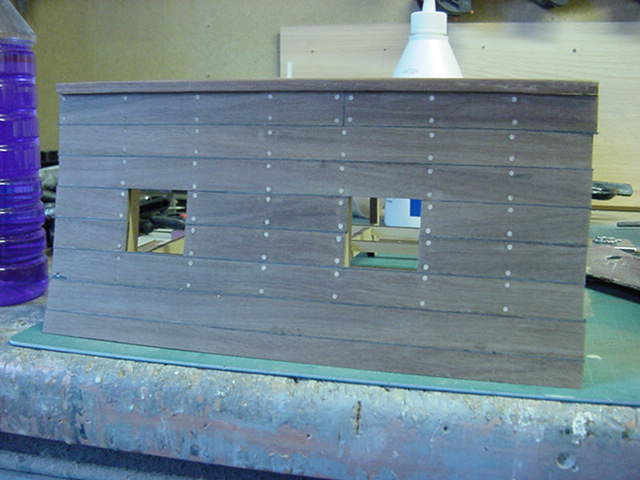
Looking okedoke so far.
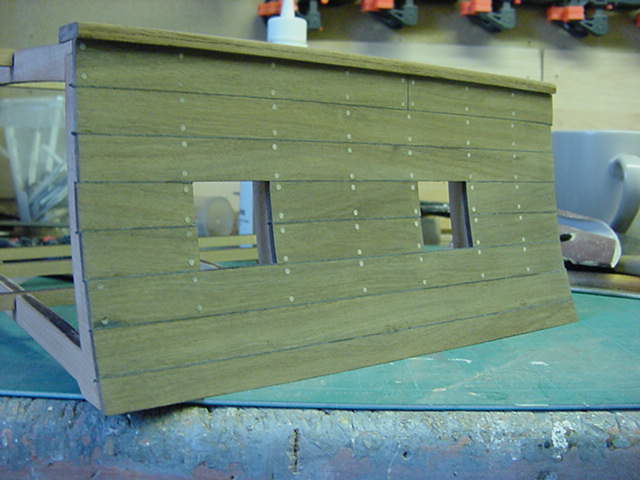
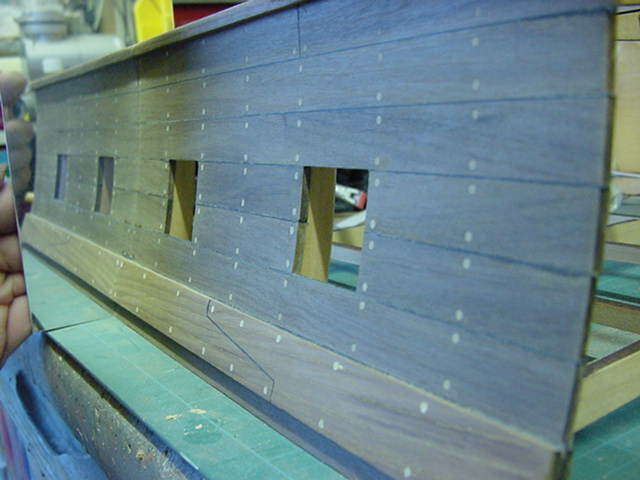
Now last large part for the outside, the re-enforcement strake.
One lump of teak, a cut and glue back together for
the scarphing joint and a rubdown.
A few treenails, a hole or fifteen and some tapping later
Not too shabby at all.
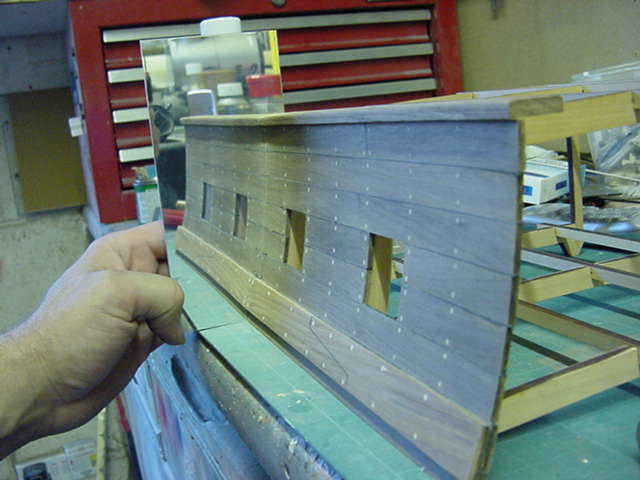
A bit of a clean up on the square end and a test look.
And now one of the objectives of this nefarious plan shows itself.
I intend using the same mirror coated plastic I used for the
windows of the buildings on the Silverstone job.
One end and the back will be lined using this stuff so I hope the effect will be nice.
Just summat i've always wanted to try but
your standard glass mirror has the
thickness of glass before you get to the
reflective coating and the gap shows up.
Not so on this stuff.
I know not how it will work out exactly but,
it's looking a bit promising so far, waddya think?
And that's all for this turnout today, more later I promise.
Go easy folks and folkettes!
Page Number