
Panart Gun Deck Section
1/23rd Scale


 Page Number
Good heavens!
Great Gratings!
Right then people, grating time it would appear.
Now this is a fairly straight forward affair with a lot of
precut parts as supplied that simply slot together.
Now going by the kit, it's four grating hatches,
two top deck and two on the gun deck.
But since i'll not be going that closely by the kit,
well here we go.
A wee bit of careful work with glue and toothpick then
a good sanding down takes us from this...
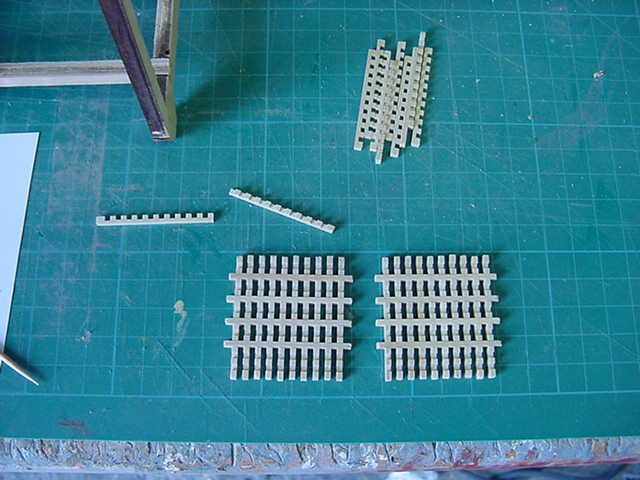
To this...
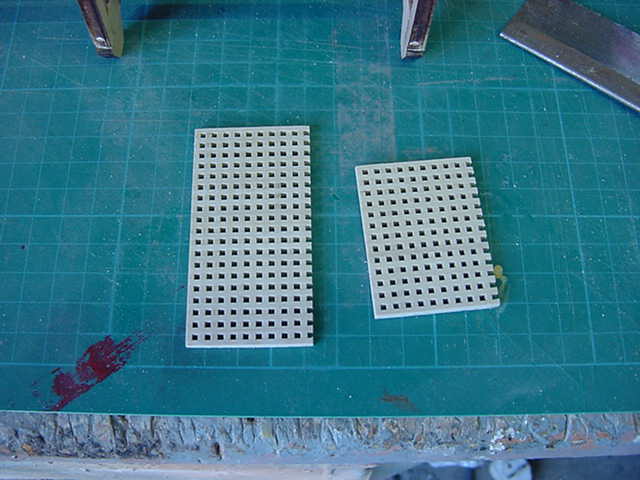
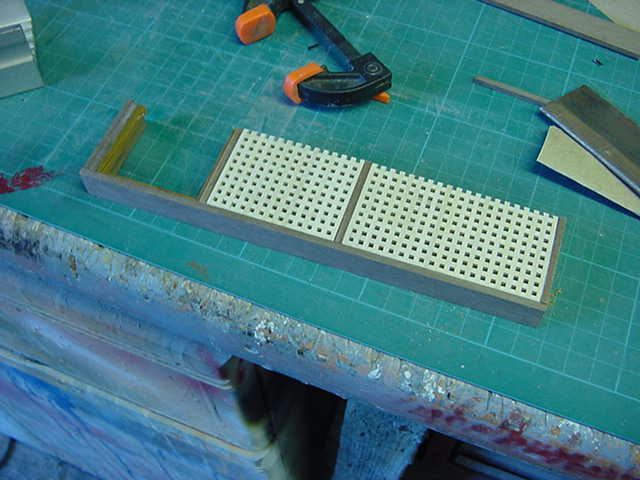
Neato so now for the frame.
Walnut surround simply put with one open end.
This is built as such so one side will
sit flush against the mirror,
partly for effect but also it will help...
I dunno exactly how to put it...
make the line where the mirror sits a bit less obvious when it's done.
it will all make sense in the end gang, trust me.
And now...
Perking Up The Planking
Ok on to the planking for the gun deck.
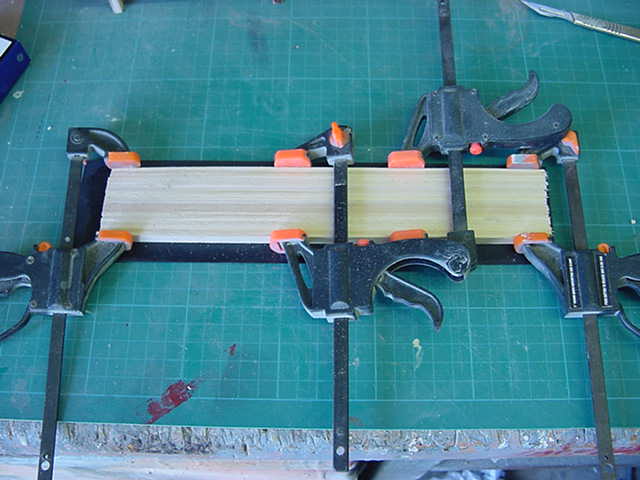
All in need of the pitch caulking for each plank soooooo...
Falling back on another modeling technique, not mine I hasten to add,
like all things tips learned from around the world of model shipwrights.
Taking a stack of planks, clamped together,
then some black card duly coated with PVA and laid
on the stack along the edges of the planks all in
one go and left to dry.
Looks summat like this...

So once dry, then take the planks and give them
a slight flexing and this is the result...

So taking me scalpel and CAREFULLY
running down the gaps lengthways,
each plank is removed from the card sheet with a nice strip
of black stuff along one edge.
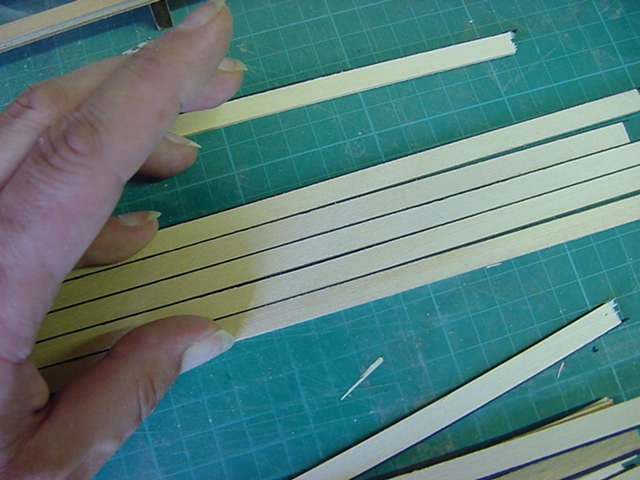
Very nice! makes it easier for certain.
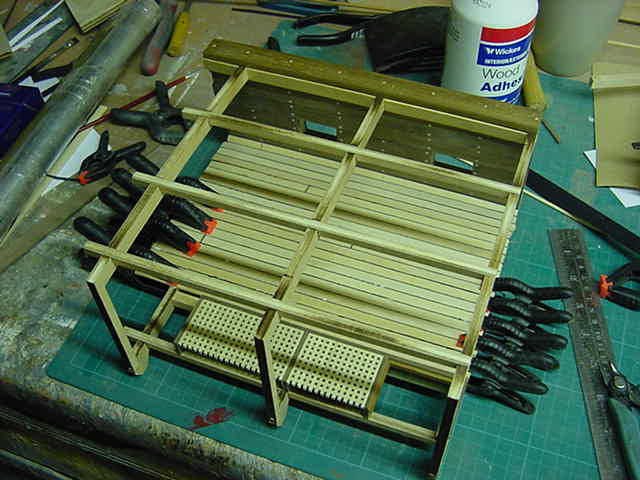
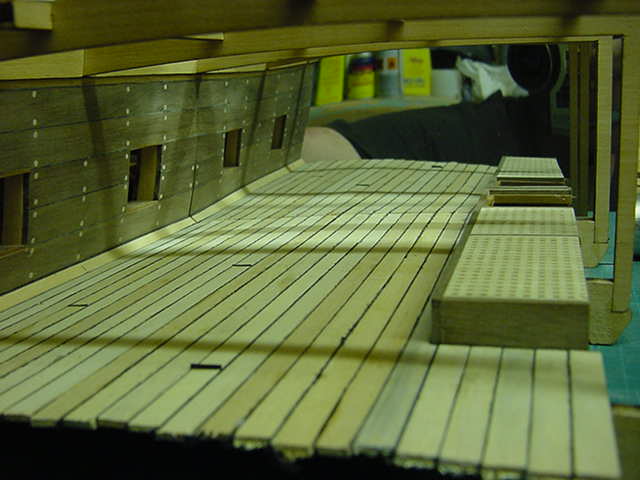
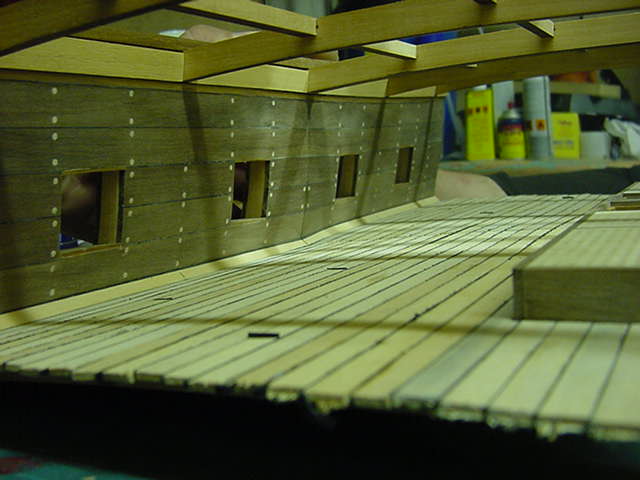
And slowly but surely, each plank laid in turn from the
inner wall untill almost at the position
the gratings should be fitted.
This done and the said grating part fitted and under framing supports
attached to give the deck planking summat to attach to around
the grating frame.

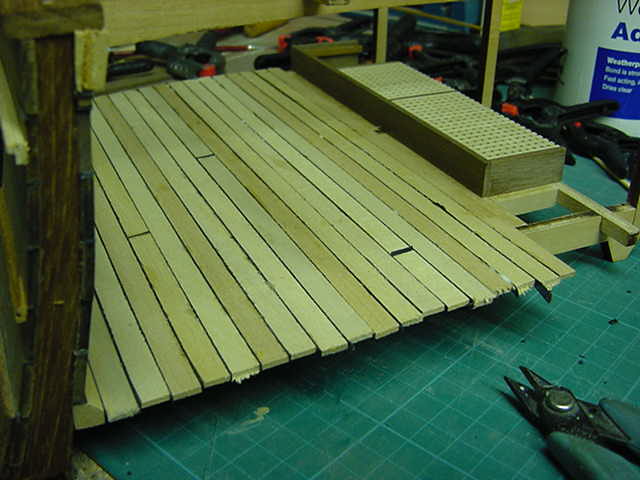
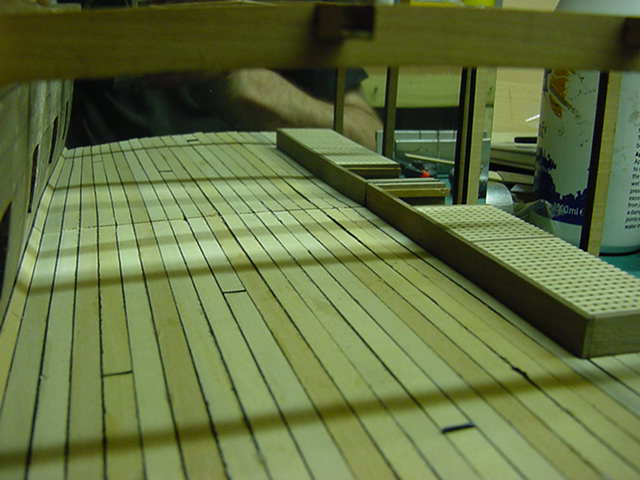
Finally cutting in the plank that fits along the grating
frame and the final ones to cover the deck in.
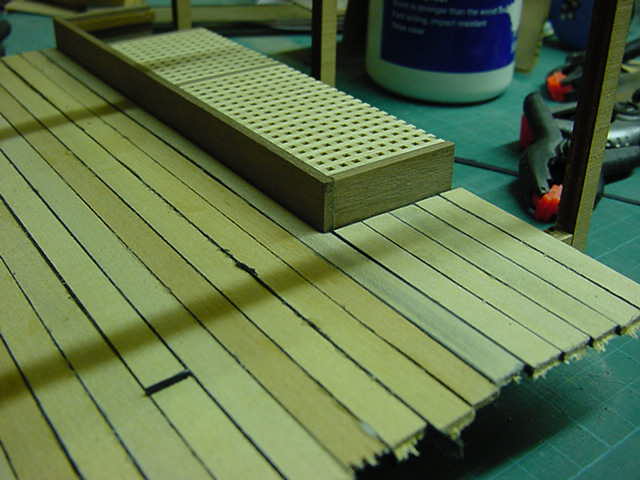
Not looking too shabby and once all secure then mucho sanding down to smooth off.
The ends will be left alone untill the lot is
secured then they will be made good and true.
And finally, pulled out a spare piece of mirror plastic and had
to take a look at the rough work so far..
Well I gotta have some fun now don't i?...
The mirror plastic will be secured to probably 12mm MDF to keep em' flat
when I get around to the final assembly.
The strips of moulding were added along the outer wall for decoration,
simply held on by brass pins.

Now we startin' to get somewhere!
Still not completely sure where but I expect we'll find out soon enough.
And that's the lot for now lads and lasses, you merry lot go easy now,
Page Number