
Panart Gun Deck Section
1/23rd Scale


 Page Number
Let's just say...
i'm A Dabblin' With Decking.
Howdo all,
Well after yesterdays somewhat sub-riveting installment,
we be back with more of the same.
So then, last time the gun deck planking had been laid and
was given a good sanding smooth for it's trouble.
Now it was time to sort out how to represent the
fixings holding the planks down.
Standard would have been to just drill shallow holes and
leave it at that going by the kit destructions.
Not this builder matey!!
So then, on the real thing,
the treenails would have been driven in and
hammered down just below the surface.
The resulting shallow hole would then be plugged with a piece
made from the same timber as the planking.
idea is that you get an even wear down over the whole thing
rather than end up with lumps everywhere from the treenail heads
as soon as the timber started to wear away by
several hundred pairs of feet and several tons of guns flying back and forth..
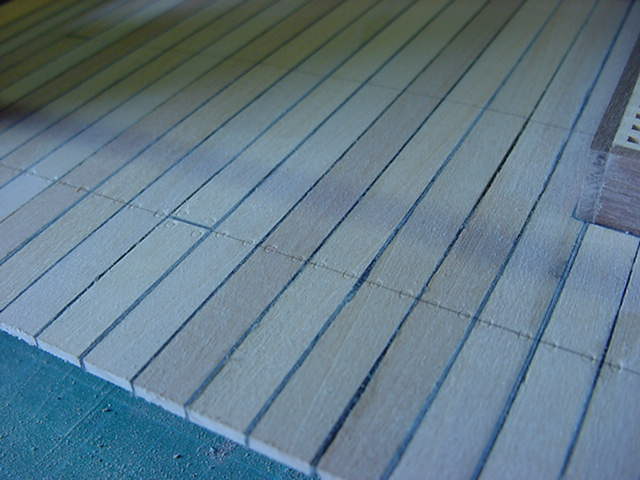
So that said, I decided to sort of replicate that, first off,
we need some lines to go along.

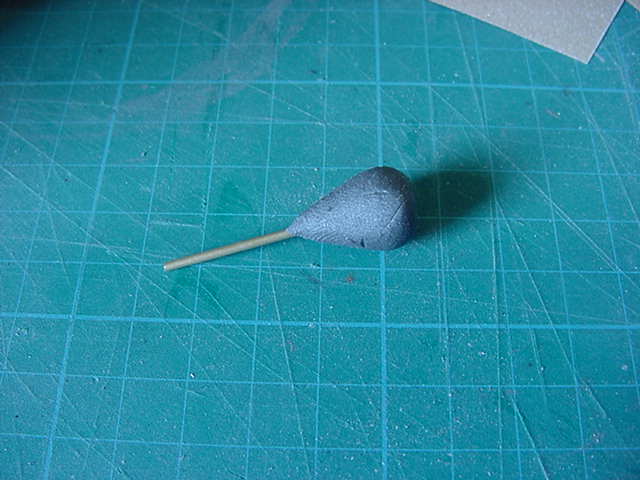
And now to make the circular marks,
a piece of 1.5mm brass tube with a dab of filler on one end for a grip.
The business end had a 2.5mm drill bit applied
to it to make a sharp edge.
The result looks like this.

And so began the slow process of going along said lines.
To use an old Army phrase concerning waving pointy things about
"Stick in in, twist, pull it out"...
i'll let your imagination do the rest there...
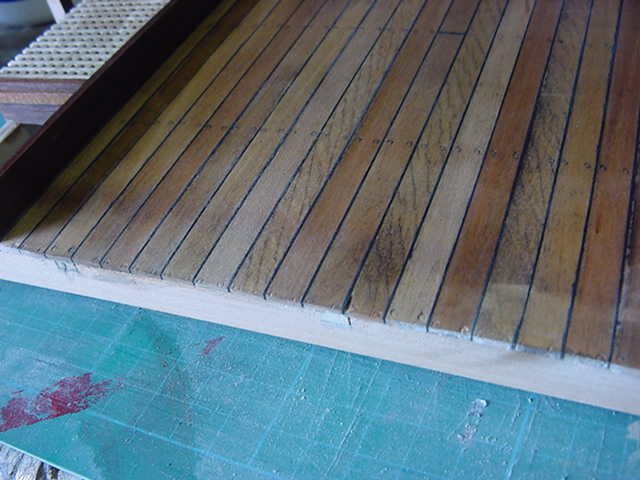
After that fun and games and a slightly aching hand,
the lines were sanded off and we get summat that looks like this
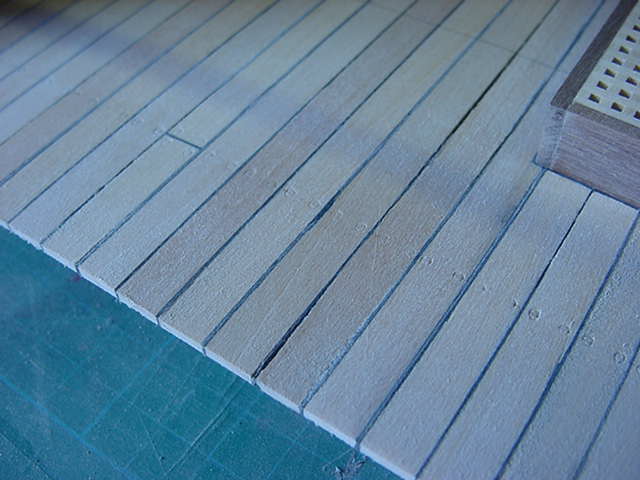

Yeah I know, doesn't look all that impressive...but wait!
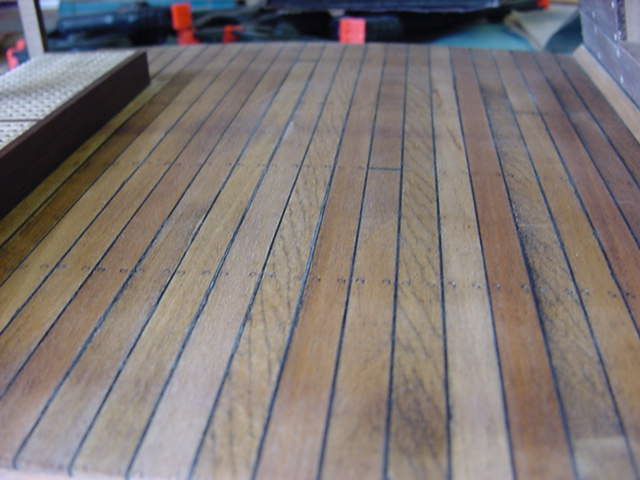
is this some antique pine wood stain I see before me?, a paint brush in my hand?
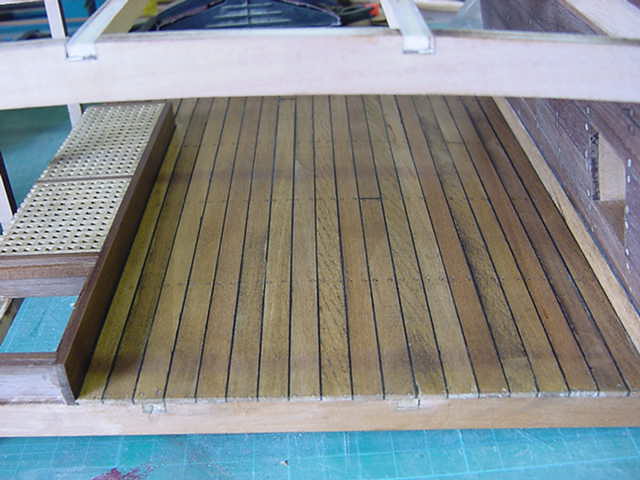
it be so time to slap some about methinks.

Better!
So left that to soak in nicely and in doing so it opens up the
grain of the timber a little to allow the coat of stain wax
to be applied and really get in to it.
it's my own concoction,
white spirit (turpentine substitute)
a couple of nuggets of beeswax dissolved in said spirit
and just a dash of mahogany wood stain to taste.
Makes a thick paste of a sort but brushable
so a coat was applied, left for 20 mins
to soak and then buffed up.

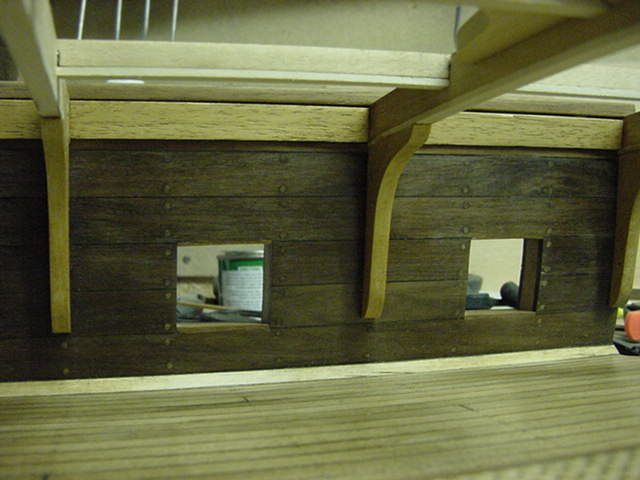
Well that's about sorted so onto a bit of a framework cleanup.
Now the blackened edges of the plywood were a bit of an
eyesore so taking some 1.5mm strip lime wood and capping strips
on all the edging visible.
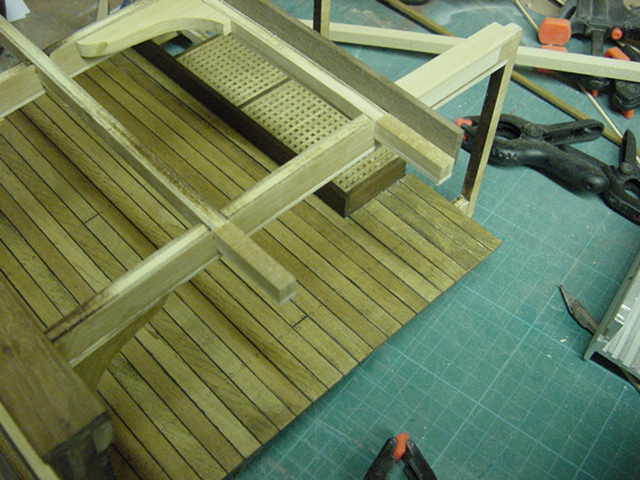
Also added a strip of walnut to the framing
which will stand for the edge of the top deck opening.

Sorted.
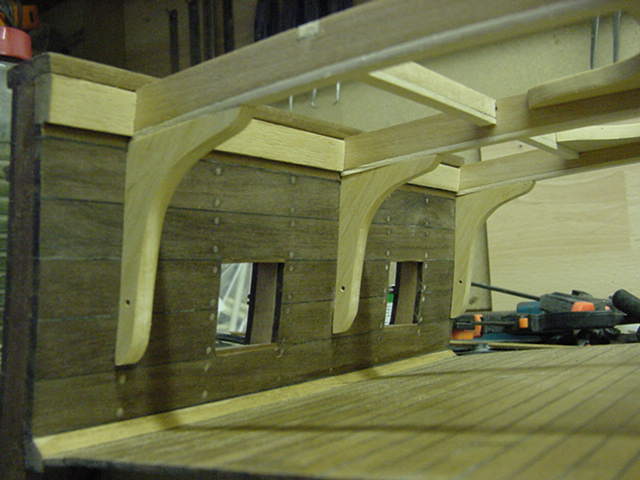
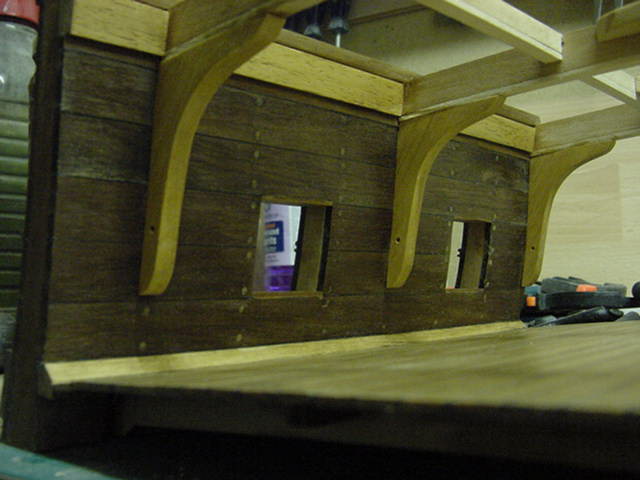
Now to finish the main framing off.
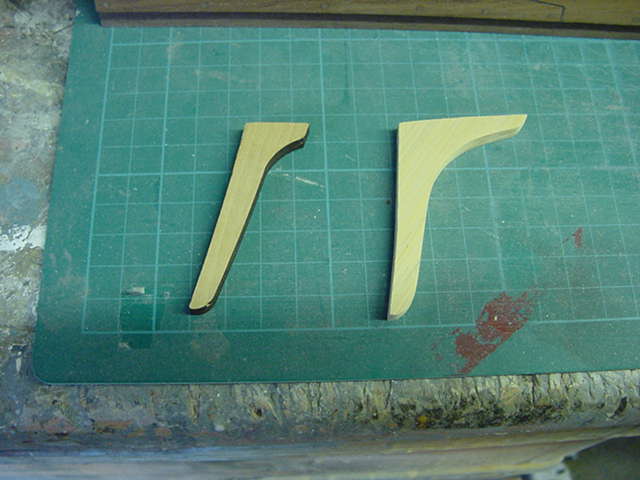
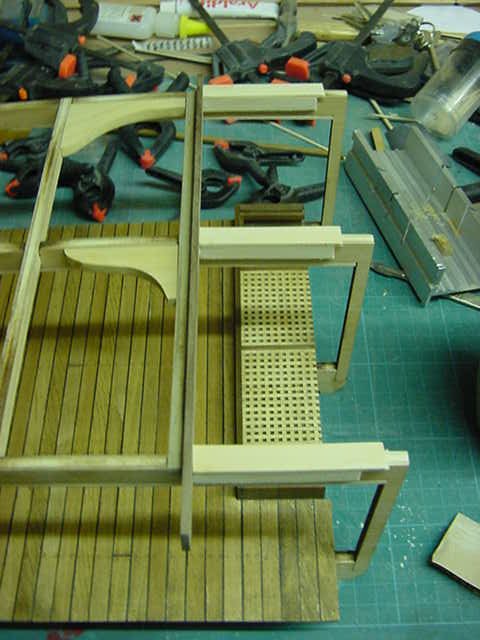
First the hanging knees, the ones in the kit weren't quite up
to spec in my opinion so time to slice up some parawood.
The kit hanging knee is on the left, mine on the right.
Found mine to be okedoke so made up three.

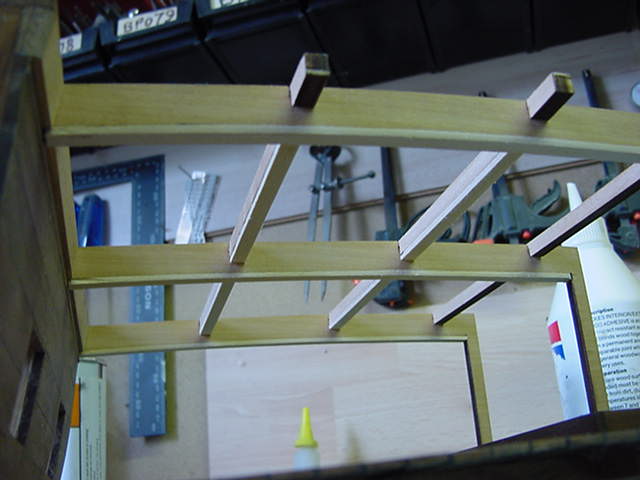
So these were merrily jammed into position
and I added a couple of lodging knees to the frame
just for the hell of it...
I do a lot of stuff for the hell of it these days...
just incase you hadn't noticed.

Oooooooooooookedoke, nice and sharp.
Right, back out with the stain wax again and a
coat to the inside wall and hanging knees.
Let soak and then buff.
After which just additional timber capping along what will be the
skid beams on the top deck and add the
new framing extensions to the open end.
That about does it for the framing tasks.

So next up...
Well a lot of things actually,
more as we go along gang so untill next update time,
take care all and as usual, go easy now!
Page Number