
Panart Gun Deck Section
1/23rd Scale


 Page Number
Yeah I know, twice in one day...
Just Steppin' it Up A Little
By building some steps would you believe.
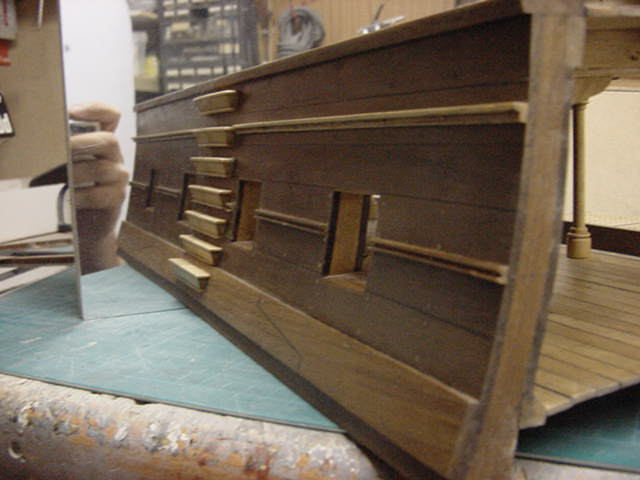
Now in order to try me best to break up the lines that the mirror will pick up,
decided to make some boarding steps for the outer hull as befits a ship of that time.
So, consulting one of the books in me small library,
found some plans that detailed the shape needed.
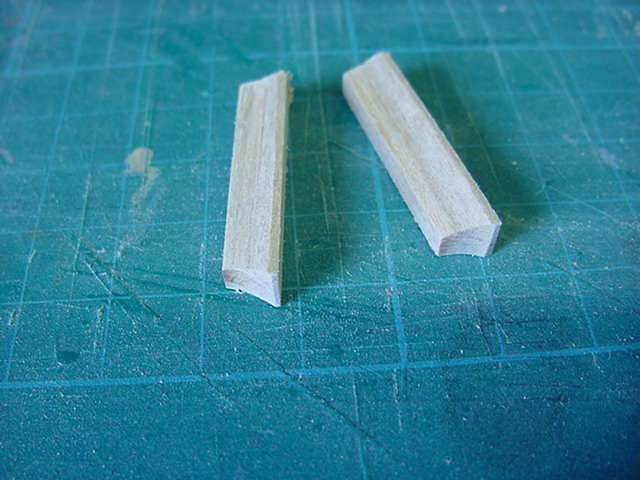
Taking some 6mm square parawood,
first I needed a strip with the outward facing shape,
so with a chisel and some fine grit paper the deed was done.
Raw square on the left, done deal on the right.
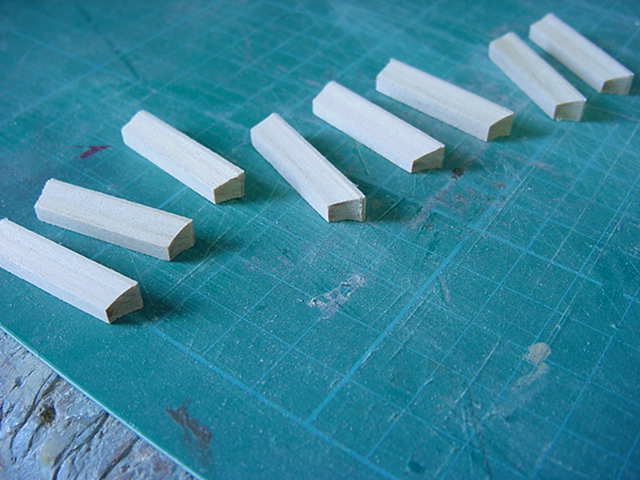
I then cut 8 lengths from the strip.
Turns out I only needed 7 but a spare is always good.
Anyway, the ends needed some shaping to match
the section and with sanding drum, done in short order.
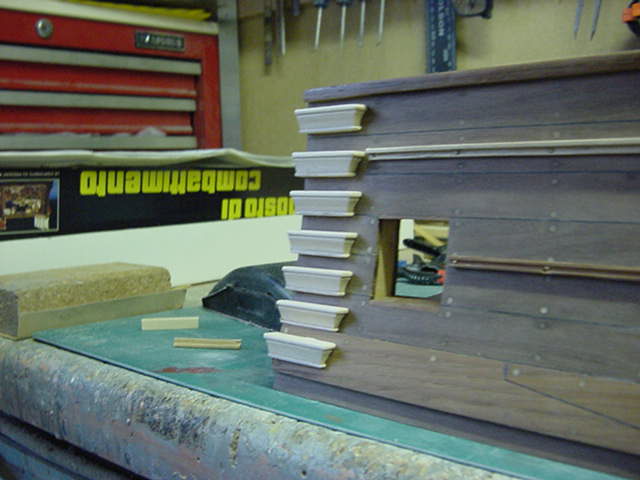
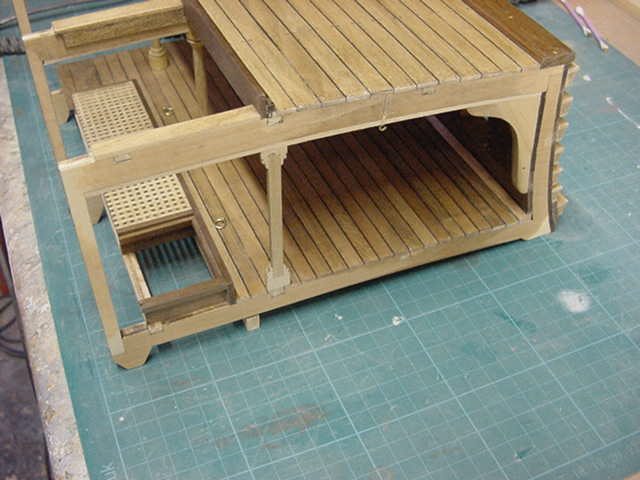
So then, taking some 2 and 1mm thick lime wood strip,
appropriate parts were shaped and added top and bottom
to form the step parts.
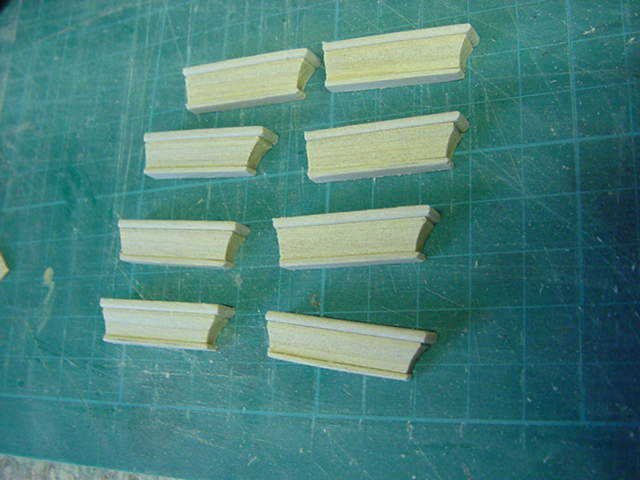
Nice eh?
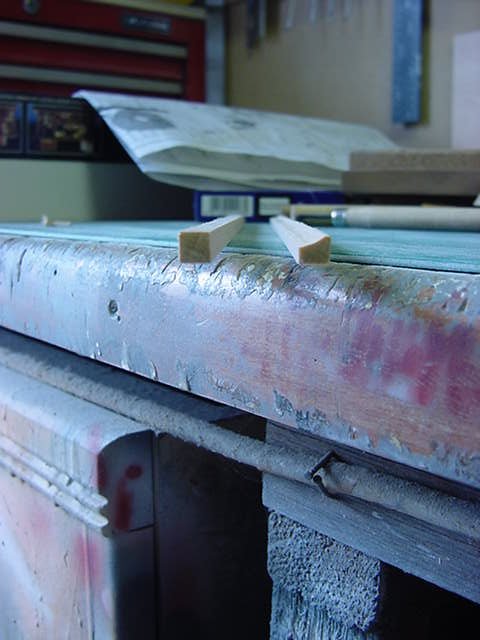
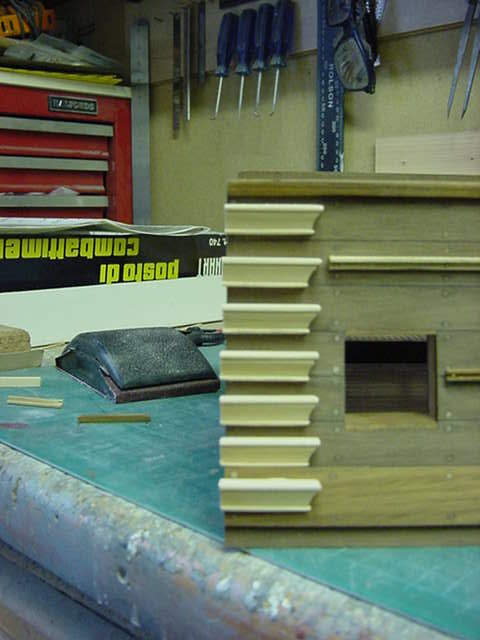
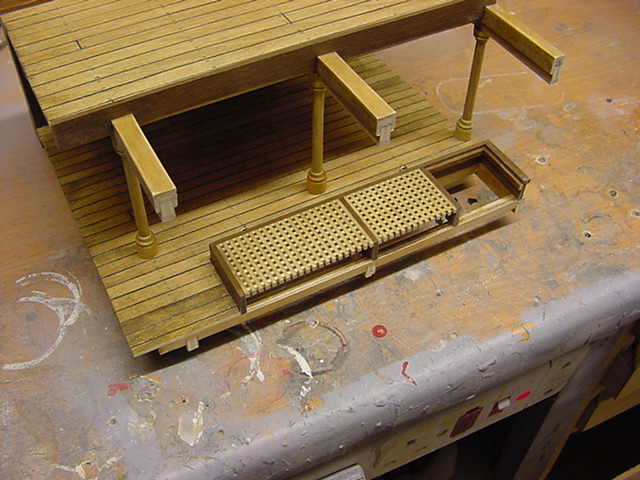
Only thing left to do was jam them into the appropriate place.
Each one needed to be shaped on the back to match the
curvature on the hull so the step remains level front to back.
Easy does it with the sanding but done in the end,
flat ends left slightly proud of the end to account for the upcoming sanding lark.
Once done and cured, time for the light stain and waxing dept.
to do the apply/rub dance on the outer hull.
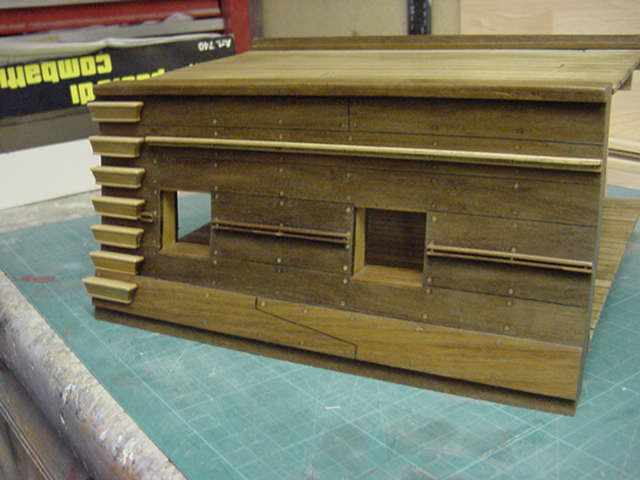
That'll do for now on the surfacing,
time to get kinda wicked with the chopping stuff!
So...
Slicey, Dicey, Oncey, Twicey!
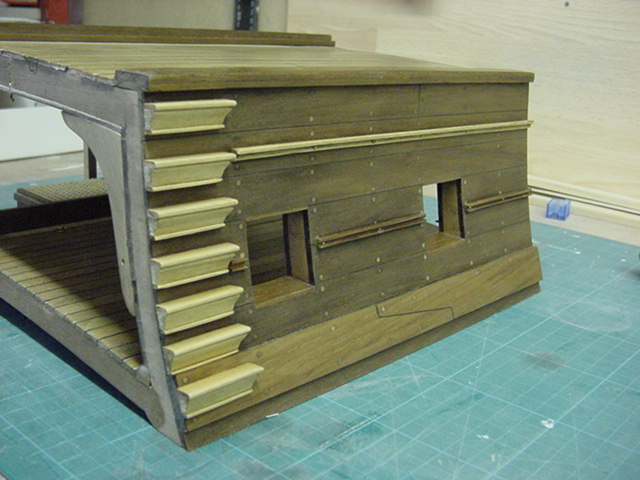
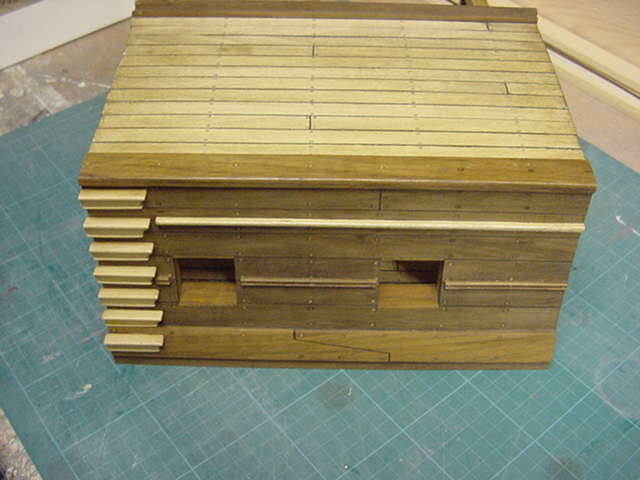
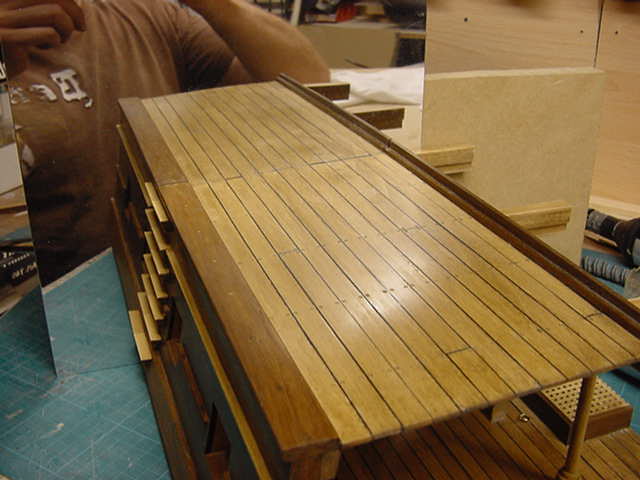
Before lopping any lumps off,
a slat of 6 x 18mm parawood was installed since the bits to be removed
have the back supports on 'em.
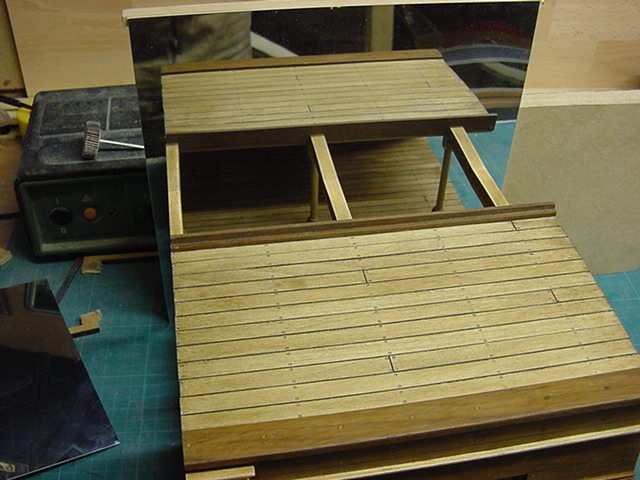
So, taking a scrap bit of 6mm MDF and gluing two sheets of
100 grit sandpaper to it and then screwed that
down to one end of me bench.
Then duly removed the bits I didn't need and
commenced sliding the whole deal over the sandpaper untill
all was pretty much square and level as needs be.
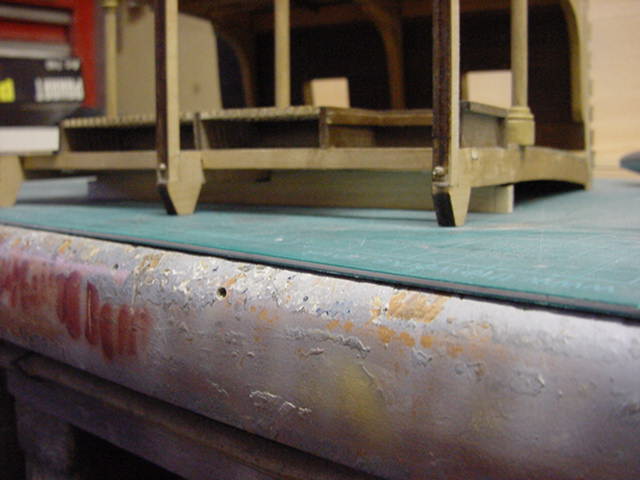
Well, that done, time for testing...
I found a fairly big lump of 12mm MDF and
glued the scrap mirror sheet to it.
Also kept the other scrap bits handy and
then took a pic or several.
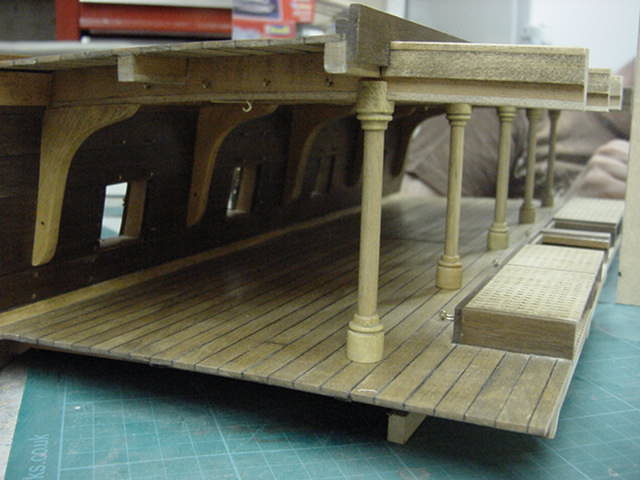
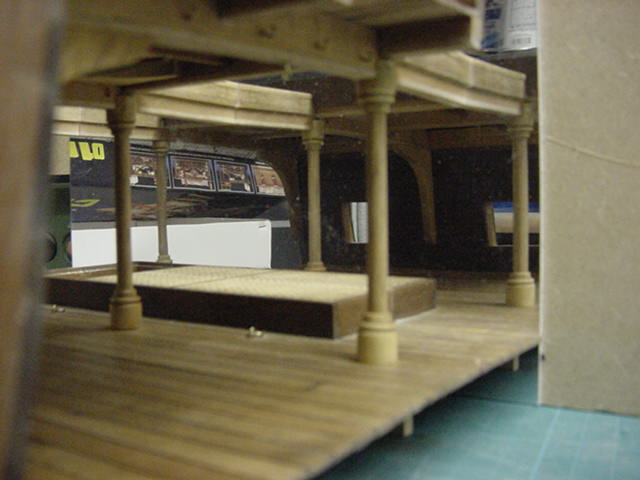
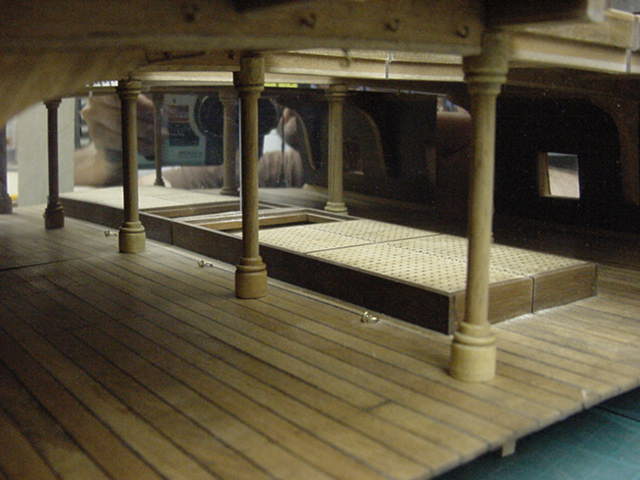
Ya know what?...i do believe this may actually work out after a fashion.
Well i'm surprised it actually may work anyway,
dunno about yaselves.
More fun and games later methinks,
that be the lot for today...promise!
Go easy all!
Page Number