
Panart Gun Deck Section
1/23rd Scale


 Page Number
A tale indeed...
Of Tubs, Buckets And Blocks...
Howdo all!
Right then, the main bulk of the build is sorted,
now for the start of the additional details.
So to the varying tubs and buckets about the place.
Thankfully, what's delivered in the kit is up to the task so...
Selecting the thin ply discs supplied and tack gluing
the parts together,
we have the formers.
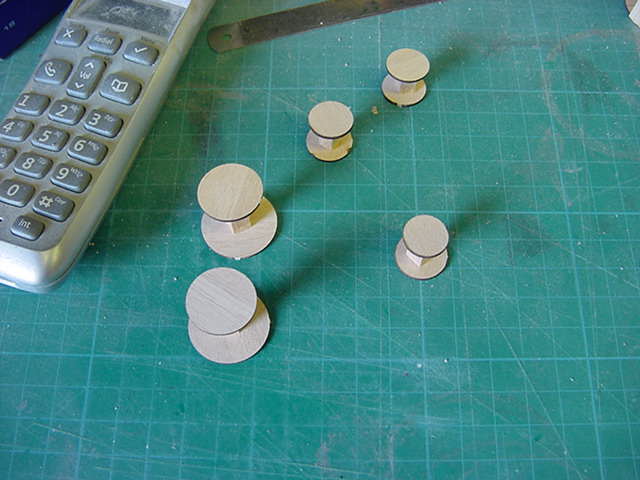
Then the supplied 2mm x 0.5mm thick strips come into
play and the planking up begins.
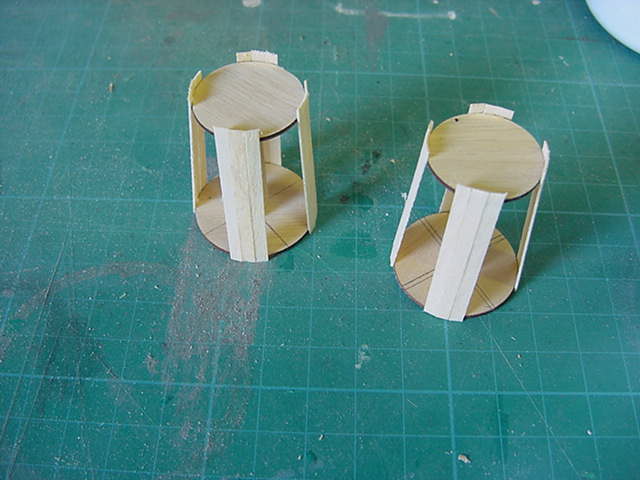
And this continues until all the planking done
and the lids constructed.
The lids are attached and sanded circular.
This same planking process pretty much says it all
for the rest of the construction.
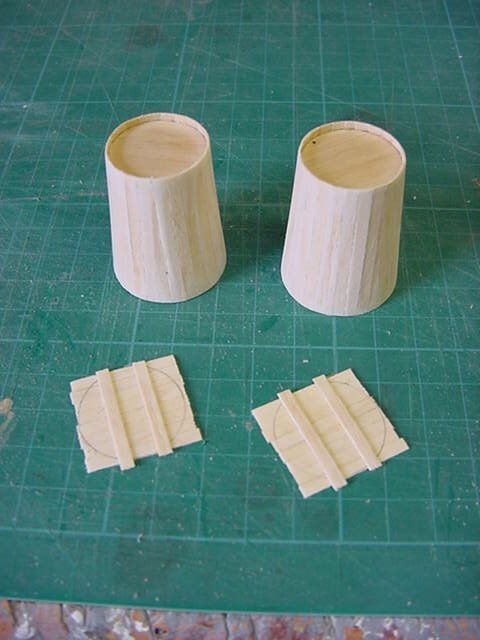
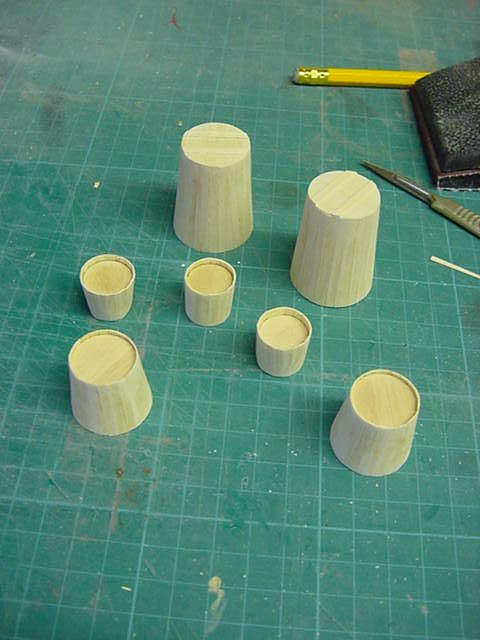
Then when all sorted, time to add the cord bindings,
which was done in fairly swift fashion.
Then just a lick over with light oak stain.
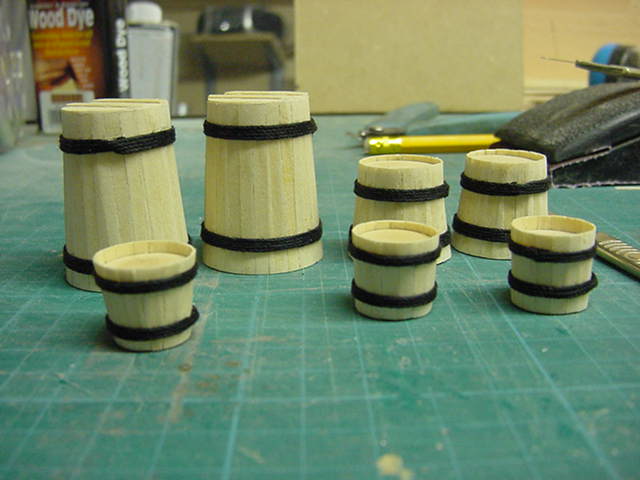
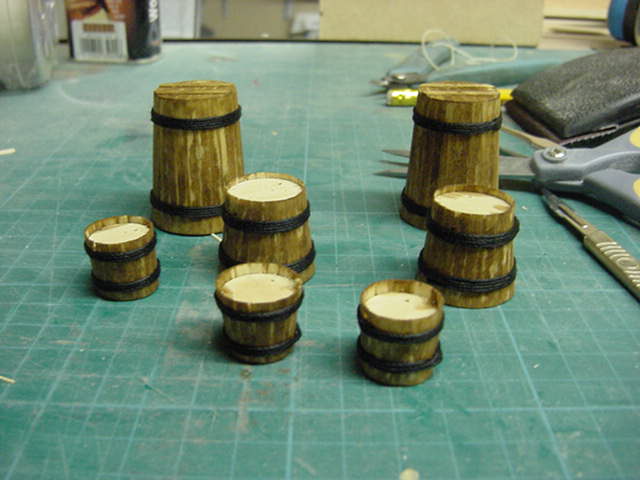
Done and dusted, then to remove the top formers and
blocks from the open buckets and water tubs.
A hole drilled each side of the top former disc,
insert needle nose pliers,
lightly grip and gently twist.
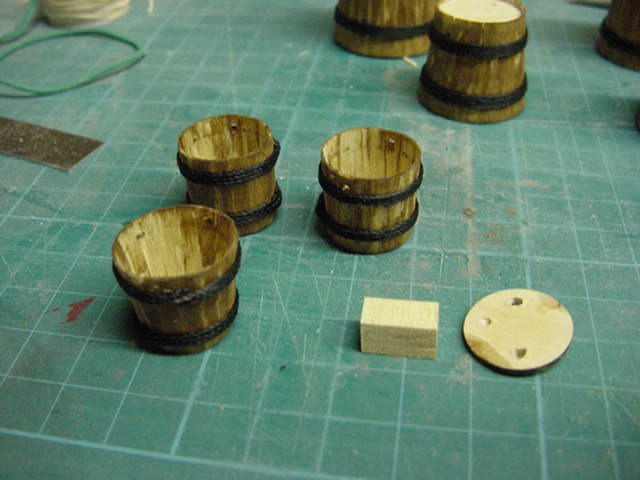
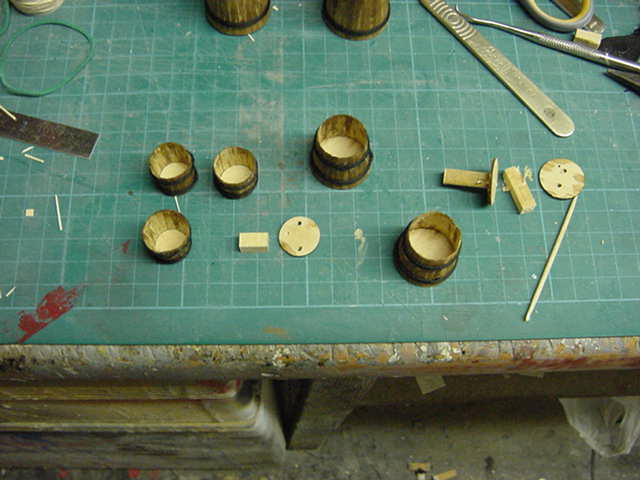
Not bad.
A slap of stain the the insides and cordage added for handles to finish.
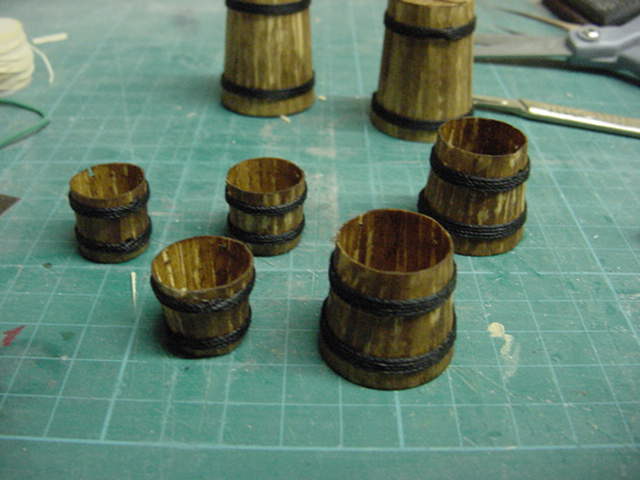
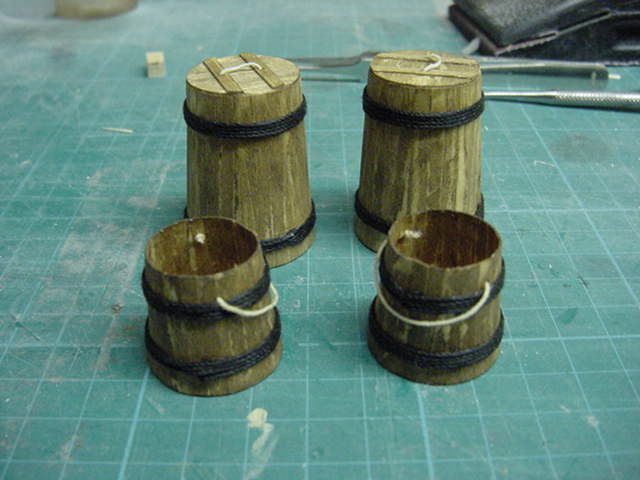
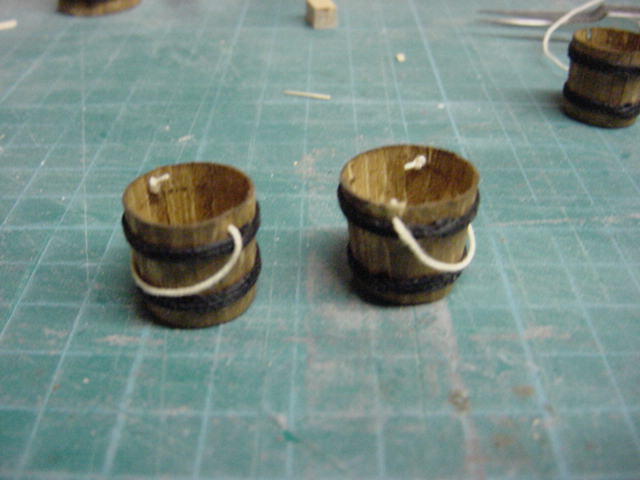
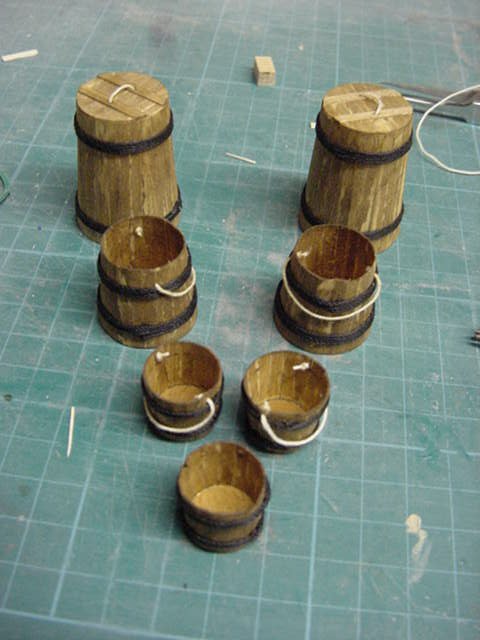
Well they are pretty much sorted.
Now for them thar rigging blocks.
The blocks for the gun handling tackle are pretty much the
standard kit supplied fare and are ok.
But me being me, summat had to be done.
Now the real deal blocks are normally laminated wood with
iron wheels or 'sheaves' in them to make the pulley block.
The kit ones are just the shape with some holes drilled in them,
ok as I have said but a bit of work to make 'em look better.
Now these are they and this is what they look like with some thin cord run through.
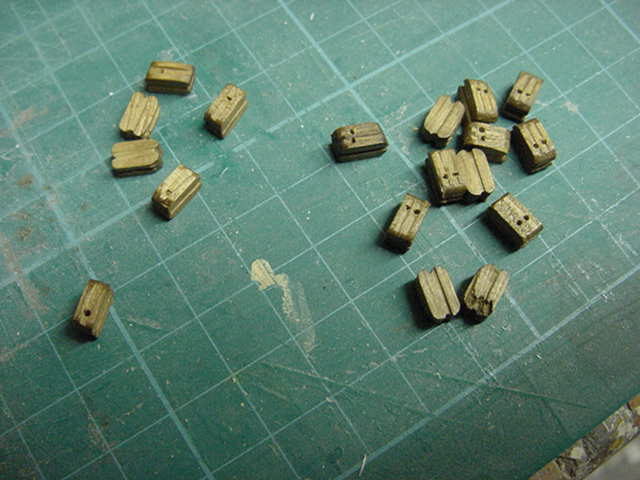
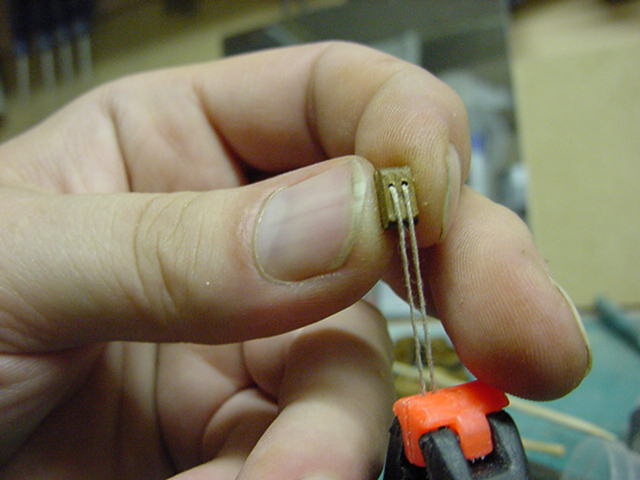
Maybe it is just me but that doesn't look quite right.
So then, a 1mm drill bit carefully worked about the
hole to make a slope of sorts so it look more like the cord is
running over summat round.
A quick test, then the blocks were given a lick of
walnut stain and then another cord test look.
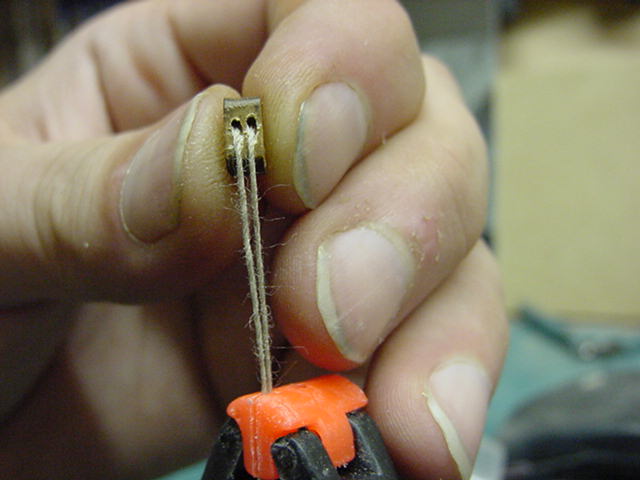
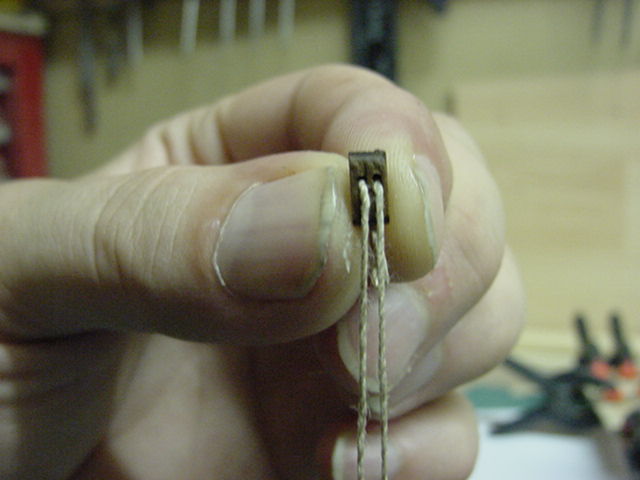
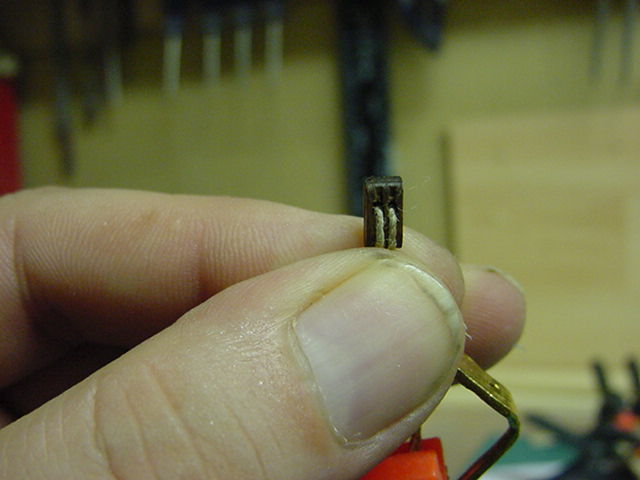
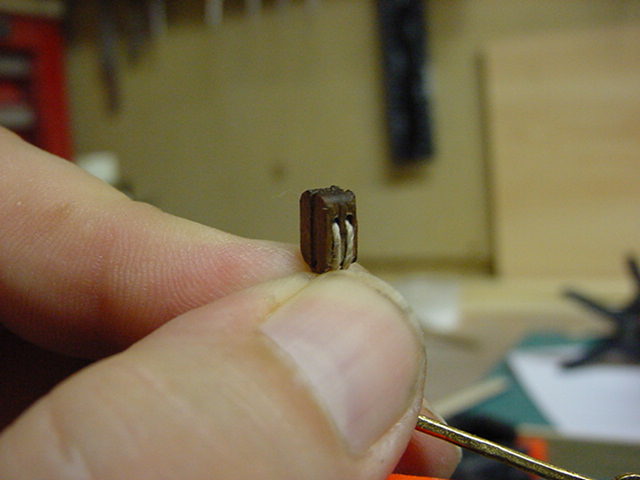
Looking just a wee bit more like it should.
Oh one thing for those considering the problems
of model ship rigging and not done so before.
An old trick but it works, take some cyano,
superglue or whatever it's called in your locale,
and add a drop to about the first 10mm of cordage.
Let cure and then with sharpest blade,
trim the end off at an angle.
instant needle with thread attached and much easier to
thread through blocks and the like.
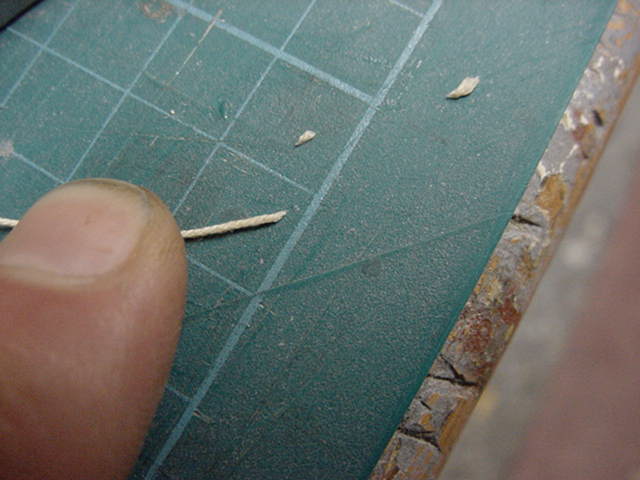
And still much fun to be had by yours truly
but that enough for now methinks.
More to come.
Go easy now.


 Page Number


