
Elite Cobra Mk III
1/125thish Scale


 Page Number
Lotsa bits to stick on....
it's Greeblie Time!!
Well in a sec anyways.
Welcome back gang!
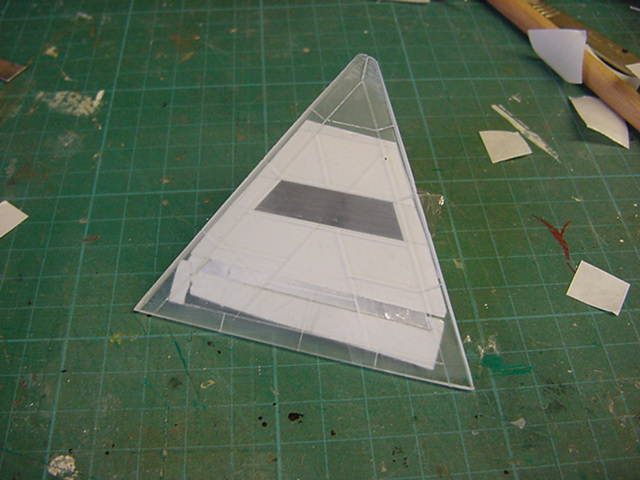
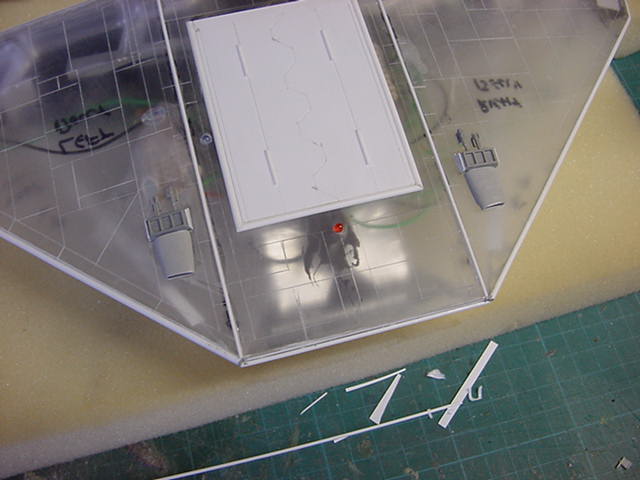
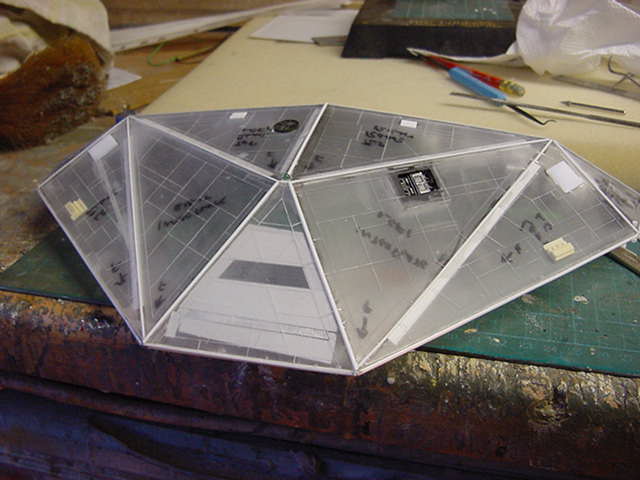
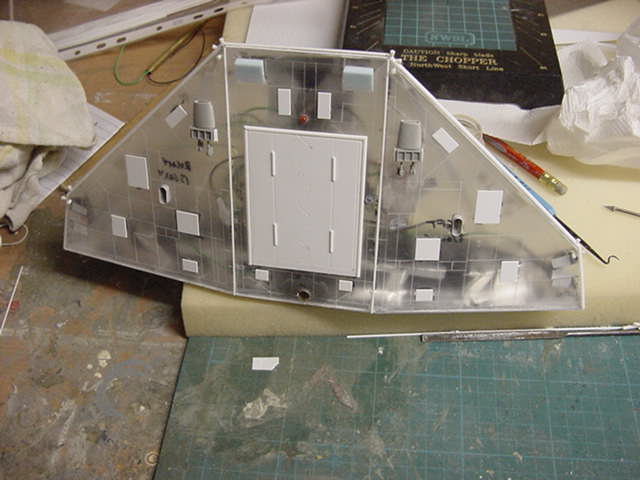
So the first bit to be a dealin' with, that suggestion of a cockpit I was waffling about in the last update.
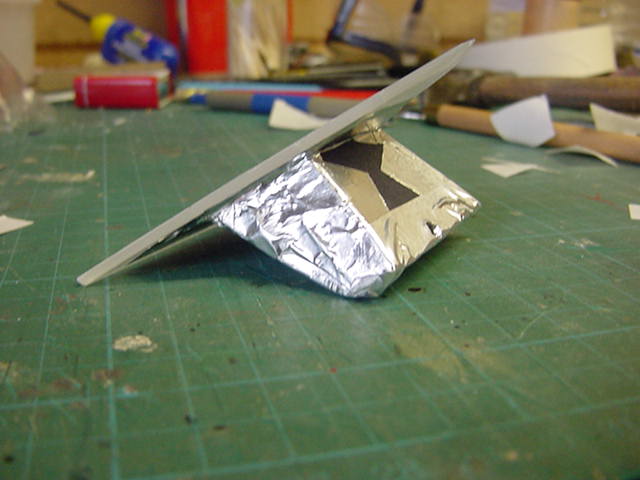
Well a simply done deal of one light box, one 1/125th figure black painted and a 3mm yellow LED.
The box attached to the front plate, LED wired in, front plate on and a done deal.
A bit like this...

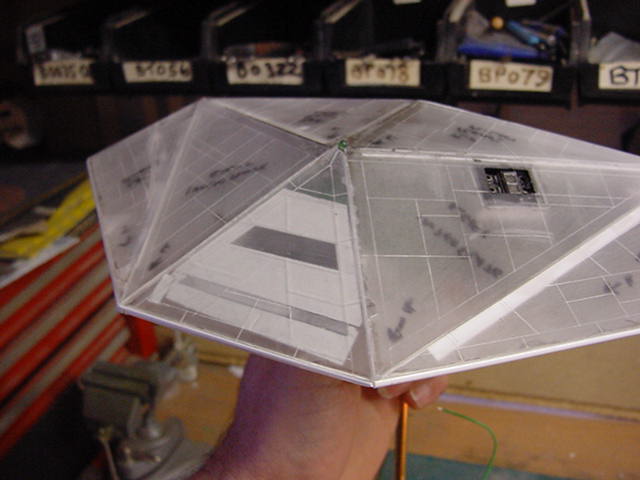
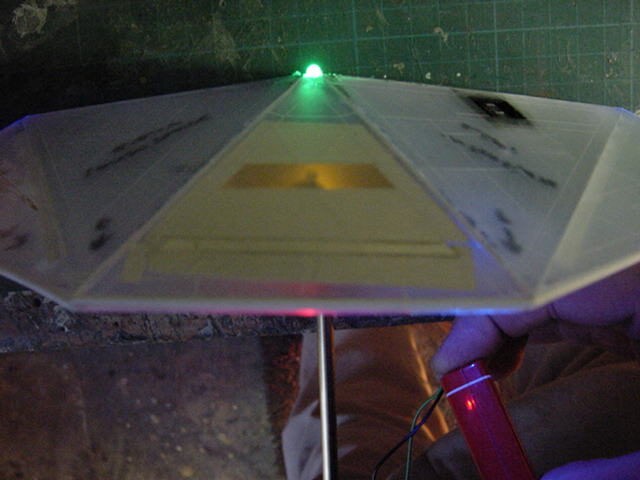
Which about takes care of that...
So on to the next bit.
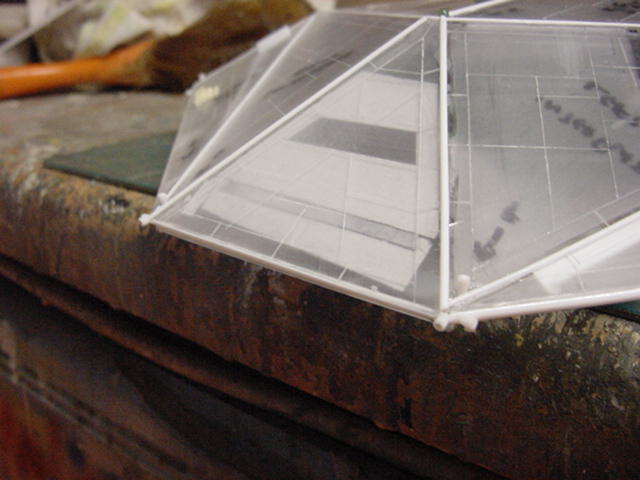
Strips of 40 and 60"thou styrene half round along all the seams to tidy them up.

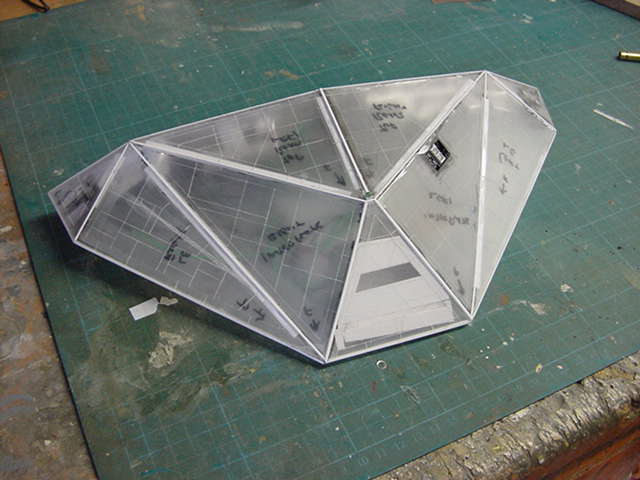
And now...it's greeblie time at last.
So after much digging into the box where spare parts go to be left in peace.
A bit of fiddling about produced this lot...

Some of which will get used, some will not.
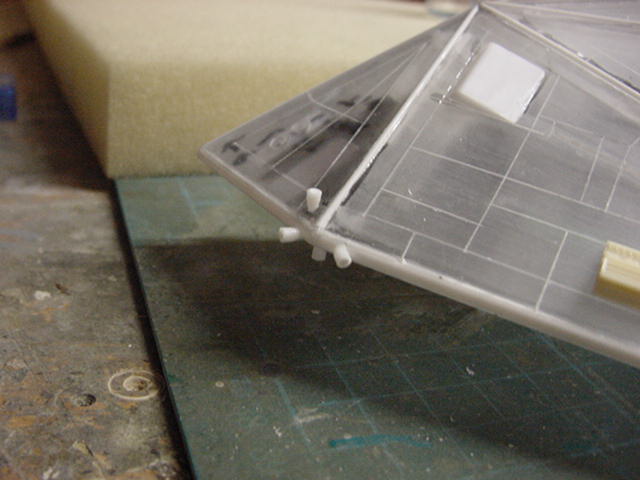
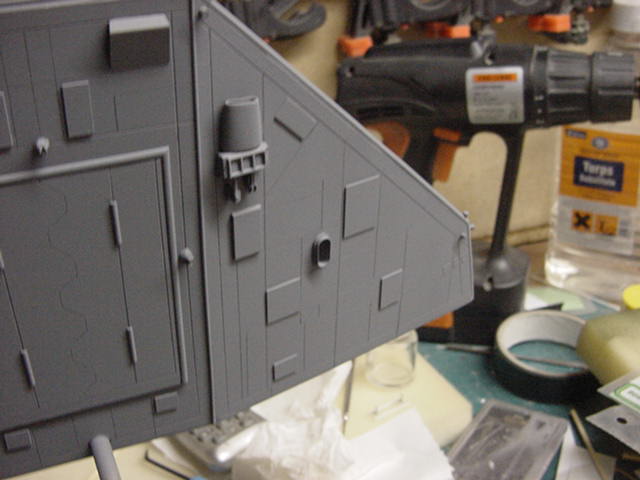
So first things first, a set of fuel scoops.
in the game, you use these beauties to skim a stars corona or a gas giant atmosphere.
When doing so, they scoop up hydrogen which your preferred star trolley uses as fuel and presto!
instant pit stop and full tanks for free.
Assuming of course your not crushed by gravity, fried by radiation and heat or fly right into the damn thing and explode.
All good fun this interstellar trading lark i'm telling ya!
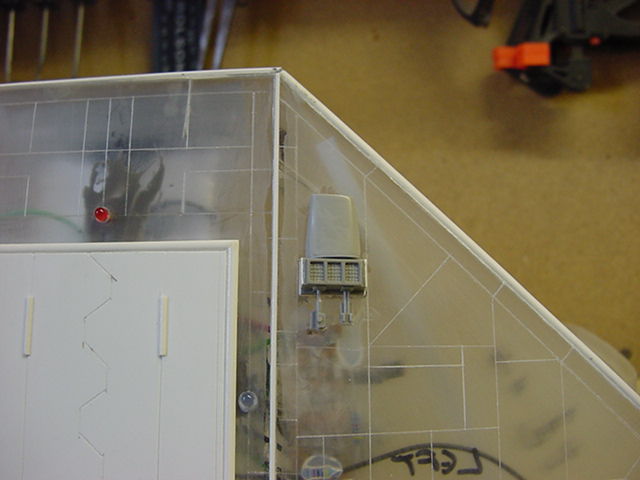
And dealt with.
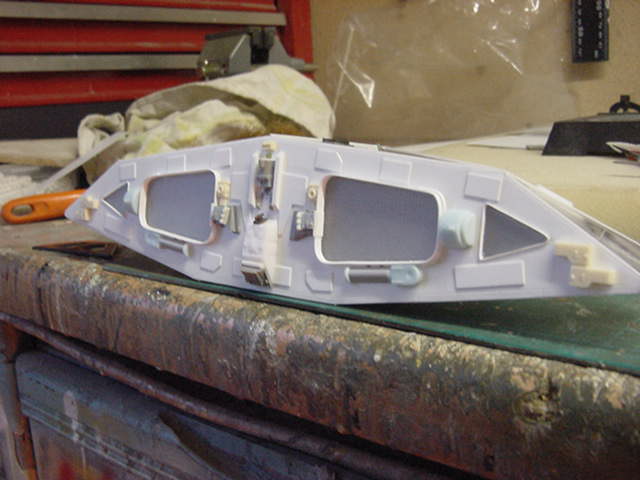
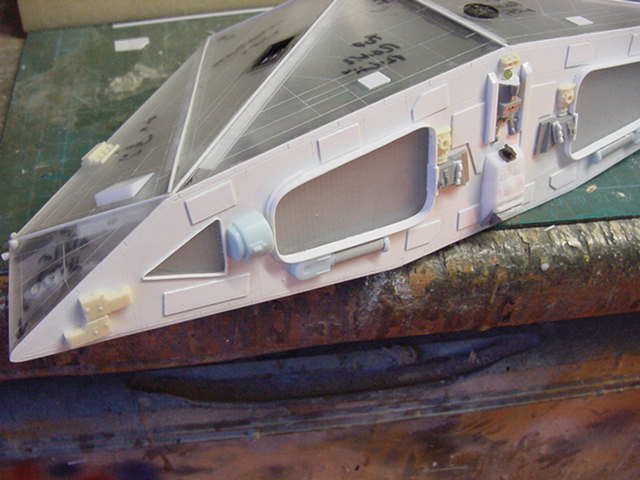
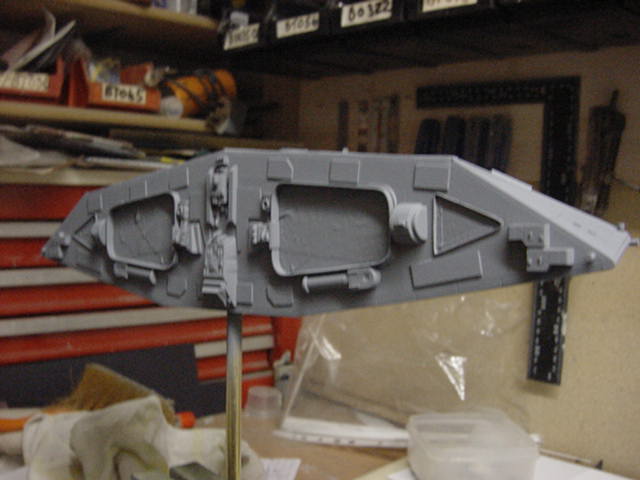
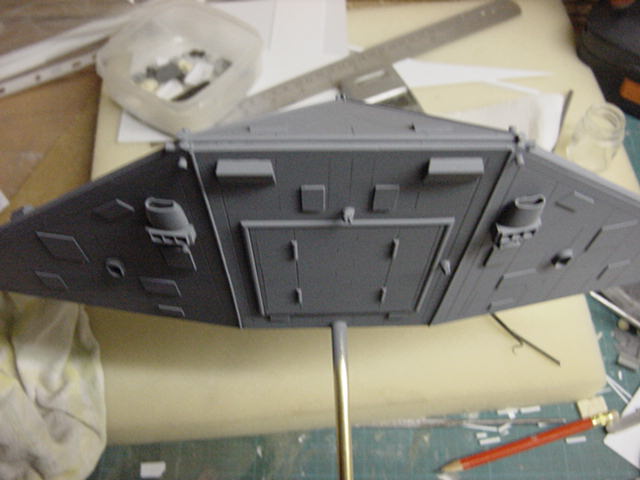
So onto the rear engine plate.
Well in short order, parts plastered on, some scribing and a few bits of plasticard sheet later gets this kinda thing.
Okedoke.
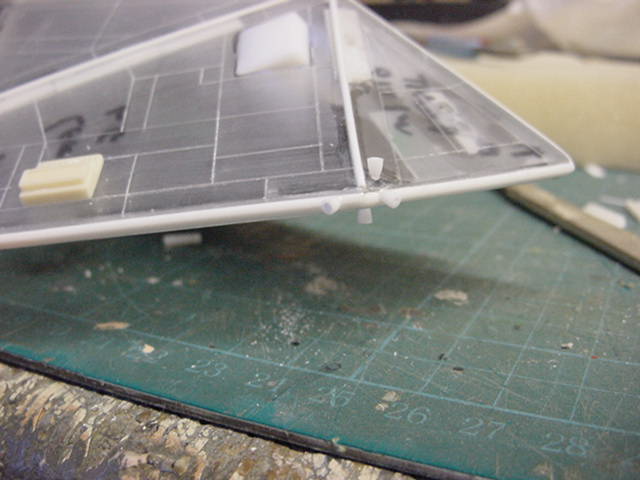
So on to the rest which involved a few greeblies and some made up bits.
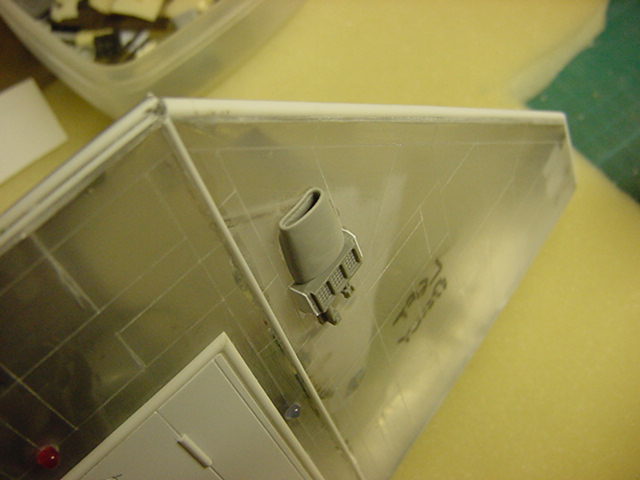
the 'made up bits being the reaction control thruster quads.
Nothing more exotic than some 60"thou plastic rod cut into small lengths and turned in a drill chuck.
And some filing violence was done unto them to get a rounded conical shape and then just sliced off into short lengths.
A pilot hole drilled for fitting and some glue was brought into play.
This deal repeated and the lot done and attached.
A bit of hollowing out will happen just before the main paintwork happens.
So outward and onward, some more greeblies attached and some cut plastic sheet of varying thickness was added all over.
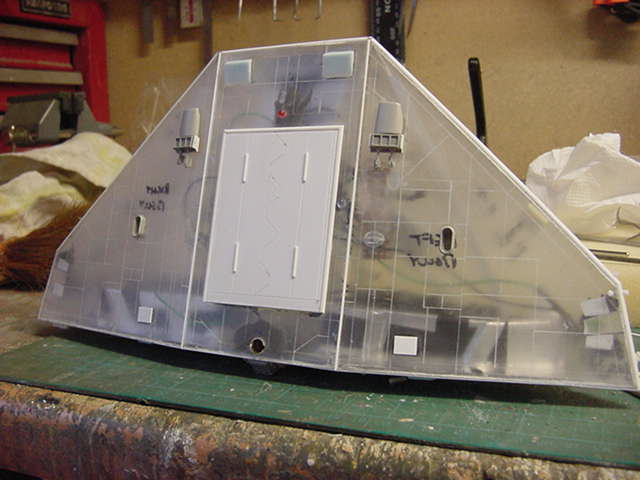
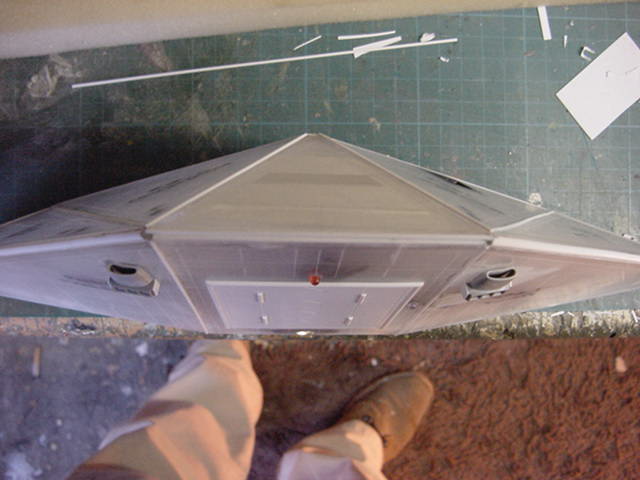
So a final surface cleanup and then much laying on of the masking tape.
A standard grey primer was then flung about with gusto and the result...
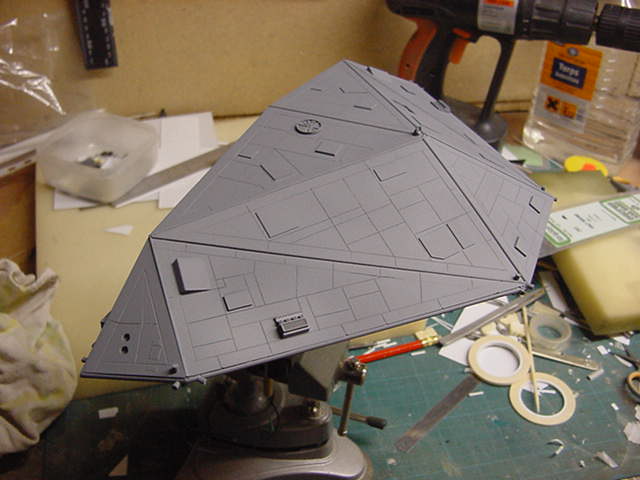
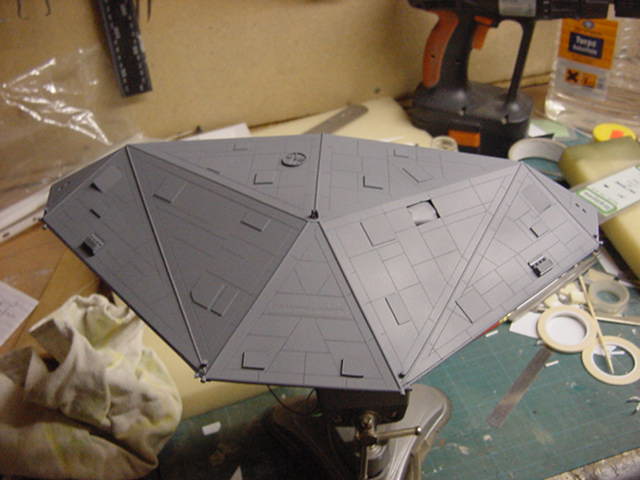


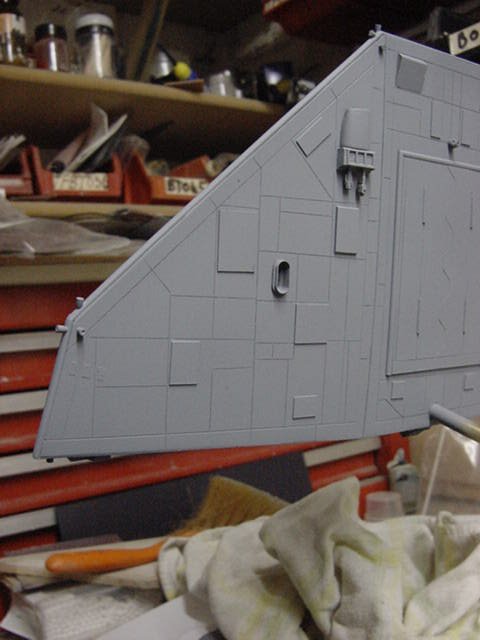
Well not looking too shabby even if I do say so meself.
And that be that for this update.
So next up will be the small parts that will be attached after painting and said painting of course.
See thee next time people and go easy out there now.
Page Number