
Elite Cobra Mk III
1/125thish Scale


 Page Number
And finally...
It's The Final Piccie Packed Update!
Greetings fellas and fellerettes.
Right then, last gasp bits to be attended to so away we do jolly well go.
Final bits of the fangs of the Cobra.
The missiles and racks to be a bit more precise.
So first up, the said racks and raw materials for the 'whoosh and go bang' things.
Namely some cut and extended kit spares and lengths of acrylic rod.
The two green bits will represent the bog standard ship to ship missiles.
The red ones will be the military spec, harder hitting, immune to ECM, royally ruin someone's day, much more bang for ya buck numbers.
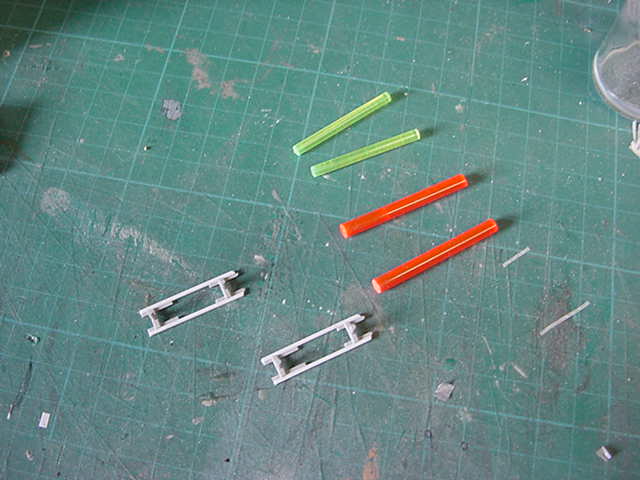
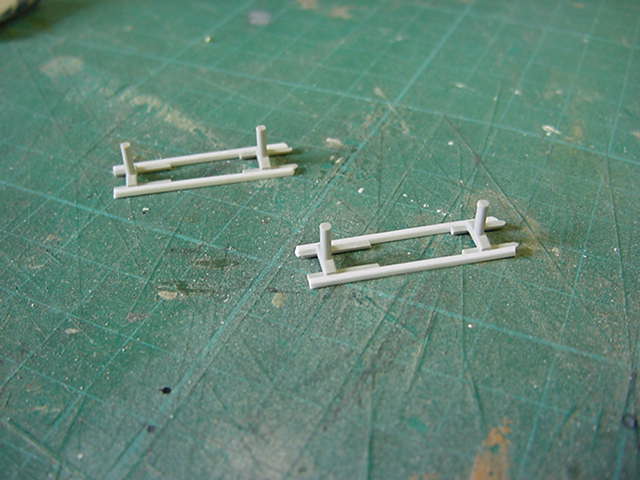
The green and red bits had a little spin through the lathe to give 'em some kind of shape.
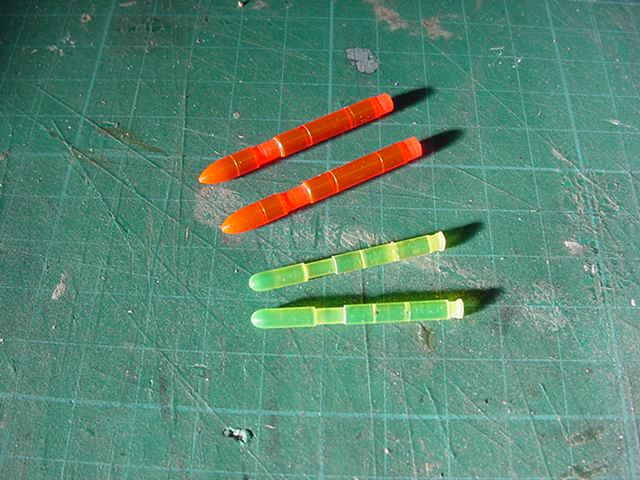
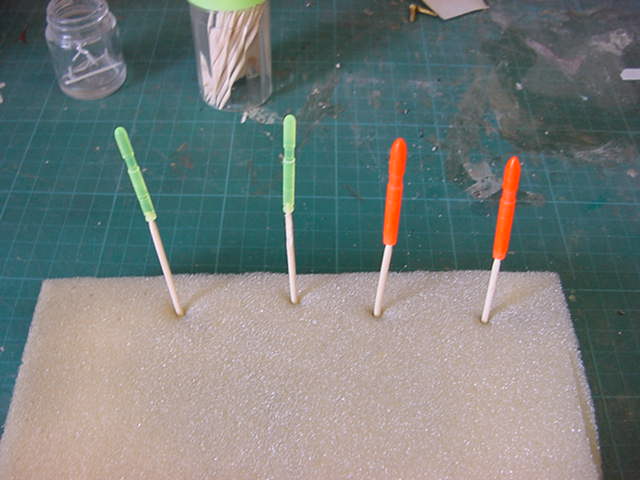
The bog standard missiles had a lick of paint here and there and a couple of decals thrown on for good measure.
Then attached to the now silvered up missile racks.
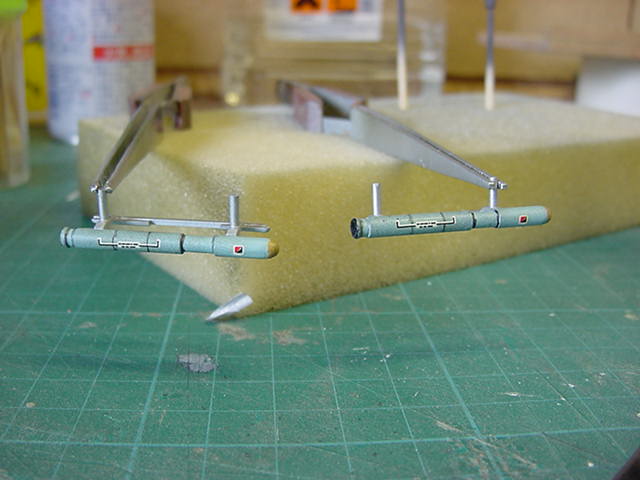
That done, the mil spec ones had a bit of different paint slung at them and in lieu of no white decals, the markings got painted on.
These then attached to the racks.
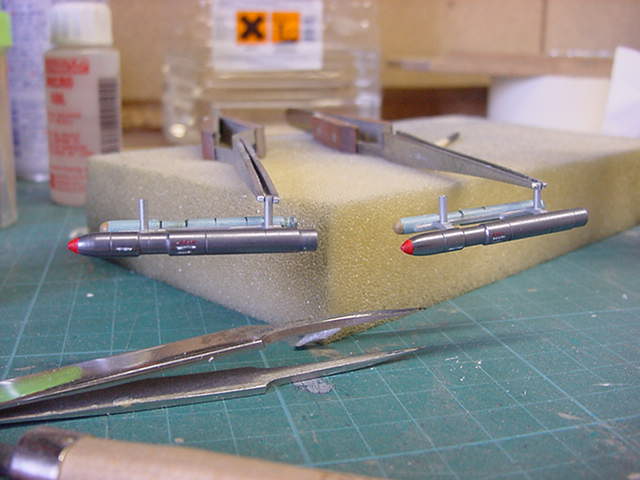
So that little brace of tasks sorted.
Racks then fitted into the pre drilled holes with the able assistance of the stay put gunk.
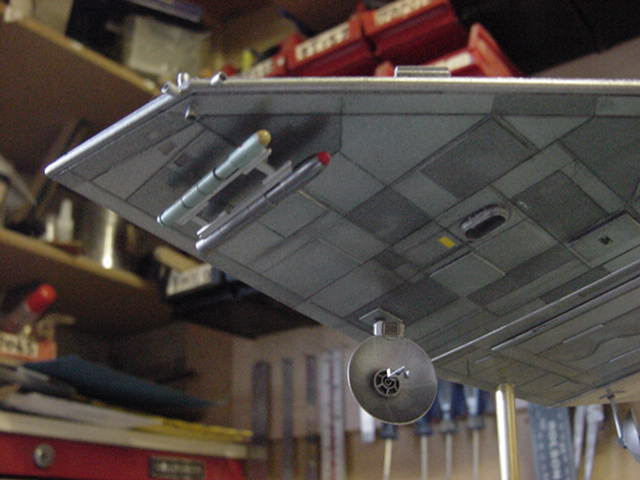
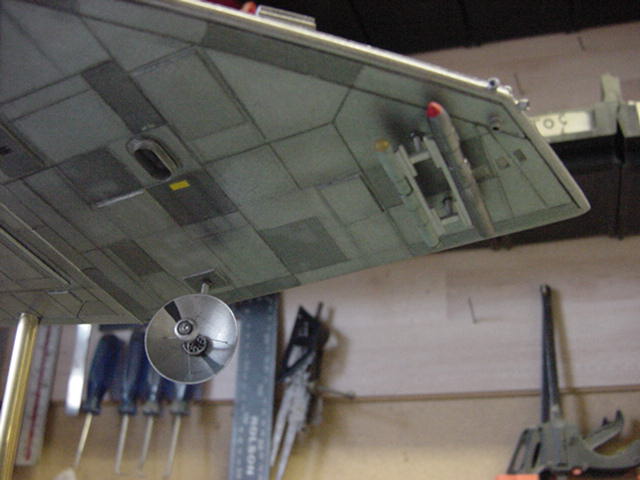
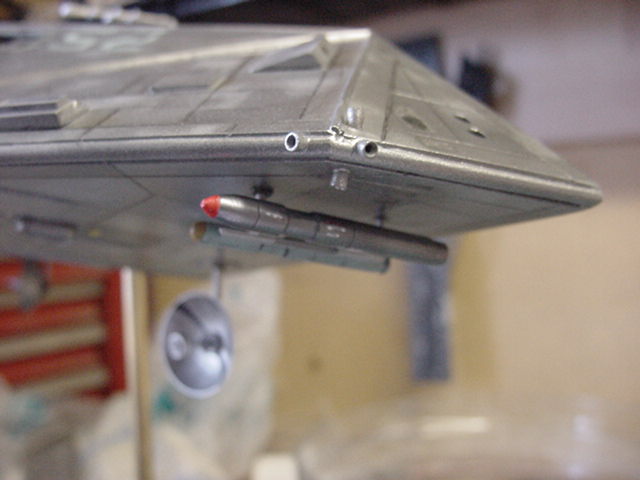
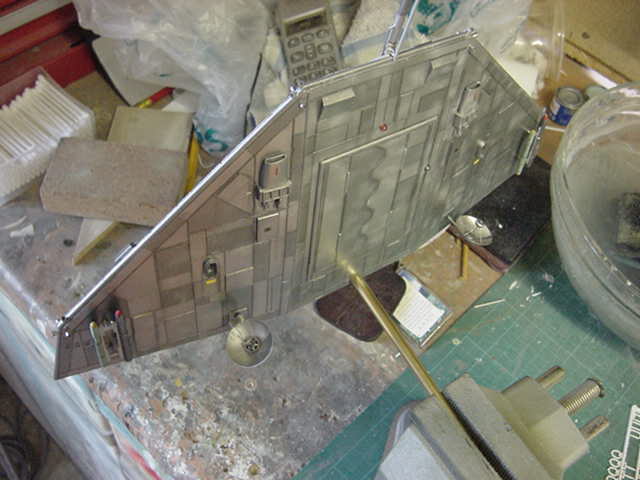
By and large, that's the main model finished and done.
But we not done yet people!
Time to crack on with the stand.
So one of my standard 'hold it up in the air' deals, a resin casting.
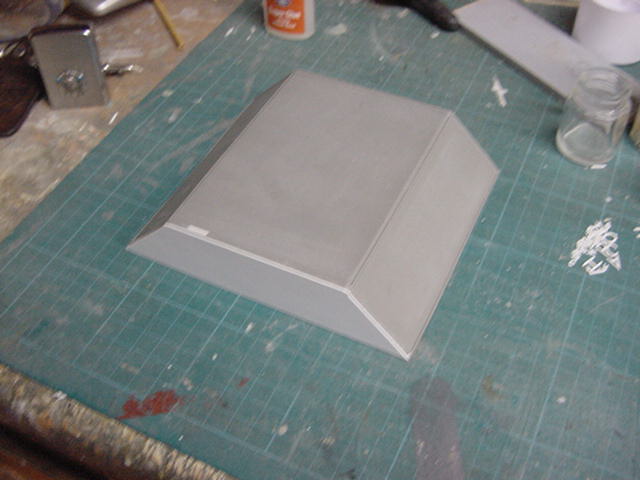
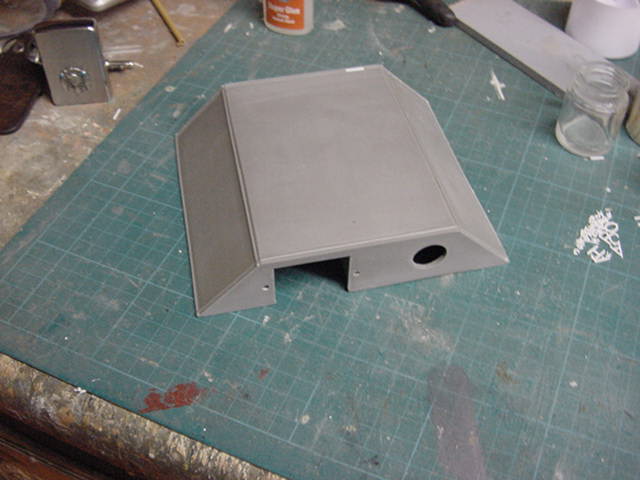
So after a brief cleanup, some plasticard attached to the front and much cutting off of the small plastic letters.
Some lines drawn and the tweezers, glue brush and one letter at a time tango commenced.
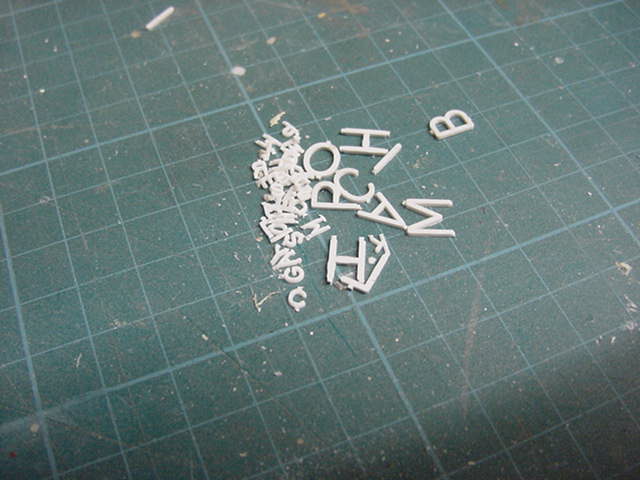
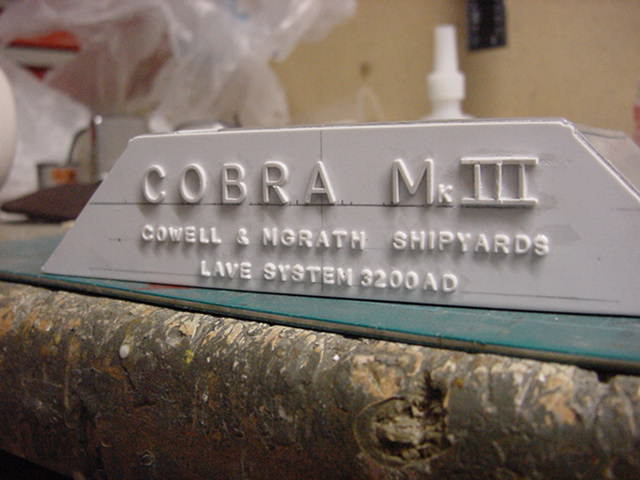
All set and settled, the support post was fixed in in a solid fashion.
The whole deal was given a fair lick of white primer.
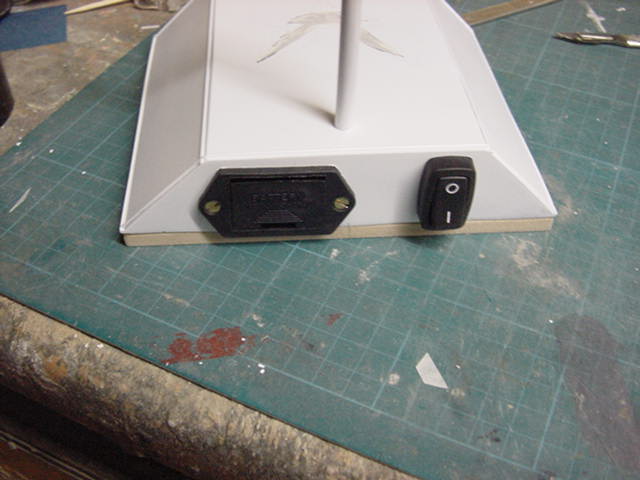
When dry and sorted, the battery box and switch were fitted and tested...
Glad to say it worked okedoke...
Then a bit of masking and on with the semi-gloss black.
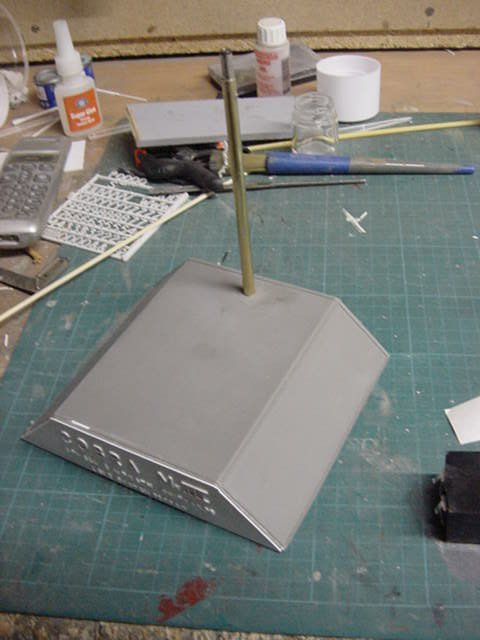
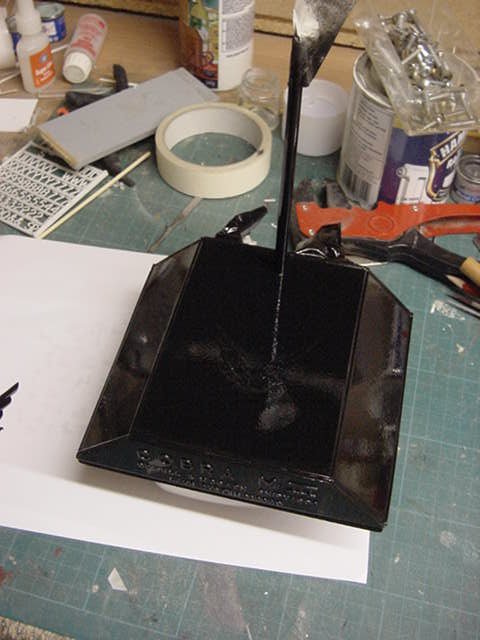
So this was put aside to dry and time to turn my attention to some small base decoration.
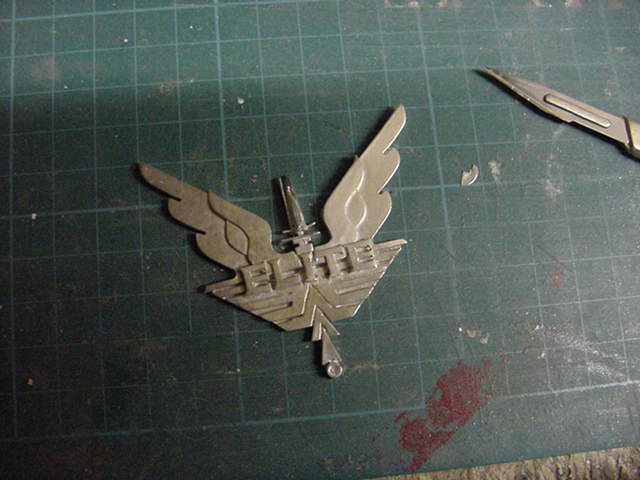
So one of my metal 'ELITE' badges was brought into play and cleaned up.
Now they are silver as per the metal they are cast from but a little something special was called for.
So the badge was given a goodly coat of black.
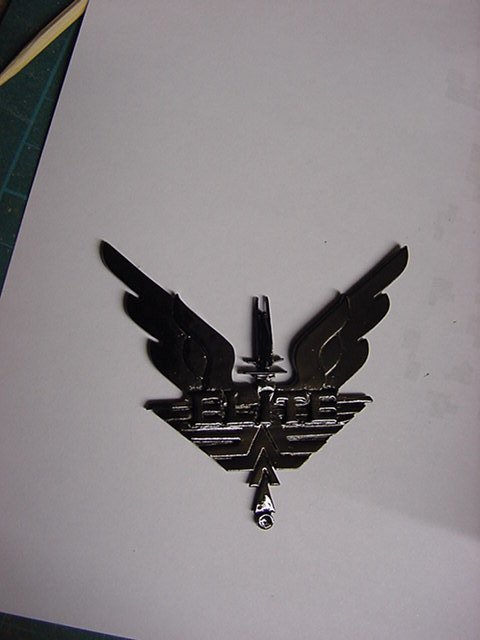
That all nicely dry, in with some acrylic rich gold via the airbrush.
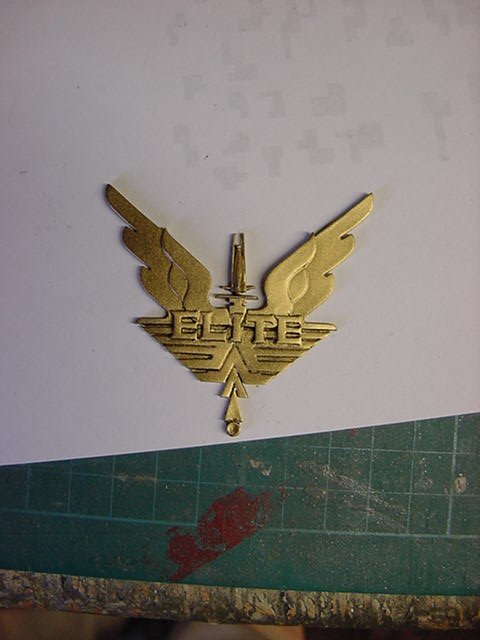
Finally, some enamel black wash here and there and acrylic white gold for some accent/highlight punching up and it's a done thingy.
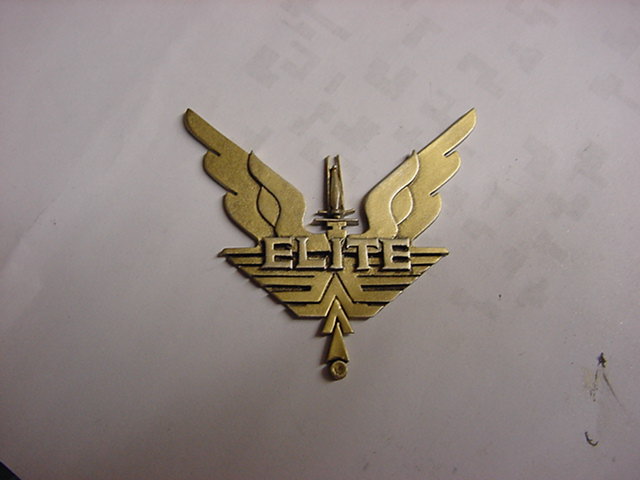
Sweet!
Ok so out with the base, peel the masking from the area this shiny bit is to be glued to.
in with the epoxy stay put gunk and...
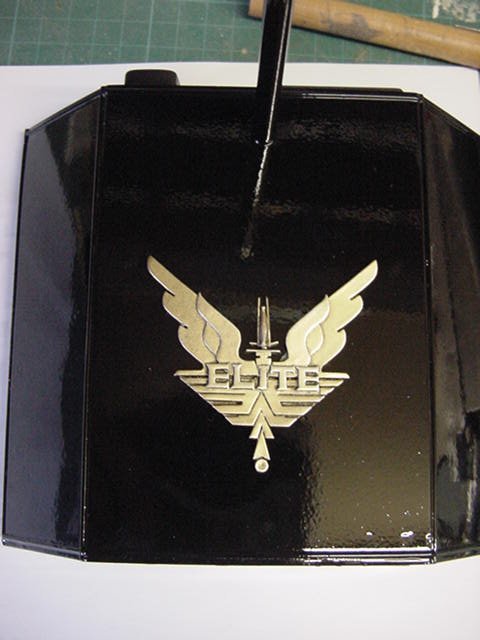
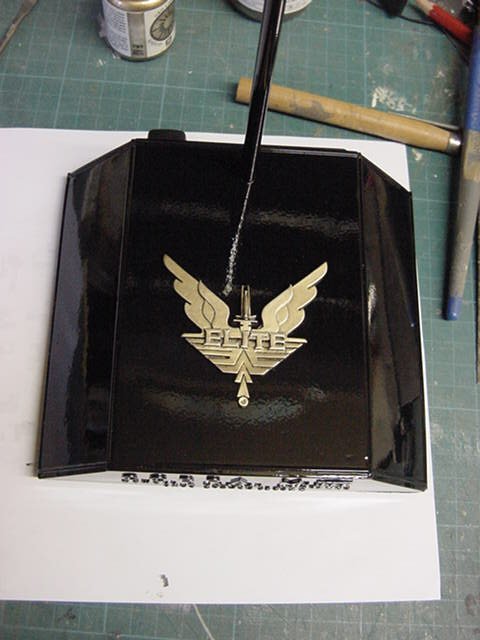
Not too shabby if I do say so meself...and I just did.
Right then, last job to be done, some gold painting up of the lettering on the stand front.
Done a hell of a lot quicker than I thought it would be which makes a damn nice change.
So stand completed.
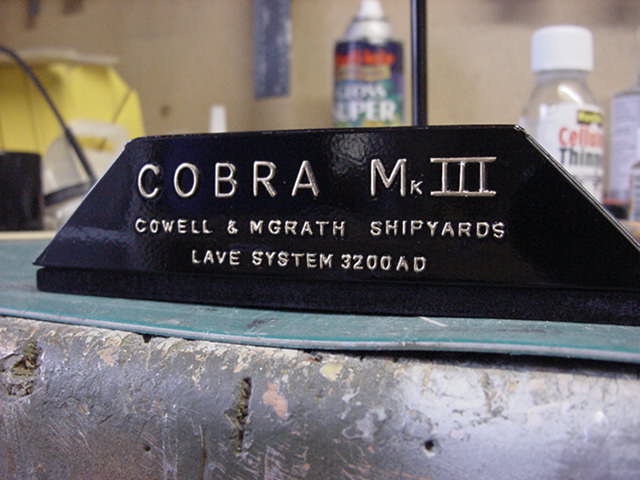
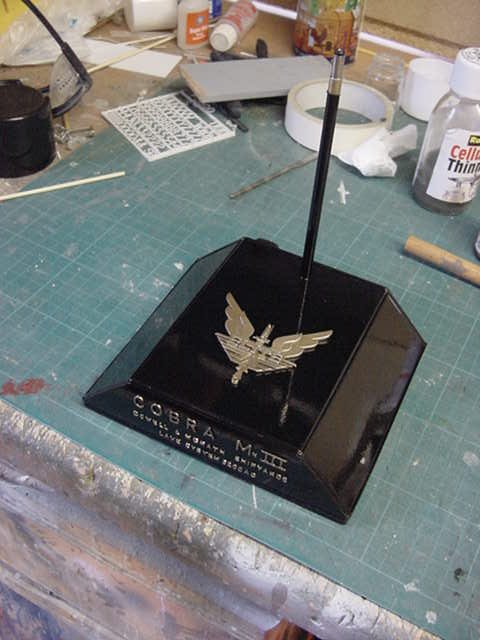
Stick the metallic wedge shaped one on the pole and done!
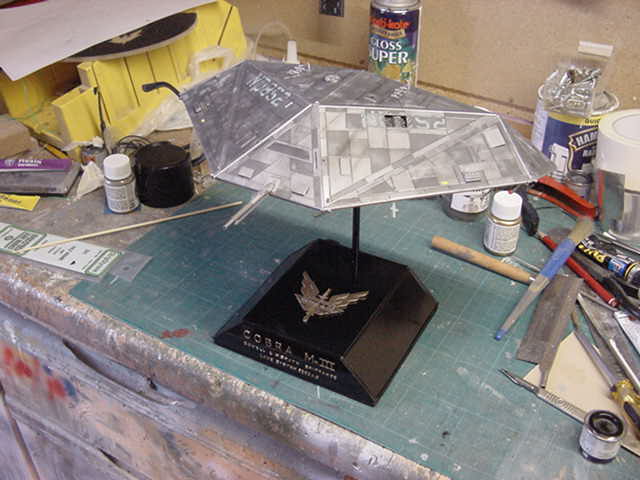
And that as they say, is that gang.
Another job jobbed and a finished galley proper by hitting the button below.
During the meantime, i'll see ya in the hellhole for the next round of fun and games.
Which will be along a lot sooner that it usually is, trust me.
Meantime, here be the link pic thing for the finished article.
Go easy out there people, take care of yaselves now.


 Page Number


