
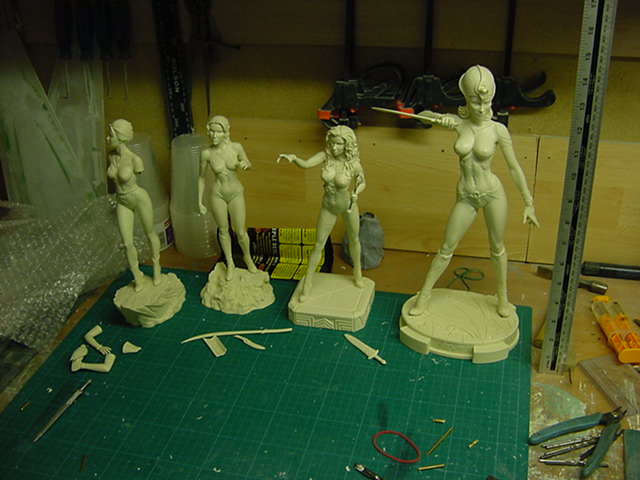
Solarwind/Foxfire Studios Four Figure Build
1/7th Scale


 Page Number
Not so much a fit up...
More A Pin-Up Thing.
Ok folks, some metal chopping and motor tool mayhem.
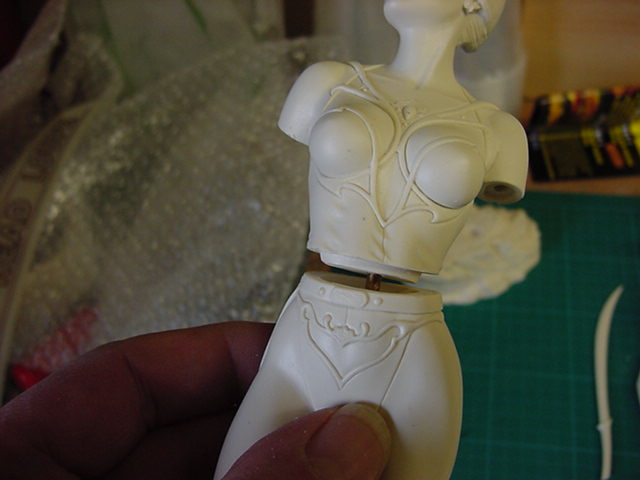
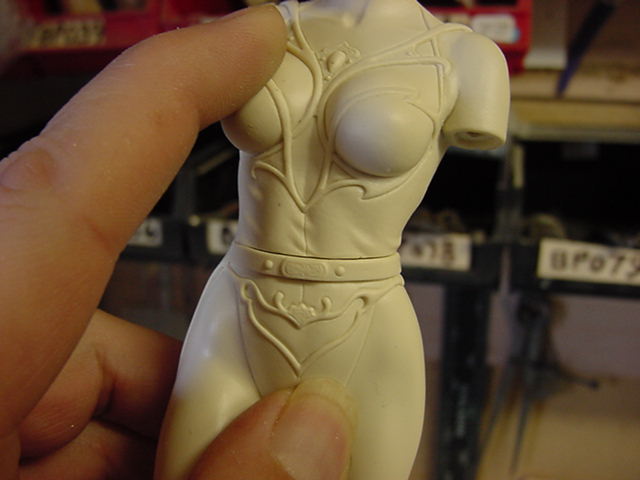
After a basic cleanup and wash, time to start assembly.
Now all the joints are going to be pinned and for that job, it's 3mm brass rod and 2mm steel wire.
Now I grant you, that may seem a bit of overkill but i'll tell you why....
Now not only does it make for a very strong join with the help of 5 min epoxy glue,
it means they will be able to stand up to being transported.
This is because like pretty much 100% of the stuff I do for myself, I don't keep it for long.
Once i've had the experience and enjoyment of the build and take pics,
i'm done and they have served their purpose with me.
So when whatever it may be goes up for sale, they have to be tough enough to survive the journey
at the sometimes less than tender mercies of the worlds postal services.
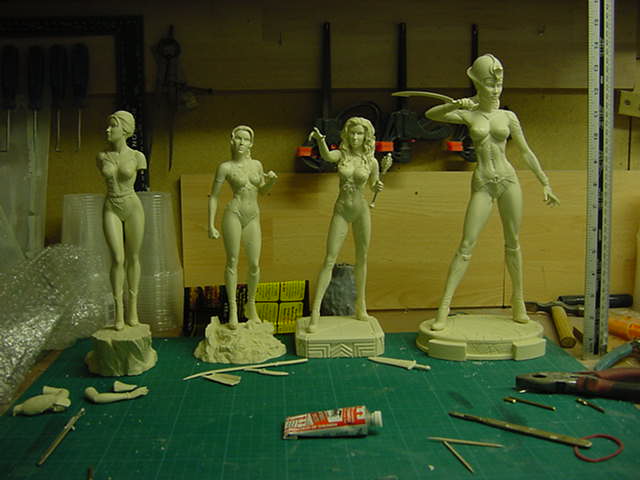
Right now that waffle is out the way, onto the main gig.
So, 3mm brass rod duly hacked into smaller lengths and
a 3.1mm drill bit used with semi-wild abandon and a dry fit test.
Not bad, a dab of epoxy and a bit of a squeeze the surfaces mated nicely with only a hairline gap, easily dealt with.
The hands on any of the figures were secured in much the same fashion but with 2mm steel wire.
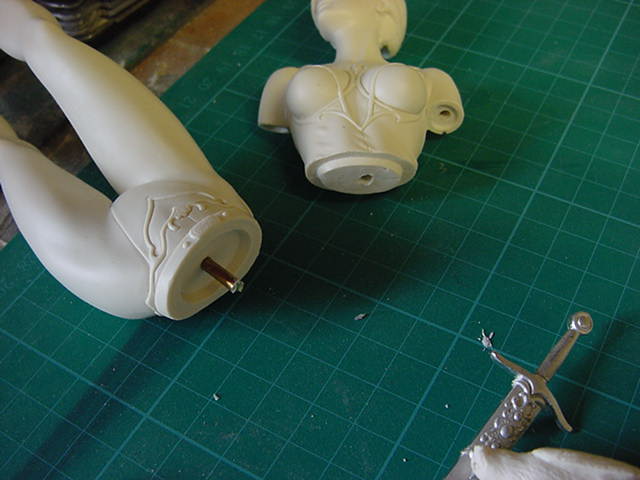
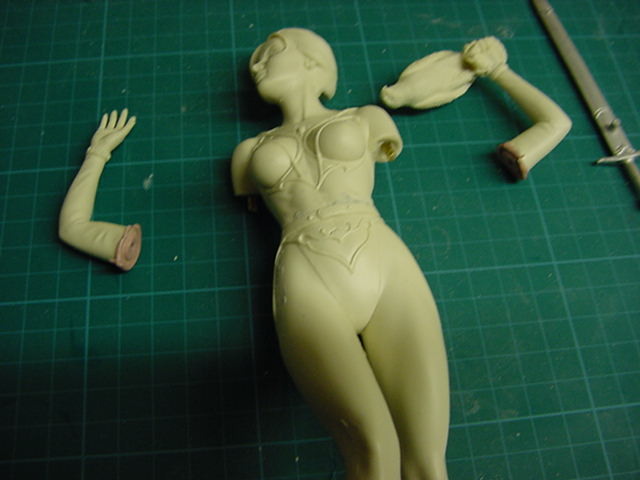
After much hacking and drilling and gluing, we have the following....
Some of the parts will be fitted with pins but left off and painted separate
to make the whole job a little easier when it comes to finishing.
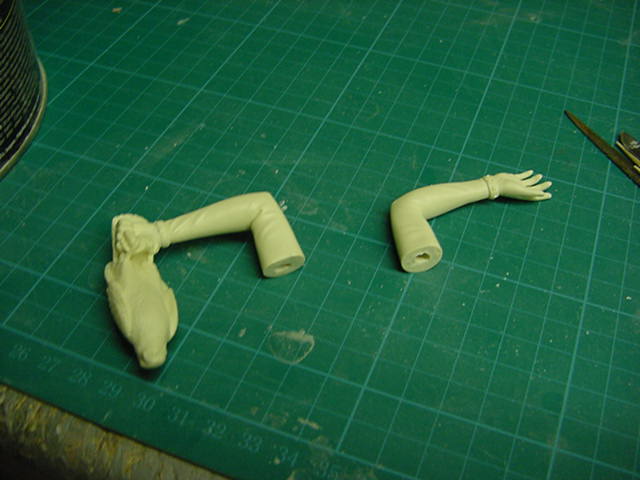
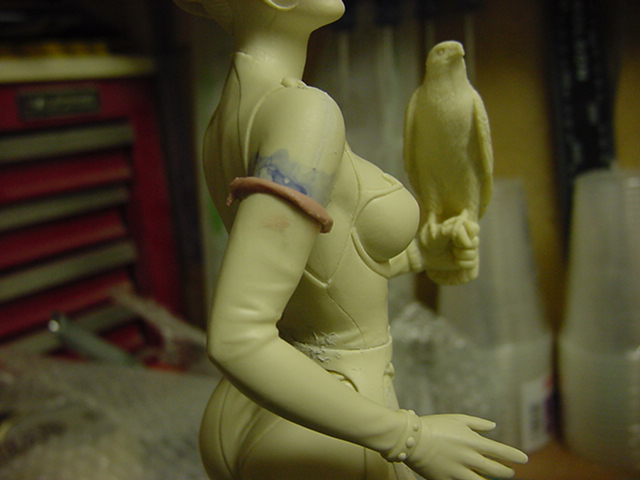
Now for this reason, the arms of Adina are left separate.
Partly because her right arm comes too close to the sword to still fit it if I put the arm on.
Plus she has long gloves on so it will just be easier to paint them then glue on
and I don't fancy trying to paint the sword and scabbard on the figure.
Yes I will chicken out with the best of them I assure you.
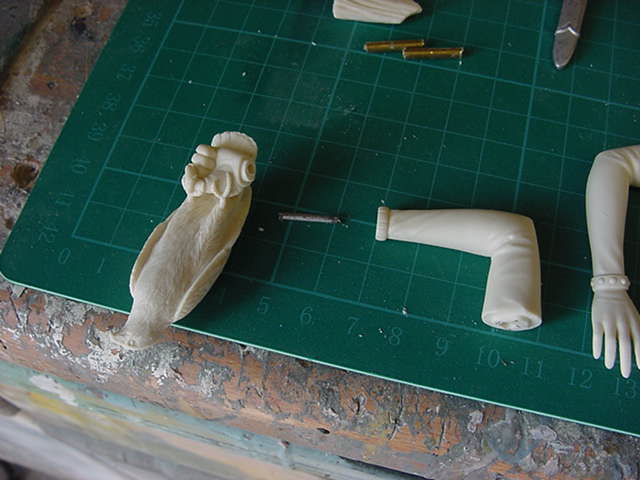
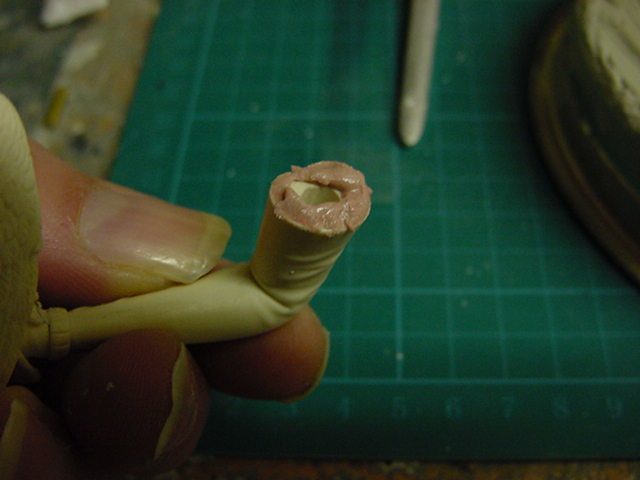
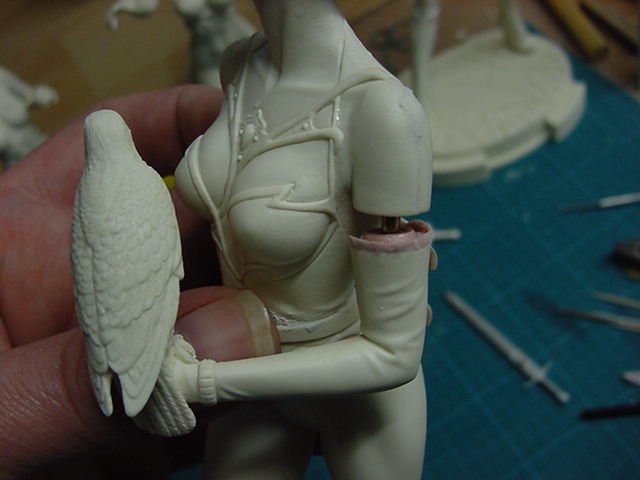
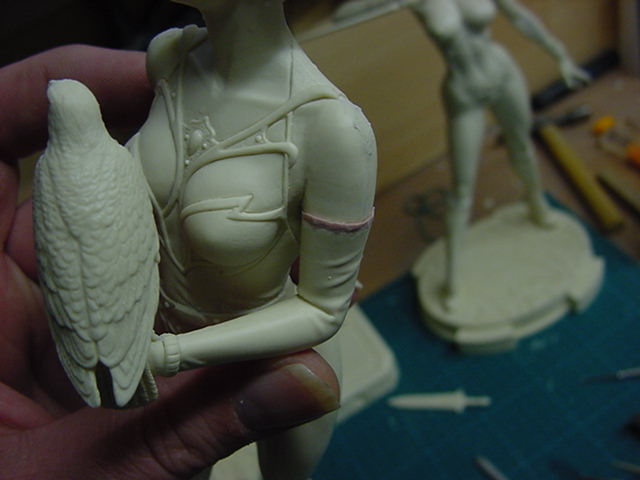
Now here is where I needed to sort that fitting 'fore going any further.
Since the gloves are tight fitting, the join has to be as near seamless as possible.
So an old but still useful putty trick was used.
Here are the arms in question.
So out with the blue PVA liquid and plaster a coat on the arm stubs and leave to dry.
When dry, Take the arm ends and apply a little putty.
In this case, some two part automotive repair quick cure easy sand type.
A small amount mixed and plastered on the arm end.
Then quite simply place the arm in position and stand there admiring the cobwebs in the
corner for a few mins untill the putty starts to go solid so you can then put it down and do the other arm.
The basic result is like this.
Give both lots of putty the appropriate time to cure then run the joints under some warm water.
The PVA dissolves and the arms with the putty come away clean with a good join surface.
Like so.
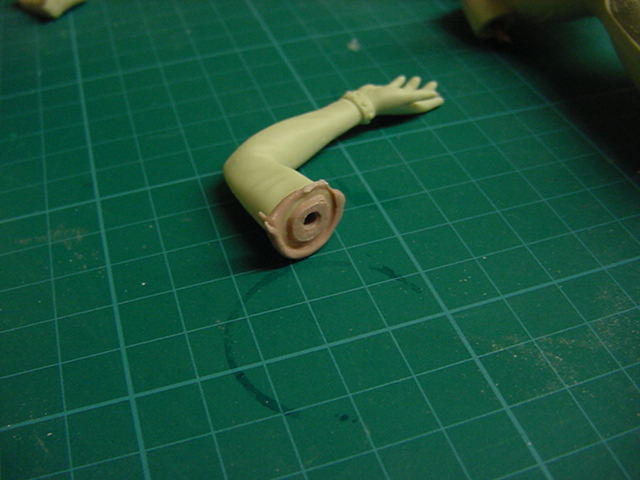
The outside ridge is given a swift clean down to get rid of most of the excess,
this leaves a raised wall/lip like thing around the top of the glove
so it will cover the join when painted and attached proper.
A bit like this.
And oddly enough, it do worker on the other side too.
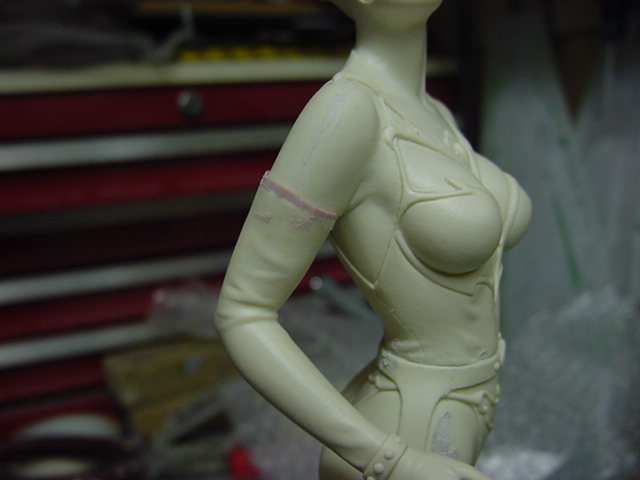
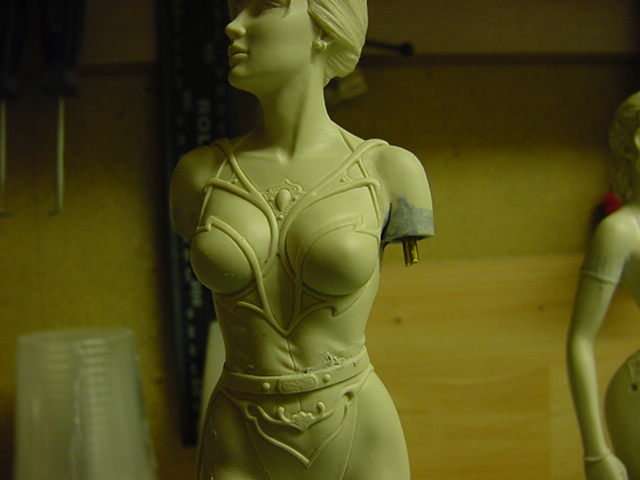
So, any other gaps have been filled and a few minor surface defects puttied over just to be on the safe side.
By the time I get back to these girls the putty will be well and truly cured.
Well that's all for this round of fun, sun and suffering in the hellhole.
Untill next update time for this lot, you goodly lot take good care and go easy!
Page Number