
Solarwind/Foxfire Studios Two Figure Build
1/7th Scale


 Page Number
So let's get stuck in...
And it Seems I Have Some Seams Which Should Not Be Seen
Or Something Like That
Welcome back all!
Okedoke, first up is the at times tedious but necessary moulding seam removal.
Now on some resin kits i've dealt with in the past..
Well it's a right royal pain in the posterior to rid meself of the nasty lines.
That is due to just bad mould set in the casting process.
Not so as such with the Solarwind stuff but the lines still be there so they have to go.
Thankfully all well cast but let's be a getting to it.
First, a note or several about gear to use.
Now i'm no expert by any means and this is not a 'only way to do it' thing by any means.
I'll just say this sort of thing works for me and leave it at that.
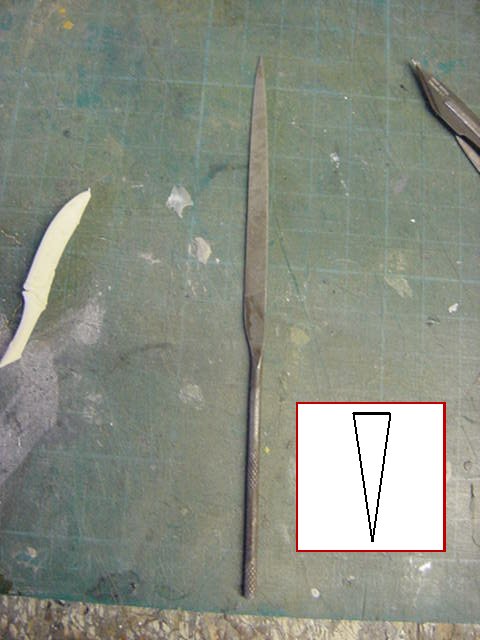
First up, some files of the needle and riffler type.
Also the brass brushes and bottle of cellulose thinner.
The brushes and thinner used for quick clean out of any clogged files.
Dip/brush/wipe/continue/sorted!
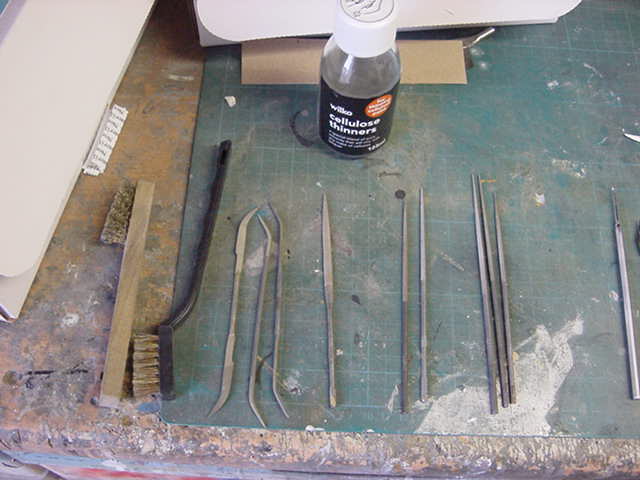
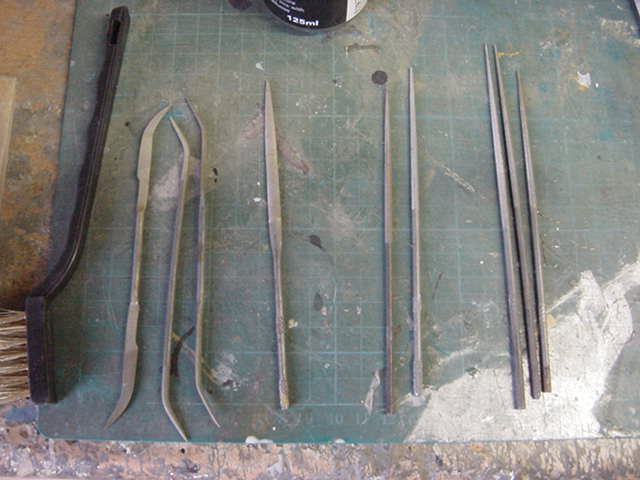
Now the files, going from left to right are a flat and two needle type riffler files for them tricky areas.
One slim oval section needle file.
Two rough cut rat tail files and three fine cut rat tail files for the stubborn and fine jobs respectively.
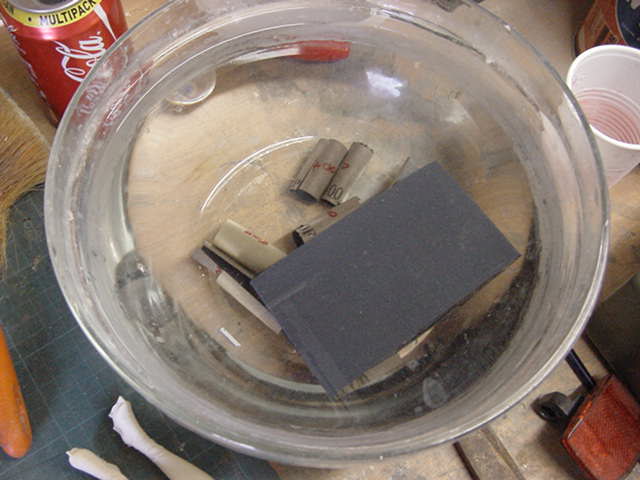
Last bits are the required bowl of water with 600 and 800 grit wet & dry paper bits and some 400 grit wet & dry on a hard rubber block just in case.
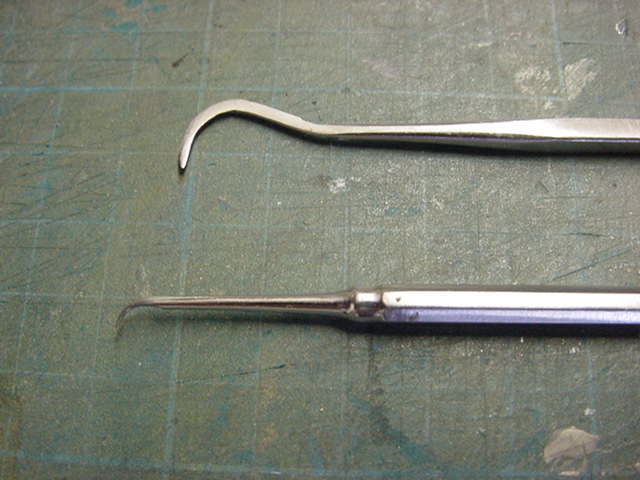
The dangerous scalpel and two panel line scribers.
Finally a fine triangle section needle file for digging out the nook and cranny routine.
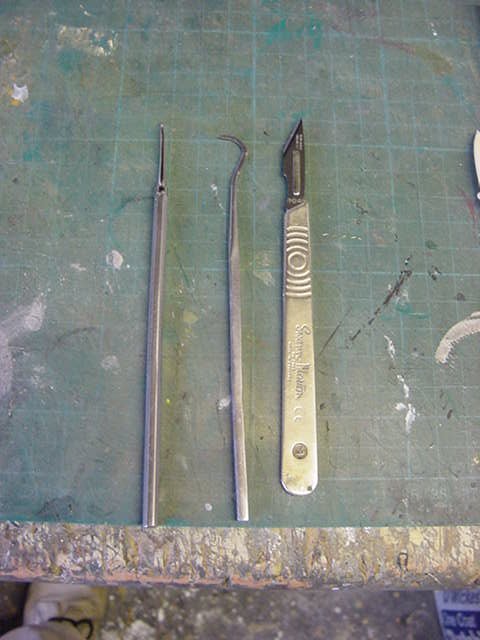
Now the panel line scribers I use are in the mix for final cleaning up of inset detail.
Most usually lines where clothing meets the skin and so on.
The larger hook one has a thin section and the smaller hook is usually for plastic sheet scribing.
The smaller hook type, where its been sharpened when made, means that it doubles as a fine scraper.
That is to say that when turned on it's side and run across a line, it shaves off a small amount of resin.
This means that when you have a 'step' in the detail like when skin meets clothing, it can be shaved gently down to maintain that even 'step' when getting rid of mould seam lines.
Stick with me here gang, it will hopefully become apparent what i'm blathering about...
Maybe.
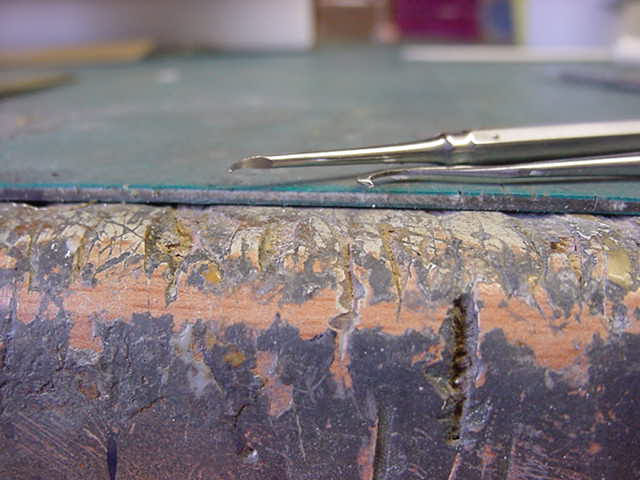
Where as you can use the sharp point of the scriber to dig a trench as it were...
The sharpened edge in the hook when turned on it's side will act like a fine scraper.
Like so...
A usage the makers probably never envisaged and I worked out by accident one day.
Rough explanation waffle over on that so onward!
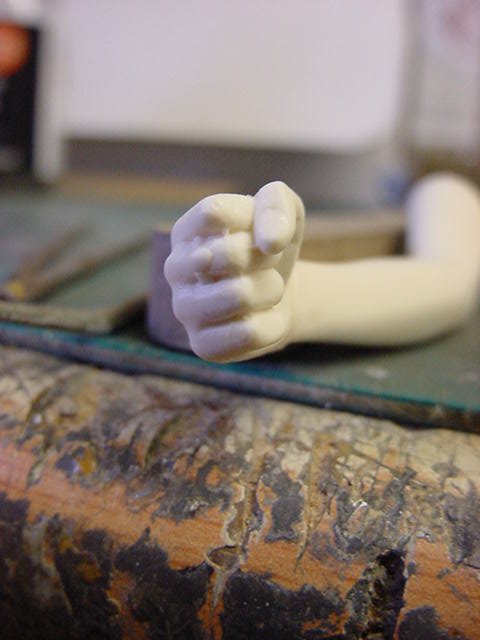
So some example seam lines got shot of as follows:
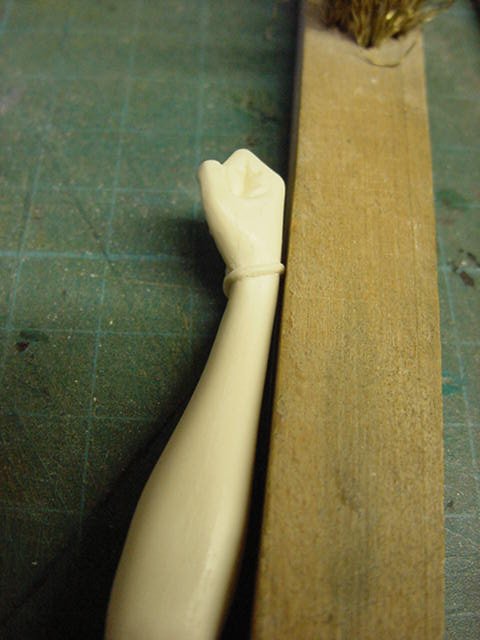
First we have one arm 'as is'.
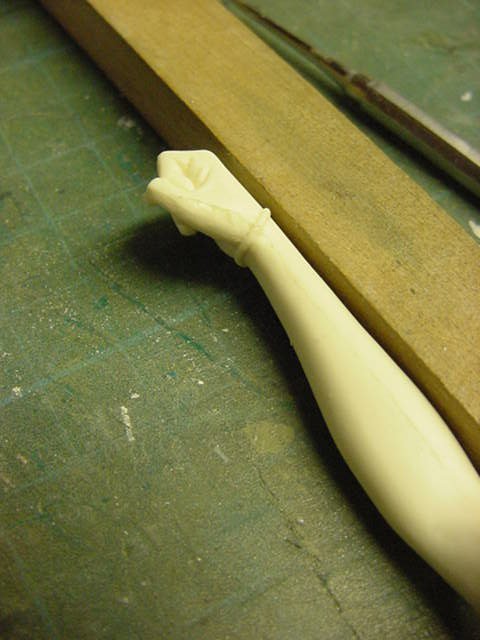
You have the general idea.
So the bulk of the seams got a working over with one of the fine cut rat tail needle files.
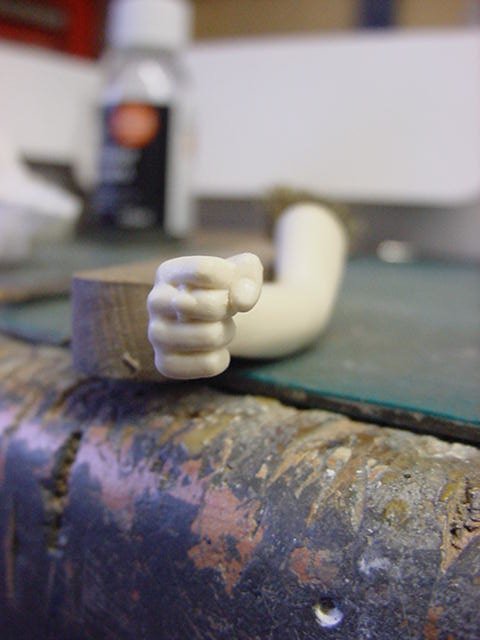
Some stuff still to remove so in with the scribing tools.
The small hook type and then the larger fine section hook in that order.
Finally a going over with some 800 grit wet & dry.
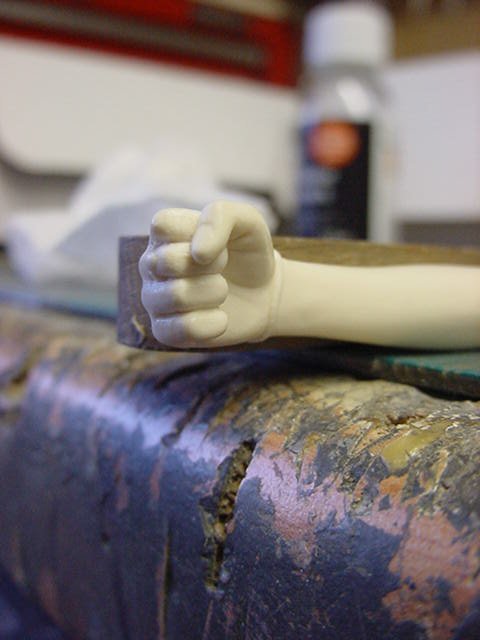
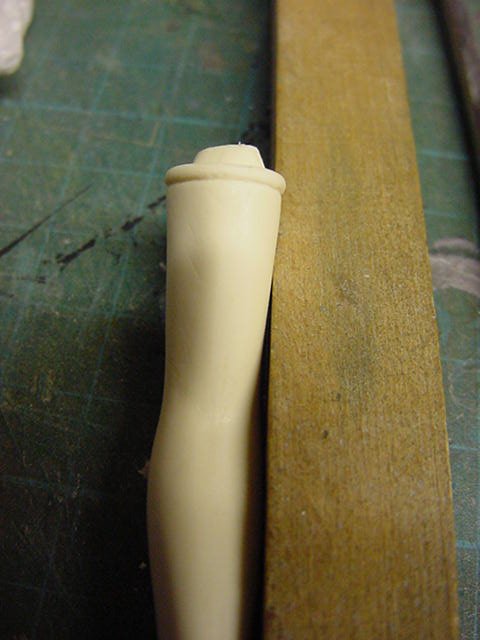
A smidgen of surface cleanup still to do but most certainly a start.
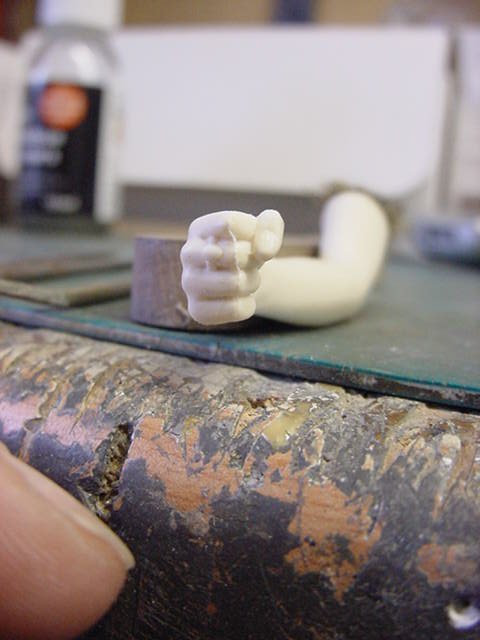
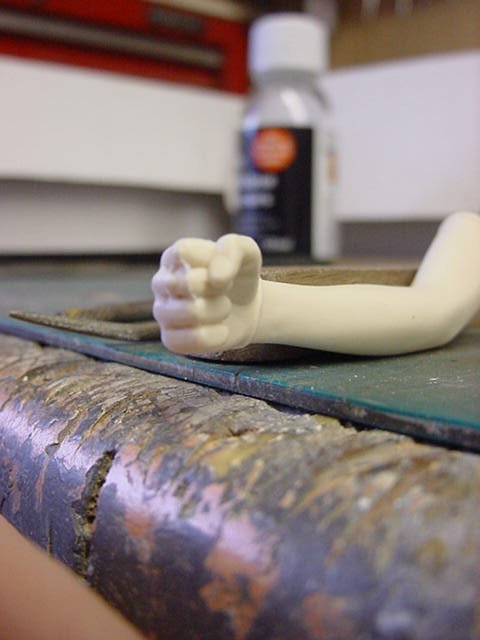
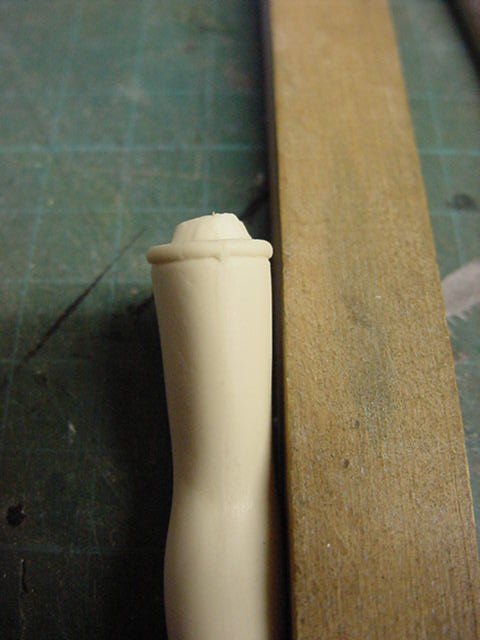
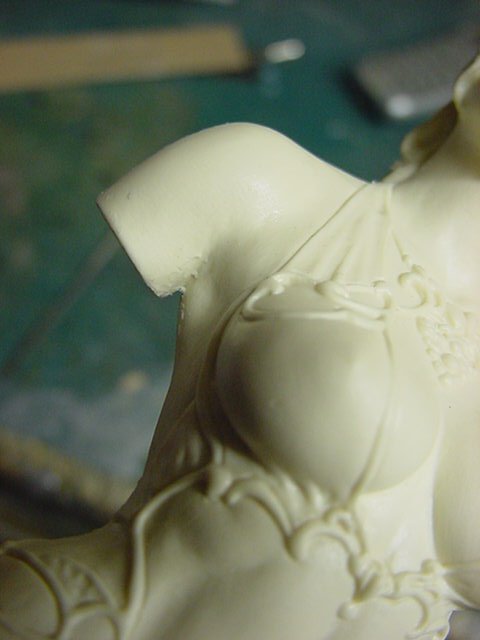
A little looksee at one armpit area.
Again it's the needle file/scriber/800 grit goings on going on.
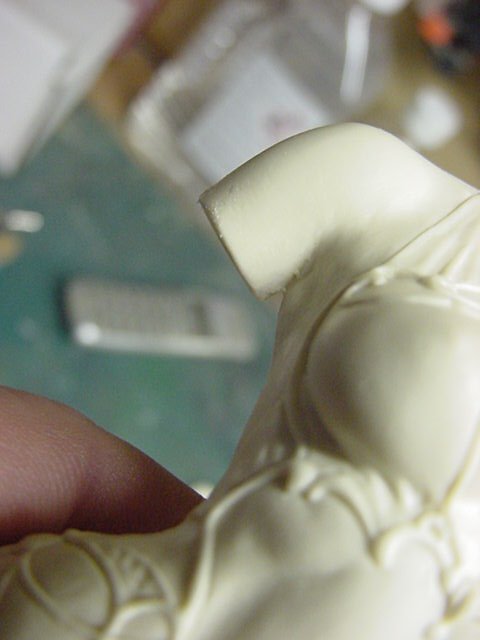
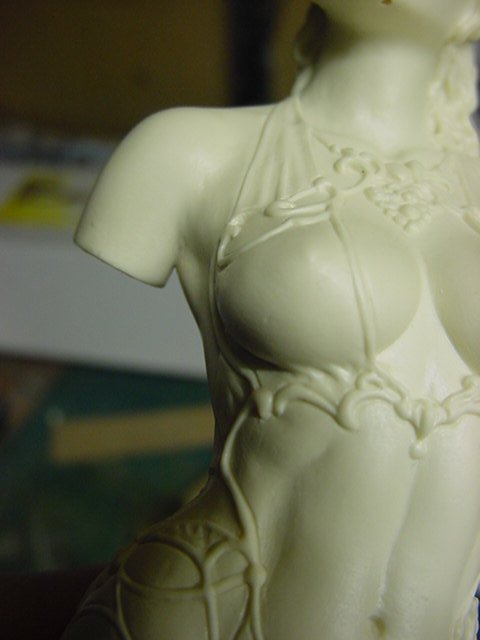
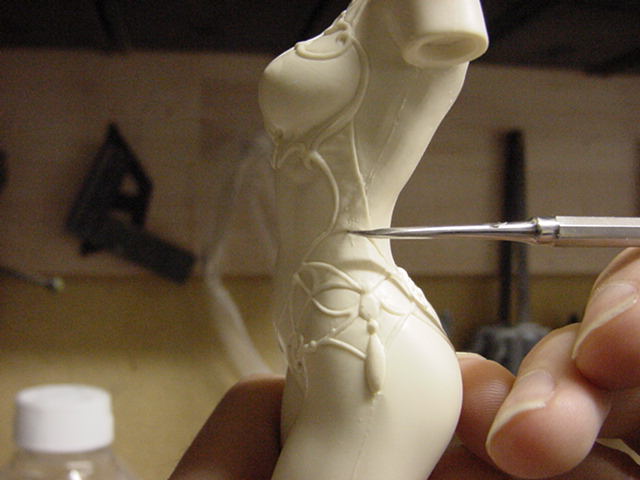
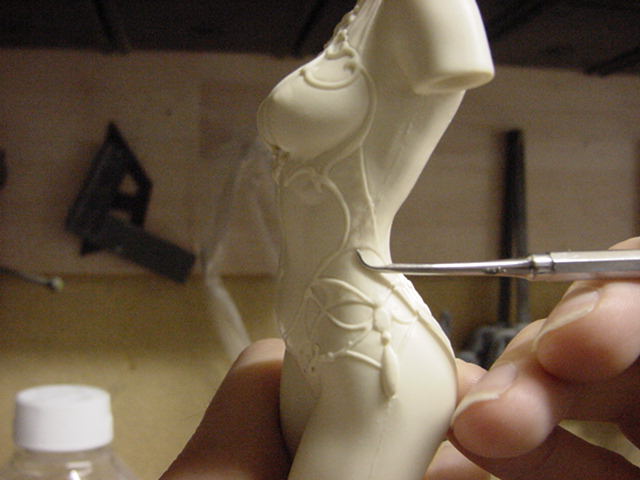
And lastly, one seam line example down the side of the body.
here's when the seam line crosses clothing...such as it is.
First as the untouched bit then after the above mentioned hoo-ha with tools and grit paper.
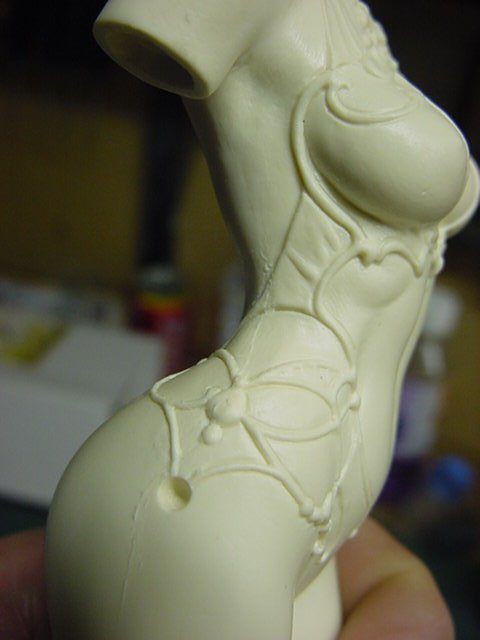
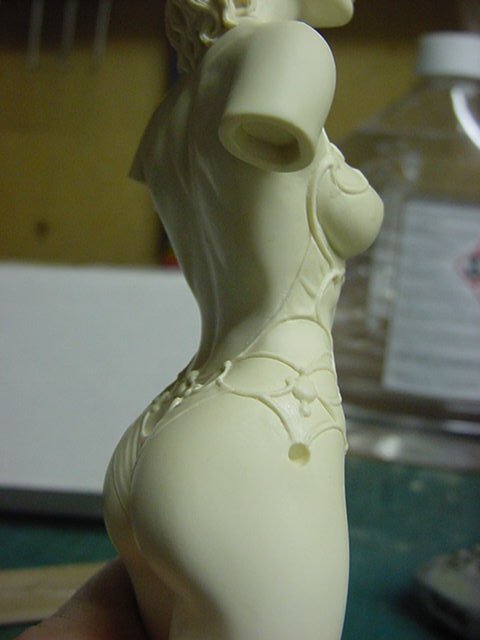
Starting to look pretty sharp so starting to get there.
This lark continuing across Lisette and Alayne in prep for assembly, priming and paintwork.
more on that next update as we go along gang so see thee next time.
Go easy you merry lot!
Page Number