
Solarwind/Foxfire Studios Two Figure Build
1/7th Scale


 Page Number
Some painted bits, some brass rod, a few holes drilled...
And Plenty Of Epoxy 'Stay Put Ya Bugger' Gunk.
Welcome back all!
Well gang it's the downhill run to the finish and here's the first part of a twofer final update.
Oh yes!
Took a few more pics to get here than I first thought but that's nothing unusual trust me.
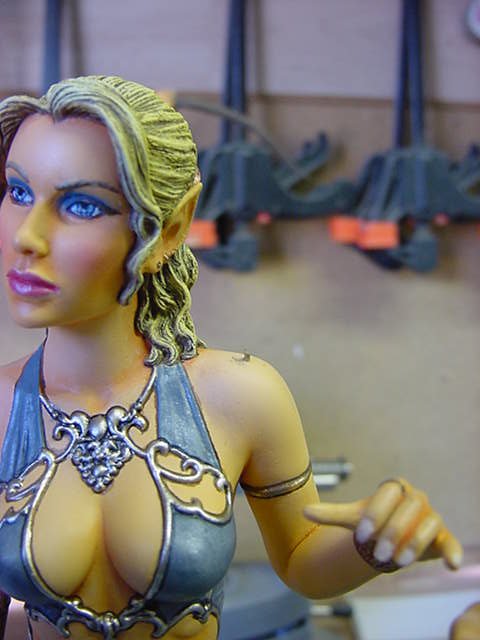
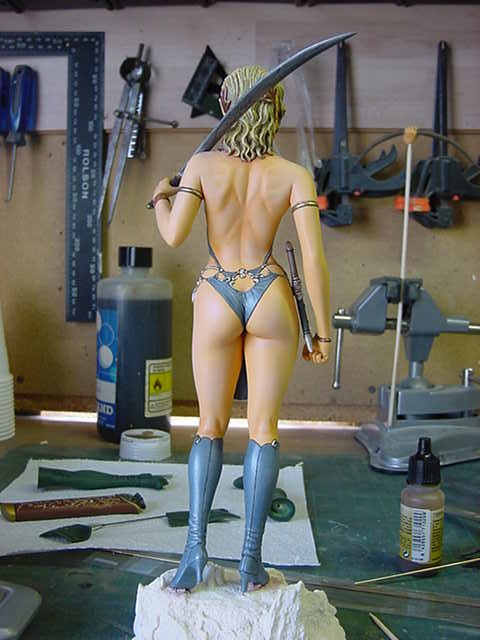
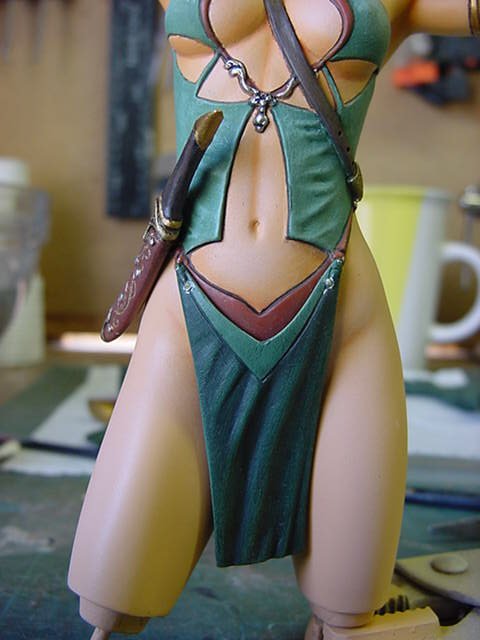
So first things first, Lisette.
A short length of 1.5mm brass rod with a hole drilled in the body.
The dagger glued in the place where it should be.

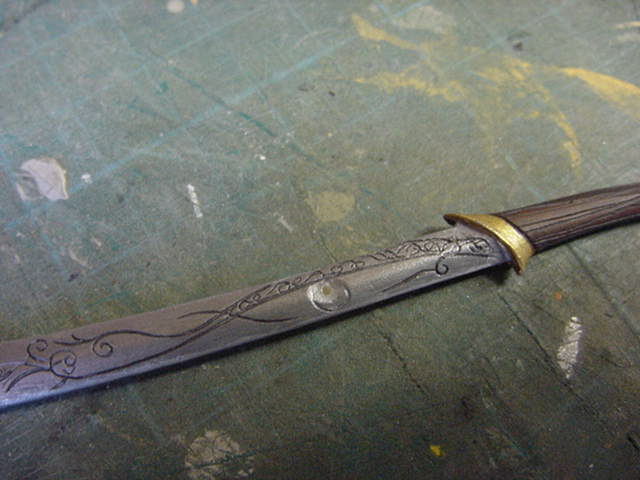
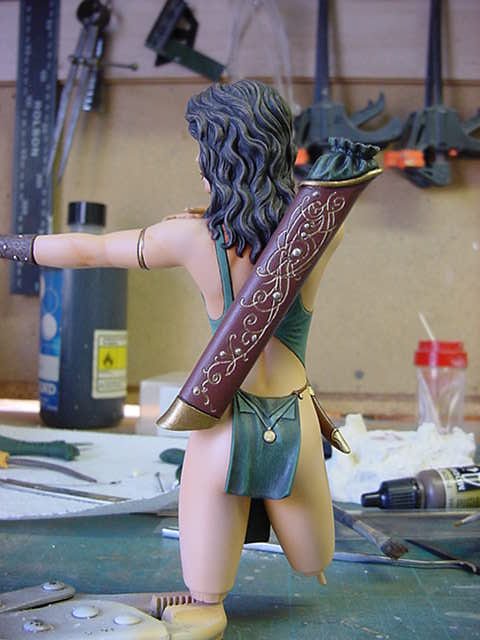
So to the rather impressive toothpick she be a carrying on her shoulder.
Another short piece of 1.5mm brass rod.
Hole drilled in the shoulder and a shallow hole in the sword blade.
Pin glued in, sword glued on epoxy fashion with a drop of cyano where it sits in the hand.
Like so.
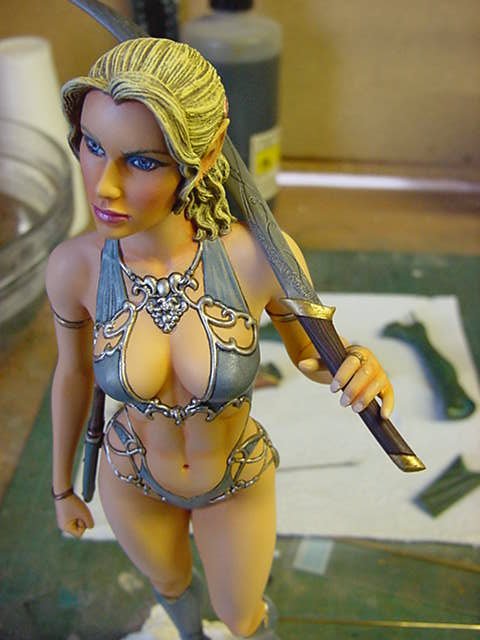

Nicely secured and going nowhere.
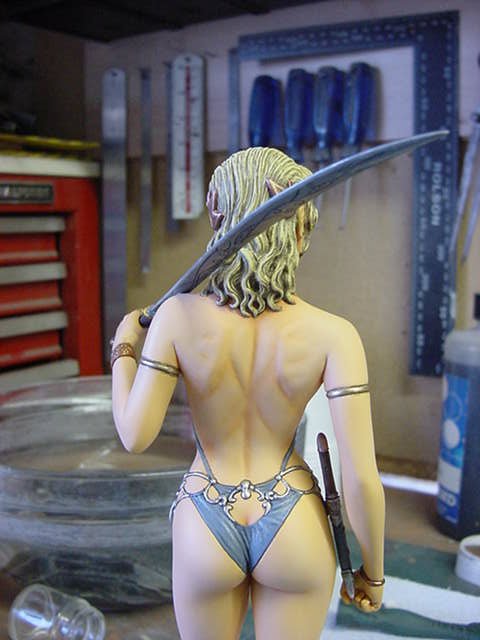
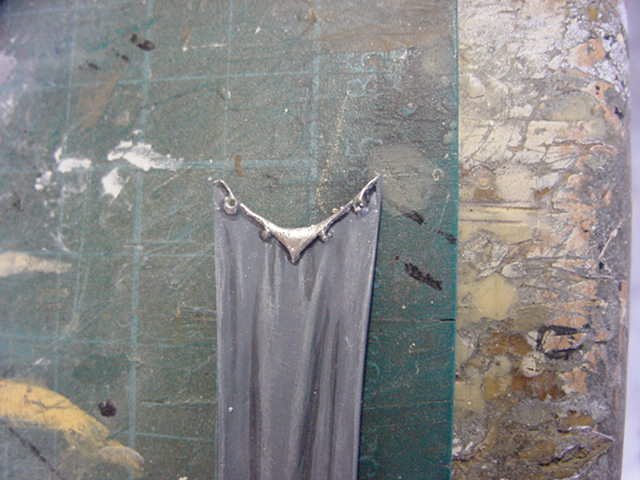
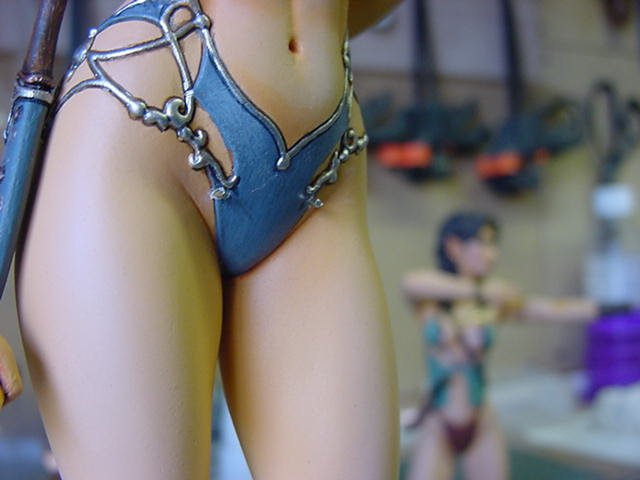
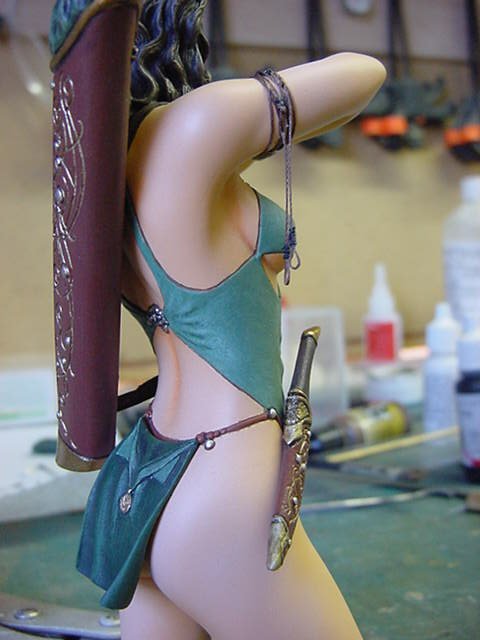
Now to the sash skirt like thingy.
Again the 1.5mm brass rod and some holes drilled.
Brass rod to the body, pop the sash thing on.
A drop or two of cyano, fill, make good and a dab or three of paint to clear up.
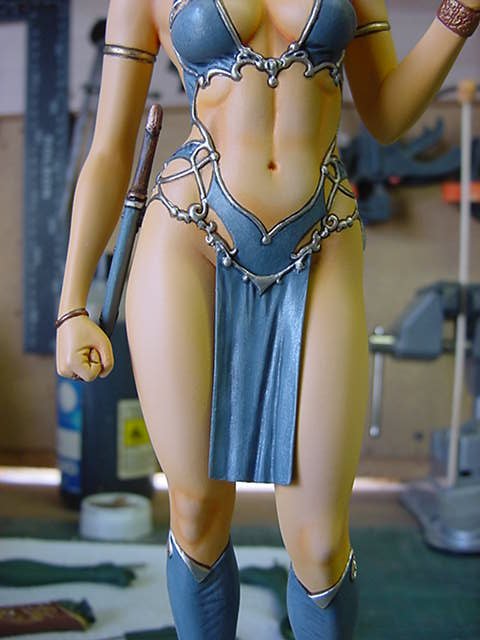
And that's Lisette done and done with the figure assembly tasks.
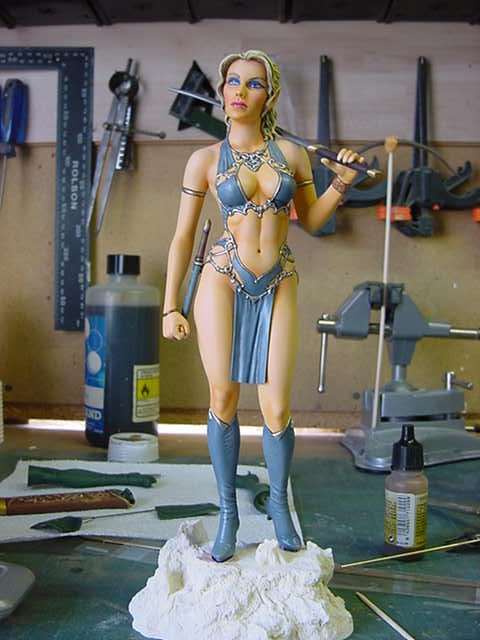
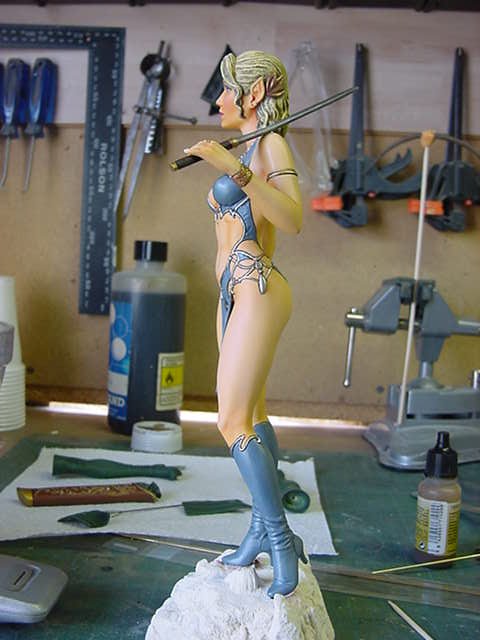
And very nice too!
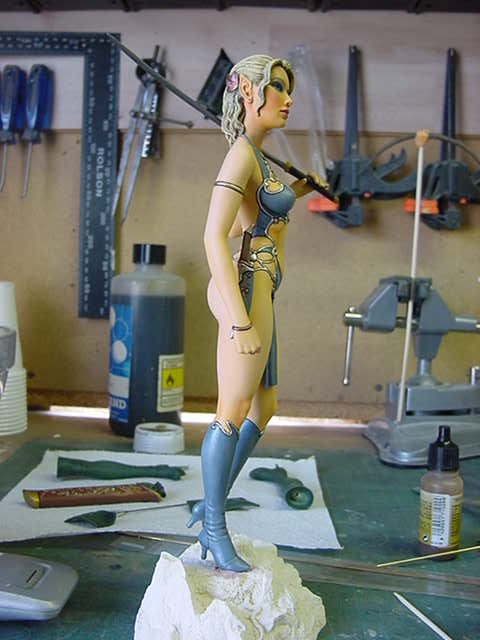
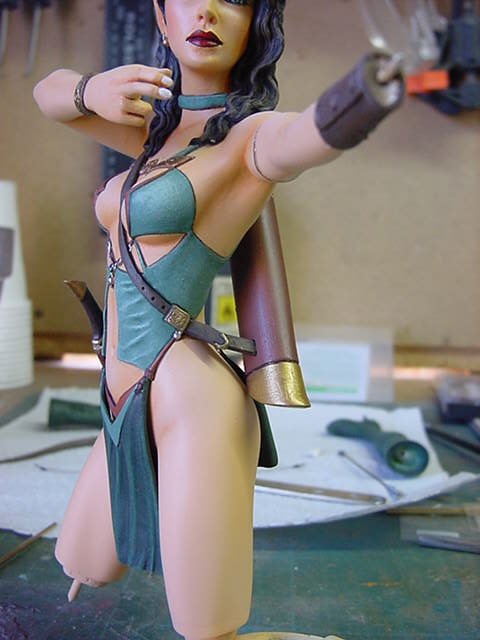
And Alayne up next.
Likewise deal with the dagger, done in short order.
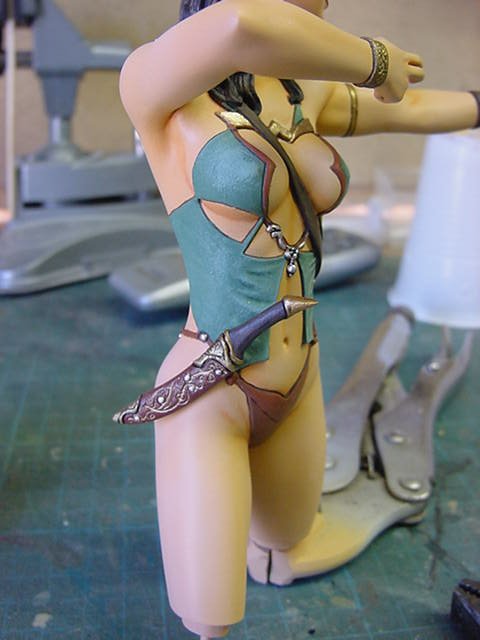
Certainly done and done there so onward!
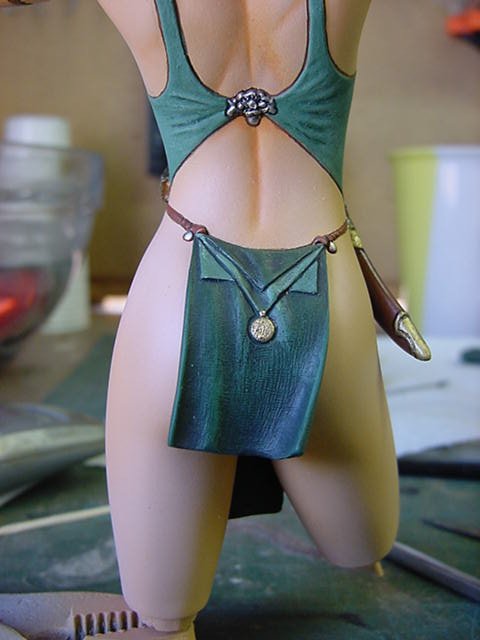
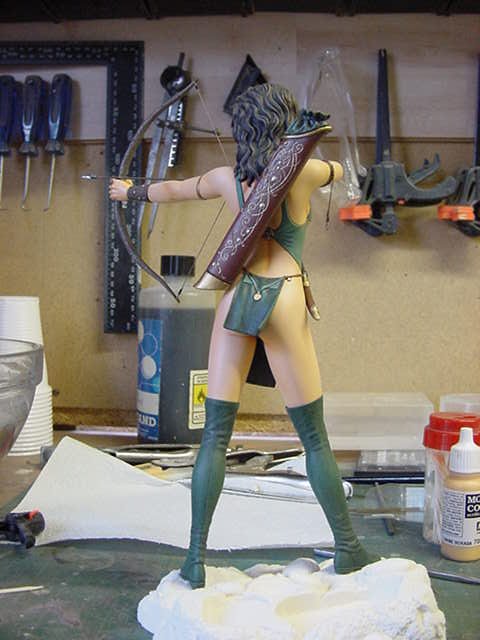
Front and back sash skirting pieces attached in much the same method as Lisette.
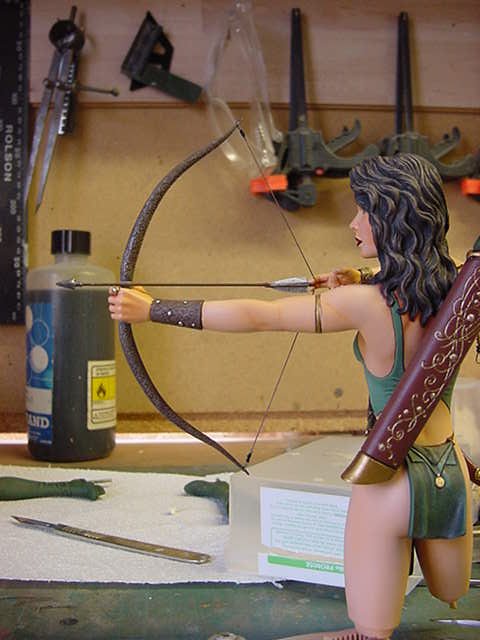
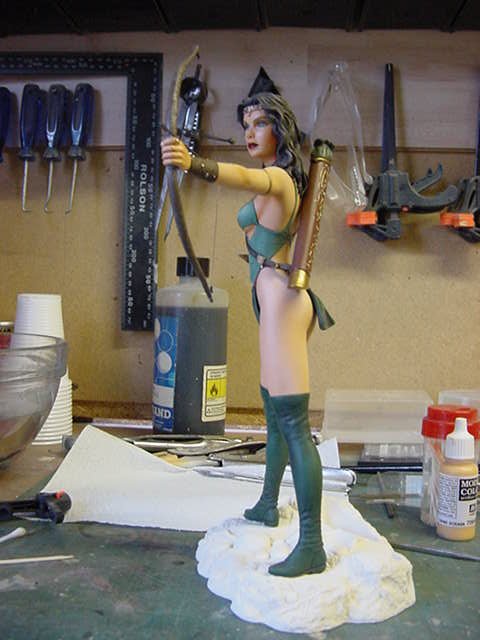
Some 2mm brass rod, the quiver and harness extra part got some epoxy glue and cyano lobbed at 'em.
The quiver duly attached and looking rather spiffing I might add.
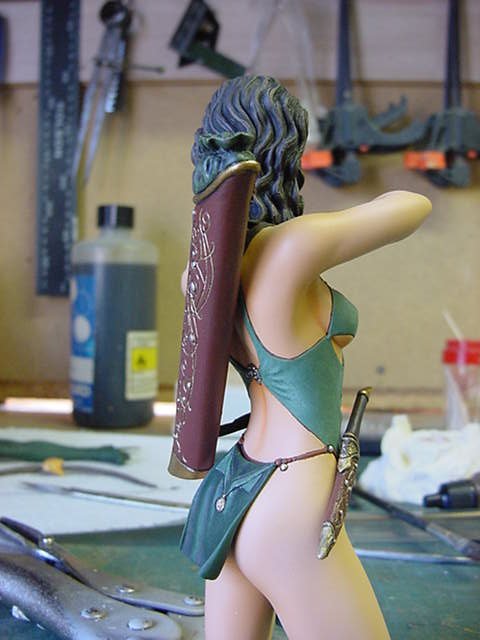
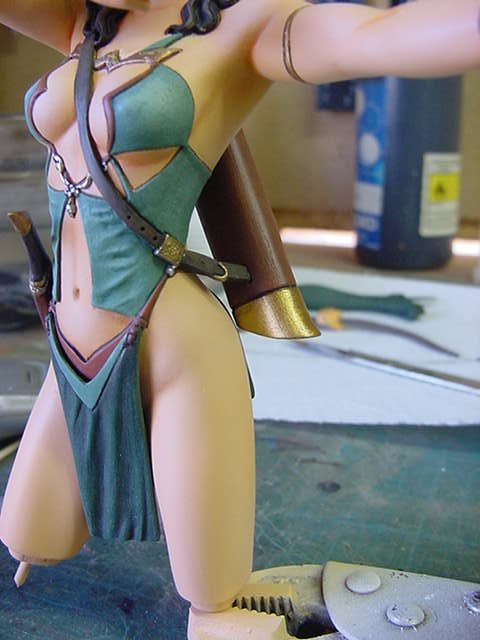
Nice!.
Now those two extra bow strings I made up.
Well any archer worth their salt carries spares but this lass...
Well she's a bit short of pockets so they gotta go somewhere.
A wrap or two round the rather nice upper arm, a dab of railroad modeling scenic glue to fix and that's them dealt with.
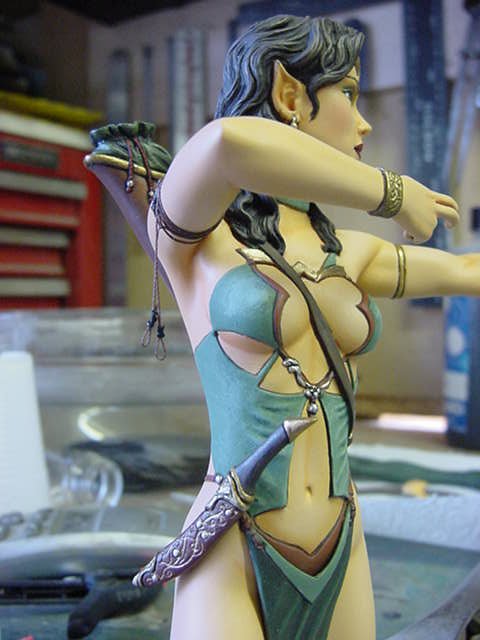
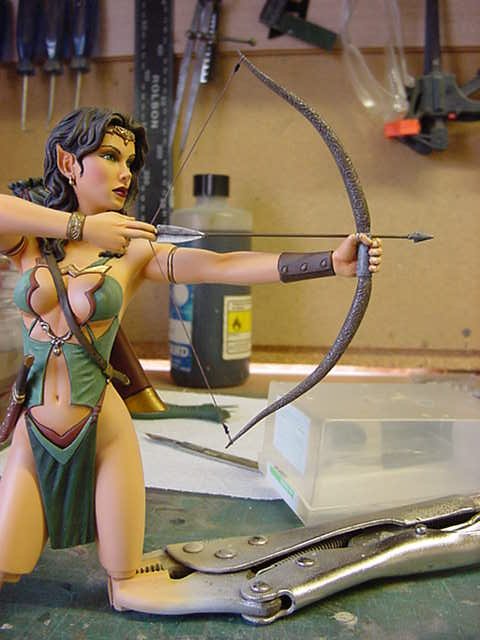
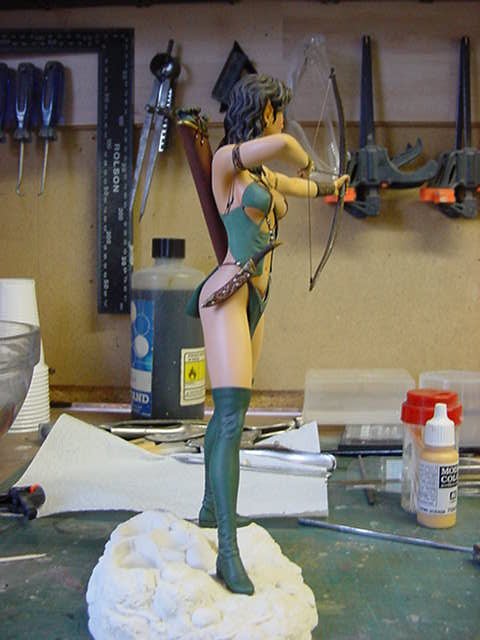
Second to last bits...
The bow hand epoxy glued in position.
Bow string placed on the nocking's and glued with a tiny drop of epoxy to the fingers holding the draw.
Arrow in position and secured with two tiny drops of cyano.
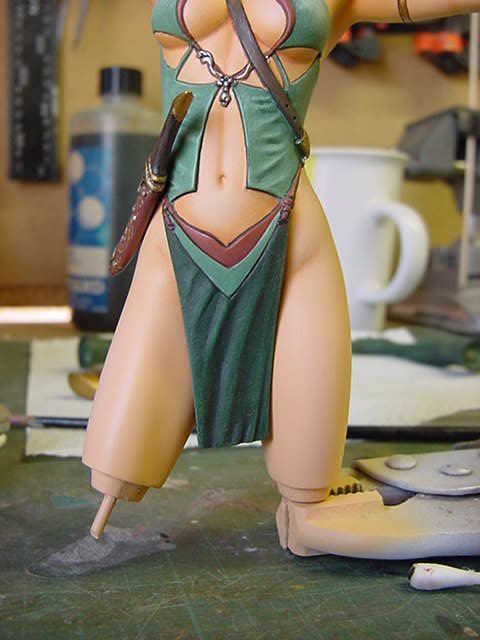
And last but by no means least, foot wear.
And the rather fetching pair of boots brought out.
Paint over spray cleaned off the leg stubs and boot top inner's with some cellulose thinners on a q-tip.
A smidgen of epoxy glue laid on and the deed was finally done!
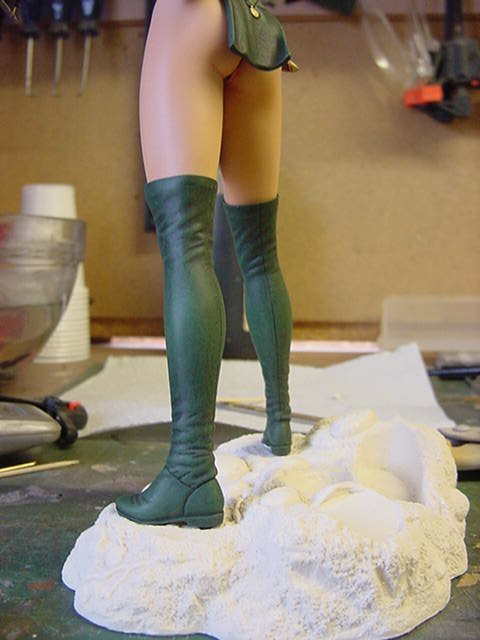
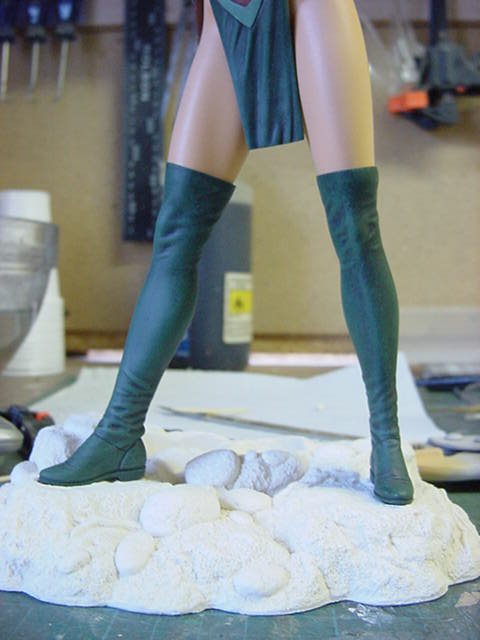
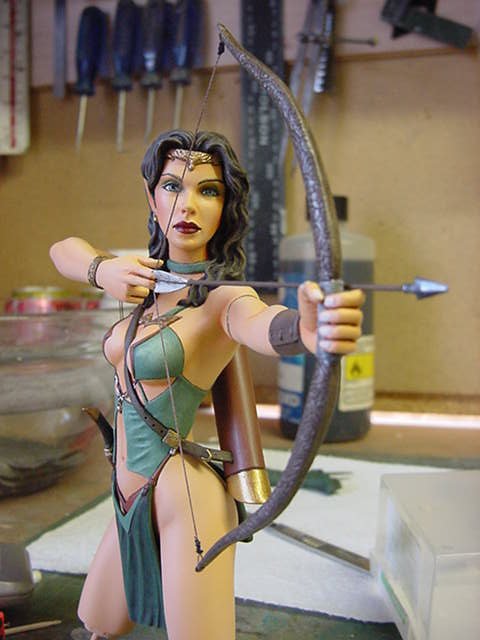
And that be this lovely lass in one piece.
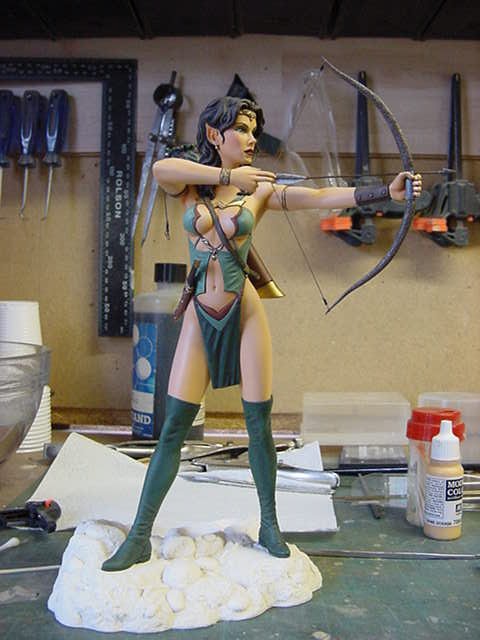
And that's that for the final figure assembly.
Away with thee sharpish like to the next and final page for the base painting as it were.
See ya there!
Page Number