
Space 1999 44" Eagle Transporter
1/24th, Studio Or Thereabouts Scale


 Page Number
Back again and no offence meant to the religious types but...
Jesus Pogo Dancing Bloody Christ!
This Will Take A While...
Well welcome back one and all!
Yea all is not as rosy in the herb garden as it could be
and now one will explain.
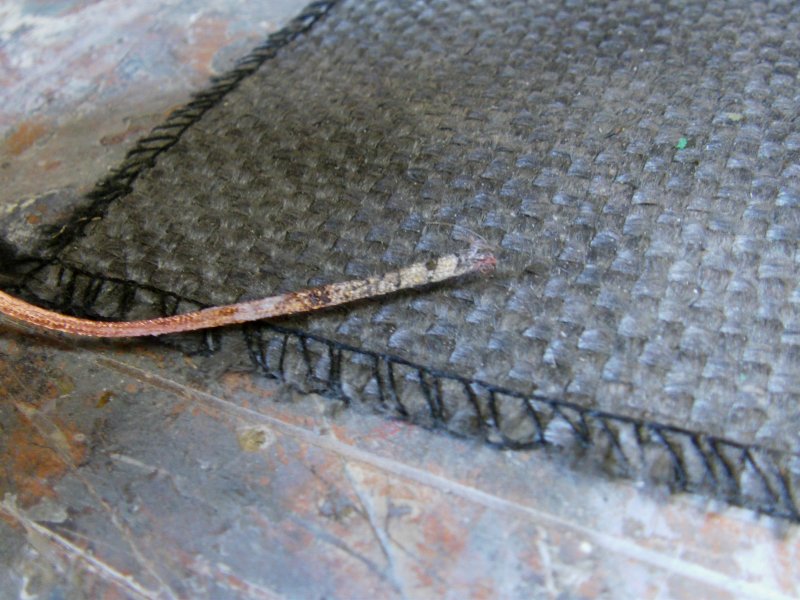
You may recall the pre-built spine from the last episode...
Yes?
it looked a bit like this around the joints.
Riiiiight...
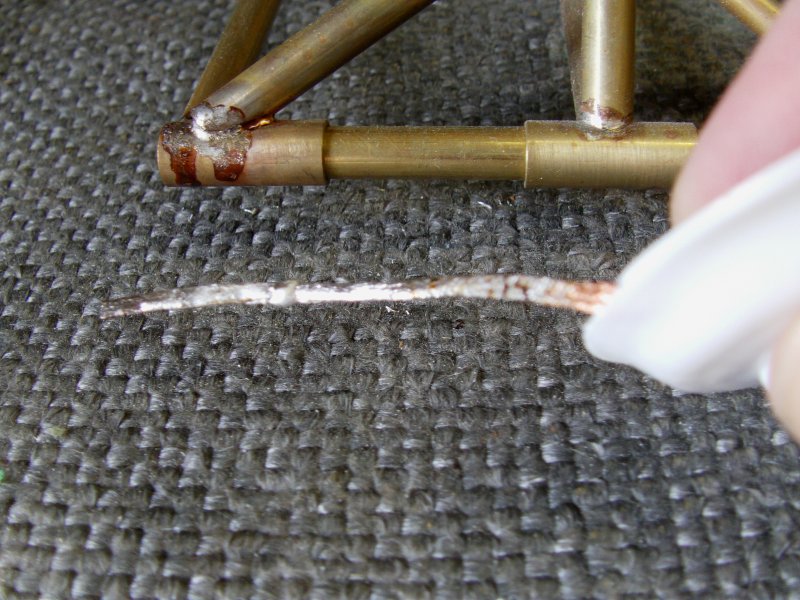
Ok then so first up a bit of de soldering desperation with this kit.
Flux, solder, small blowtorch and de soldering braid.
The braid is a copper thing impregnated with flux.
Simple enough thing, heat joint untill solder runny,
apply braid and solder be gone.
The braid comes in 1.5 meter
or almost 5 feet lengths on the reel.
I used two on the spine.
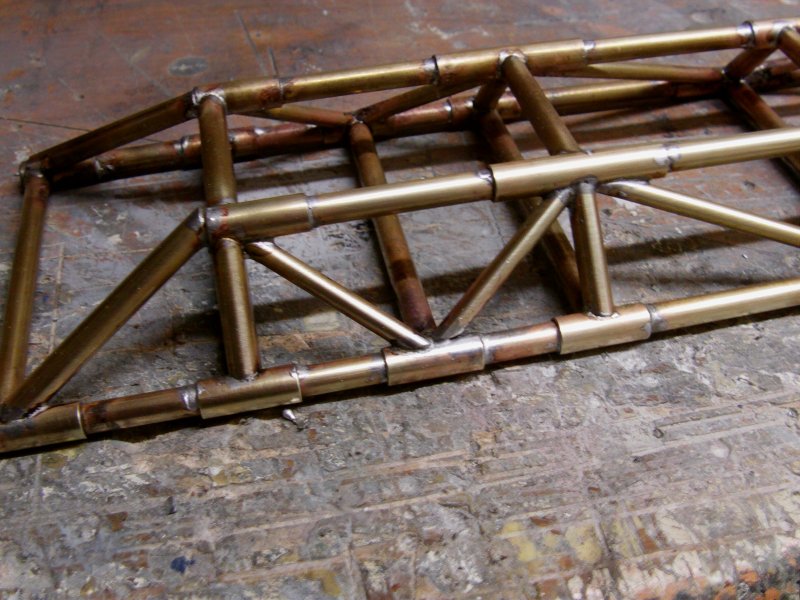
All the joints were then fluxed up and re flowed with fresh solder where required.
The longerons were then soldered to the rest of the spine making it completely rigid.
The result is not stunning but better after
a bit of needle file fiddling about and a rubdown
with fine grade wire wool.
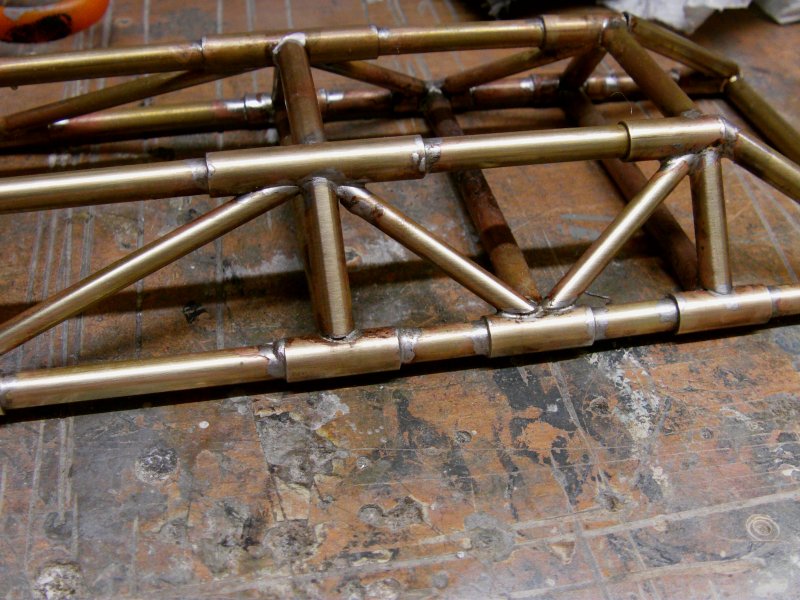


So that done with some last cleaning up and gap filling to do,
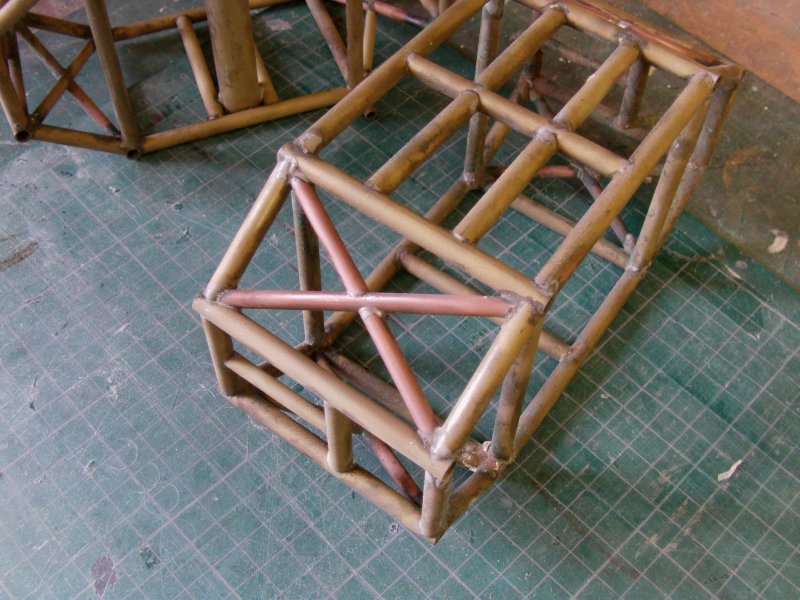
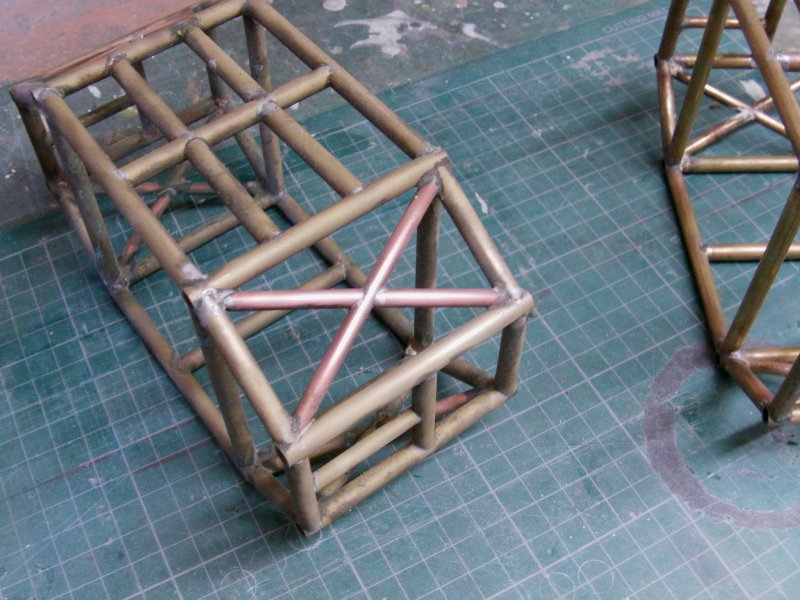
on to the cages.
And I repeat...
Jesus Pogo Dancing Bloody Christ!
This is how they look untouched.

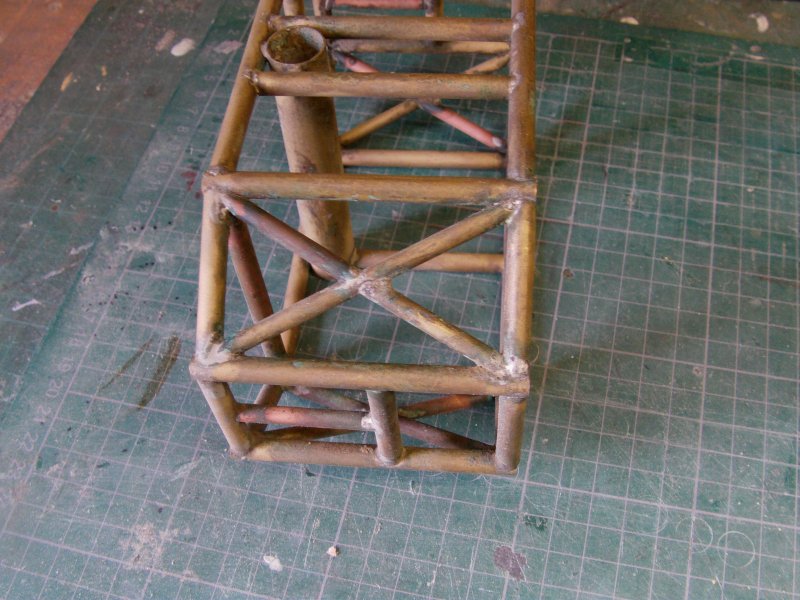
So to clean these up...
Well the best way is to carefully take these,
throw them in to a spares bin,
forget those bloody messy things even existed
and make new ones.
Trust me, it's just better in the long run
and a pretty damn good idea in the short run too!
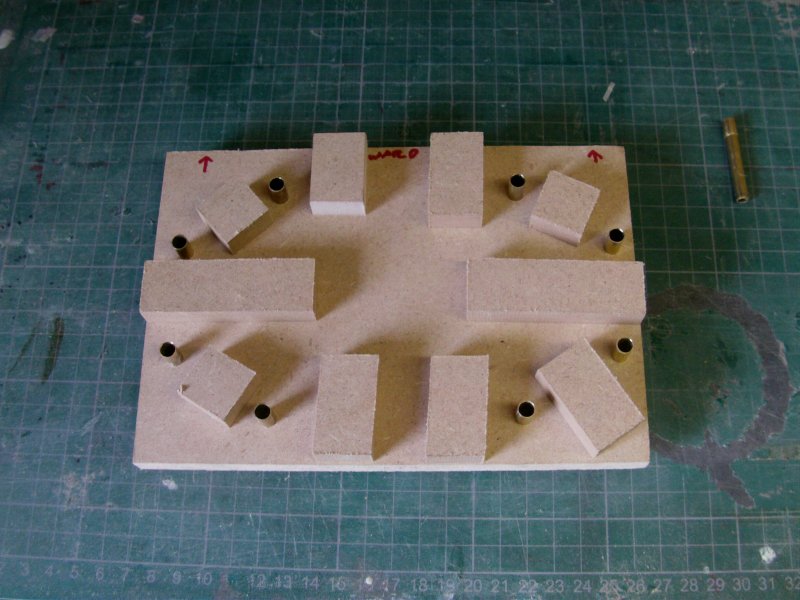
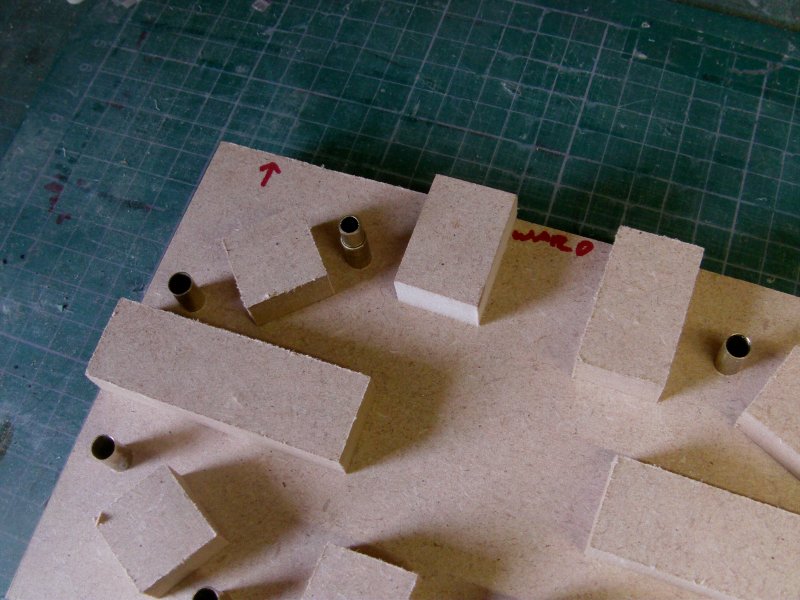
So then, a jig of sorts.
I do have some more Eagles to make in future times so
I would have to make them anyway but now is as good a time as any.
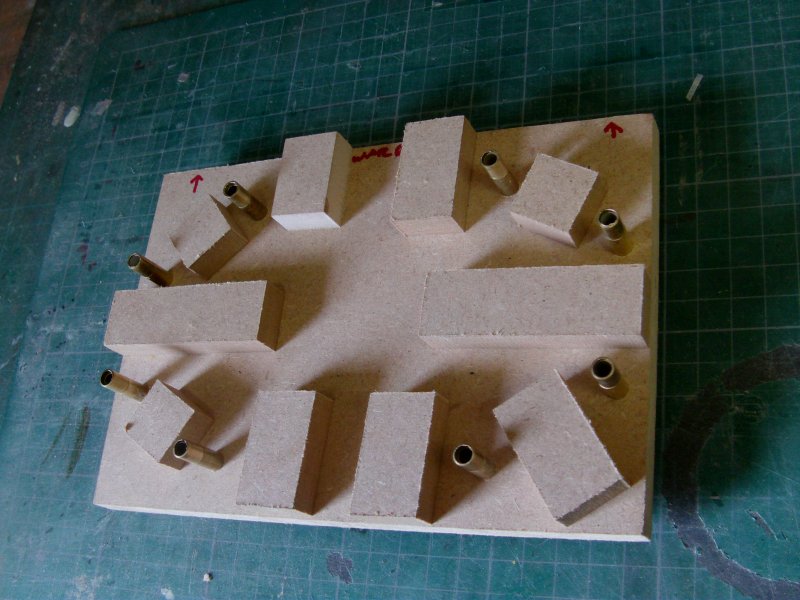
And this is the low tech approach.
Namely 12mm or 1/2" thick MDF sheet.
Some measuring, drilling, sawing, screws and a few bits of brass tube
Get's us both ends and a center support thingy to make the cages.
This is pretty much the same method I used when
building 44" Eagles all those years ago so trust me,
they work just fine.
The spacer blocks are the things that might just get a bit singed
by the blowtorch but that's why they are screwed on.
Any get too damaged and just unscrew,
make fresh lumps.
screw them on and go to go again in a jiffy!
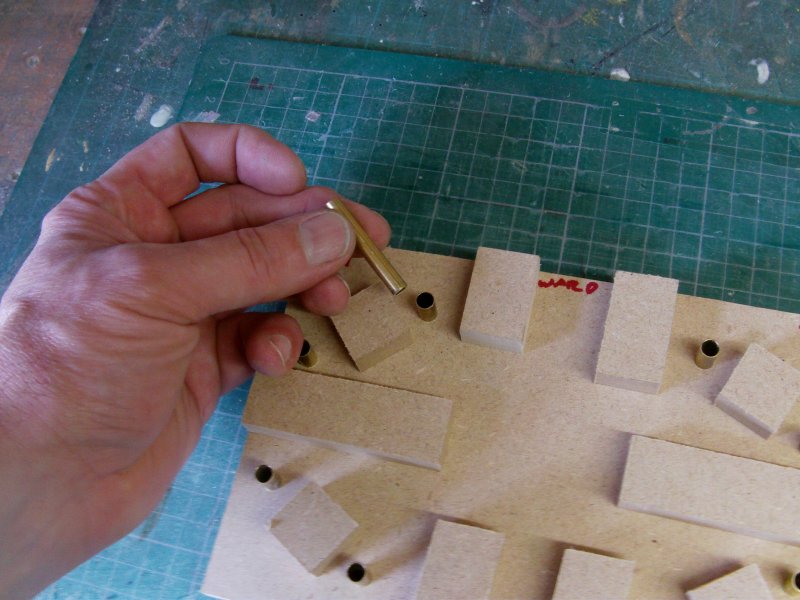
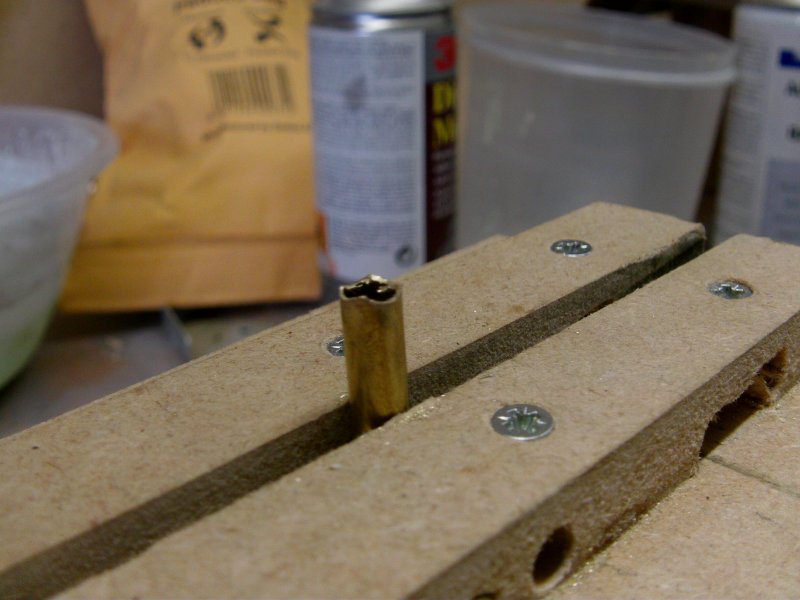
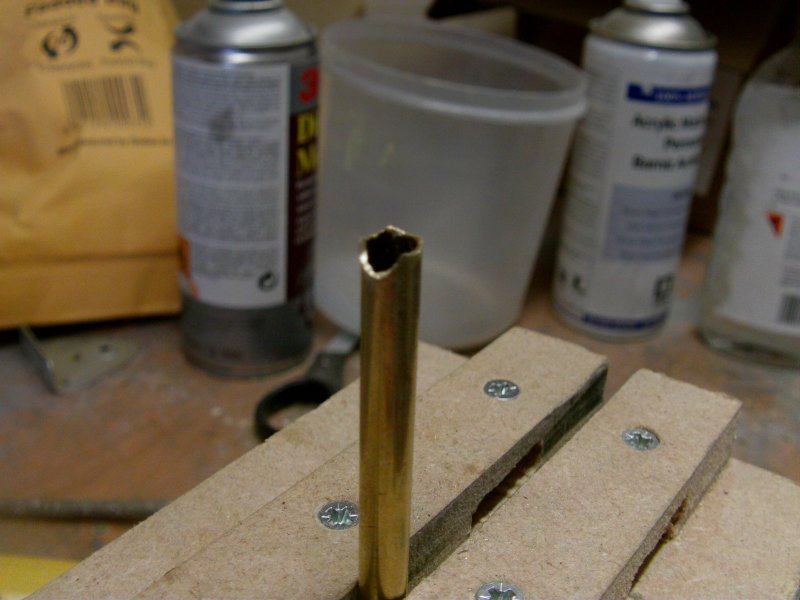
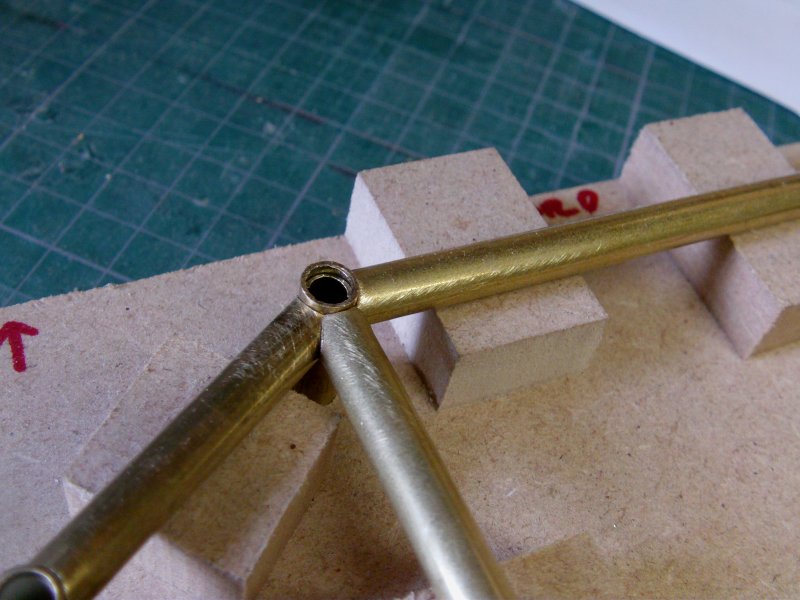
So another jig to make is the one for filing the ends of the brass tube.
Namely to make the 'fish mouth' shape where the tubes join.
So one end of whatever length of tube is required is filed
to look like so...
insert in to makeshift jig like so...
And file other end to required length.
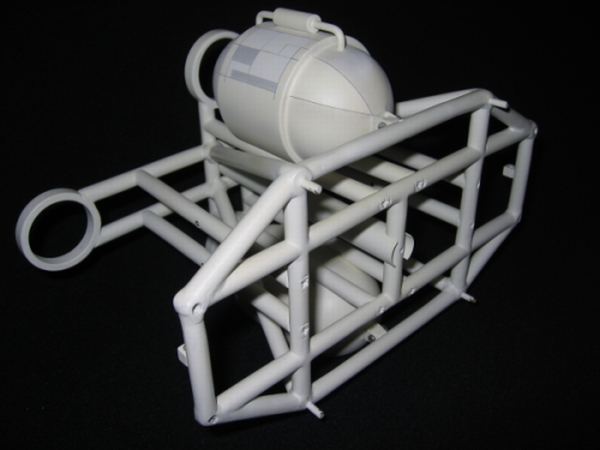
Now then, this came in to use for the first part to make
which is the frame on the rear of the Eagle which holds the fuel tanks
and which the main engine bells attach to.
This was one part the client never got hold of and
judging by how the rest of the brass work looks,
good thing too.
A proper one looks like this, the pic is one that a client sent me
and I have no idea where it originates from.
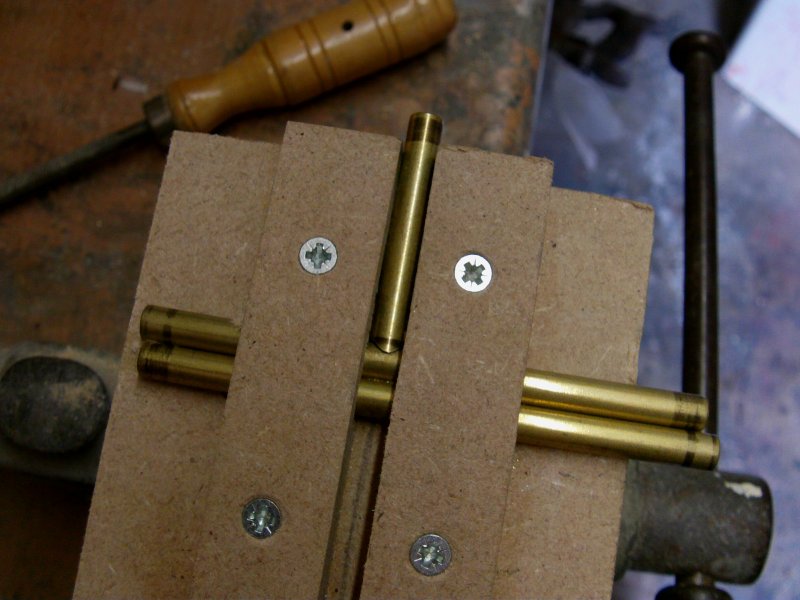
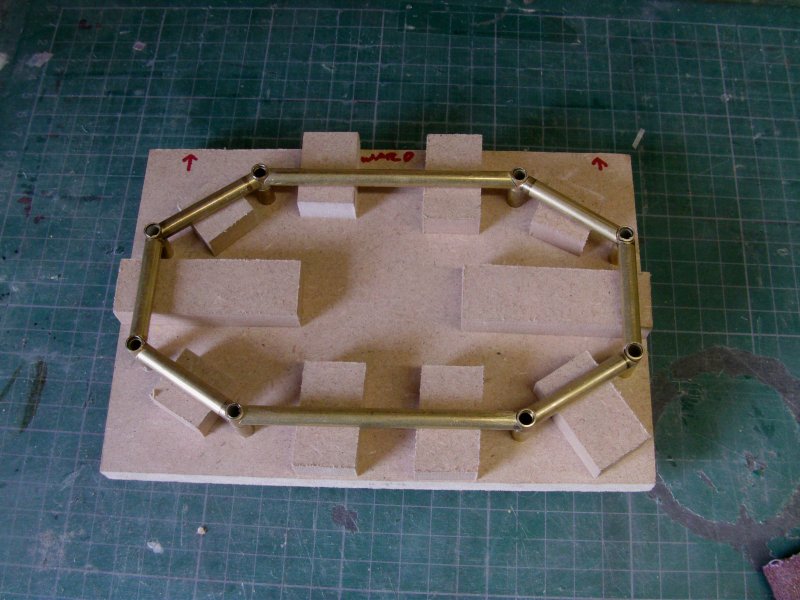
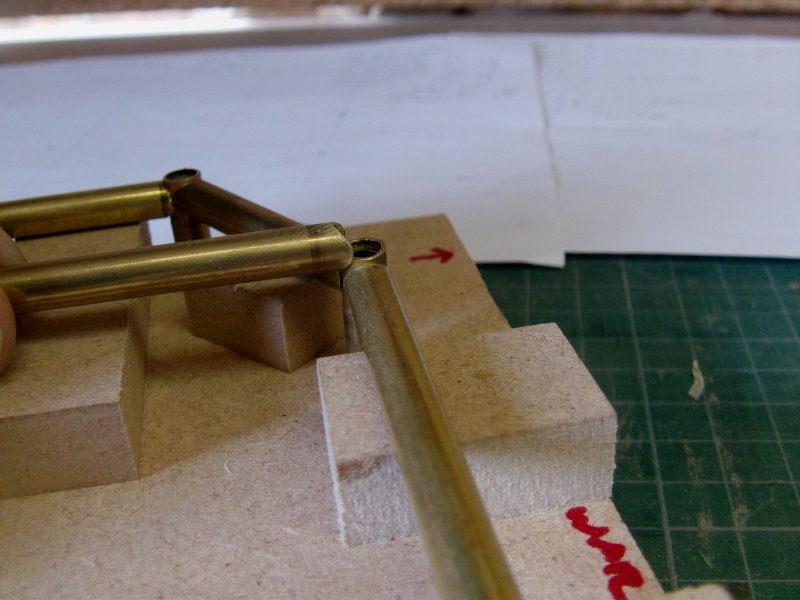
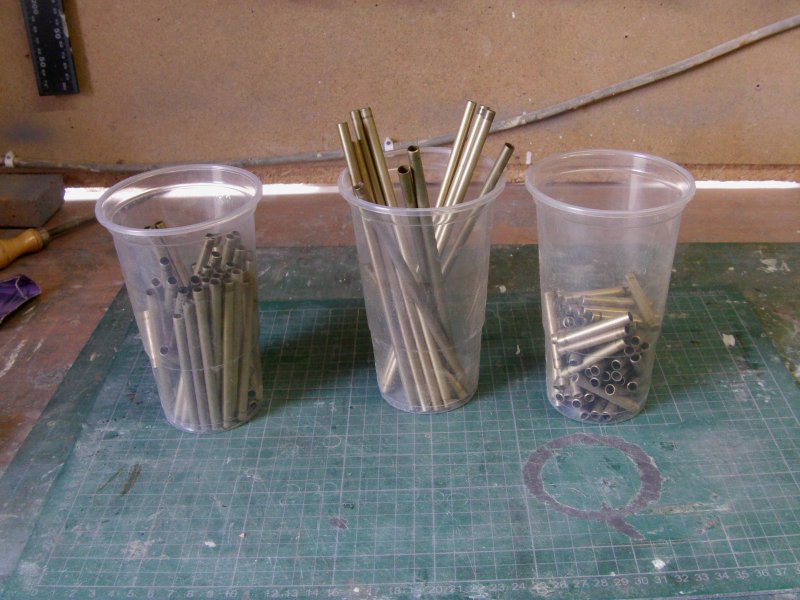
So for the first bit, the elongated octagonal main frame.
Some short lengths of 5.5mm brass tube fitted in one of
the end plates of the cage jig.
Same shape as the cage so it's all good.
Repeat for all eight and then cut eight 8mm lengths
of 6.3mm brass tube and fit on the 5.5 tube stubs.
And then much filing of tube ends did happen.
Best way to ensure a good join is to make the joints as snug as
possible before going anywhere the blowtorch and solder lark.
Something along the lines of this...
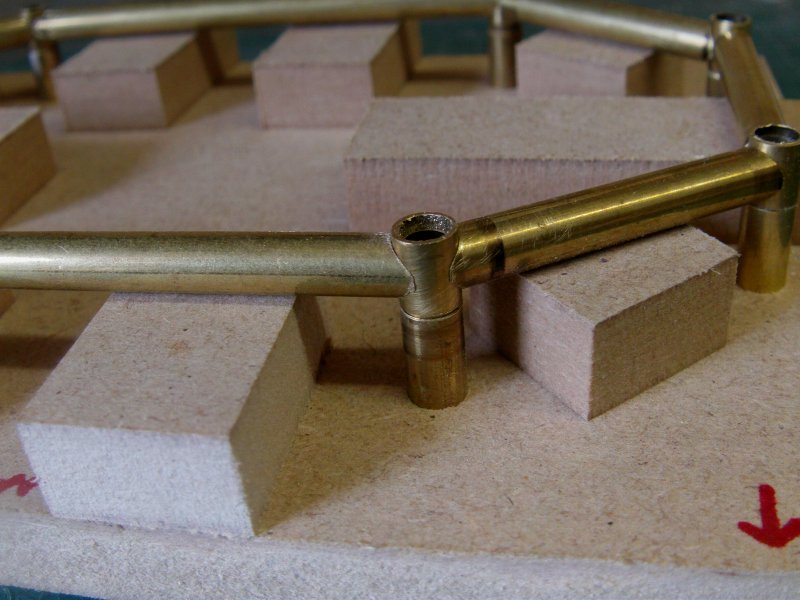
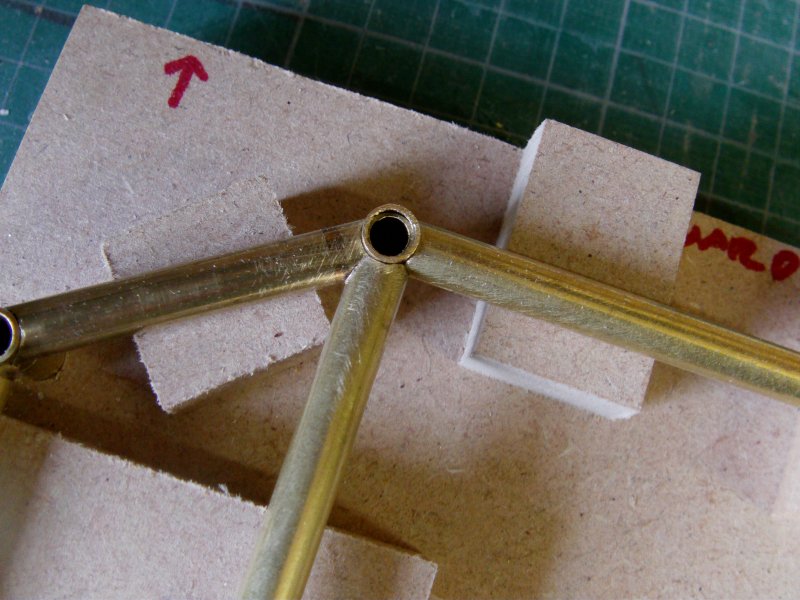
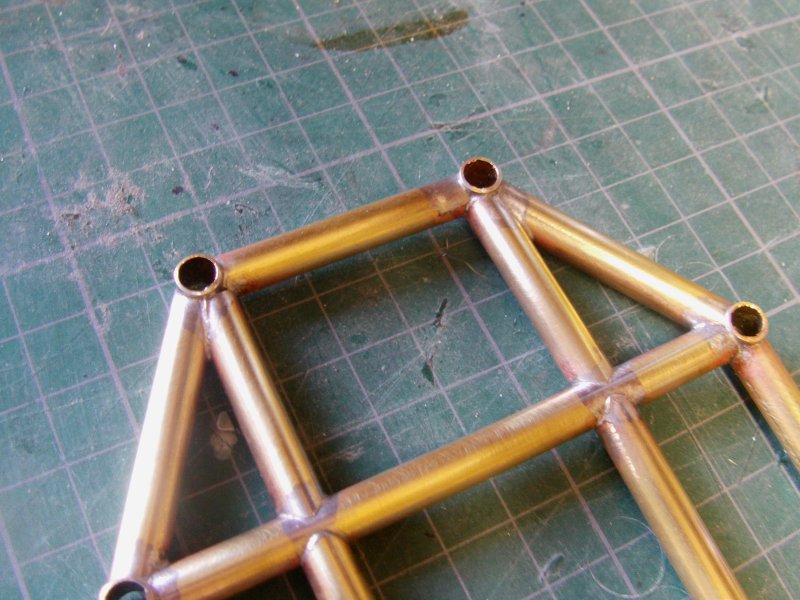
Now some joints are not this straight forward, case in point...
So the 'fish mouth' has to be fiddled about with and
a bit more filed off to fit.
Which was a done deal after a cuppa and nicotine break.
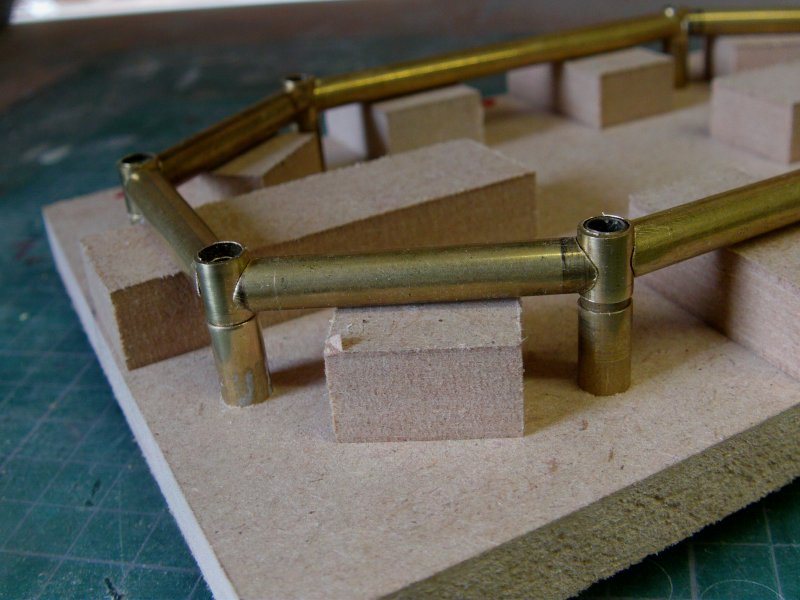
And with a minor amount of refiling here and there, the fit was good
enough for my purposes.
The other end was mucked about with in the same way and
the rest of the brass for the octagonal frame was cut,
filed and when ready 'twas all soldered up.
A note here, my personal preference which seems
to work nicely is the following:
Once the joints are ready, light the blowtorch and
wave it over the joint to warm it up up just a little.
While still warm, apply flux paste so it goes to liquid and flows
around the joint nice and neat.
Cut a tiny bit of solder off the reel and rest on the joint.
Fire up the blowtorch and have at it!
With a bit of practice you get a solid,
clean joint with little clean up required.
The result you can see here after removing from the jig plate
and a brisk rub over with some medium grade wire wool.

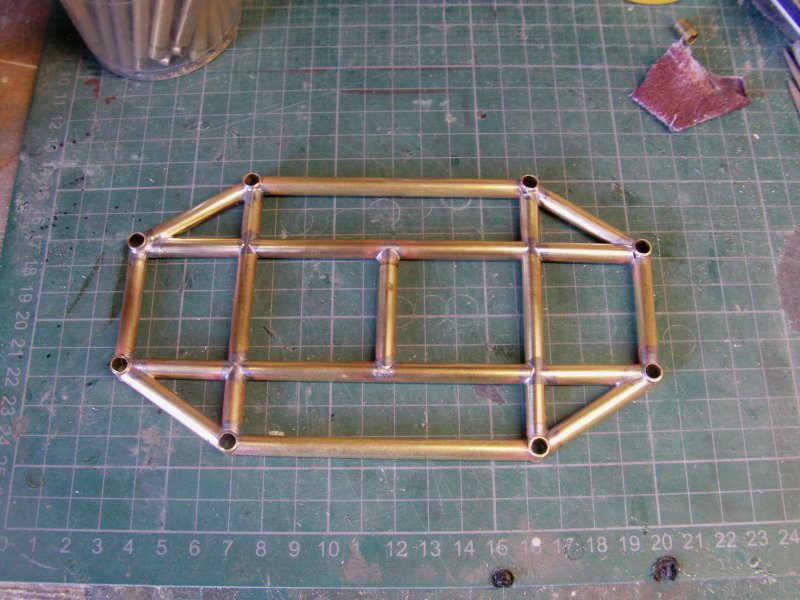

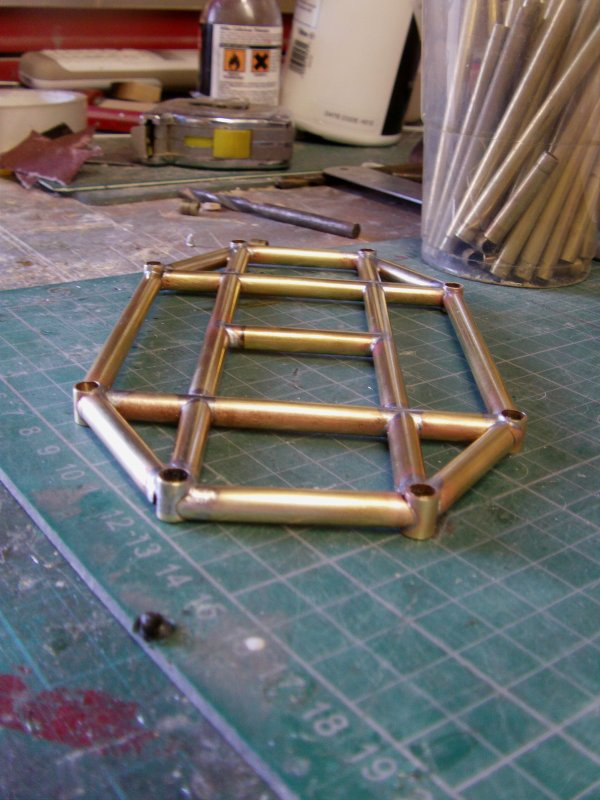
Not bad eh?
A wee bit better than some of the pre-built brass work
I have to work with so it's a start.
The rest of the tank frame to be done and tube
for the cage frames cut and on standby.
This and more for the next update so hopefully it won't
be as long in coming as this one has been.
See thee next time,
you goodly gang take care and go easy out there now.
Page Number