
Space 1999 44" Eagle Transporter
1/24th, Studio Or Thereabouts Scale


 Page Number
All this faffing about...
Just For A Better Fishmouth!
Welcome back one and all!
Okedoke then, Time to get the first of the replacement cage frames underway.
in order to make me life just a bit less od a teeth gnashing experience,
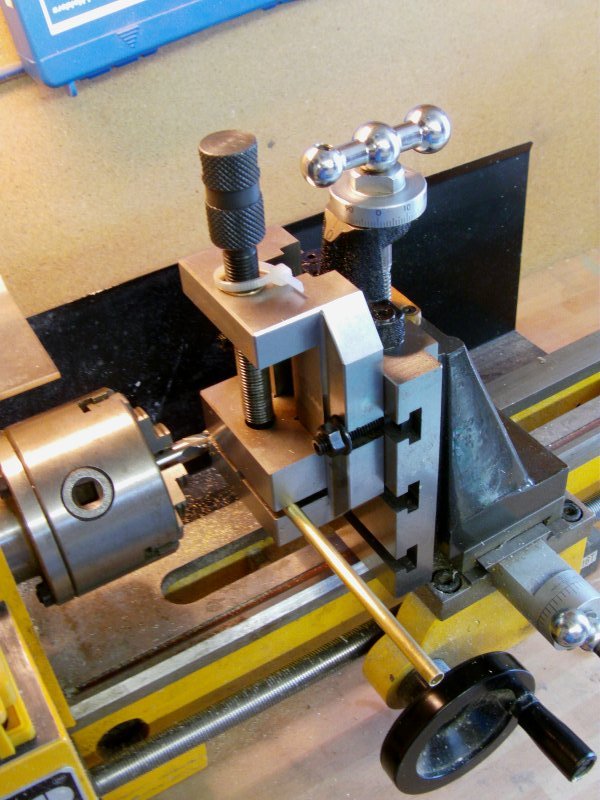
a milling slide was bought in for the lathe along with a pack of differing diameter end milling bits.
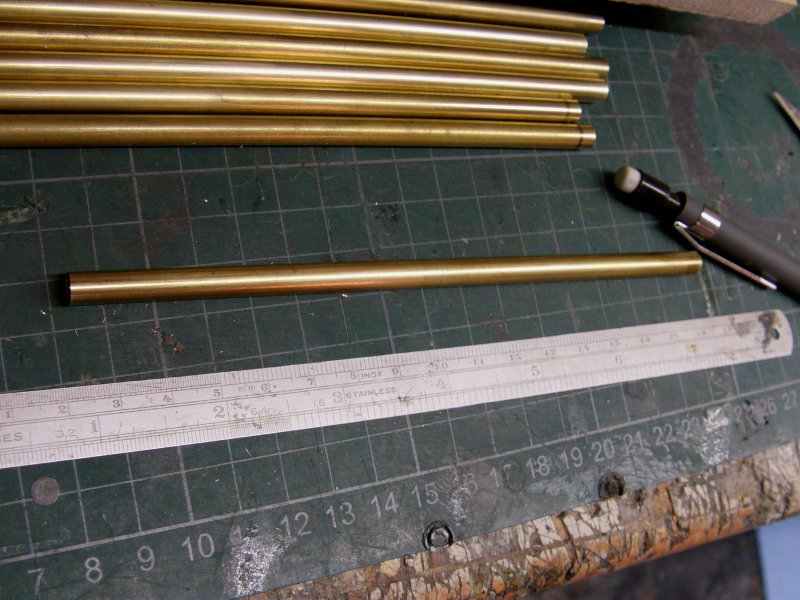
So first off was the longerons for said cage frame.
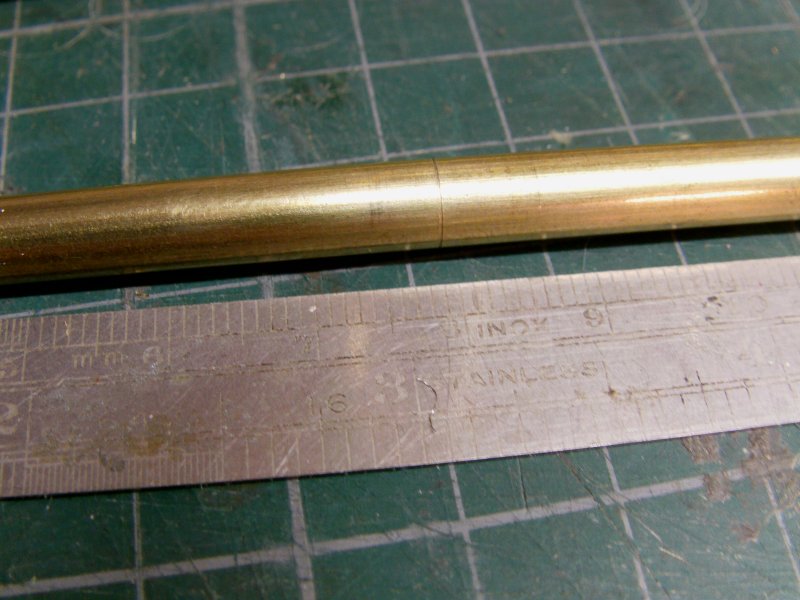
Material cut slightly oversize in an ordinary tube/pipe cutter then ends milled down flat to length.
All the tubes had a thing line cut in for the center marking.
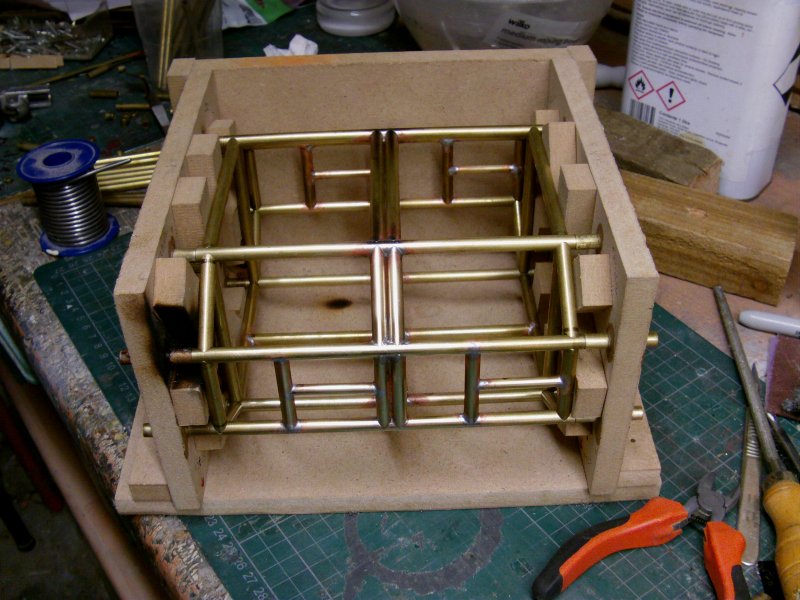
So some 5.5mm tube slid in to one end of the jig and the lengths of 6.3mm slid on to those.
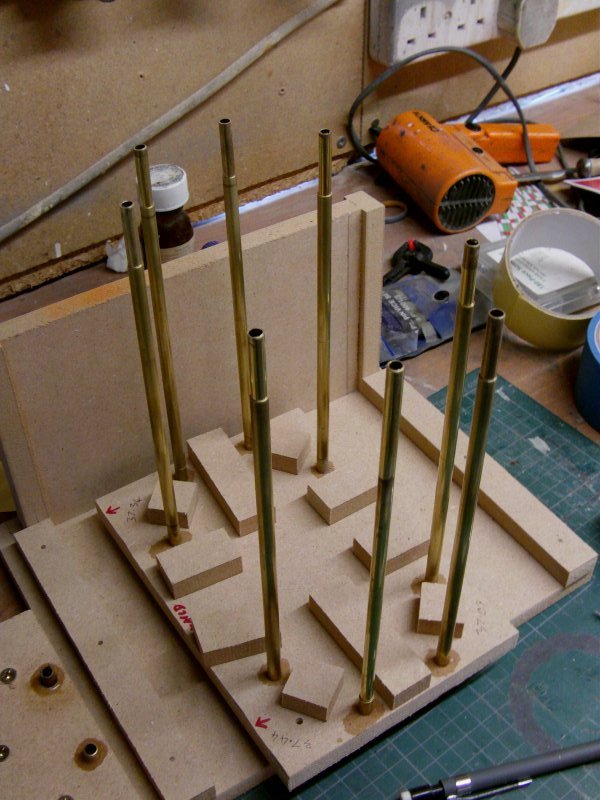
Other end of the jig slid on, the lot placed in the 90 degree set base and screws to hold it tightened up.
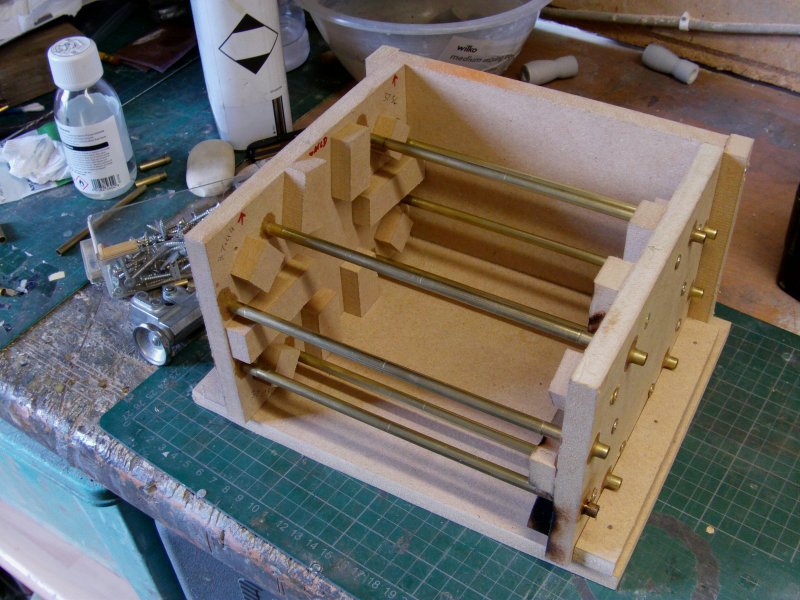
And we be ready to go.
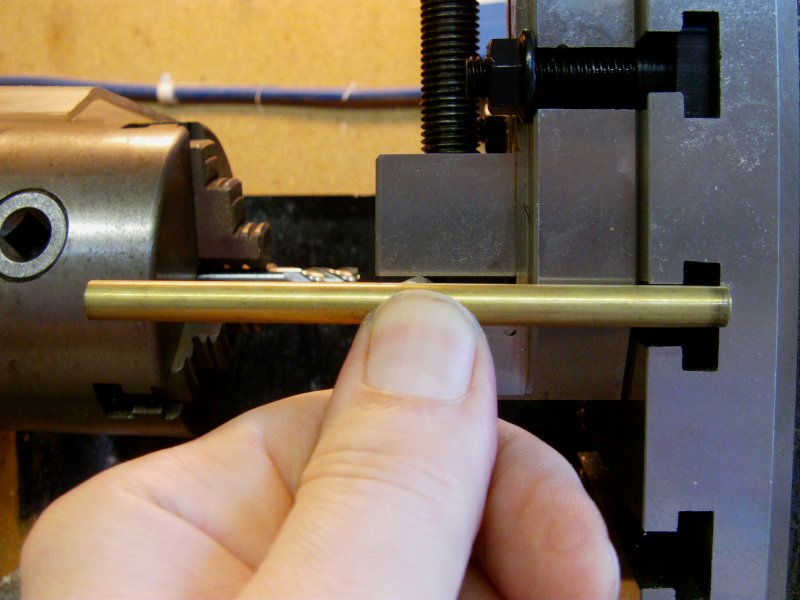
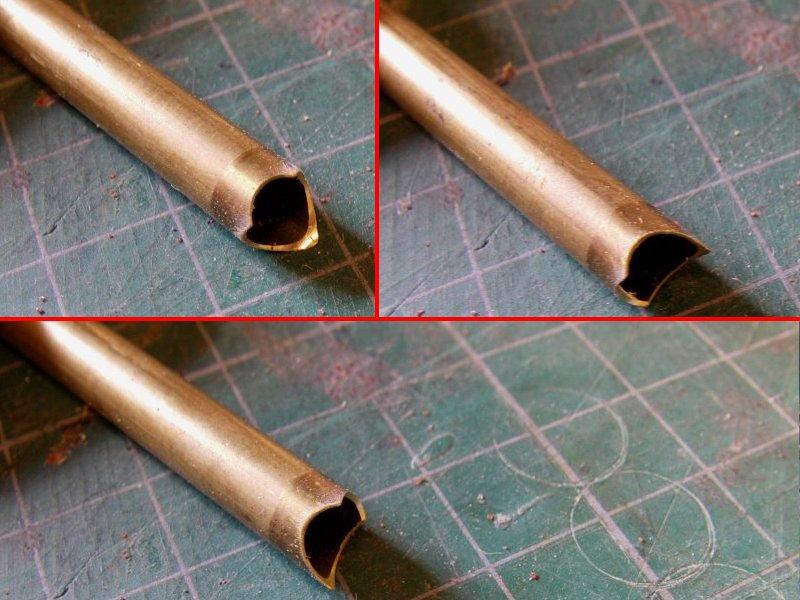
First of the fishmouth bits measured up and cut from 6.3mm tube,
fitted in the slide vice and appropriate milling bit fitted.
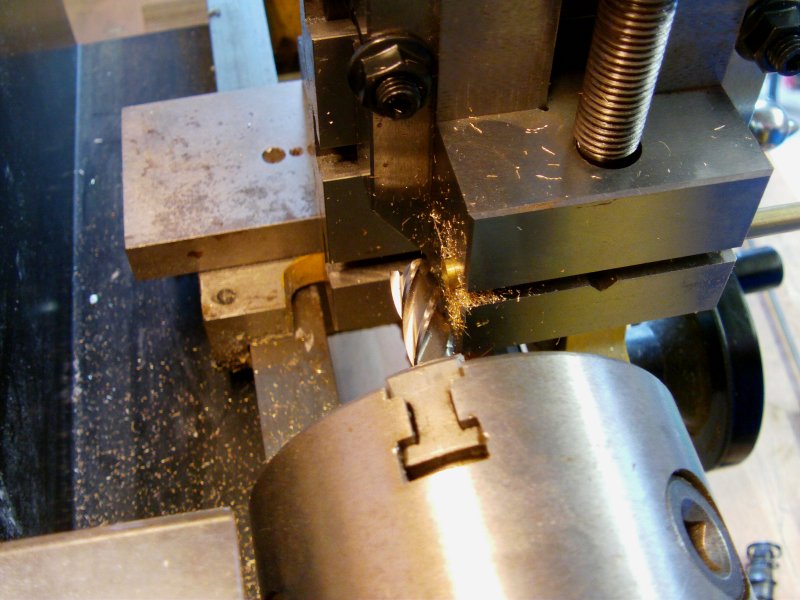
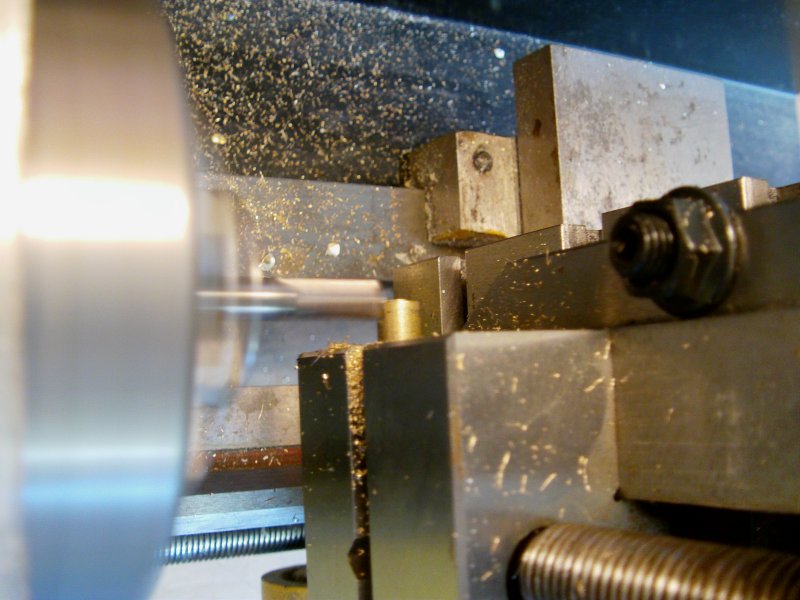
Lathe turned to high gear and high revs for the first careful cut.
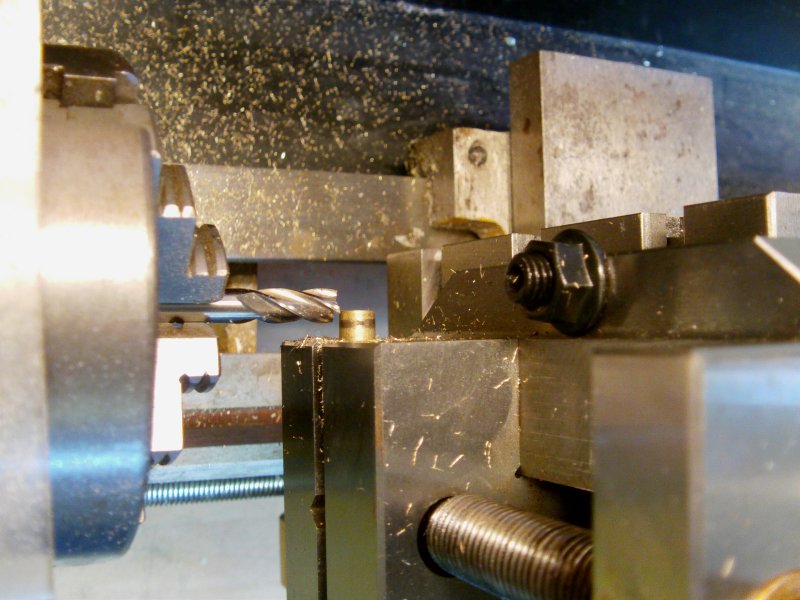
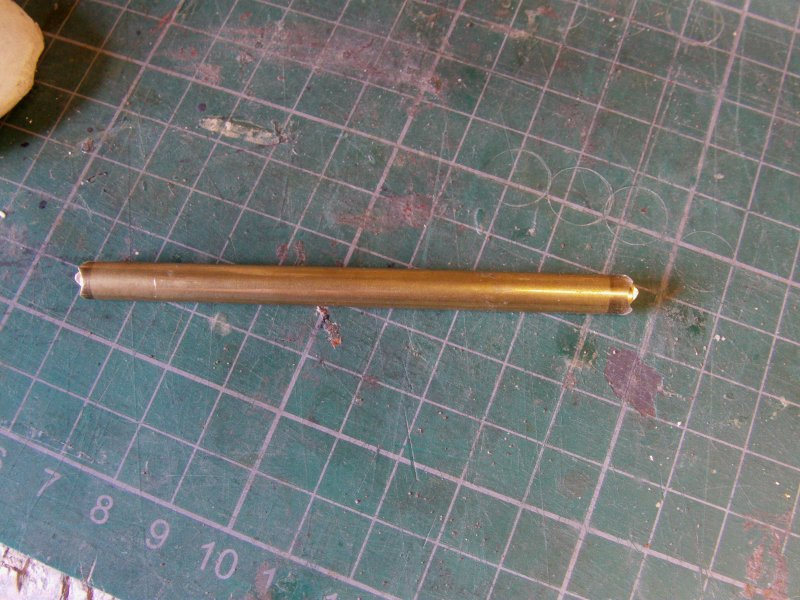
And a very decent result.
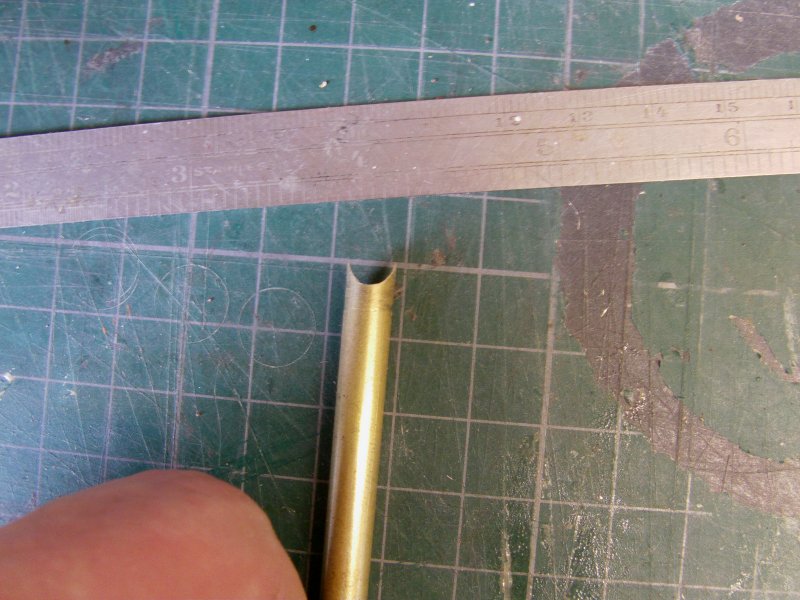
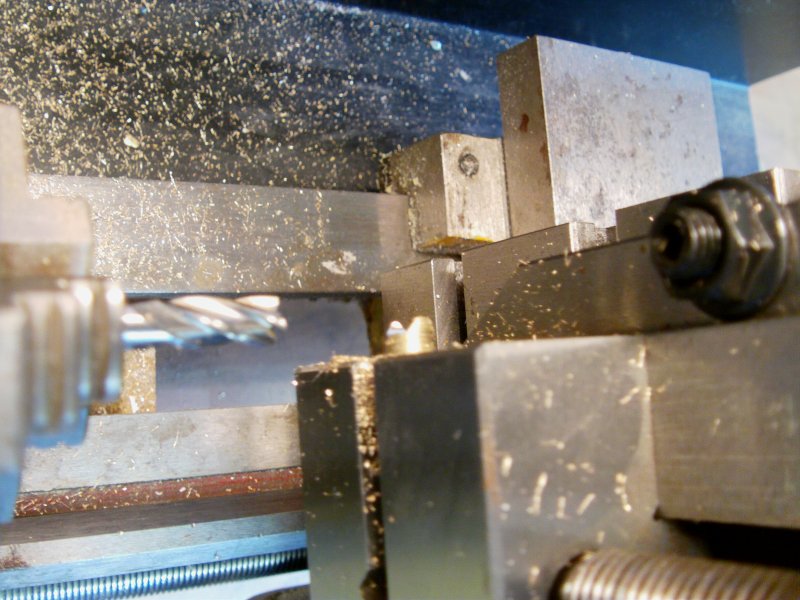
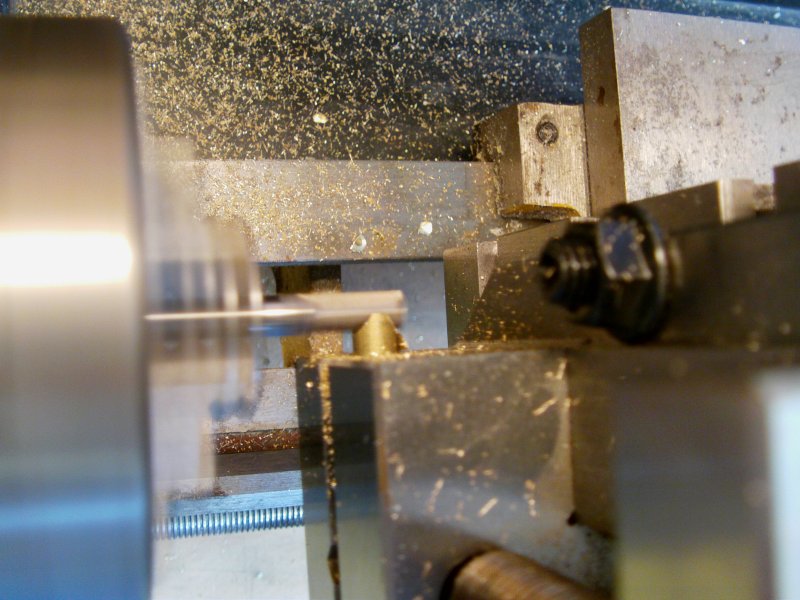
The other end treated likewise.
Fitted in the vice and a scrap piece held up to the cut end to make sure it's kept level
for the next slicey dicey oncey twicey action.
Second cut and sorted with the right numbers coming up on the digital vernier.
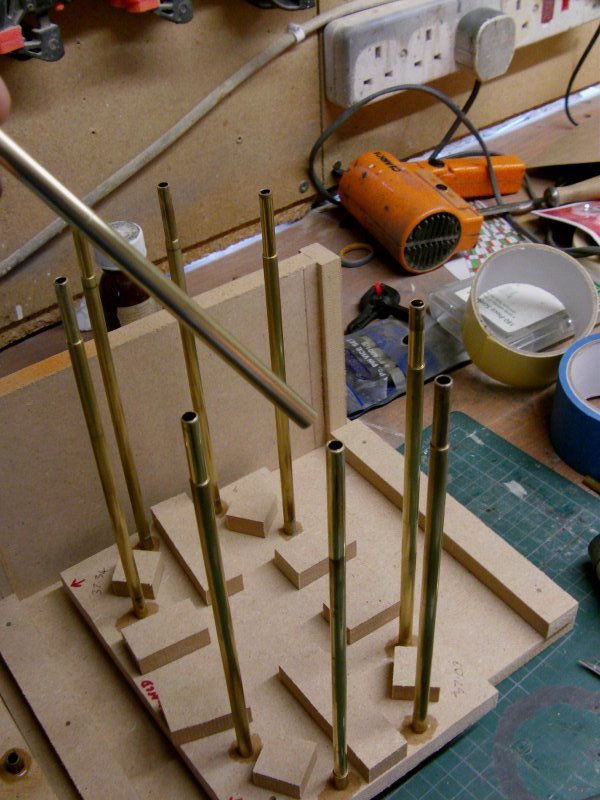
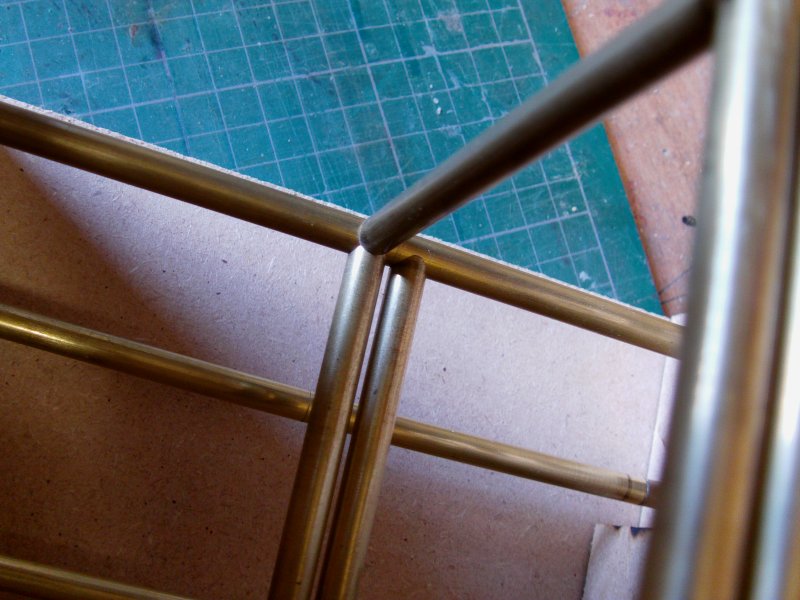
Now there are many points where the tubes run in to each other at right and other angles.
This takes some fiddling about but now possible with little fuss.
And it all fits quite snugly I am very happy to say.
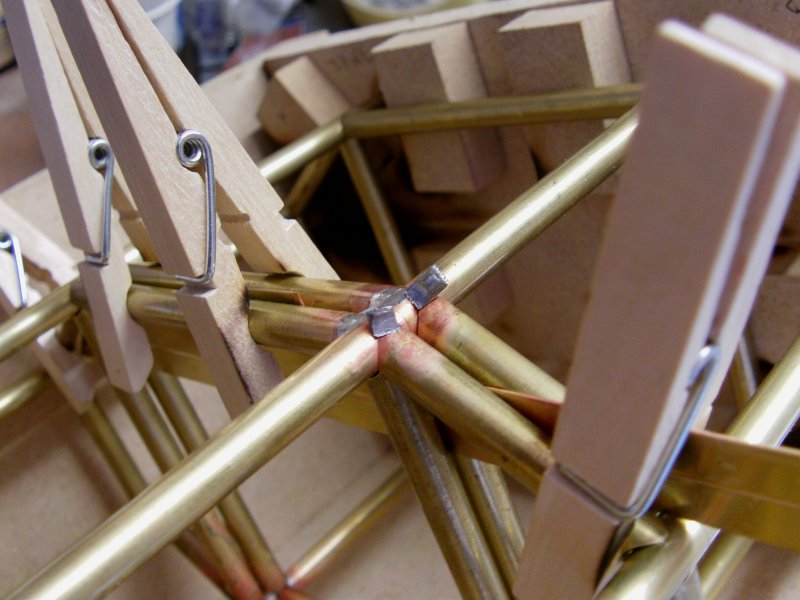
Some spacer strips of brass for the center tubes fitted in.
A few ordinary wooden clothes pegs to clamp up and soldering didst commence.
Not a great deal of solder required either, use sparingly is the order of the day methinks and I
did over do it in a few places untill memory from almost 20 years ago doing this lark kicked in.
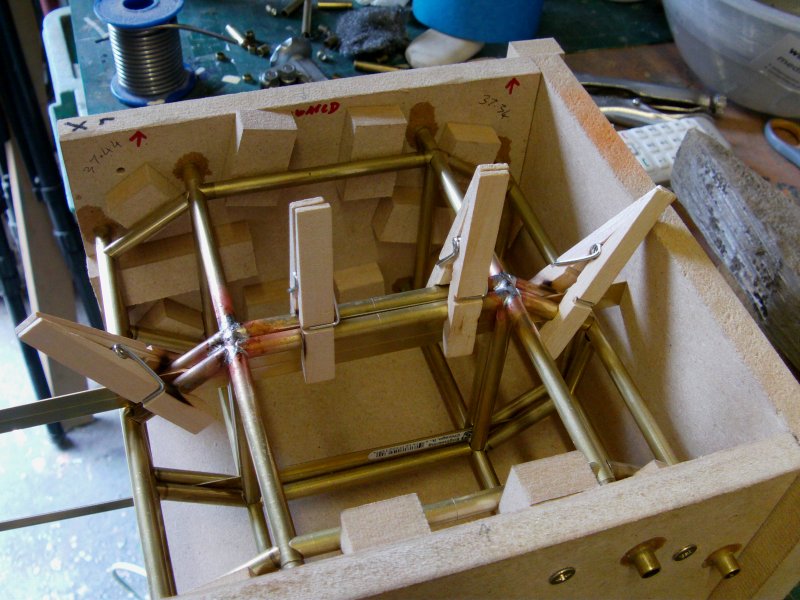
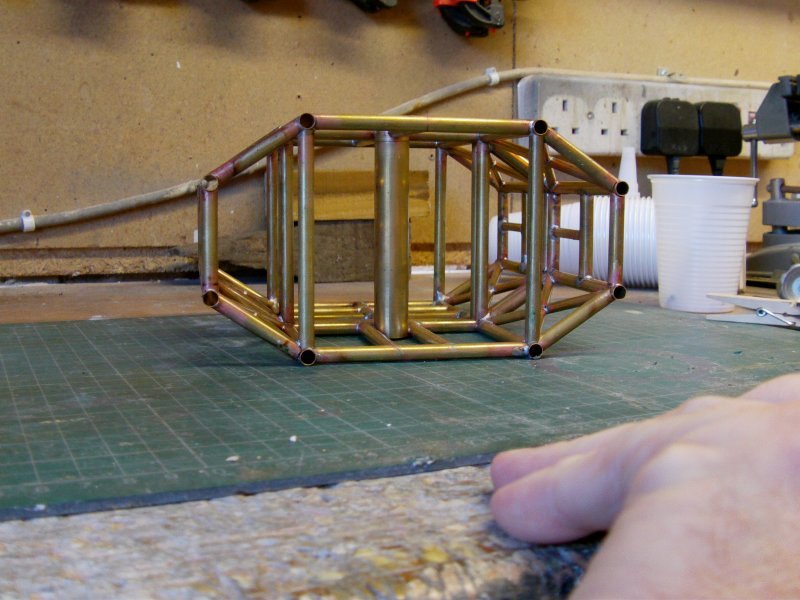
Remove clips and strips, cut and solder the side uprights and cross parts,
Pull out from support base and do the other side and top bits.
A quick go over with some steel wool and see what we have.
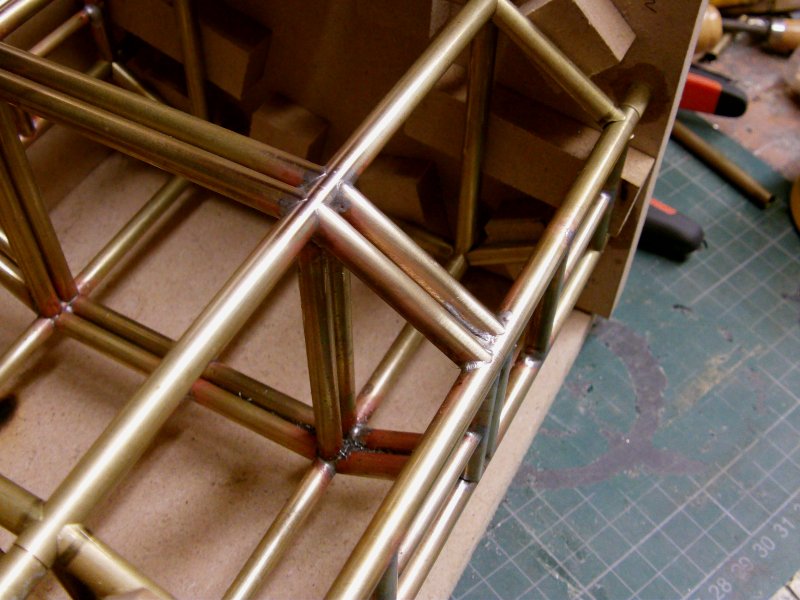
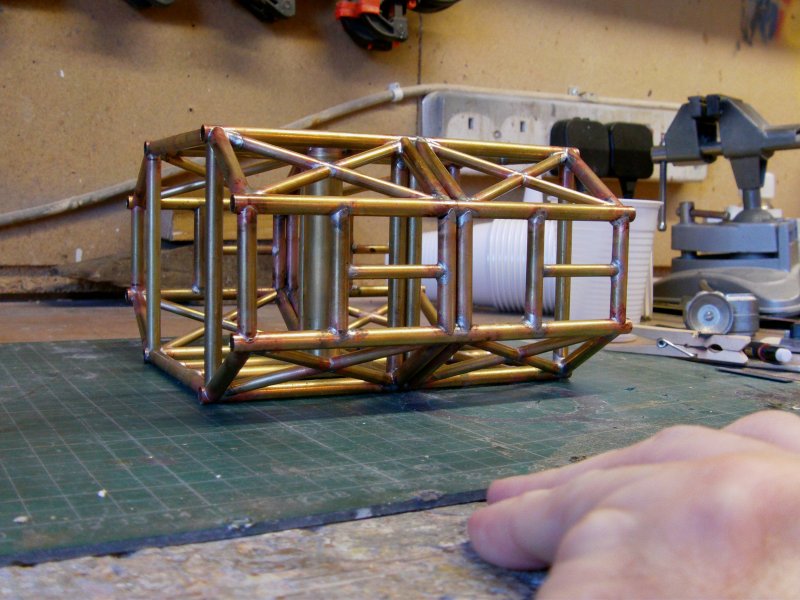
Then followed by a wagon load of the same sort of deal and multiple angle cuts of tube.
Mostly 6.3mm and some 4.75mm tube for the 'X' cross parts.
Mucho soldering sodding about and we got this.

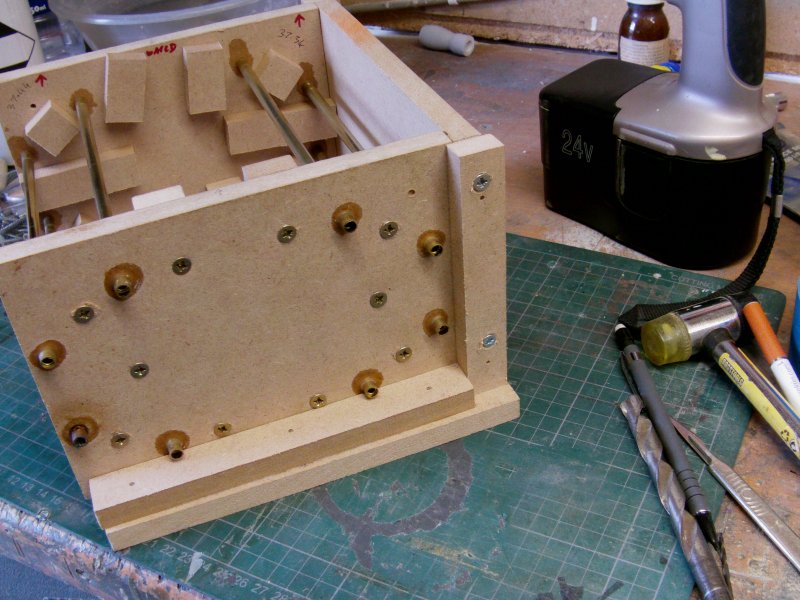
Take jig ends from the support base and slide off.
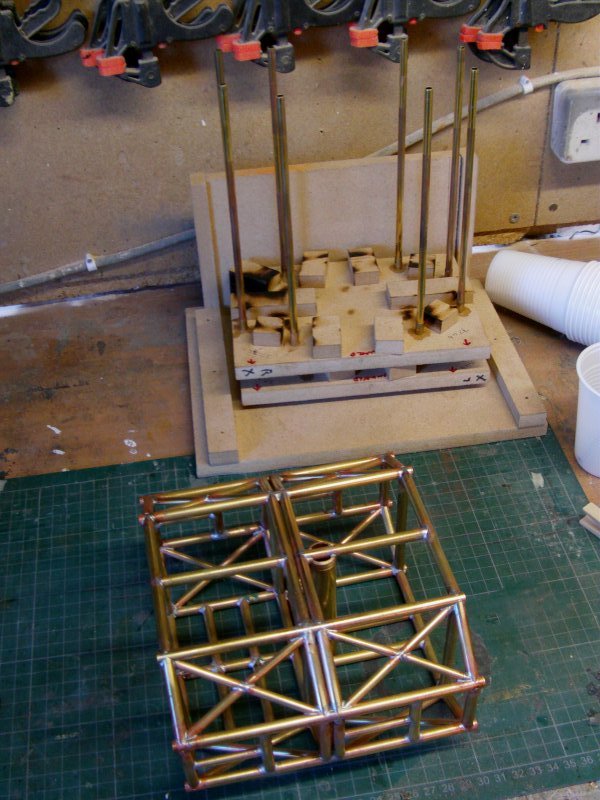
A speedy whip round with some steel wool and the slightly neater than the original parts I got given result...
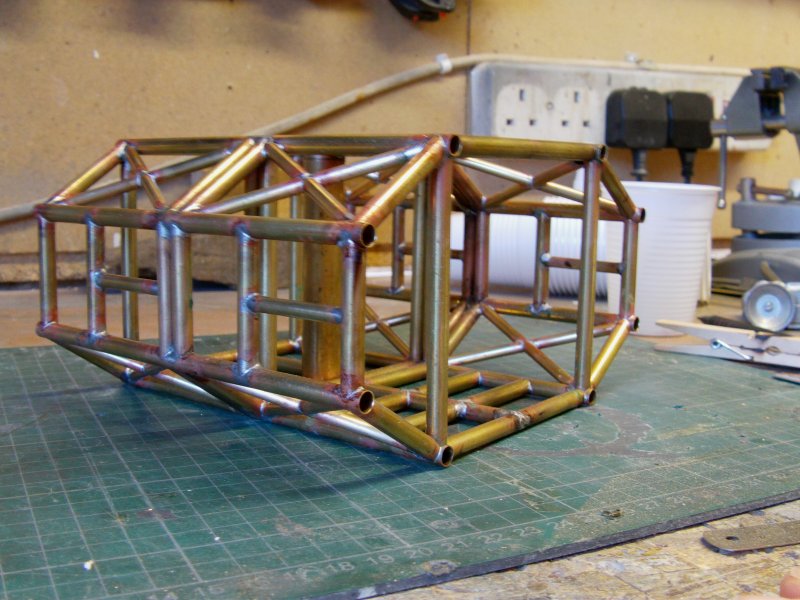
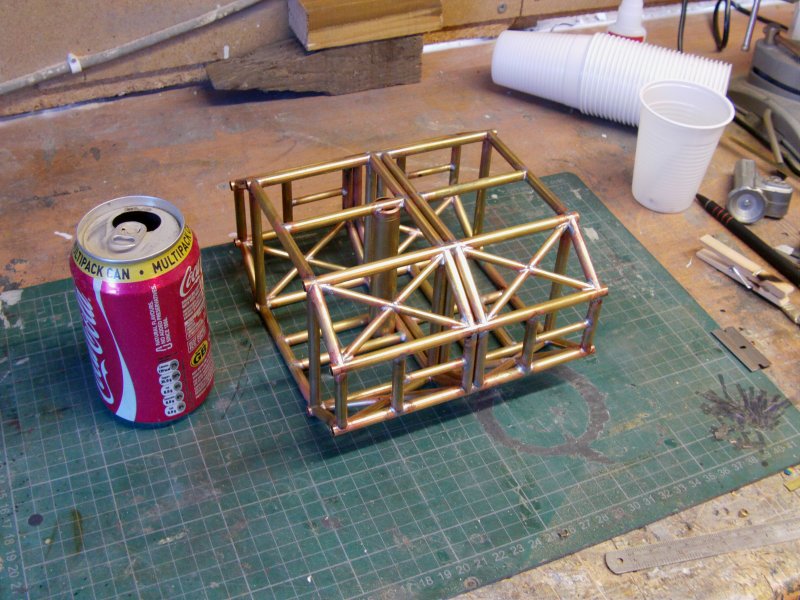
That's one sorted!
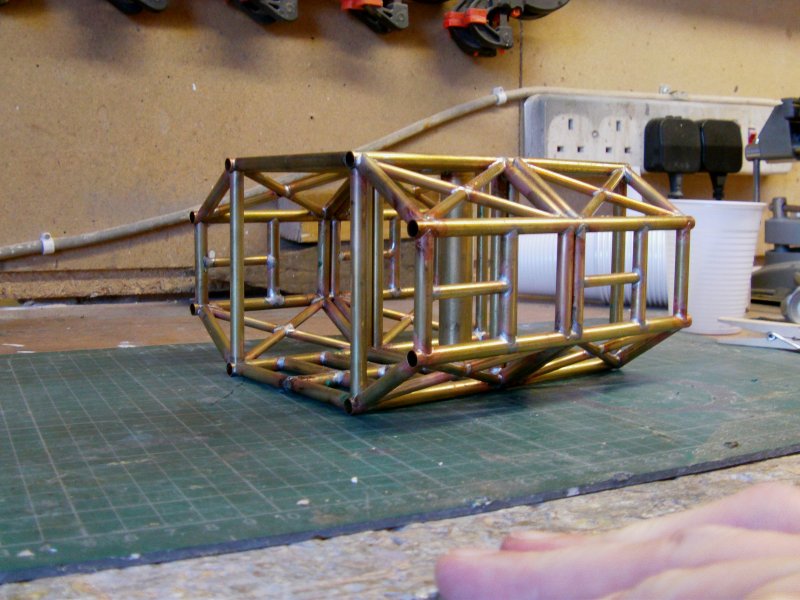
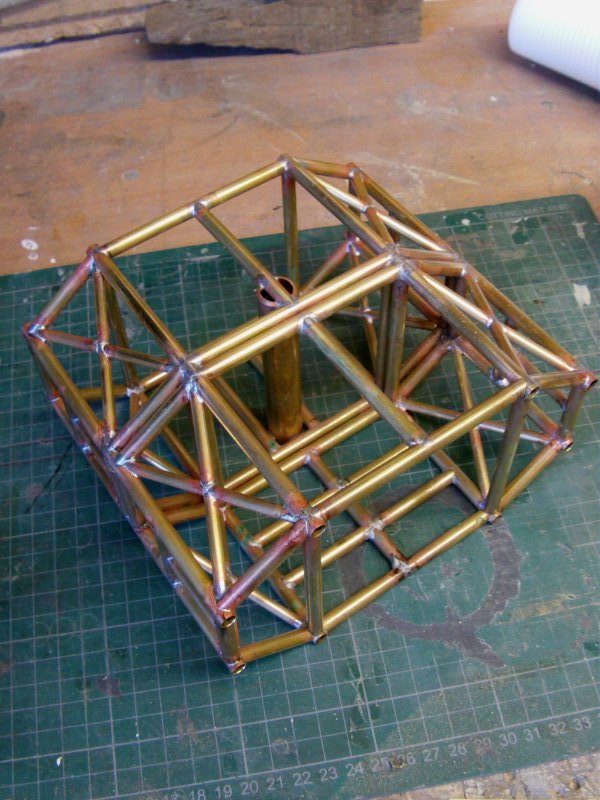
A second one turned out and next up will be the cruciform parts to hold the rear tanks and engine bells.
After that, the detail block and shelf parts for the inside of the cage frames
then on to the jigs for the spine and getting that together.
All that and associated stupidity for the next update gang so i'll see thee then!
You merry mob go easy out there now.
Page Number