
Space 1999 44" Eagle Transporter
1/24th, Studio Or Thereabouts Scale


 Page Number
A few Hellhole happenings...
With Some Casting Capers!
Welcome back one and all, been a while with this but fiddling about as always.
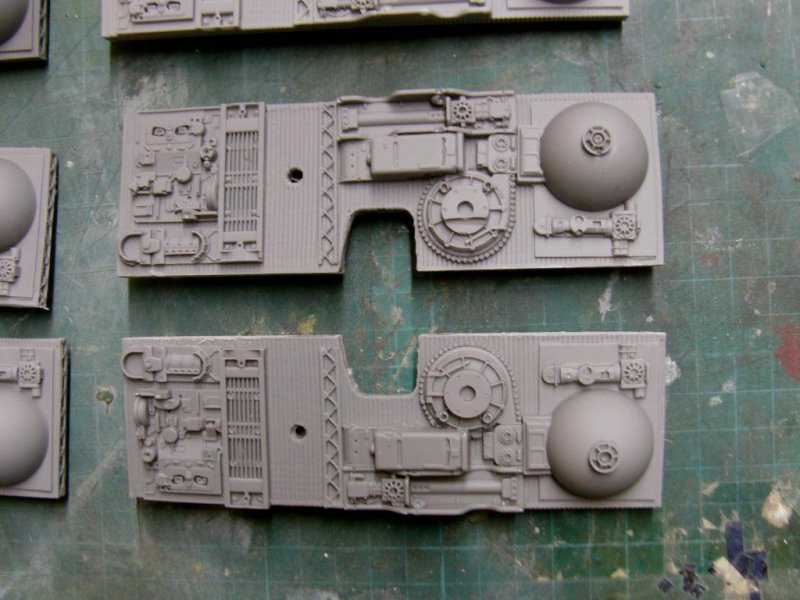
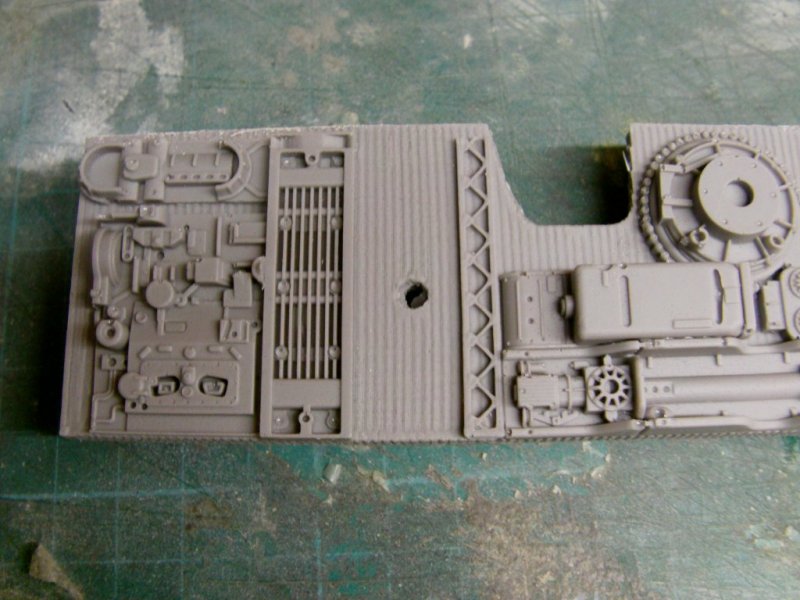
Right then, Got the new moulds for the cage inner detail plates finally sorted.
The masters were binned as they, as anticipated, fell apart as they got ripped out.
A quick pour in of some old resin to make sure they were as clean as a whistle then to work.
This is the lot of righteous rubber to be exact.
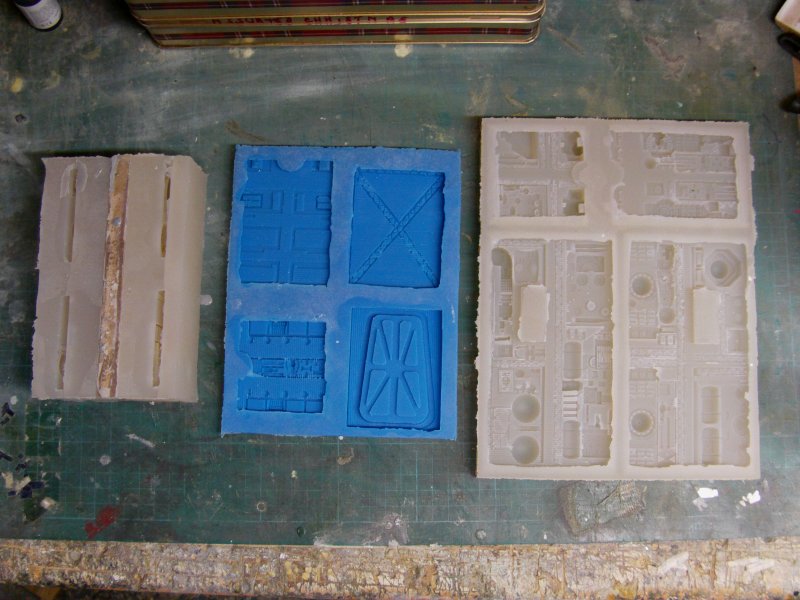

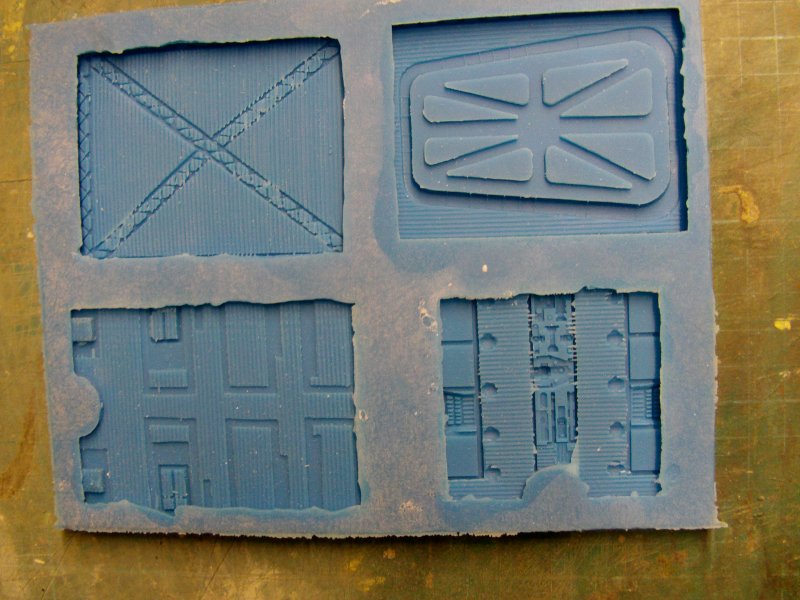
Yeah, I know a lot of folks are not fans of open face moulds but they work for the purposes here.
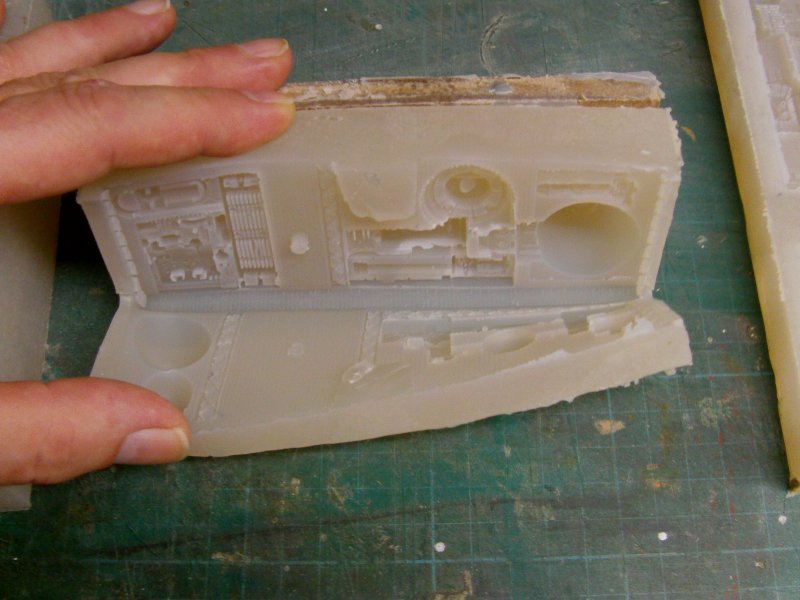
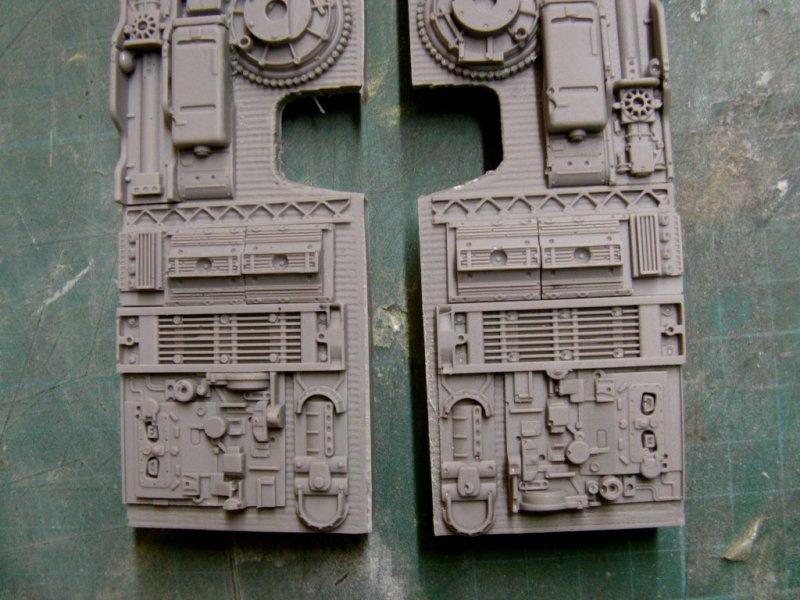
So onward and outward, used some Axon F18 fast cast for this turnout.
Nothing more complex than mix with a small amount of urethane pigment, in this case black.
Give the cup of mixed good stuff a run in the vac chamber to just past -0.8 bar,
stirred in air came out nicely then ease off the vac
before it starts to boil the chemicals as it does at lower vacuum levels.
Pour in moulds already dusted with talcum powder as this makes
the resin flow in to all then nooks and crannies a bit better untill they are about 75% filled,
in to the vac chamber again to the same vac level to get shot of as much trapped air as possible,
take out and top up to full then leave to cure on the made for purpose flat and level surface.
Easy is it not?
The results...
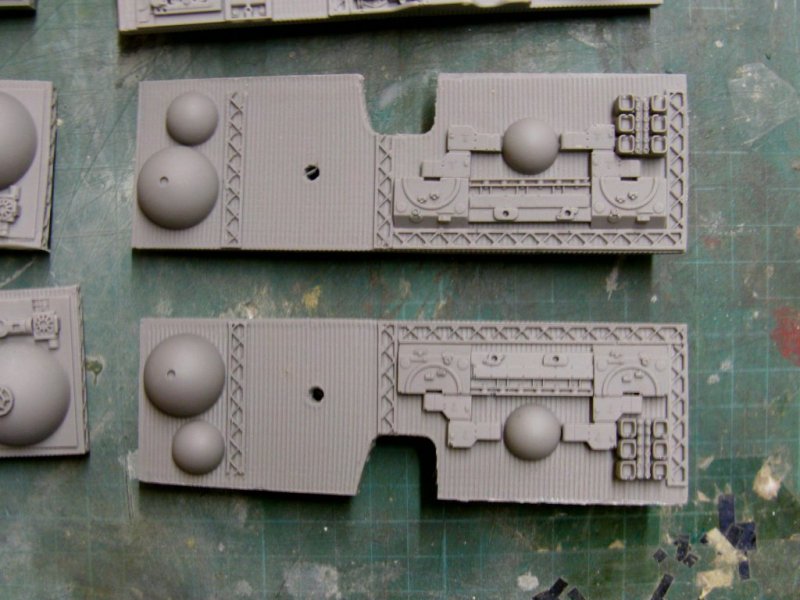
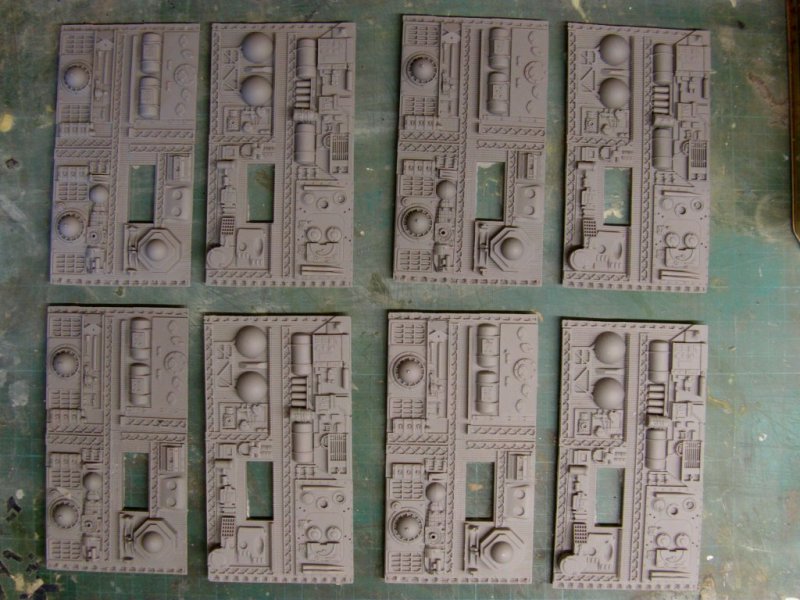

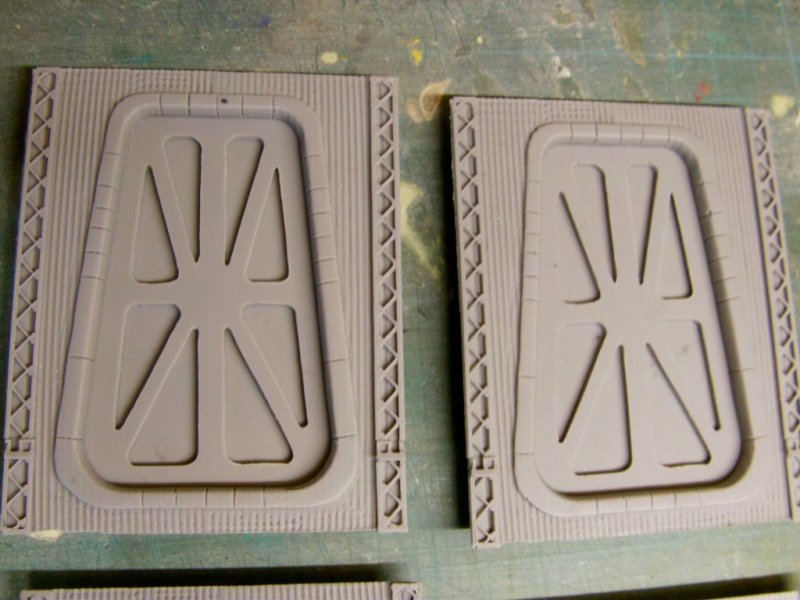
By no means perfection and a few subsurface bubbles here and there but still fit for purpose.
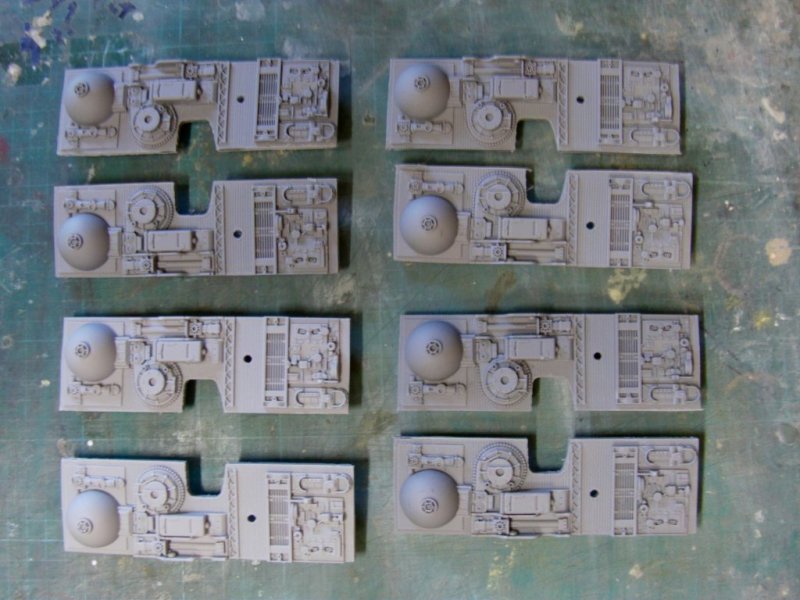
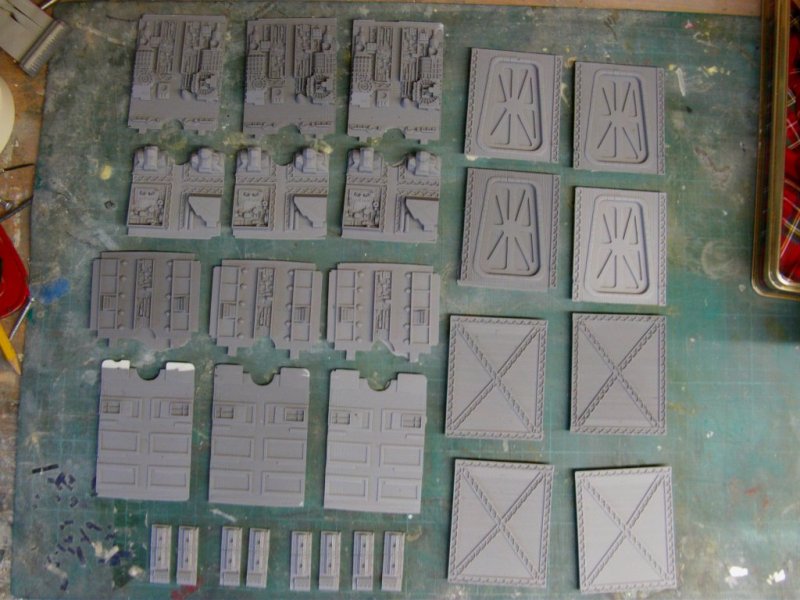
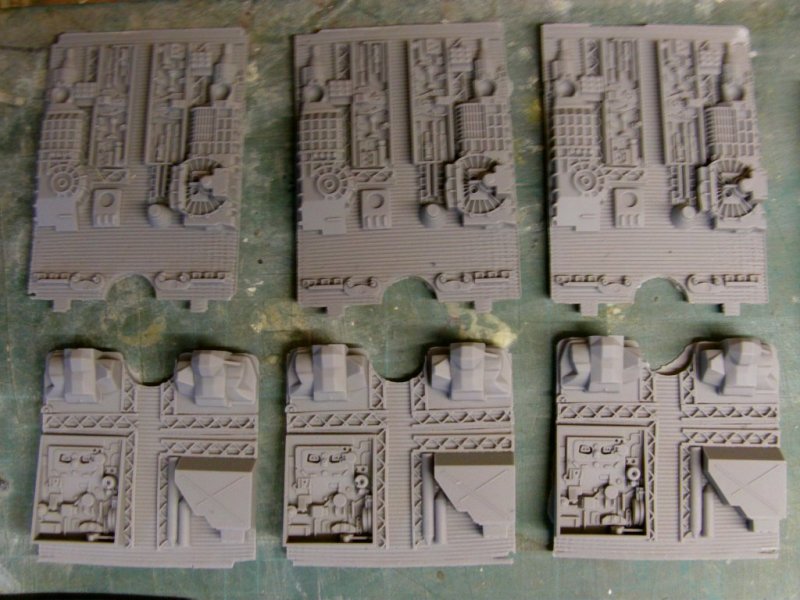
This lot of small parts...
Exist to cover the top of the screw that will be used to attach the shelf parts
to the large lump of something which will hold the side pods on.
Works like so.
imagine the part you see here with the hole and said screw placed in it.
Then cover with the small part.
No obvious screw heads are going to be showing up here my friends!
Now on to matters of the side pod.
The supplied ones look like this
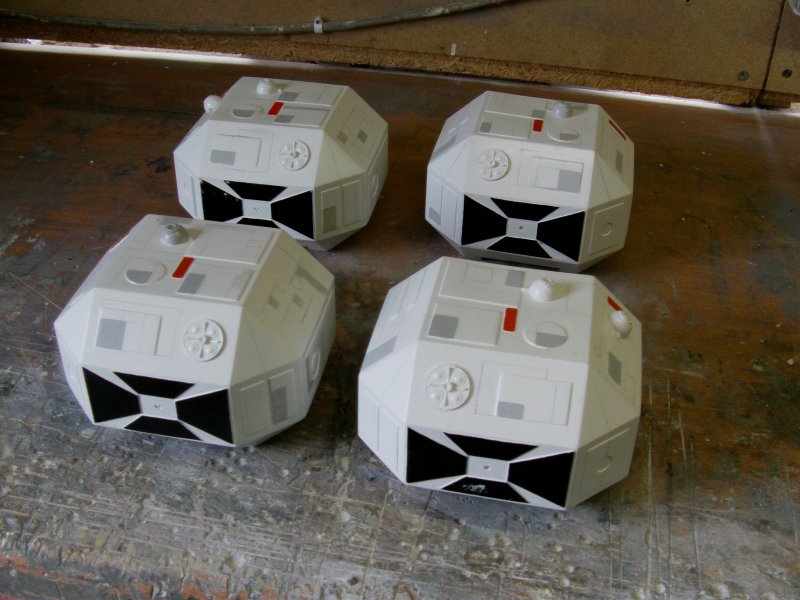
All well and good but how it fixes on is another matter.
The supplied pile of parts has a resin cast lump with a bit of brass tube in it.
These ones.
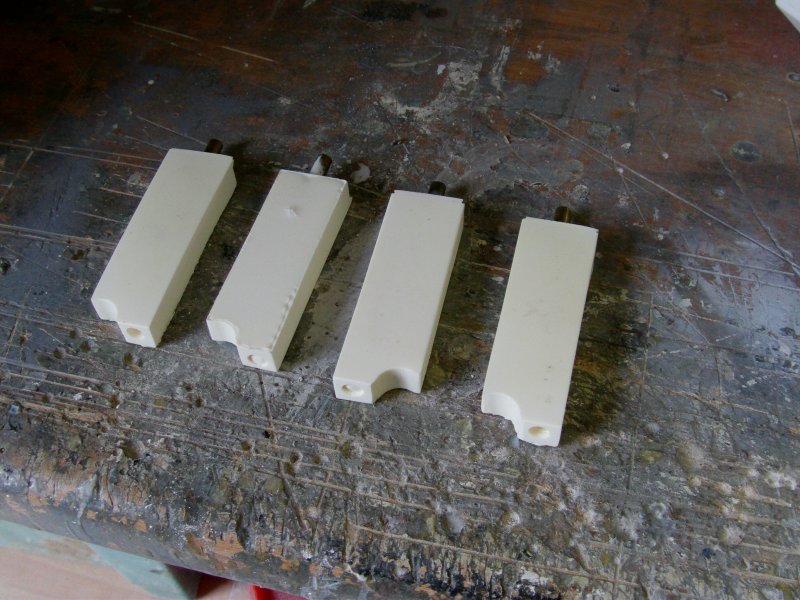
So what you have is four of these things with little more than a glue joint
and a bit of brass tube holding up a bloody great Eagle.
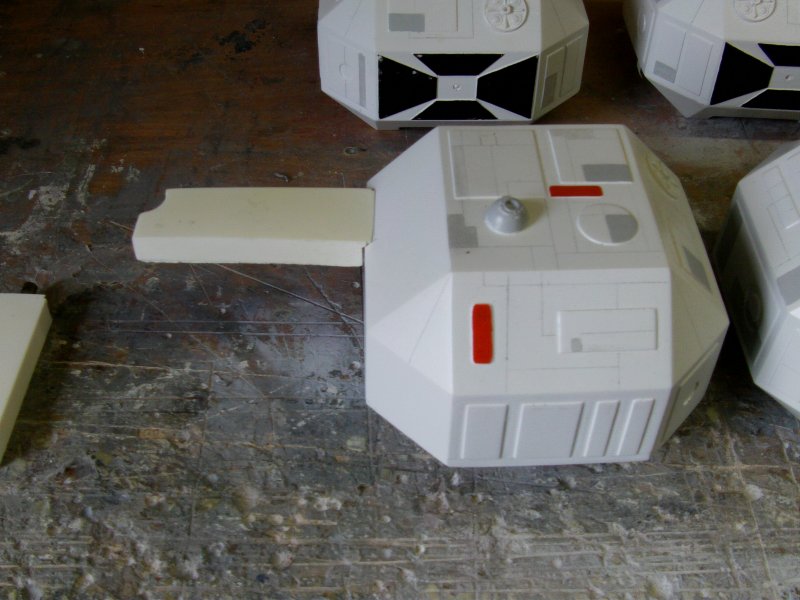
Colour me not very impressed by that idea.
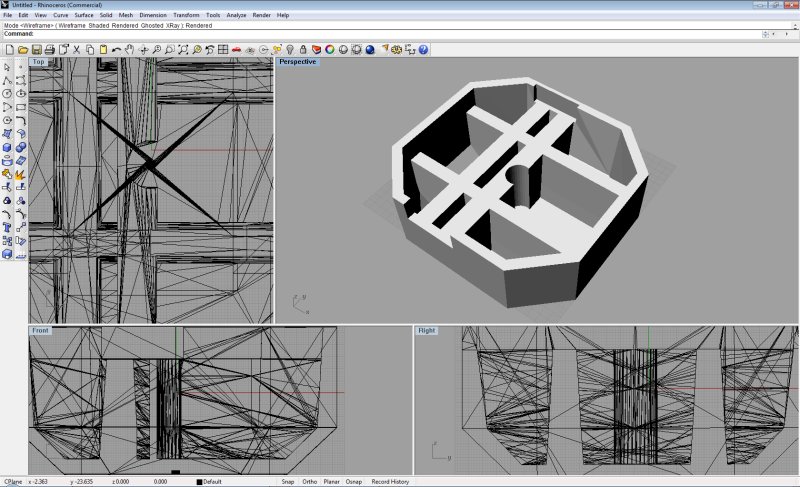
A head scratch later brought me to firing up Rhino and getting some polygon punching in.
Built a fresh carcass for the side pod, detailing plates to be done as separate bits to attach later before moulding.
So I got me a new top...
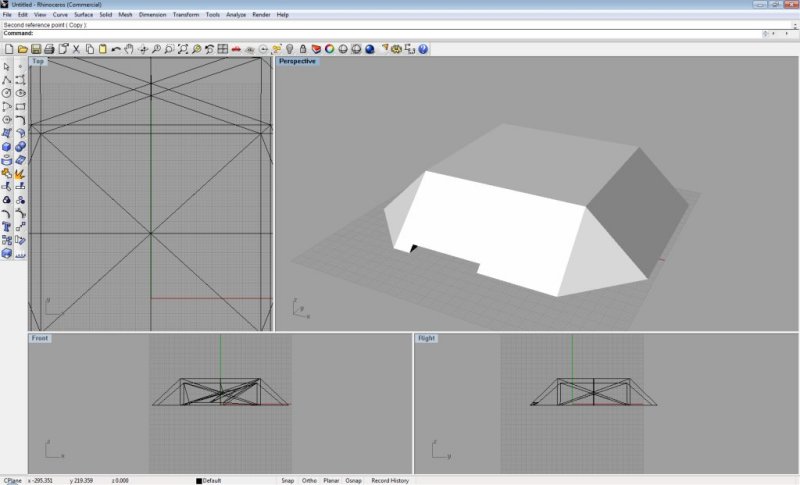
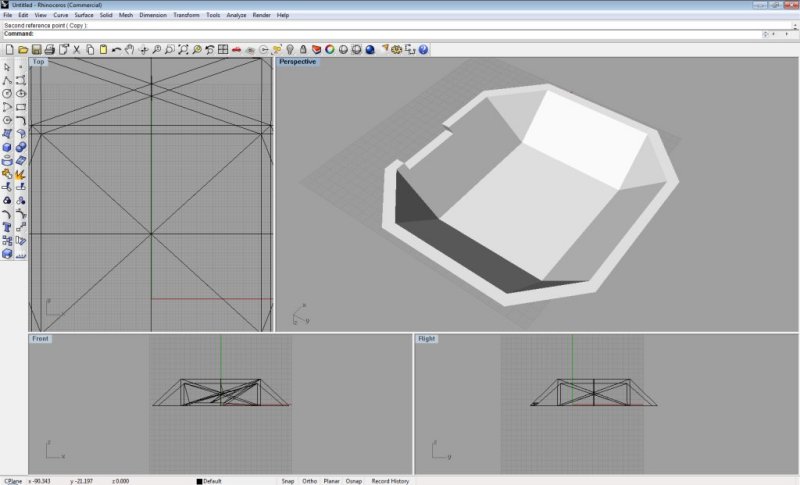
And bottom...

Then had a think about the internal structure, longevity of the model i'm building and
client satisfaction that it wasn't going to collapse/fold up/do something unfortunate vis side pods coming apart on his shelf.
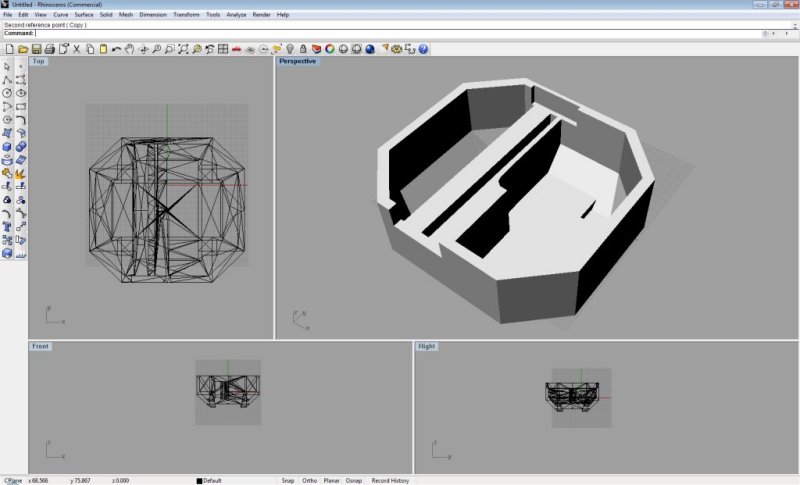
So one beefed up the internals on the side pod bottom.
And then put that lot through the 3D printer, mirroring the print so I get a matched pair.
Required since the bar joint point is offset.
Why can't critical weight bearing joints ever be centralised in some way on SF craft fer cryin' out loud?...

Oh well, the printing result and associated antics will be shown next update.
You merry lot go easy out there now!
Page Number