
Space 1999 44" Eagle Transporter
1/24th, Studio Or Thereabouts Scale


 Page Number
Before the main event...
A Little interlude So To Speak.
Welcome back all!
Right then, a couple of additional bits for the Eagle.
Sort of the almost ready to use dept. but the client sent along a
Moon buggy in scale and in pieces as well as a nuclear waste pod.
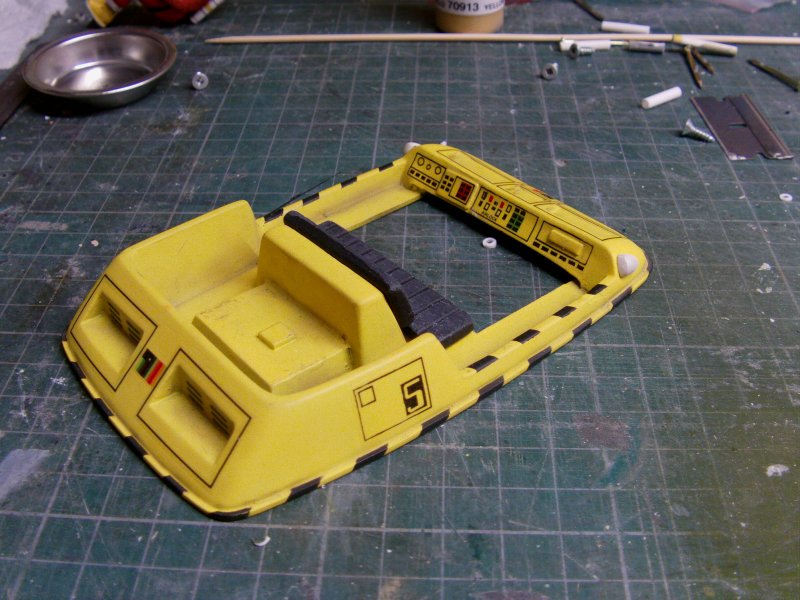
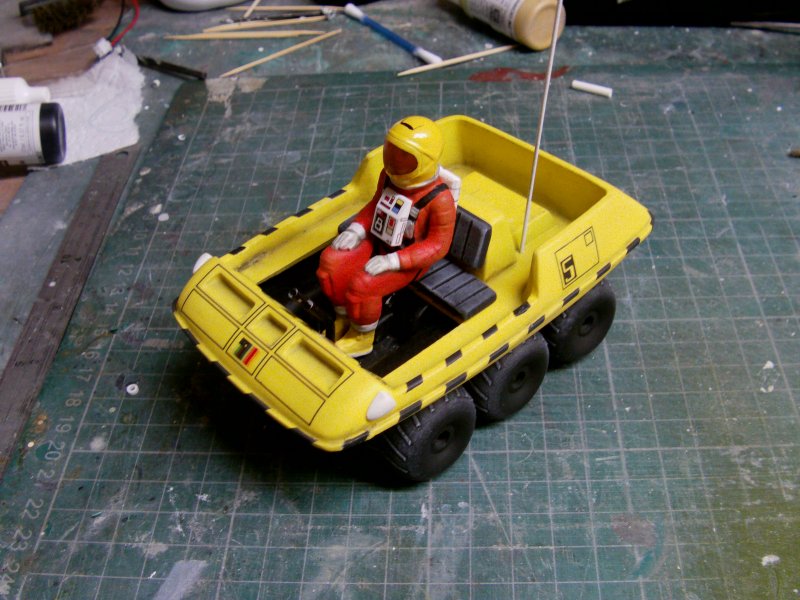
First up, the buggy!
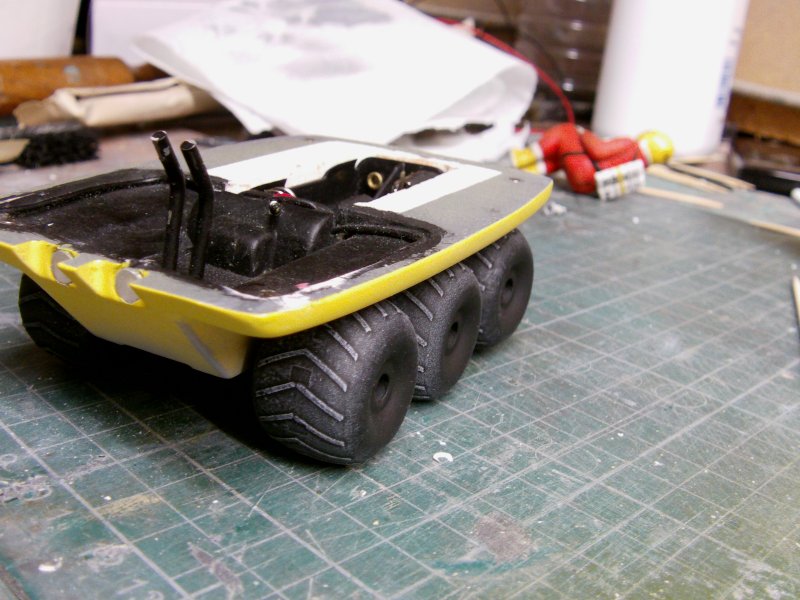
This is how it arrived with him and then with me.
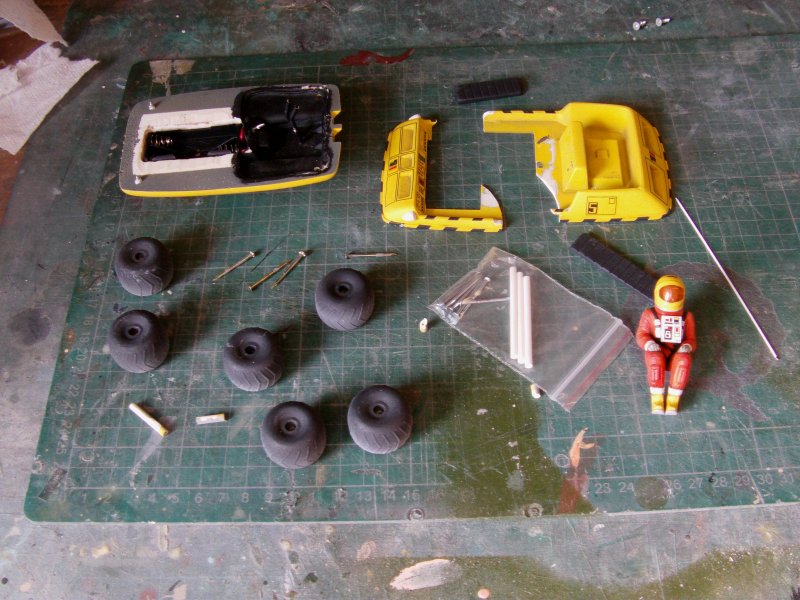
All of the bits required, some spares and fitted with head lights.
The top and bottom were held on by screws that had stripped
the thread from the resin so not really of any use.
Also the axle fittings were shot but replacement pipes in a handy bag.
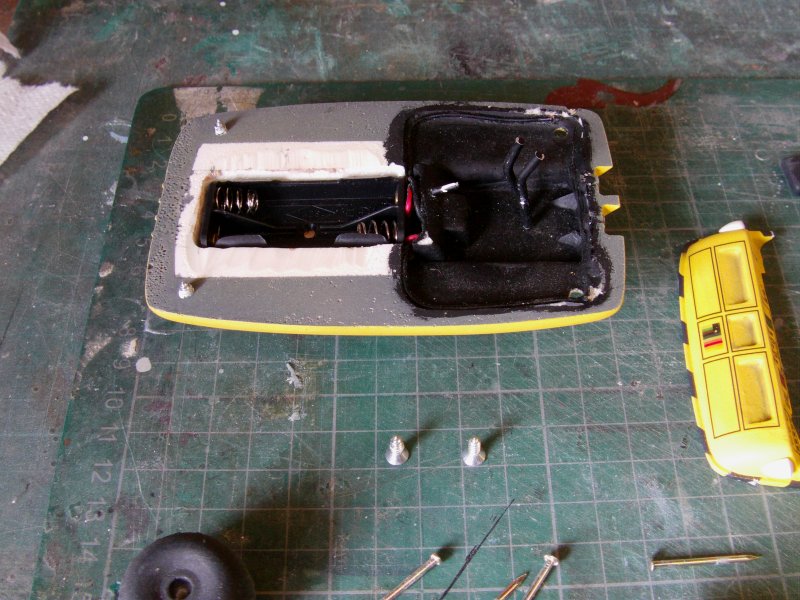
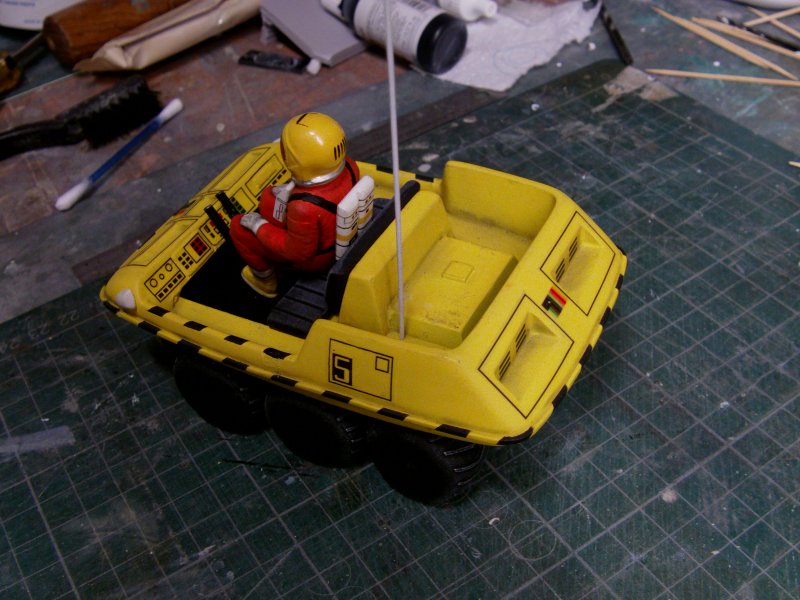
So first things first, sort the broken top parts.
A dab of cyano, a lick of filler and some paint matching,
followed by a little bit of shading and a decent coat of matt varnish.
Axle tubes replaced.
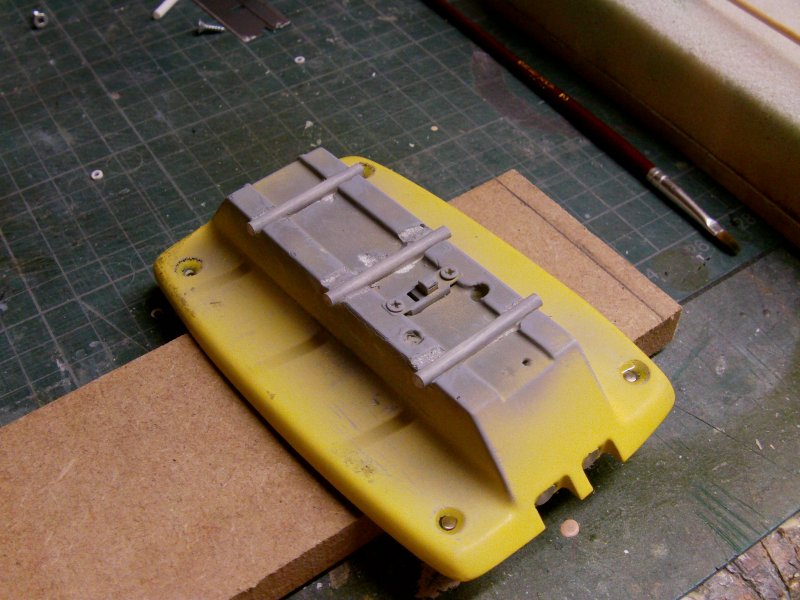
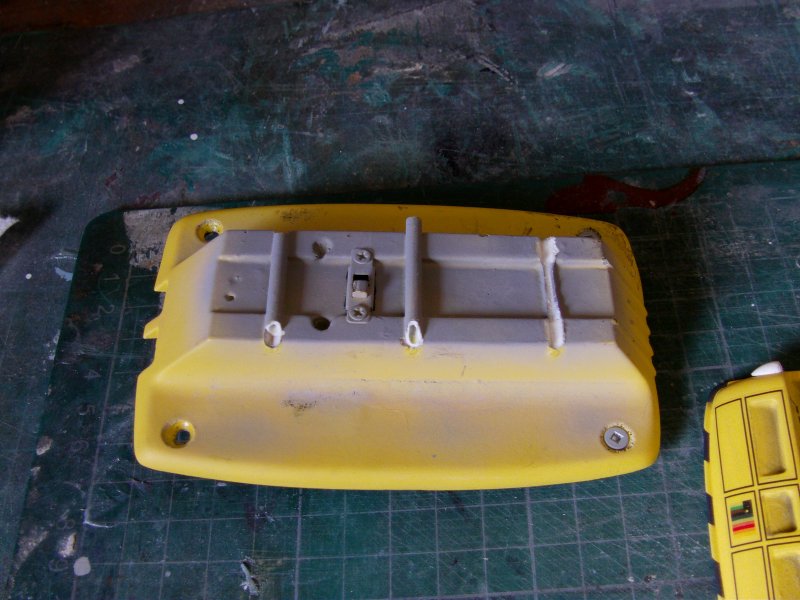
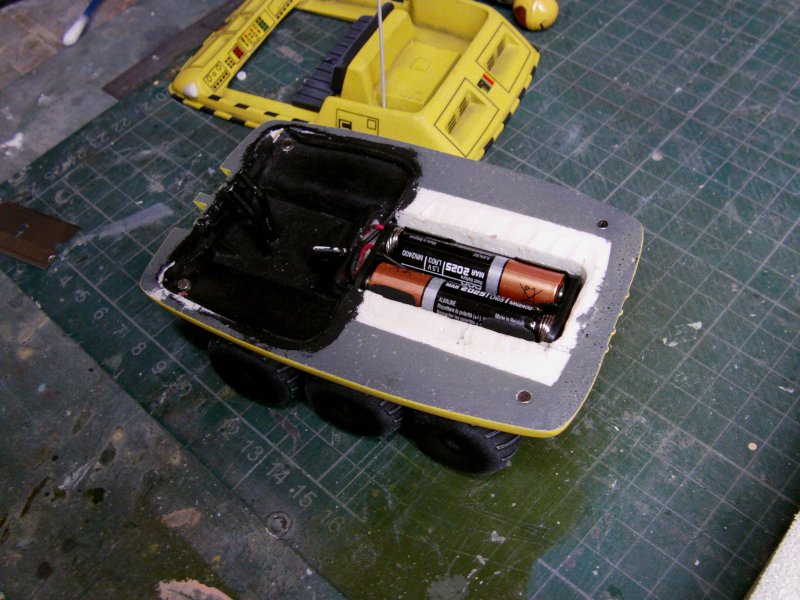
Now since the screws were a dead loss, time for some magnetic thinking.
3mm diameter Neodymium magnets to be precise in the same holes that the screws fitted through.
Holes widened slightly in the top and magnets fitted likewise.

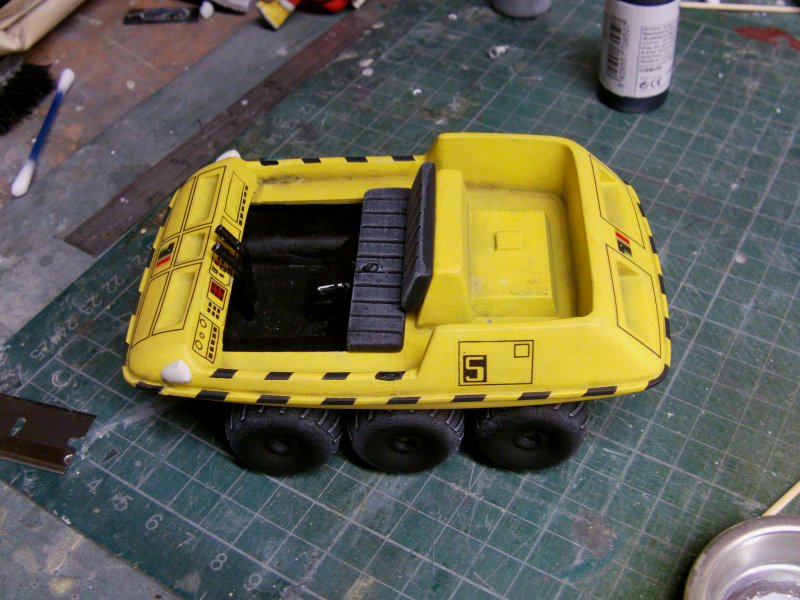
Wheels given a lick of matt black and some grey dry brush dabbing over.
Fitted in to place.
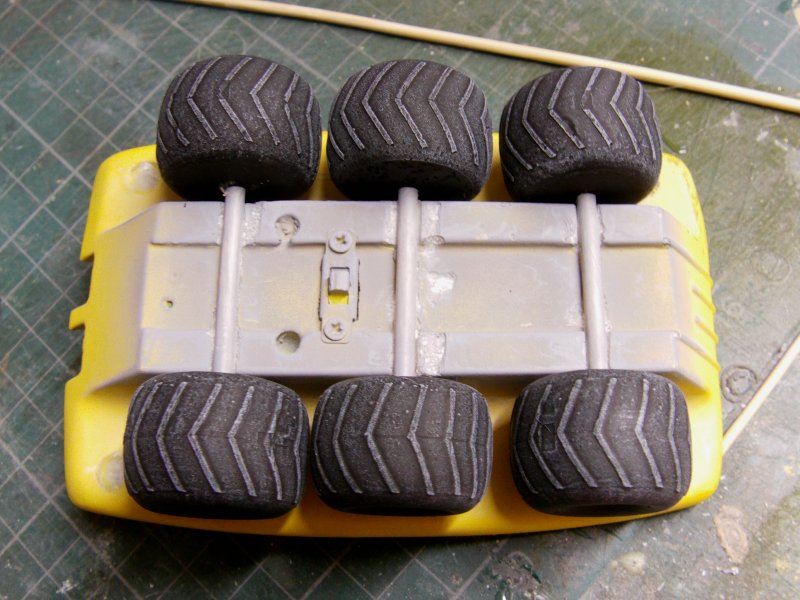
Top now snaps on neatly.

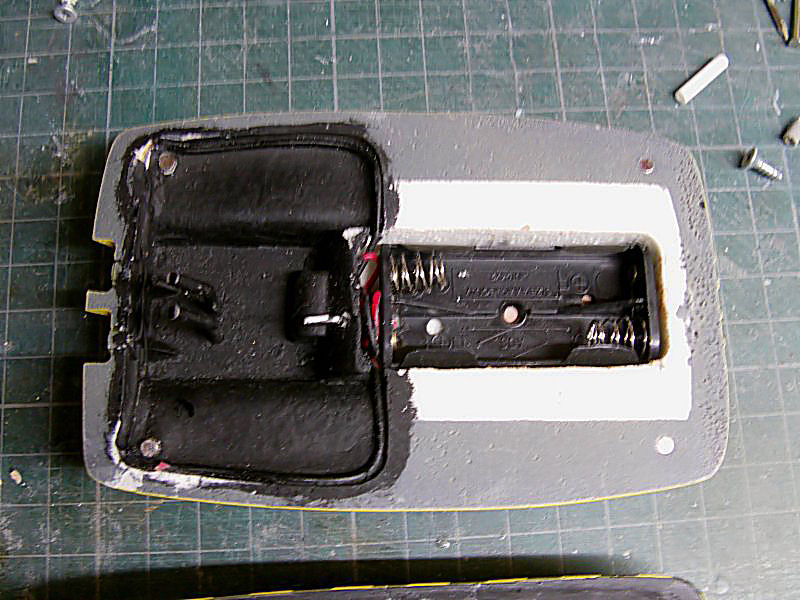
Now you'll notice the small depression in the seat cushion, arrowed in the pic.
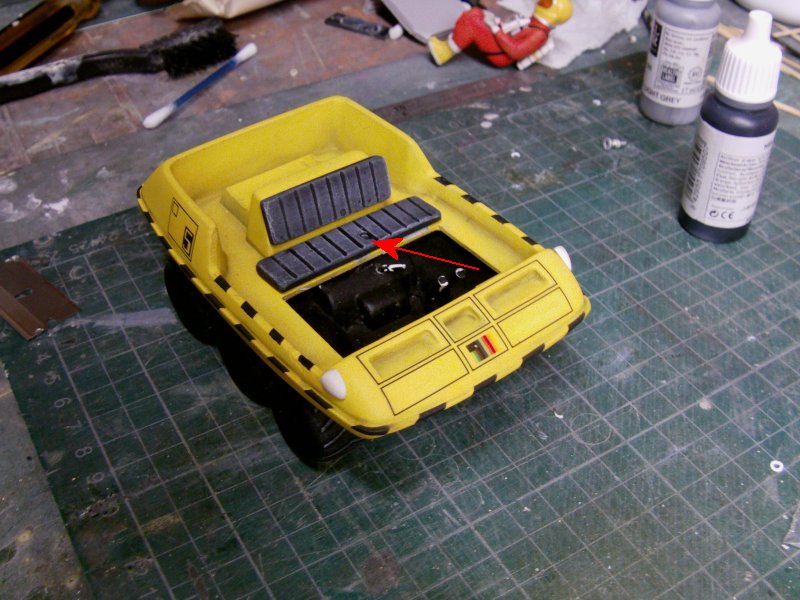
This has a 3mm magnet sunk in to it which matches the one fitted in the drivers derriere.
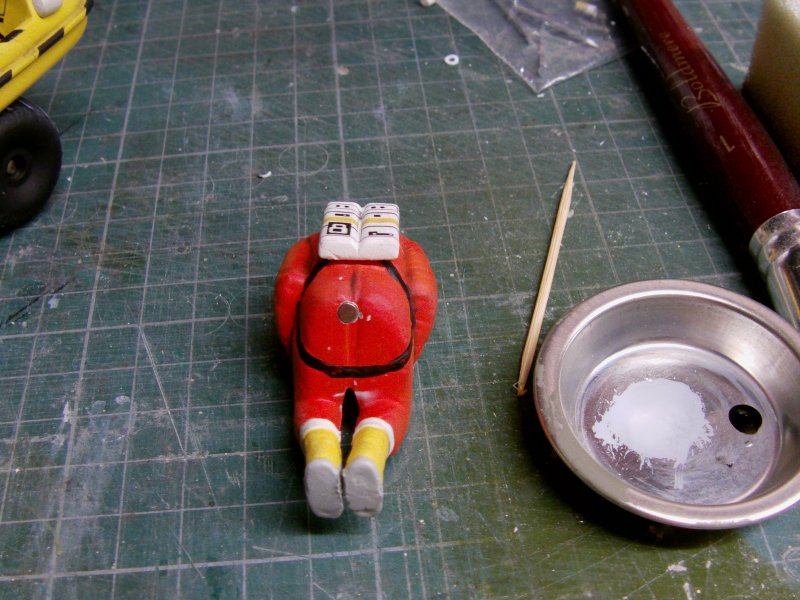
Simple result, he just snaps in to place.
Saves fiddling about when changing the batteries so all good.
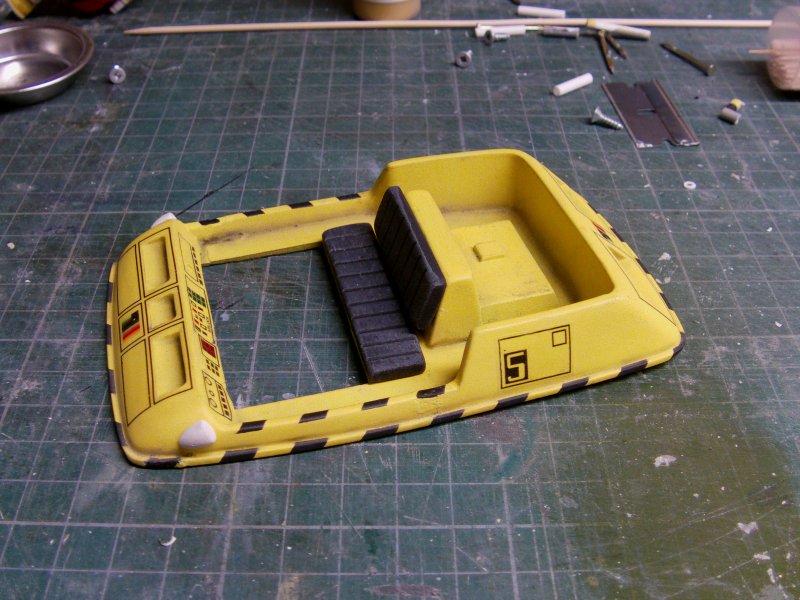
Lastly, two AAA batteries fitted and a look see.
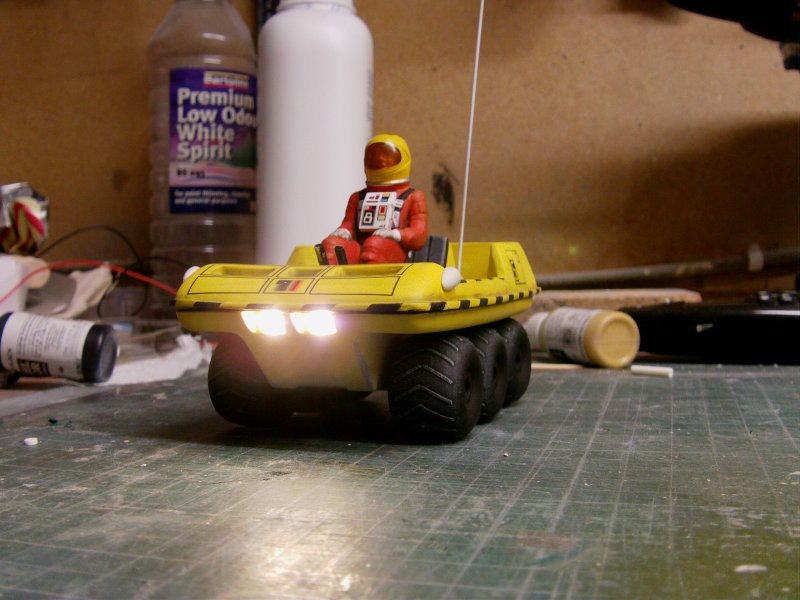
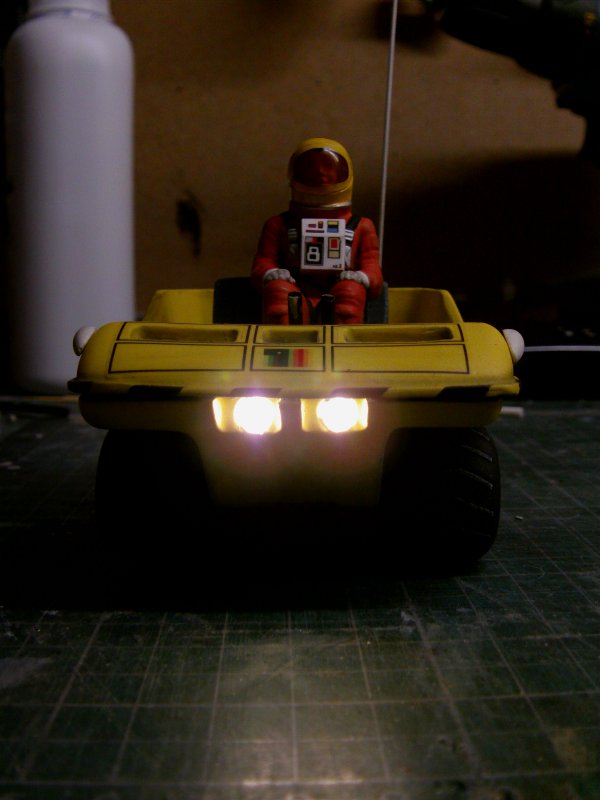
And that's that lunar jalopy sorted!
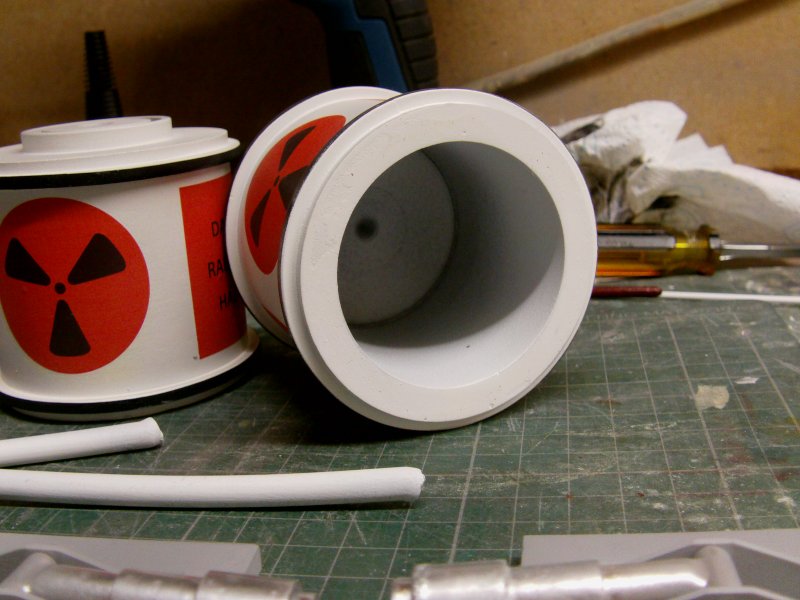
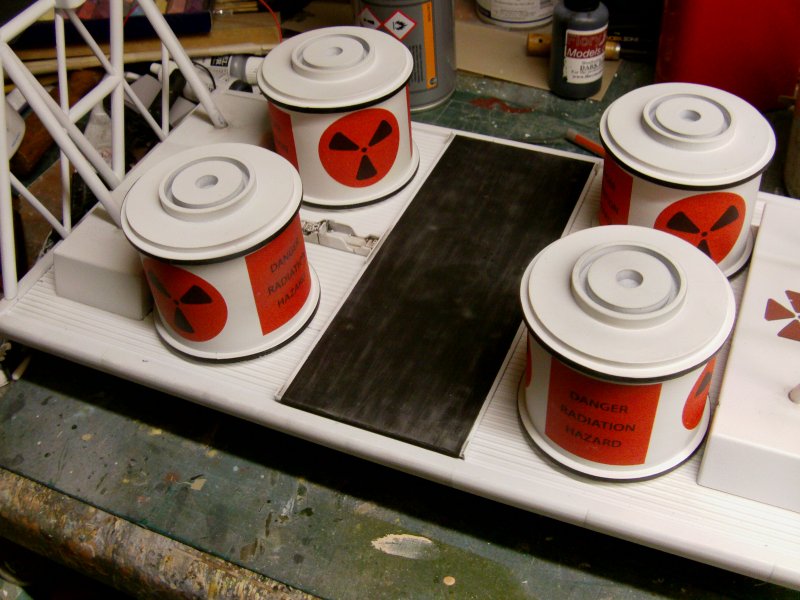
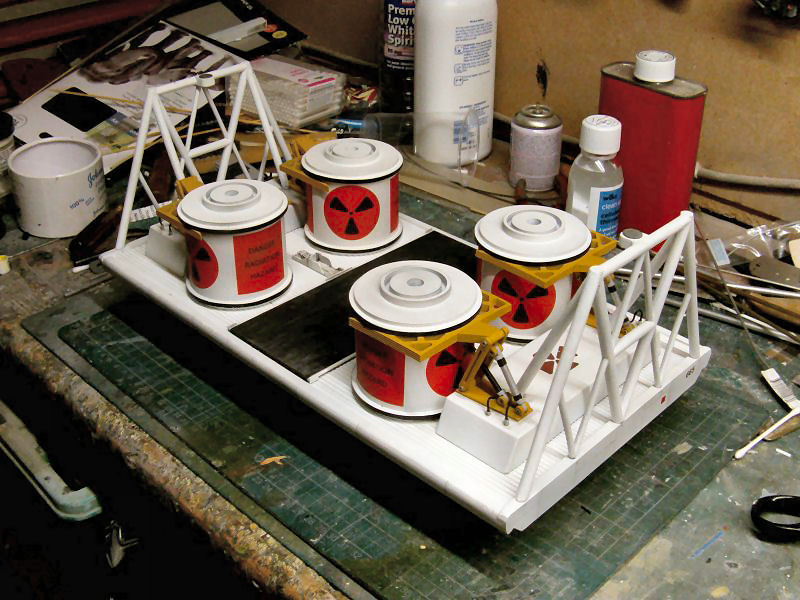
Now to the waste pod.
The parts supplied to yours truly.
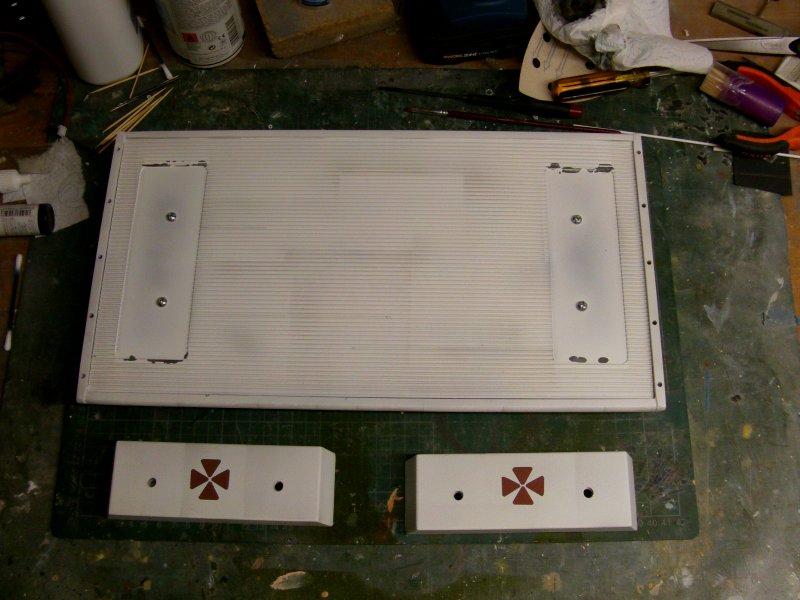

The waste containers are pretty good and thankfully, hollow as this thing is heavy enough.
So a bit of cleaning paint off the parts to be joined.
Lacquer thinner soaked Q-Tip with a bit of rub up action sorted that.
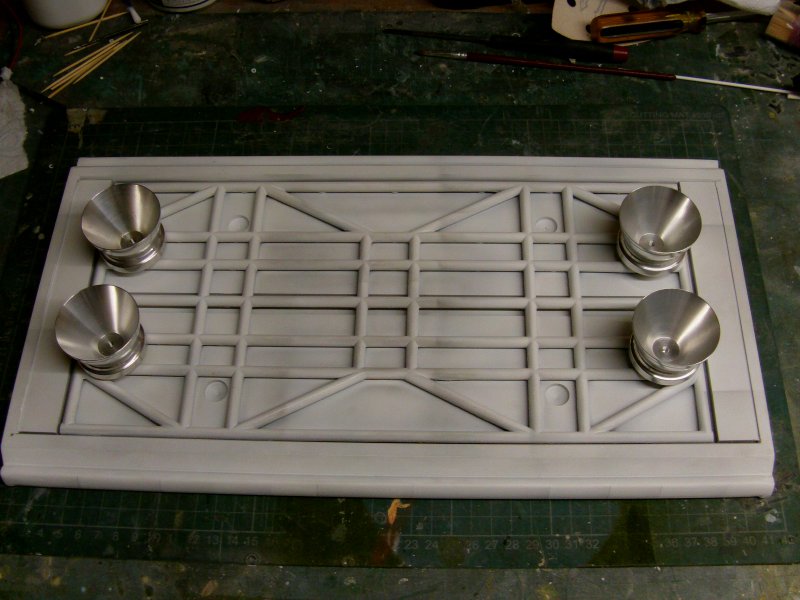
Then the parts were hand set in place and 0.5mm holes drilled to take brass wire for a bit more strength.
The angled upright bracers done as well.
A dab or several of 5 min epoxy stay put gunk,
some clamping and the box like thingies were in place and left the hell alone to cure.
Once sorted and clamps removed, more epoxy with much wire rammed in to holes and it was a done thing.
None too shabby.
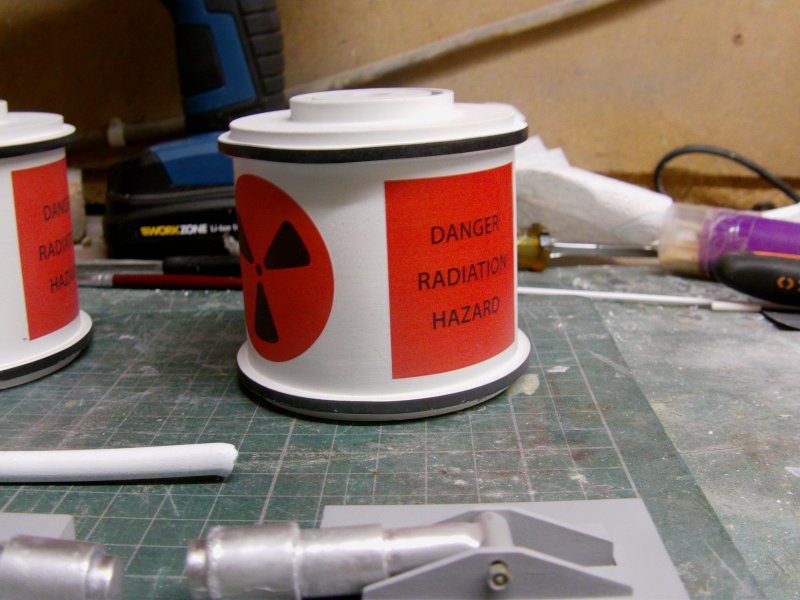
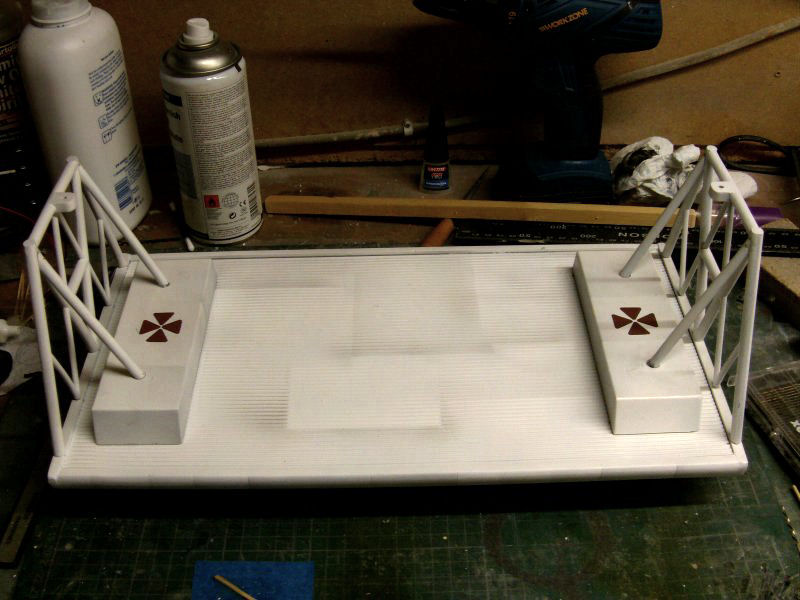
So foot pads to add but a sort of a plant on look see for the waste containers.
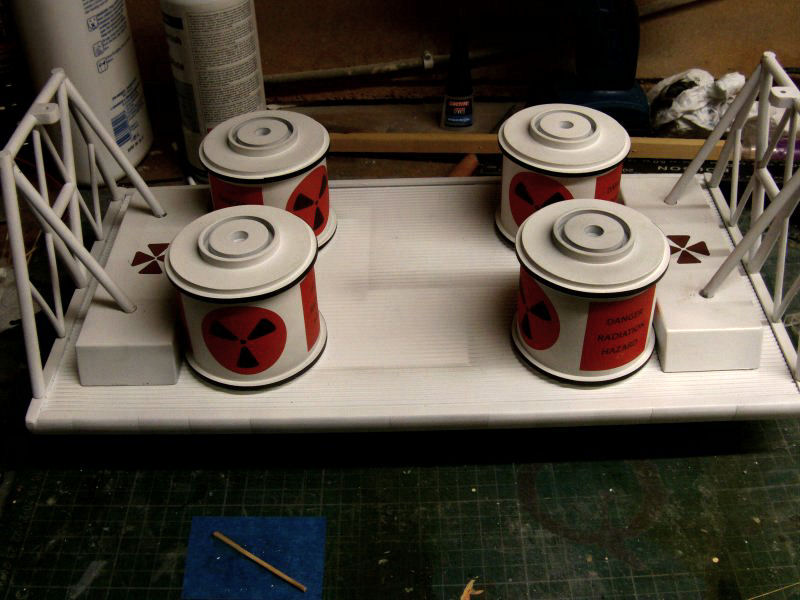
Okedoke, nice enough...
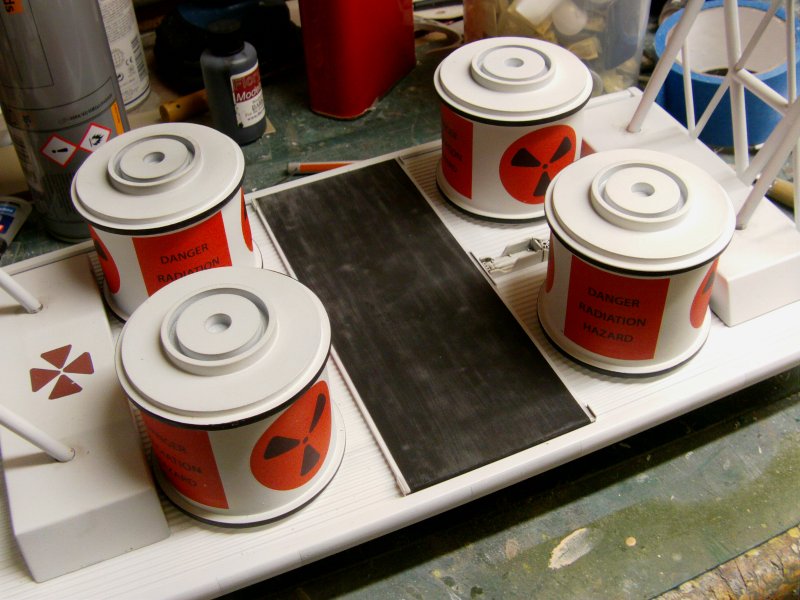
But I feel since we are going balls out on the detail for this, something or things more required.
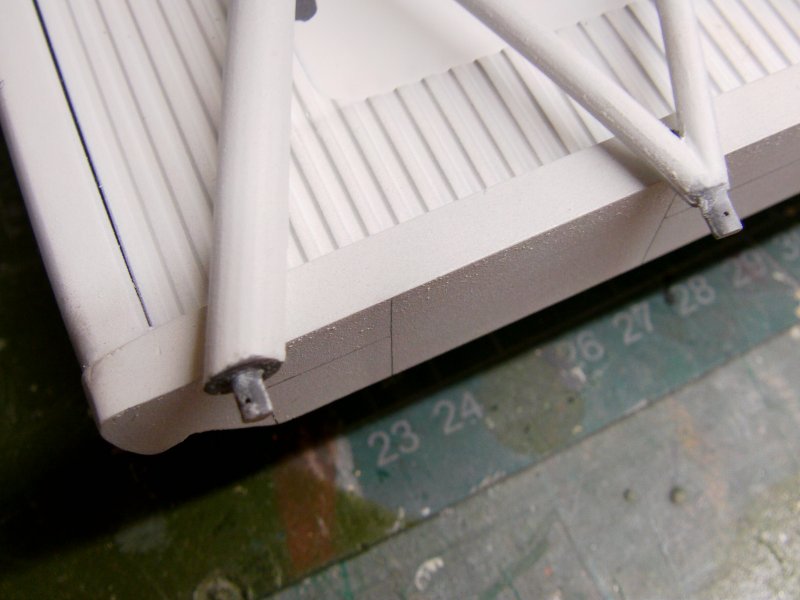
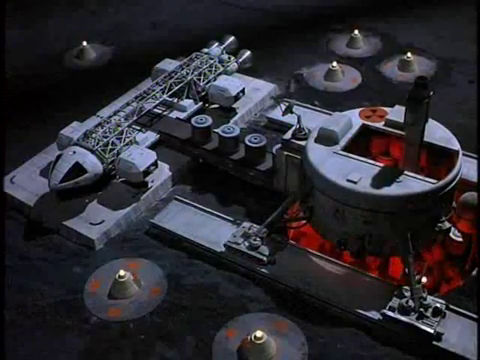
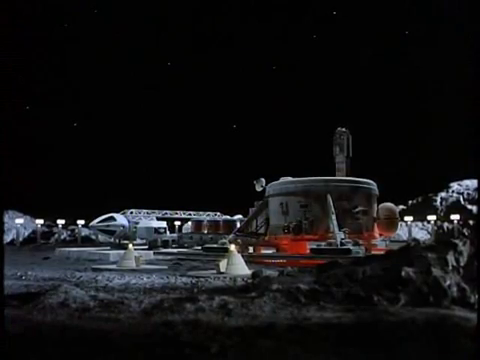
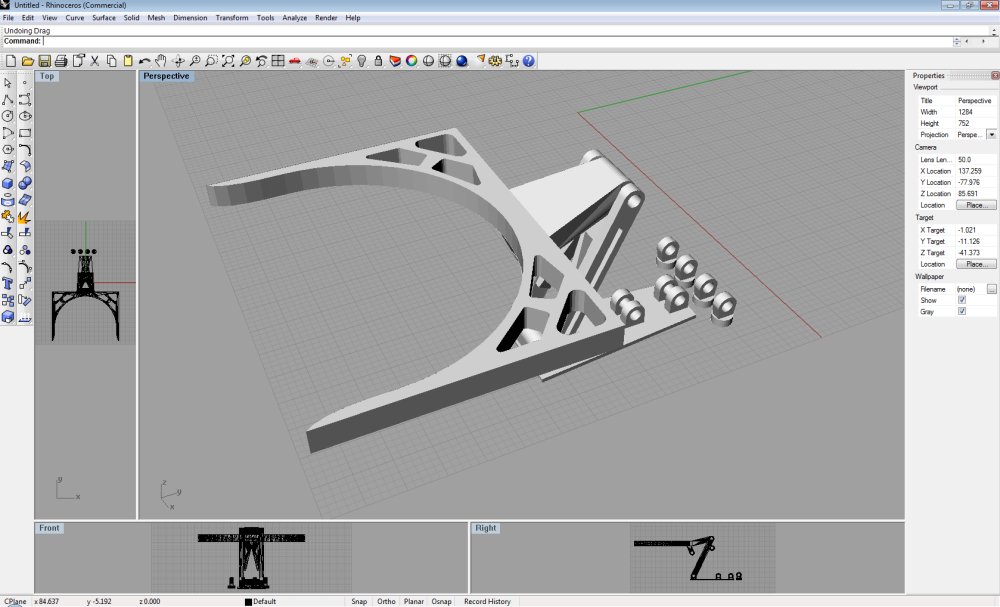
Well first off is that the waste pods seem to get off loaded by a conveyor belt thing.
Looks like this in the show...
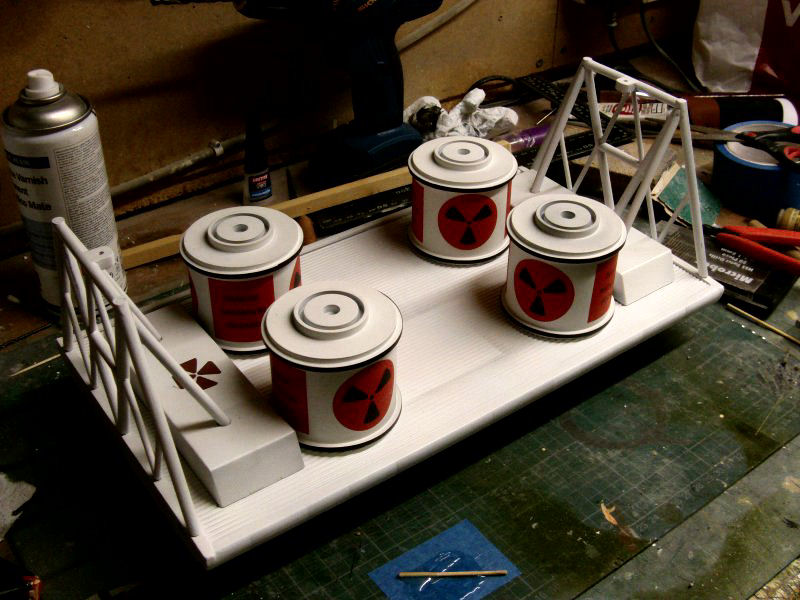
So adding a bit of that with some sheet styrene, a greeblie, paint, some shading and a strip of wet and dry grit paper.
Also added the footpads.
Yep!
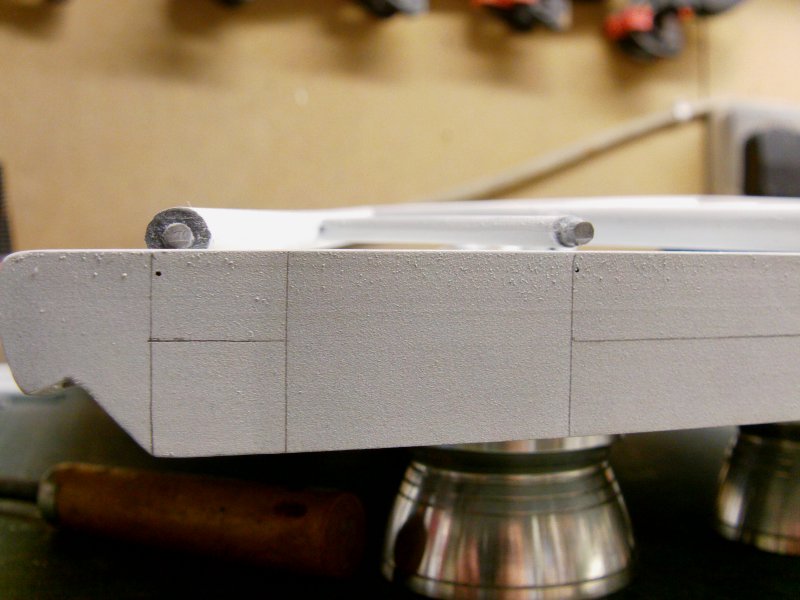
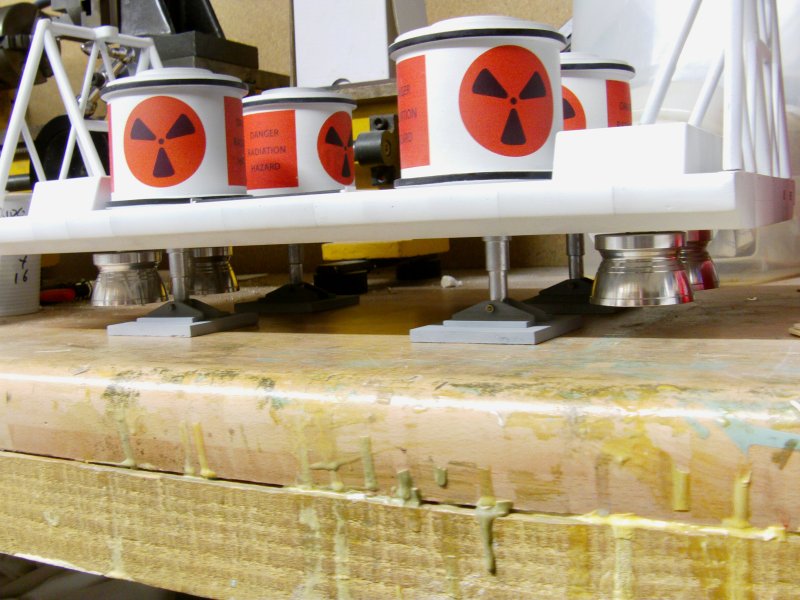
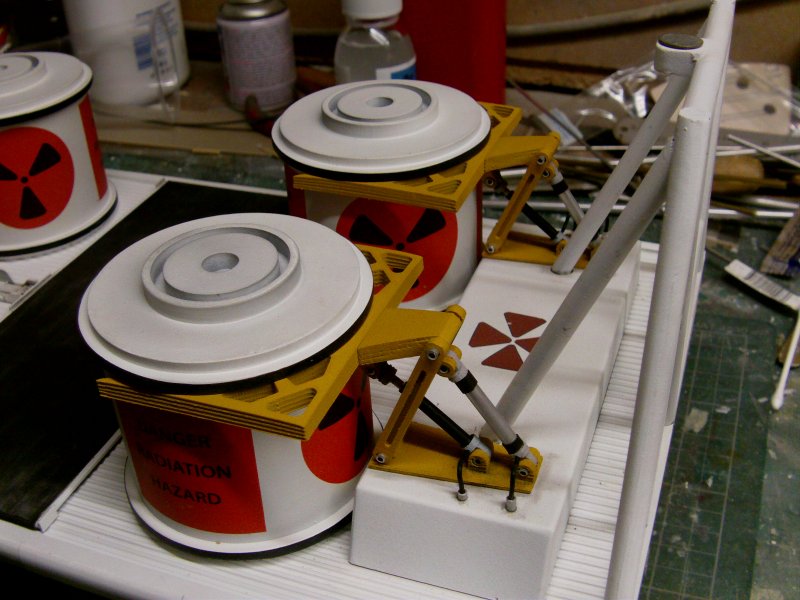
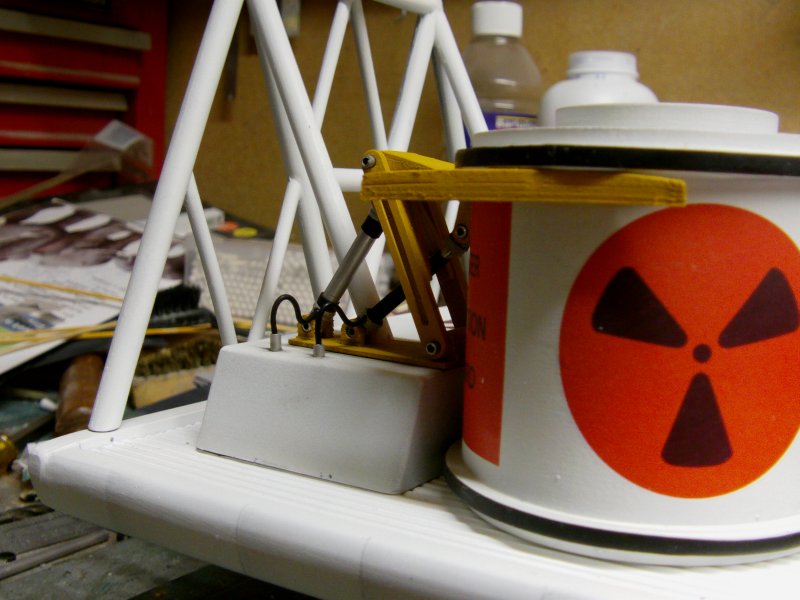
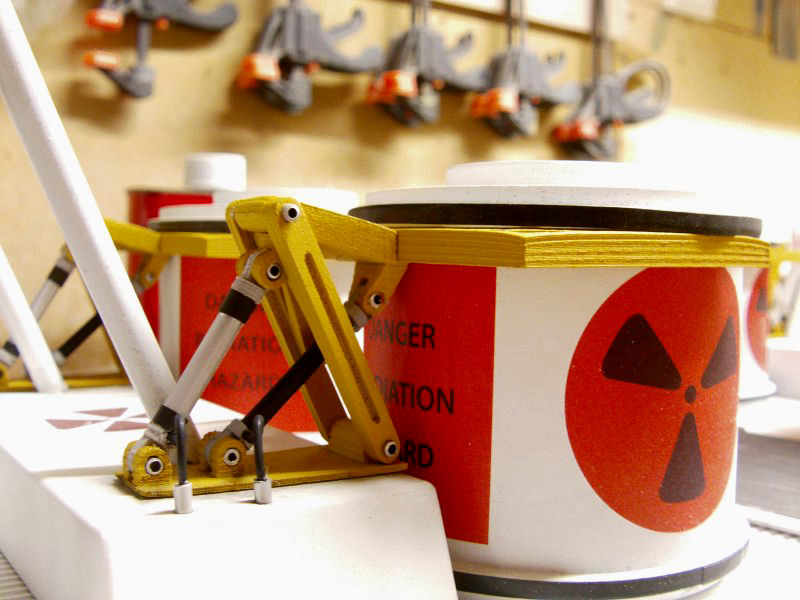
One other thing, a method of sorts to make it look like they could be lifted and loaded on to said conveyor at the waste dump.
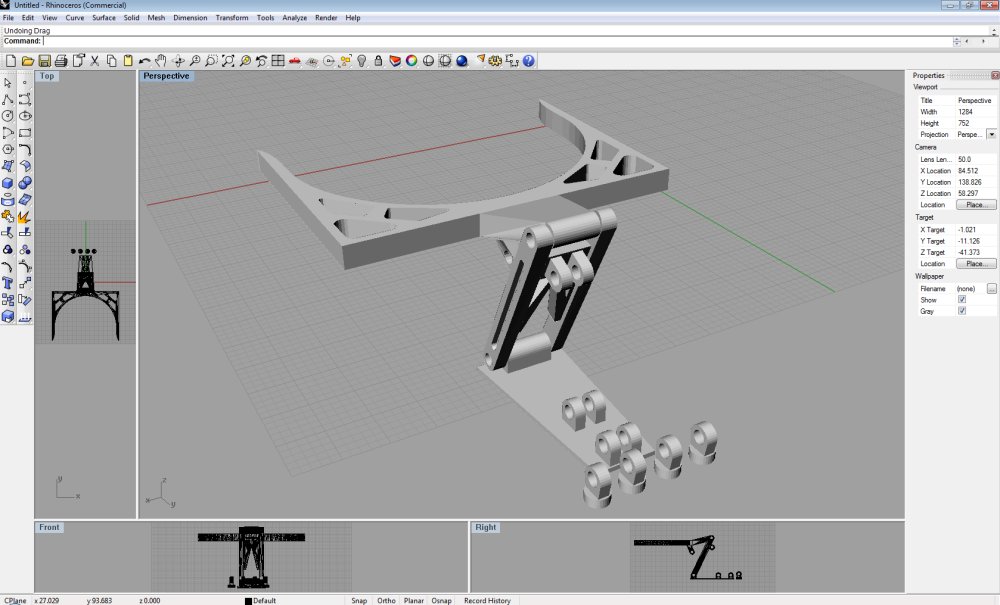
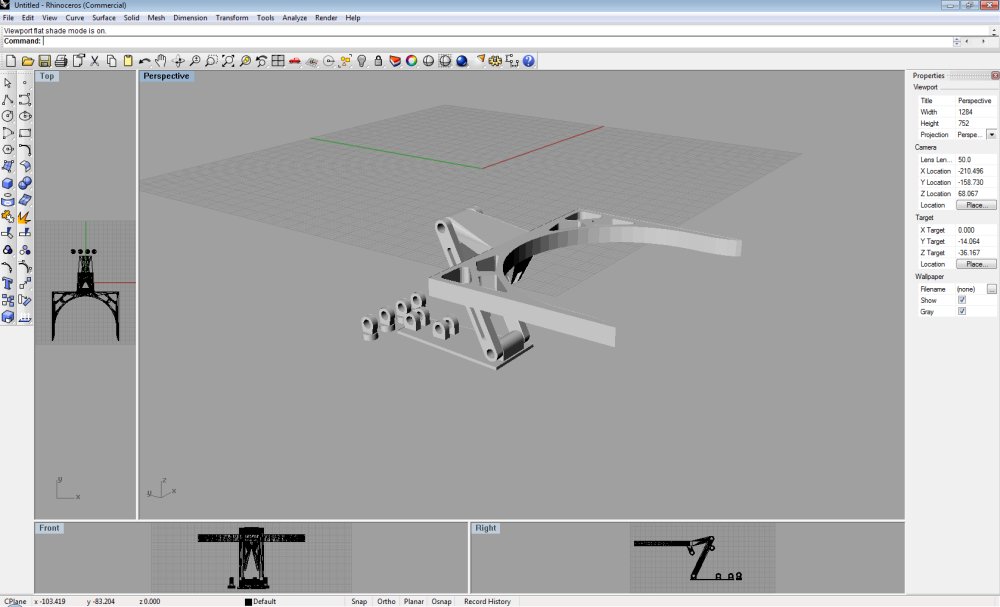
Yeah, something like that will do.
Now those will not hold the waste containers in place by themselves due to the weight,
so said containers got pinned and glued in to position.
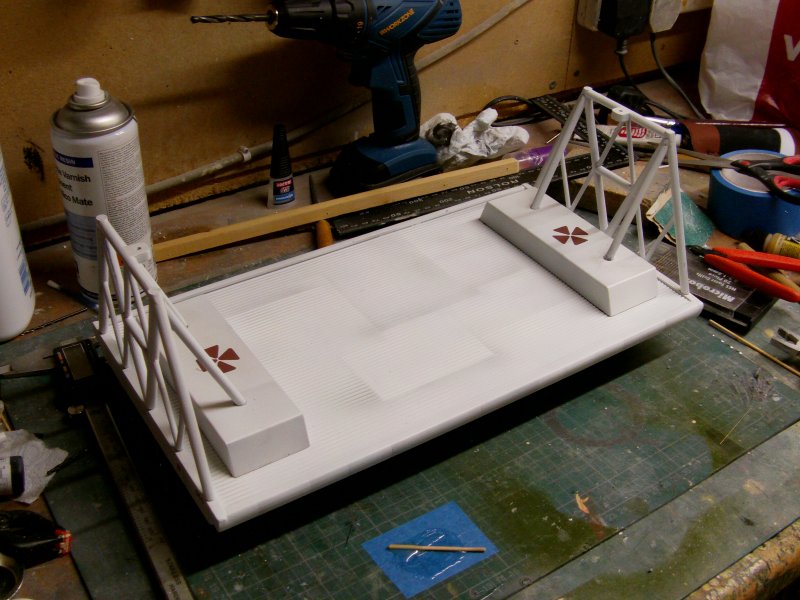
So...after a several hours of printing, trimming, shoving, gluing, painting and general farting about later,
Lifters fitted in to place and done!
I did leave some parts with the layer lines and so forth on because why not.
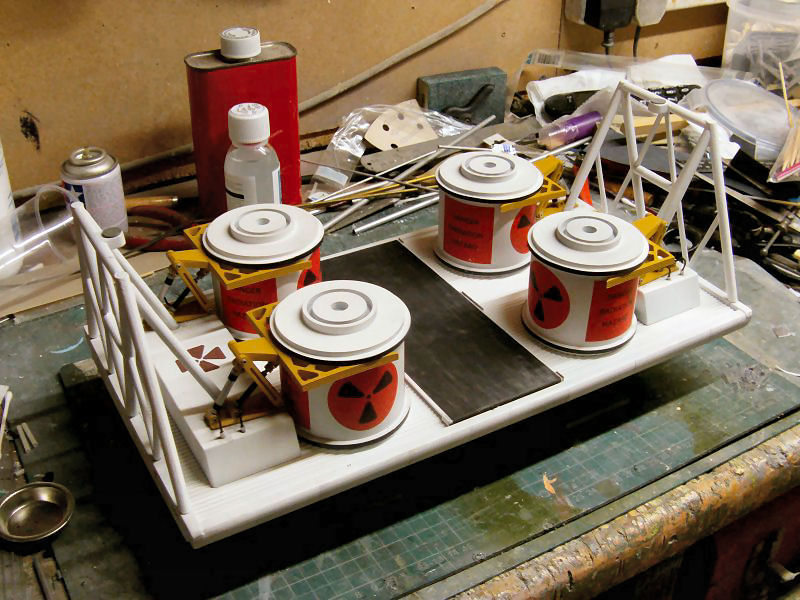
And that's those bits taken care of, next update to follow soonest!
You merry mob go easy out there now.
Page Number