
Kit Kong's Model Mansion Armour Annie
Sculpted by David Whitford
1/8th Scale WWII Pin-Up Series


 Page Number
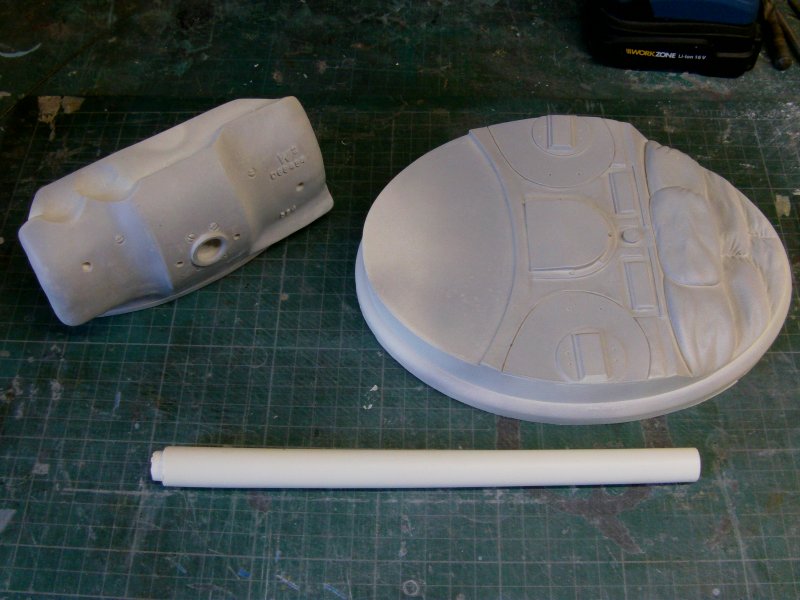
A few bits required...
it's A Tank But it Needs Just A Little Bit More
Additional Tank!
Whatho gang!
OK then, a simple enough bit to deal with by upping the
detail stuff on the base just a smidgen.
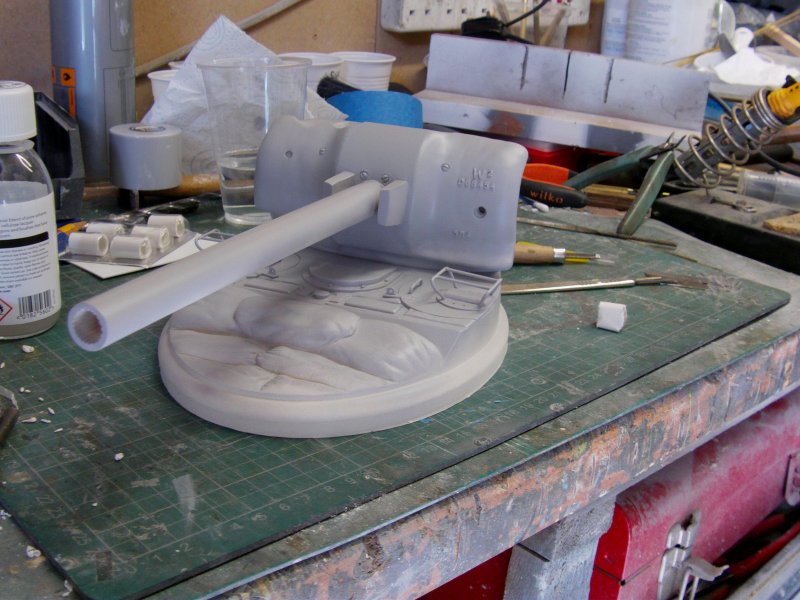
Right, the base bits in the raw you may remember from the first page...
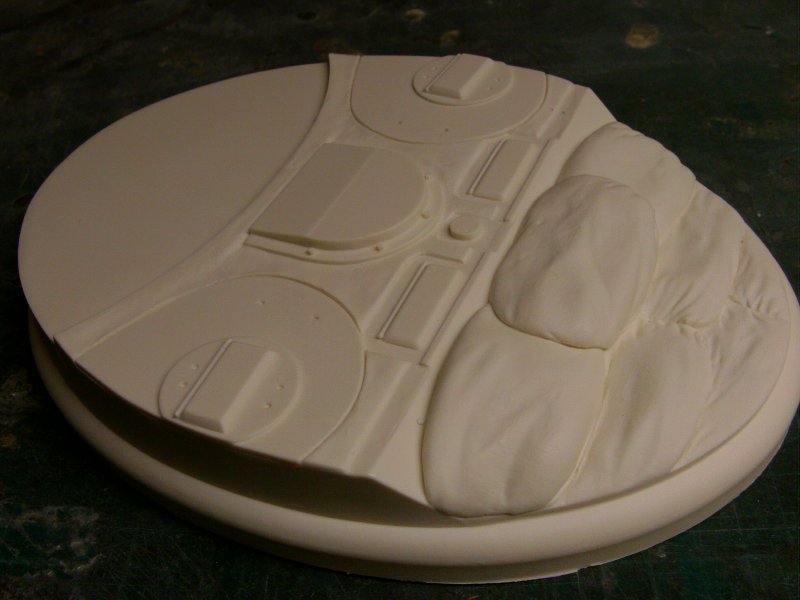
Well the main lumps got a good scrub and a dusting of primer on the biggest lumps.
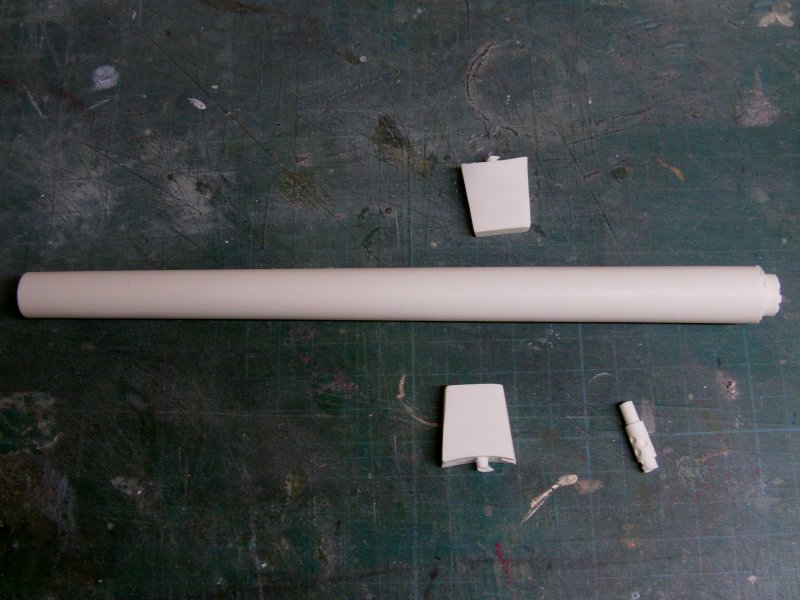
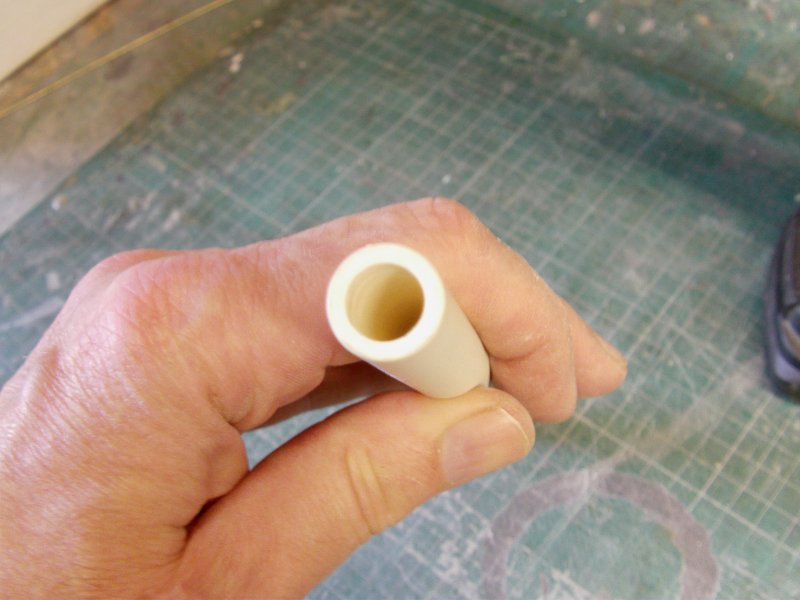
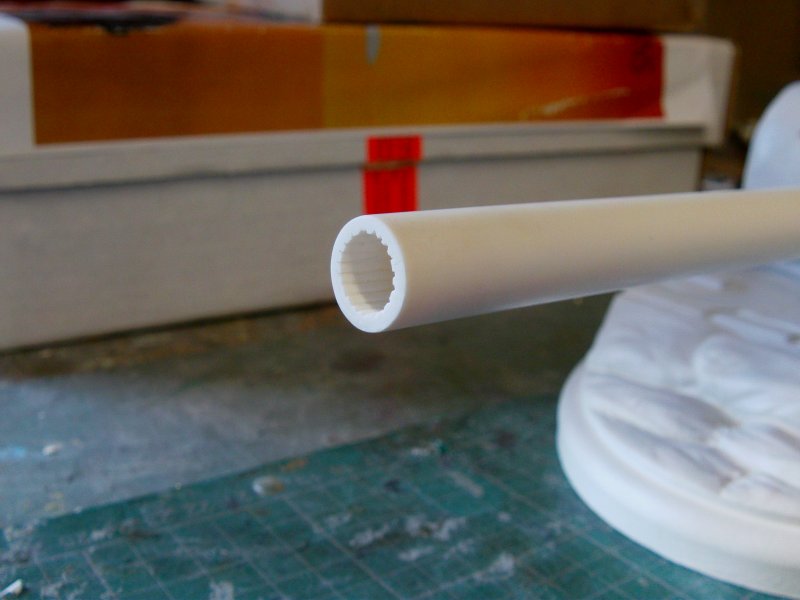
Now first things first and that first is the gun barrel.
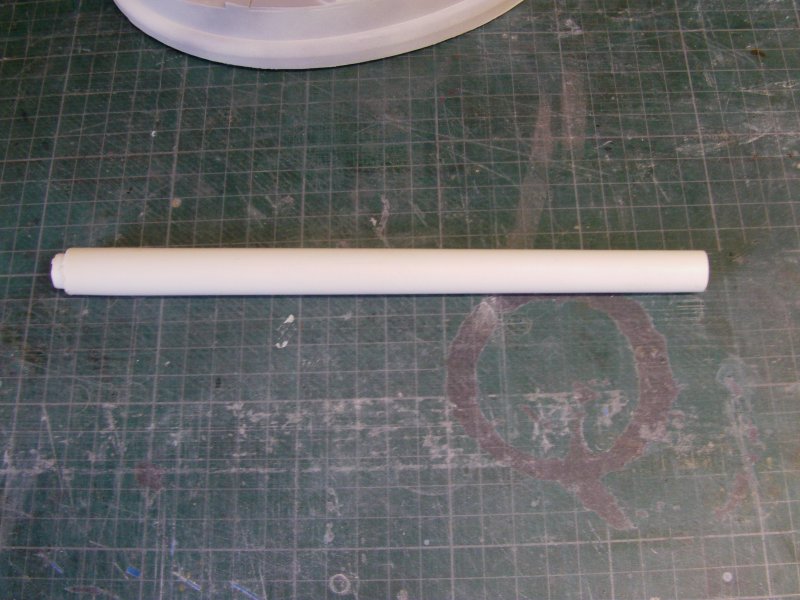
Now it's a solid casting and very nice but I do have my concerns about a bit of...
how can one put it delicately?...
Appendage droop over time?...
Yeah, that's as close to delicate as I can get so onward...quickly...
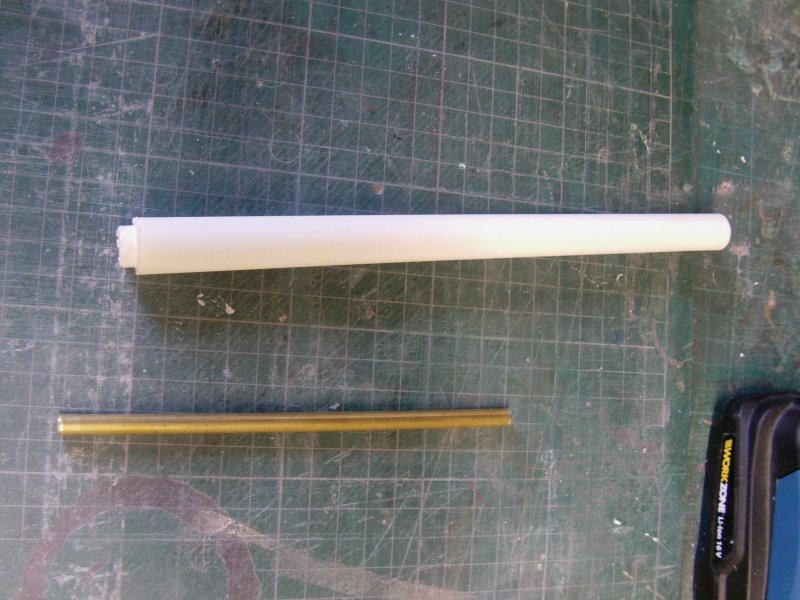
Decided that was a no-no so the aforementioned gun barrel got introduced to a friend.
This is that friend...
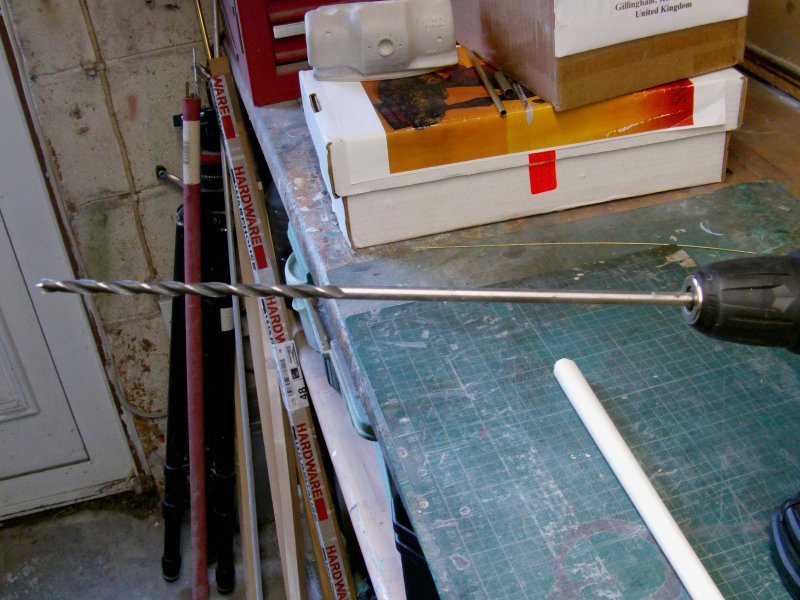
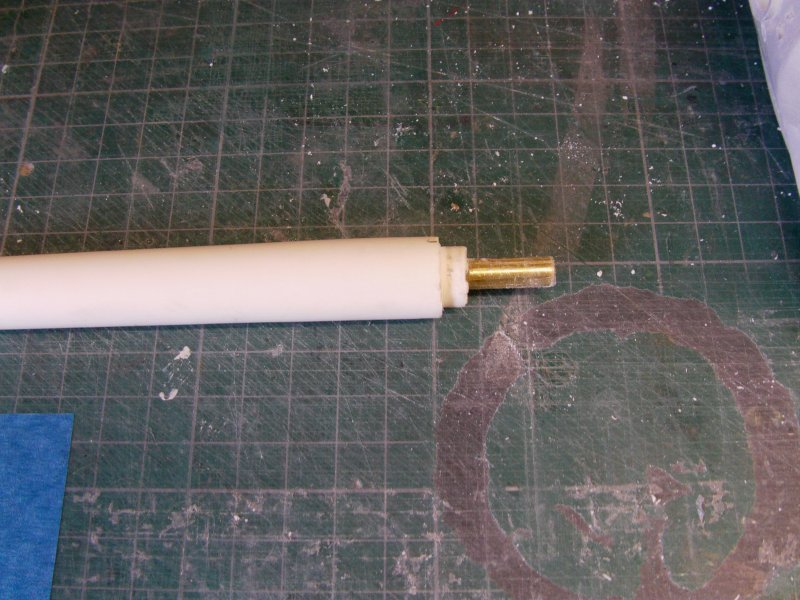
After a little bit of careful shoving...
Okedoke.
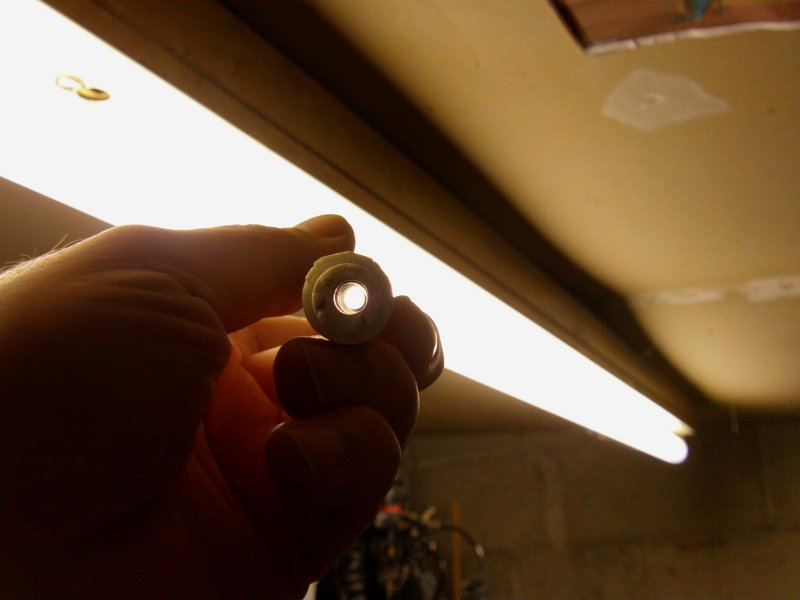
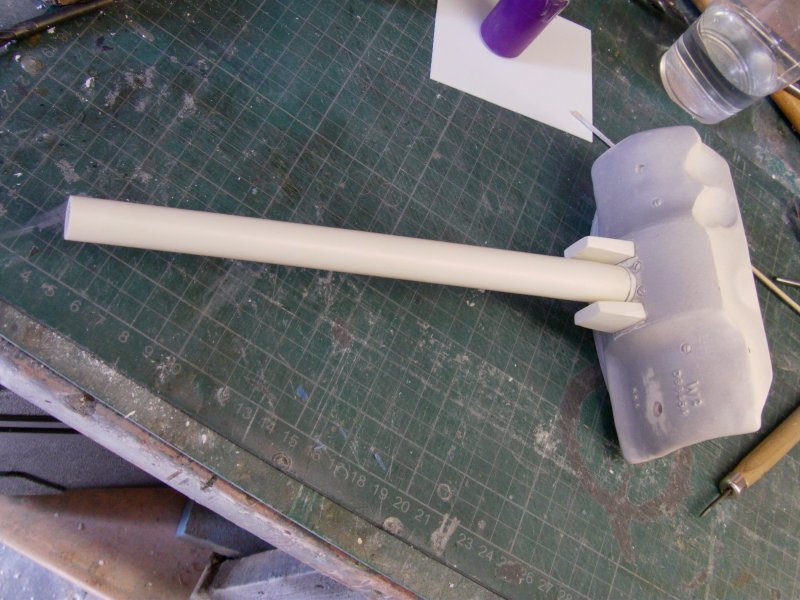
The muzzle end got a slightly bigger friend...
Rammed in it's business end and given a good twist...
One day i'll think of better terms to describe things...
Not going to be today though.
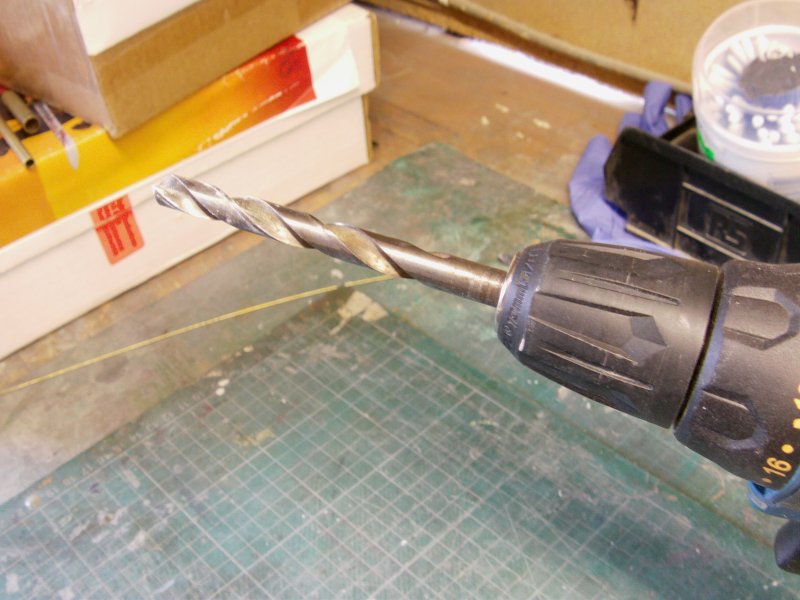
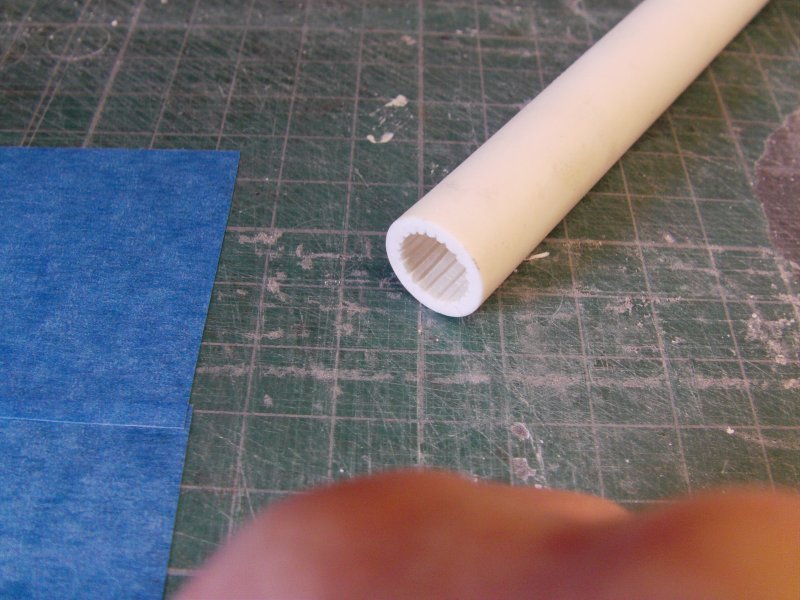
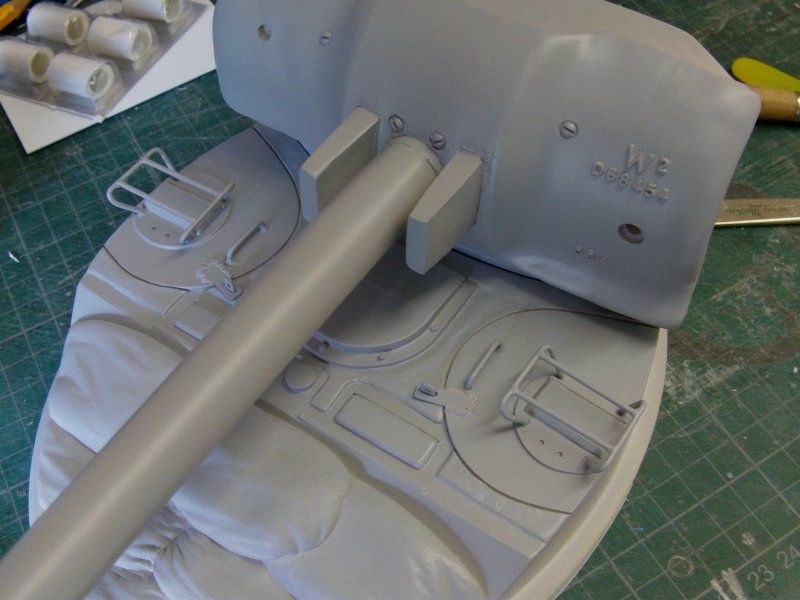
Muzzle drilled to approximate scale bore.
As a bit of support, a short length of brass tube got sliced about.
Some epoxy 'stay put ya bugger' gunk was applied and the tube was hammered,
literally,
in to place.
A bit of scribing and a suggestion of rifling got added to the muzzle.
Yeah it's not the 24 groove 7 degree right hand twist that scale demands but like I care.
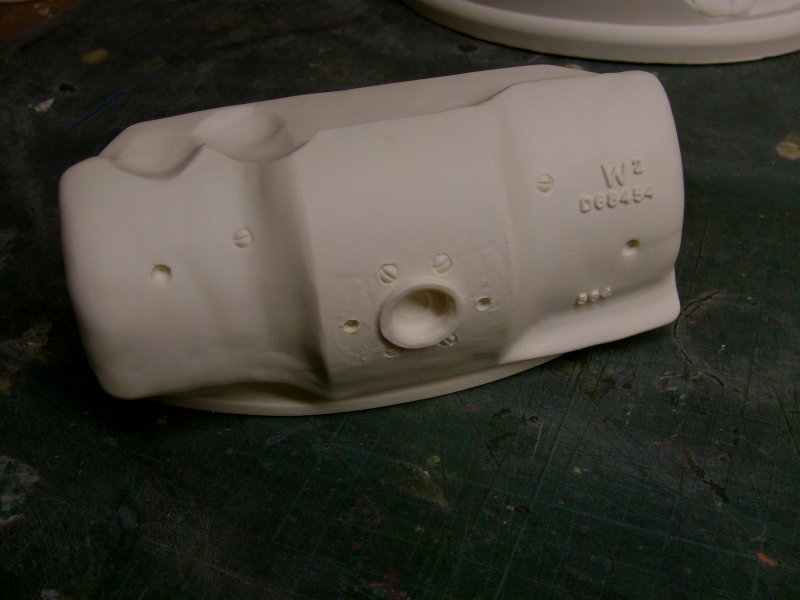
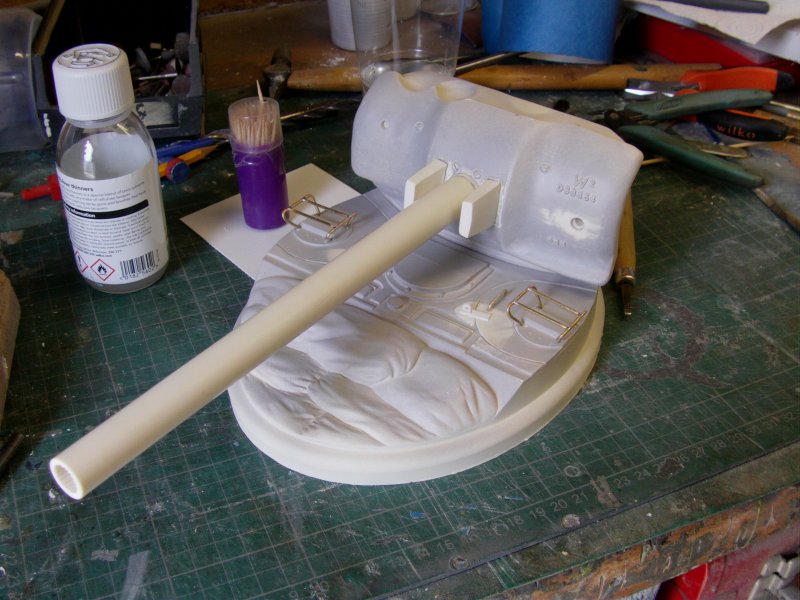
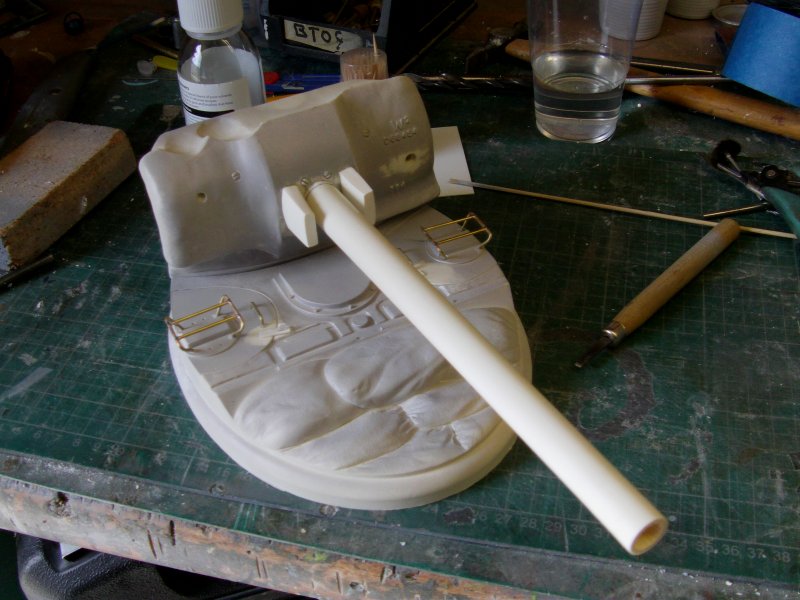
Barrel and side plates glued to the mantlet.
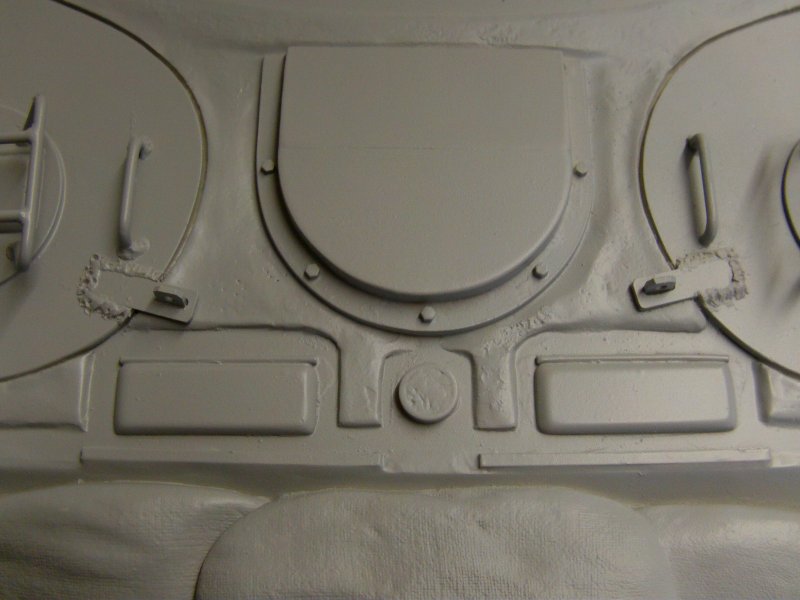
To the main base bit then.
After a goodly trawl about the net for reference,
some was found and bits got fiddled with.
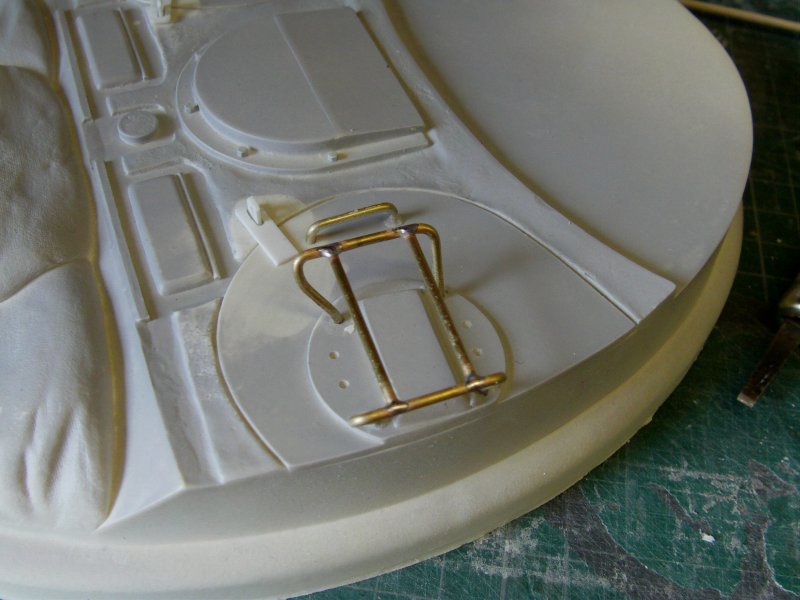
Some styrene bits and 1.5mm brass wire got sliced and bent about.
As sometimes happens in the Hellhole.
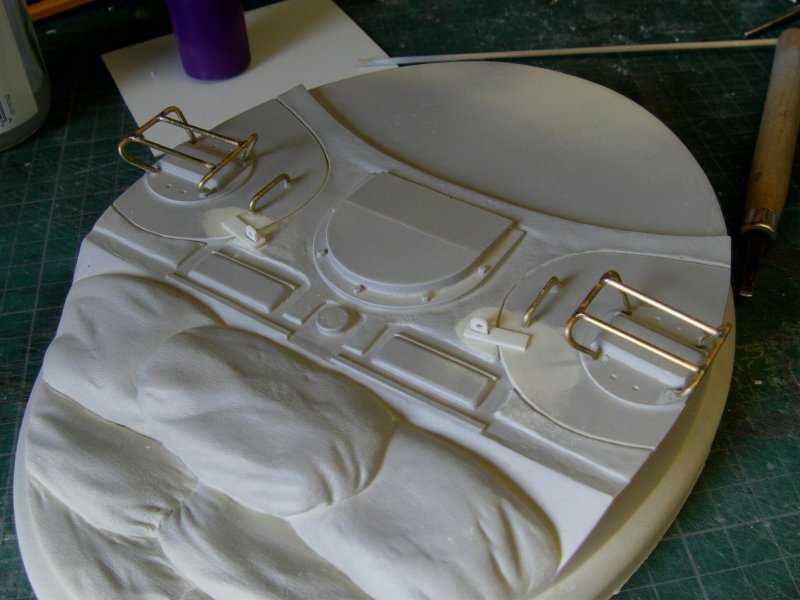
The wire was just bent for the periscope guard ends and hatch handles, then slotted in to drilled holes,
after which they were convinced to stay there with a drop or several of Loctite cyano.
The top bars just cut and soldered in a permanent fashion.
The driver and co-driver hatches got the lock down hasp plates attached.
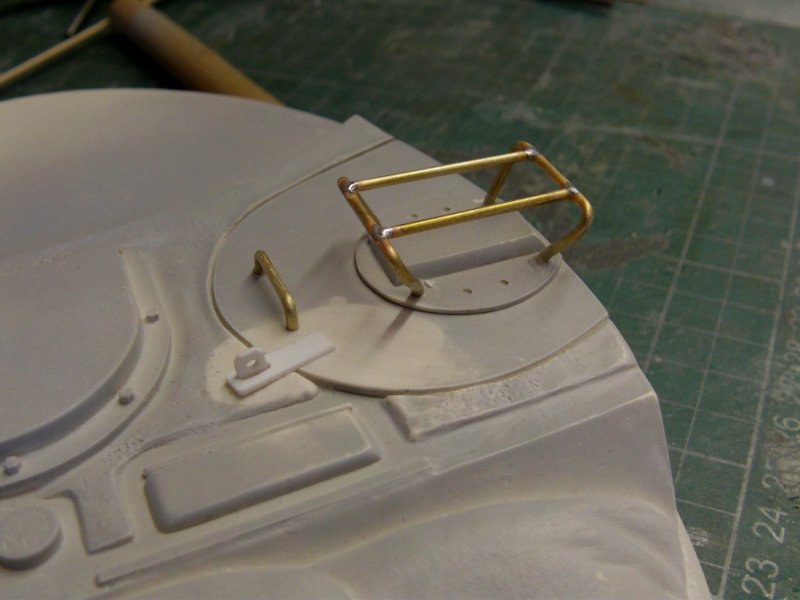
A quick looksee...
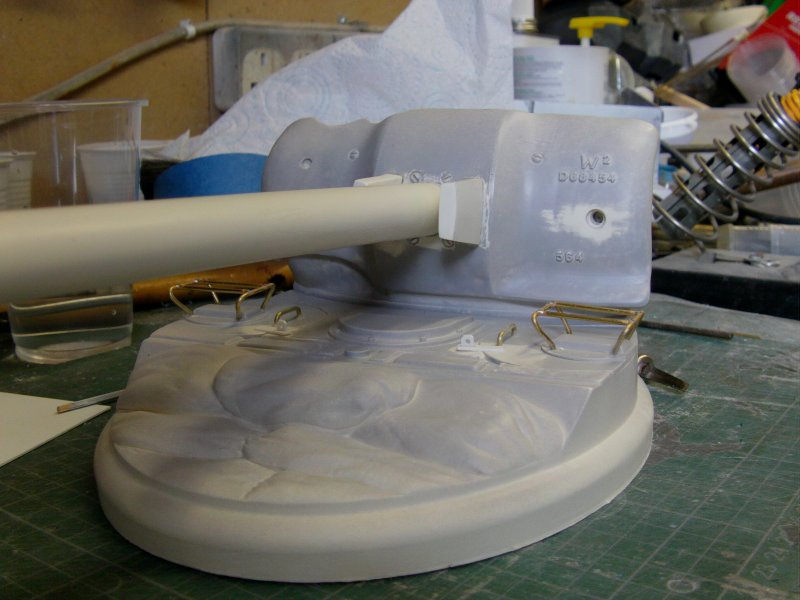
Nice, finally some rapid cure epoxy putty got laid in for the welding marks on the hatch locking hasps.
Final coat of primer on and done as done needs to be thus far.

So that lot sorta sorted, on to the main event.
And that will be for the next update so I strongly suspect i'll see you lot then.
Take care of yaselves out there all!
Page Number