
Renwal/Revell Atomic Cannon
1/32nd Scale


 Page Number
Not so much springing in to action...
But Them Springs Do Need Sorting Out.
Whatho gang!
Now that's the gun pretty much done, on to the large wheeled lumps that haul it about.
First up is deffo the suspension.
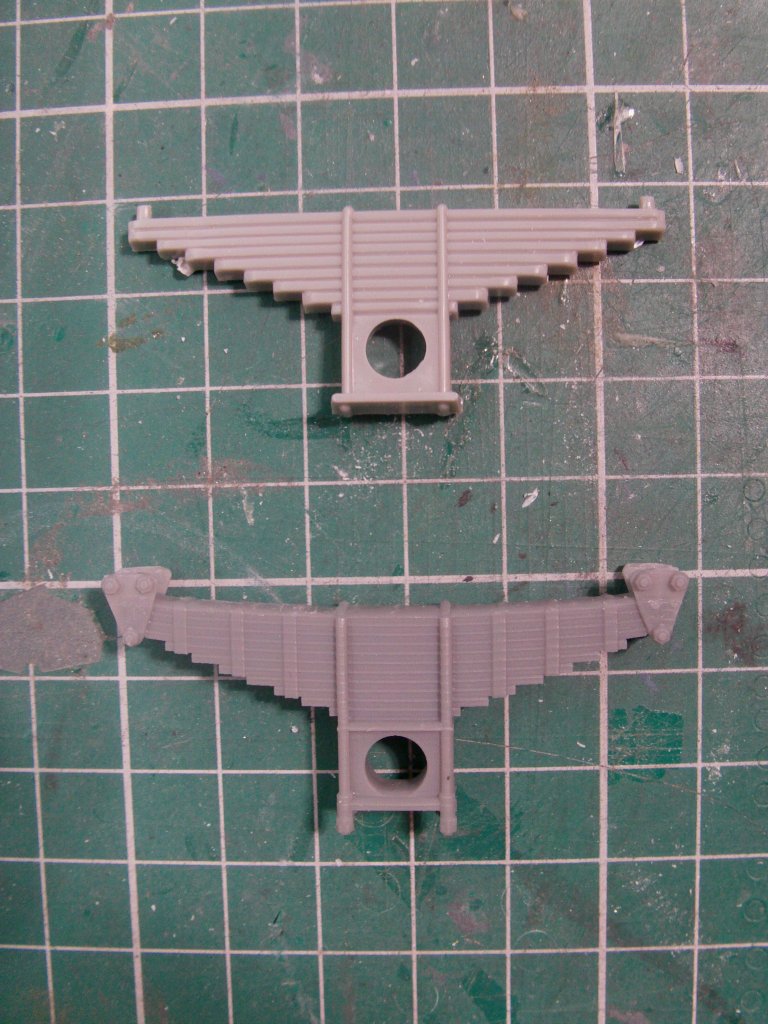
Kit supplied parts...
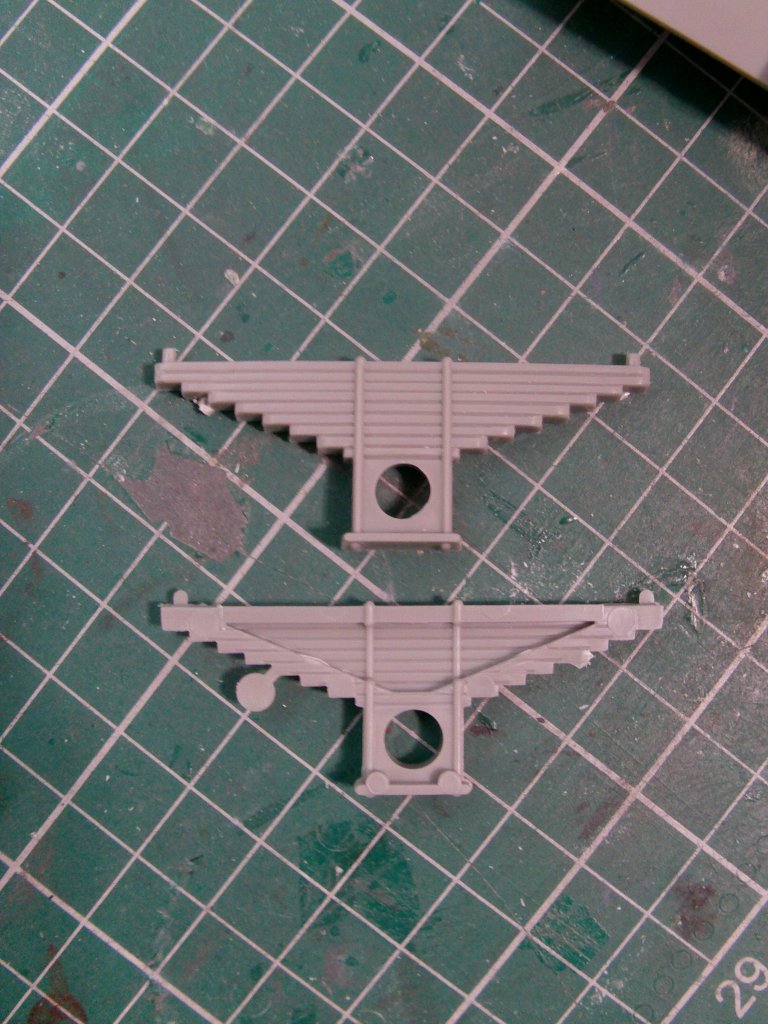
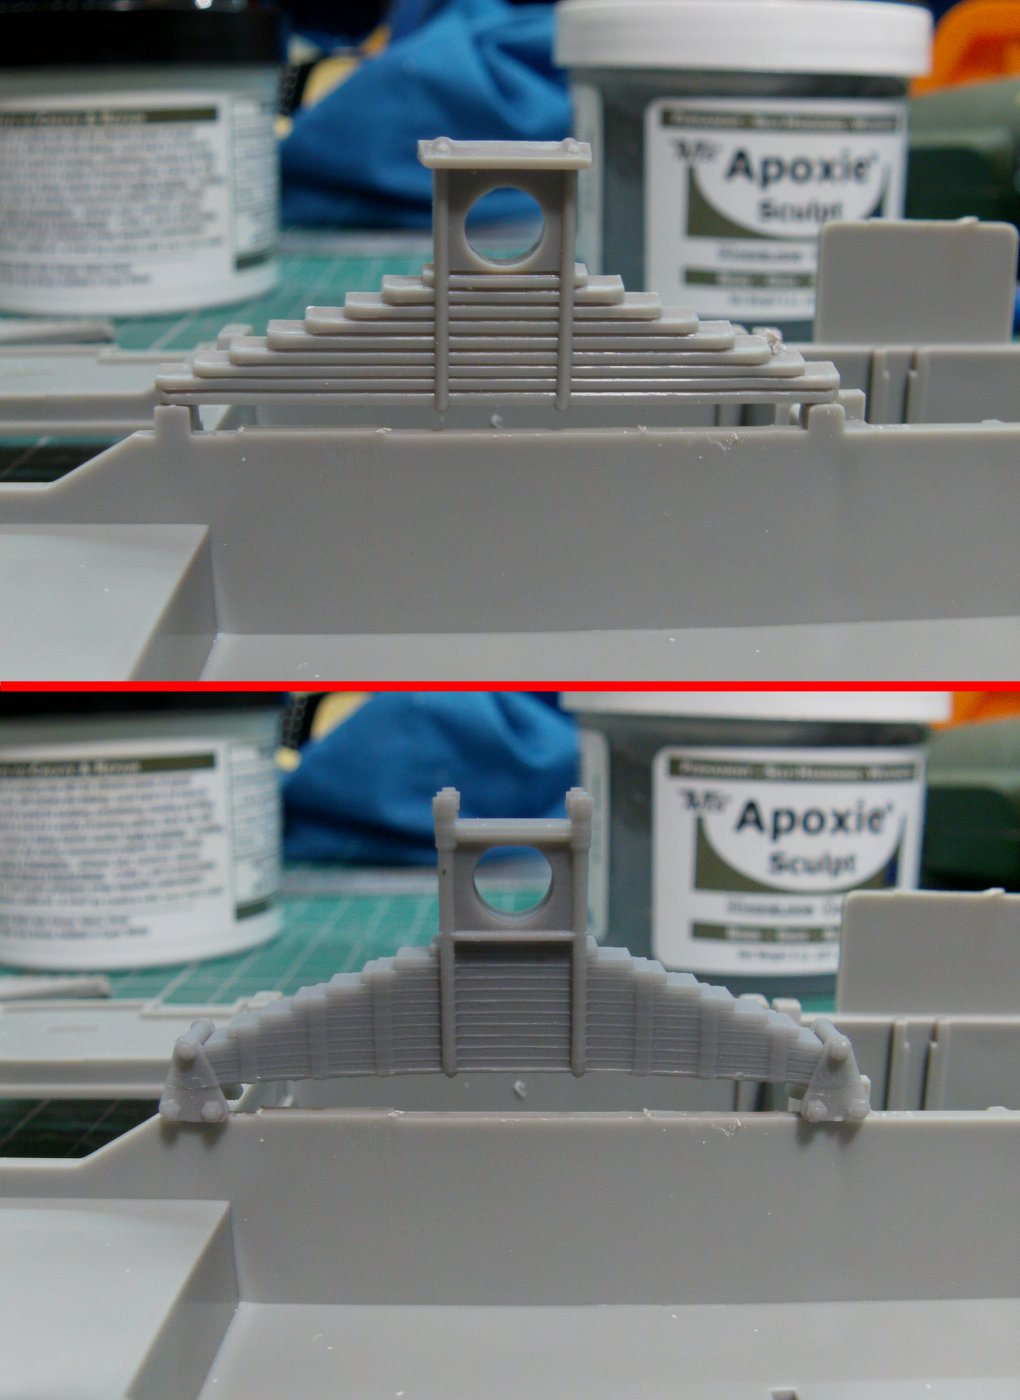
Usual mesh up thing and stock to the top, replacement to the bottom.
Comparison in place look see.
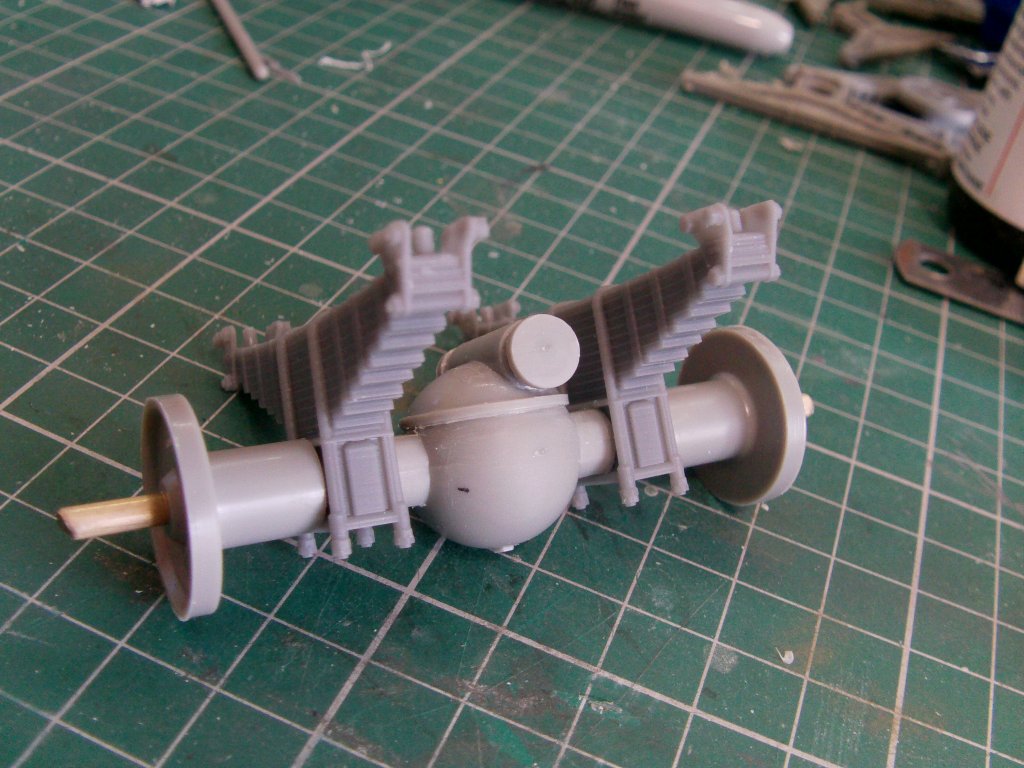
Differential boxes and springs brought together and a dry fit looking at.
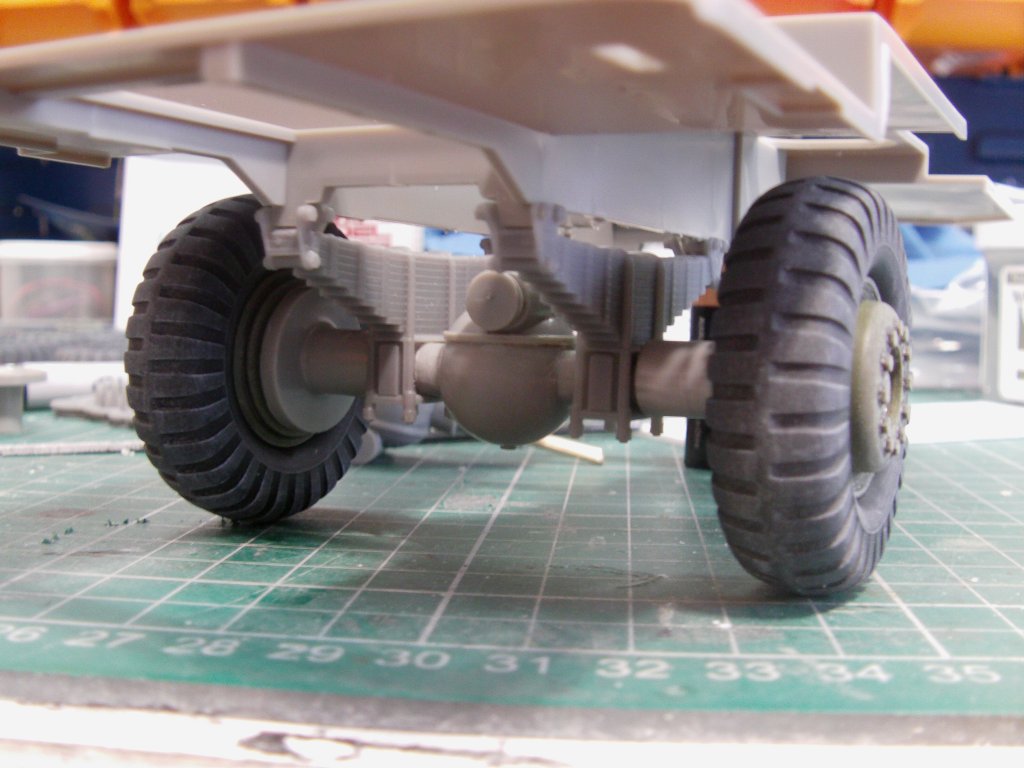
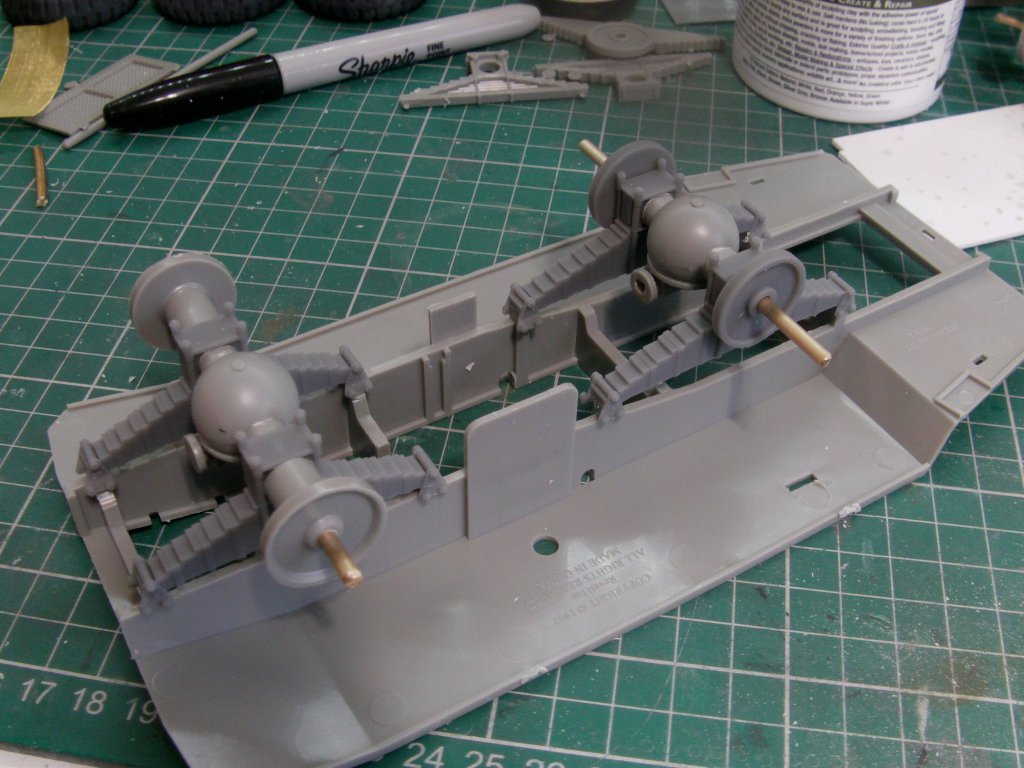
Yep, chunky enough looking for my liking so onward!
Transmission boxes and these be they.
Prob here being the other side is completely open so a quick mesh mashup and problem solved.
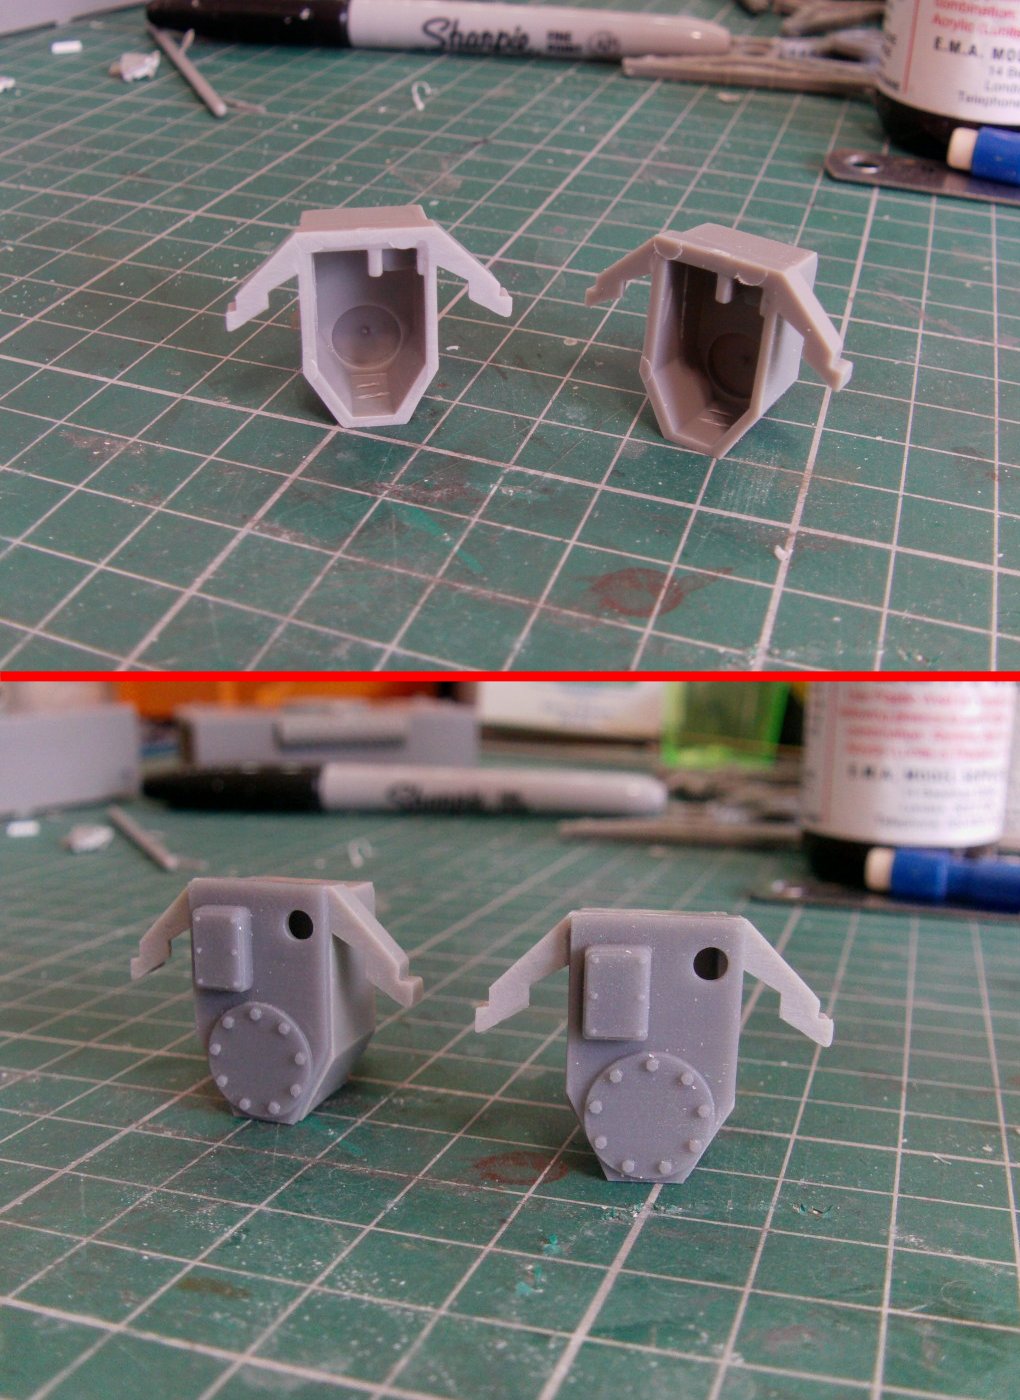
The tubular housing on the differential boxes has a large disc thingy on one end...
I'm no mechanic so don't ask me what the proper name is...
Anywho, an approximation was done and in place.
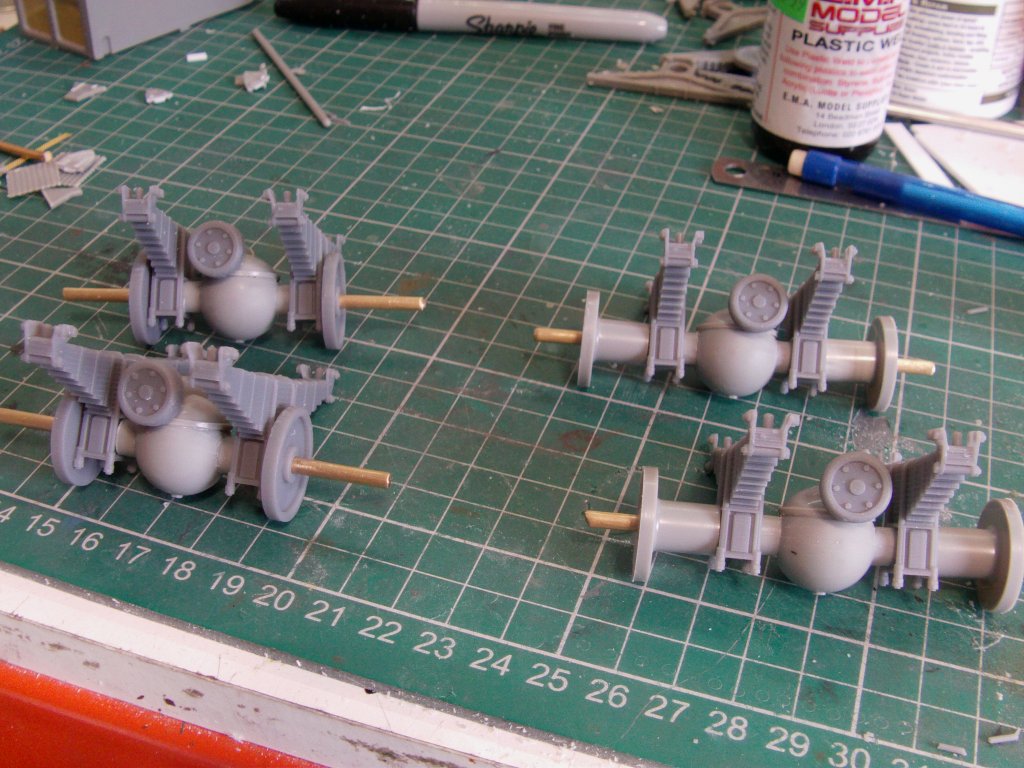
Now to the drive shafts.
The parts.
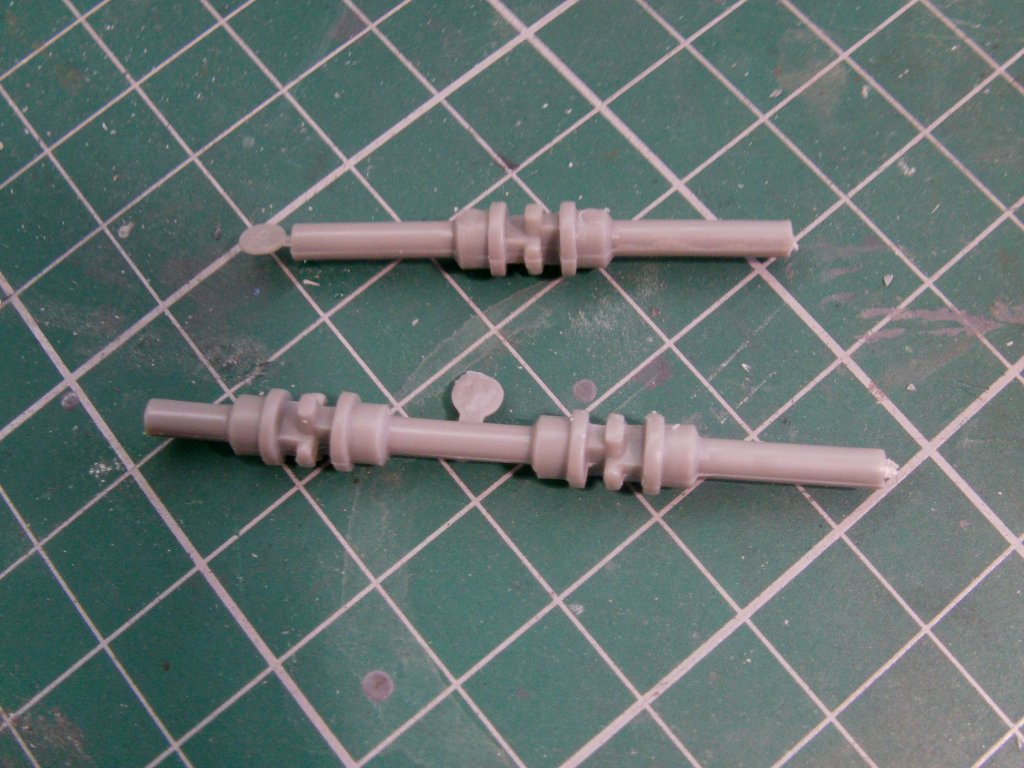
Now since I replaced the springs, these will no longer fit as is.
A smart person would probably chop them about to make them fit so keeping it simple...
A smart person would...
And we all know i'm not referring to me here...
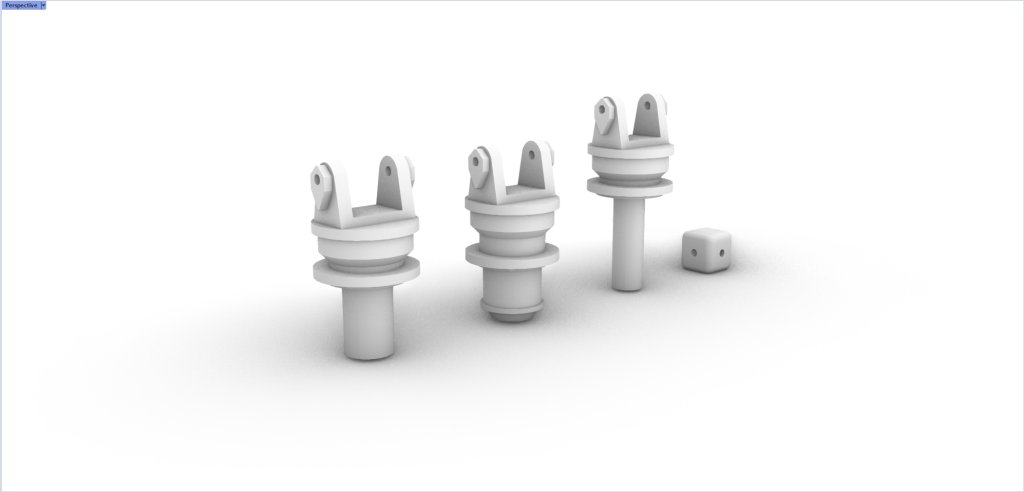
Print, trim, some .5mm brass wire, a short bit of 2mm brass rod and a dab or several of super glue later got what I wanted.
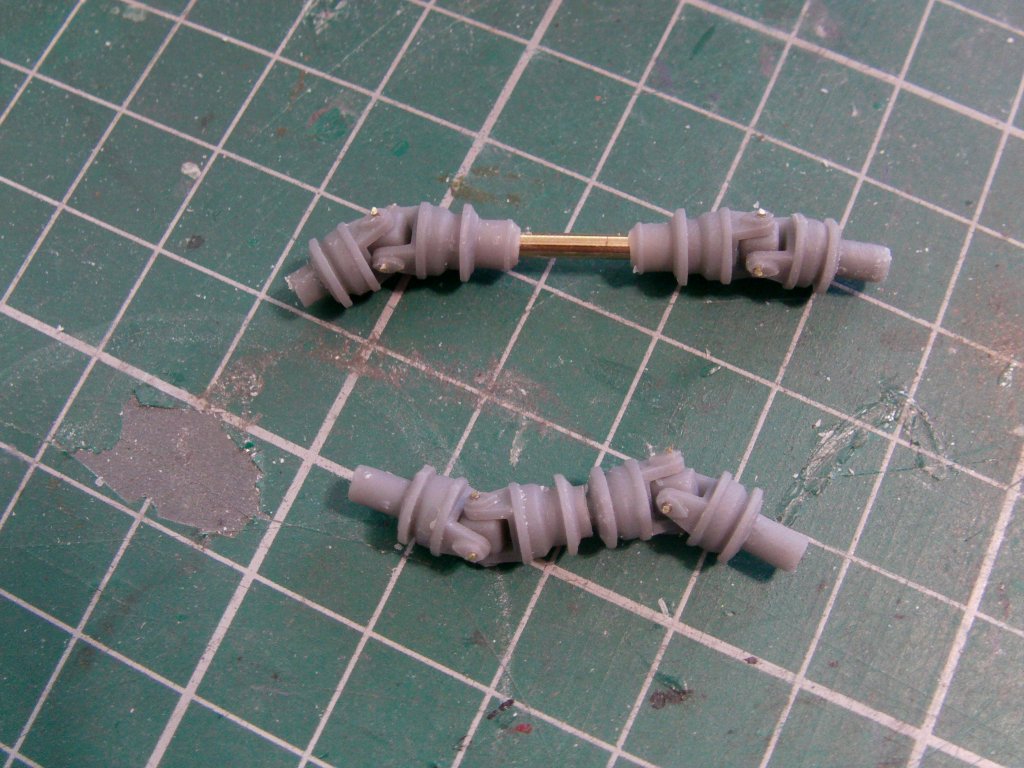
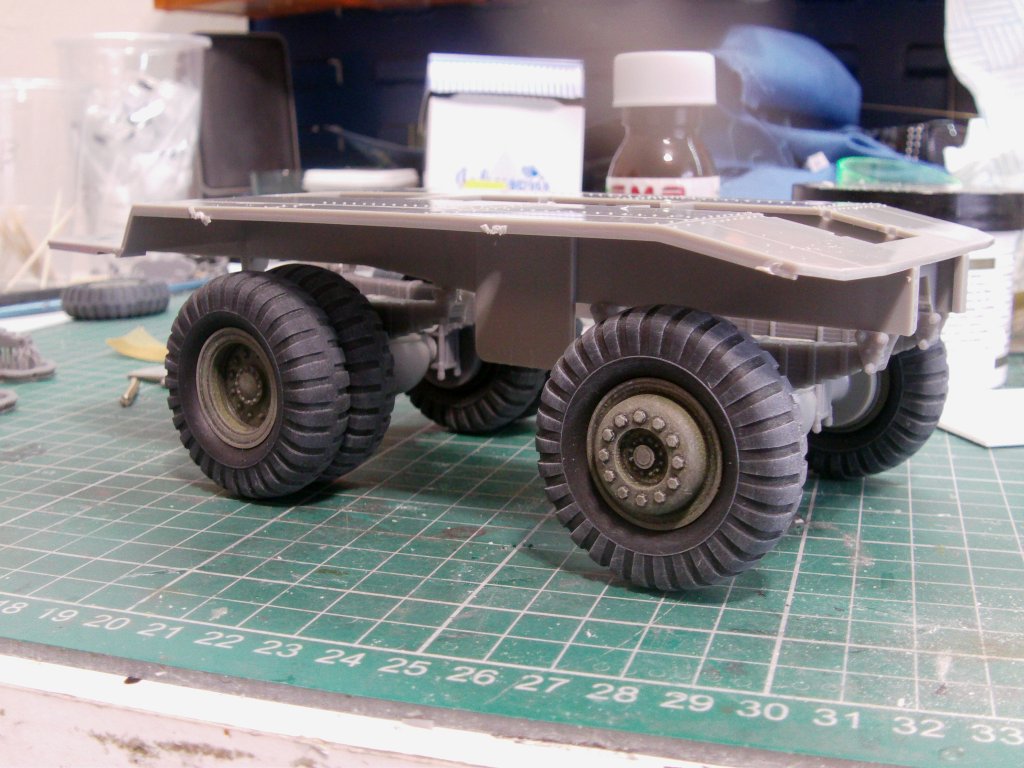
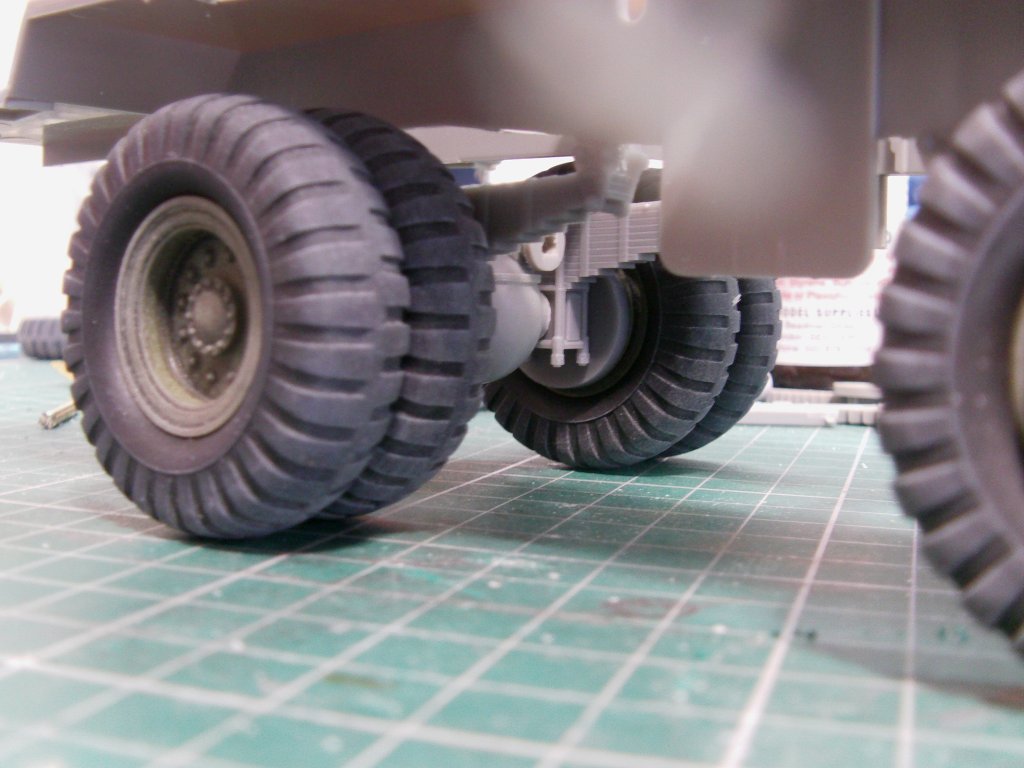
Drive train fitted up.
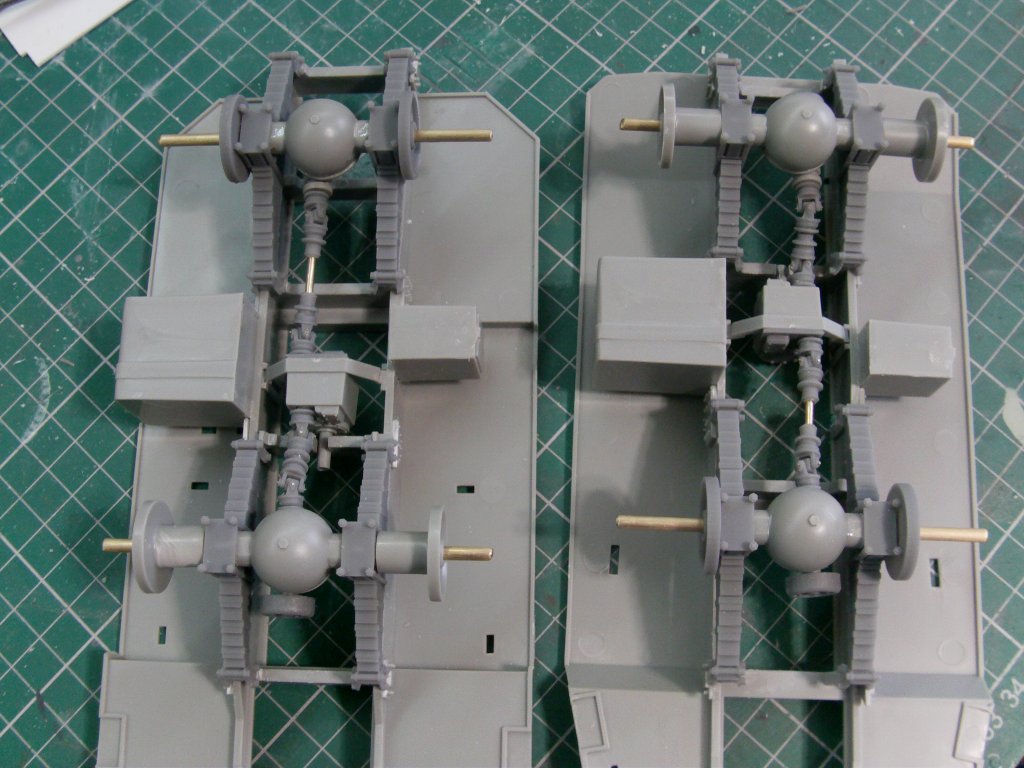
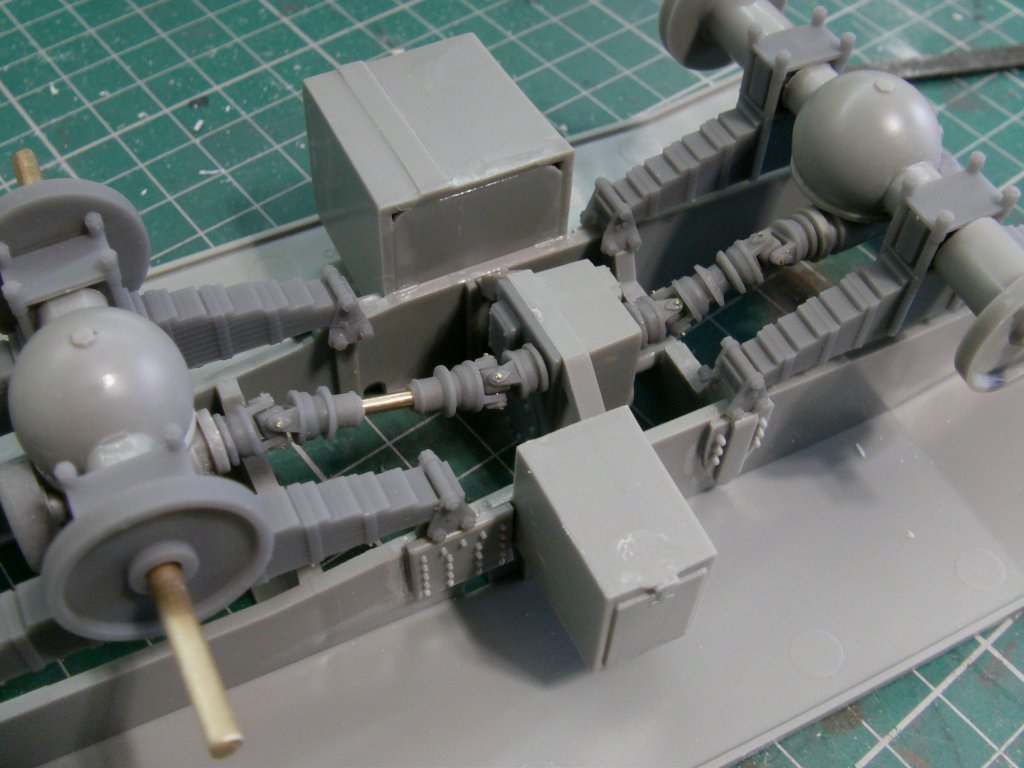
That's a bit more like it!
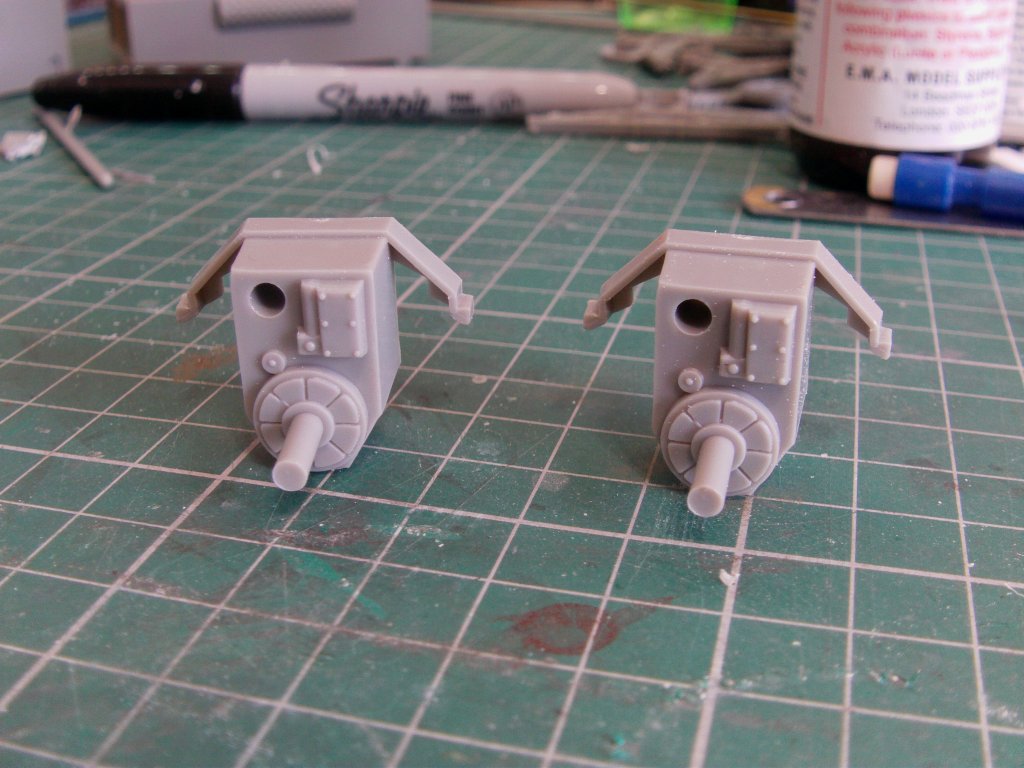
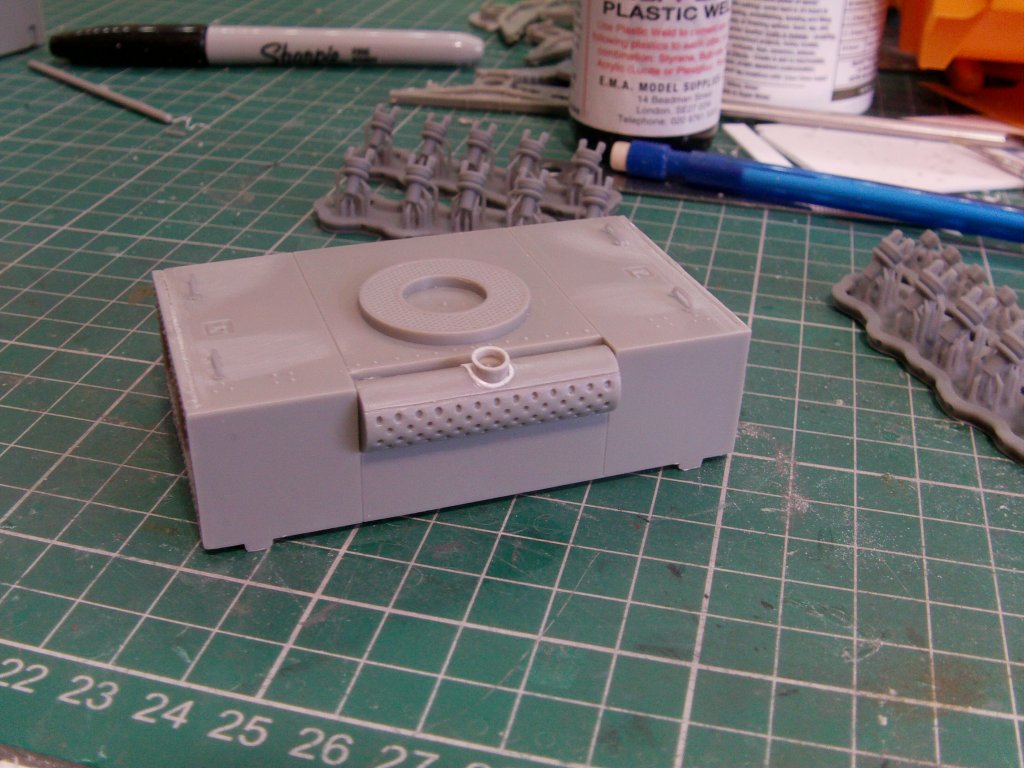
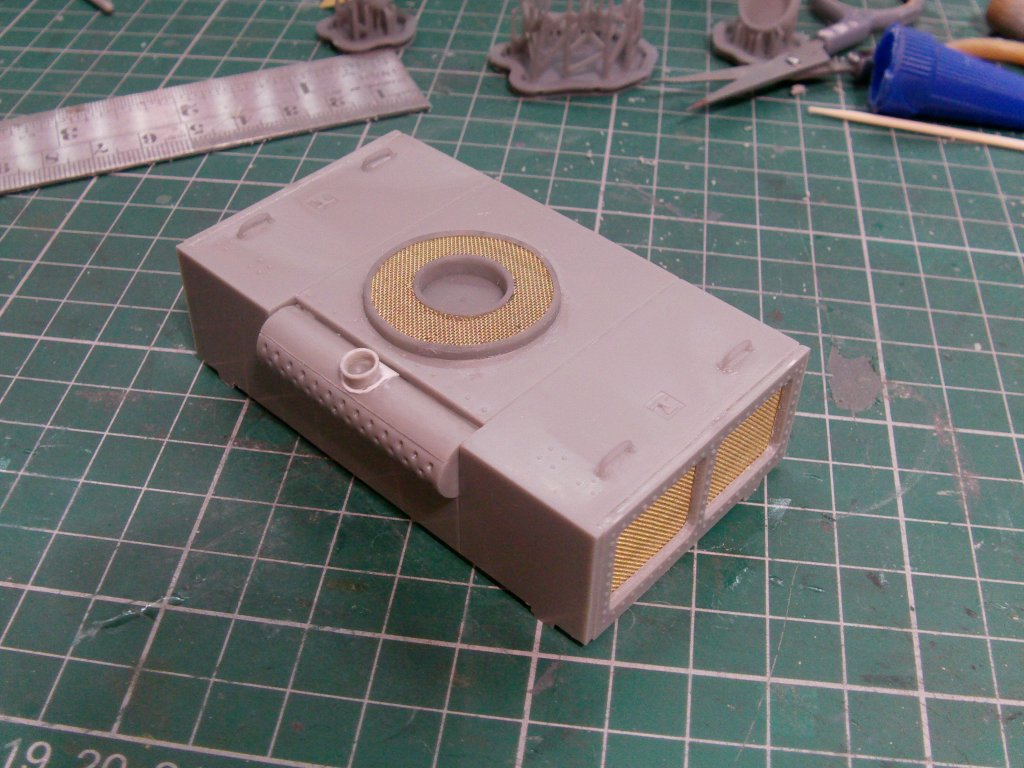
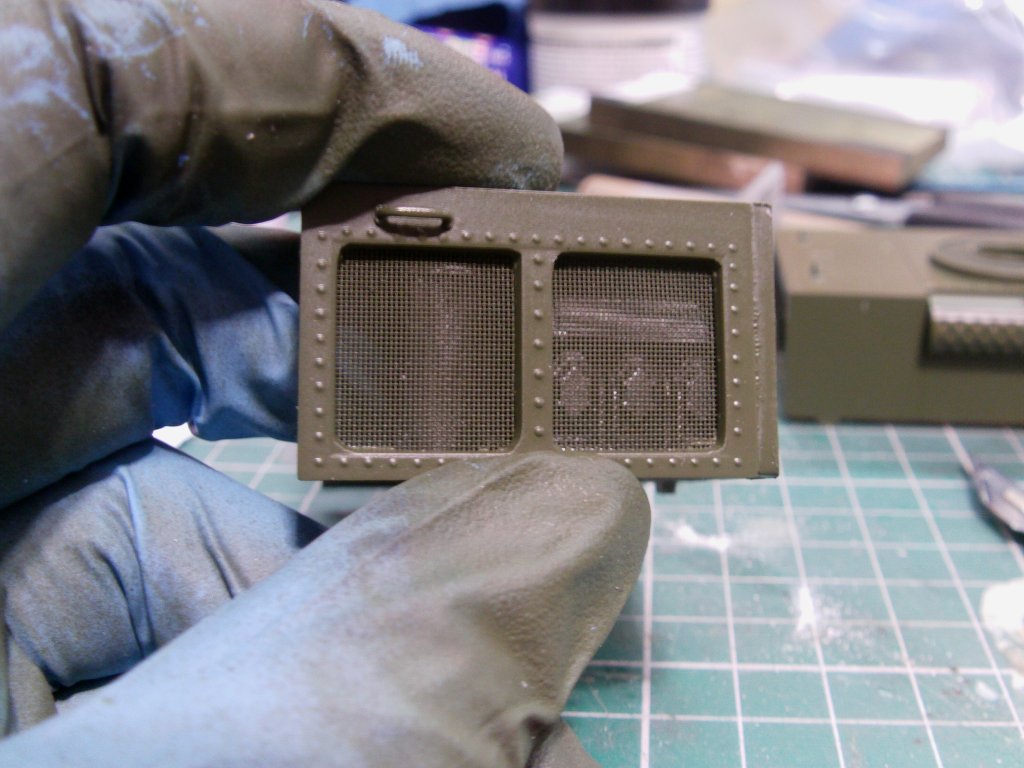
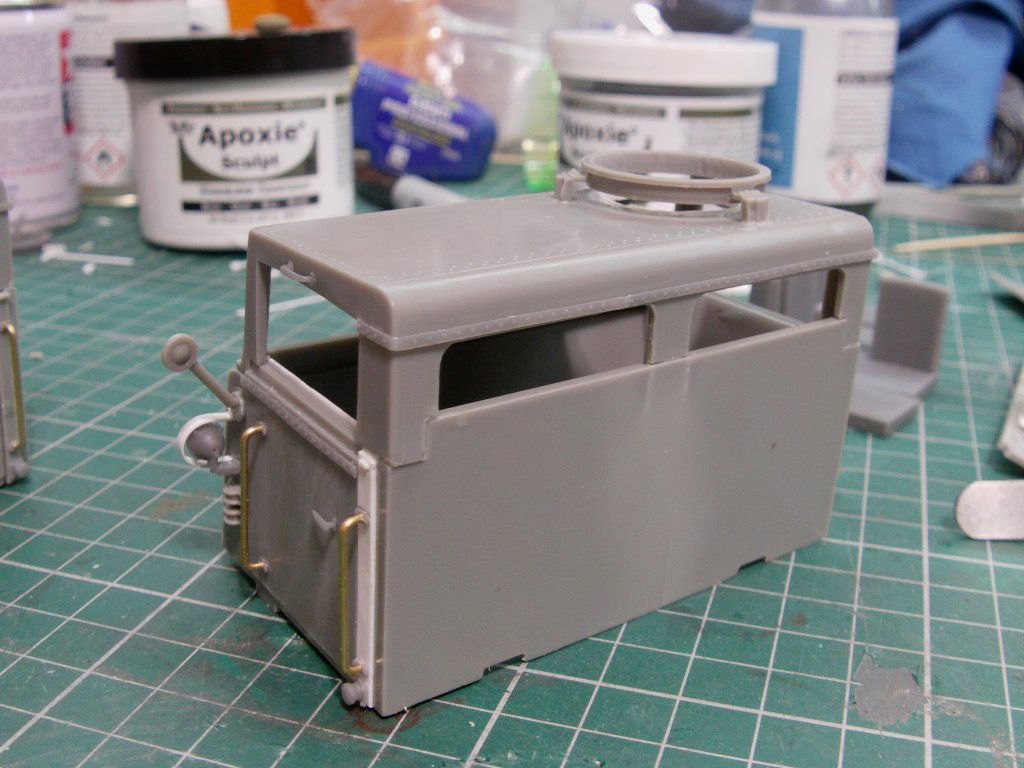
Engine covers now.
Front truck one with muffler cover in place.
Top pipe was drilled out and a 5thou" styrene collar added.
Printed grab handles fitted as well.
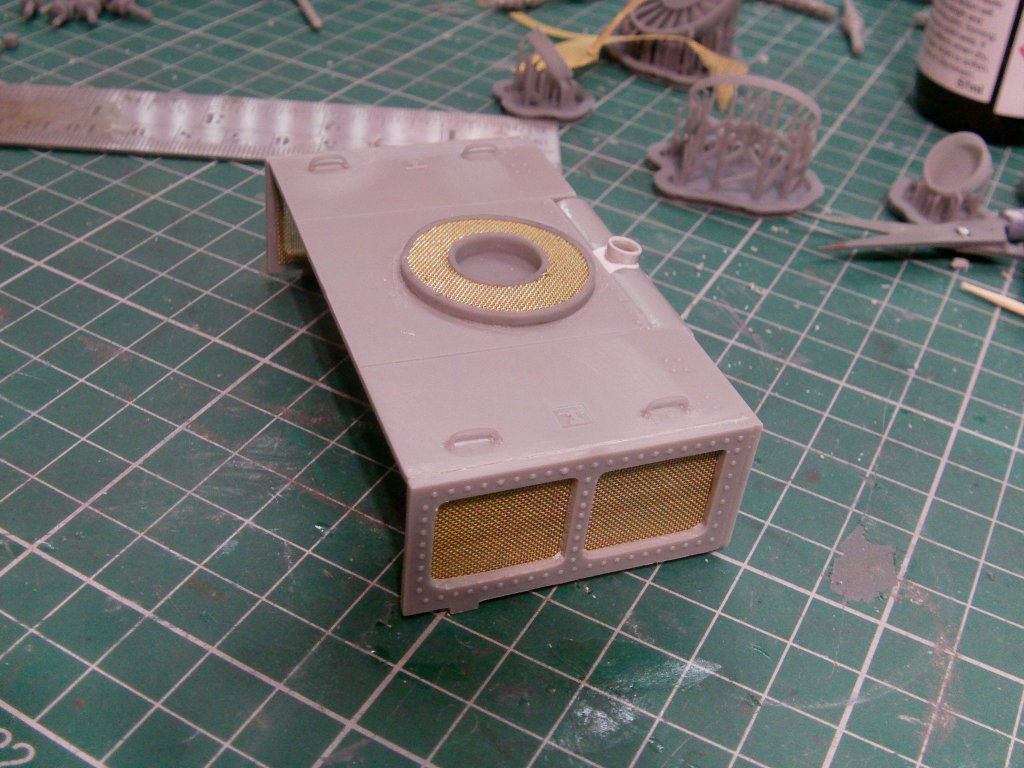
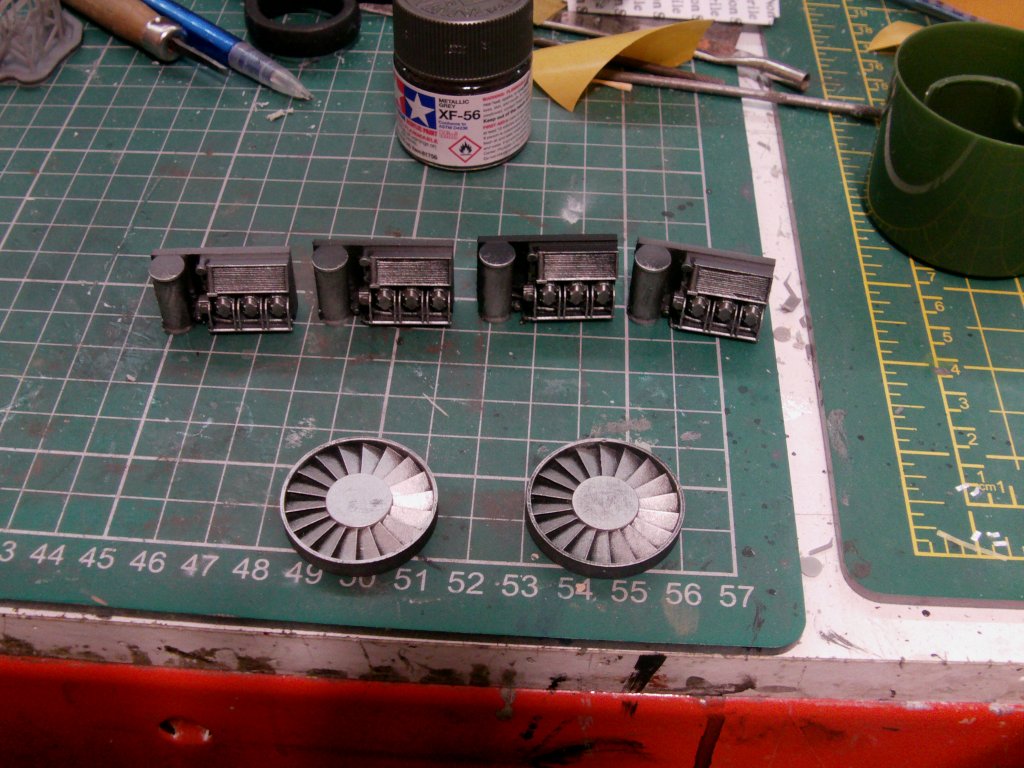
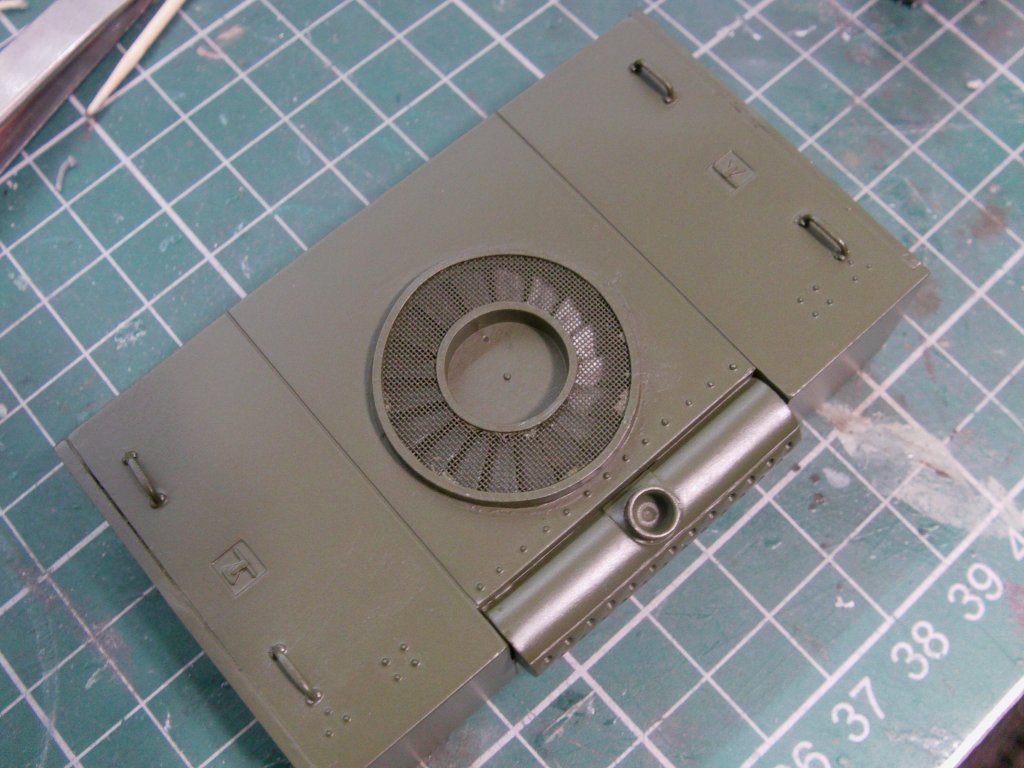
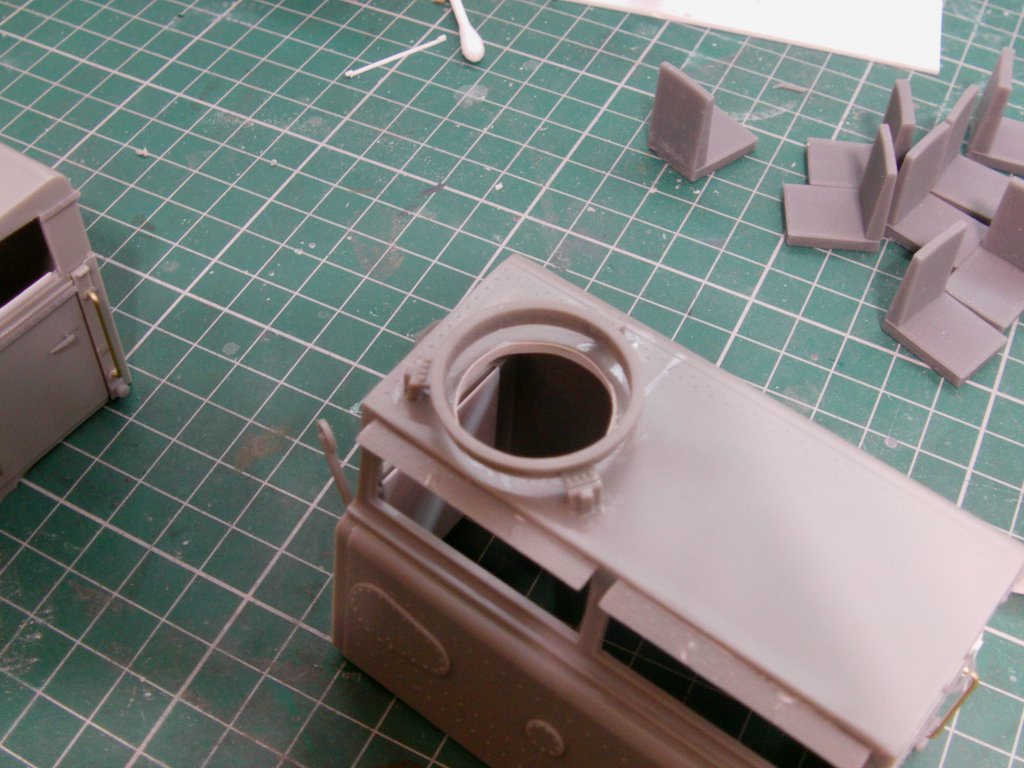
Now the round grille at the top was next in line for a looking at.
On the real deal it's a fan cover/shroud.
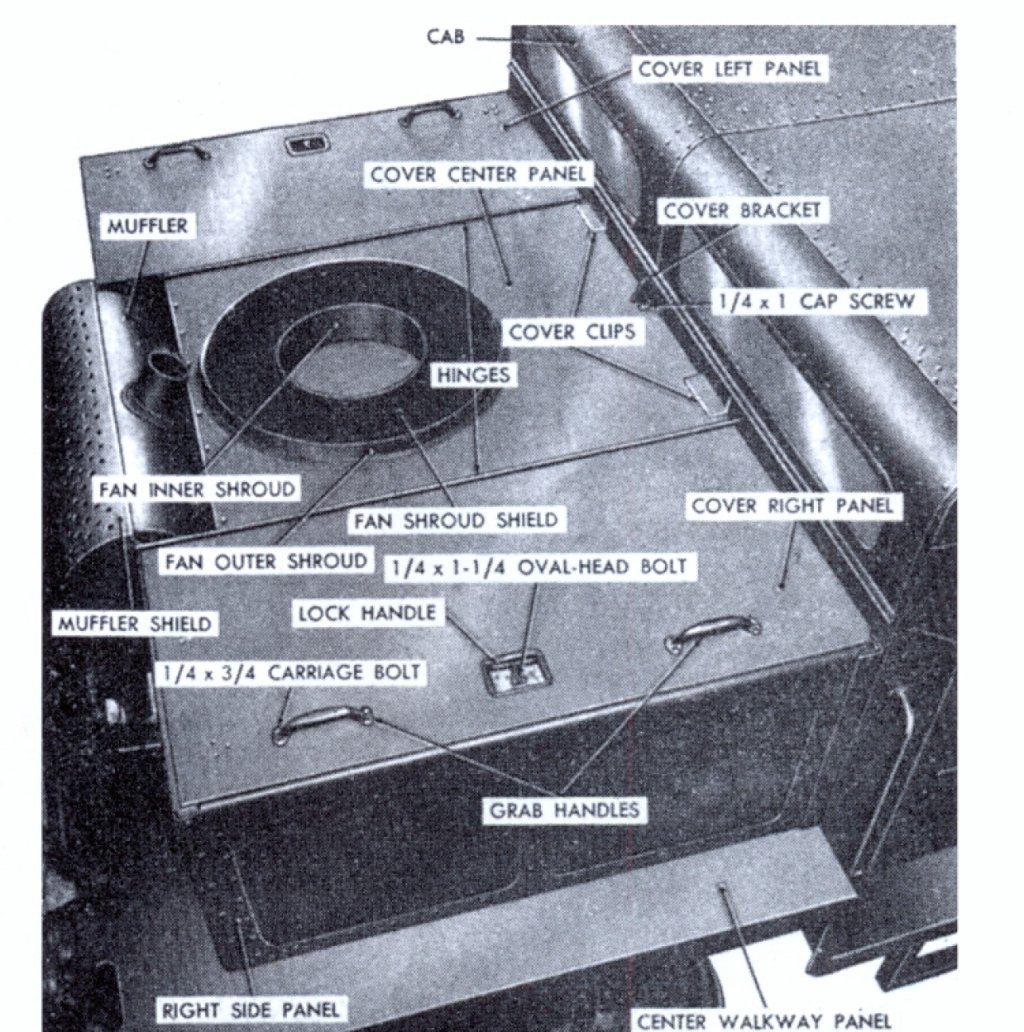
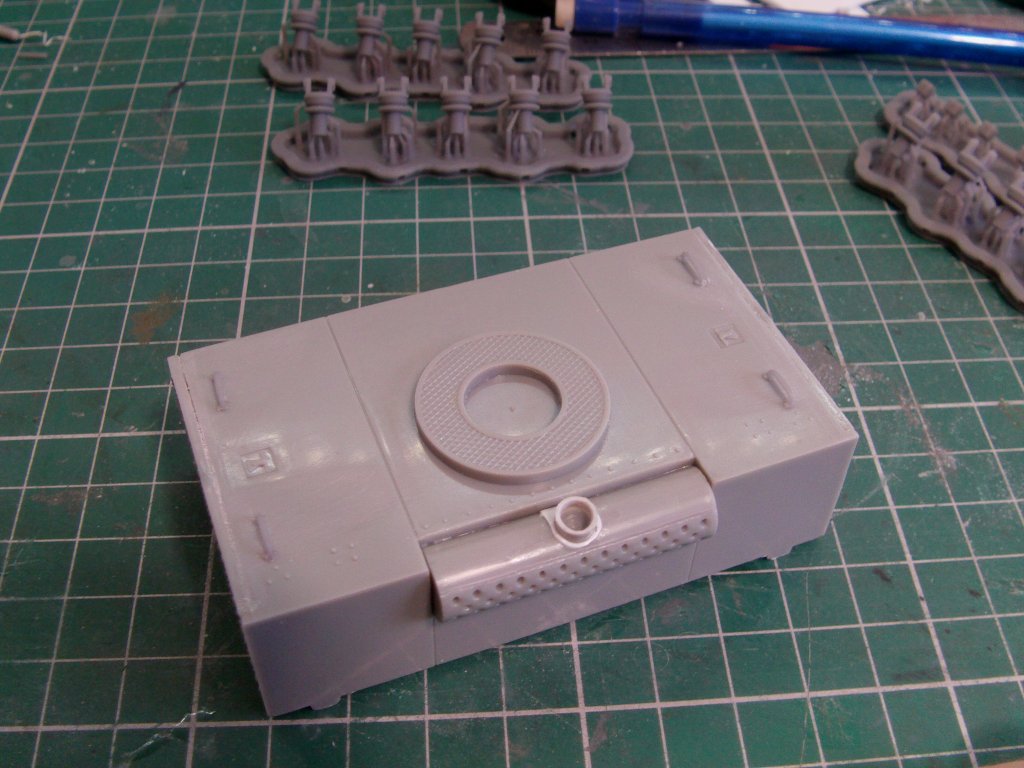
Since i'd gone to the trouble of doing the mesh in the ends, seemed only right to do the same to the top one.
Styrene hacked off, printed ring and center done, replaced with brass mesh and installed.
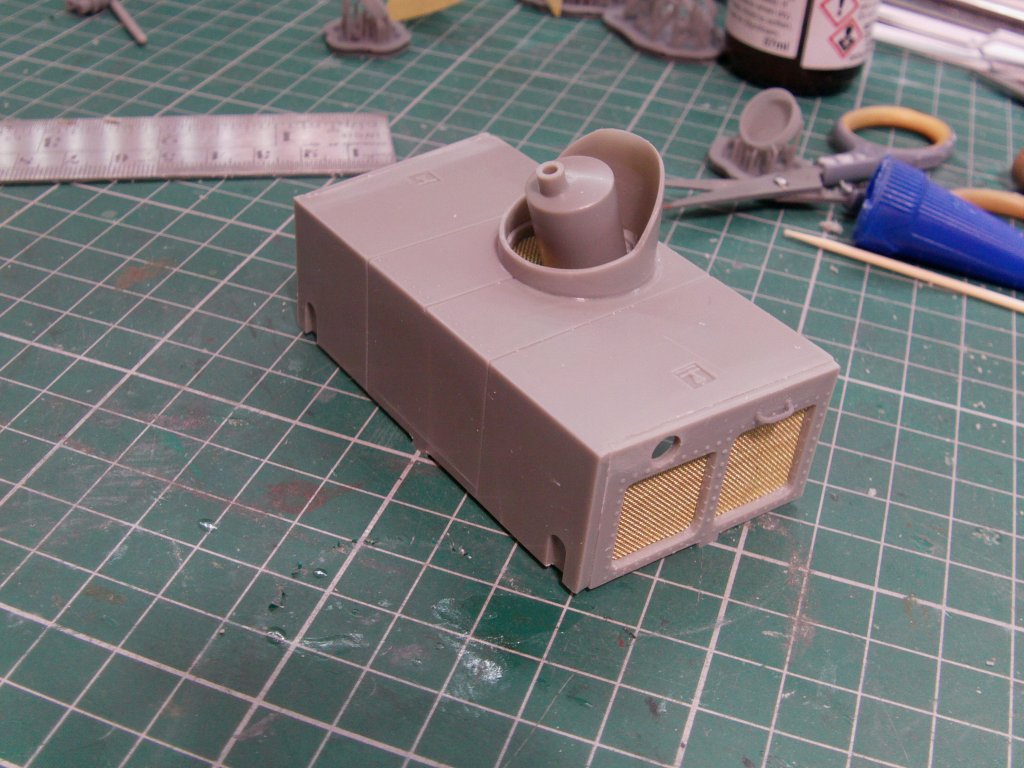
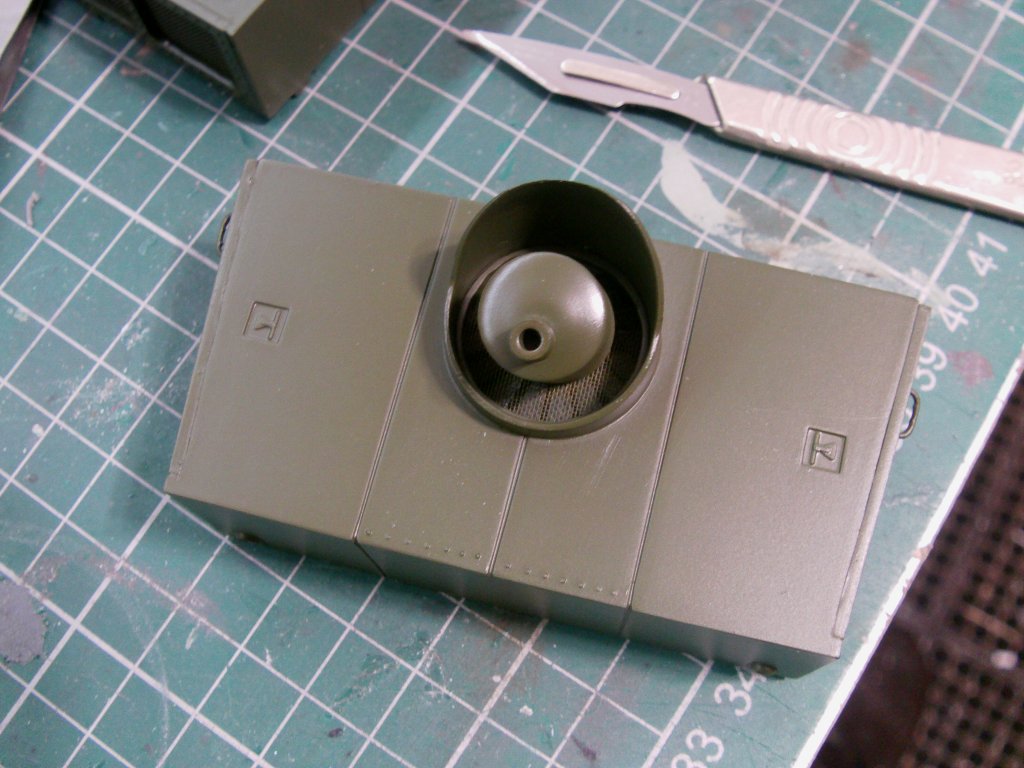
Rear truck engine cover likewise sorted.
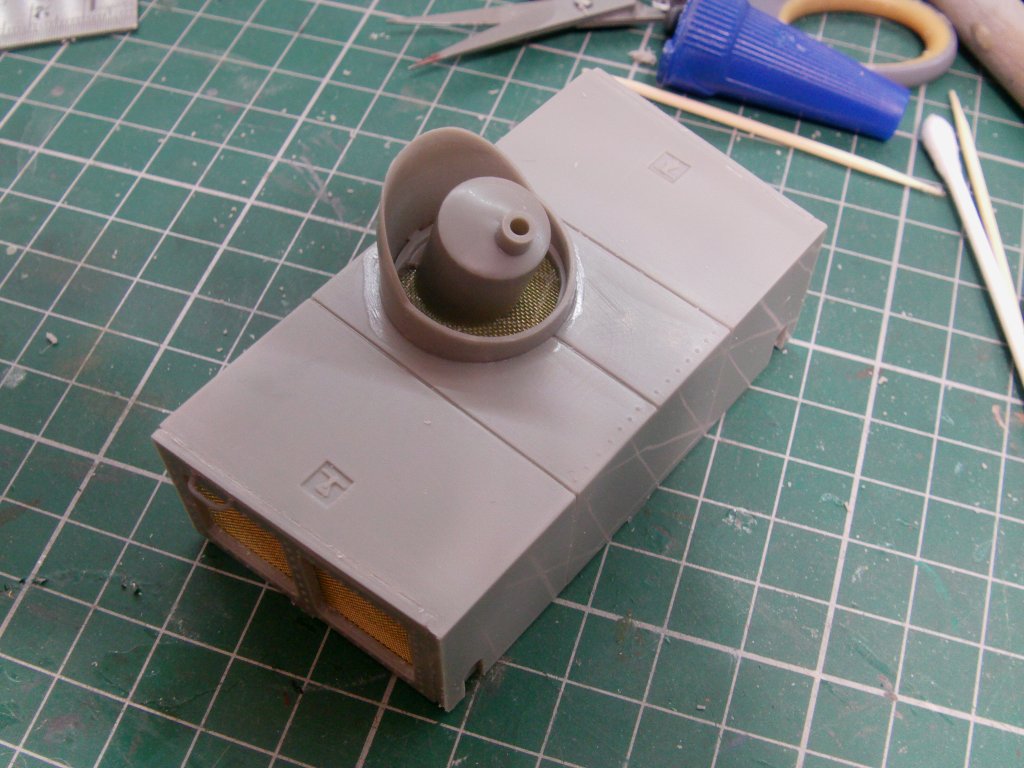
Now it'll need something behind them and could have just gone with black painted styrene...
I could of..
but didn't.
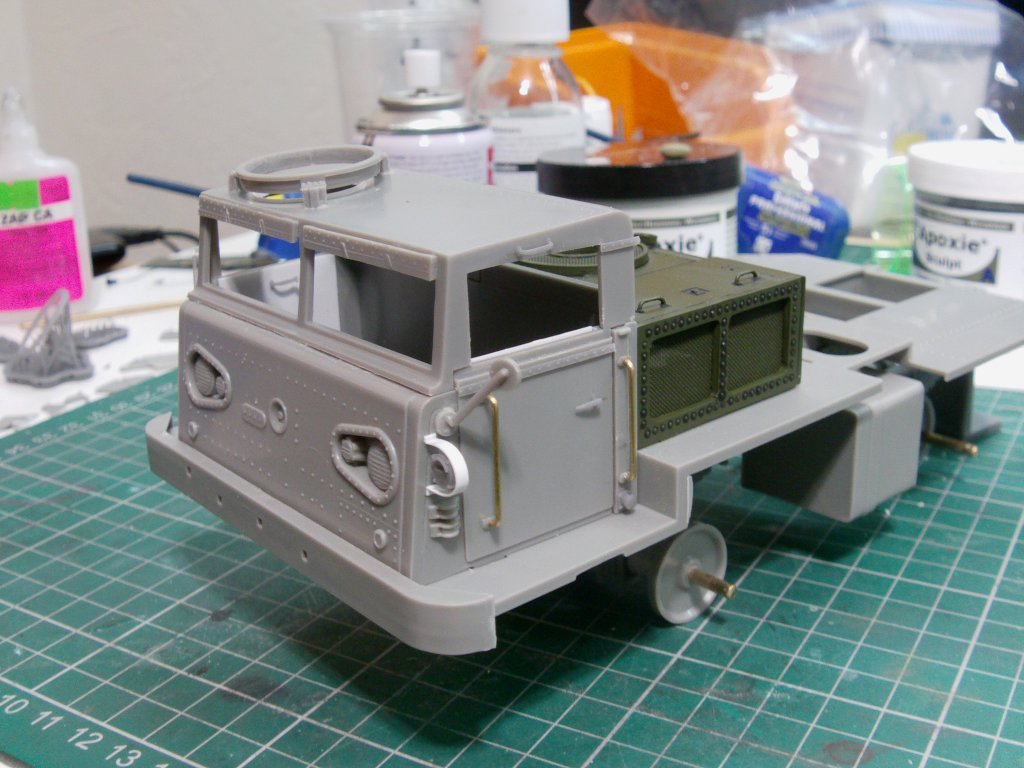
A couple of coats of Olive Drab to the covers and fans in place.
Dry fit look see at the engine fascias.
Nice!
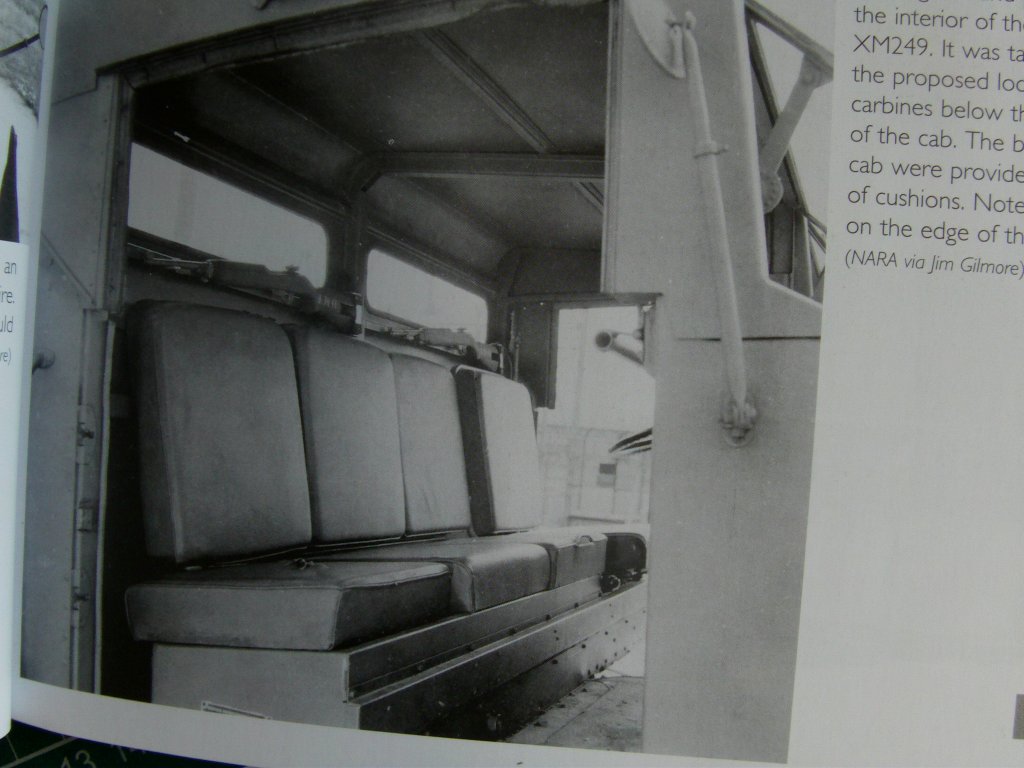
A little bit of cab interior upgrading on the cards.
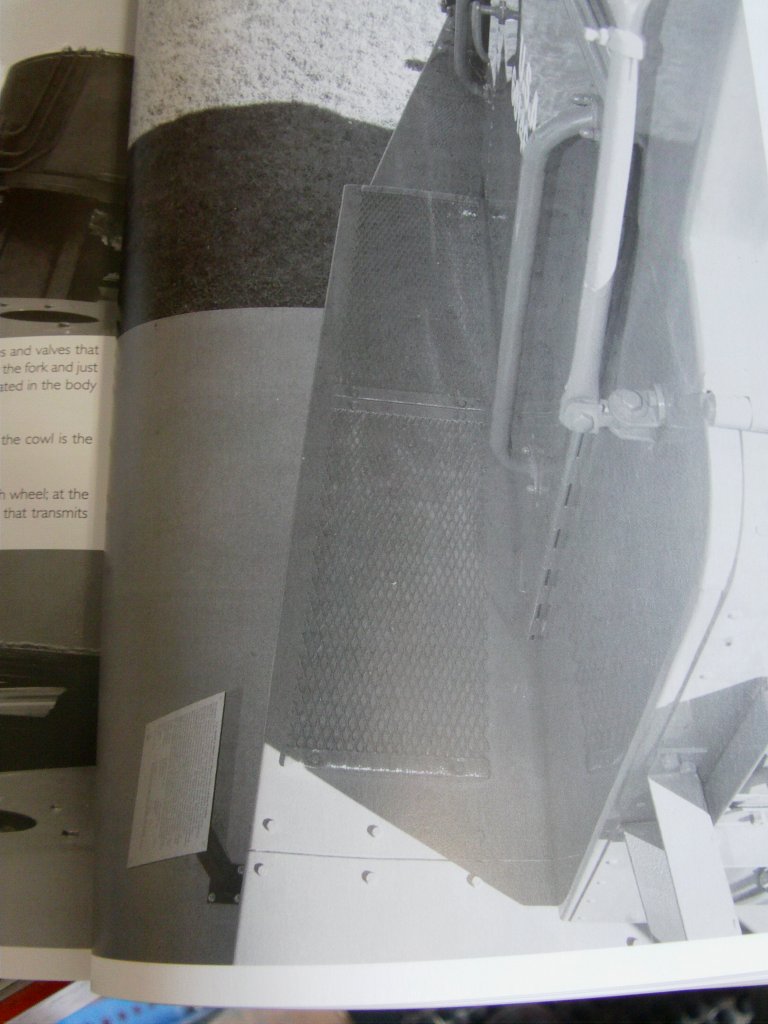
The stock bits and a pic of the real deal..
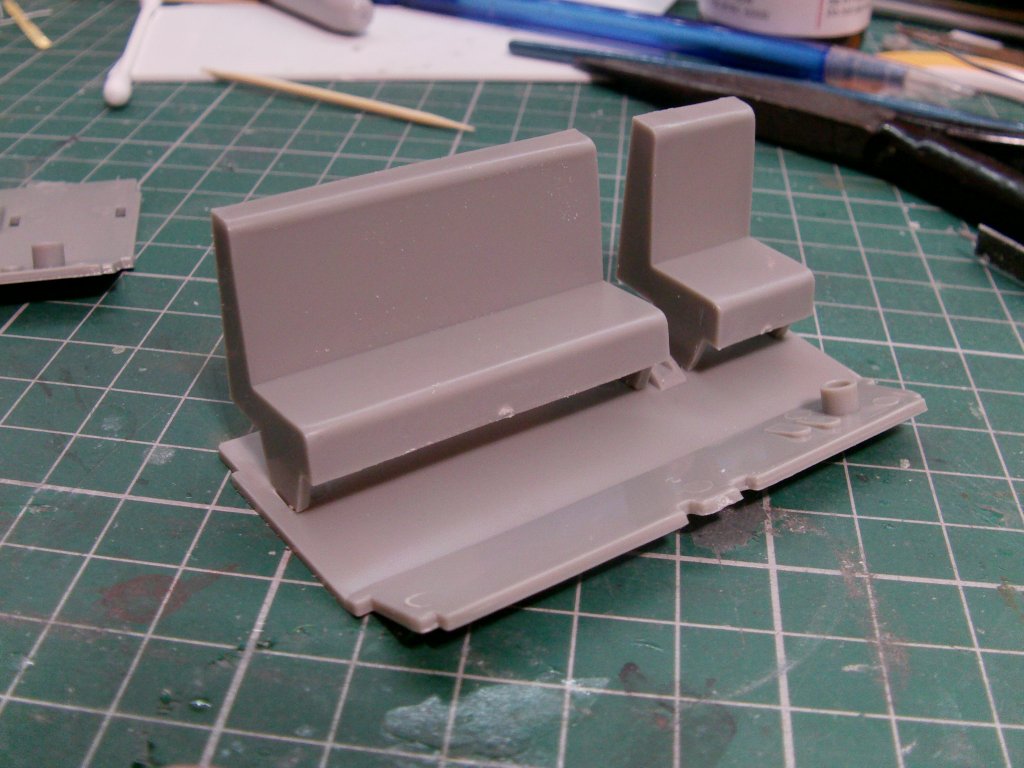
Usual mesh and print thingy going on...
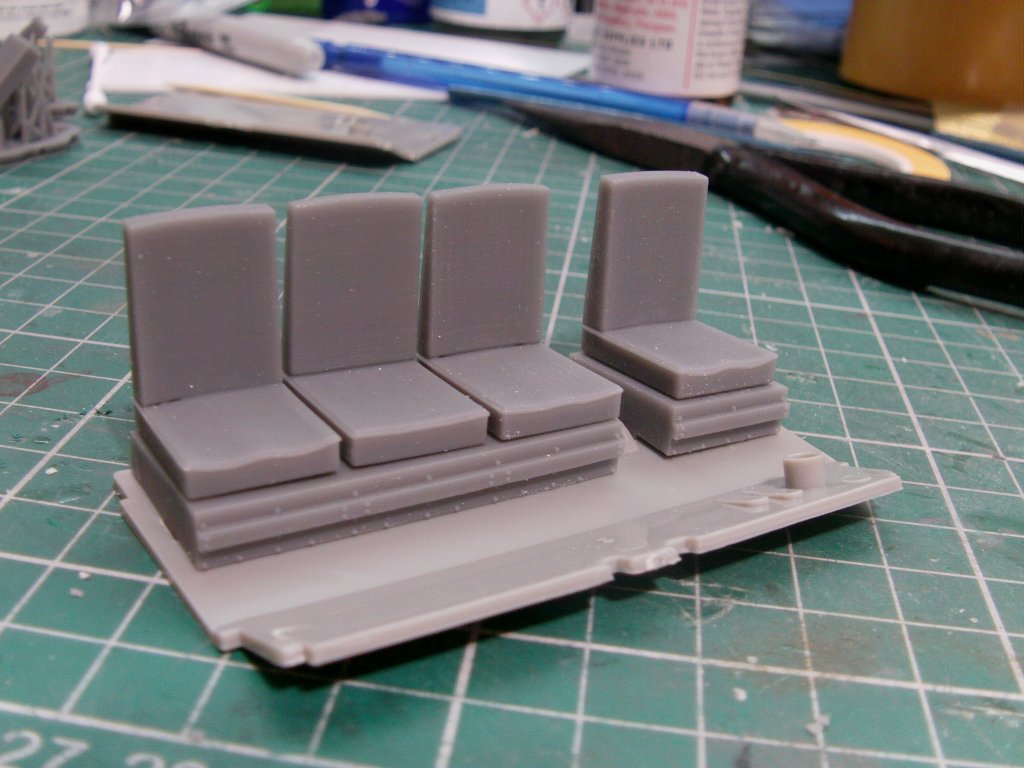
That will do nicely thankyou!
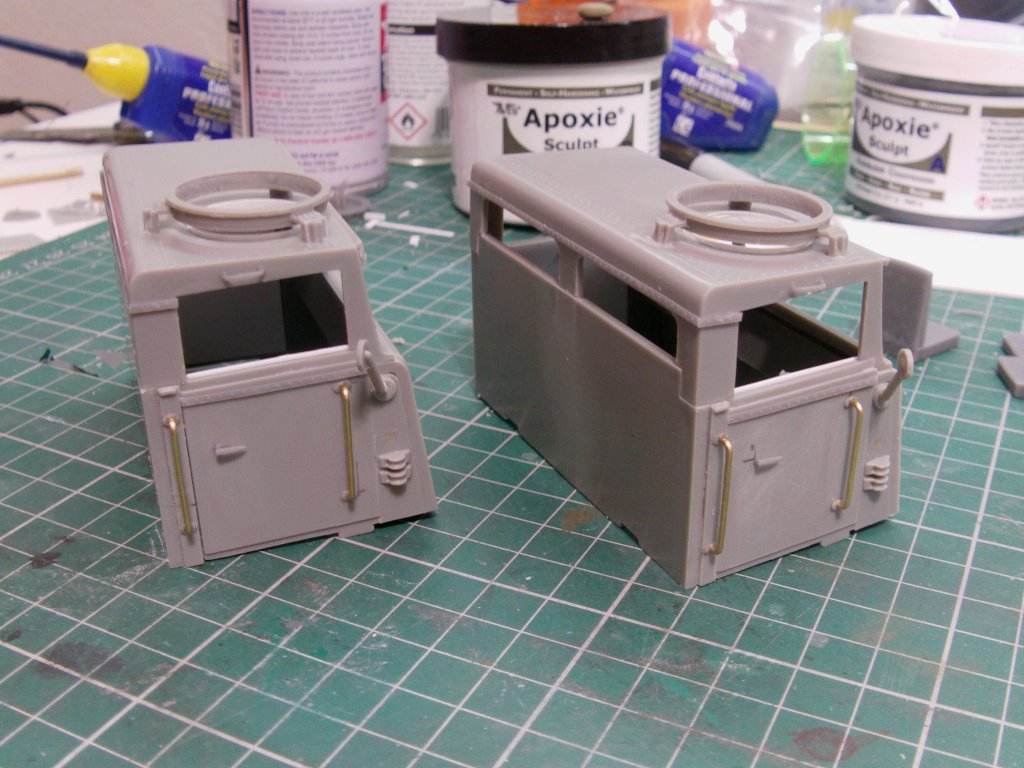
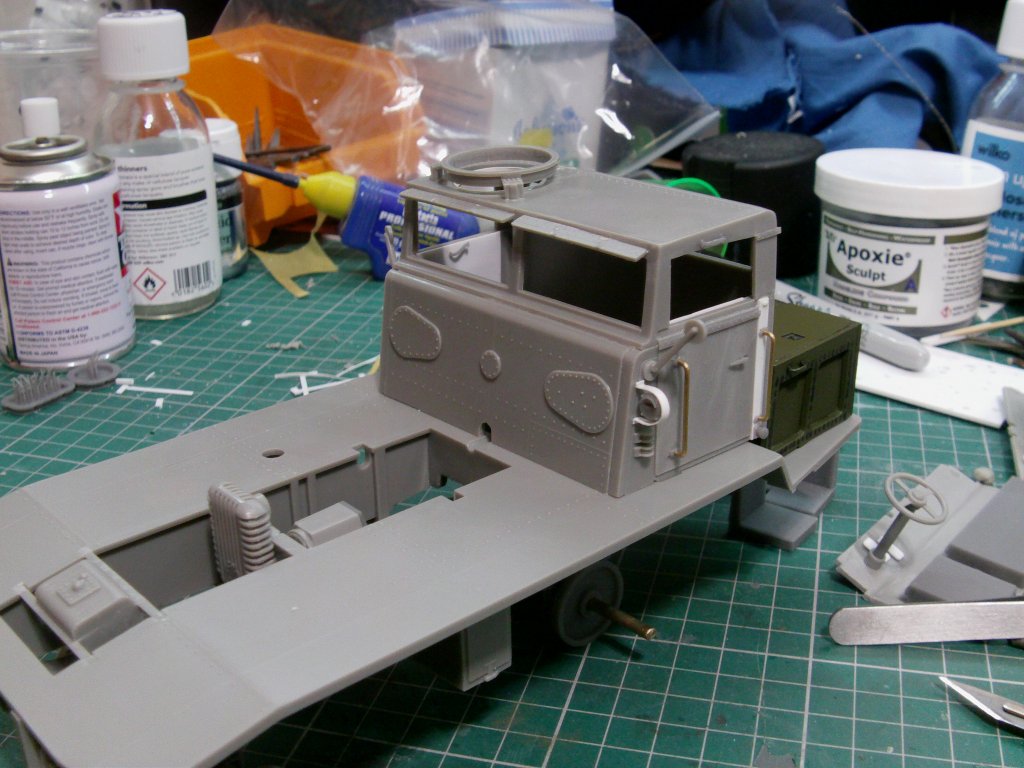
The cabs themselves were put together and detail parts applied.
Mix of printed, brass and styrene bits.
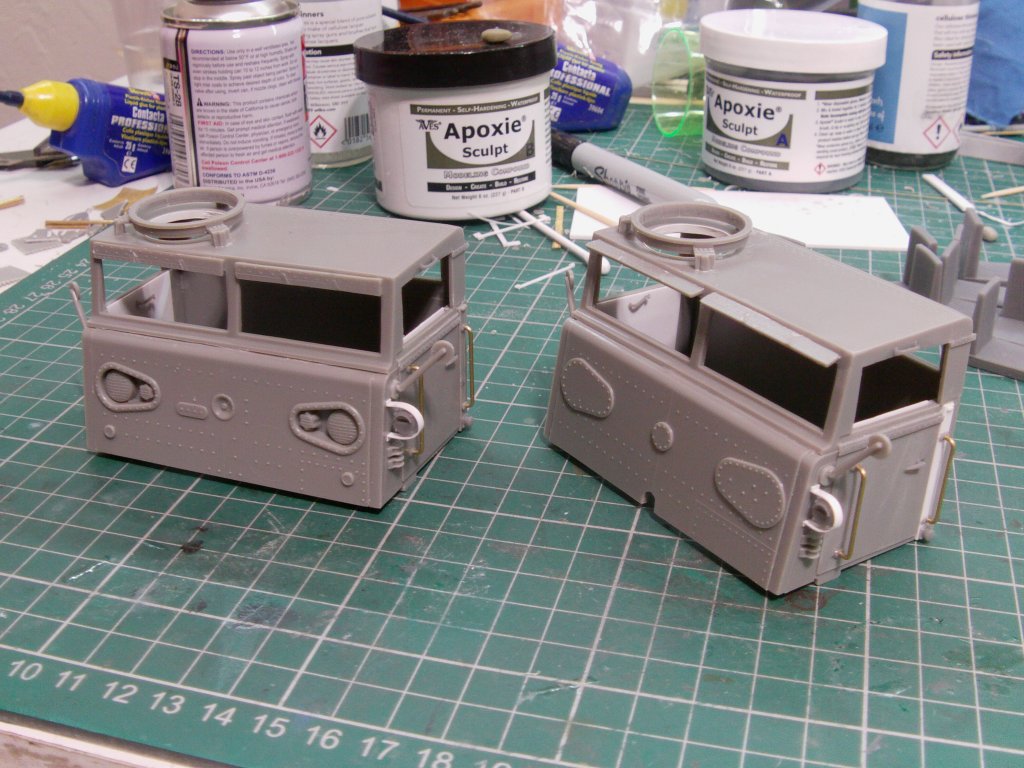
Now to note, the left hand cab has the windshield wiper plates up as I came across this pic.
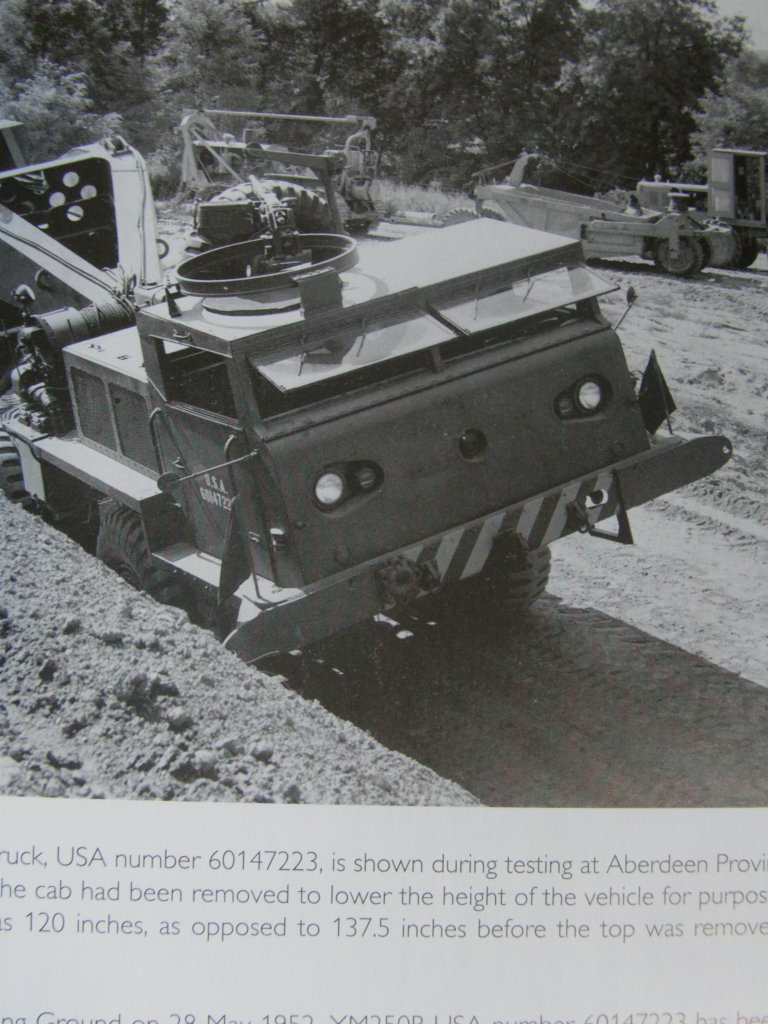
So decided to have the front ones closed and will do the rear cab ones open because why not.
All required detailing done.
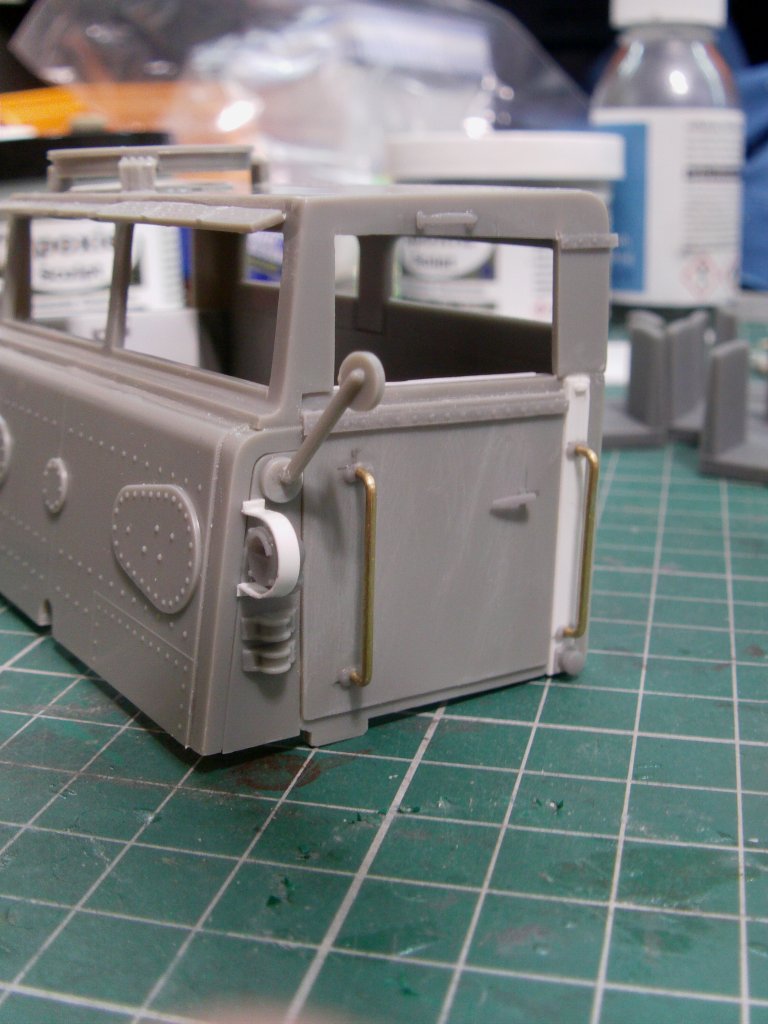
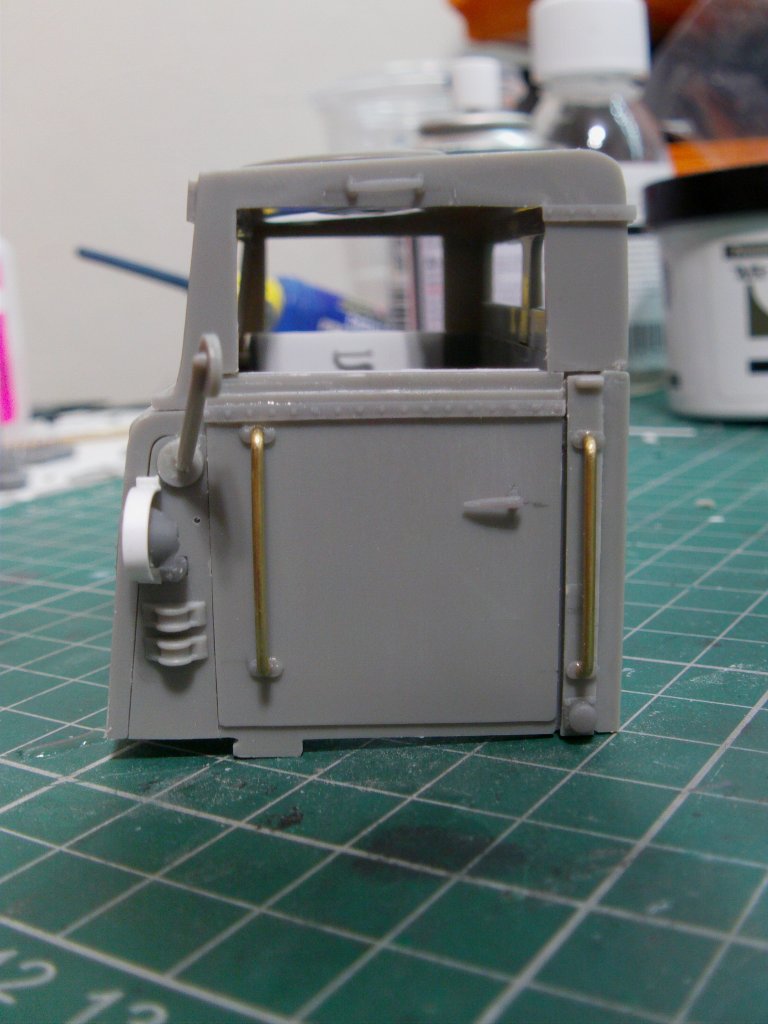
Door insides done with some sheet styrene and printed side window cranks.
The dry fit look see of course.
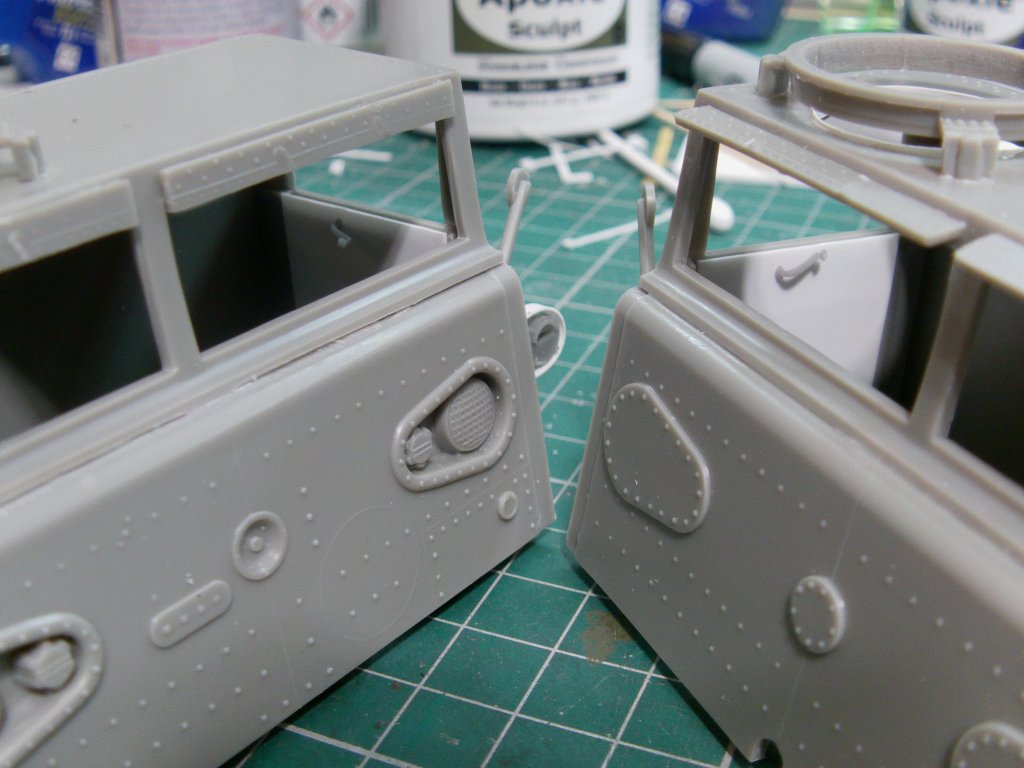
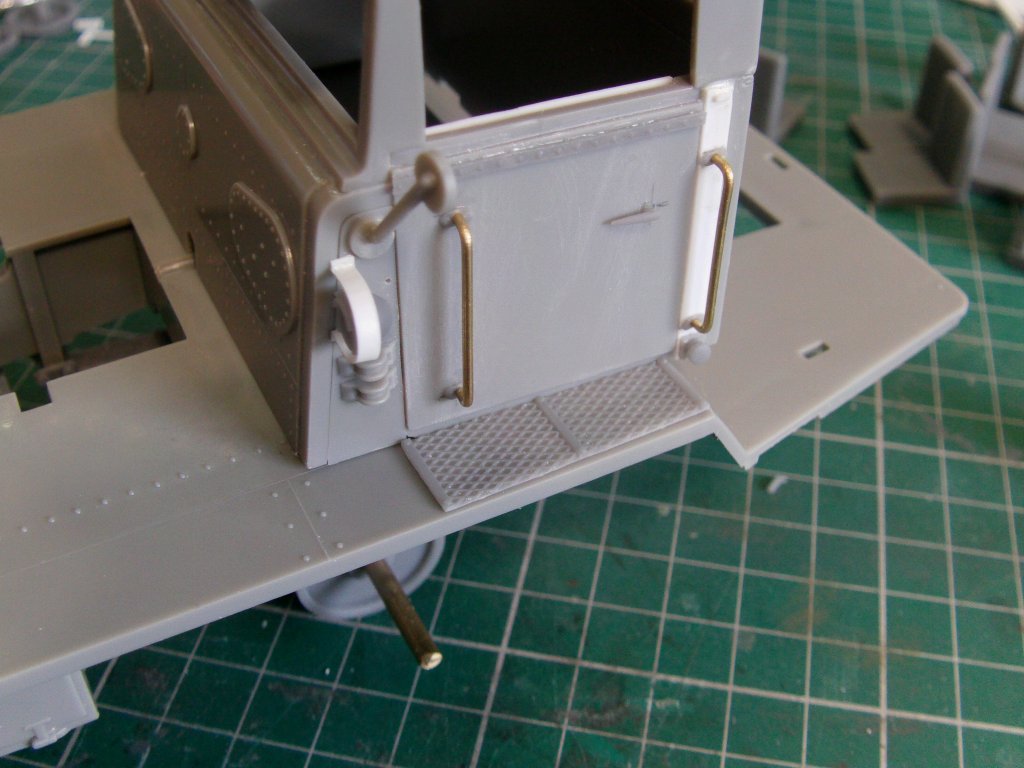
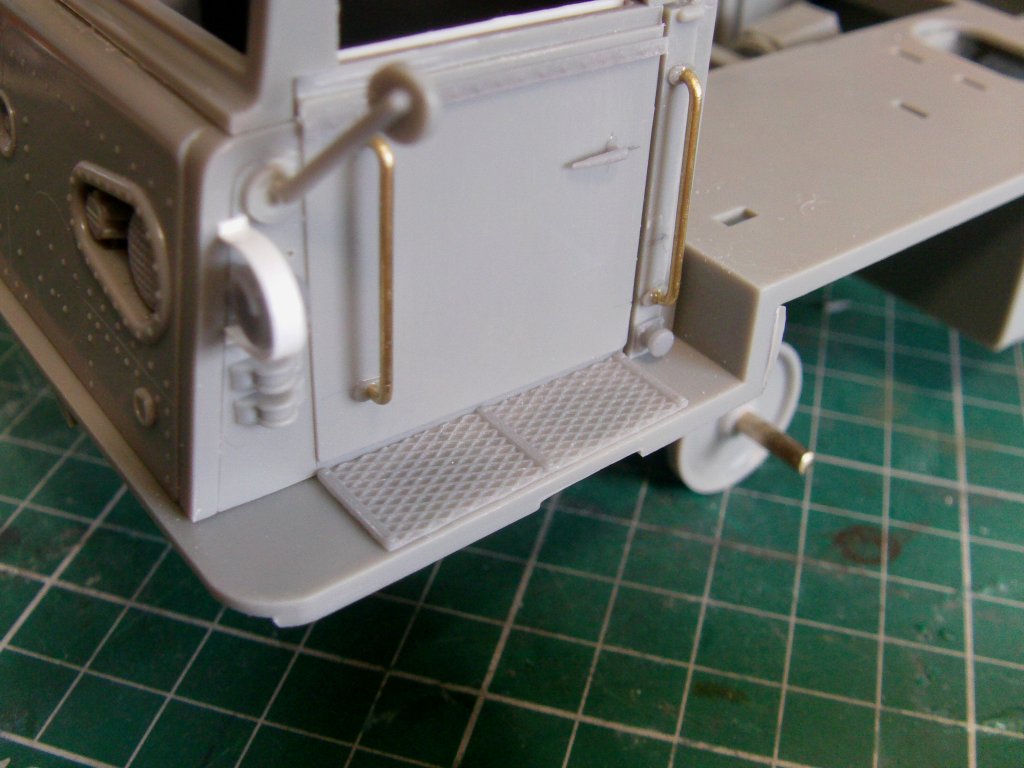
Anti-slip plates at the cab doors on the real thing.
Done up and in place.
Last gasp bit for this update, cab floor plates main parts assembled.
Printed parts with styrene pedals, stock steering column and wheel.
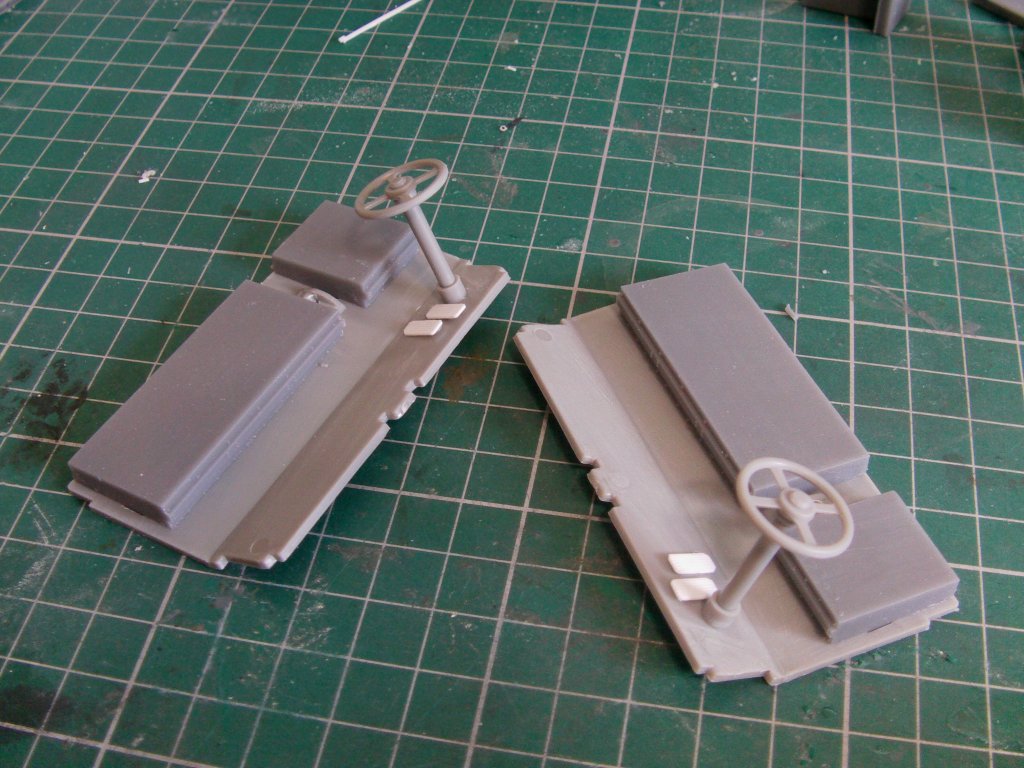
They'll do!
And that's all for this update, more to come so you goodly gang look after yaselves and i'll see ya next time!
Page Number