
Renwal/Revell Atomic Cannon
1/32nd Scale


 Page Number
I see trucks of green, and stripey bits too.
There's Much To Be Done, Before I Am Through.
More than I ever thought there would be but there ya have it!
Welcome back all.
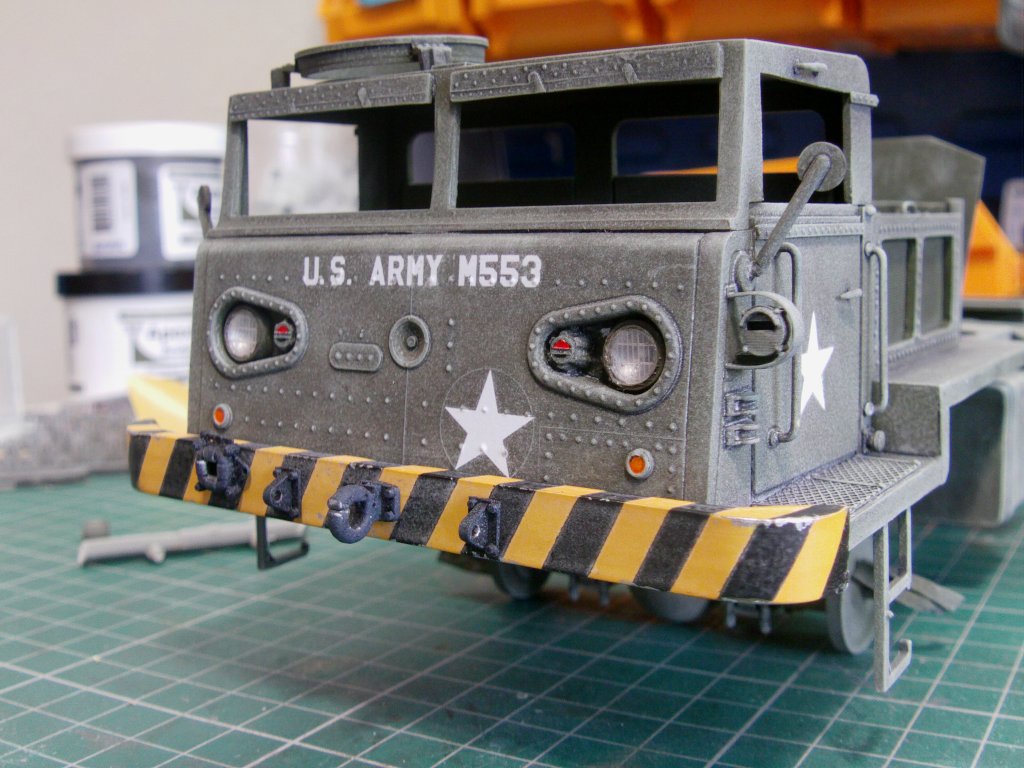
Okedoke then, bumpers to sort.
A coat of Tamiya white primer, then a goodly squirt or three of camel yellow got the base.
Much slicing and laying on of masking tape did happen.
A lick of semi-gloss black got the bit done.
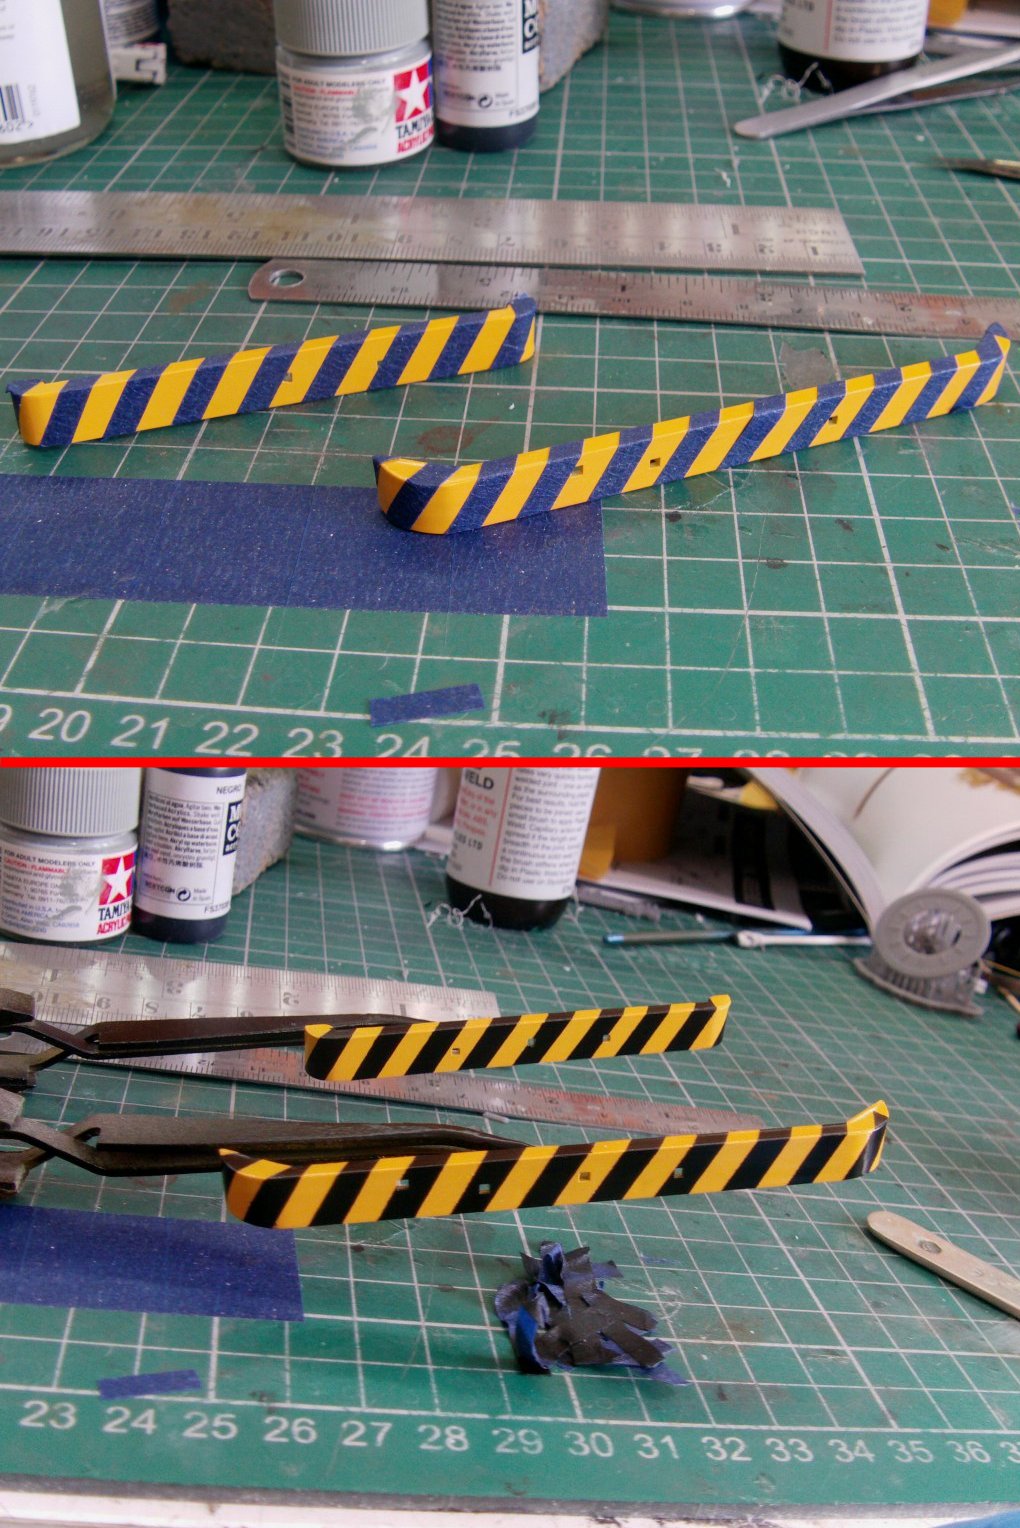
Some paint bleed and other slight misdemeanors cleared up,
replacement clevises, hitches and the like fitted with some paint chipping getting a look in.
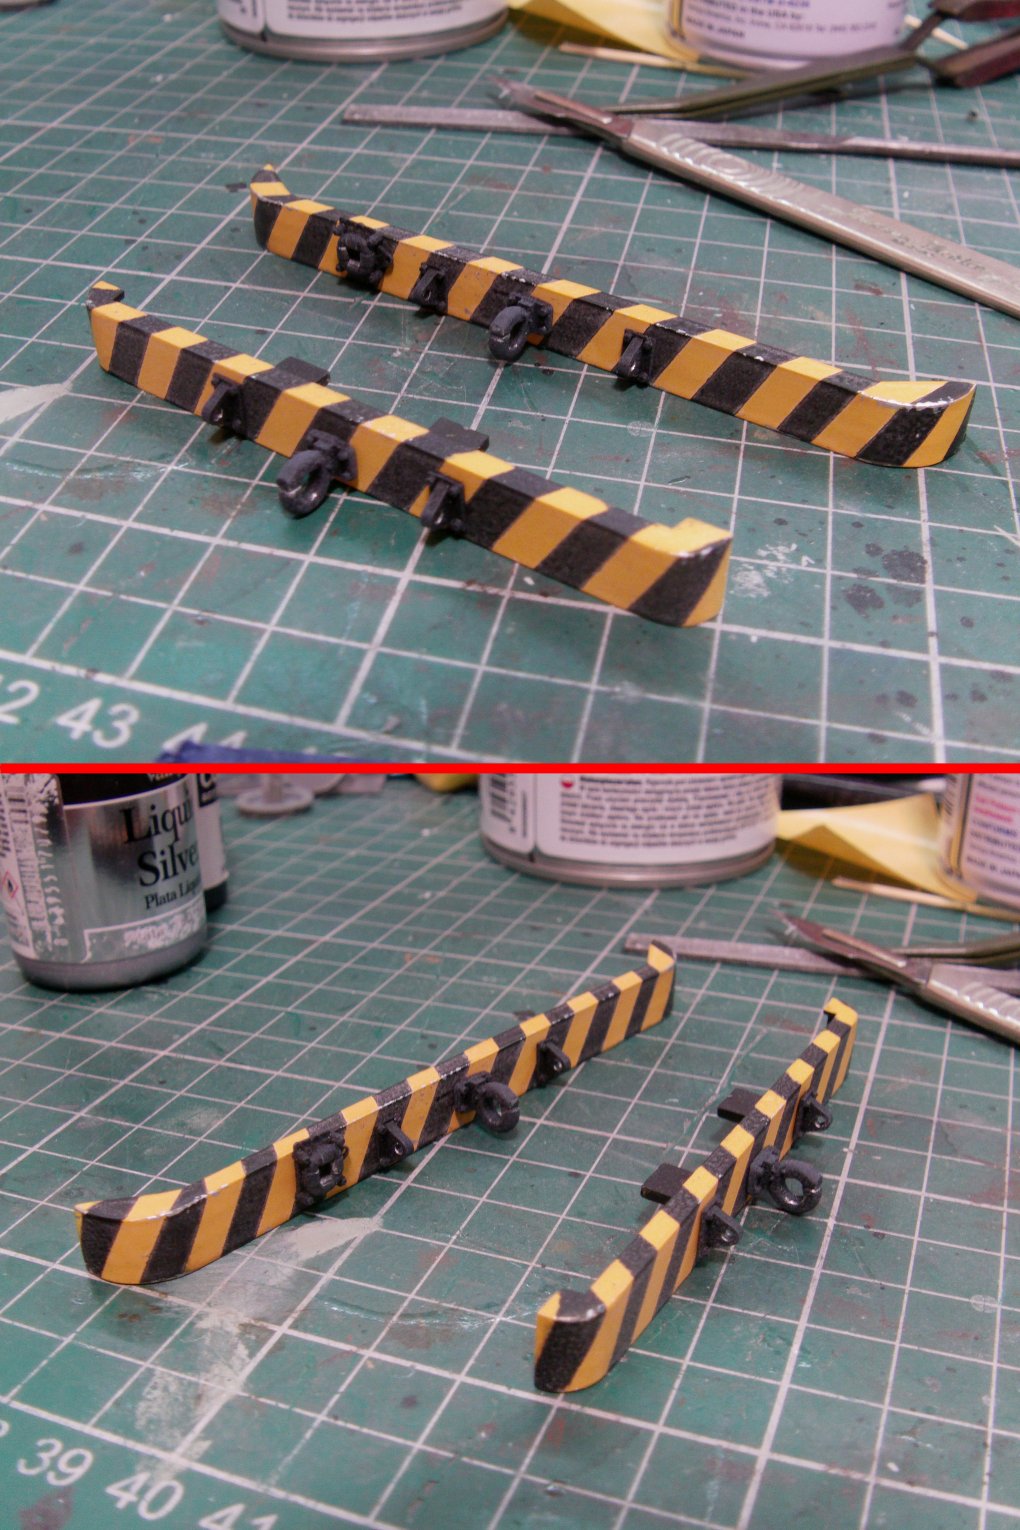
Done and dusted, moving along.
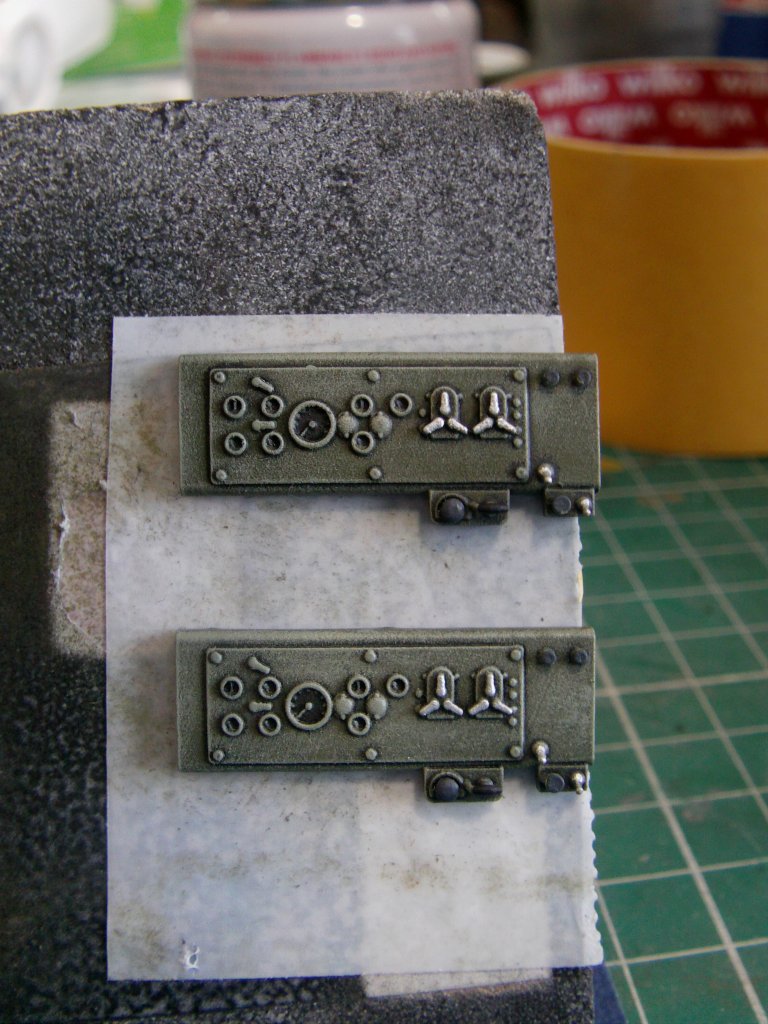
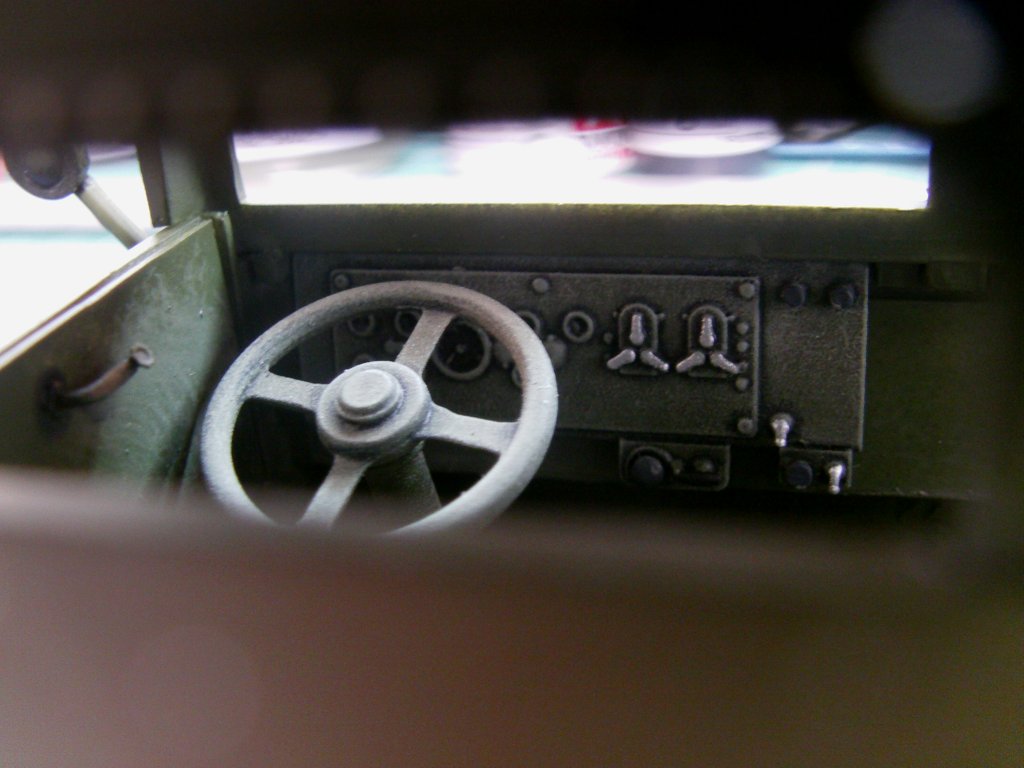
The truck dashboards.
Now the kit has no parts for these and this is what the real thing looked like.

Meshed up the best approximation I could manage, printed and painted.
Fitted to the rear truck cab and interior seating/floor installed.

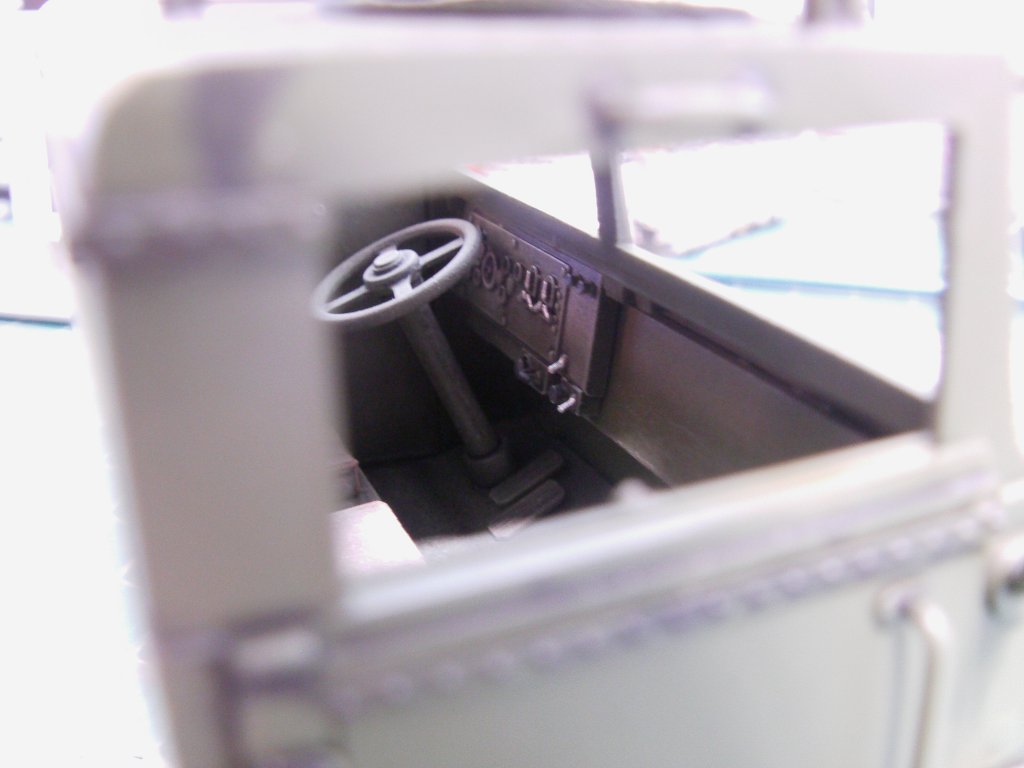
Aye, that'll about do it.
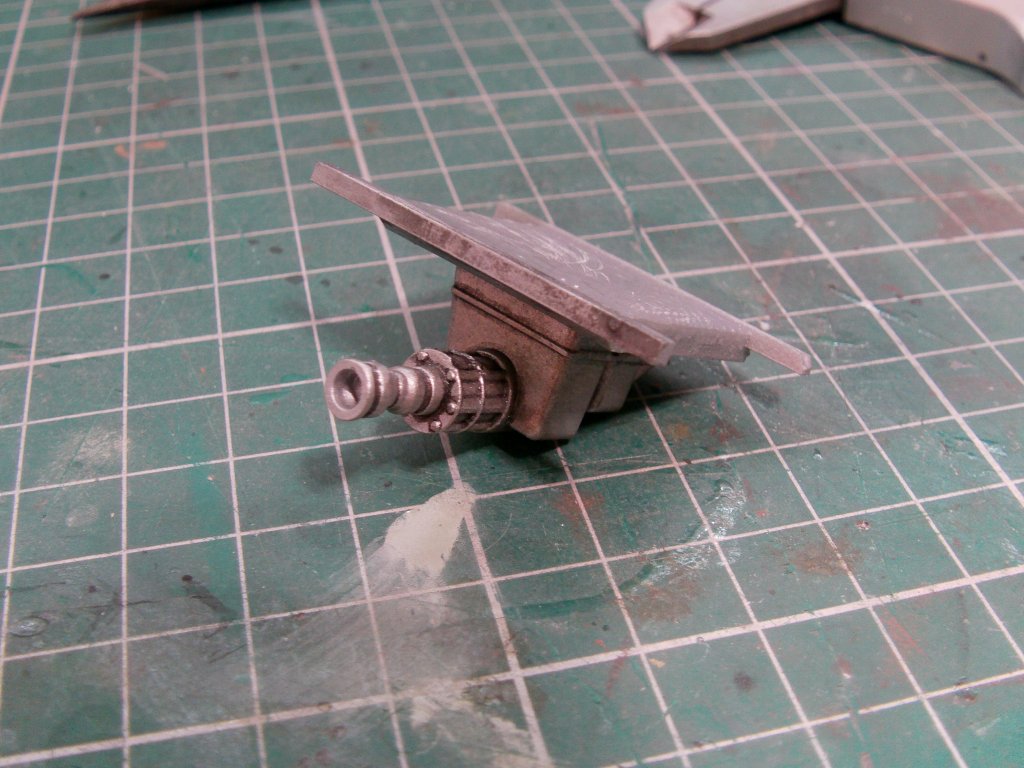
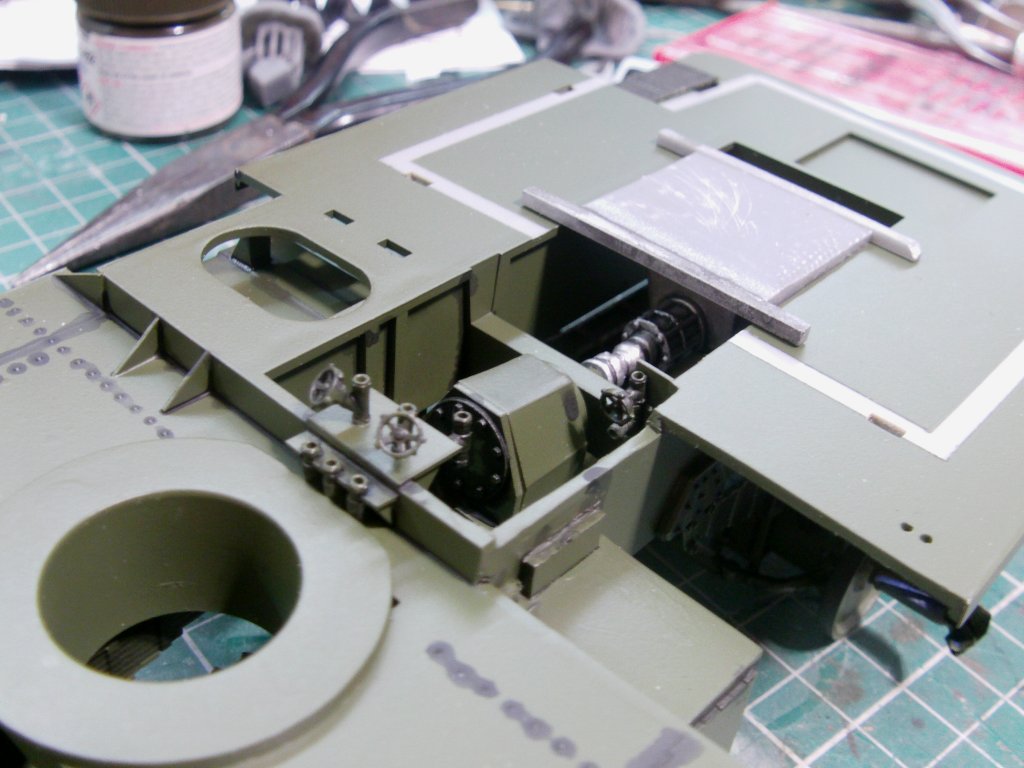
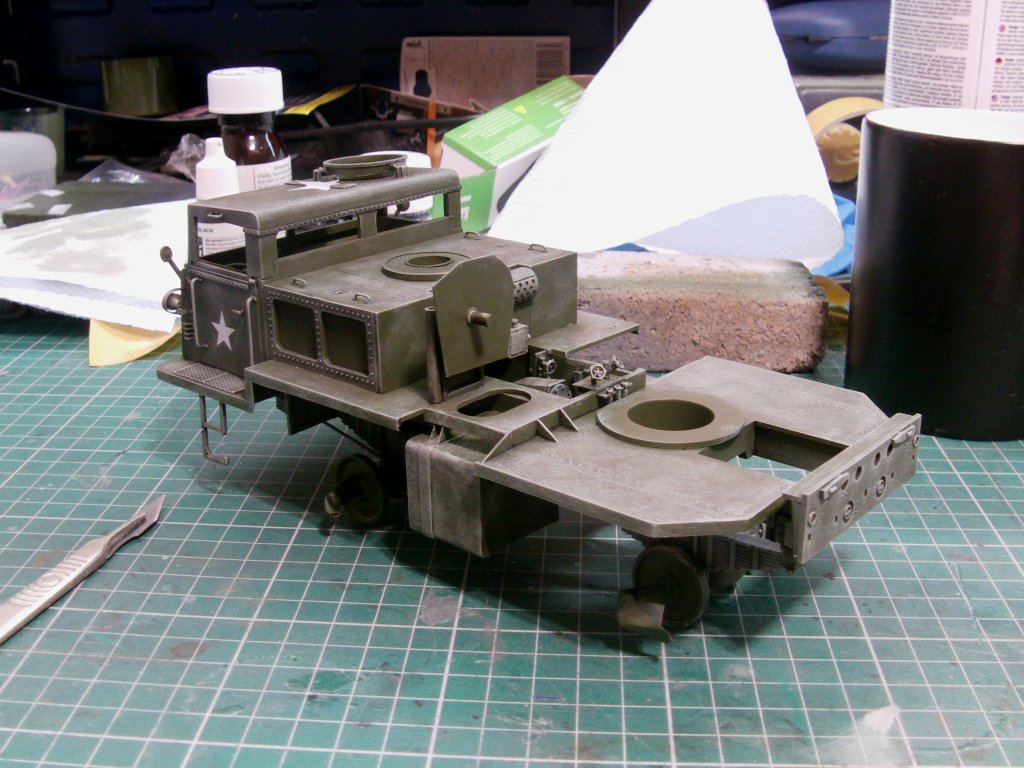
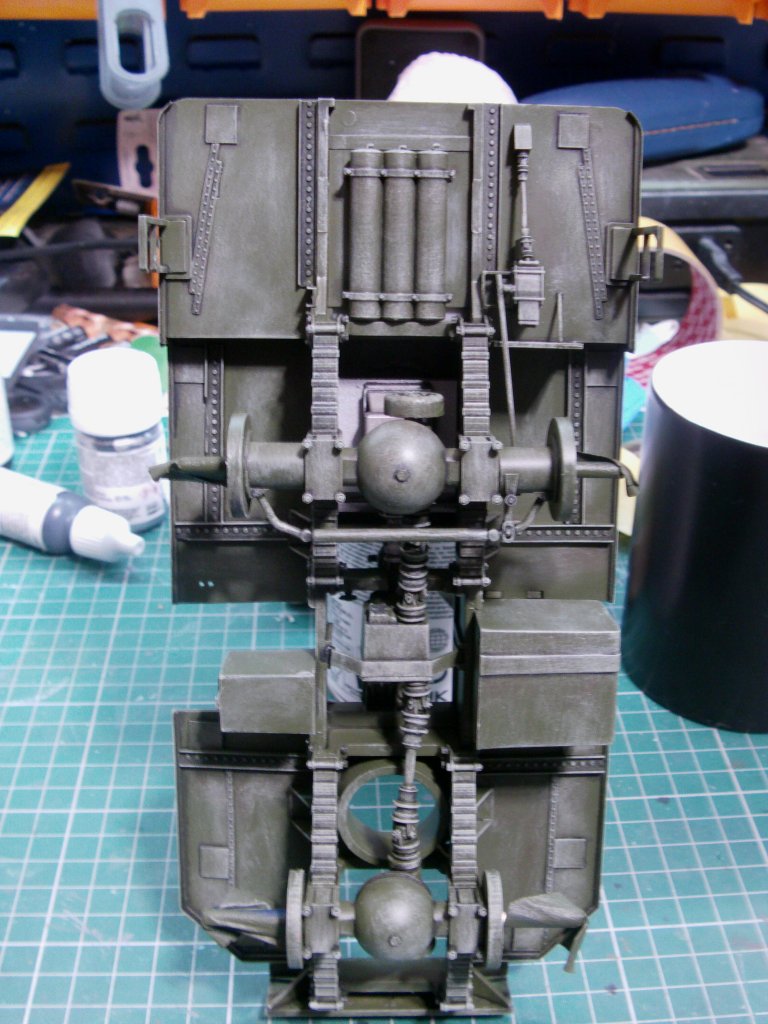
False engine bottom and drive train connection to the transmission box done for the front truck.
Nothing more elaborate than silver base paint, black wash and metallic grey drybrush but got the job done.
In place as well as the engine facia's fitted,
cover and cab on for a dry fit look see.
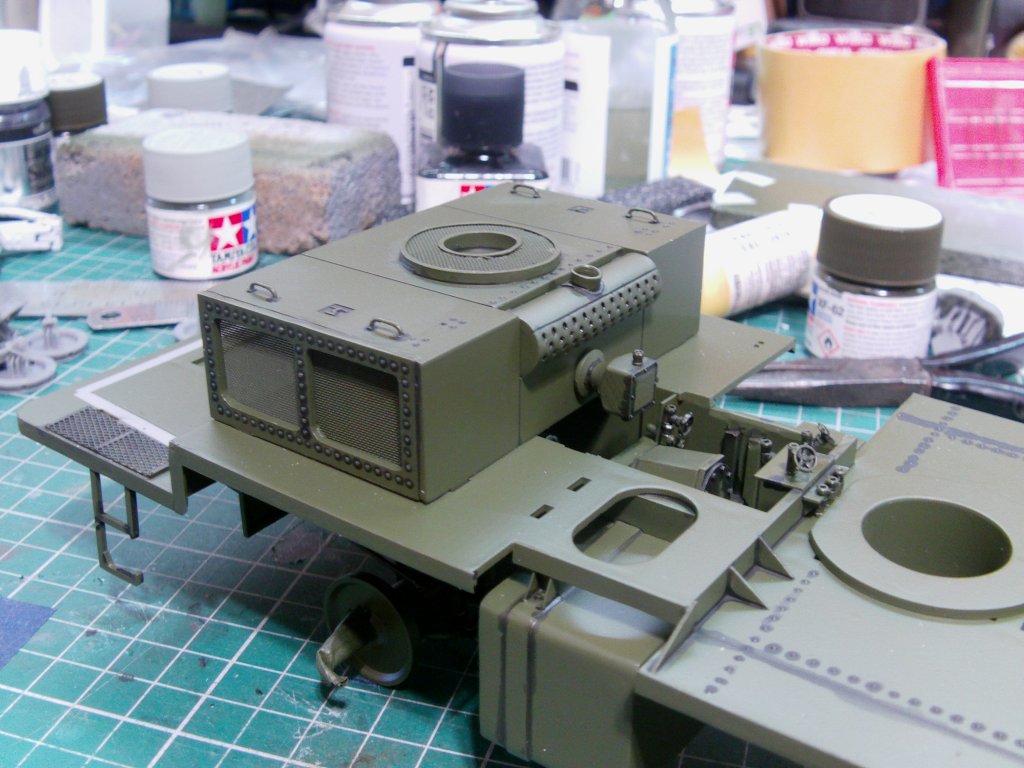
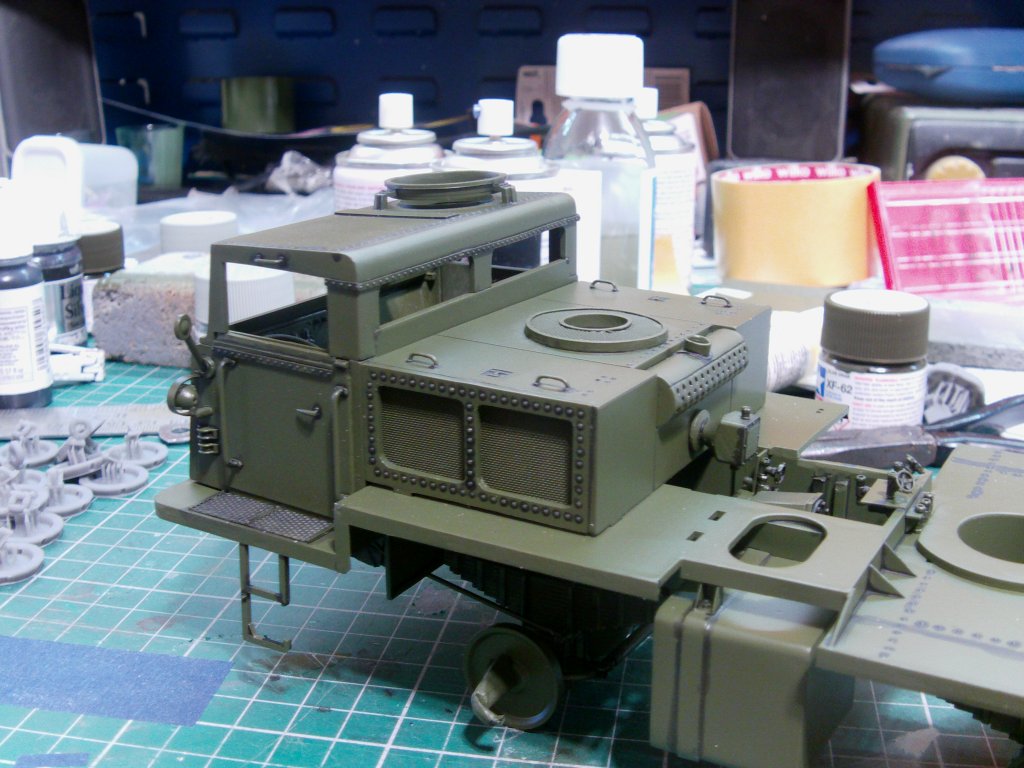
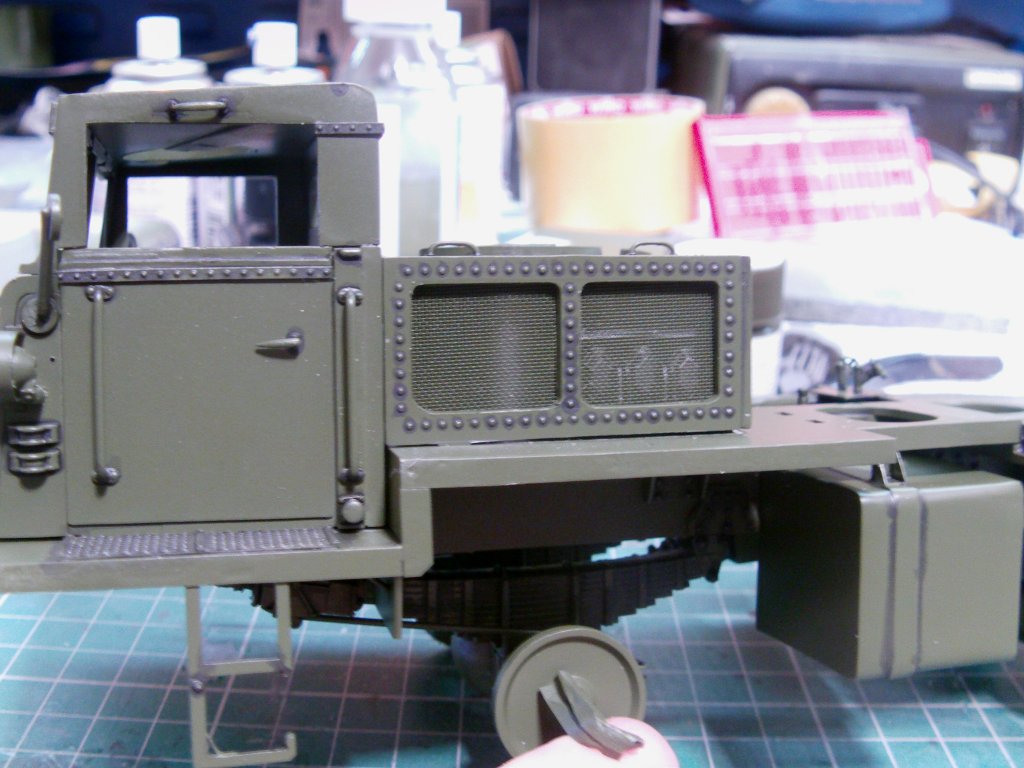
That's the stuff!
One last job 'fore making them a permanent fixture.
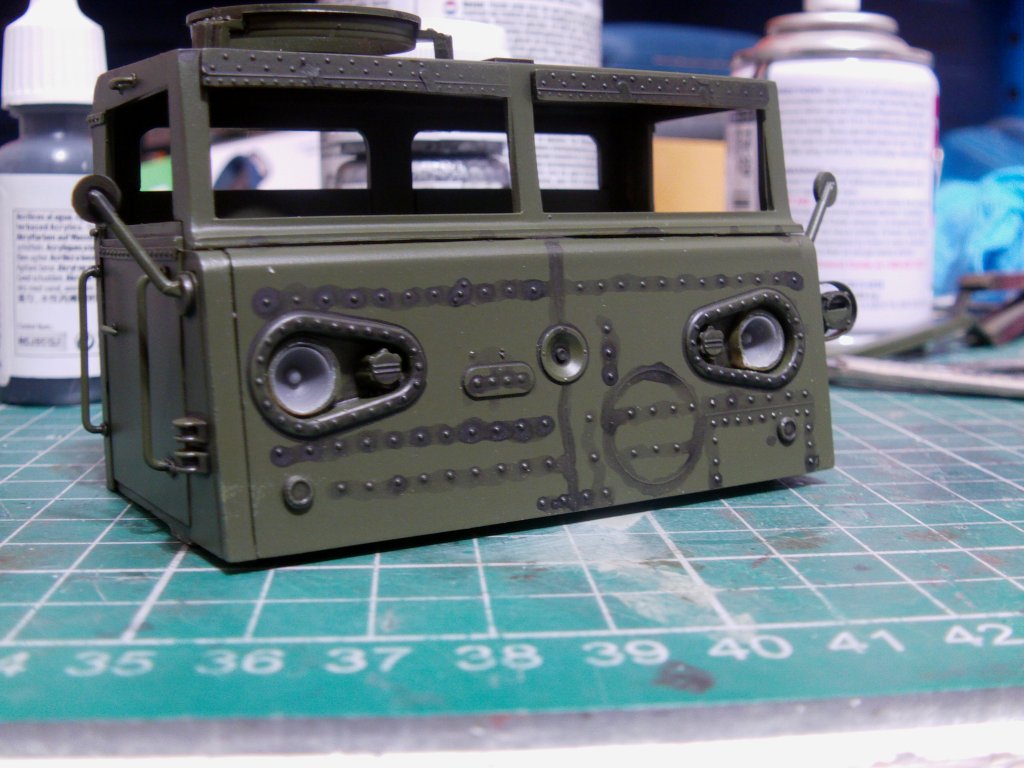
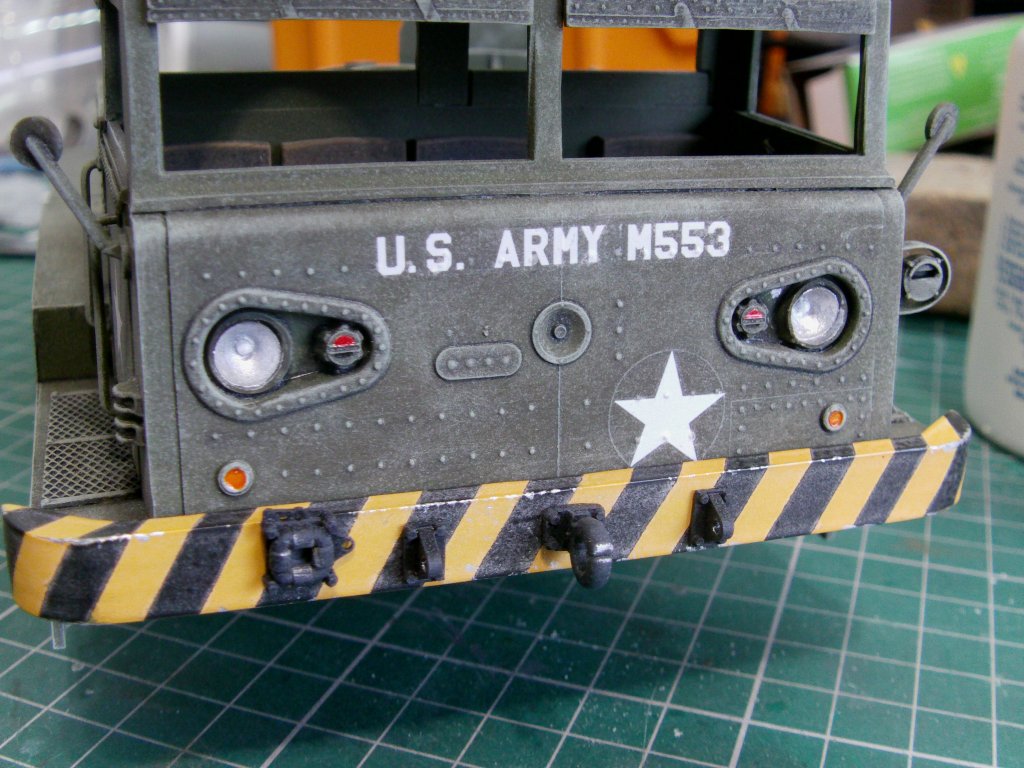
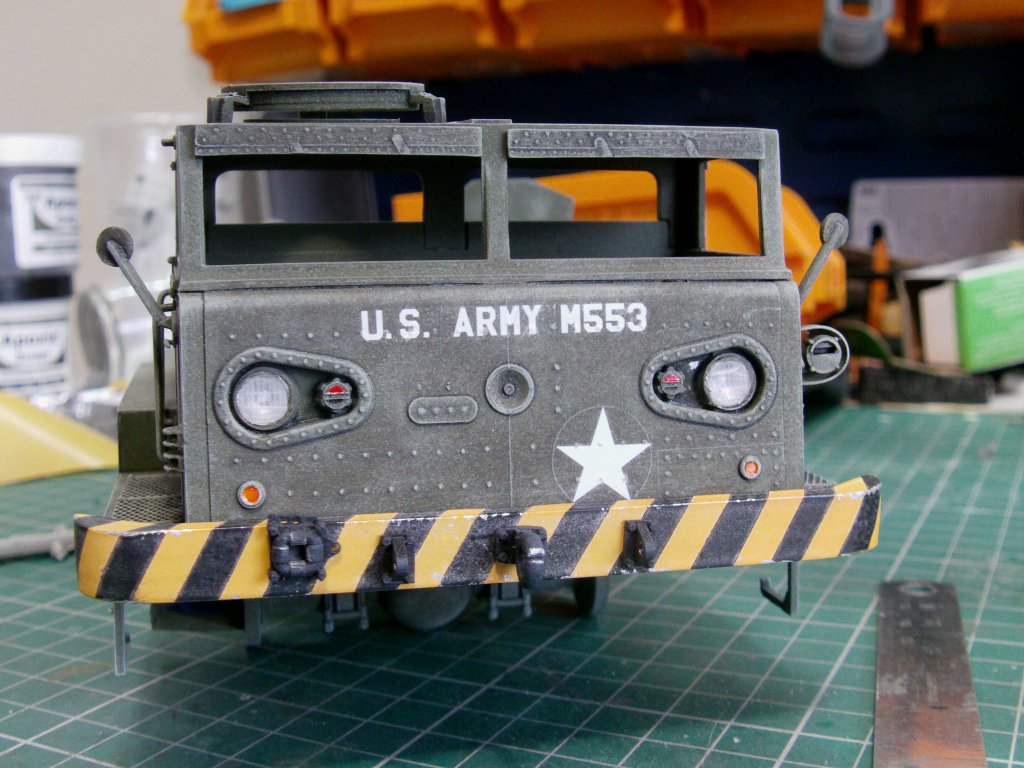
Drilled out the headlights and fitted some printed reflectors.
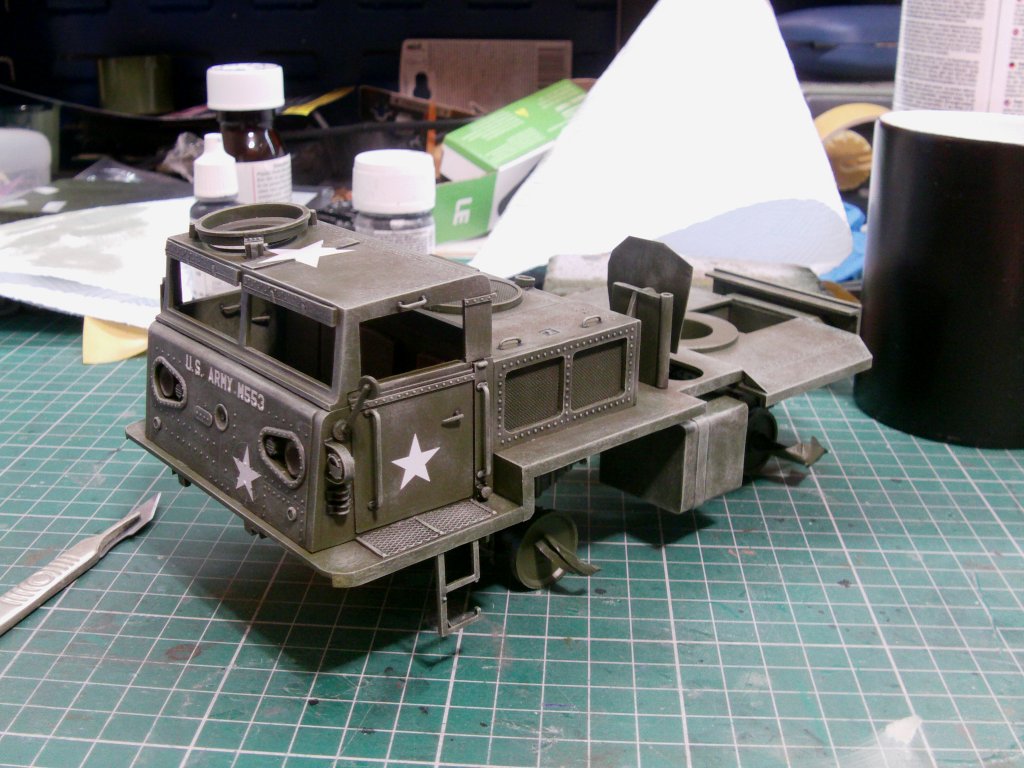
Bits brought together, main hydraulic pump fitted to the back of the engine cover
and much waving of the dry brush did happen in the hellhole.
Some decal work also got seen to.

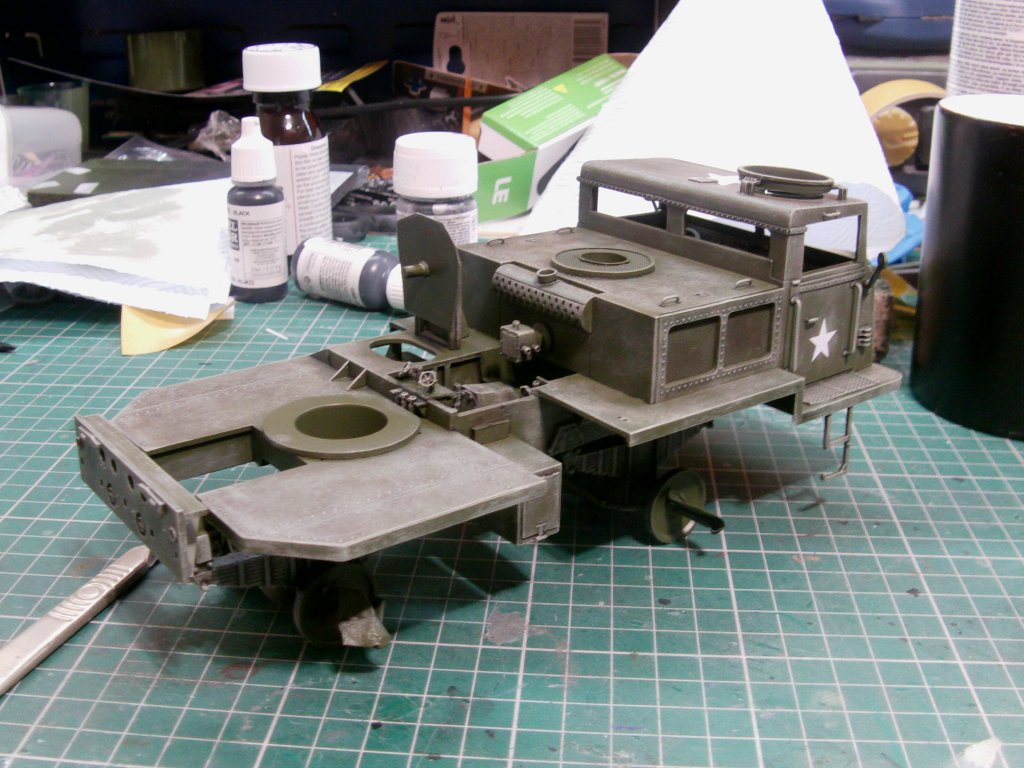


Front bumper fitted, front shaded lights and reflectors painted.
Rear plate lights sorted, clevis, hitches and hooks painted and in place.
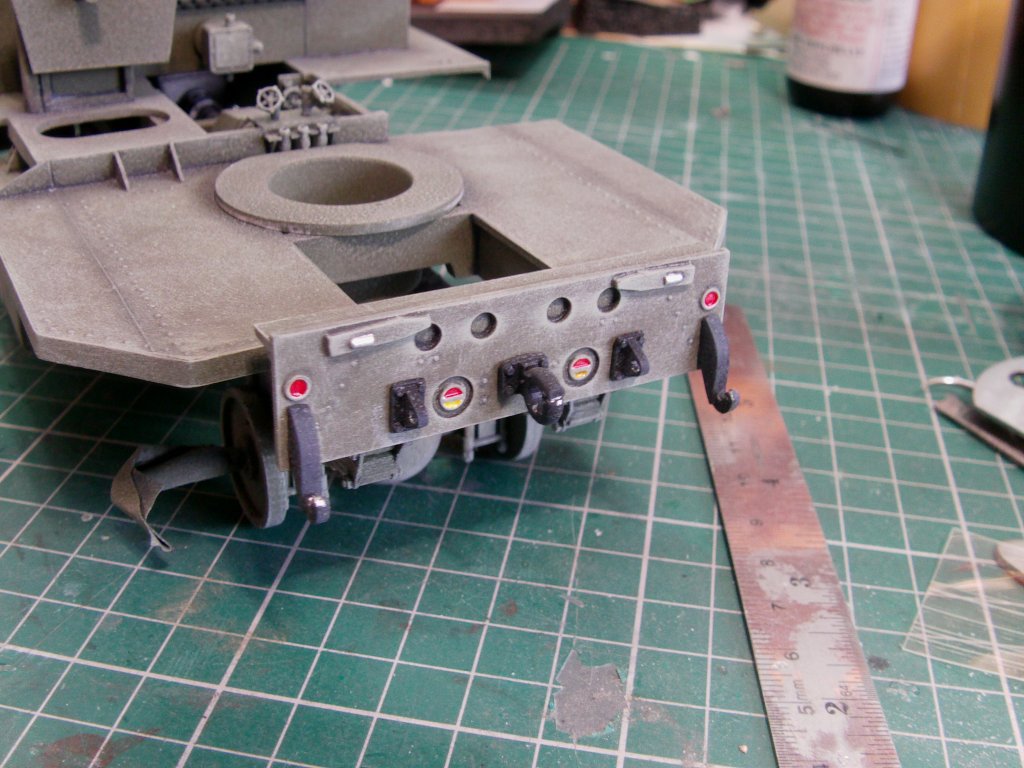
The underside got a fair shake of the drybrush and pastel chalk shading routine.

A swift side trip in to the sledgehammer school of scale modelling.
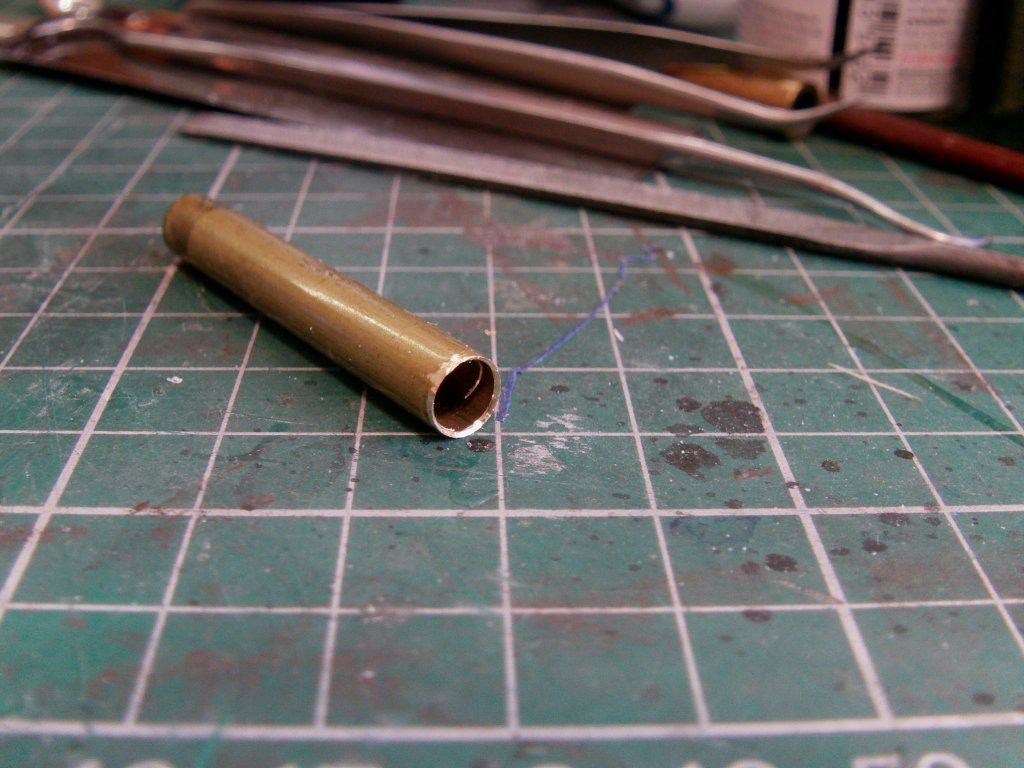
Covers needed for the front headlights so got to it with that.
One lump of brass tube with one and drilled and the outside
got a light filing to make a sharp edge for a punch.
Some 10thou" clear sheet got scribed up with the edge of a razor saw blade and a proper scribing tool for the cross lines.
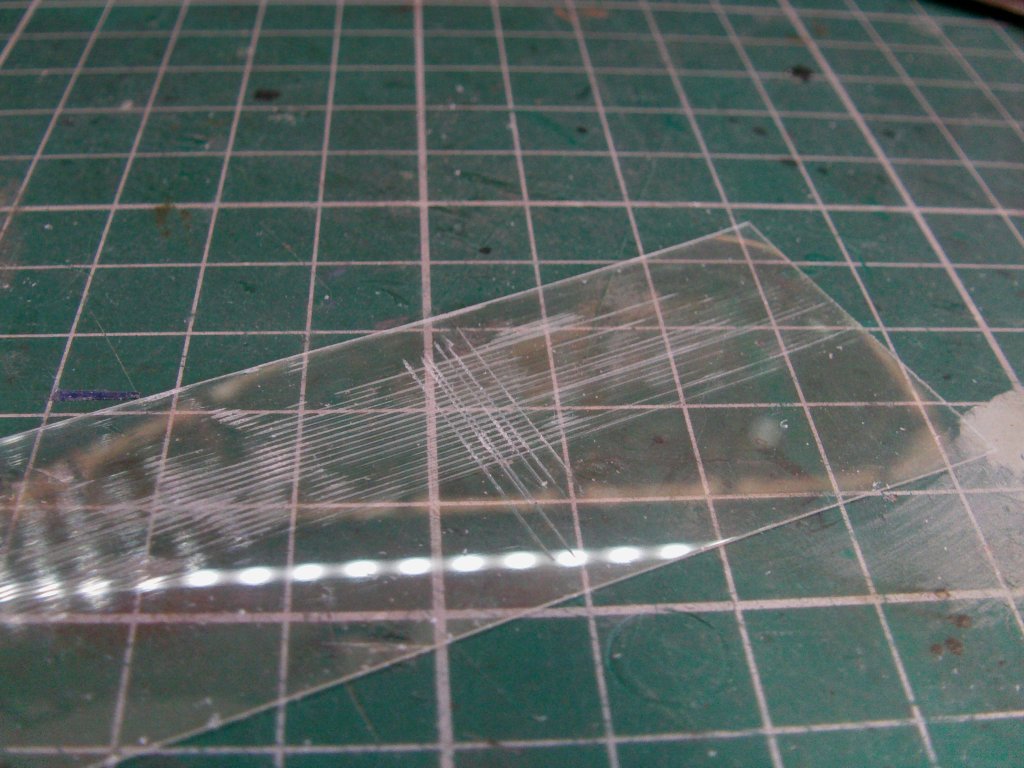
Sharp end of the tube down and hit several times with medium sized whack-it tool, repeat.

Reflectors painted and covers on.
Maybe not the best but it'll do for me.
On to page 10 with ya now.
Page Number