DeAgostini Part Work 'Build The Millennium Falcon' Possibly Studio Scale Model.
Page Number
Padded walls...
And i'll Probably Need Some Of Those Meself By The Time This is Done!
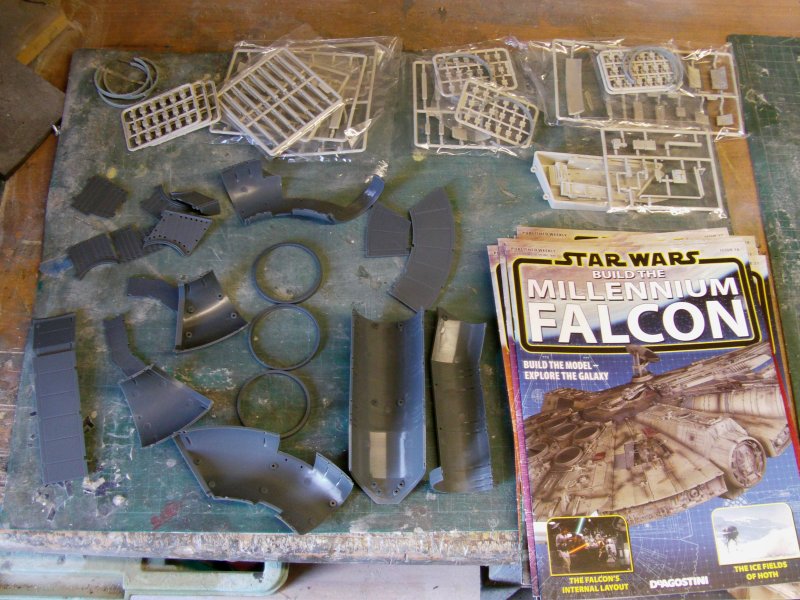
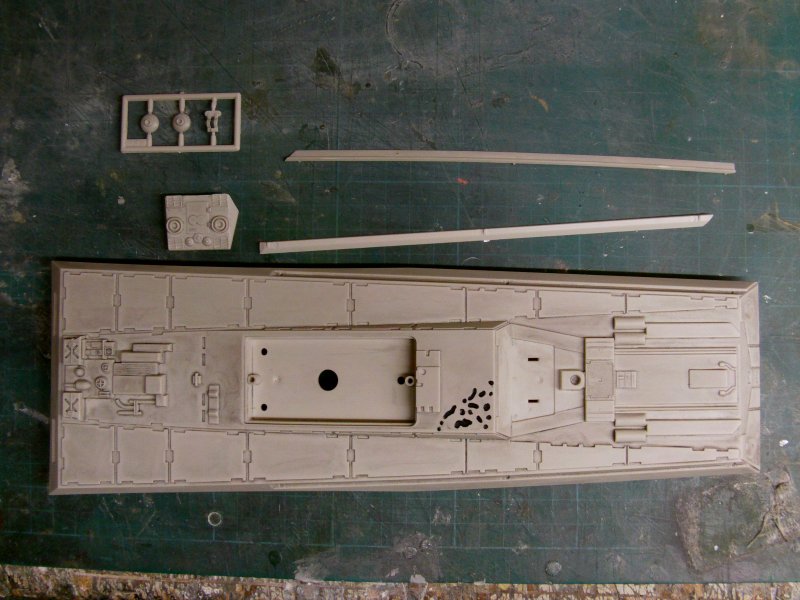
Welcome back one and all. Well let's be getting on with it and to the OOB corridor bits and bobs. Pulling issues 16, 17, 19, 20, 21, 22, 23, 25, 26, 27 and 28 from the pile with all the associated parts get's this lot...
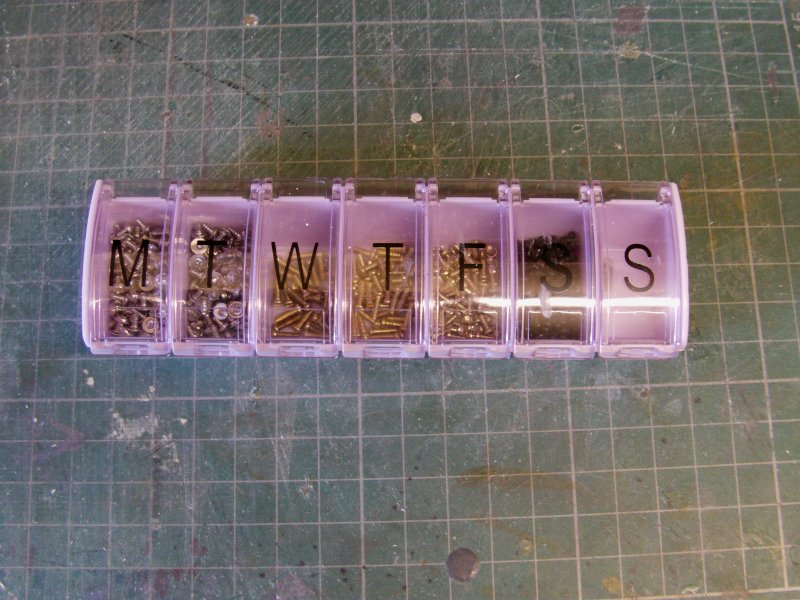
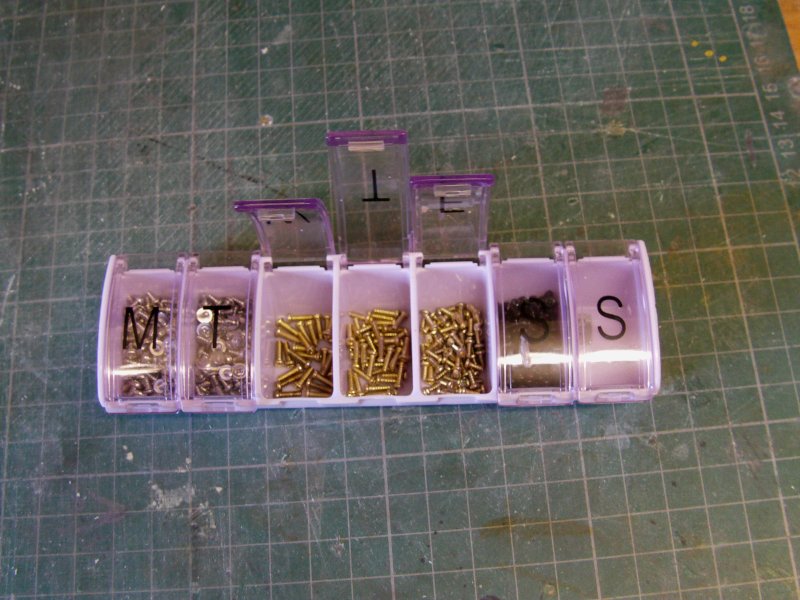
No idea why I have the exterior recessed belly bay in there but never mind... Now screws and the like required so they got pulled out. To make life a little easier storage wise for the little bits, I got one of them 7 day pill container things a while back for this very reason. Looks like this...
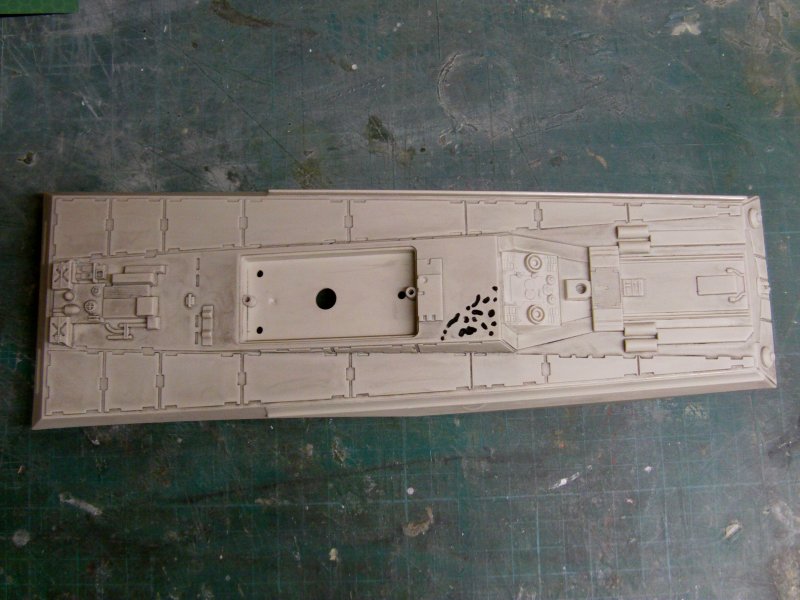
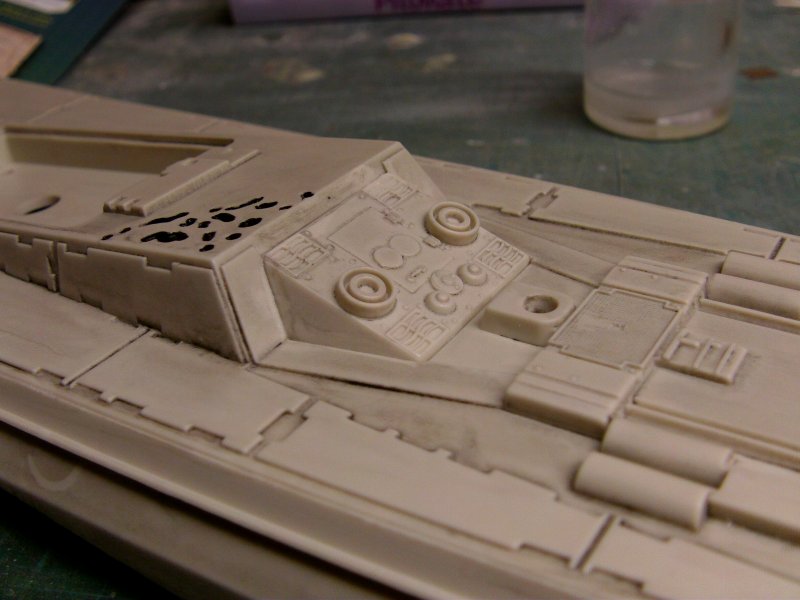
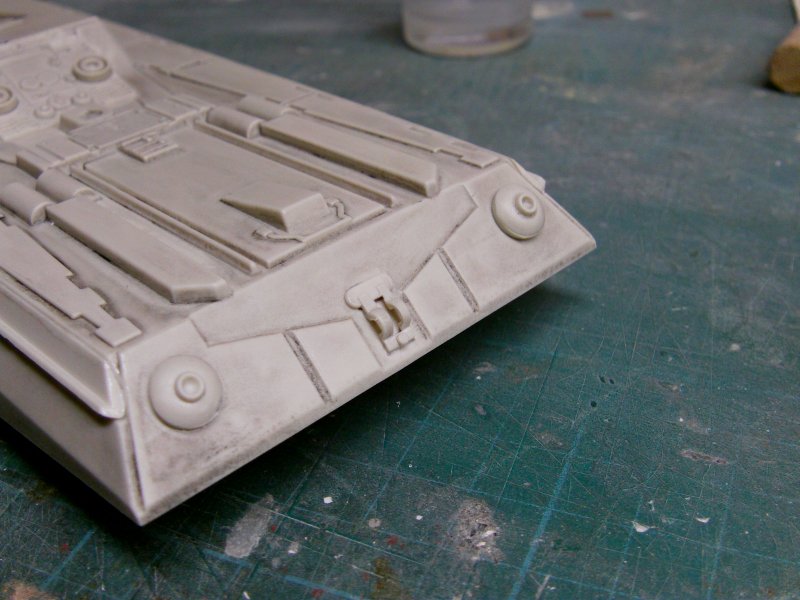
First up, the unpainted decks got a little black wash flung at 'em and sealed with Vallejo matt varnish from a rattle can.
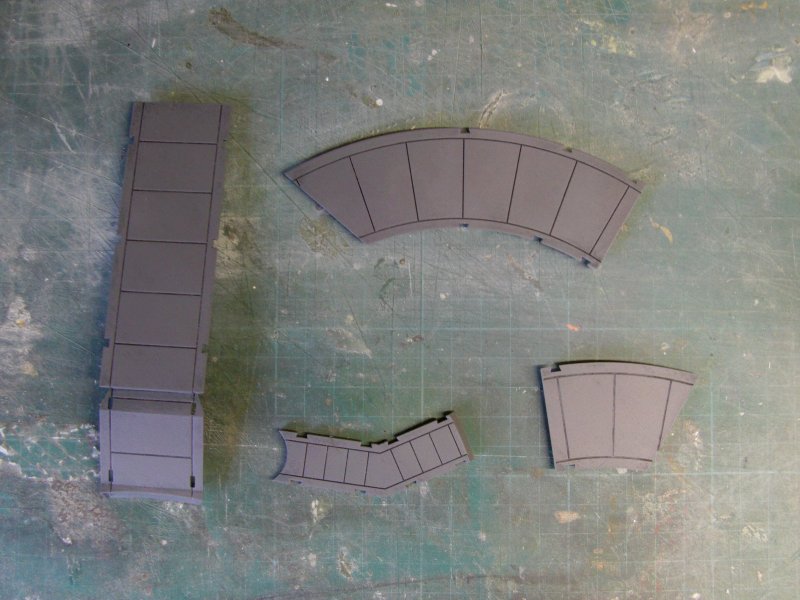
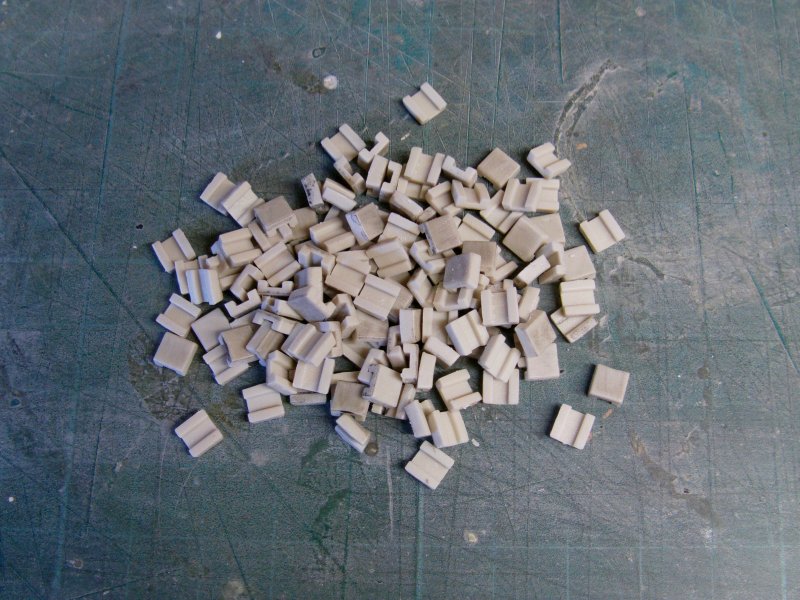
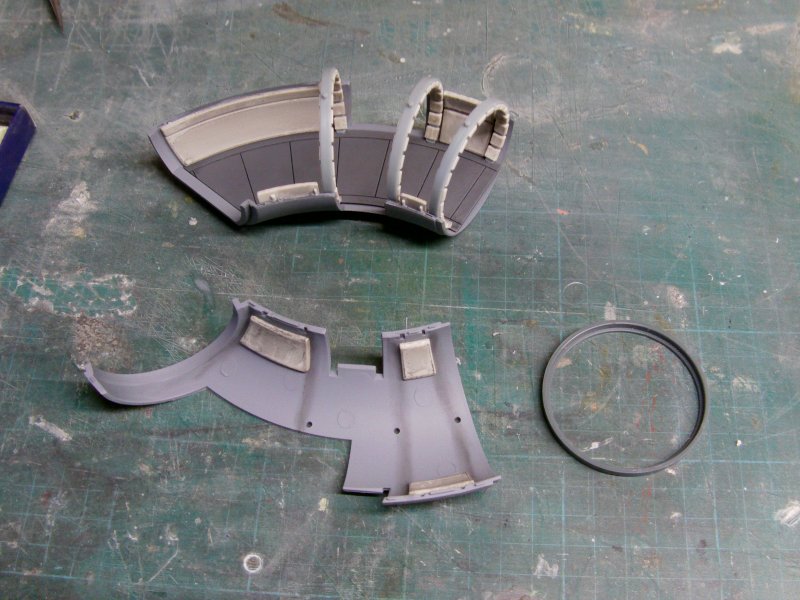
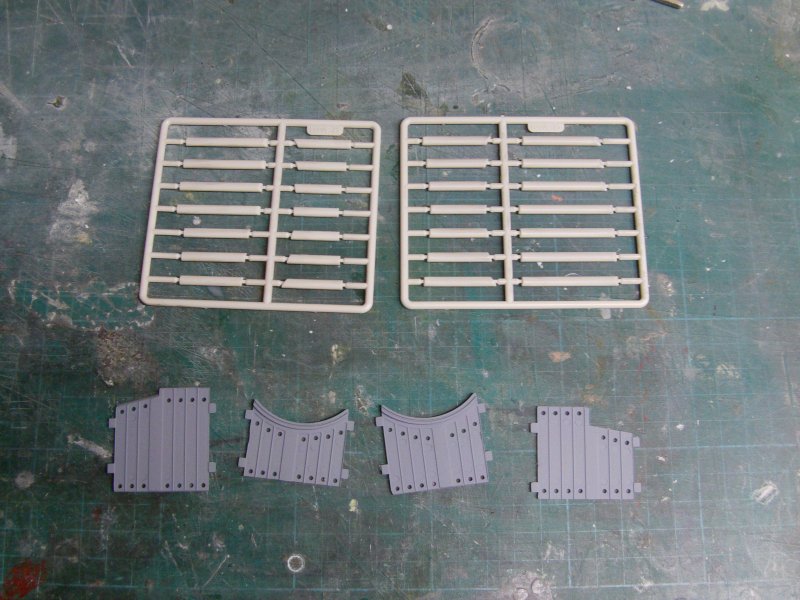
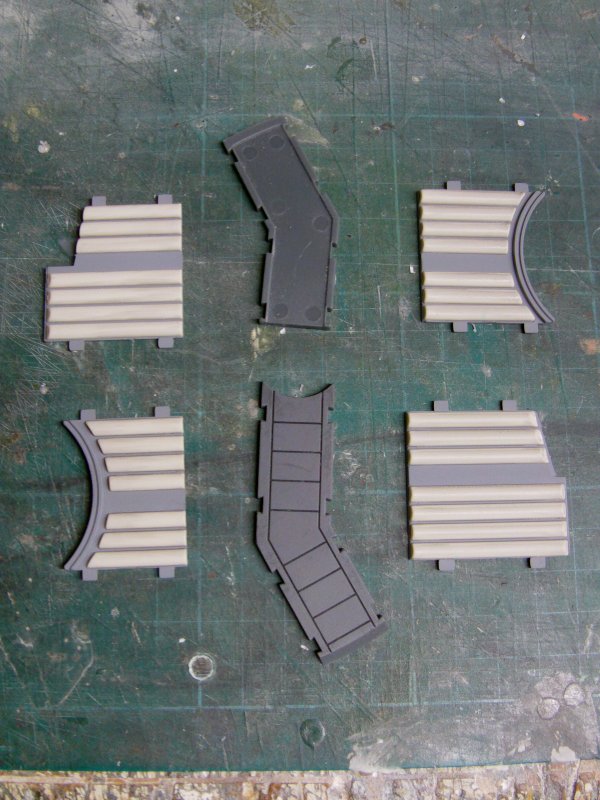
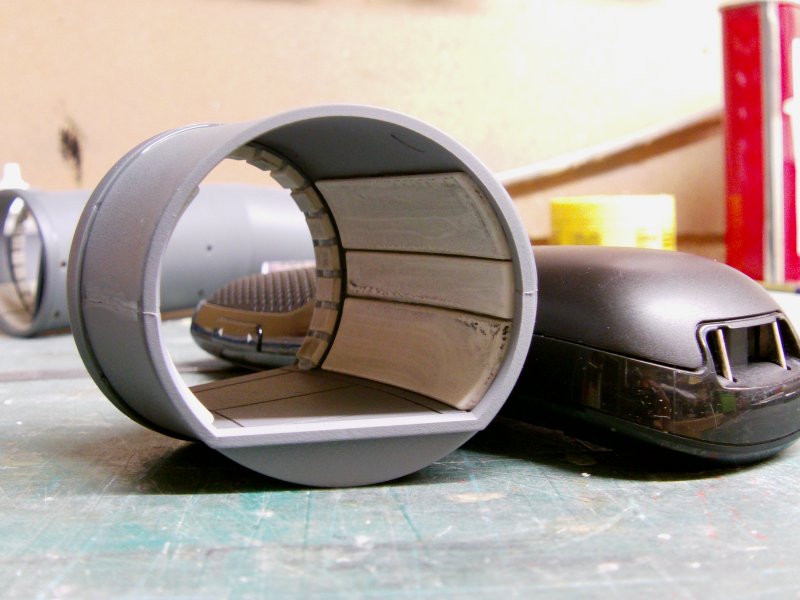
Then the circular padding rings got sorted. All required 126 pads removed from the sprue and trimmed up.
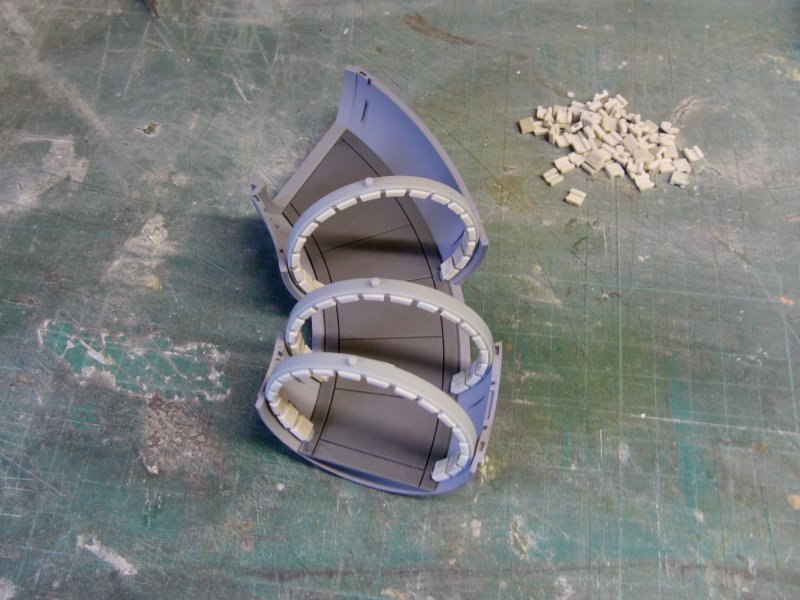
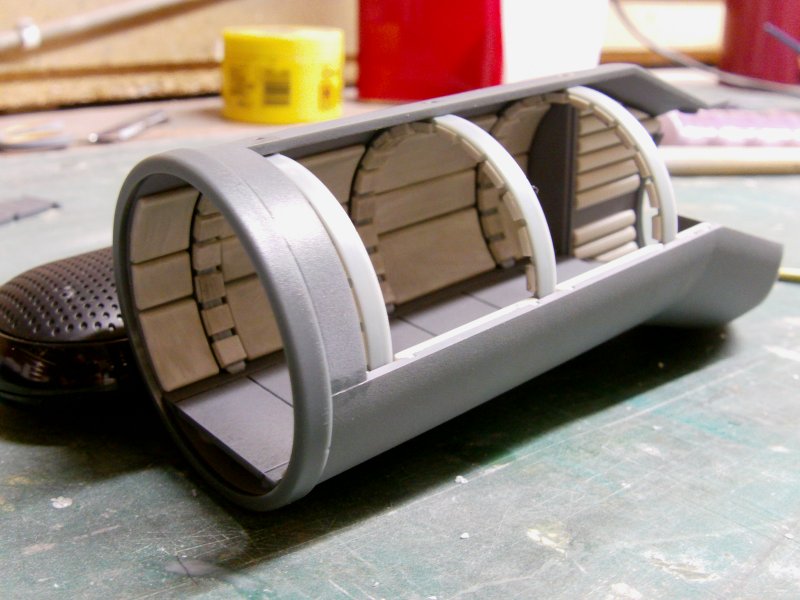
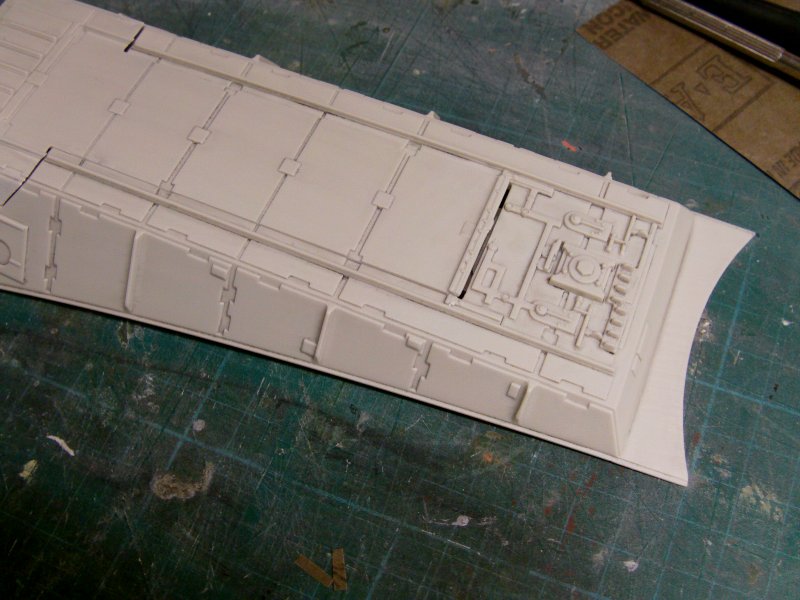
After the corridor walls got a coat of ordinary primer grey, the deck for the longer curved corridor fitted and screwed down. Then the three padding rings dry fitted in to place for a look see.
Not bad so on to the pads.
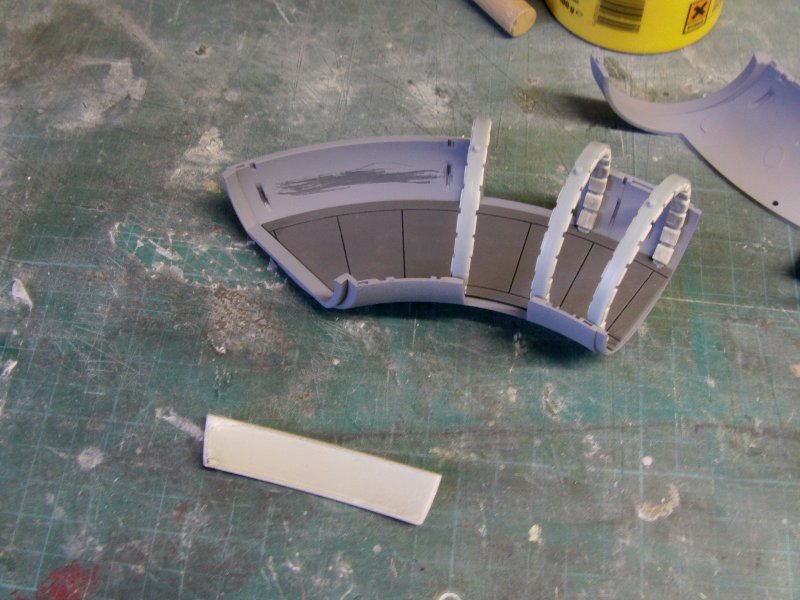
A bit of paint scraping from where the pads fit, pads cut from the sprue and placed as per the magazine destructions. The said destructions reckon you should fit the pads with the rings in place. Quite frankly that's more trouble than it's worth so took 'em out and got to it.
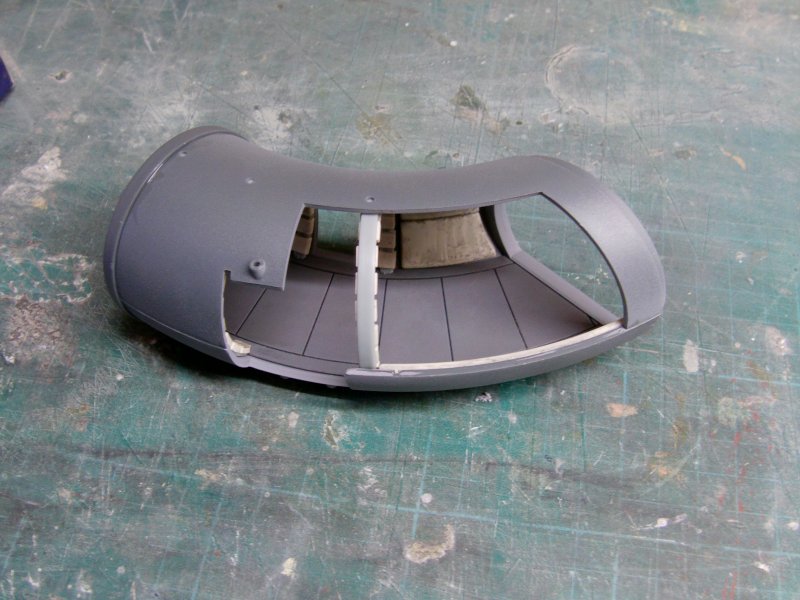
I did do a bit of basic shading to see if it would make a difference and swiftly concluded it didn't but done and done.
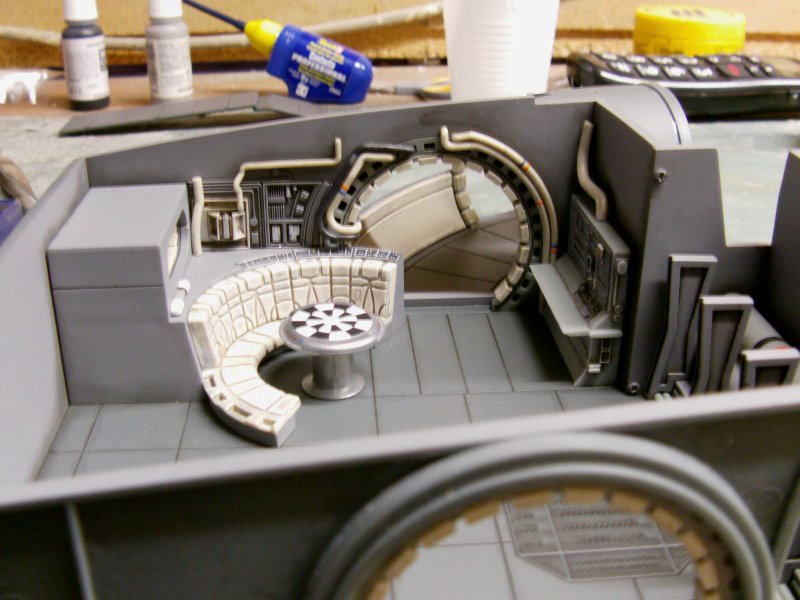
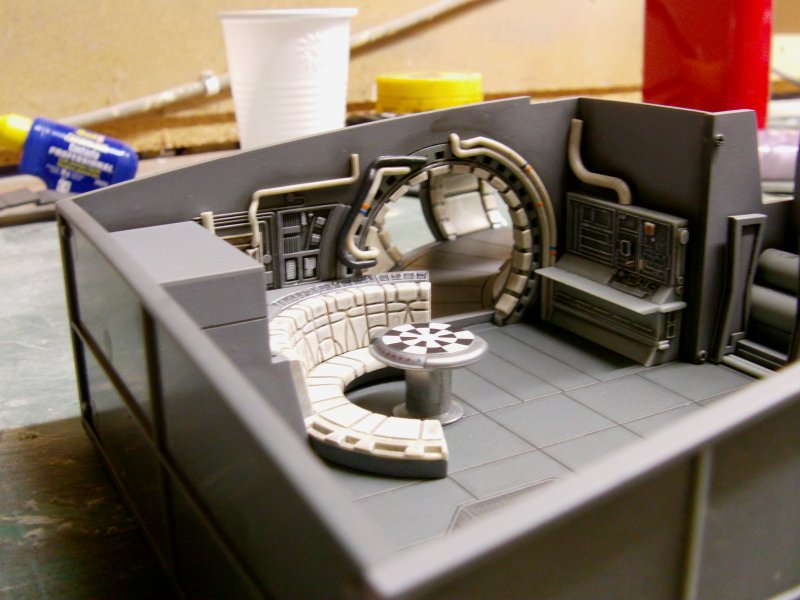
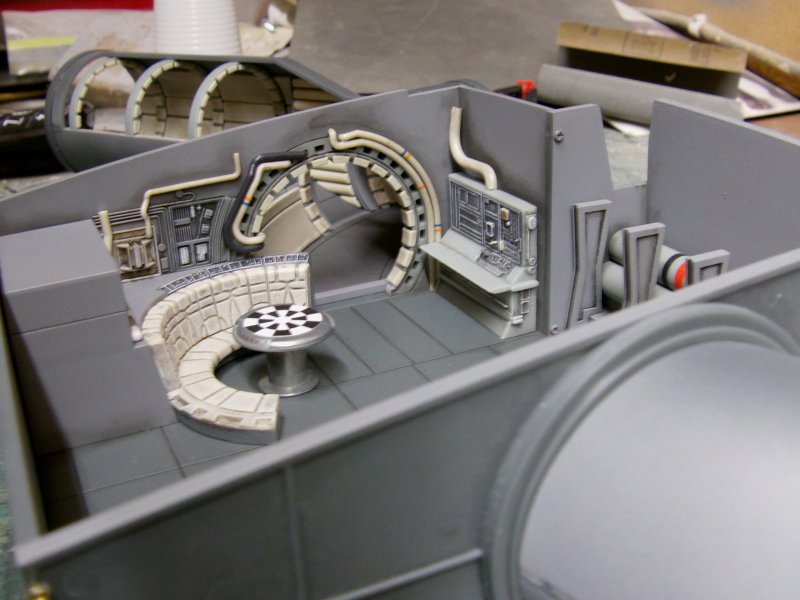
A quick slot in to the hold and look over.
None too shabby so on the corridor run to the cockpit.
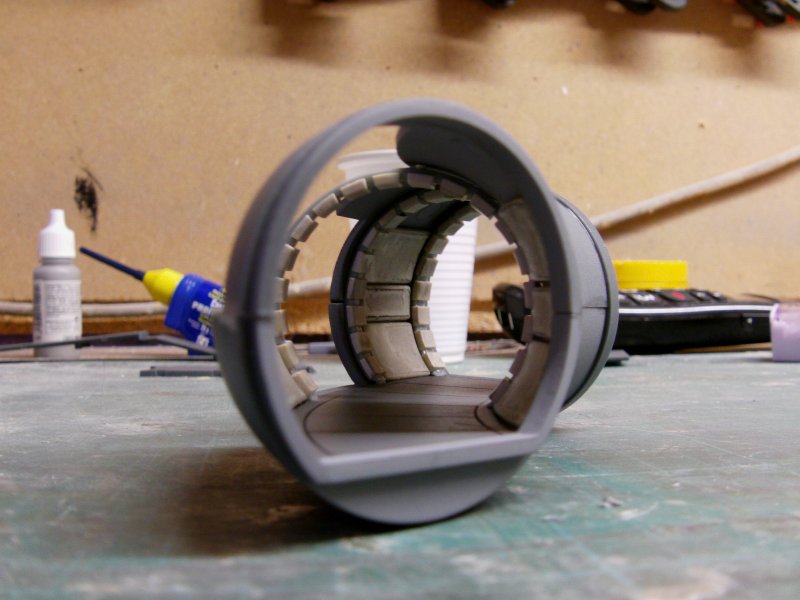
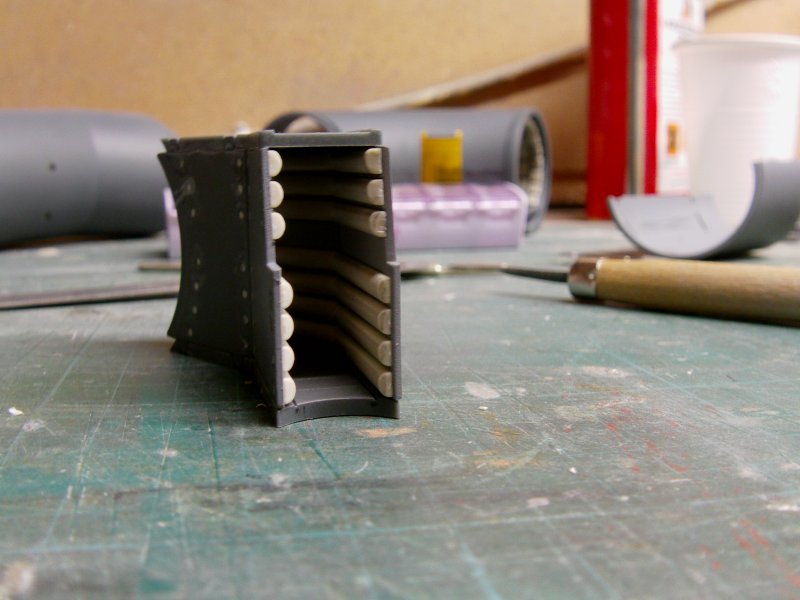
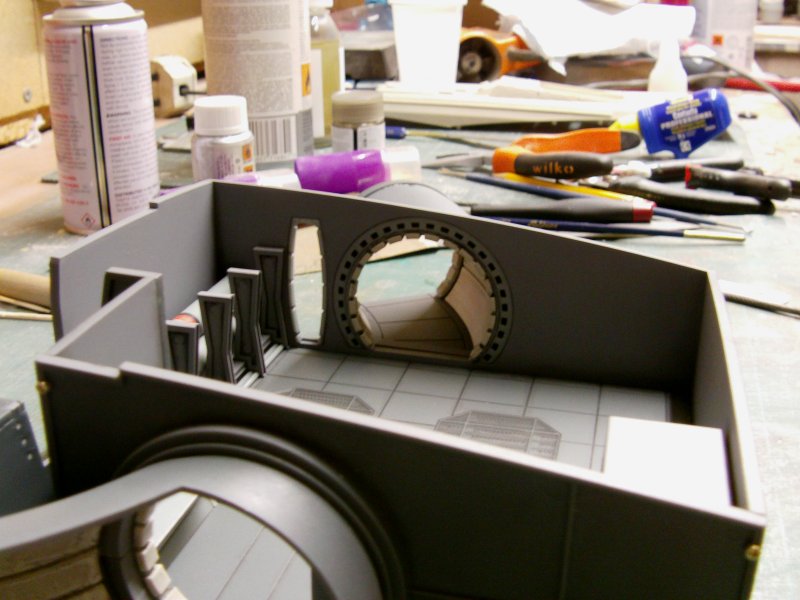
Okedoke. Onward to the short corridor parts for access to the
top and bottom gun turret crawl way thingy.
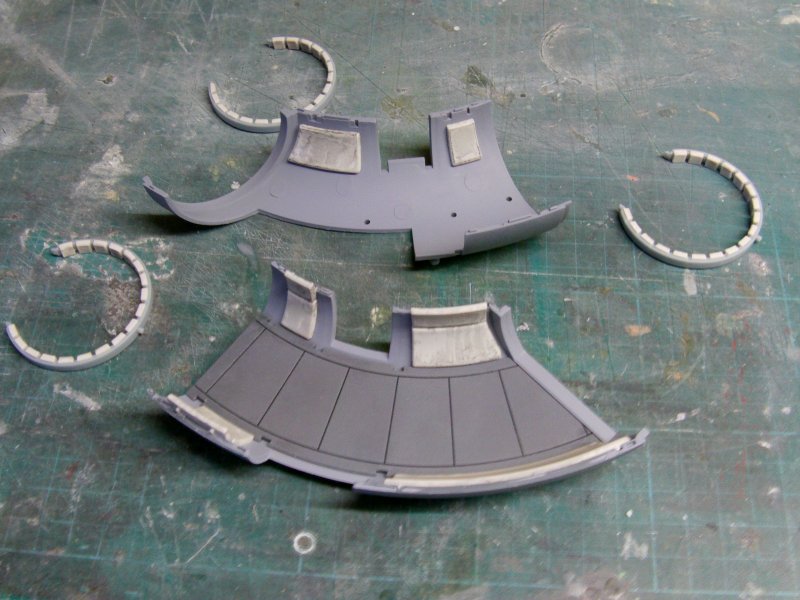
The short curved corridor done and done.
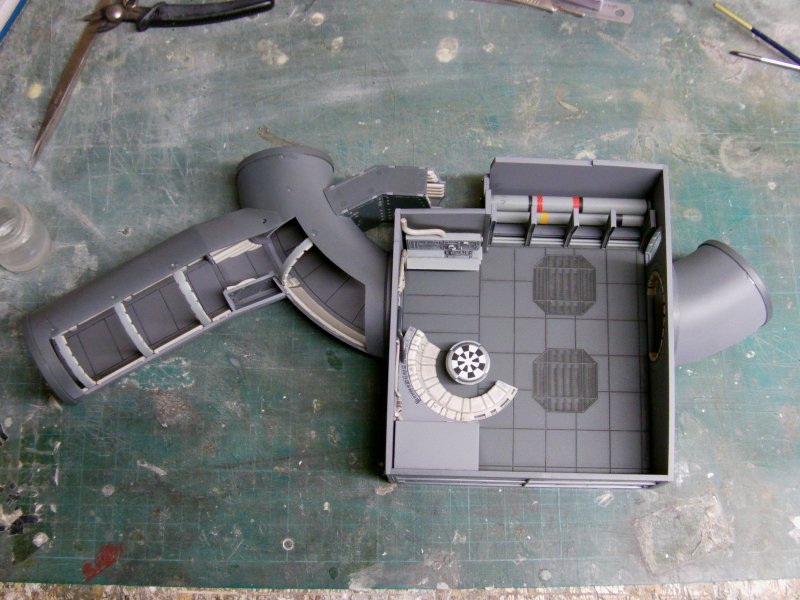
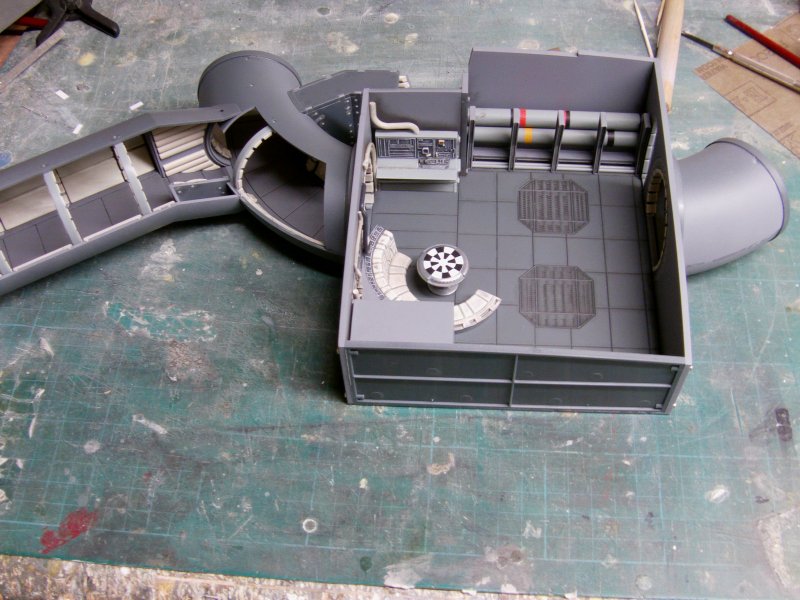
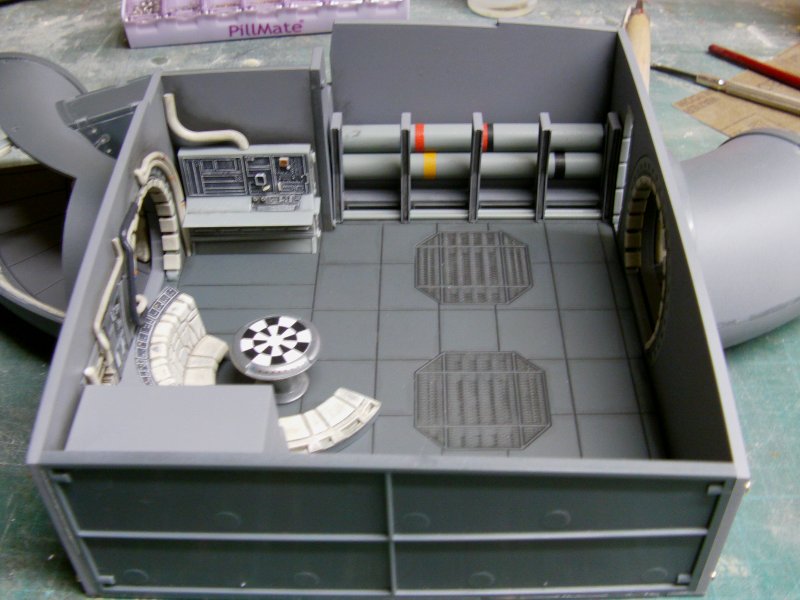
A bit of slotting together dry fit fashion and that's the job done thus far for the OOB hold and corridor stuff.
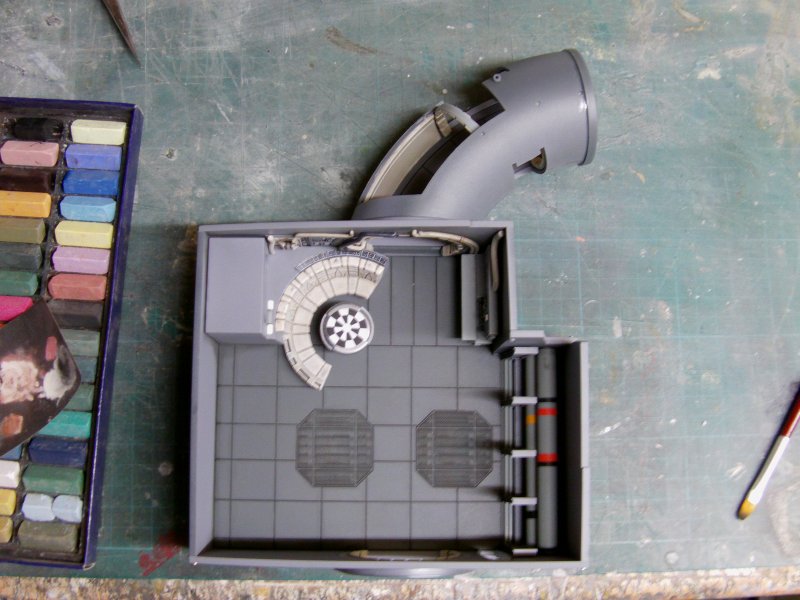
Just for the hell of it, a look see around from the approximate viewing angles
when this lot is installed to get an idea of what can be seen.
Well when the rest of the Falcon is wrapped around it, it may not look too bad but we'll see. Much more to be done before we get anywhere near that methinks!
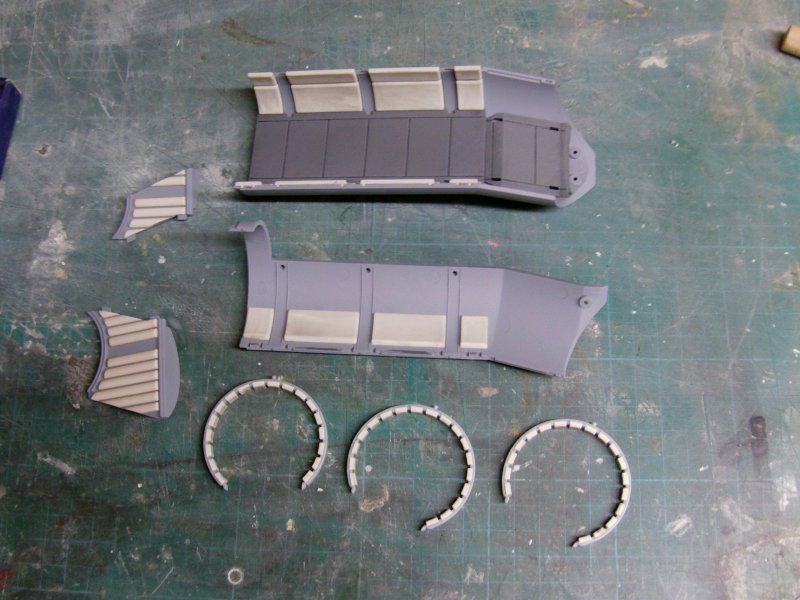
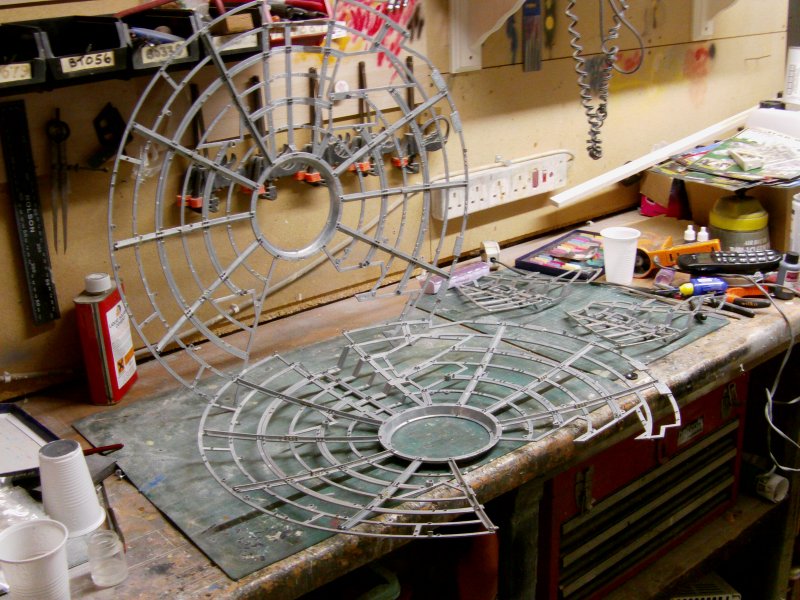
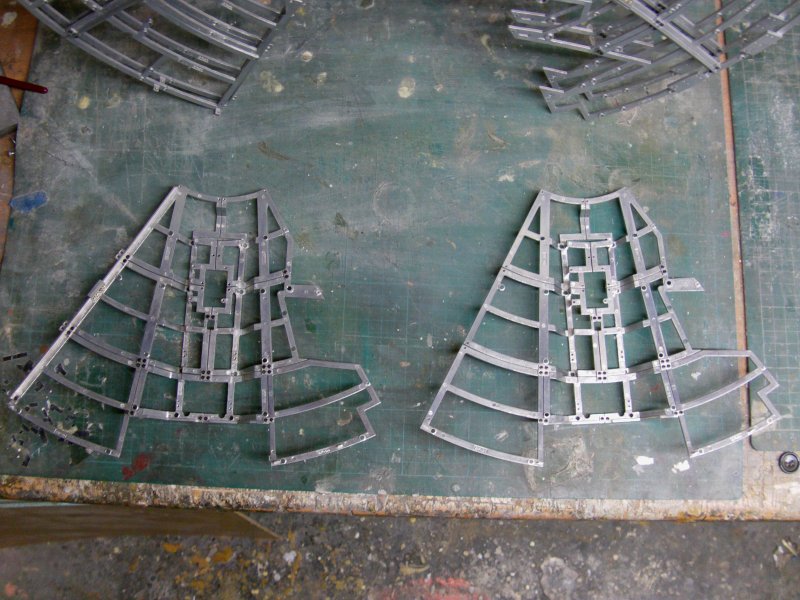
And onward mit der framework stuff thus far.
Which looks something like this for both builds.
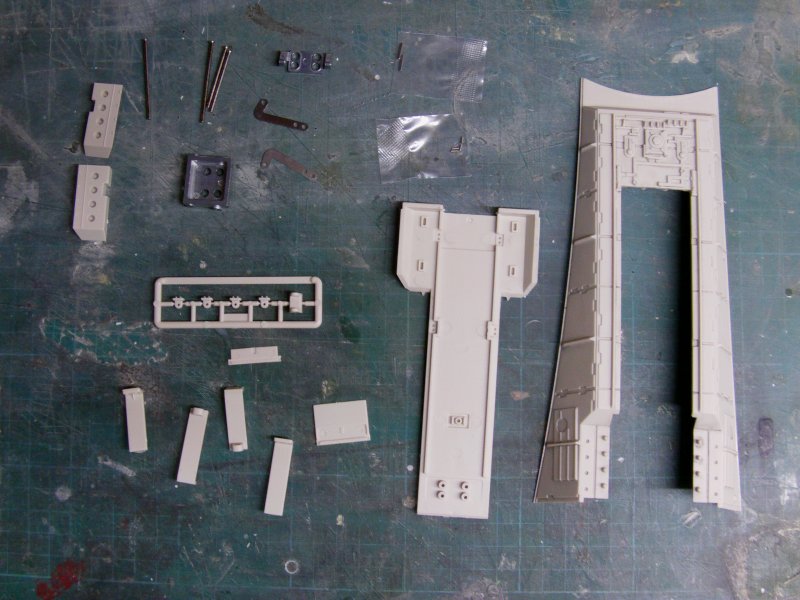
And the ramp framework parts.
OK, magazines 35 to 39 pulled with required parts and a-ramp-fitting we do go.
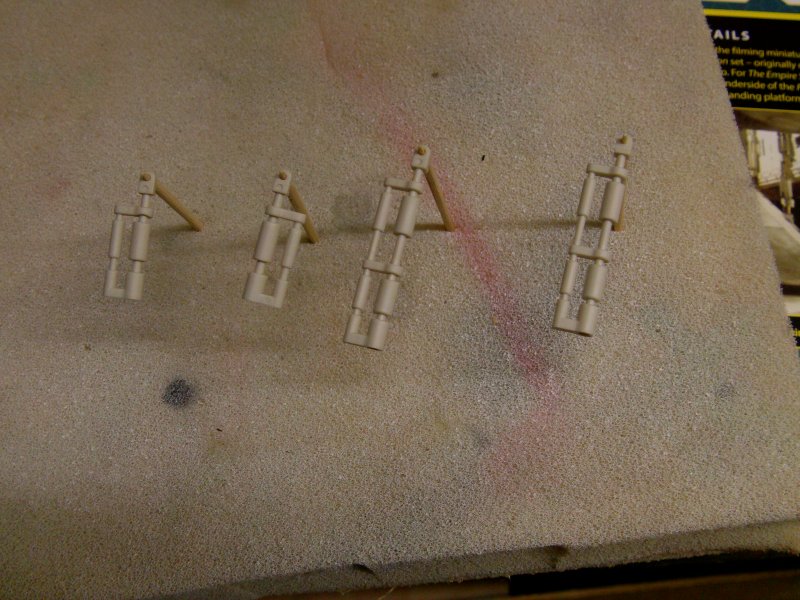
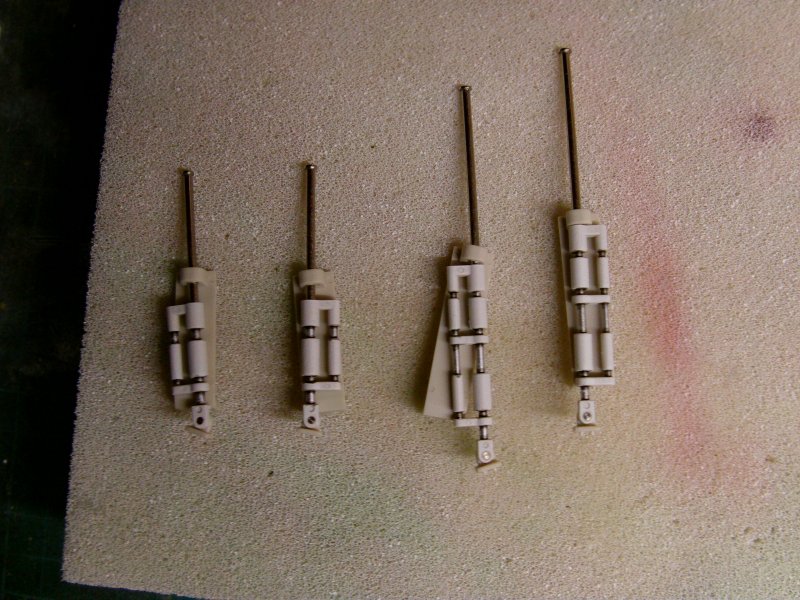
Ramp actuator parts cleaned up.
A wash and lick of Tamiya fine white primer, followed by some acrylic silver
and Tamiya smoke got them kicked in to touch paintwork wise.
Nothing more than that required for the OOB build so onward. Ramp parts proper.
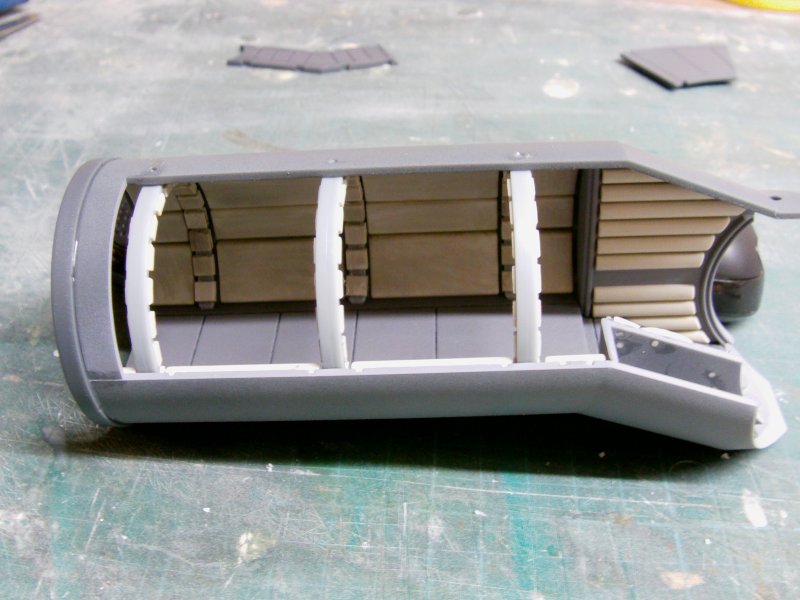
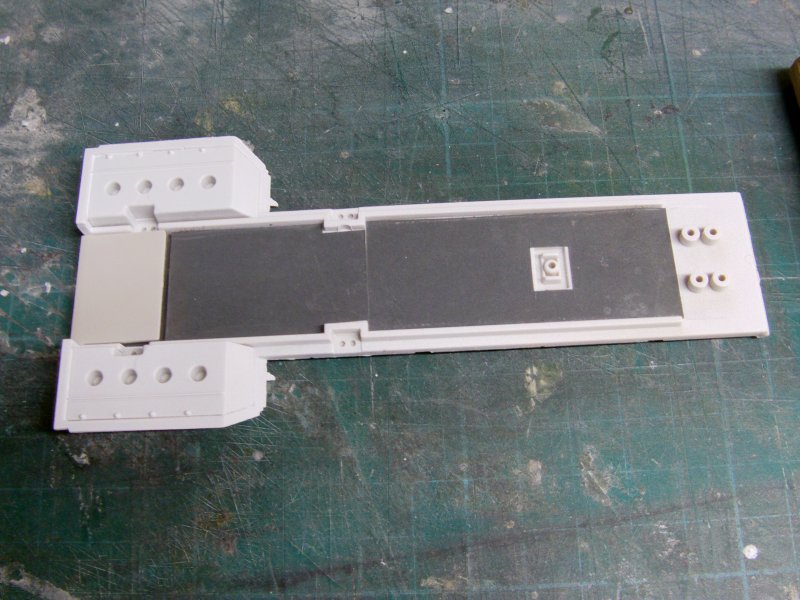
Parts for the ramp itself assembled and given a going over with the primer white.
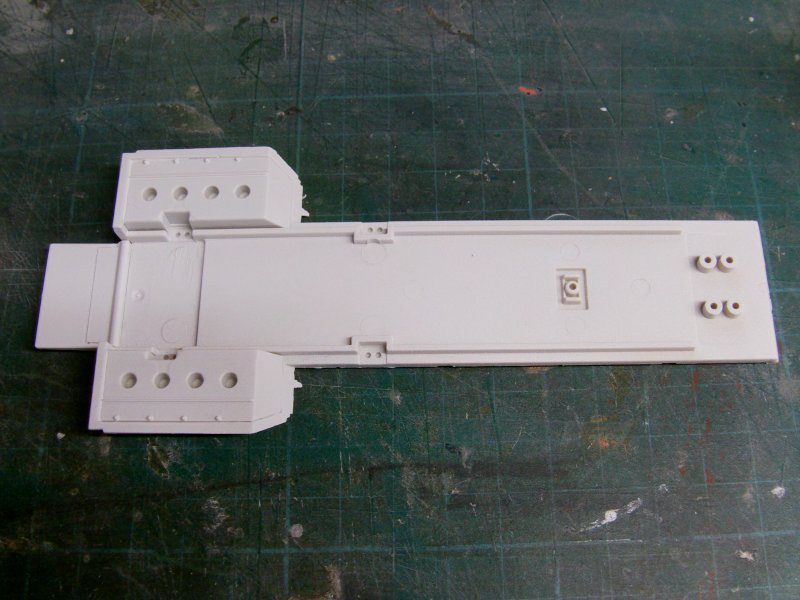
Quick cheat here. The walkway area is supposed to be a grey/rubberised/matt sorta finish so instead of paint, I just sliced up some 1200 grit wet and dry,
sprayed with 3M permanent photo mount glue and slung 'em in position.
Works for me.
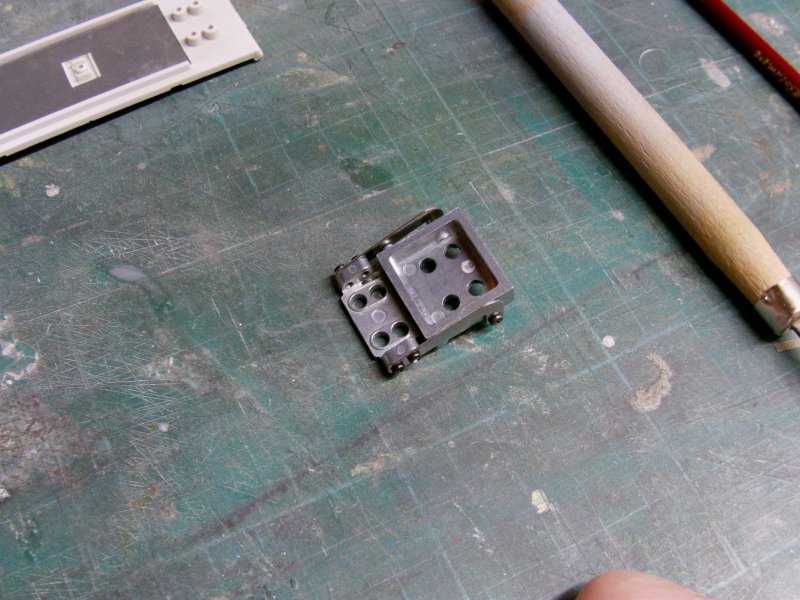
Metal hinge made up and fitted to the ramp and surround.
There a bit gapping at the back but not really that bad and when it's all put together,
I don't think it will be that noticeable.
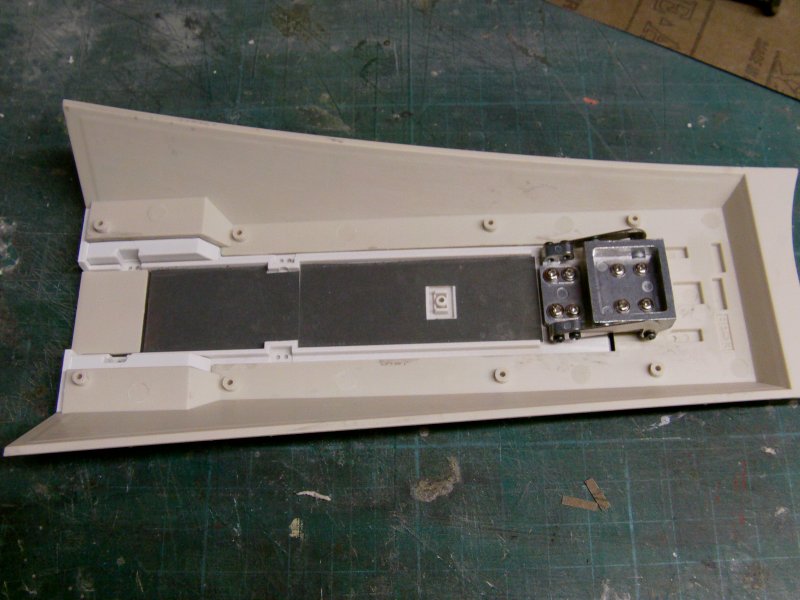
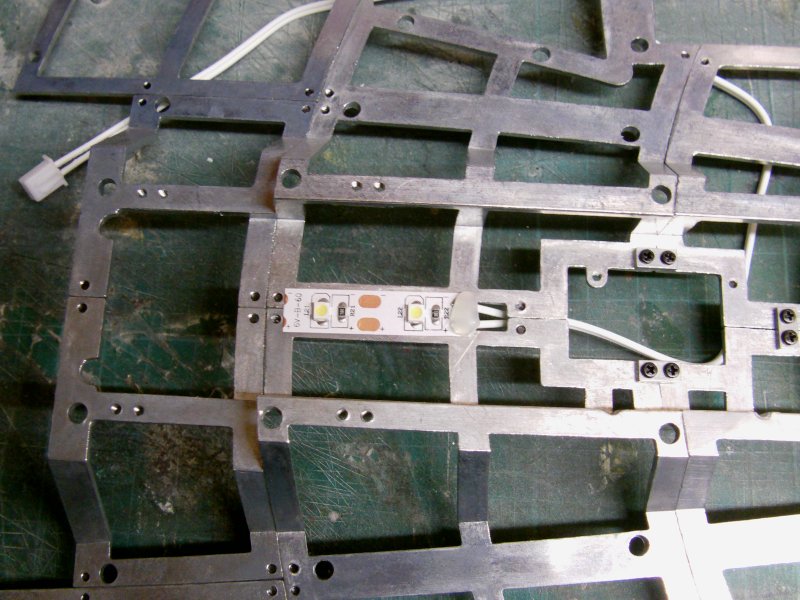
Fitted the supplied lighting part without fuss as per the magazine waffle...
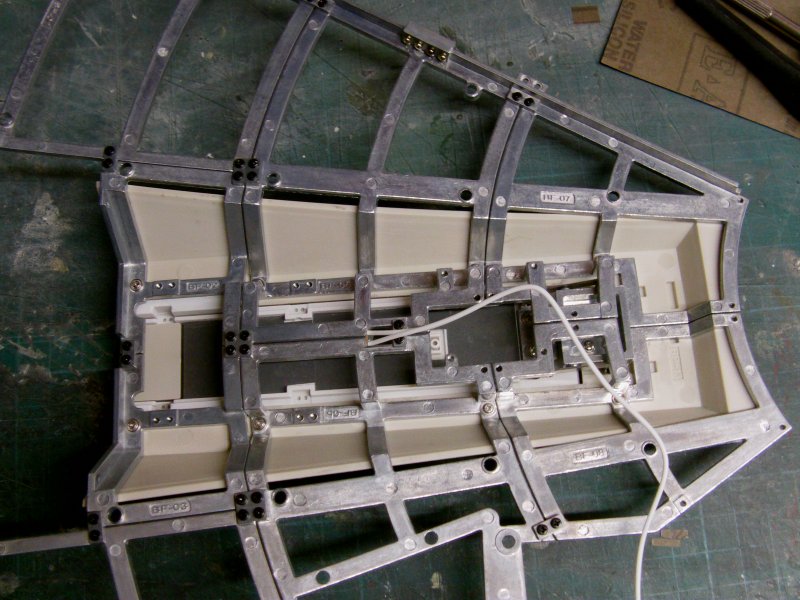
And then screwed the ramp assembly to the frame.
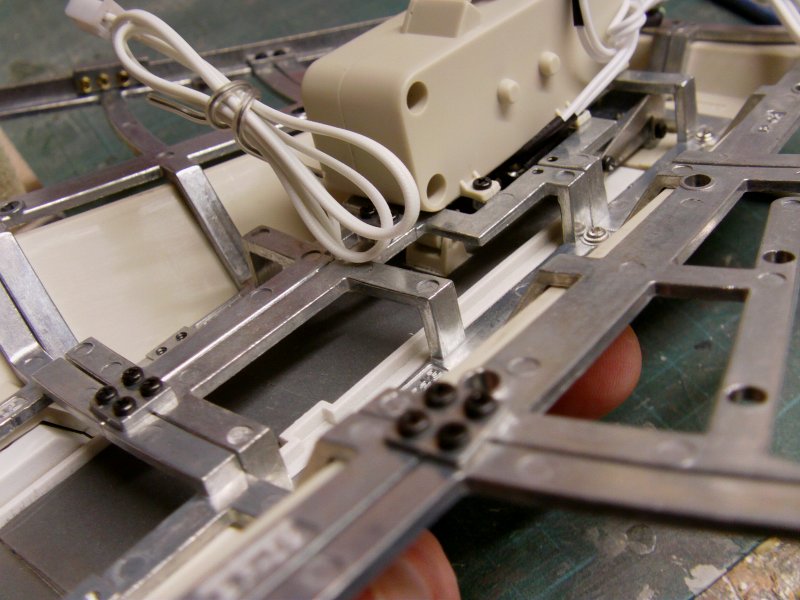
Made up the actuators and connecting pivots to the ramp.
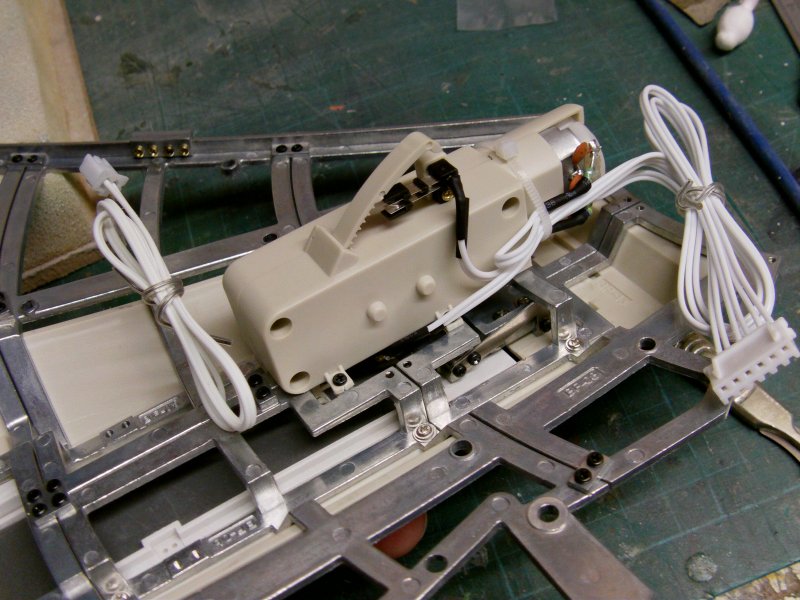
Then came the fitting of the motor drive unit. A fairly painless affair, a simple pivot connection from the drive strip to the ramp itself and then run down the four screws that hold the whirring geared thing in place.
Sorted!
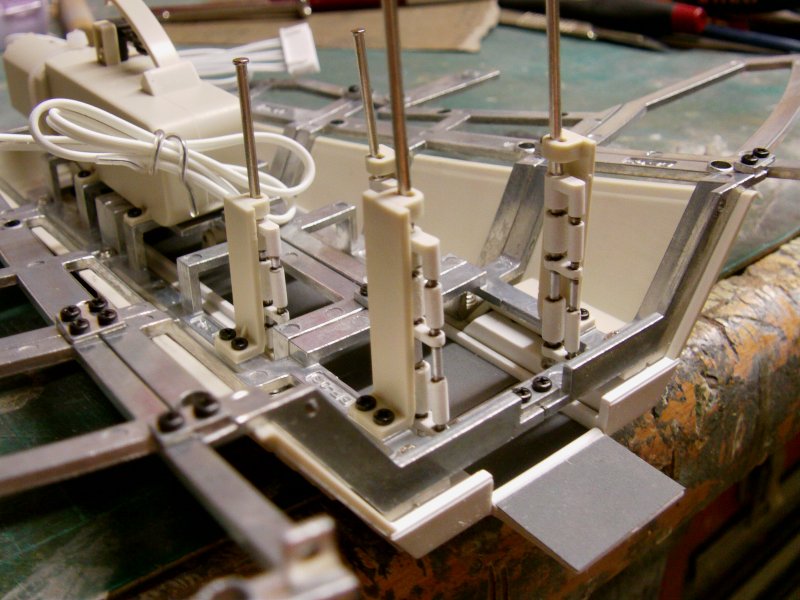
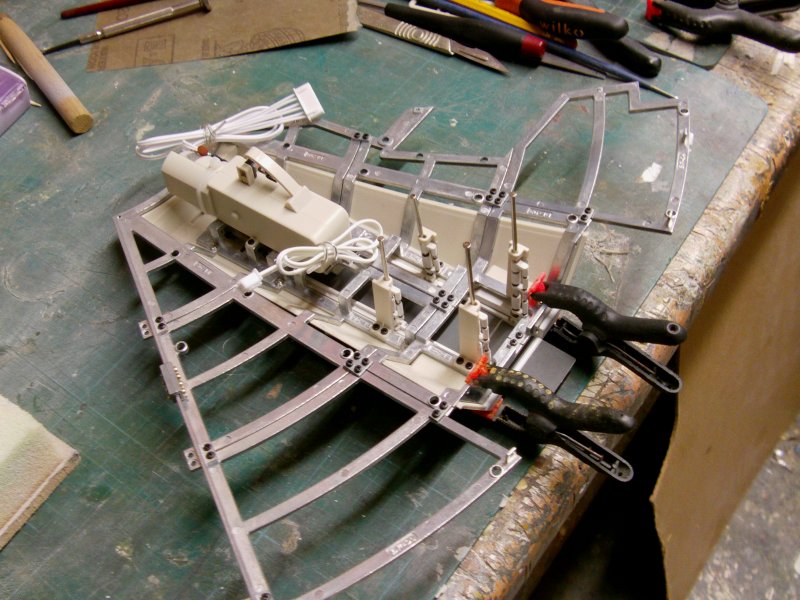
Then the four actuators got glued and screwed in to place. The done deal and the two little clamps are just there to keep it all honest untill the glue is cured proper.
I can't test the thing at this point, i'll just have to wait like the rest of us for the board-o-electrickery to turn up in a later issue and then see if this effort has been worth it and it all does what it's supposed to.
For now, a YouTube vid from DeAgostini of the prototype working.
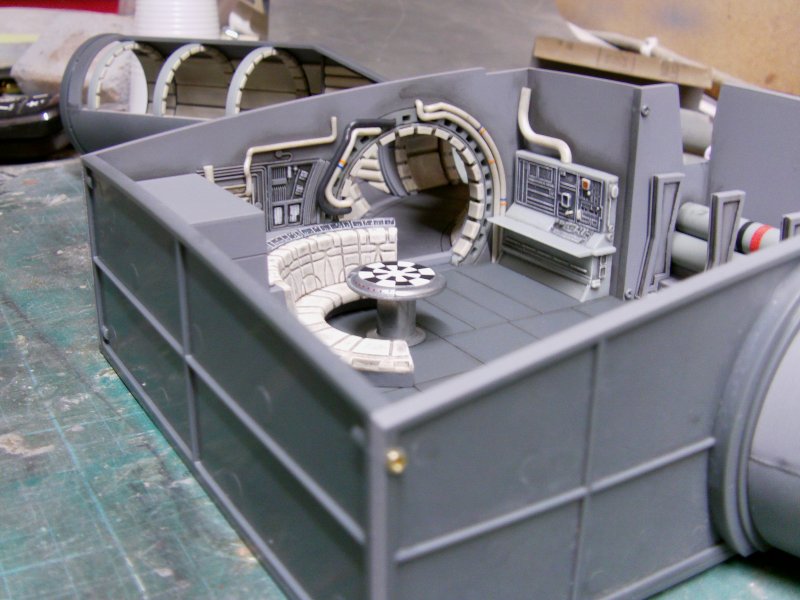
So the bottom line for the OOB build, is that there's no way to see in to the interior due to all the stuff that's in the way and the internal corridors don't go that far anyways.
Such is life and one had figured that out early on going by the blueprint poster showing the internal framework and so on supplied by DeAgostini in an earlier issue.
Trust me when I say this will be remedied by yours truly, by fair means or foul, whether it likes it or not, when it comes to the full on build.
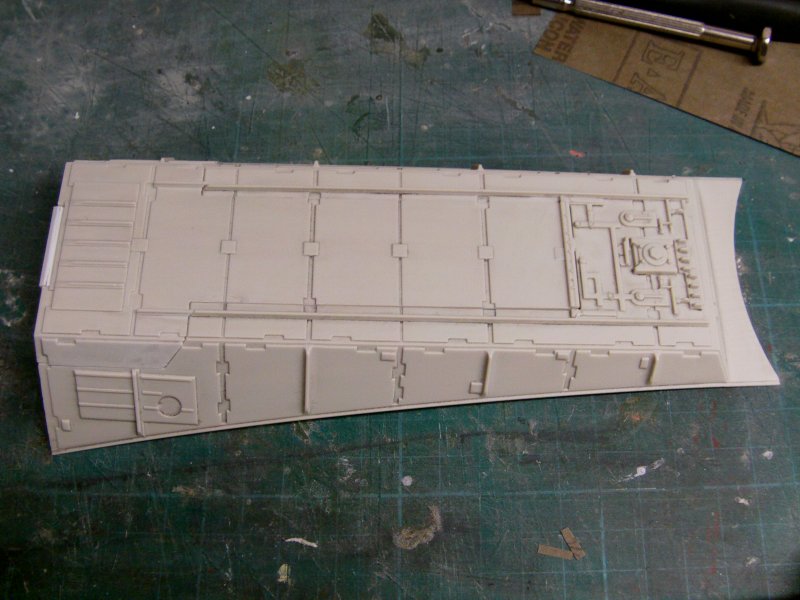
Lastly for this deal, the large belly plate lump where the forward nose gear sits. The parts.
5 mins of trim and glue action later and it is a done deal.
And that's the lot for this update friends and friendettes!
i've almost got all the bits I require for the full on hold build so that's next.
i'll be holding off on the full on corridors untill the OOB lot get's fitted in proper
with all the belly plating as there's some issues I need to sort with the full on build vis space under the hold parts since i'll be doing the ANH version for that build. it will become clear as I go on folks...at least I hope so.