
DeAgostini Part Work
'Build The Millennium Falcon'
Possibly Studio Scale Model.


 Page Number
Getting a grip
Or At Least Starting to Get A Good Hold Of The Hold.
Okedoke then gang, let's get to it.
To begin, a little bit of work on the wall in this screenie.

Now in the stock or OOB version, it looks like this...
I did a reworked version that ended up looking like this...
I intended to use this and do the others to match but had a change of brain on that issue.
This had much to do with a wagon load of bits from Shapeways,
from the shop of a user by the name of TonyRR.
This is The Linky Thing To His Page For The DeAgostini Falcon Bits.
Now i'll get to the bits next update but for now, I started on the wall re-do.
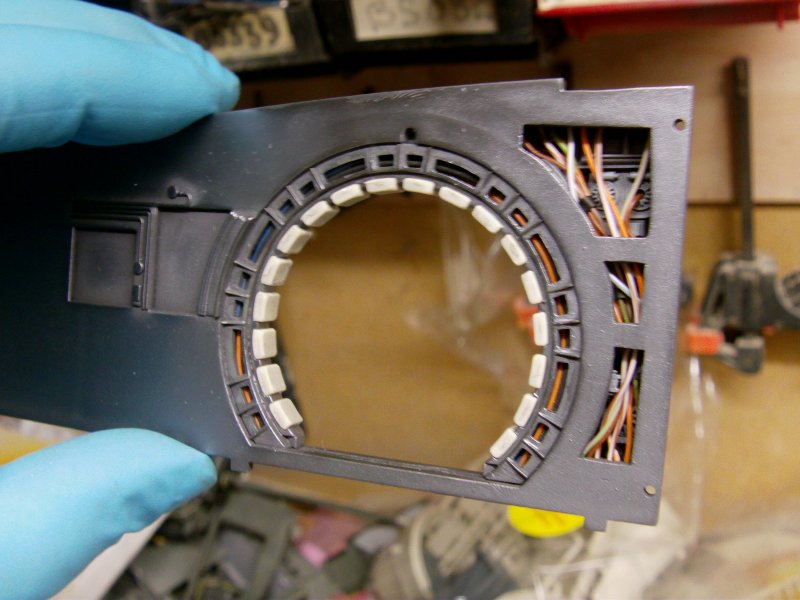
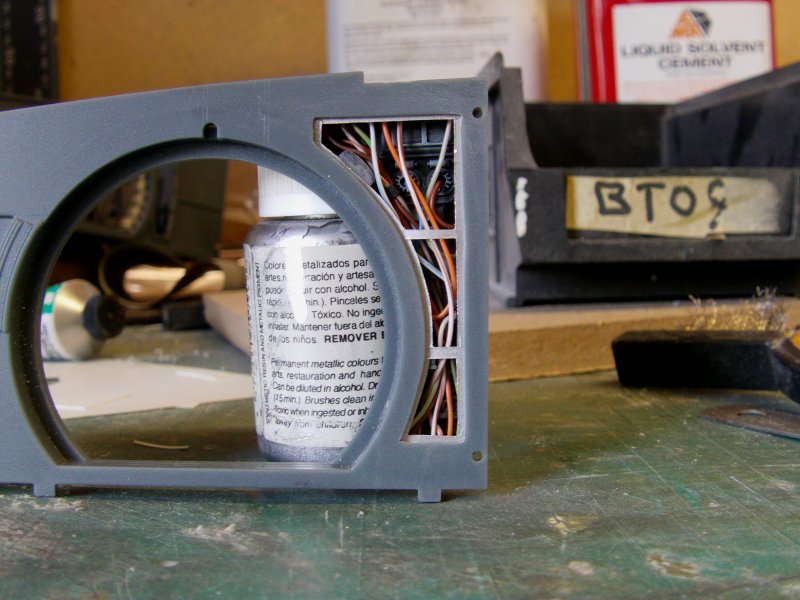
So first, the box of wires and greeblies got pulled from the test one.
And some chopping out happened.
I milled down the plastic from the back to make it a bit less thick on the hole edges.
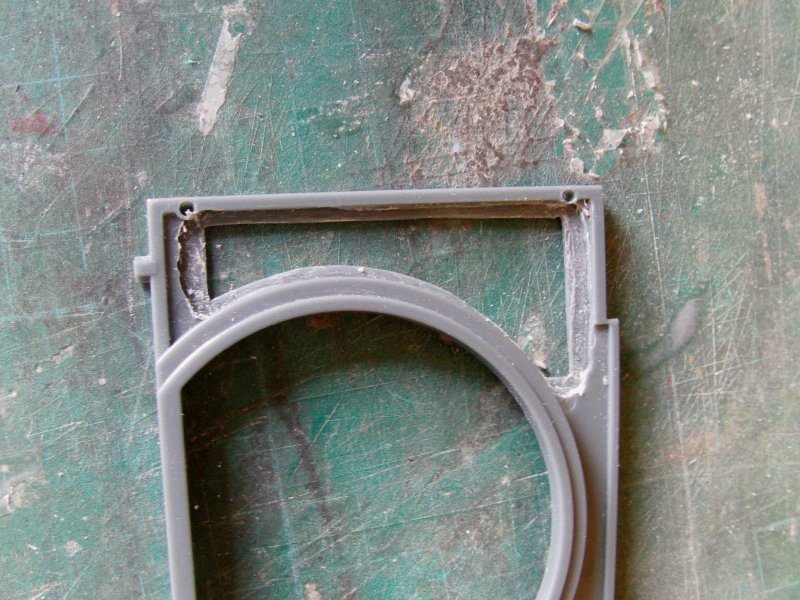
So far so good.
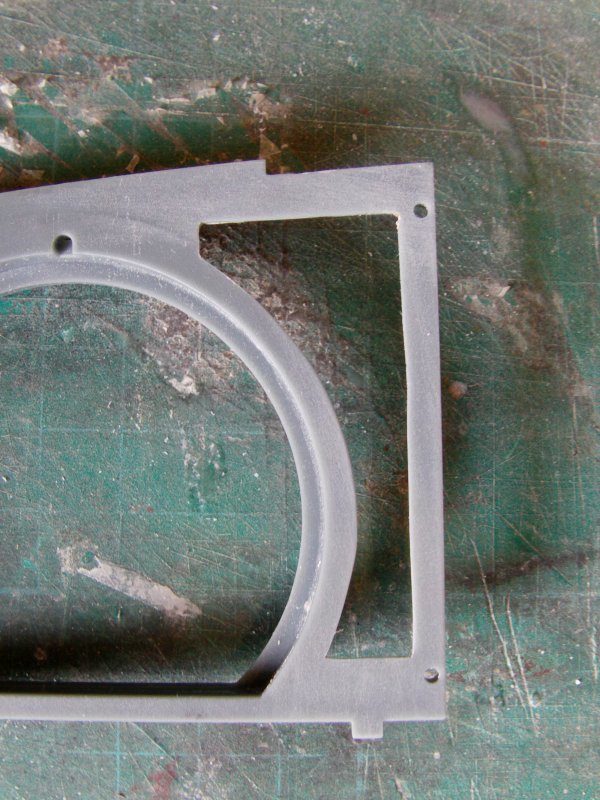
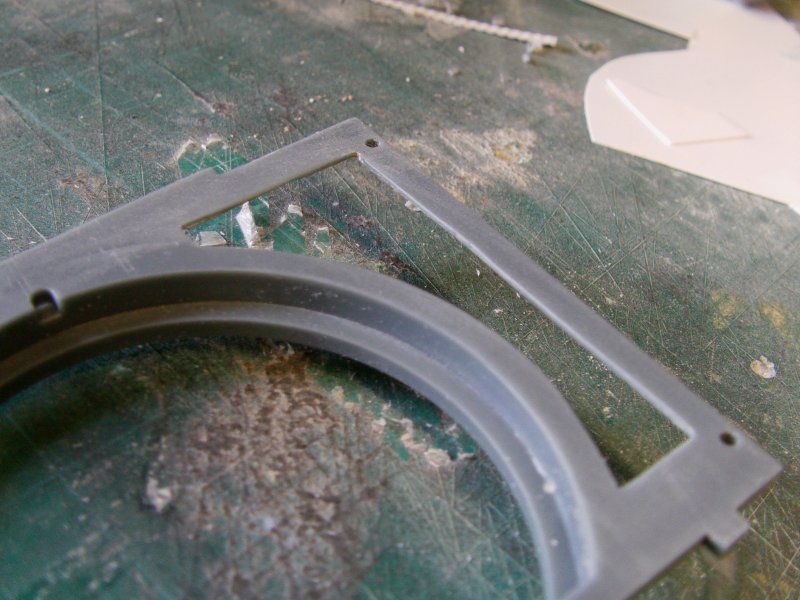
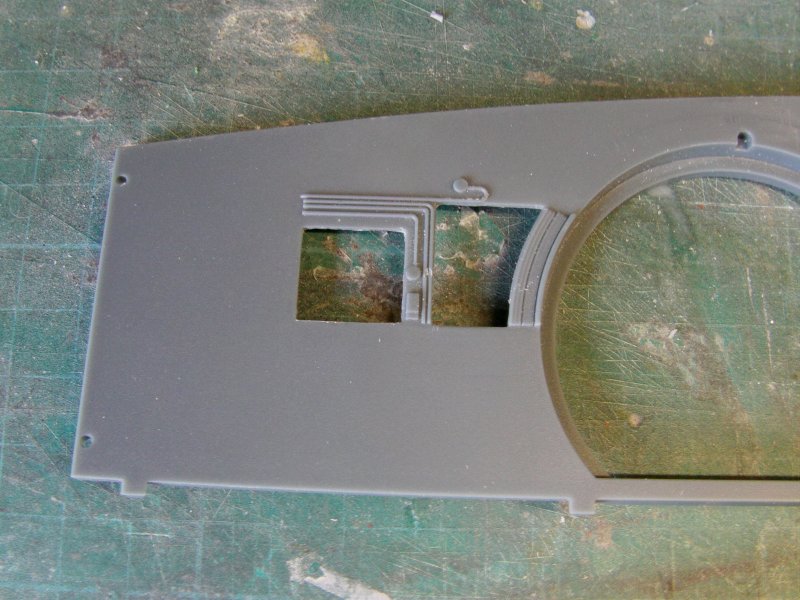
A strip of 5thou styrene sheet got the chop about dept.
going over to make a sort of frame where the missing panels would attach.
And some test fitting occurred which looked ok so the frame
got a lick of bright silver and glued to the box.
This got a second dry fit looking at.
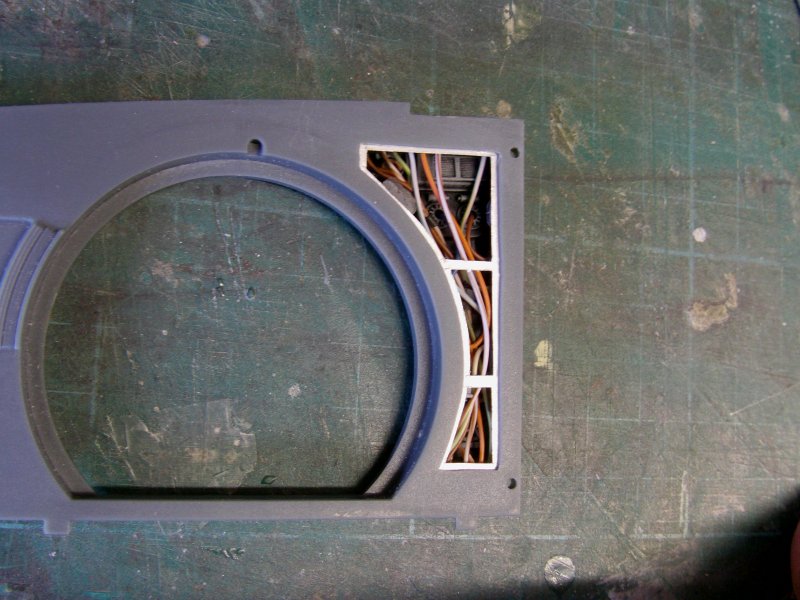
That is starting to look the part.
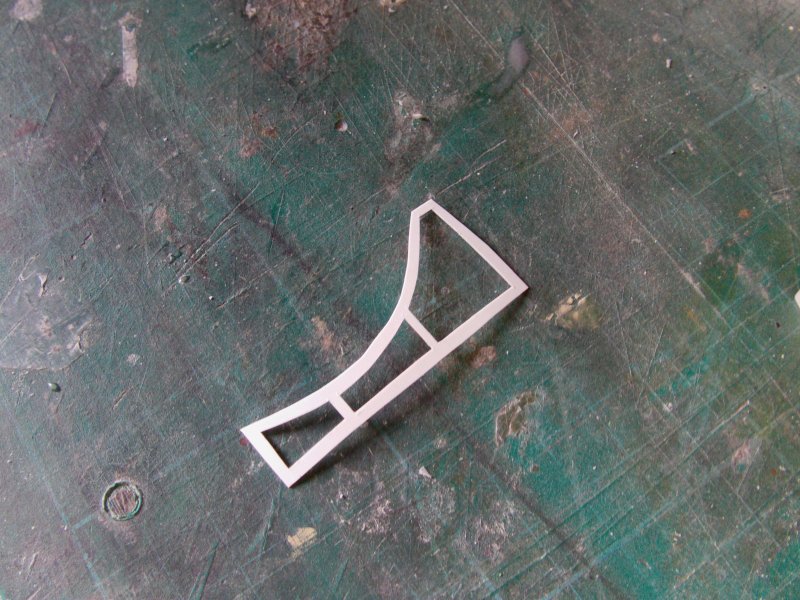
The two smaller areas of detail that go above the seating on this wall got some likewise treatment.
The wall got it as well as these are supposed to be recessed rather than surface fitted as they are OOB
going by the screen caps and the like i've cast my beady eyes at so far.
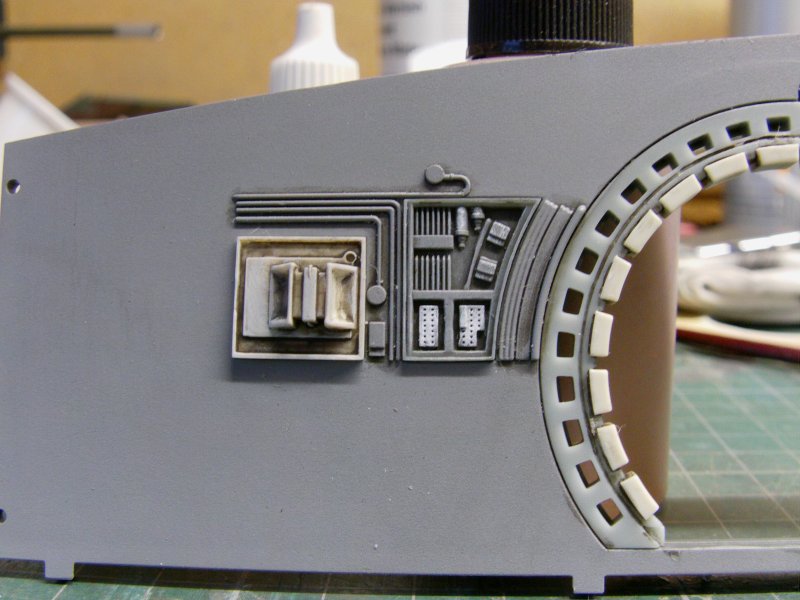
So that lot prepped.
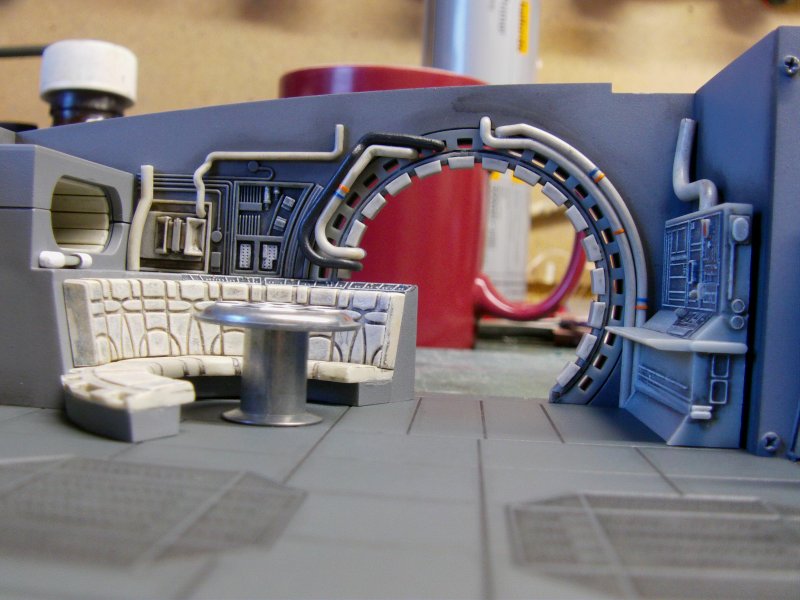
So on to another wall in the hold, the one behind Luke in this screenie.

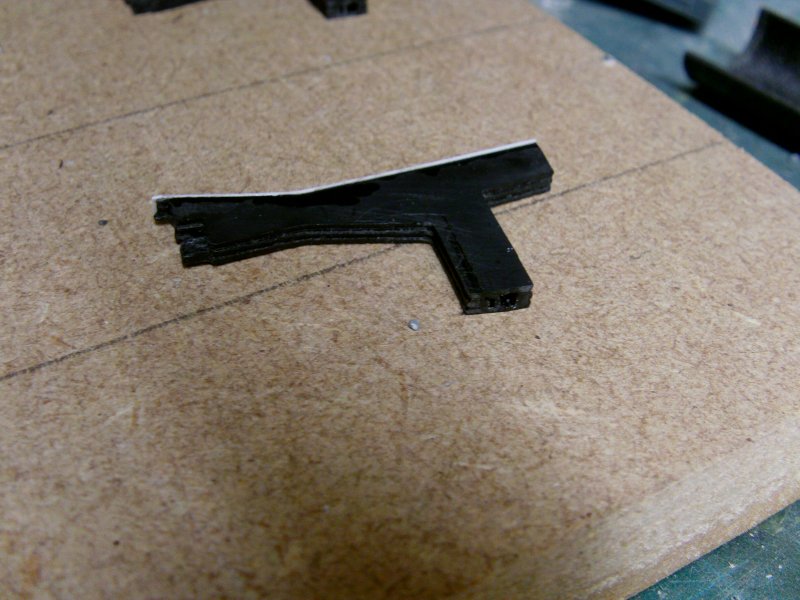
Now first, I had a second one of these...
This goes against the opposite wall and is part of the pipe fittings for the OOB hold.
This area...
So one got reworked for my purposes.
v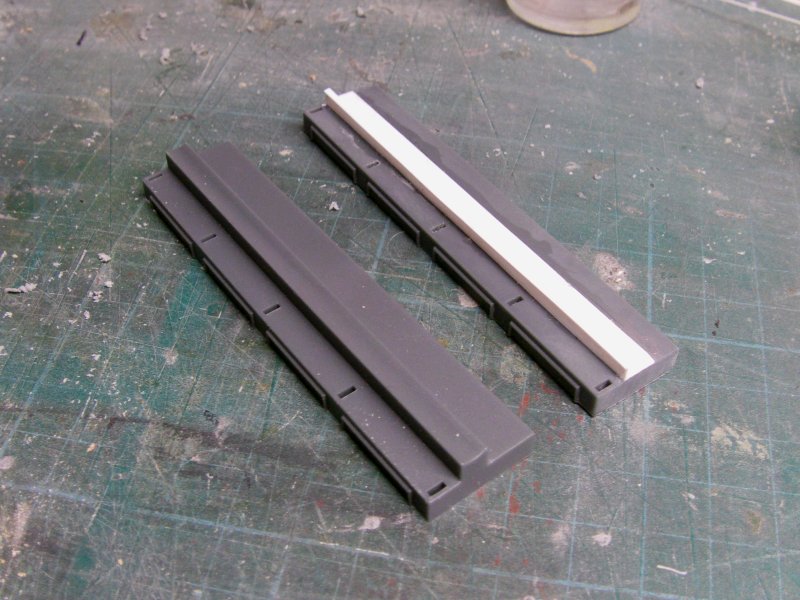
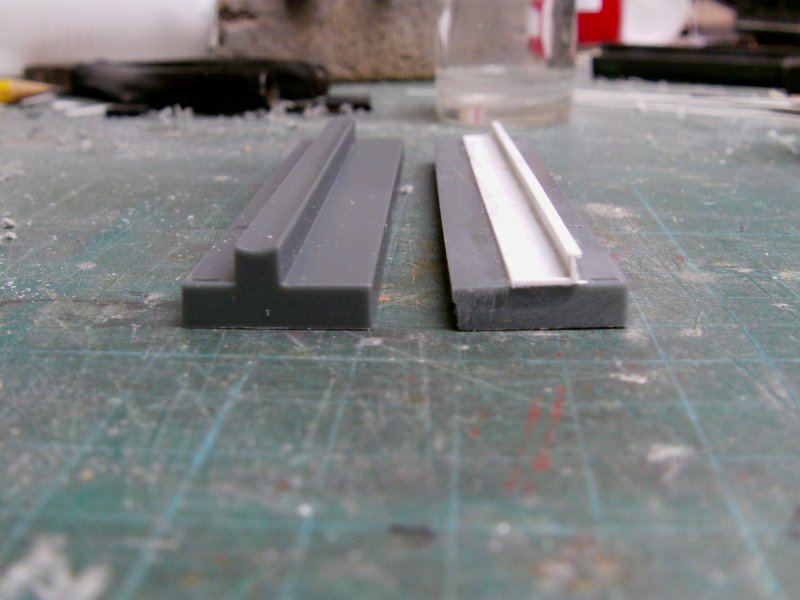
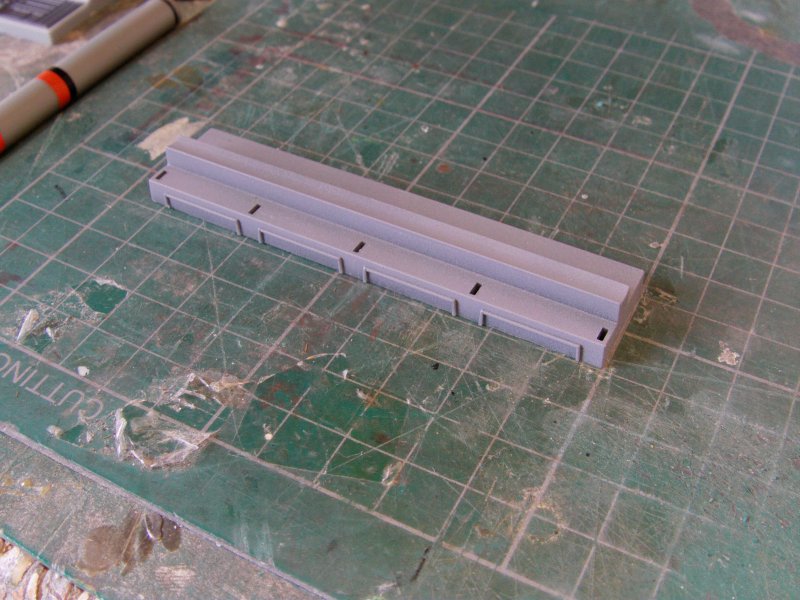
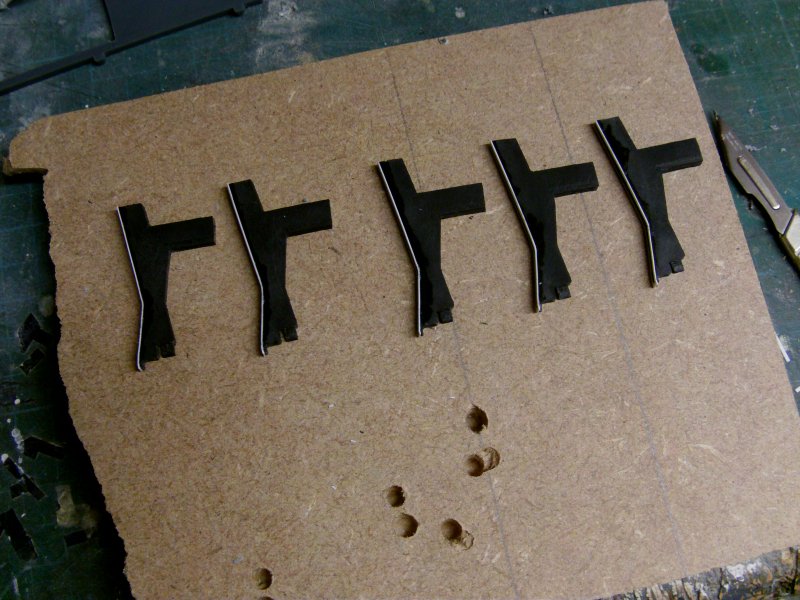
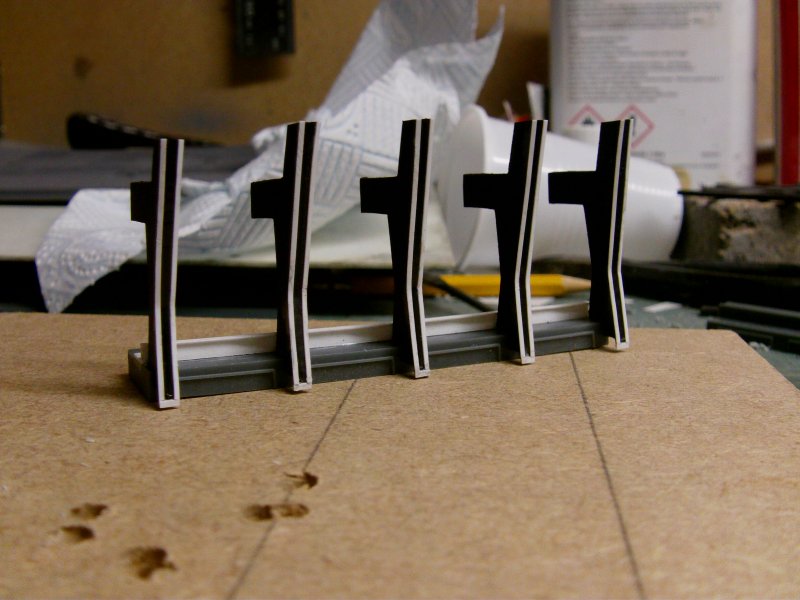
Now the upright frame parts needed a looking at.
Now I had the five supplied ones but needed another five.
So out with the 3D doodads and after a while, I got what was needed off the printer.
Now going by this screenie, the frames have twin raised strips running down
the front edge and slight raised edges around the rest of it.
Well nothing for it so out with the 5though styrene strips and in with the glue and scalpel.
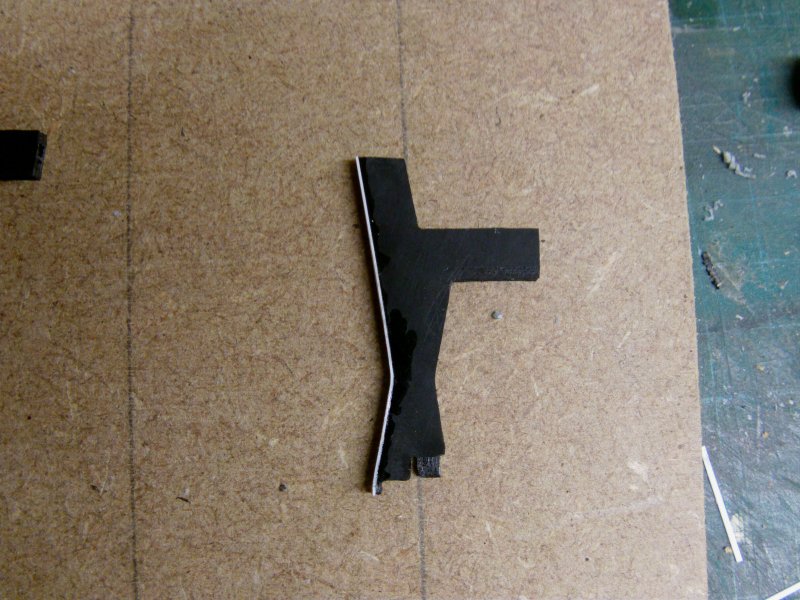
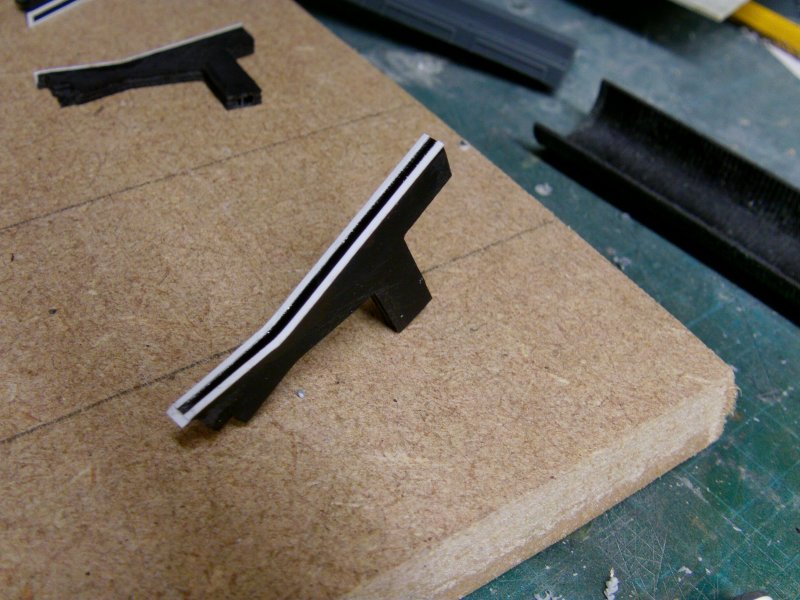
This lark was continued later with single strips to get that edging thing done.
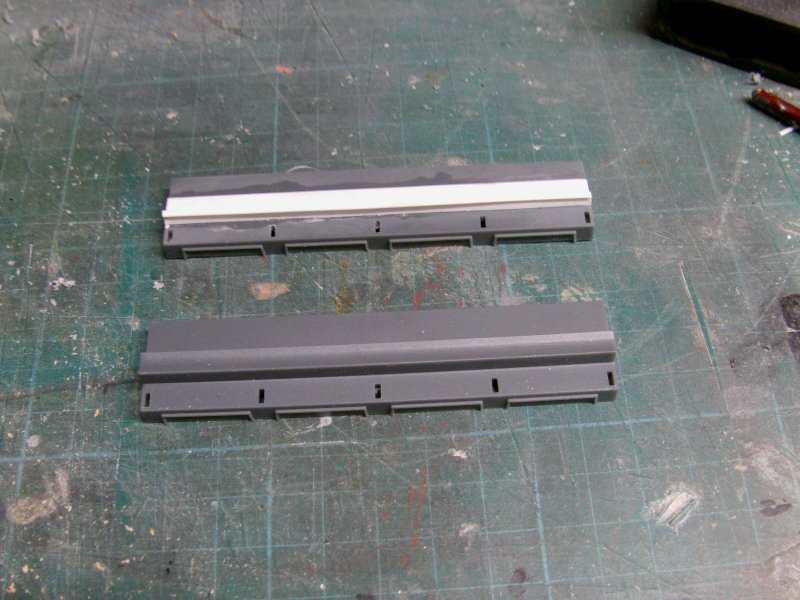
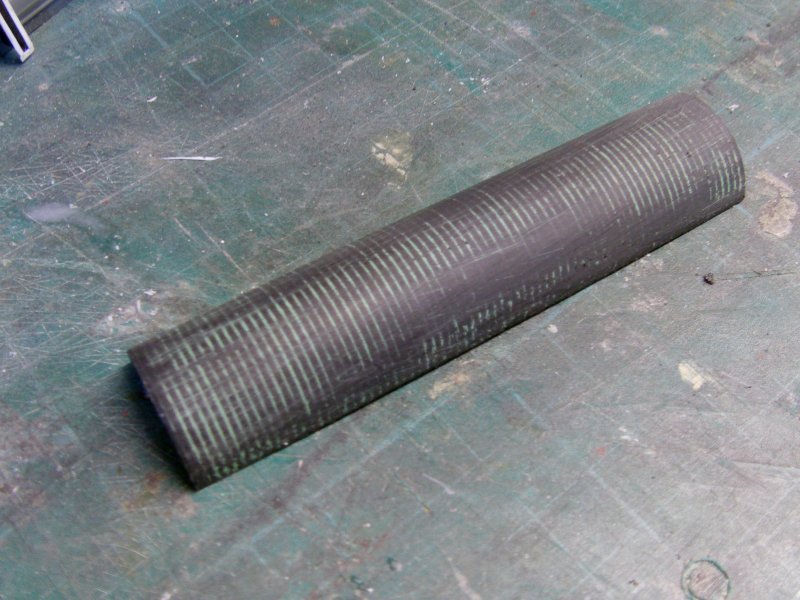
it needed a length of wide bore tube to sit behind
the frames so again with the 3D printer, some filler and sanding lark got this.
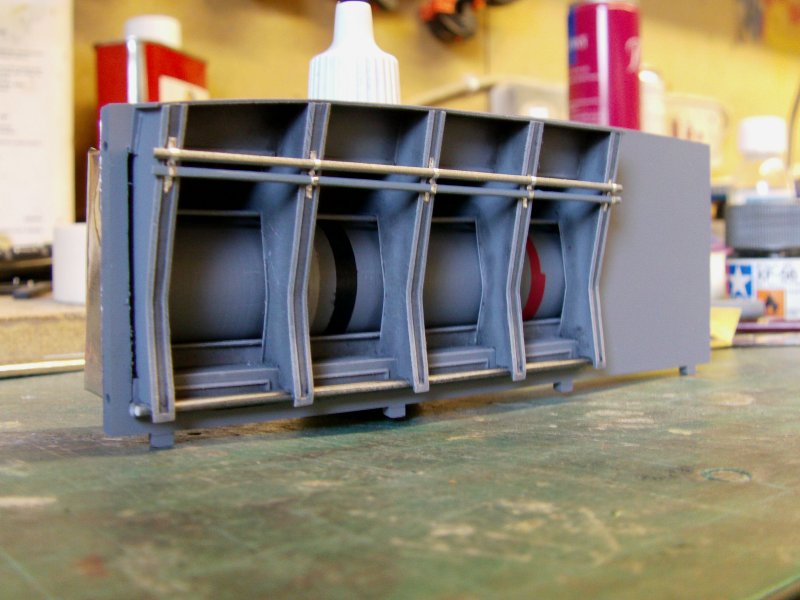
So a quick test fit on the modified floor bit.

it's a start, so edging strip now applied and a box section made up
with capping strips for the front part of the frames.
Some styrene rod got added where required and the wide pipe got a dry fit.
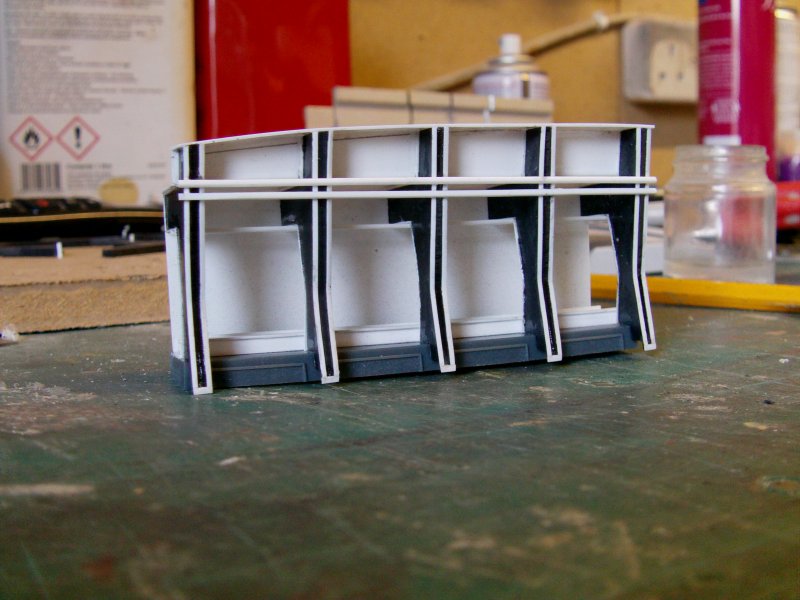
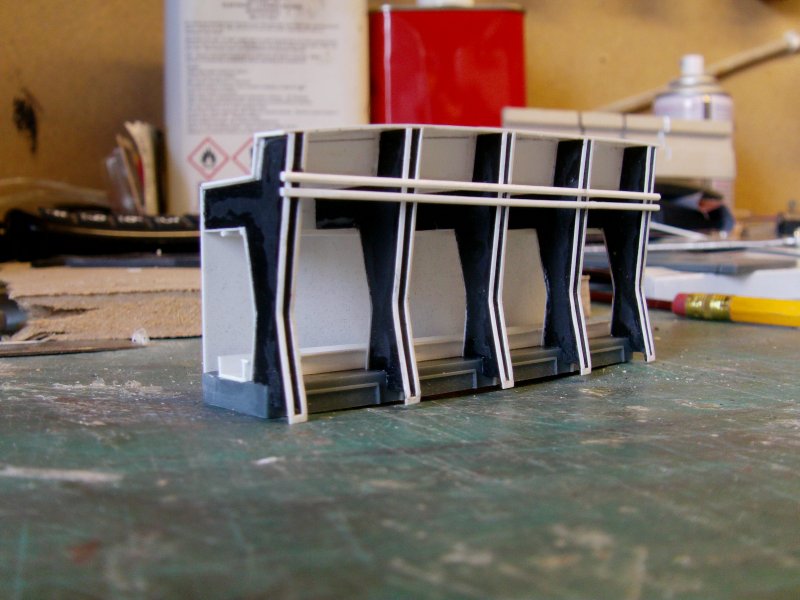
Yep, getting there.
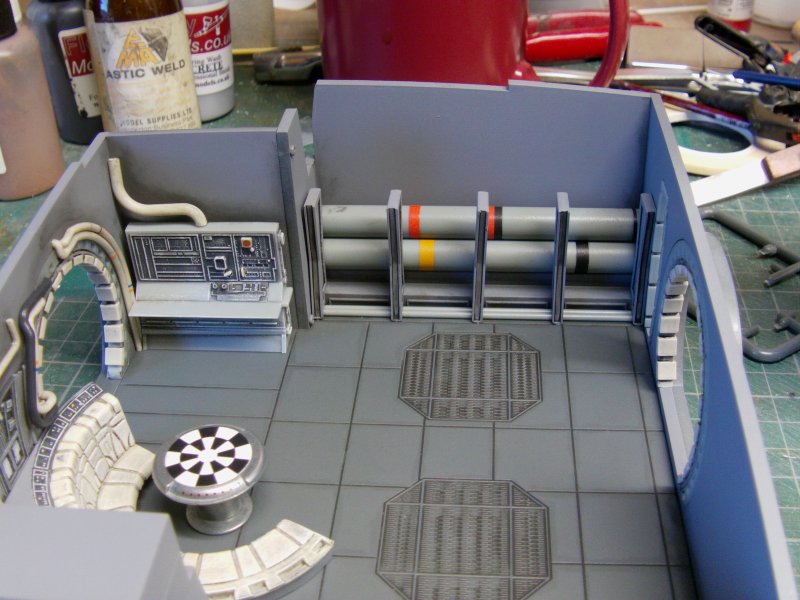
Now to paintwork.
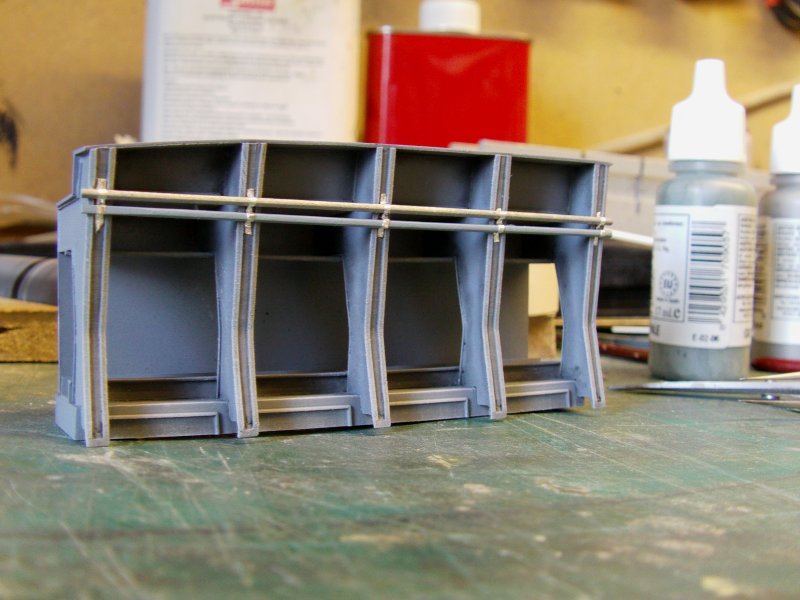
The hold for the most part just appears to be grey so straight grey primer got liberally sprayed on.

Once cured then came the ground pastel shading/dirt and much dry brushing to punch it up a bit.
the rods across the front got some metallic grey and light grey respectively.
Additional was some thin strips of self adhesive aluminium foil
to show some pipe clamping like deal.
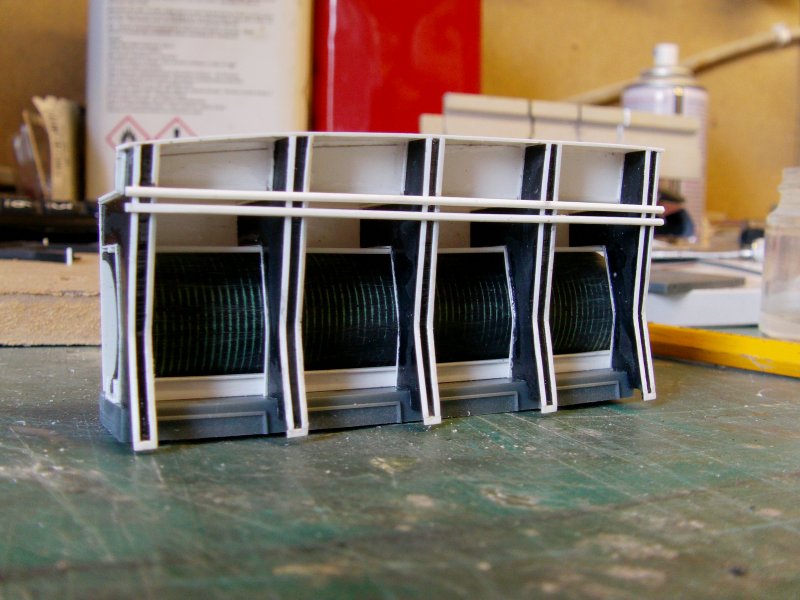
The wide pipe got painted up.
Just primer, a bit of masking action to which got applied
some acrylic matt red, black and light grey with as dab of shading.
And that got slid in to place proper.
Two lengths of styrene rod for pipes along the bottom of the frames and it was a done thingy.
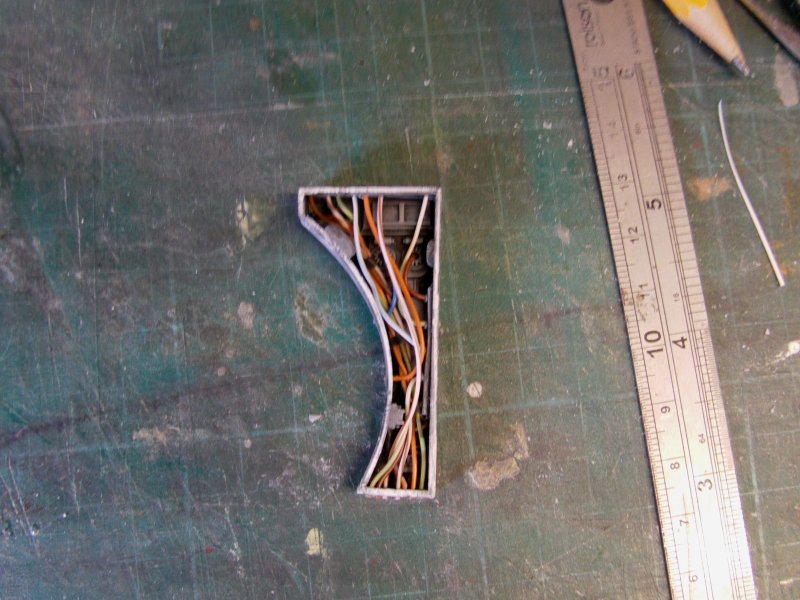
Now the wall section this fits to had to have a sizeable hole sliced in it to fit this lot.
Mainly because if it's fitted to the flat wall, it sticks out too far.
This would leave little to no room to build in the detail on the section
that runs from top to bottom at the end of the bunk piece.
As it shows in this screenie.
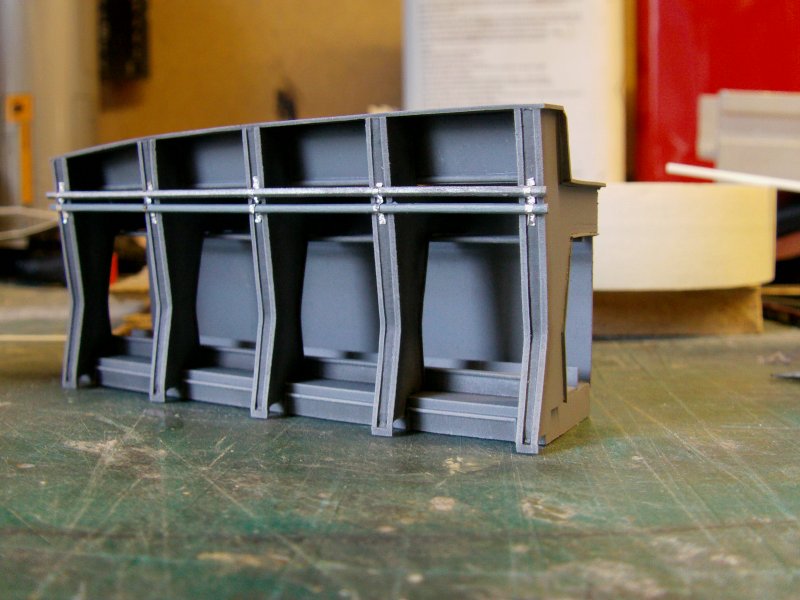
So hole sliced, wall painted and lump fitted.
With a dry fit on my modified hold deck just for look see purposes.
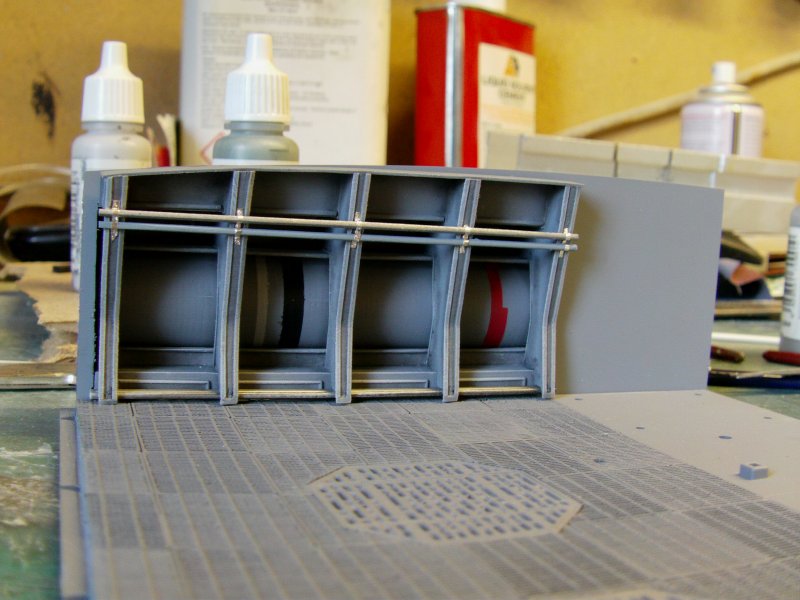
And it looketh to be about what I was after so all good!
Granted it's not screen accurate but it will serve for this deal
and look the part once the small details get added...
and there will be more than just a few of them!.
So that's the lot for now, more later I promise.
You merry mob go easy out there now.
Page Number