
DeAgostini Part Work
'Build The Millennium Falcon'
Possibly Studio Scale Model.


 Page Number
Measure with care, draw lines with a light touch, drill daintily...
Then Rip A Few Bits Off it!
I see you're here then you wild, impetuous fools you!
Okedoke then gang, the full on faffing about continues.
Now the biggest difference between the 'Empire Strikes Back' version and 'A New Hope' is the front belly landing gear boxes.
Example pics of the real deal below for those who don't know.
ANH first then ESB.
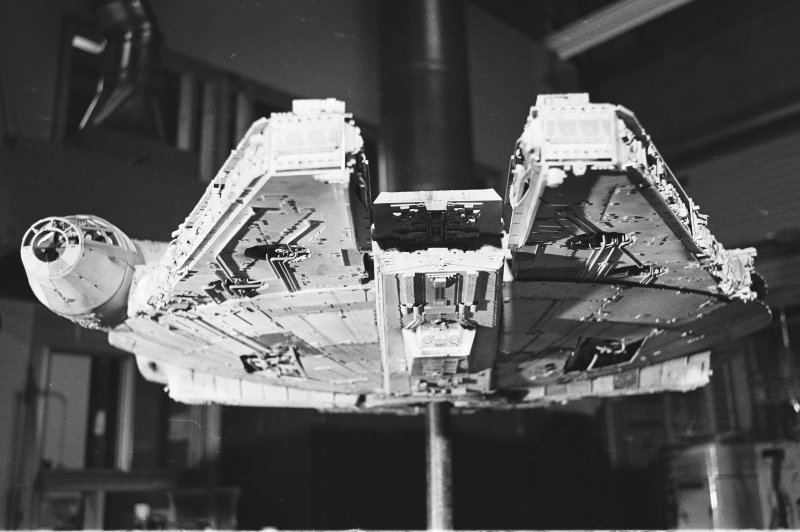
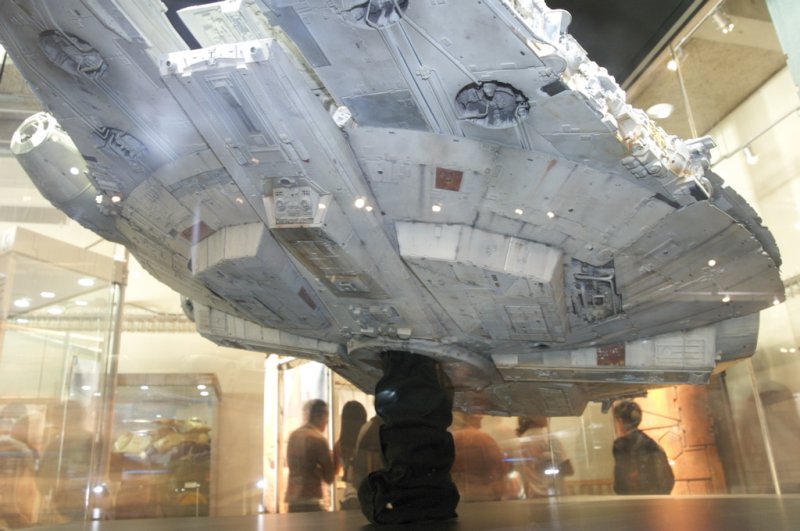
So the big boxes not wanted AND the machinery pits on either side to get shifted.
Oh joy.
To assist in the placing, an old bottom plate of an MPC millennium Falcon kit was dragged out and looked at.
Believe it or not, in plan view this well old kit is pretty damn close to the 5 footer
as she was before the rework to make her in to the ESB onward version we see today.
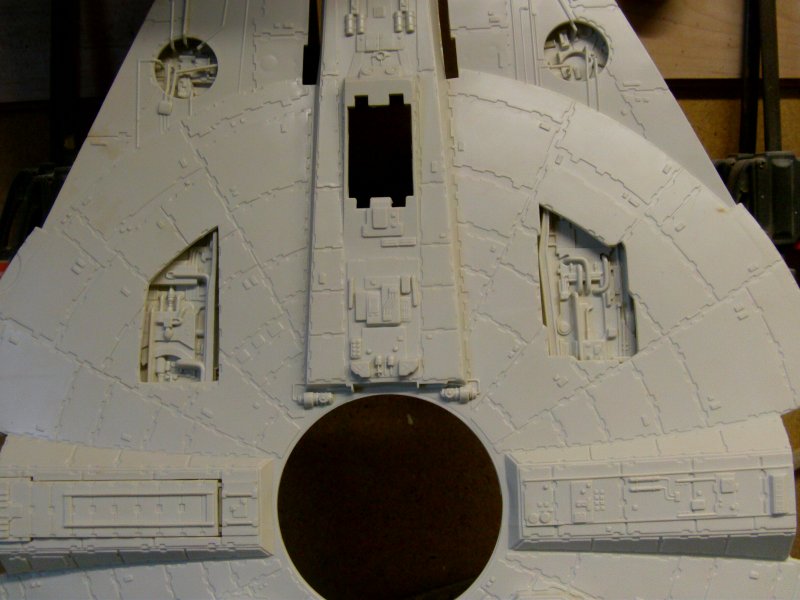
So taking measurements off the small one and working out the multiplier,
in this case 1.73 times whatever it is on the MPC
and transferring it to the Deago beastie.
it may not be bang on accurate but since things seldom are, it will do.
So first things first...
I had worked out that to do this, some of the metal framework will have to be cut away.
With that in mind, I put in the supplied machinery pits with the screws and plenty of glue to lend some extra support.
Also I think that at least one of them may be needed in there anyway
as a couple of moulded pins on the inside of one is in exact line to where the corridor to the cockpit sits on top of.
These may be for a fitting bracket or the like but I think their placement is no coincidence.
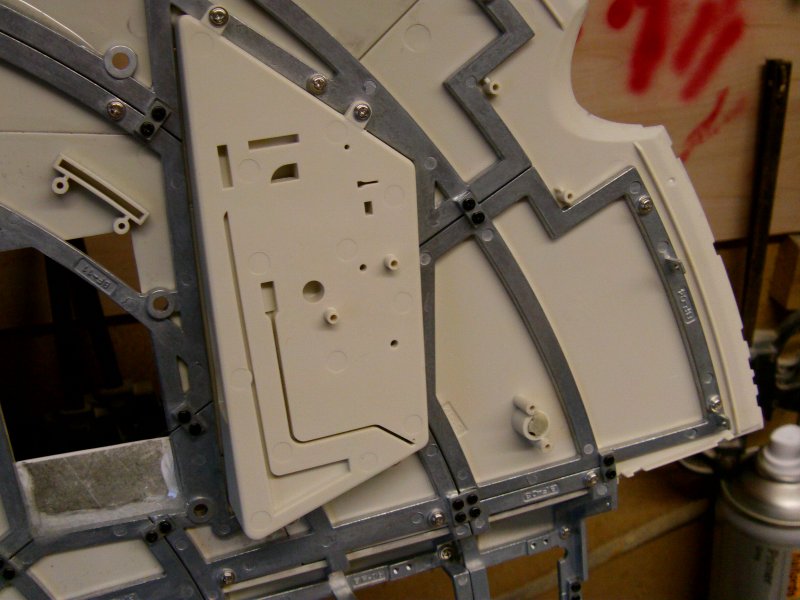
So that done and dusted, a bit of prep.
The big boxes as supplied had a bit of plating sticking out.
This would match to the inside edge of the machinery pits on a standard build.
The light area in the center of the following pic of the OOB build...
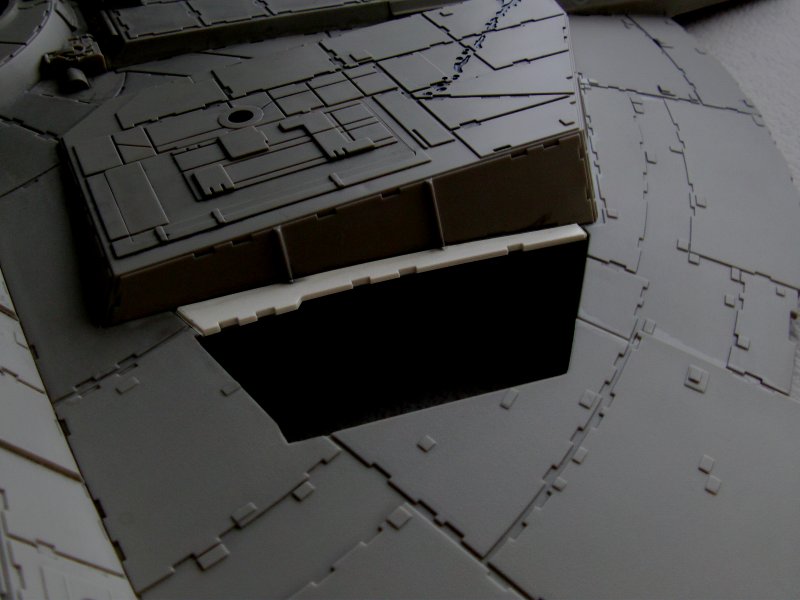
Well those would save me some filling in and gap covering so they got sliced off the supplied ones I would not need.
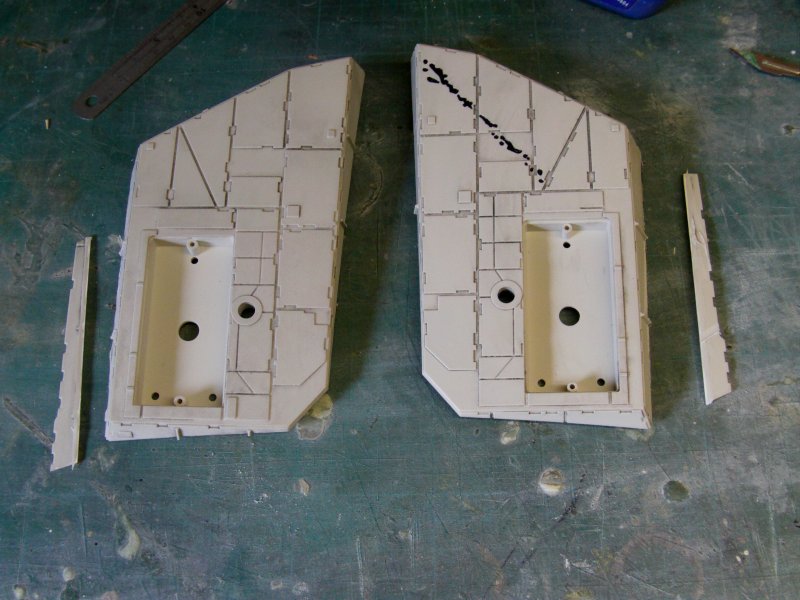
Set and sorted, then some calculator hammering and pencil scratching was done after some styrene sheet additions.
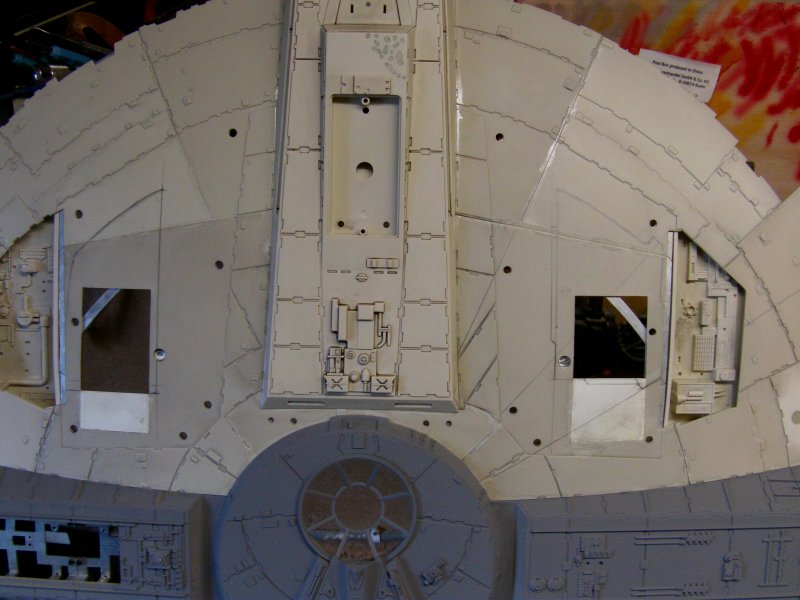
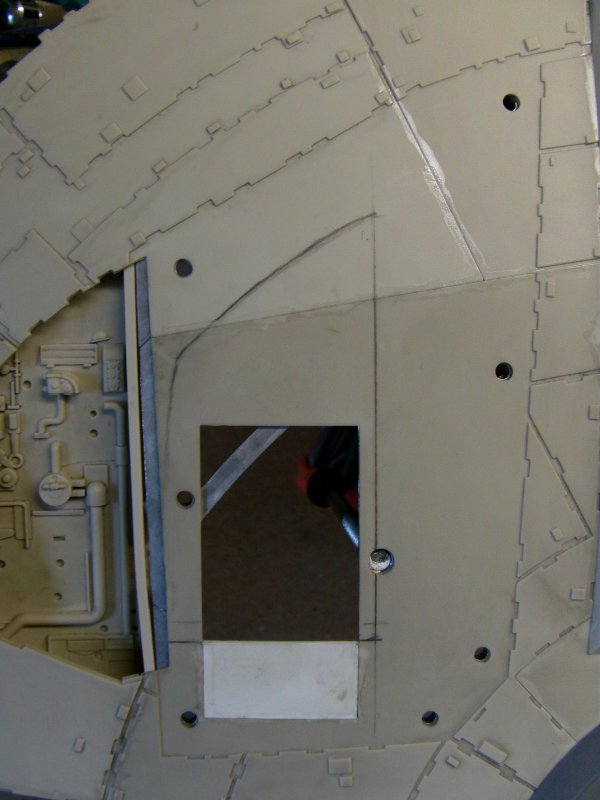
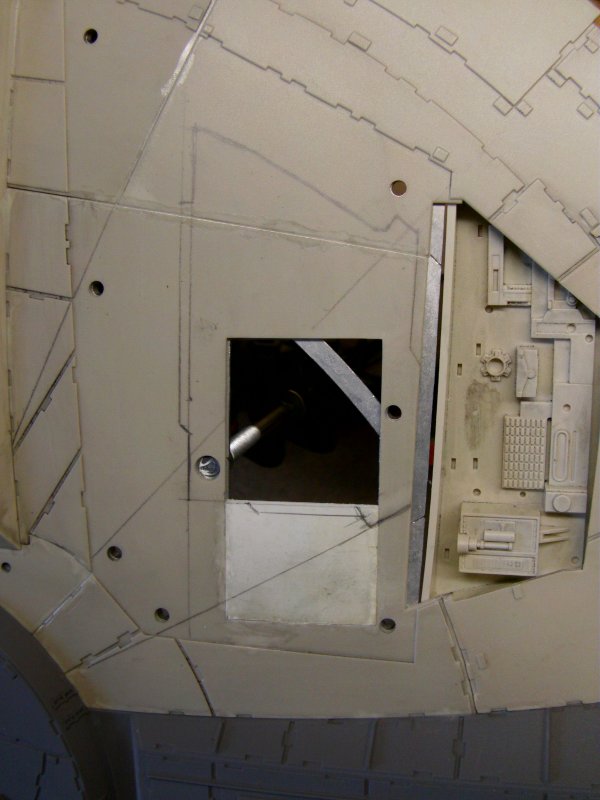
The afore mentioned bits that got sliced off something else were glued in to place.
When all set, the new pit outlines got cut in.
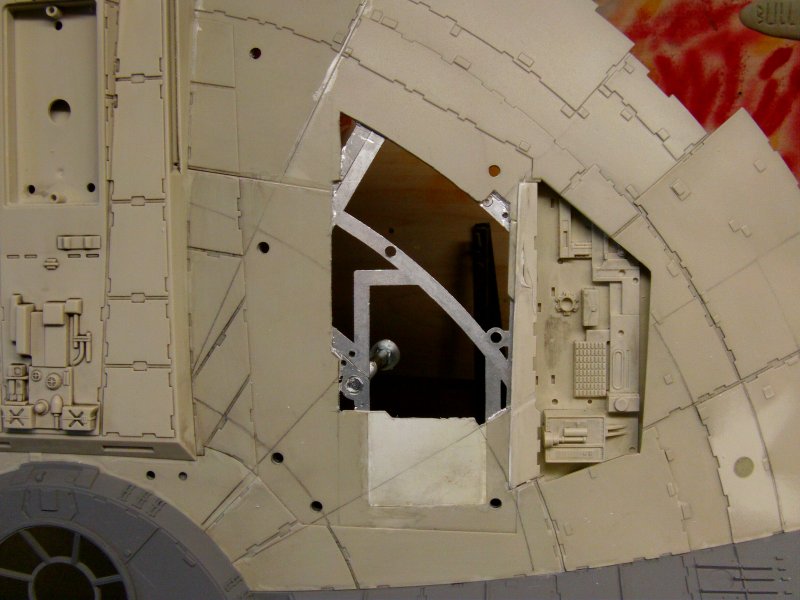
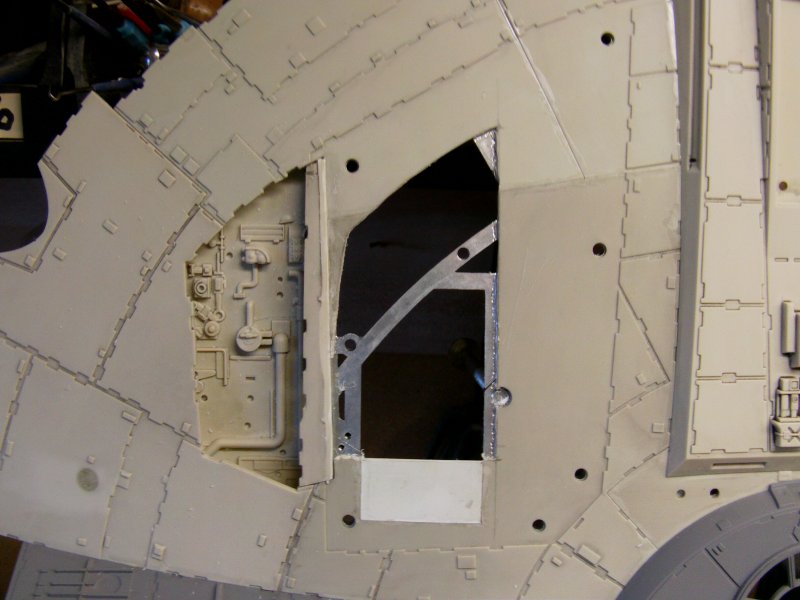
The existing pits got some styrene strip placed round them.
This was then covered with sheet styrene of a thickness to make the outer surface equal to the outer skin without the plating.
This will make things easier for yours truly when slapping on the plating required for the ANH version.
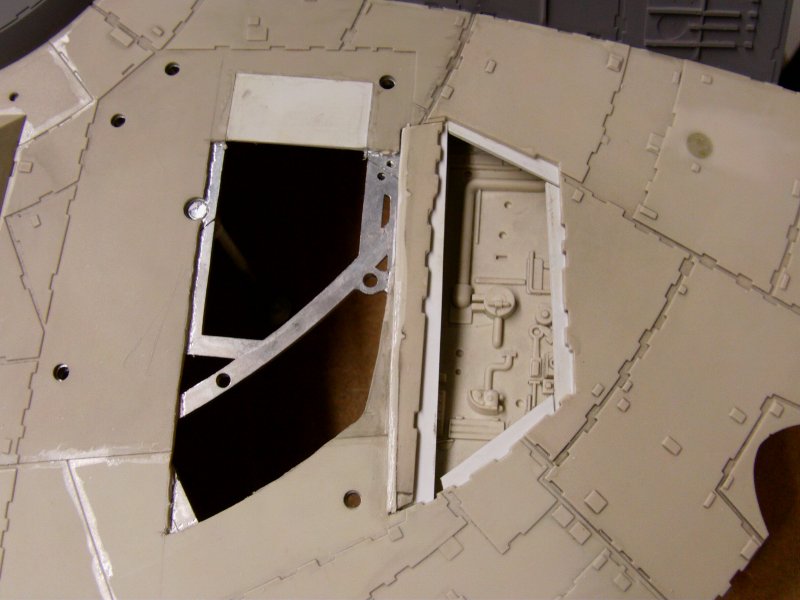
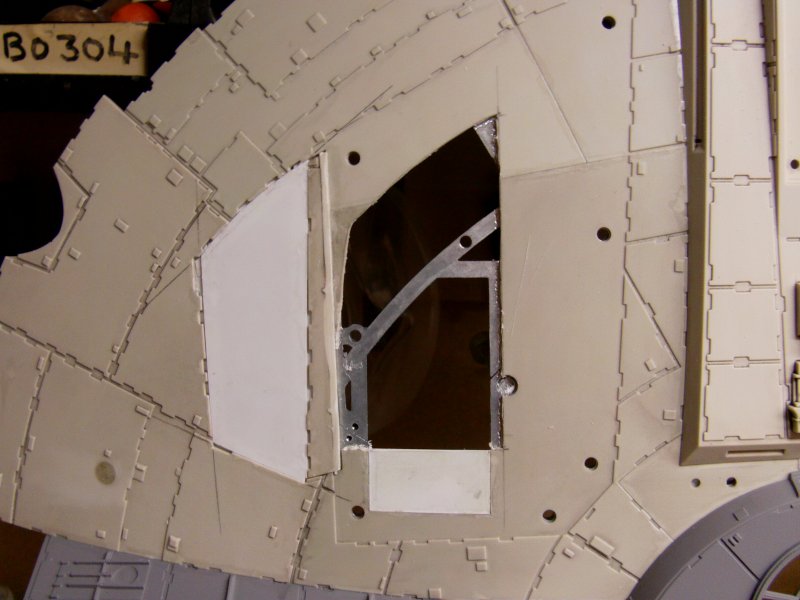
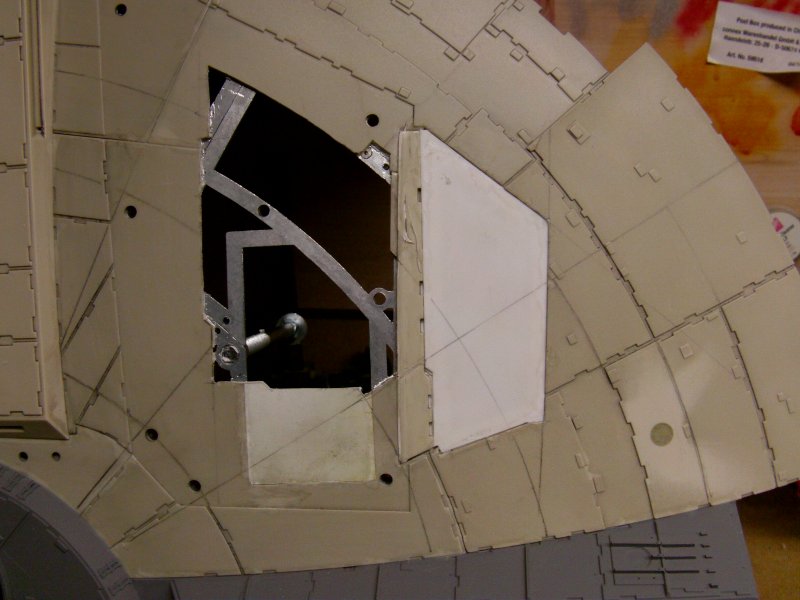
Now the sides on the inner machinery pits will be installed and the inside areas
surrounding those will be strengthened with some epoxy fiberglass work to make up for the
framing i'll have to chop away.
The ramp framing will get treated to likewise support work before I go all medieval on the metalwork.
After which, the outer surface plating modifications will happen.
Now to detail matters.
Backpeadaling just a smidgen to issues 44 and 45 for some greeblie goodness.
The detailing lumps that sit between the big rear box and the vector plates to be exact.
This lot.
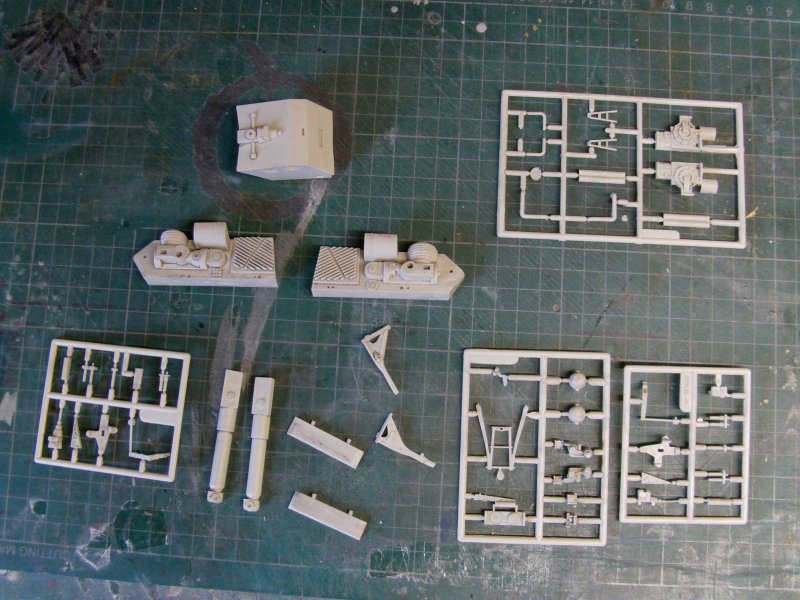
Going through the destructions, we got from this...
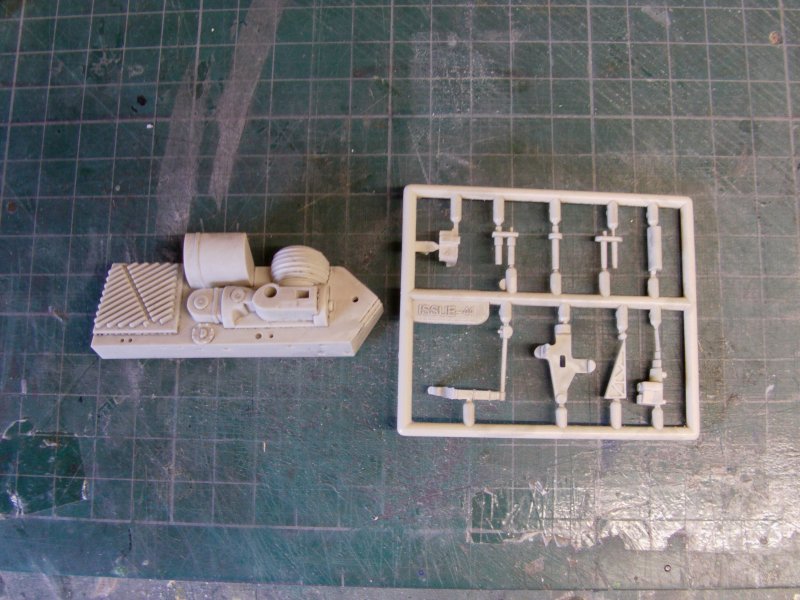
To this...
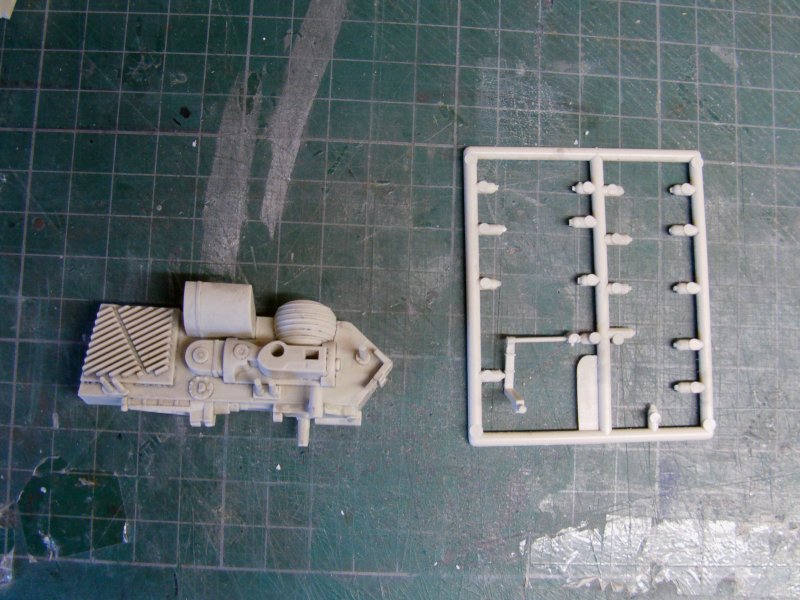
Now the fitting of most parts is not a problem as they have the big hole,
little hole sort of locating system.
Like so.
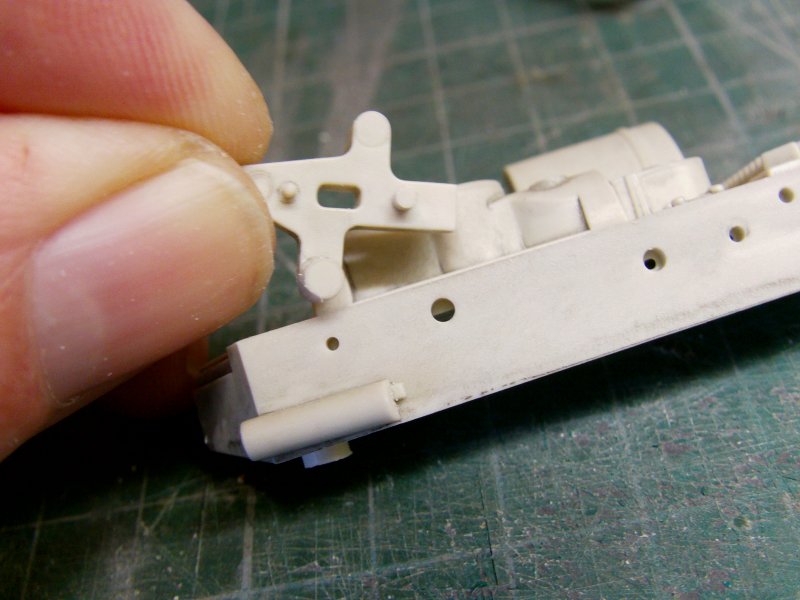
So the same kind of cut-from-sprue-and-trim thing going on with the rest.
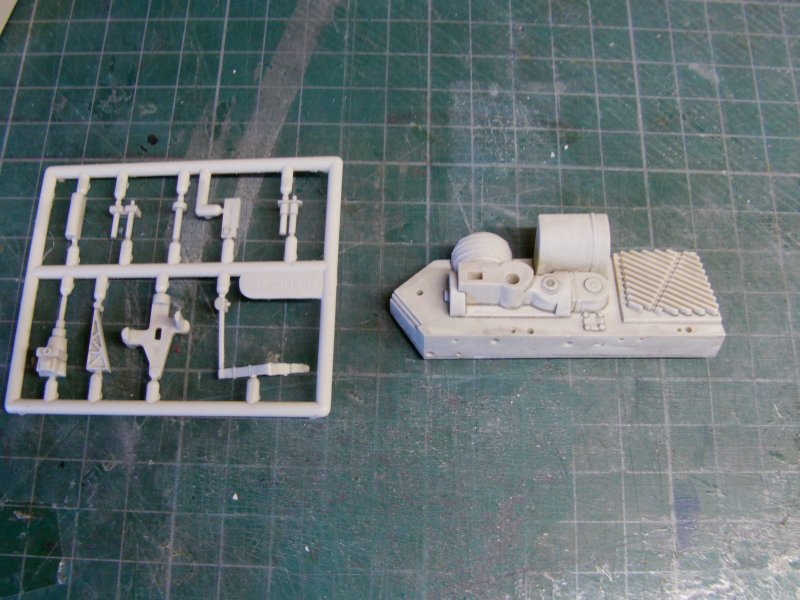
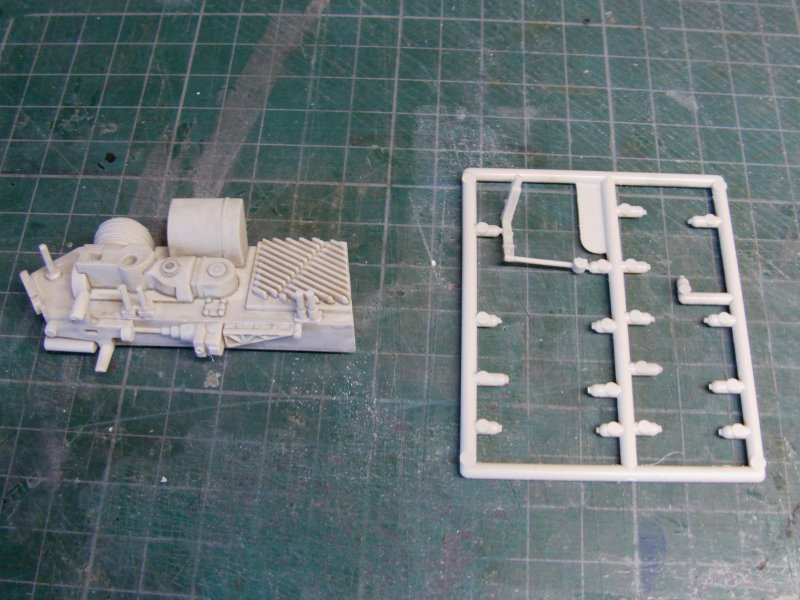
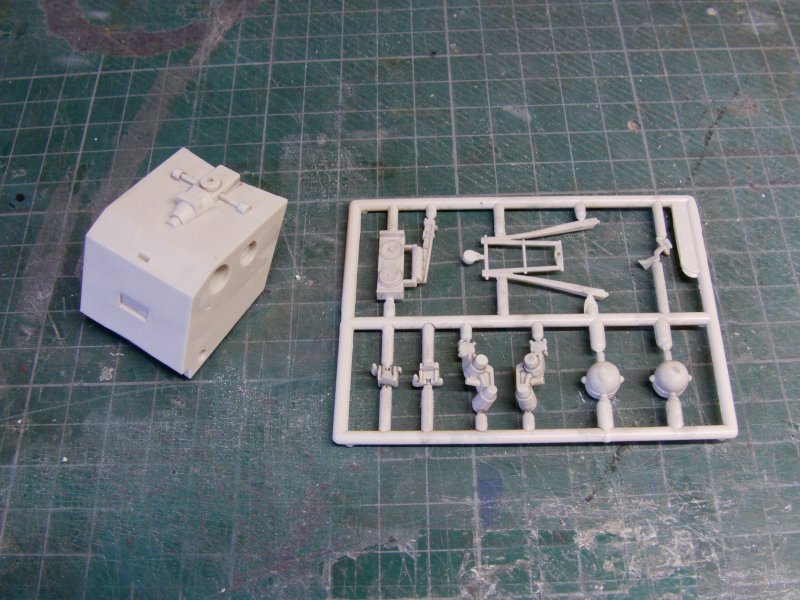
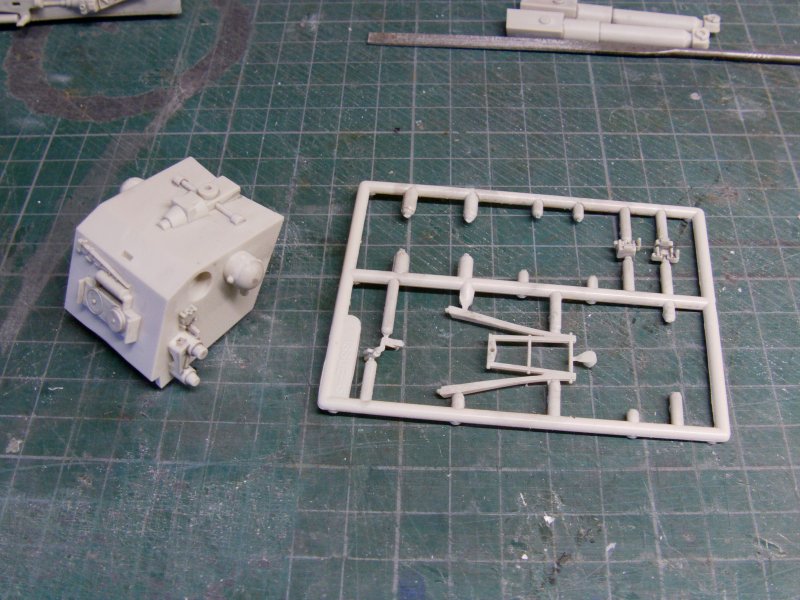
So done and done, then fitted in place.
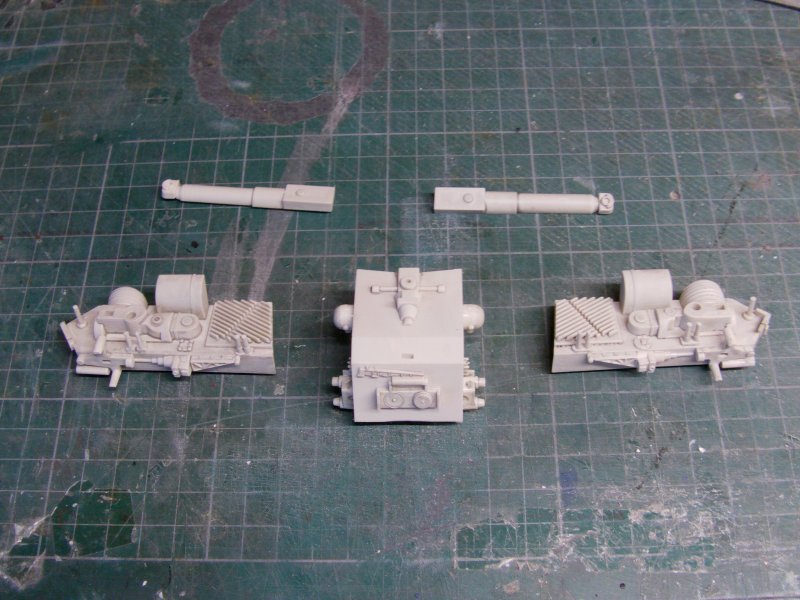
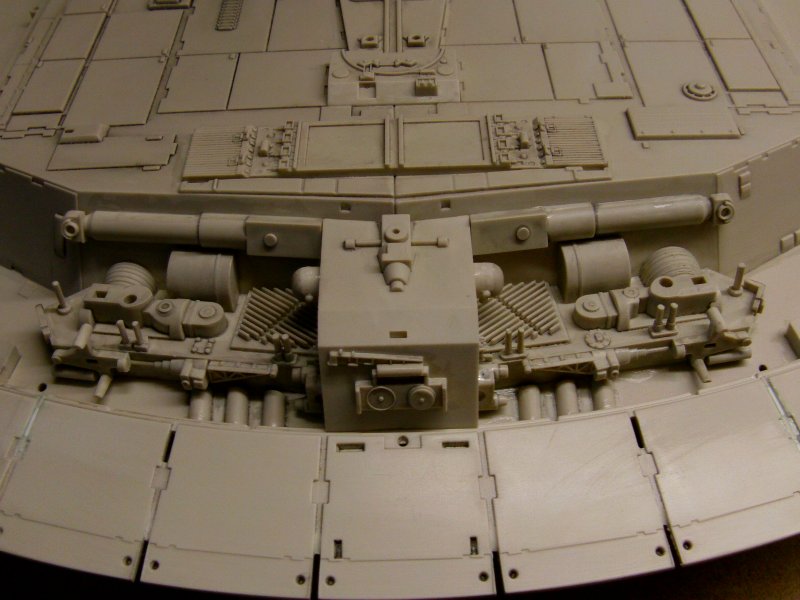
Now the destructions say to just glue them on, which I did but this is how it looks from the inside.
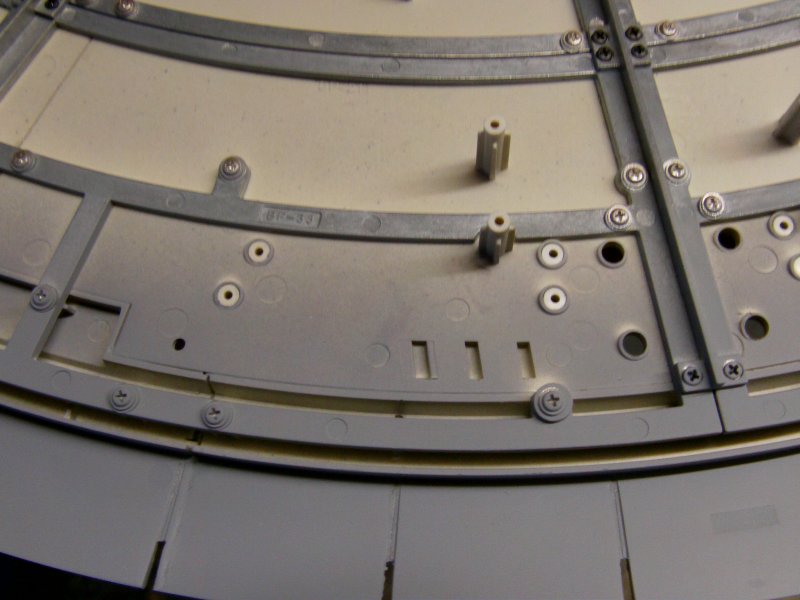
And seeing as how DeAgostini have been generous with the screws, why not I say!
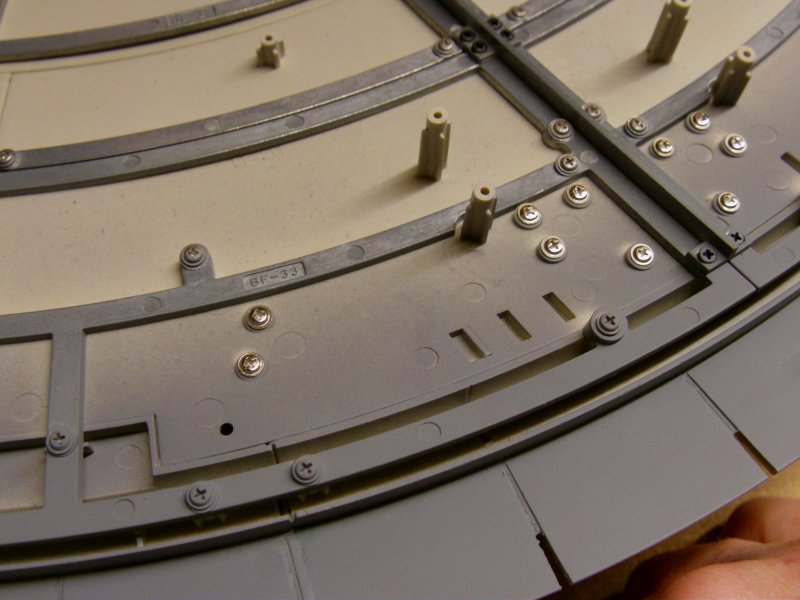
Those buggers are going nowhere now for damn certain.
The remaining parts will be left on their sprues as they are
just the kind of greeblies to get knocked off or dropped
only to be scoffed by the invisible kit part eating monster that all modellers seem
to have hanging around the workshop/work area.
There is a slight gap around the center detail small box thing.
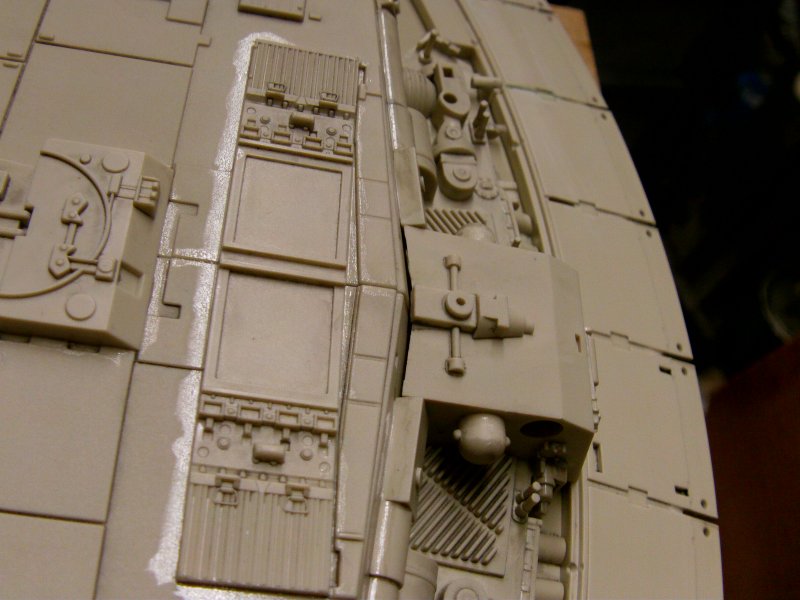
But that's nothing that can't be sorted and the same kinda thing happened
on the OOB build so that's just how it is.
Speaking of which, this is how that sits so far...
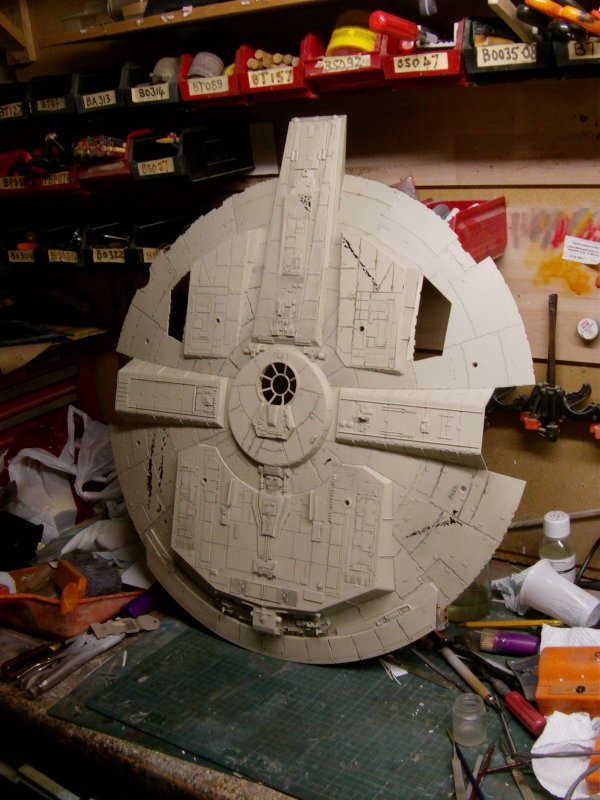
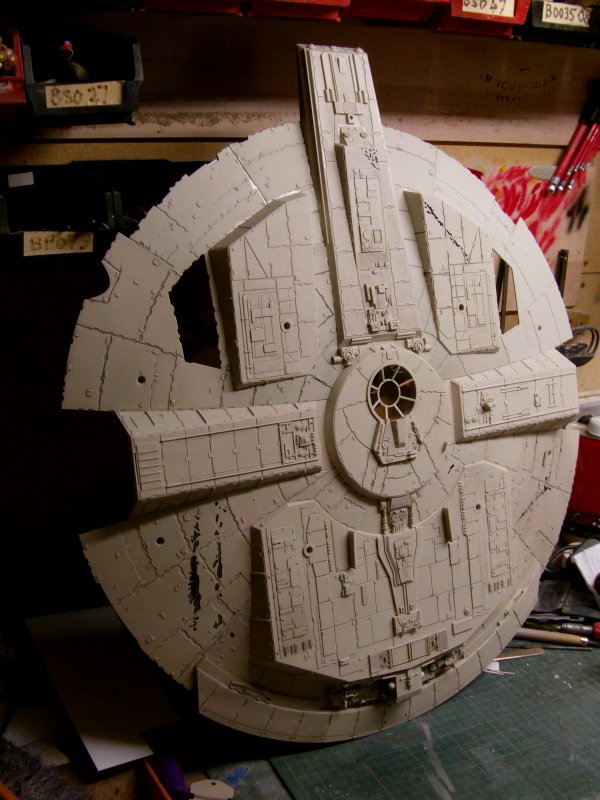
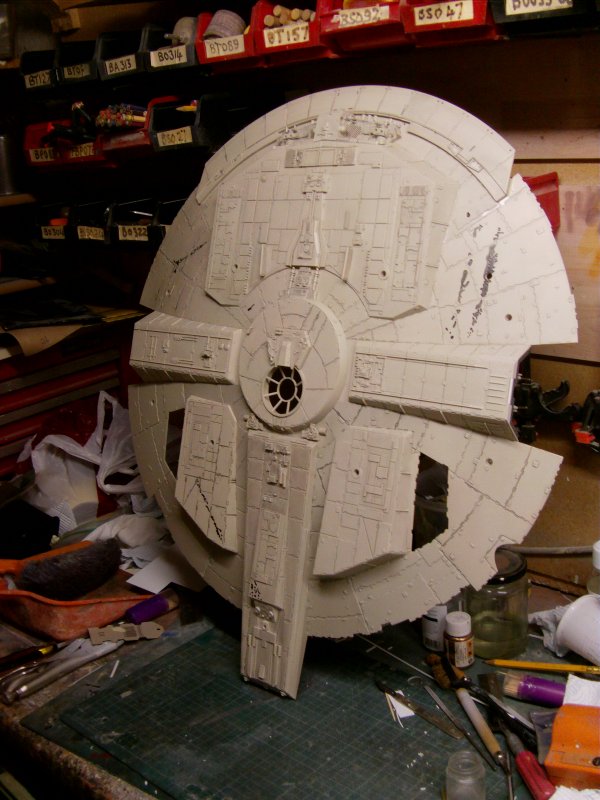
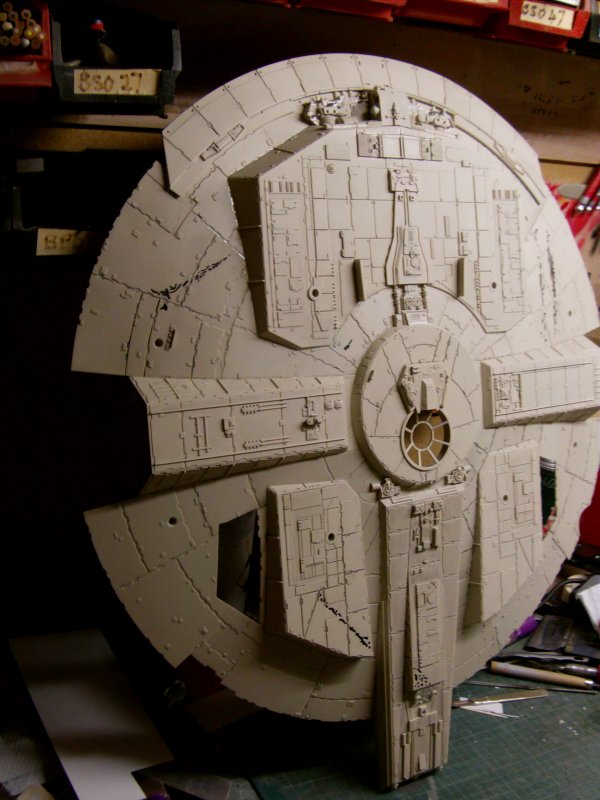
Even 'as is' it's none too shabby.
All of the relevant 'plant on details' as DeAgo call them...got planted on.
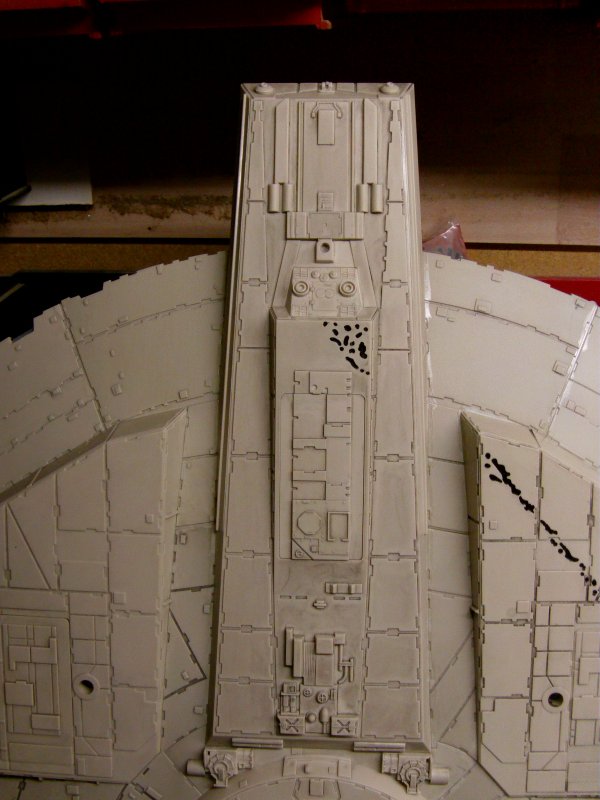
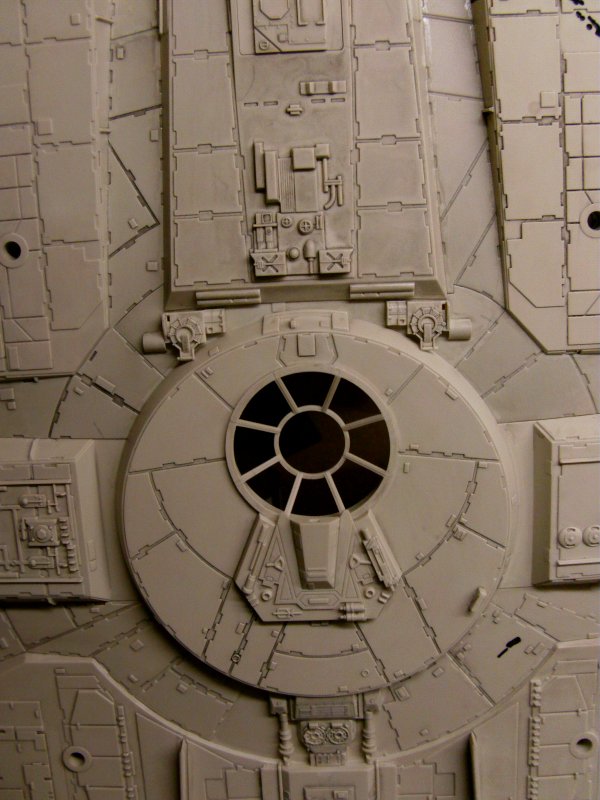
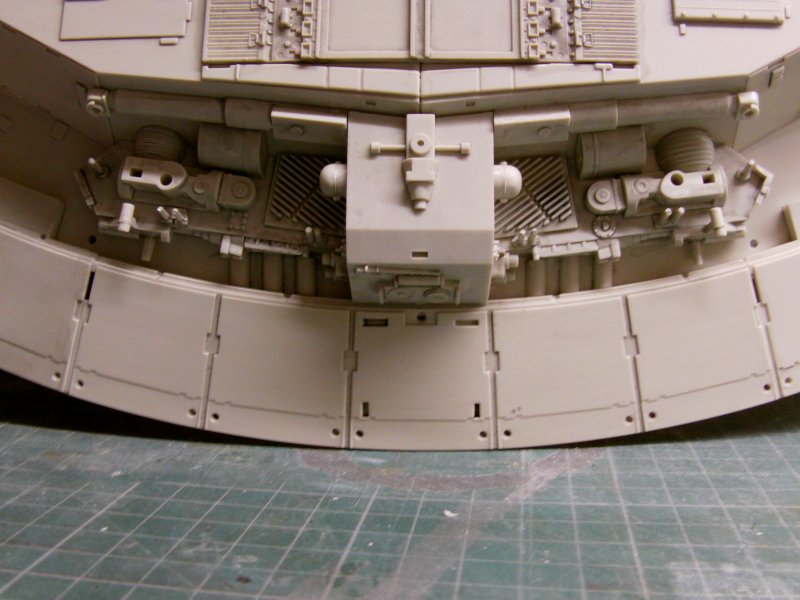
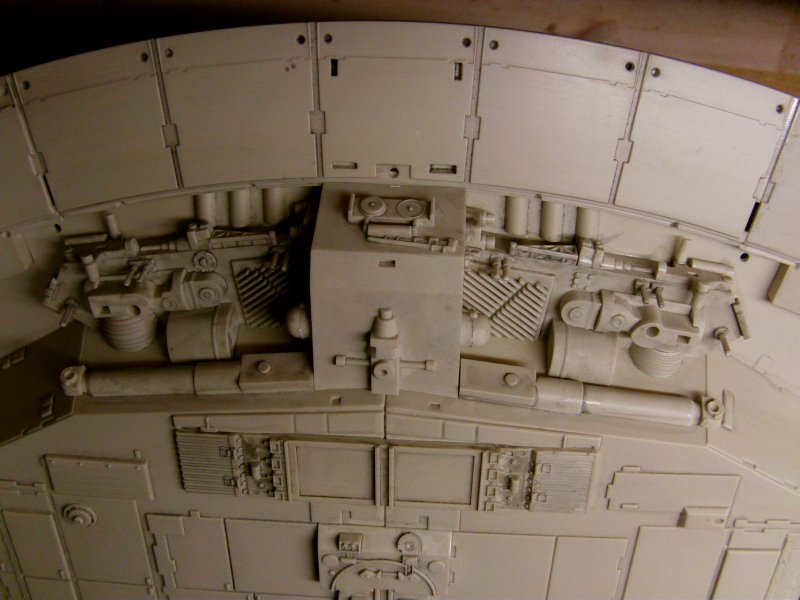
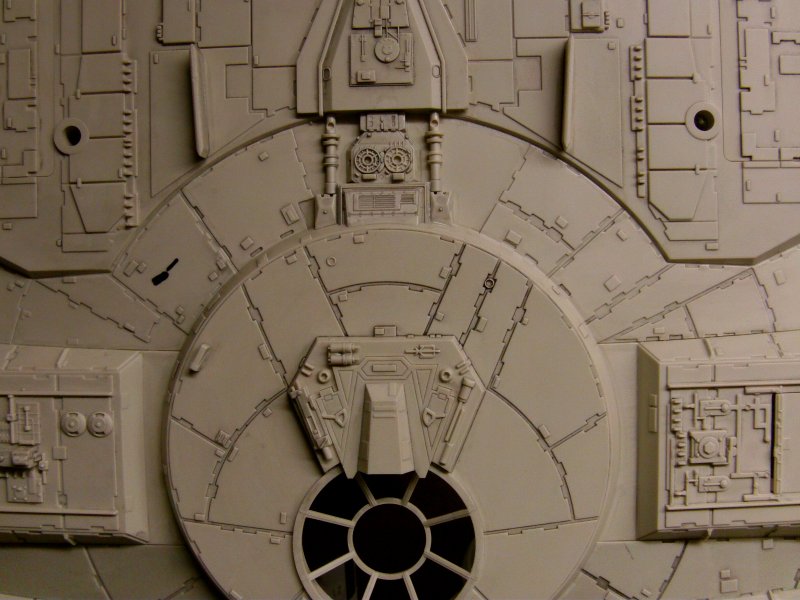
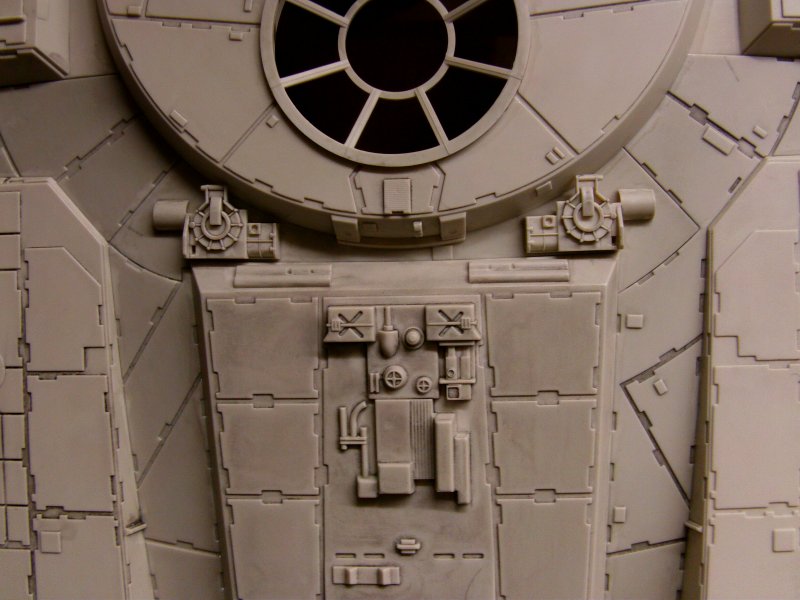
i've left the greeblies for the front end of the belly off on the full on build
as I can see those getting banged about while i'm fiddling with it.
The OOB build is not so hampered so nay prob on going berserk with the bits and bobs.
The inside of the OOB one likes like this...
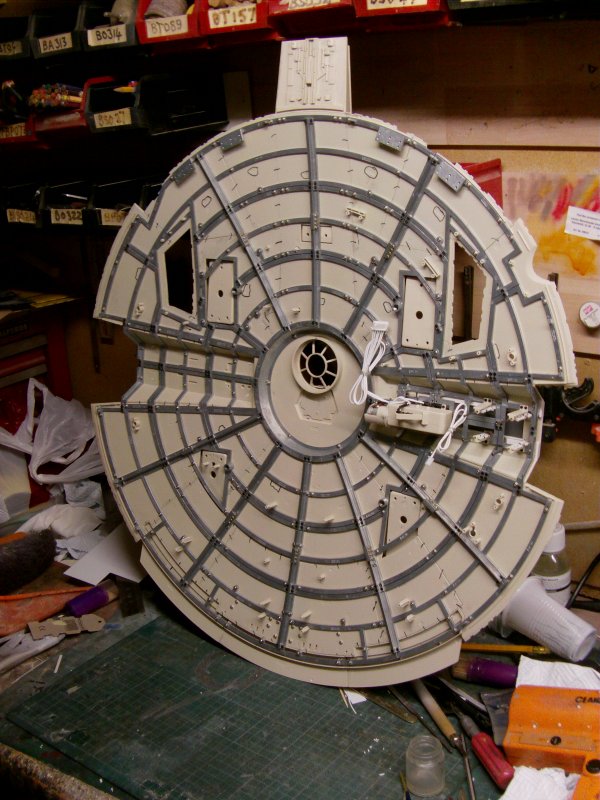
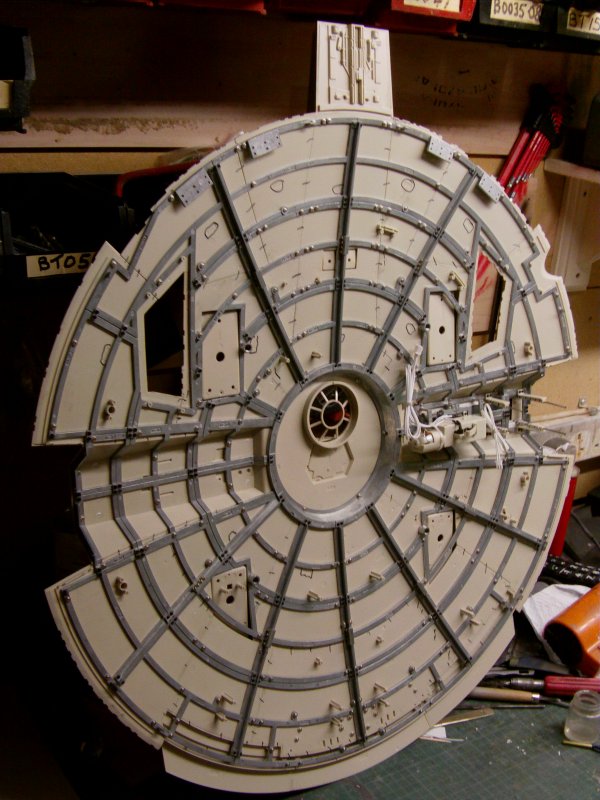
Now at this point it's starting to get a weighty beast but all
i've done is to screw the plates on, apply glue to all the joins of said plates and there is very little flex in it.
Which bodes well for the overall strength of it when finished so a happy camper here about's so far.
Oh and I put together the OOB machinery pits.
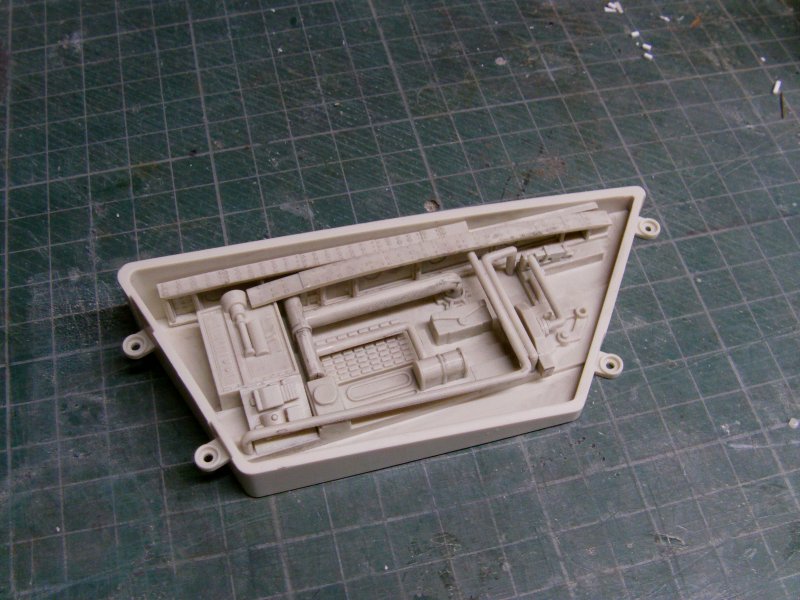

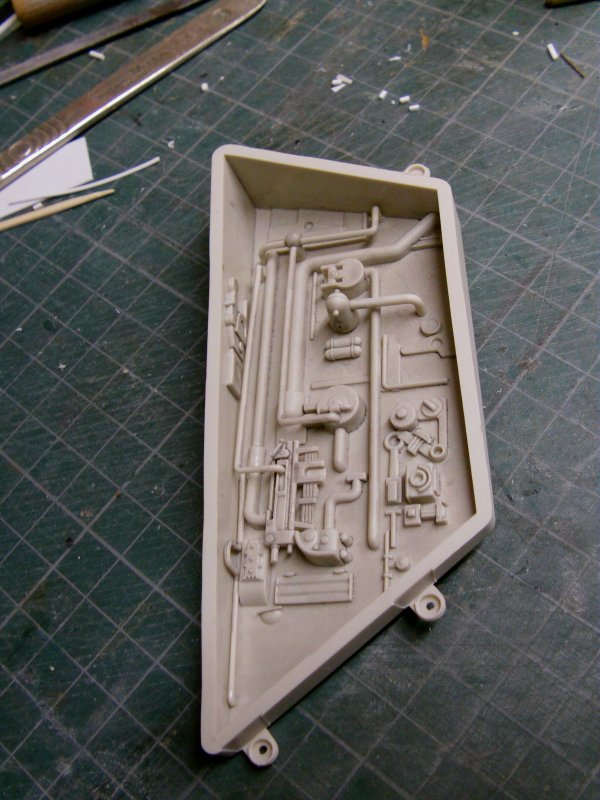
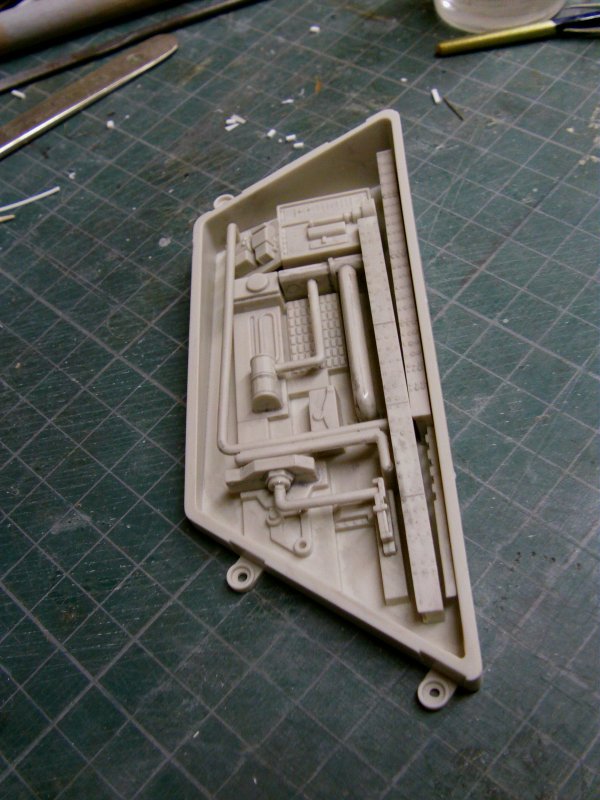
And they will most likely get some paint flung in their direction at some point.
That's the lot for now though but more to come at a time to be arrived at,
so untill said time,
you goodly gang go easy out there now.


 Page Number


