
DeAgostini Part Work
'Build The Millennium Falcon'
Possibly Studio Scale Model.


 Page Number
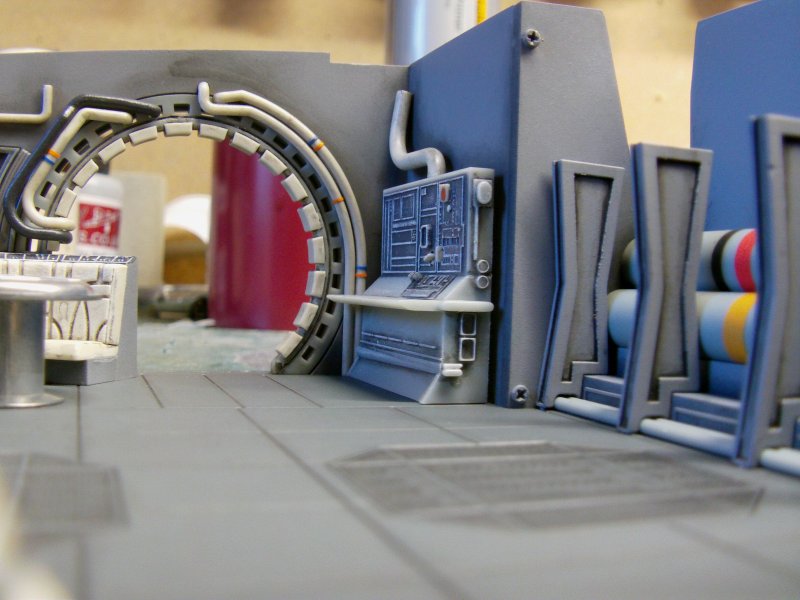
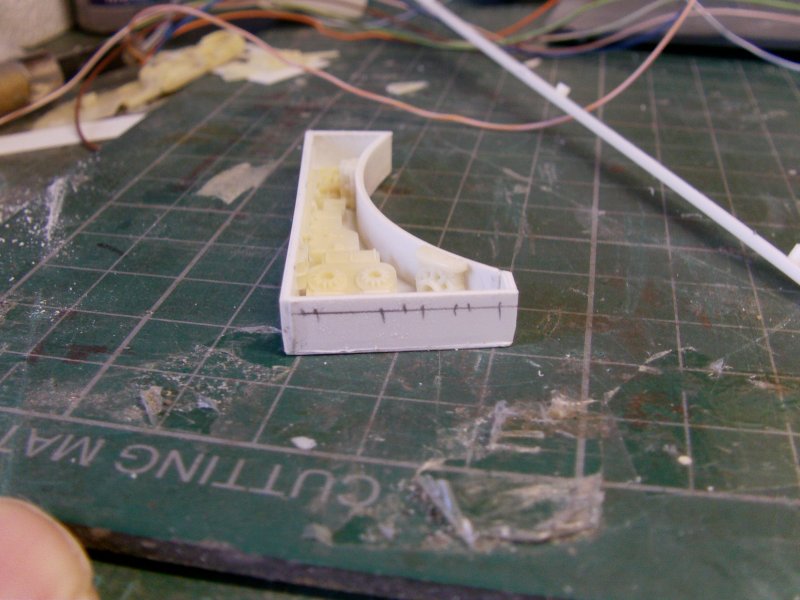
Cargo hold happenings...
More Falcon Fiddling About As it Were
Ah there you are, excellent!
Now to finish off the cargo hold thingy.
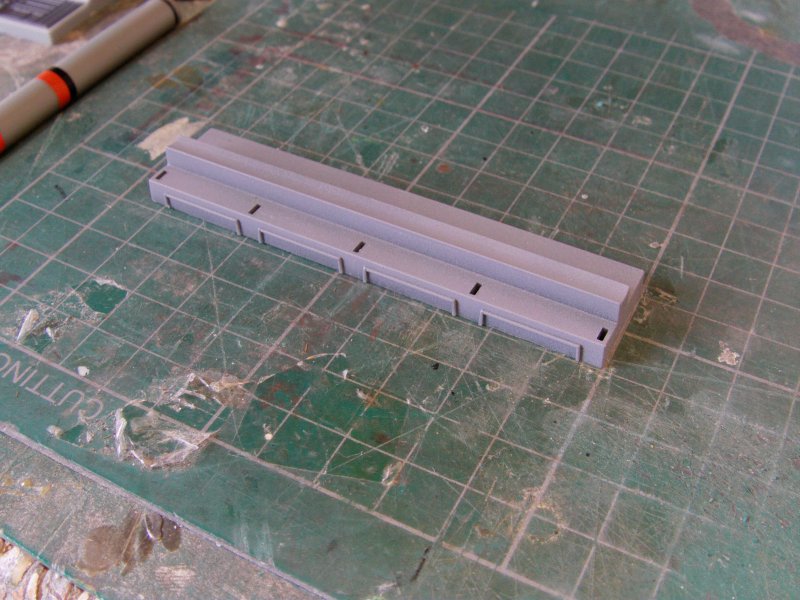
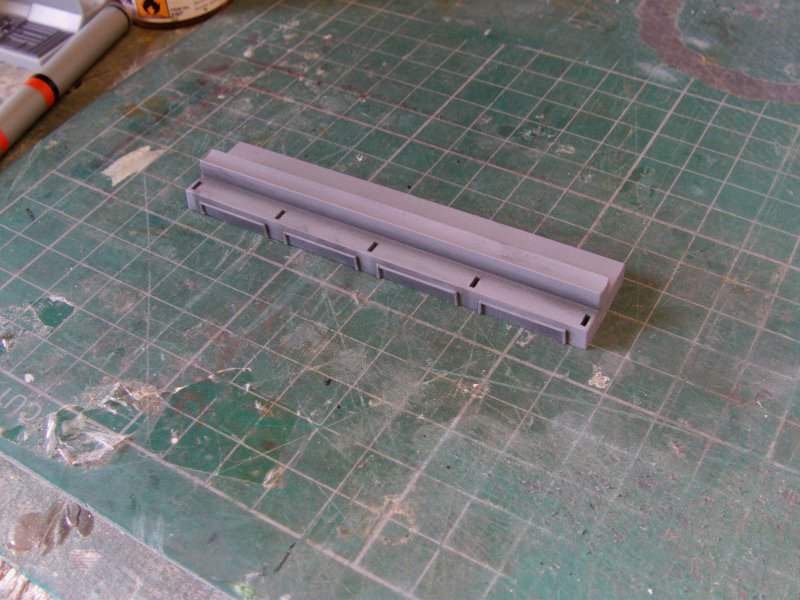
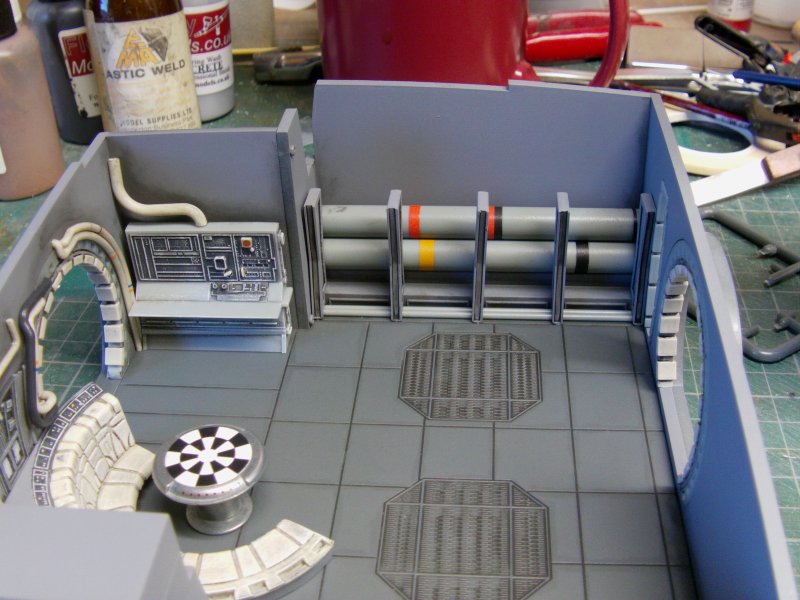
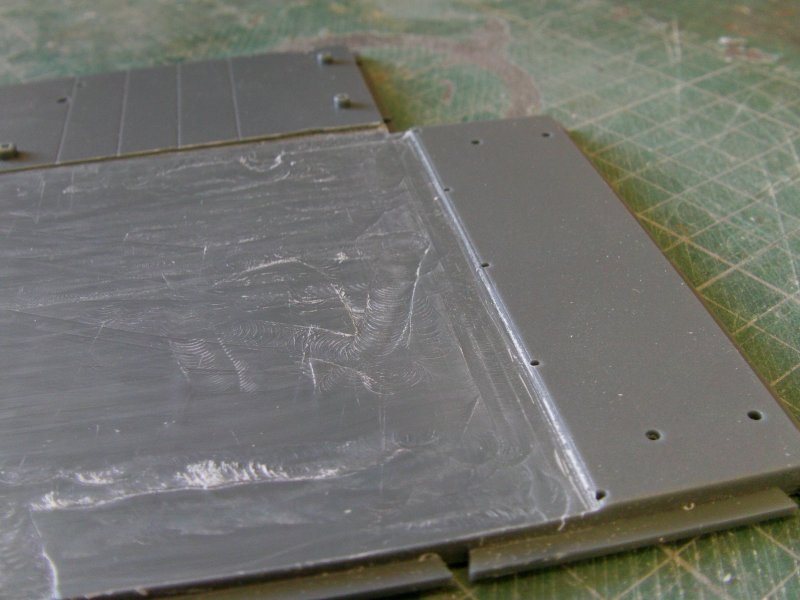
Two large pipes run down on side and these are the ready painted they.
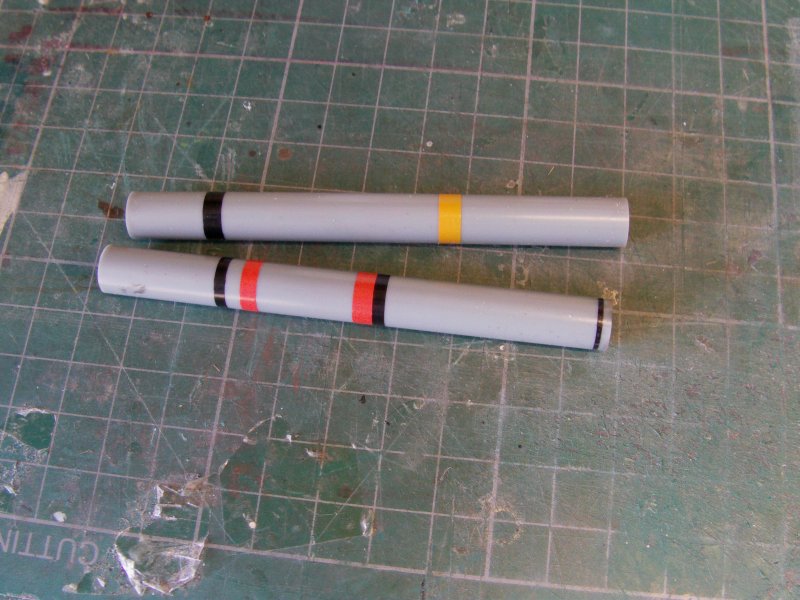
They do have quite a shine on them but a bit of Vallejo acrylic matt
rattle can action sorted that to a fair degree.
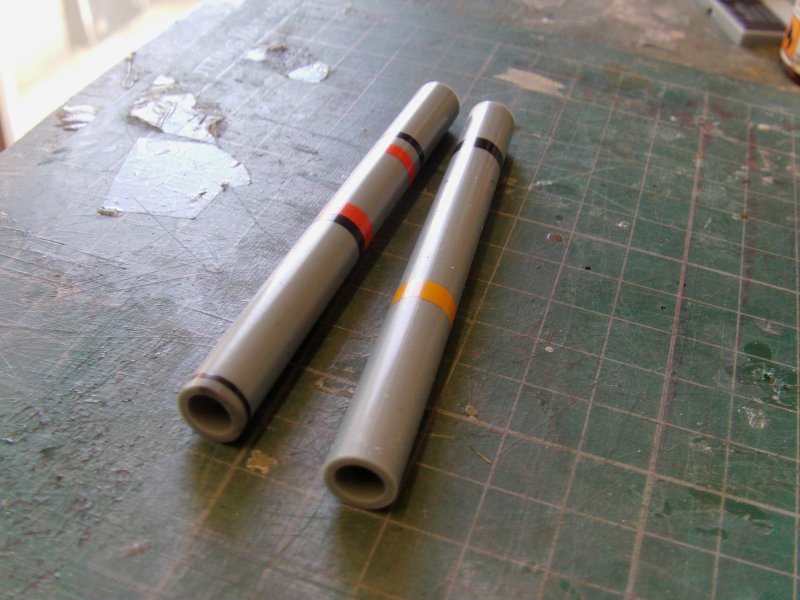
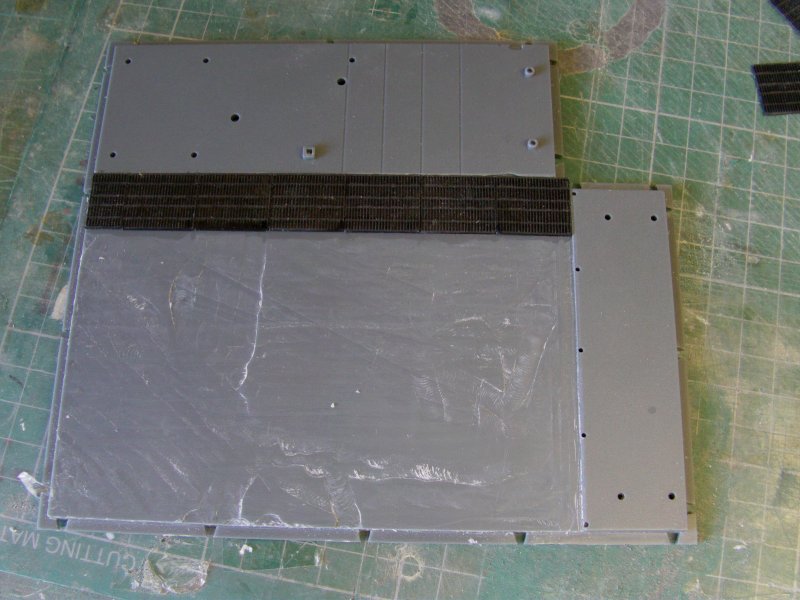
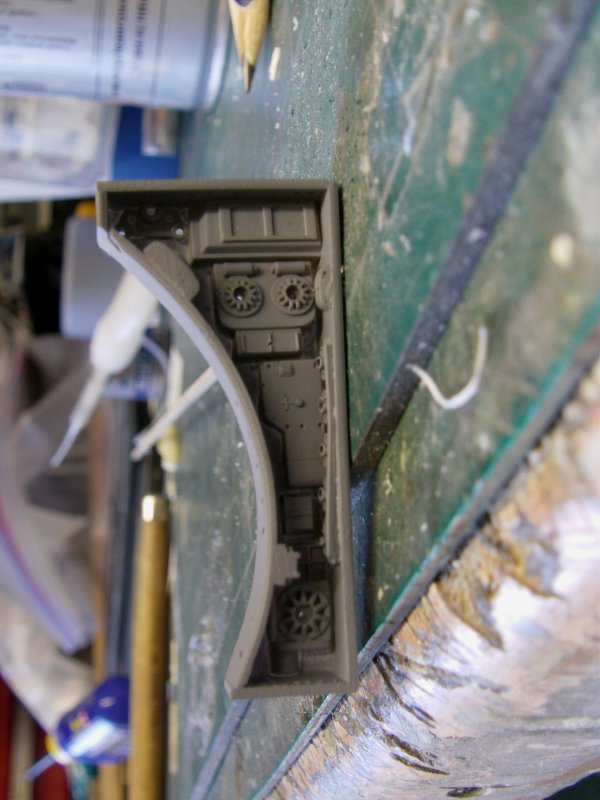
Both of those will be held in at one end by two raised bits on the small wall part.
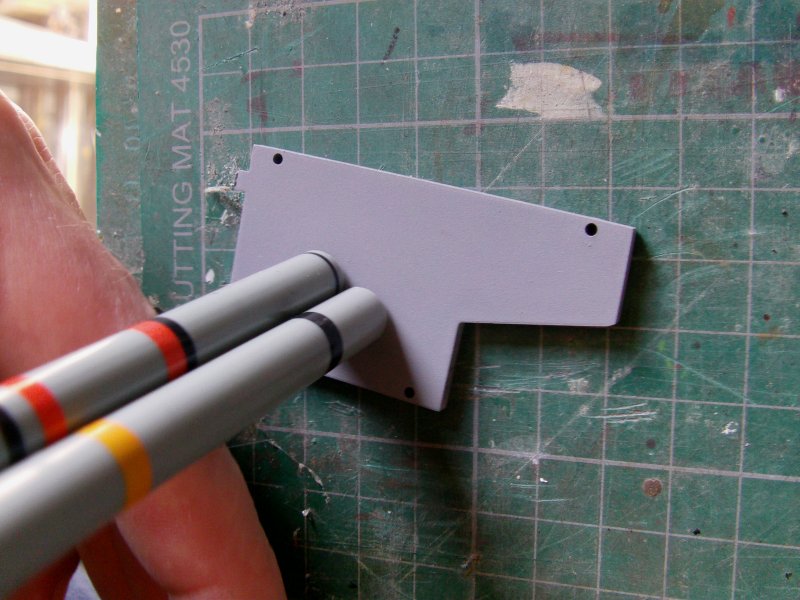
The other end has two raised bits on the large wall that came with issue 14.
This would be the wall with the corridor surround and the electronics bay entryway surrounds in and sorted.
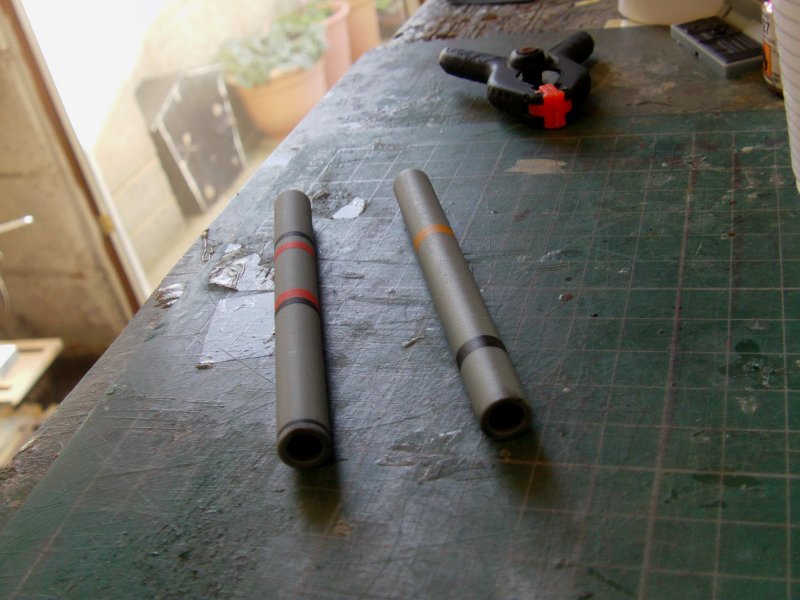
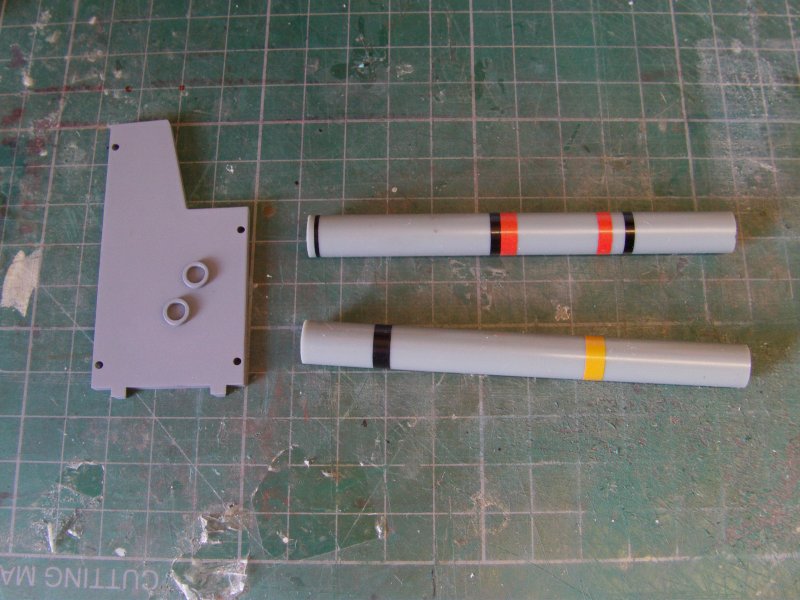
A support plate of sorts sits under them.
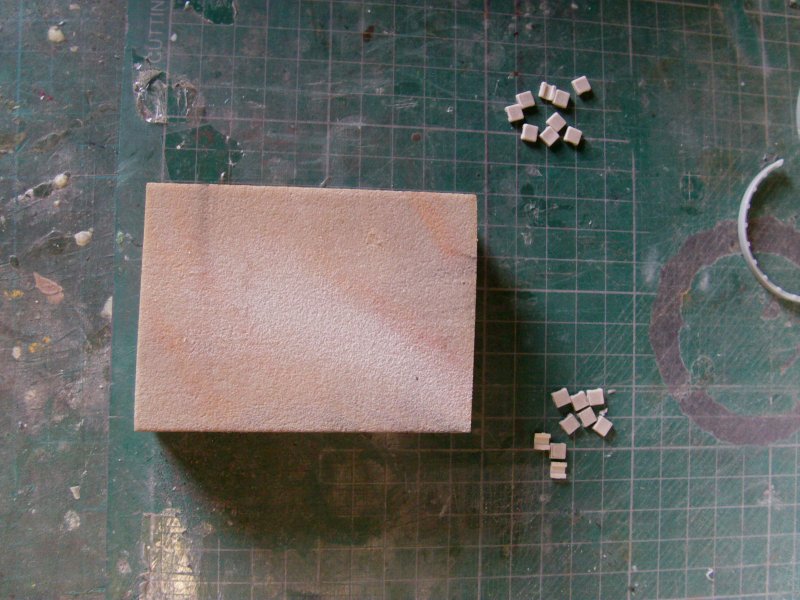
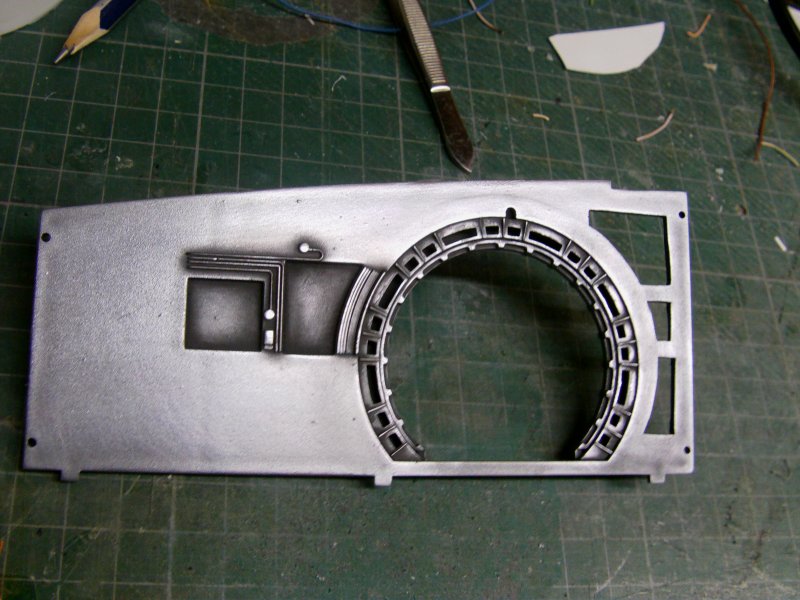
Part just in the grey paint, then pastel shaded with a varnish seal.
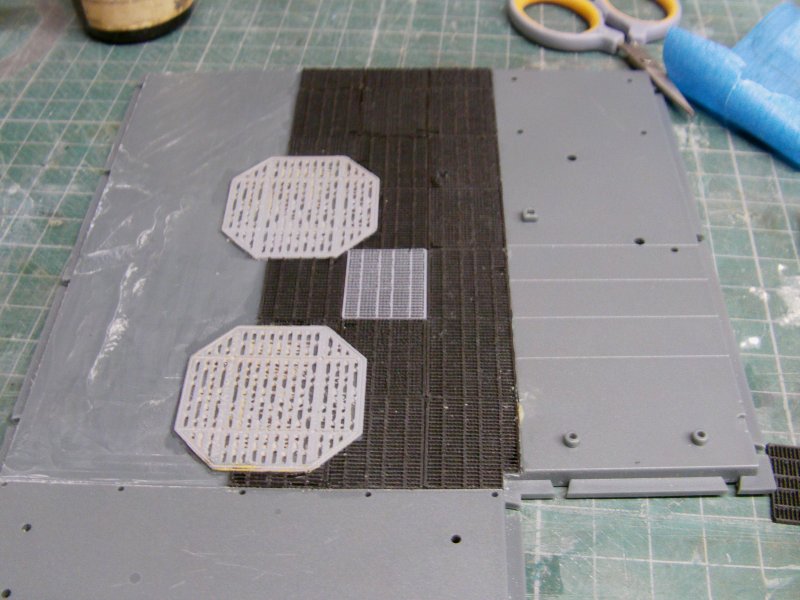
That lot readied up, on to the other detail parts.
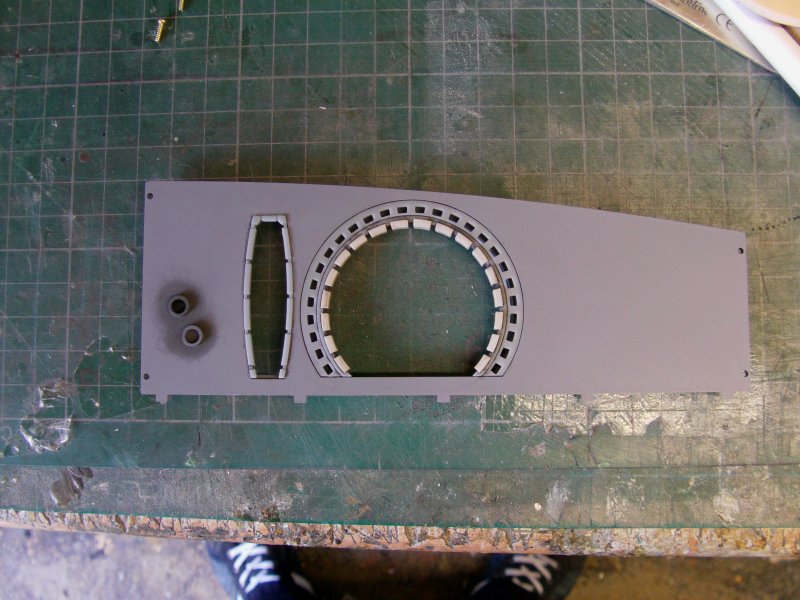
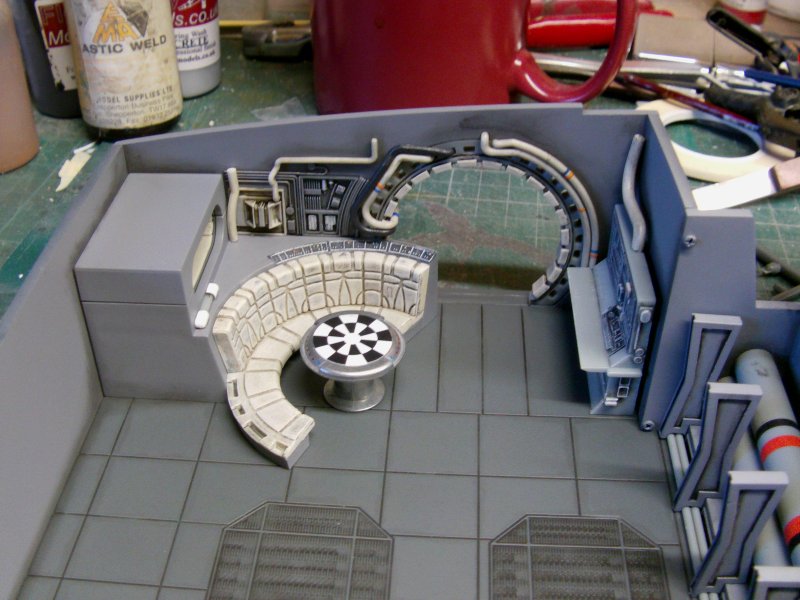
Dejarik (i think that's how it's spelt) holo game table with sticker attached as per the instructions
and glued in position.
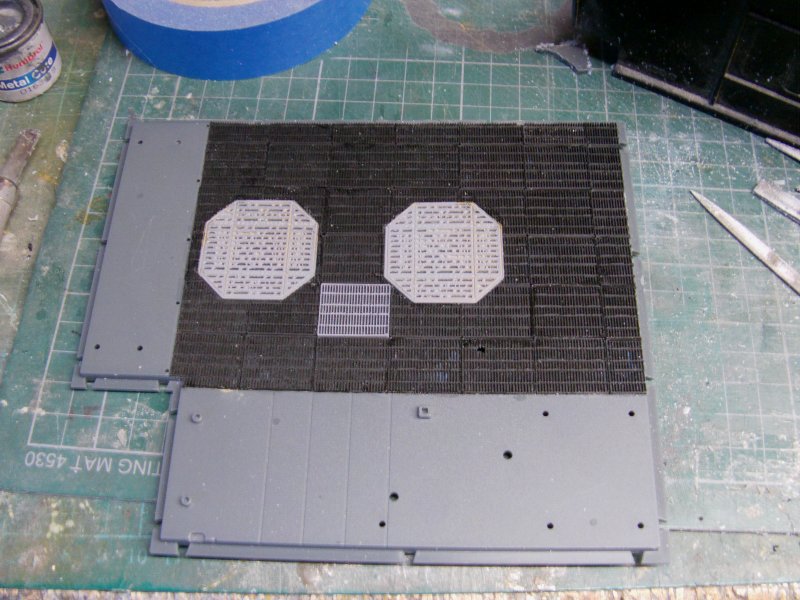
The part that supposed to be two lights just below the bunk also attached after a wee bit o' paintwork.
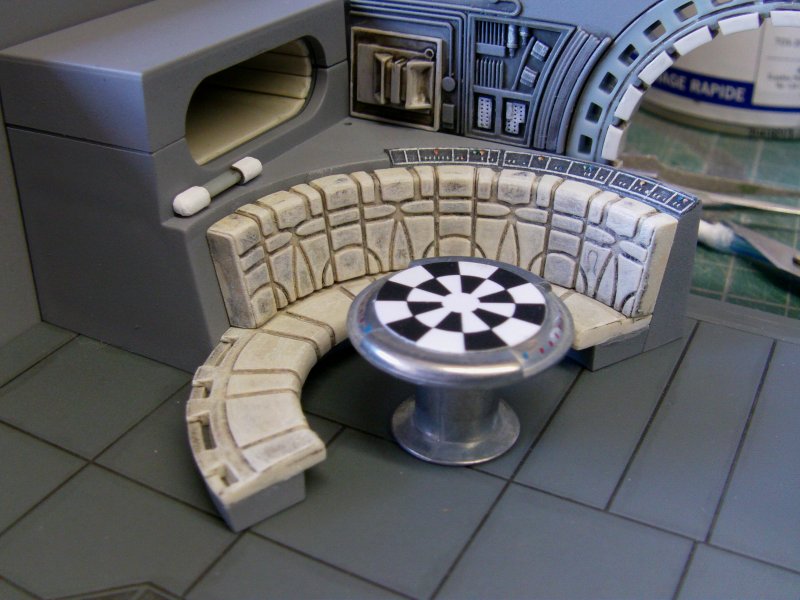
The engineering console/station part, this bit...
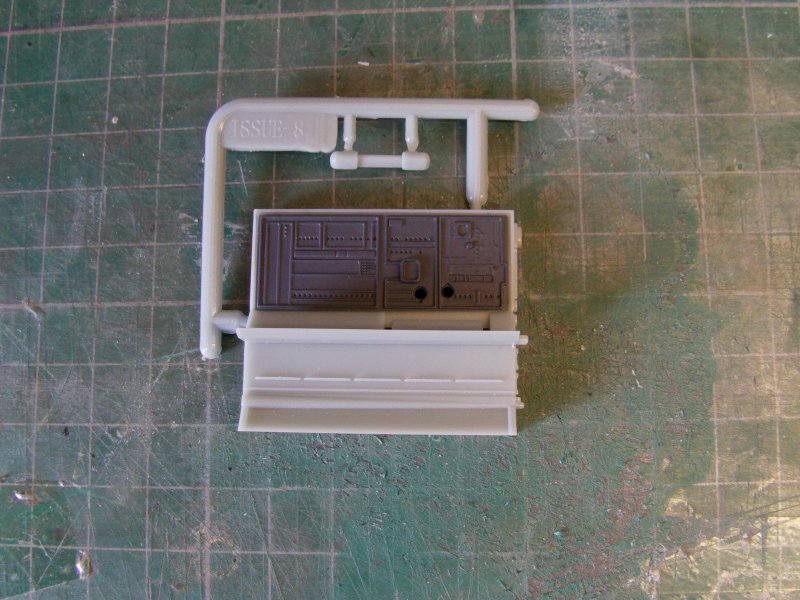
Got a hold of with the smaller detail parts that will attach,
got the wash shade and dry brush treatment then all parts got shown some MEK glue stuff.
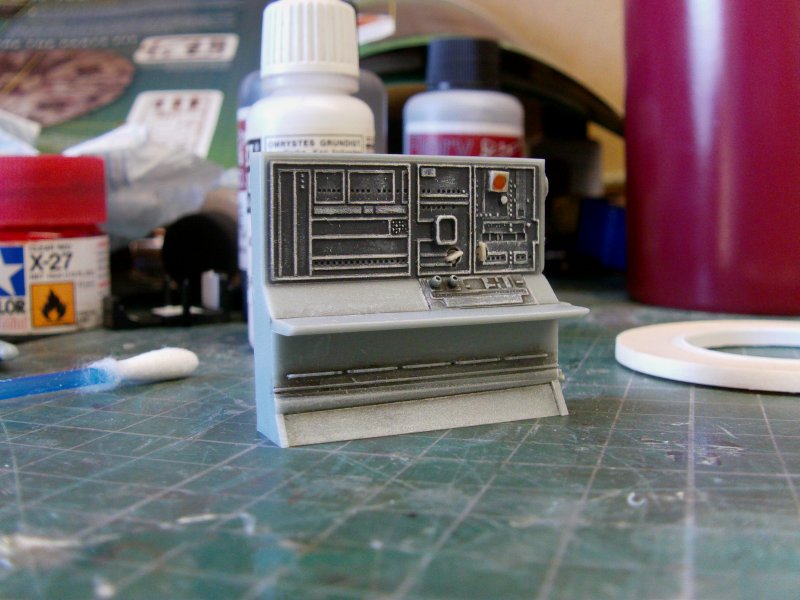
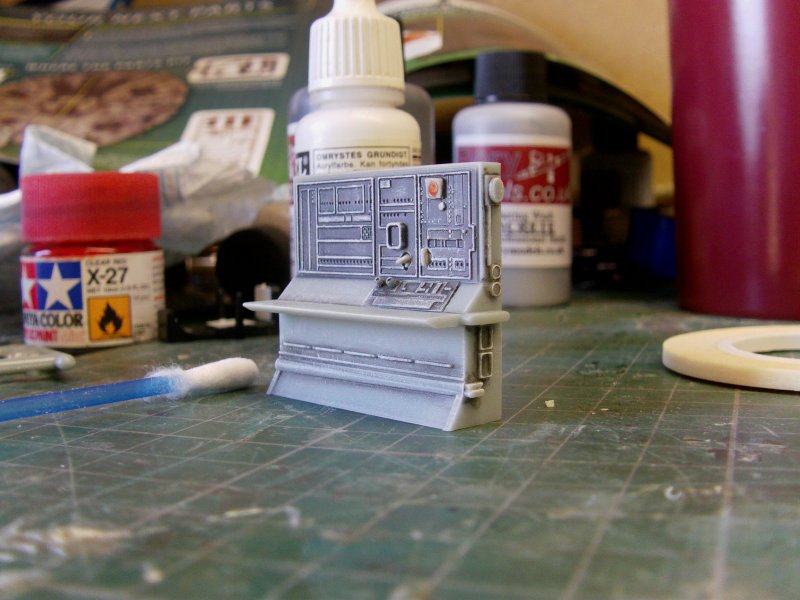
Looks the part so onward!
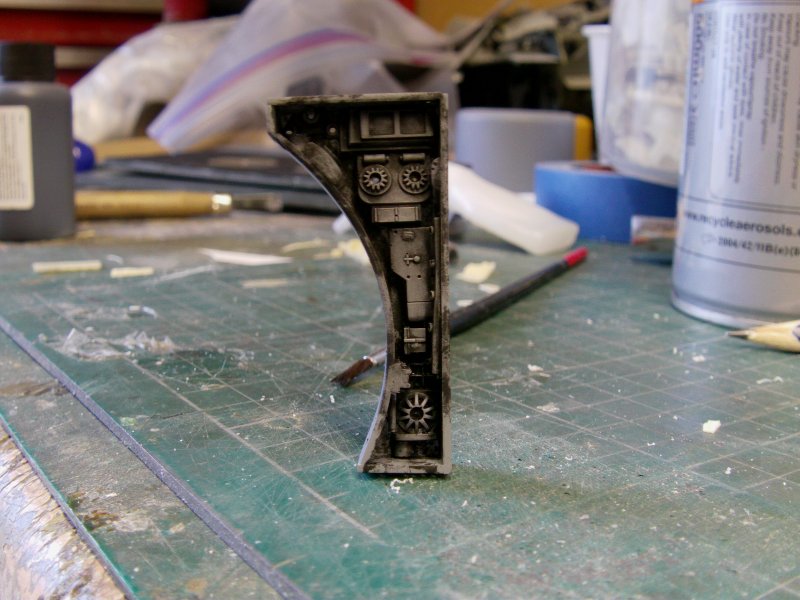
So, no small amount of gluing, screwing and screwing about took place
and the wall pipe work got slung on in more or less the correct place.
The blue and orange striping on said pipes is just self adhesive vynil trim tape.
Some pastel shading with a final lick of matt acrylic varnish and the main hold for the OOB build is a done deal.
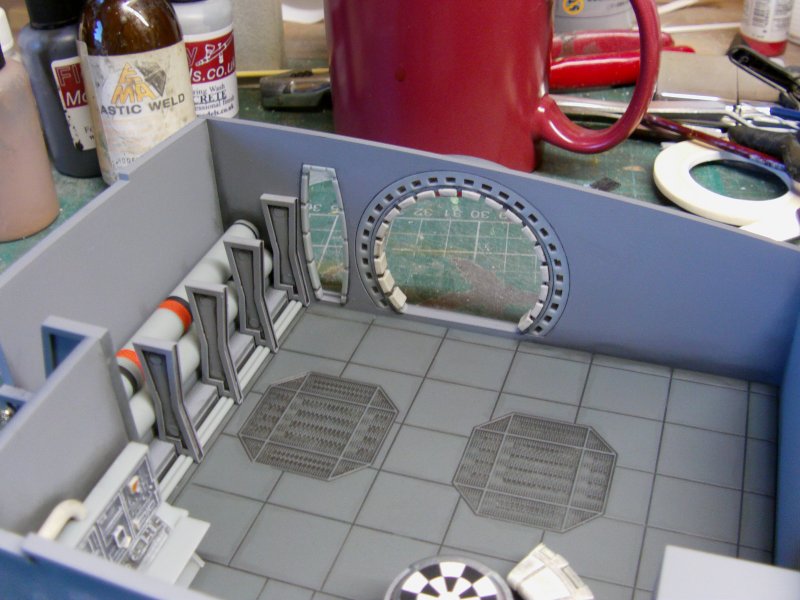

And finally, two views that sadly will only be seen untill the whole thing is fixed in to the finished Falcon.
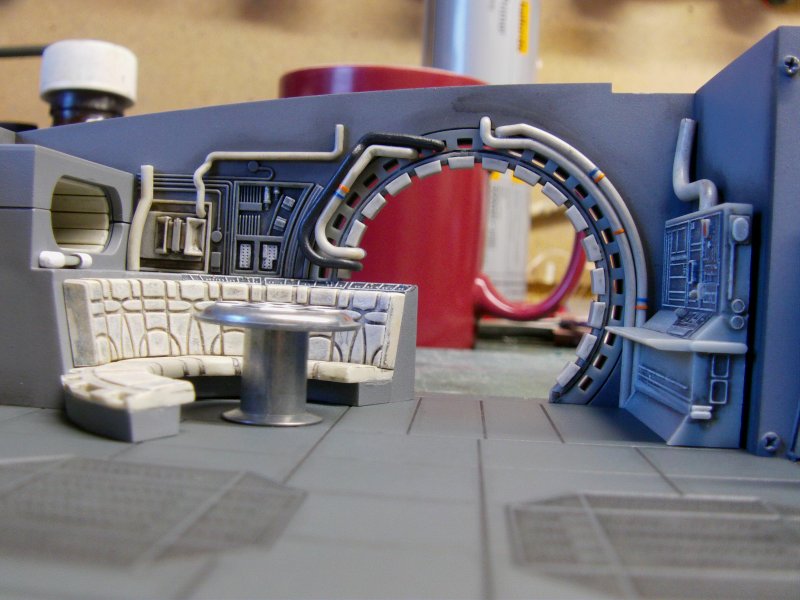
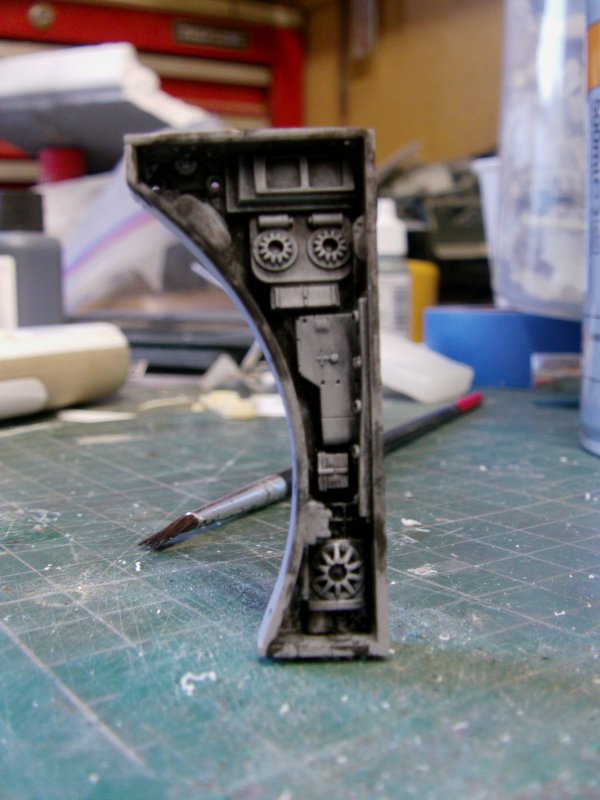
Well overall, it's not too shabby to be honest.
Looks the part for the purposes of the OOB build so no harm, no foul there.
I suppose in total, that's about a day's work from go to whoa but quick drying paints/varnishes with
the able assistance of the hand held rapid paint curing device...
otherwise known as a Clairol hairdryer running at full tilt...
'twas a fairly painless experience which is always nice.
As for the full on stupid build, well here's a taster as such...
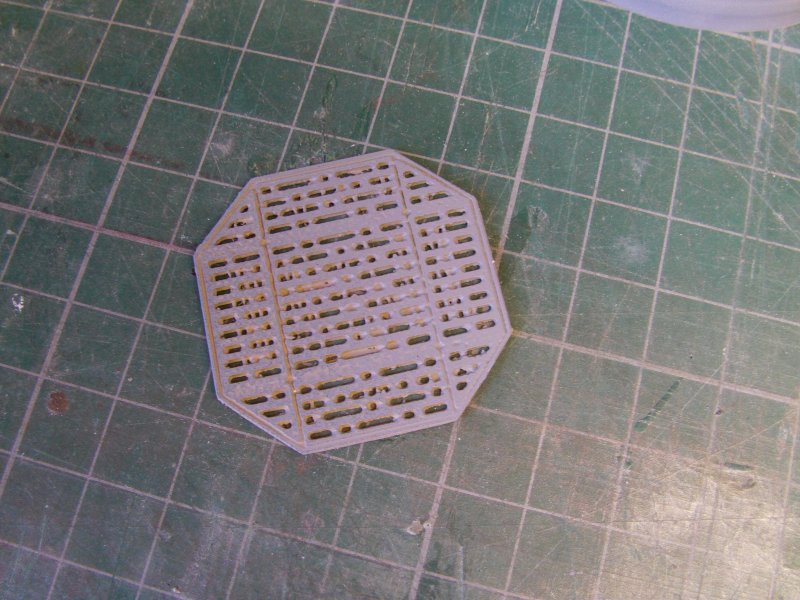
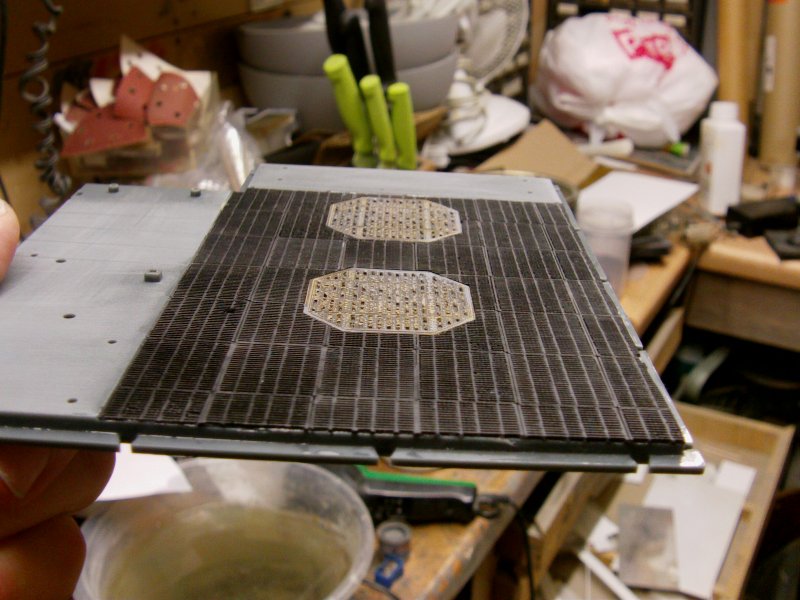
First up is the hold deck and once again, here's the supplied part.
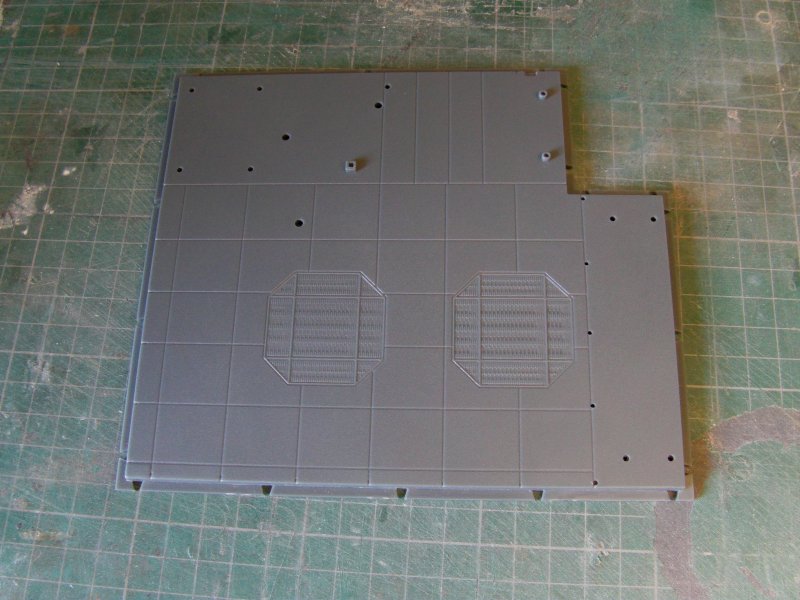
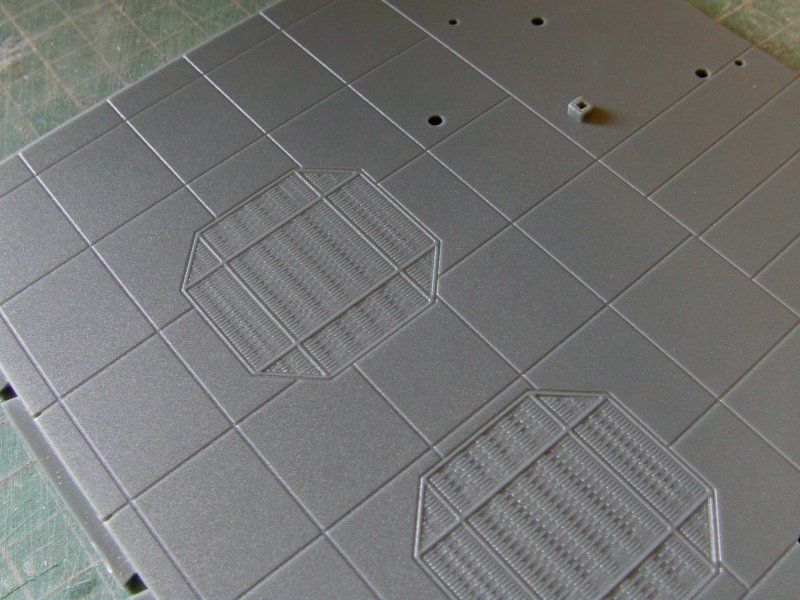
Nice enough but could stand some improvement.
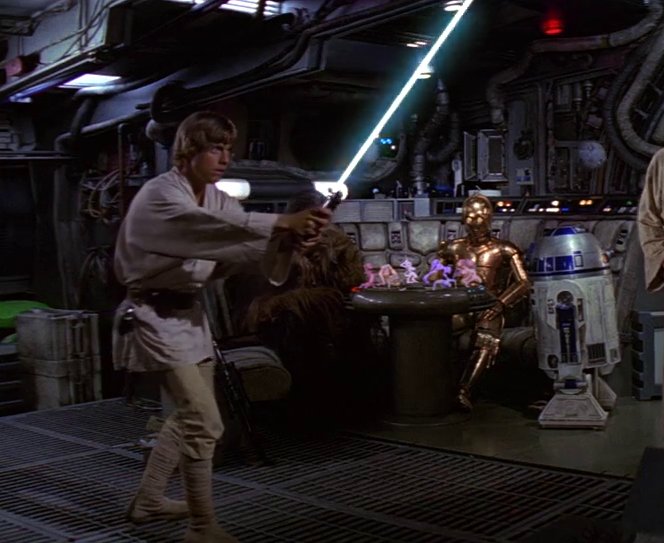
This is how it looks in the film.
So a bit of fiddling about required...there's a shock...
Now I know that one or two splendid folks have done replacement parts like
THiS
and
THiS
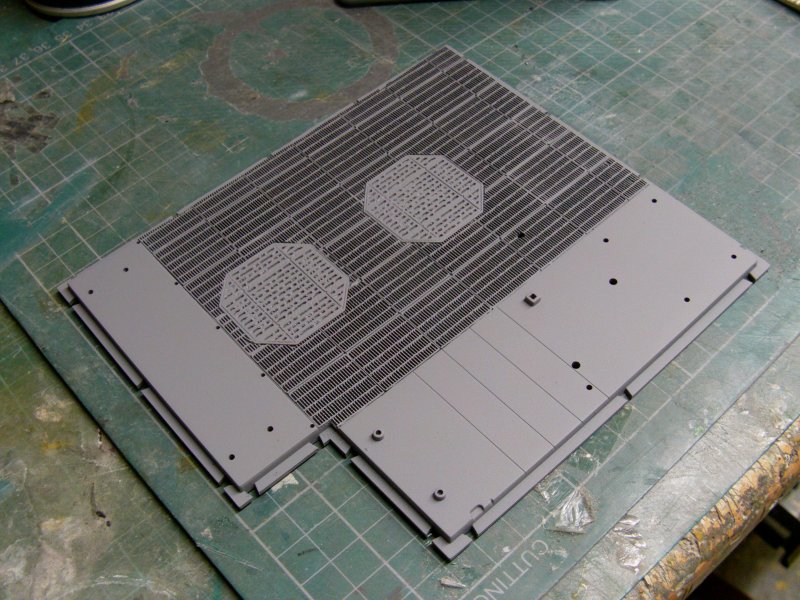
But me being me, decided to have a crack meself so out with the polygon fiddling thing
and the result was as follows:
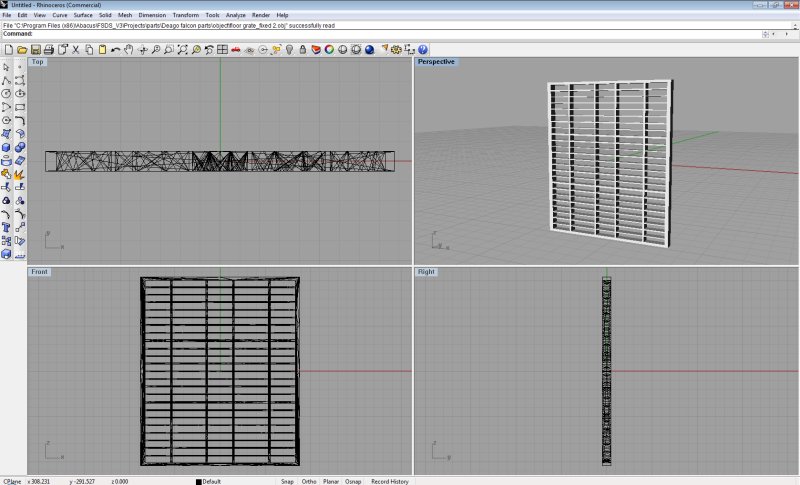
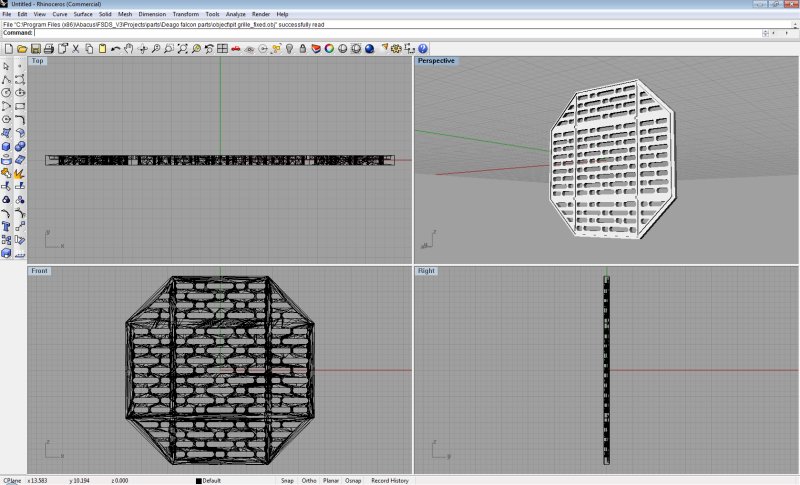
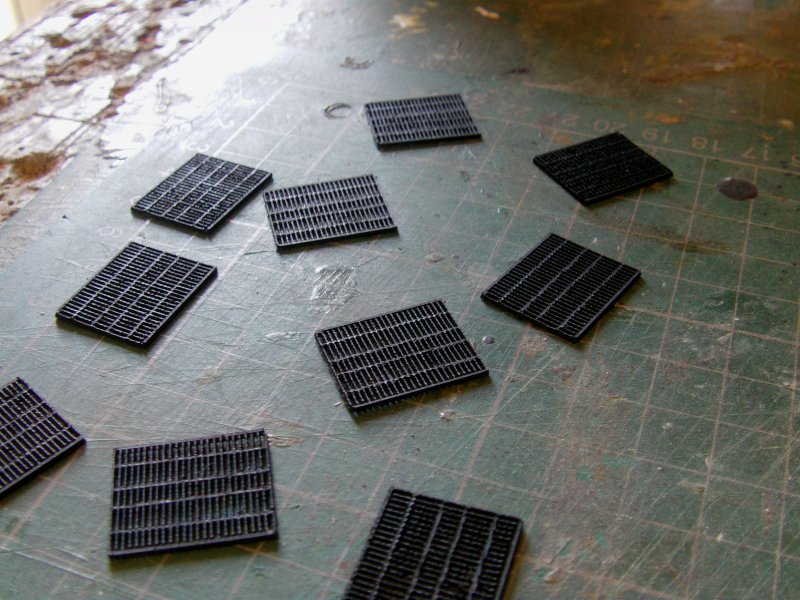
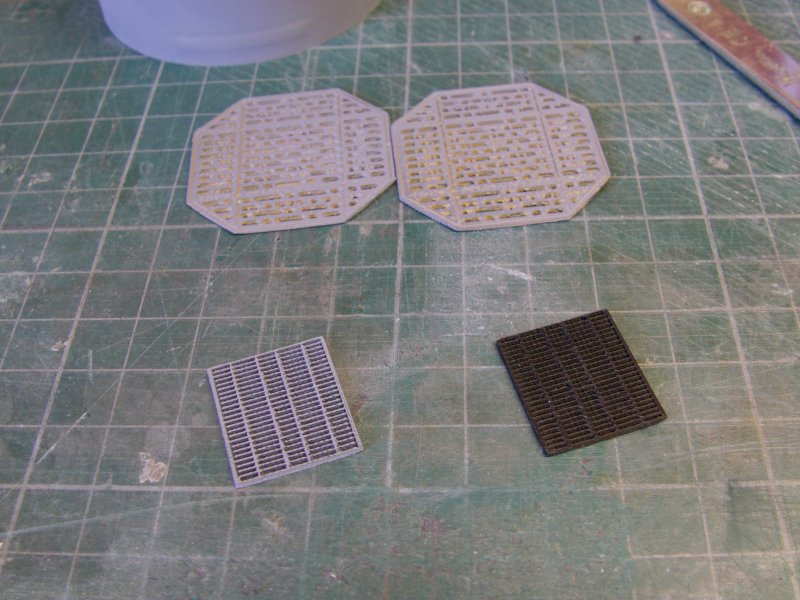
Then on to the printer they went.
A bit of setting faffing about but after a couple of goes...
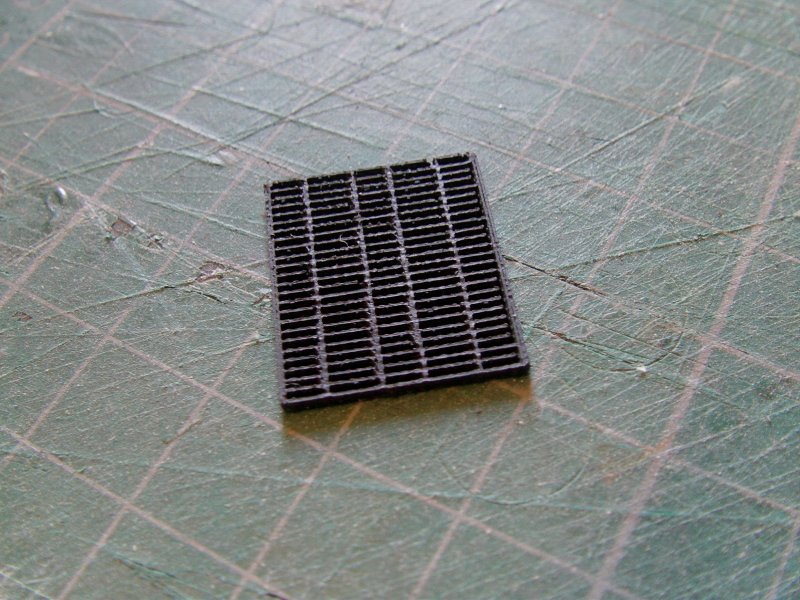
And so much printing with the usual hilarity ensued.
And then came the fitting thing.
The grilles were printed to be 1mm thick so material to that depth would have to be
removed from the supplied deck to keep it all sort of level.
Oh joy.
And there was much whizzing of milling bits in the Hellhole.
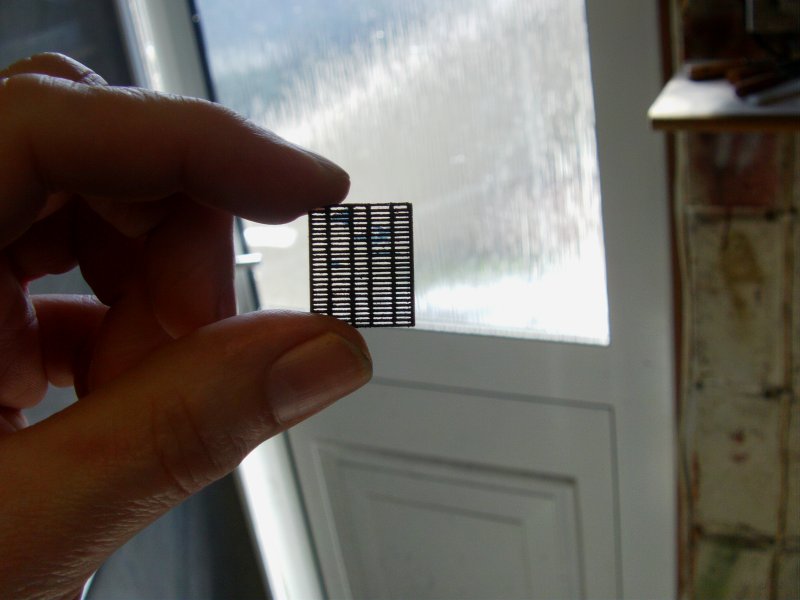
One line glued down for a look see and it was none too shabby.

So onward didst one go.
Trimming up here and there to get it all in as it more or less should be but finally done.
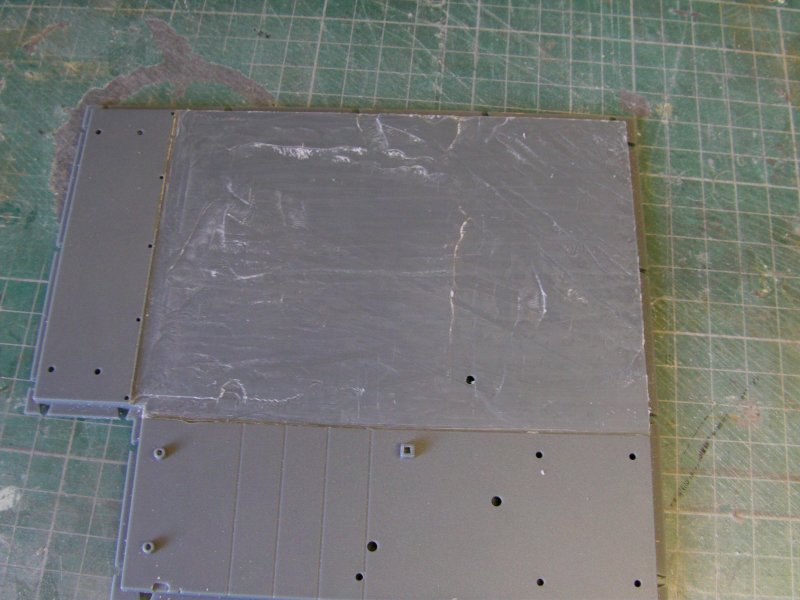
An all over sanding with 400 grit wet and dry, wash, scrub, rinse, spin, dry and get the bloody primer on it!
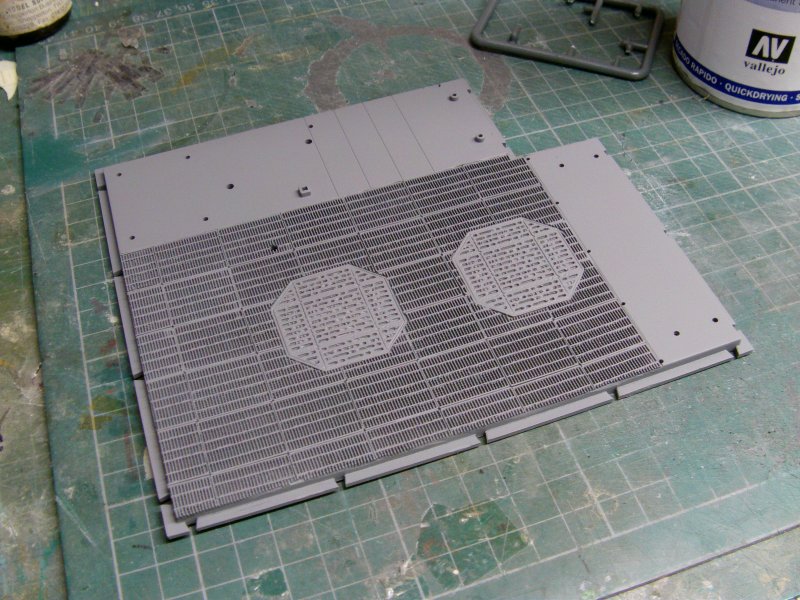
Yeah, that'll do nicely methinks.
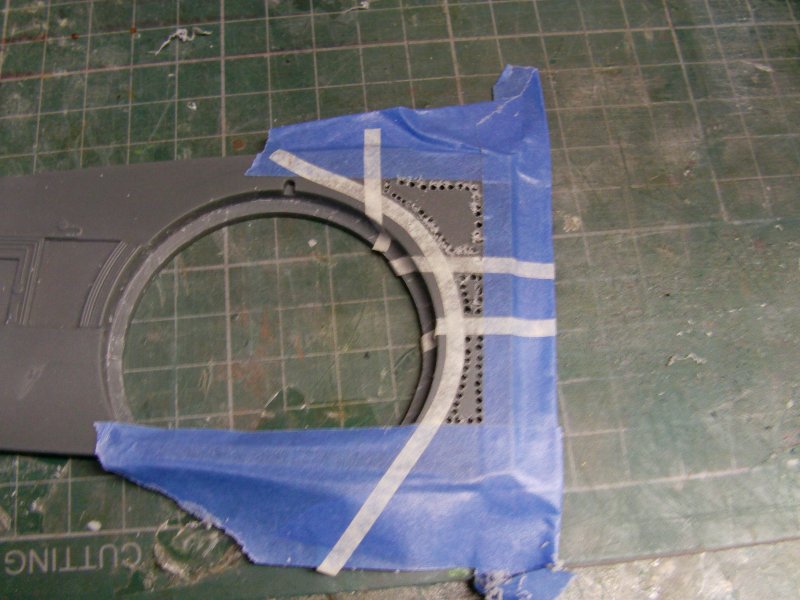
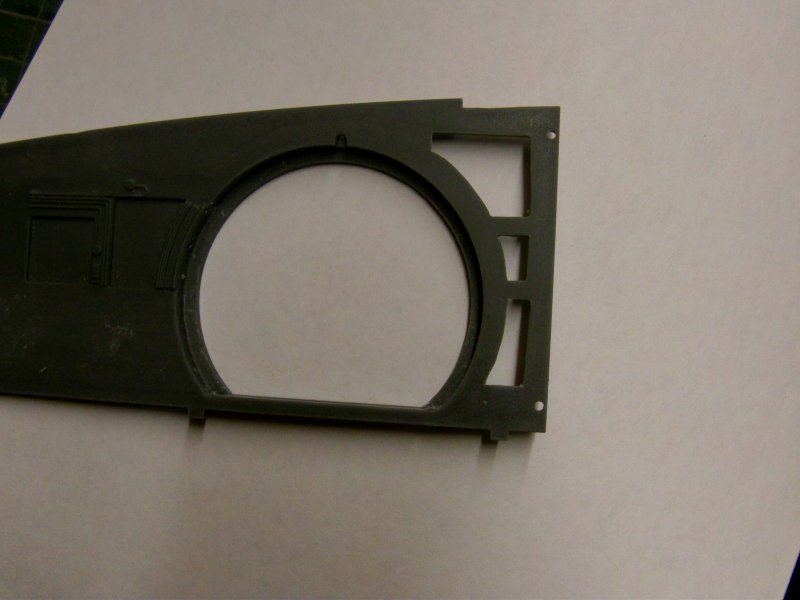
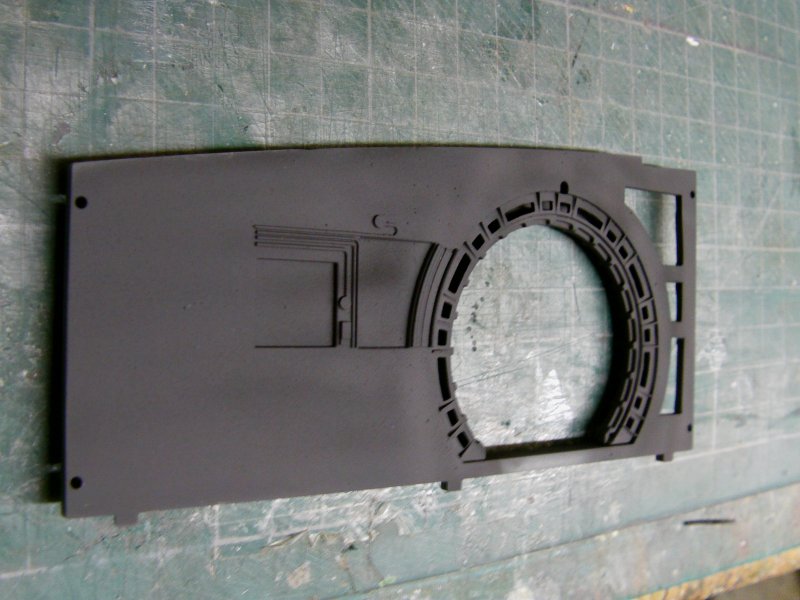
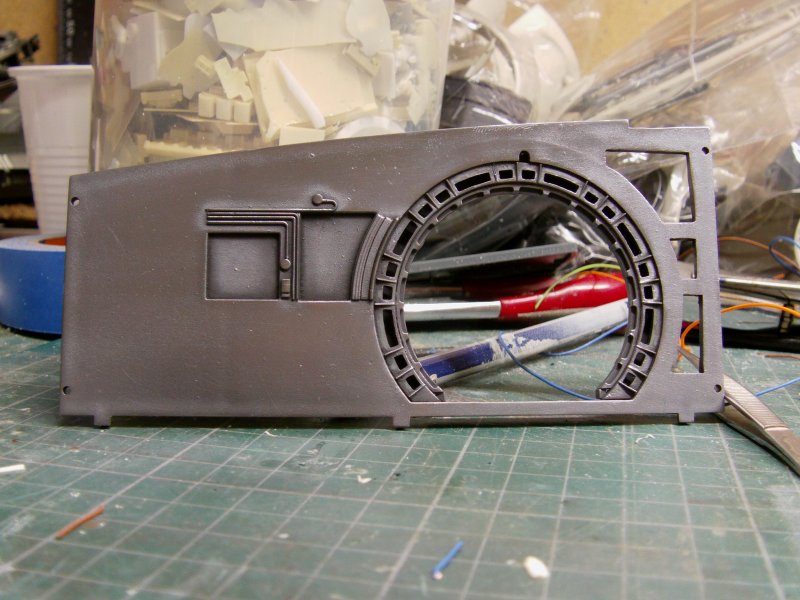
Now a bit of a different slant on the wall part.
This part from the OOB build...
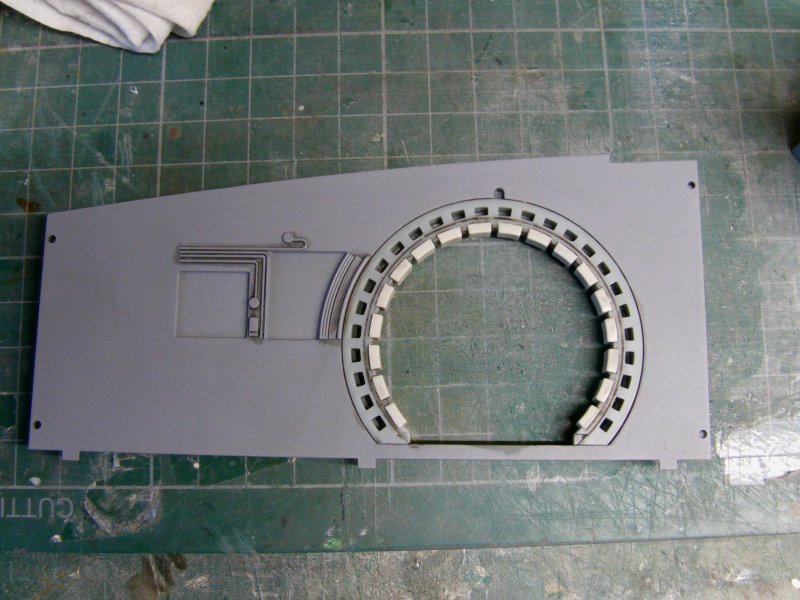
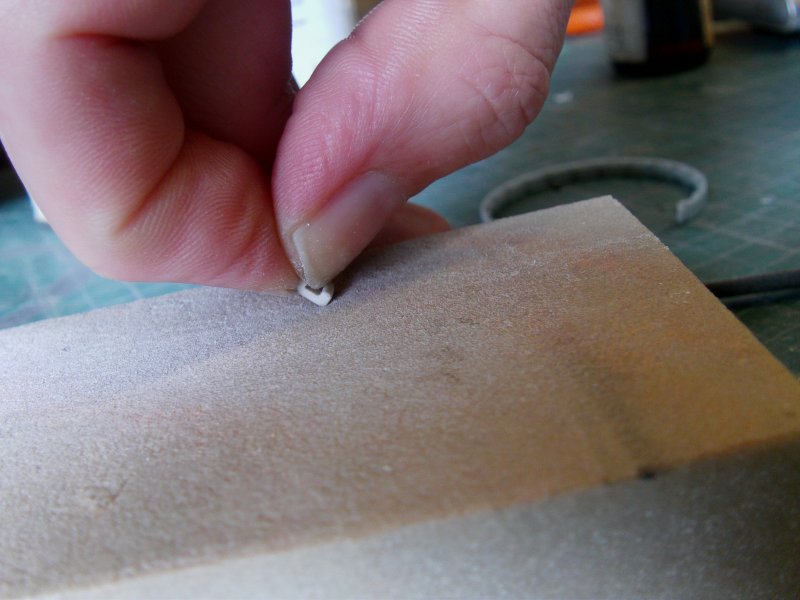
Now the first thing was the pads surrounding the opening.
The 'as is' ones are a bit too sharp on the outer facing edges for my liking.
So a fine grade foam sanding pad was brought in to play to just take them down a little bit.
Easy enough, just a little bit of pressure and about three passes like so...
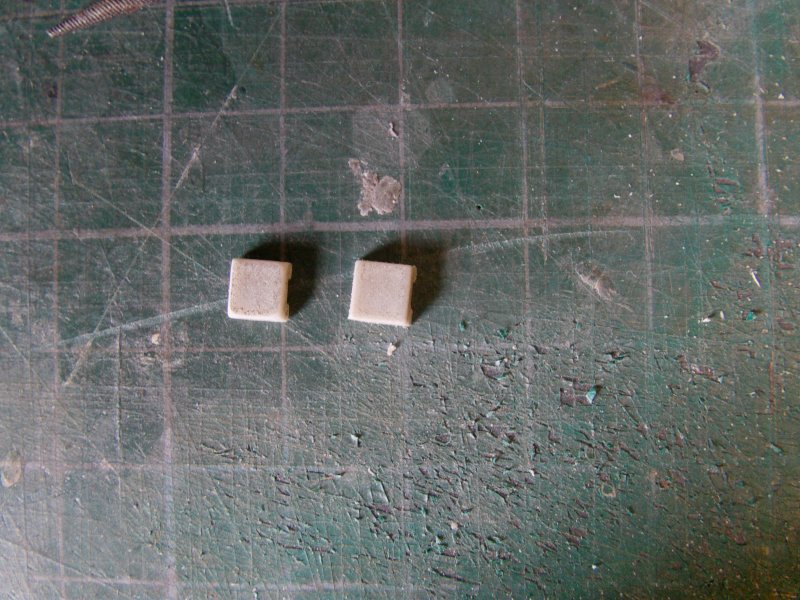
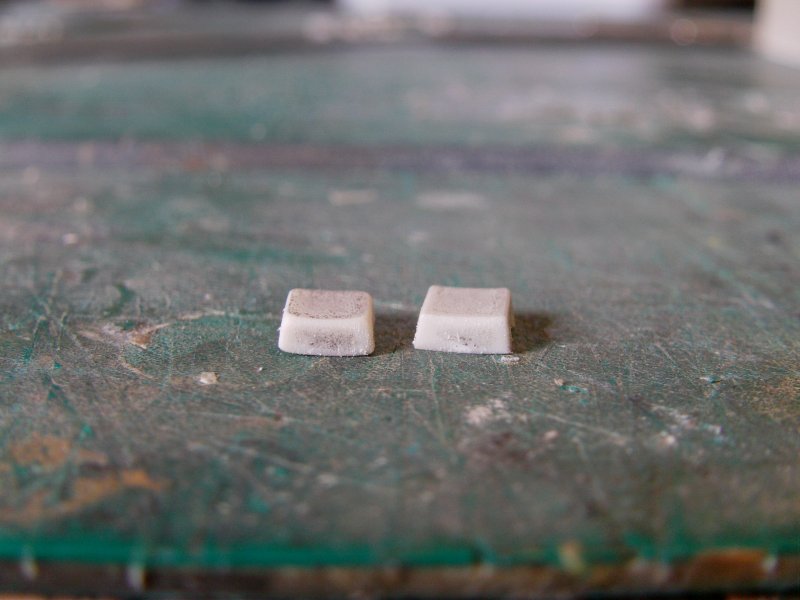
And just a little bit softer edge wise.
Sanded to the left, 'as is' to the right.
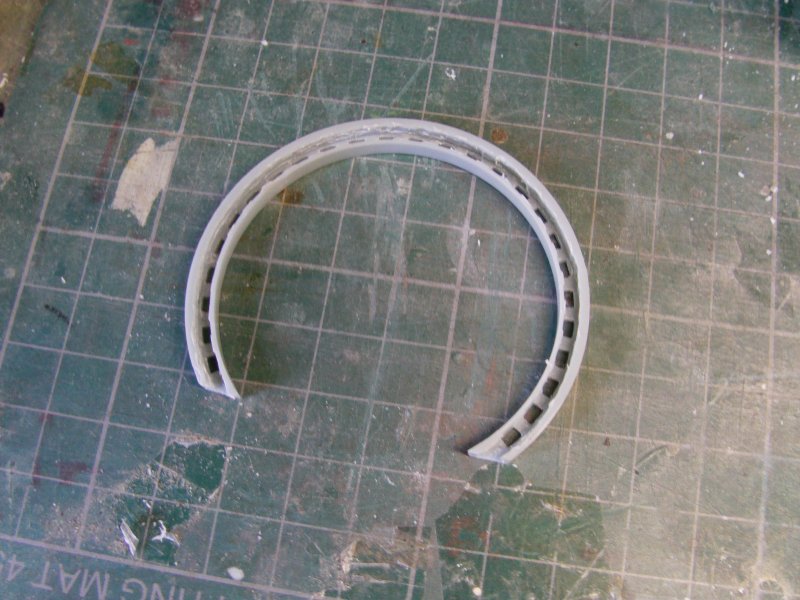
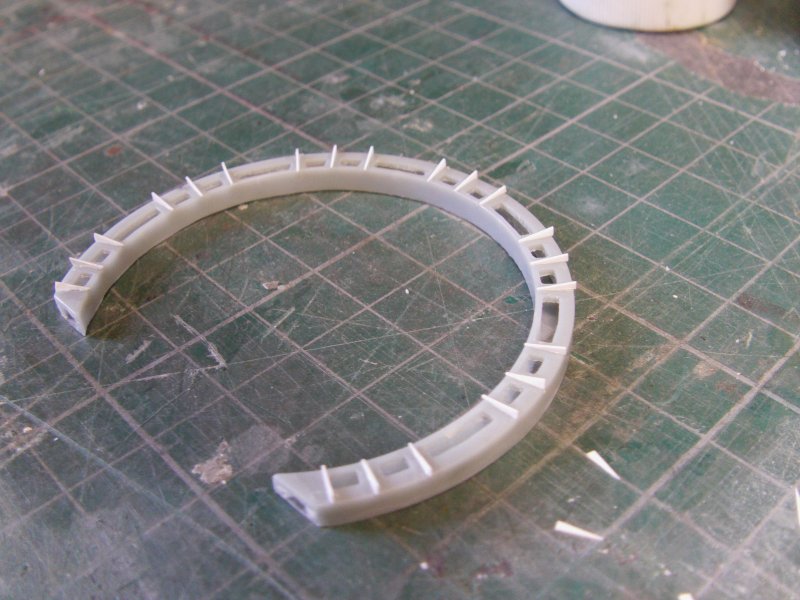
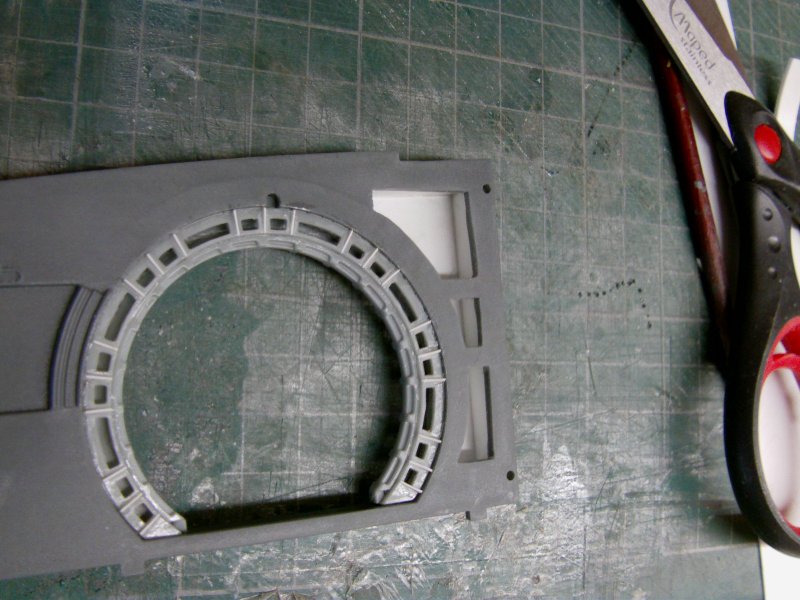
Now to the outer ring with all the holes, this bit.
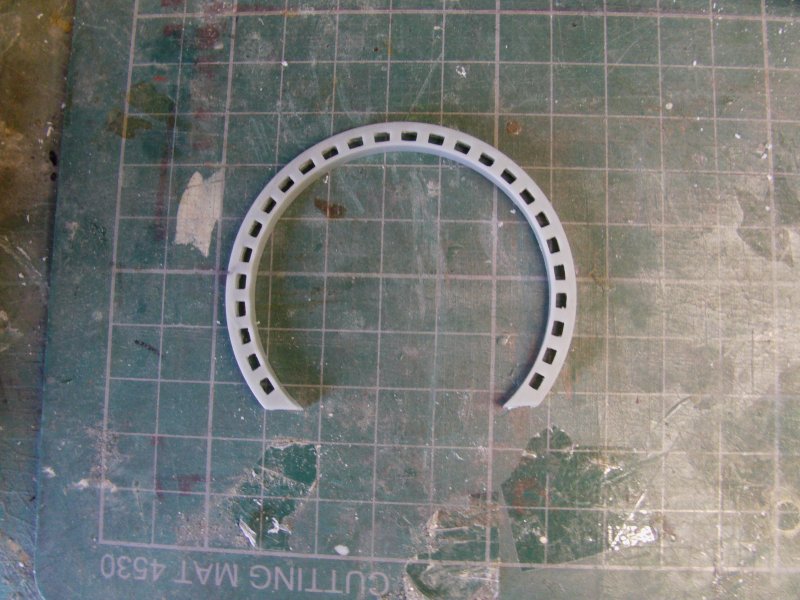
Well looking at this trimmed screencap, you can see it's a little different.
The holes are different and there be cabling in that thar thing.
So time for some more chopping about lords save us all!
The back side got some milling treatment done unto it.
Which sounds really painful when you think about it.
And the holes got a slight modification.

Not bang on but it will do for me.
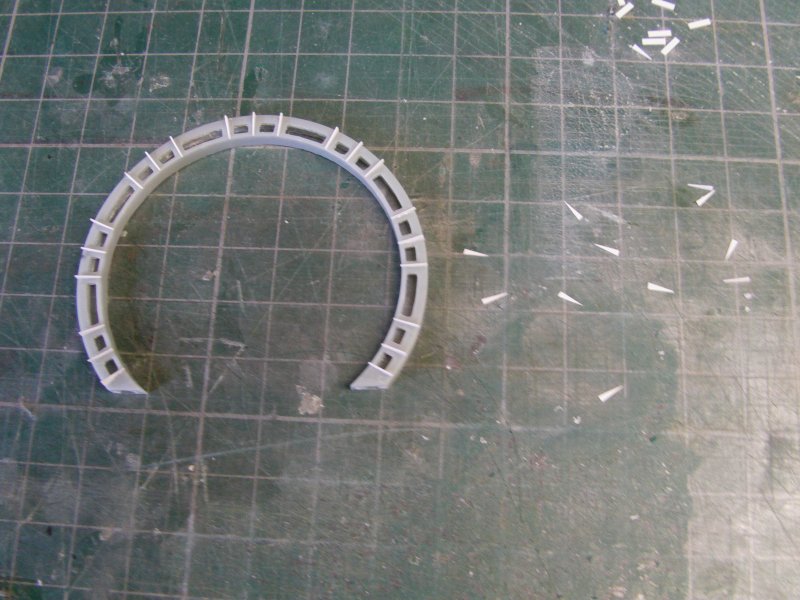
Also there appears to be some form of raised framing between said holes.
The ring got sanded down to take about 1mm off the front to back thickness
and much styrene strip got sliced up and glued on.
That was no fun but got there in the end.
Ok, that's two things sorted so on to the next.
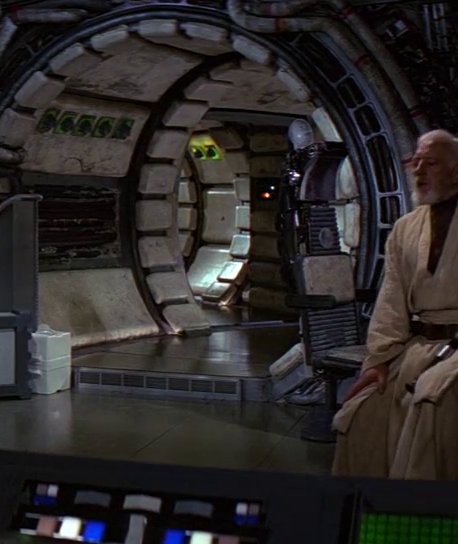
From the below and slightly lightened up screencap,
you can just about see the part of the wall at the far end of the engineering console and behind Solo's head,
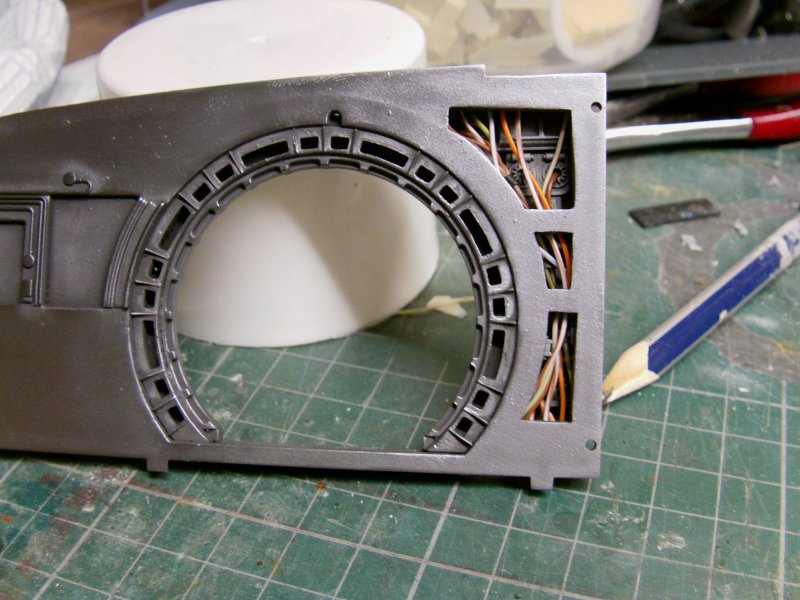
there are wall panels missing showing the wiring and whatnot underneath.
Seems like an idea so time to do some violence unto the part.

A scrap styrene box made up...

I fitted the door ring parts and then had a test fit of the box.
All was well so some greeblification via the recast and appropriate FineMolds Falcon bits got sorted
and marking and hole drilling in the poor old box bit got done.


Now to a bit of paint and shade.
Grey primer, blackwash and dry brush action got about what was needed.
Sorted!
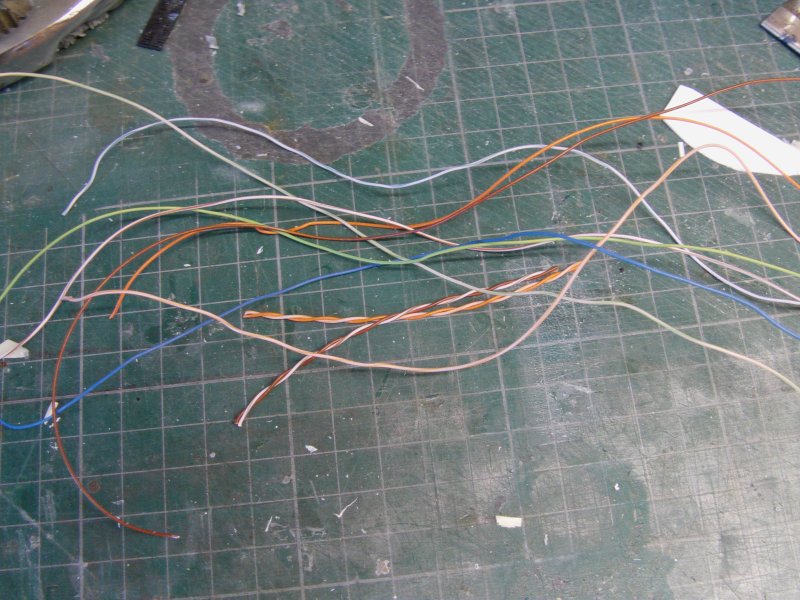
Now to the cables and here, one of them ethernet cables that they seem to hand out
with almost any networking kit you buy these days came in handy.
Small length cut and outer sheathing stripped yielded eight thin wires.
Which got shoved, glued and trimmed the hell out of 'em!
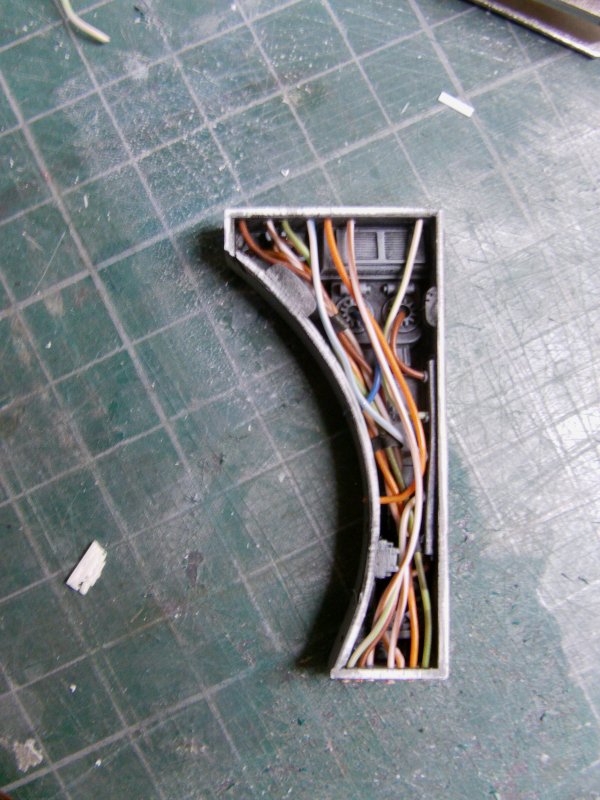
Test fit look see.
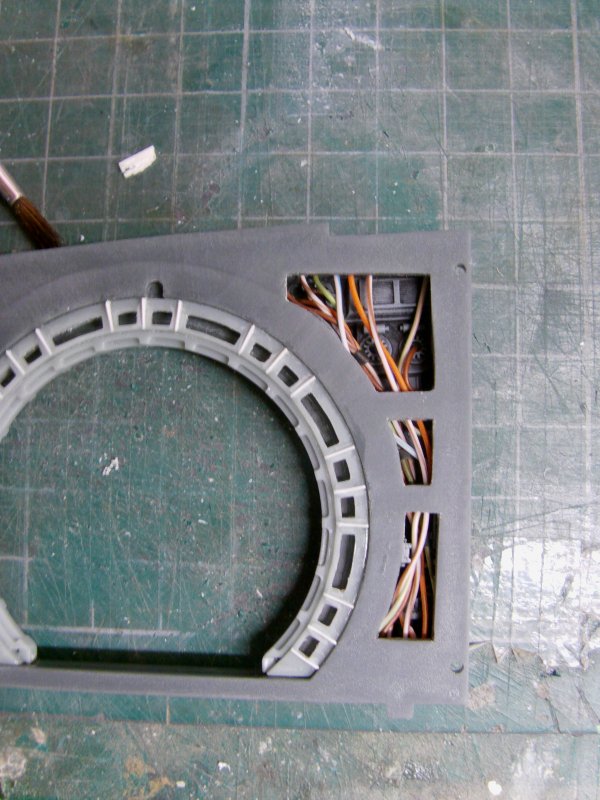
Nice.
On to the main wall paint.
Humbrol metalcote polished steel was the weapon of choice.
Airbrush applied and left to cure fully.
Doesn't look very impressive untill you take a polishing cloth to it.
Aye, that's the stuff right there.
Wiring box fitted in place and two holes pre drilled in the bottom of the wall part
allowed some wire shoving to take place around the ring mit der holes.
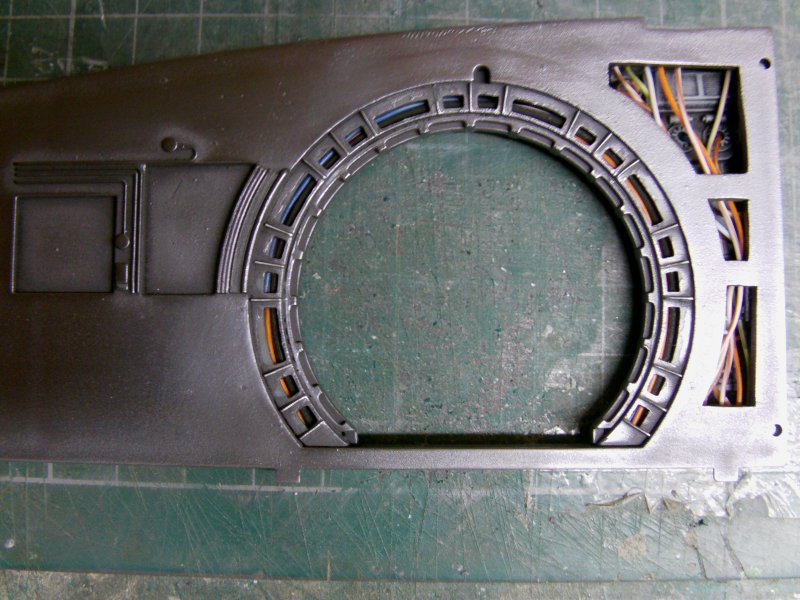
Finally, a smidgen of paint scraping away and the slightly rounded off cushions got glued on.
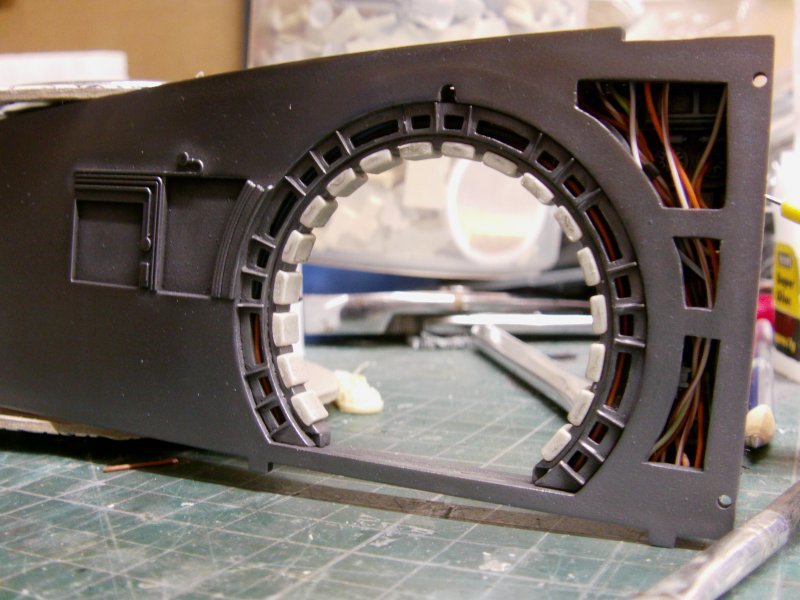
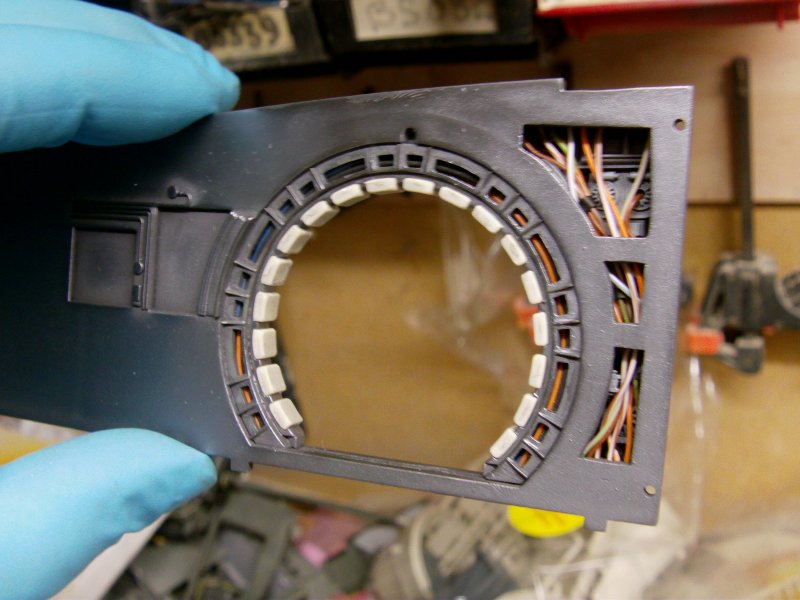
And methinks me likey!
Well that's the lot for this larger than usual update thing.
I have some stuff on order from Shapeways to add to the hold.
A new and better detailed Dejarik table predrilled to accept fiber optics
and when that's here, a new and better engineering station and seat also going to get the order up treatment.
A few things i'll still be scratch building but that's all for later.
i'll be doing the the OOB cockpit and some other bits and bobs,
then on to the rest of the OOB bits for the hold, then the full on hold and cockpit after that.
That won't be for quite a while though as a large Eagle Transporter is next on the hit list
to get another update done and sorted out for.
You merry lot go easy out there now!
Page Number