
DeAgostini Build Your Own X-Wing Partwork
1/18th Scale


 Page Number
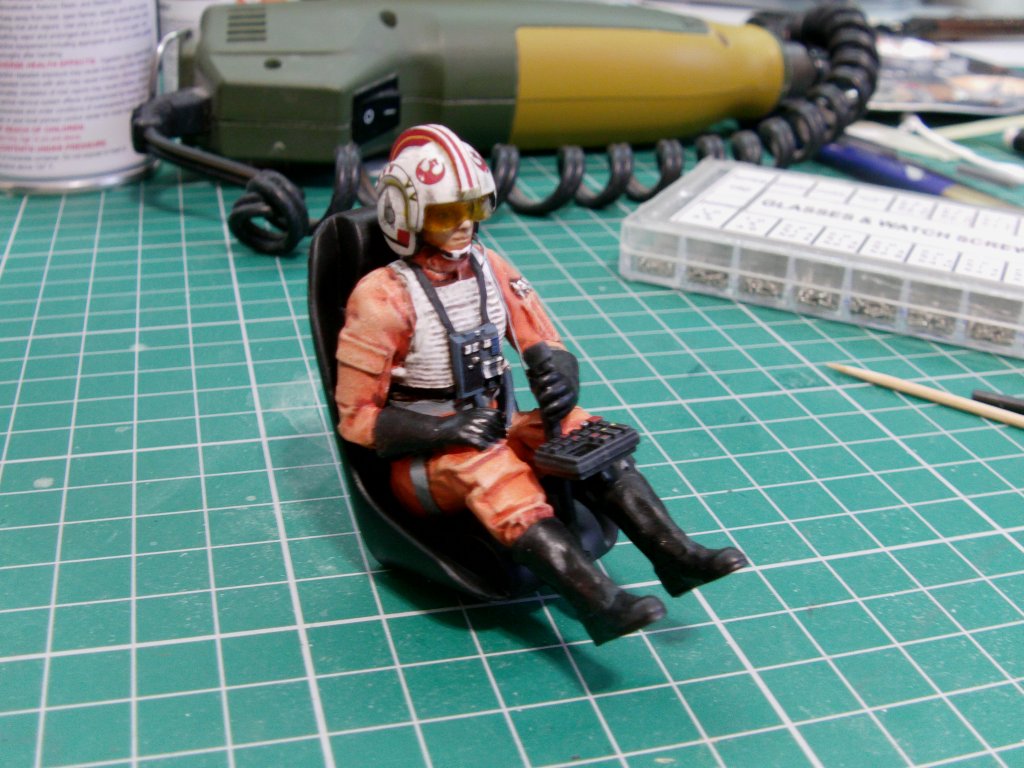
Vacancy, one helmeted hero required...
I Know Just The Fella You Need!
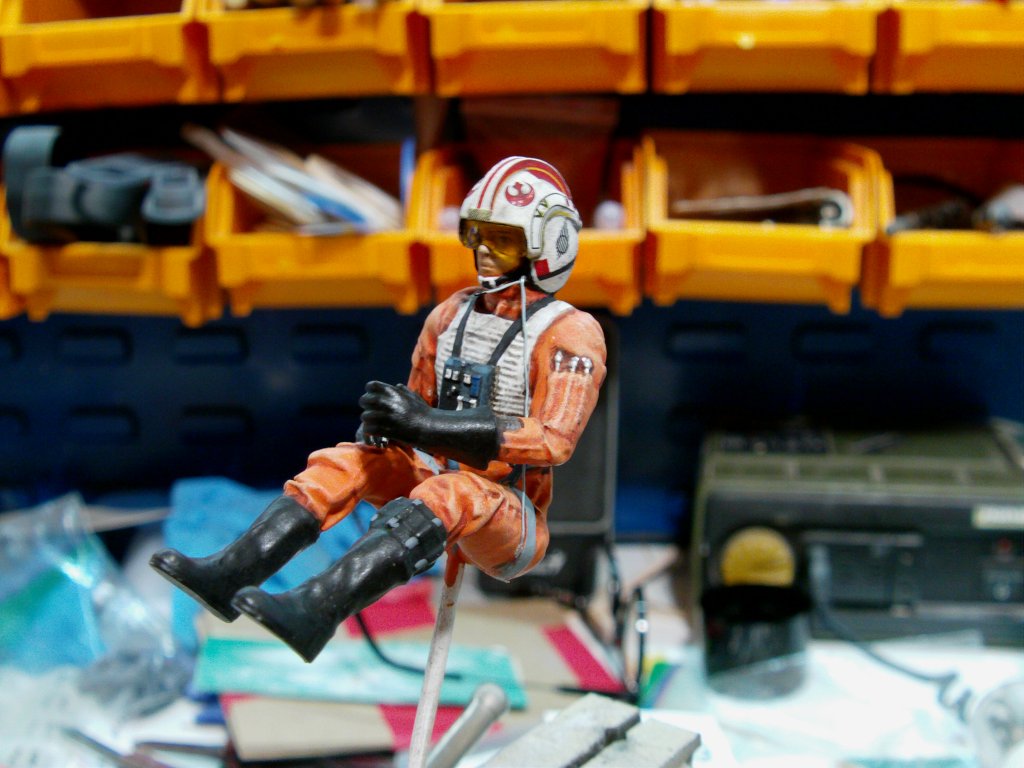
And this would be him.

Standard acrylic paint job with mucho drybrushing and dark wash whathaveyou.
Mod supplied decals and clear visor did no harm either.
Oh, I did use a bit of mild steel wire for the helmet mike and wire.
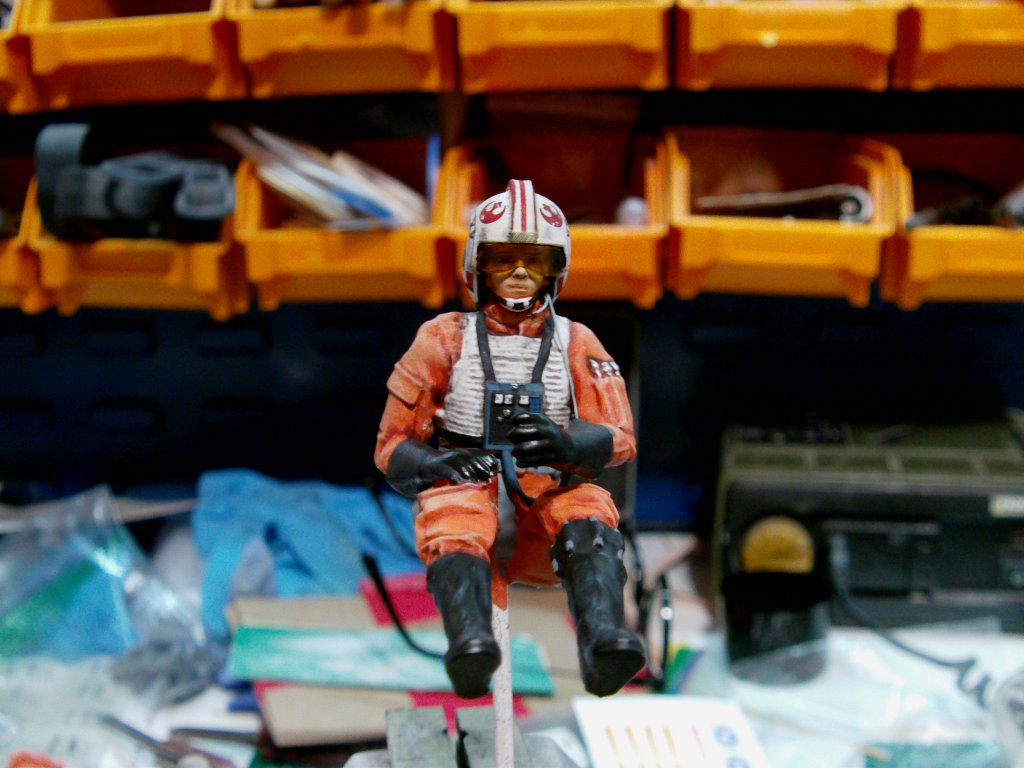

He'll do nicely!
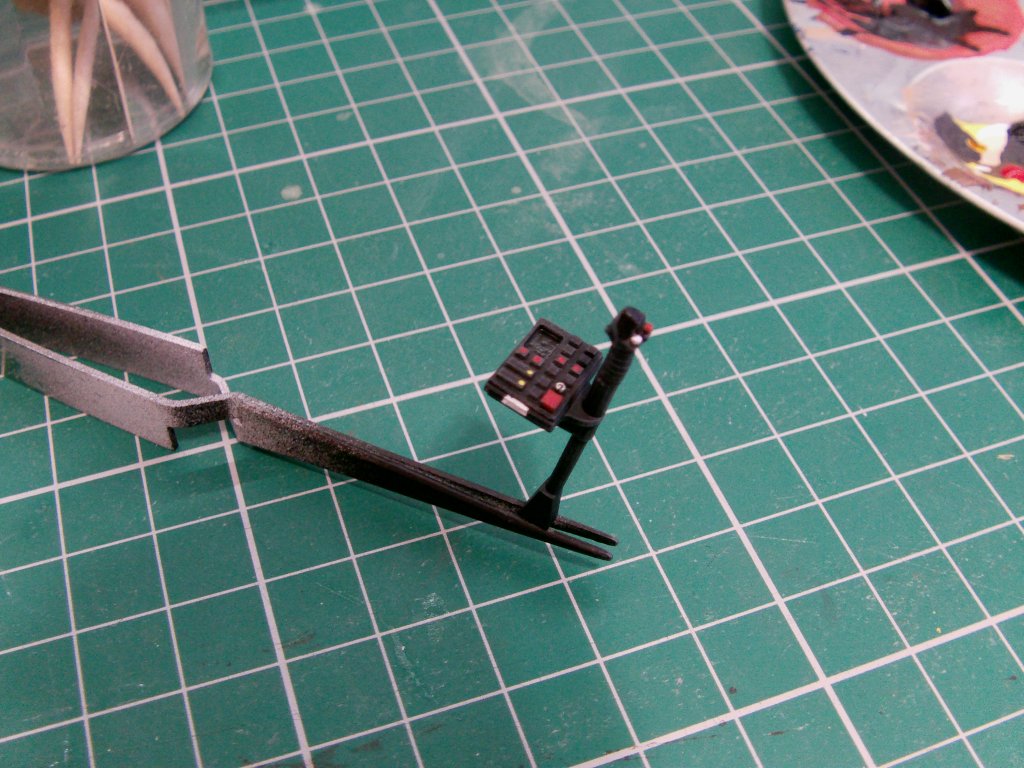
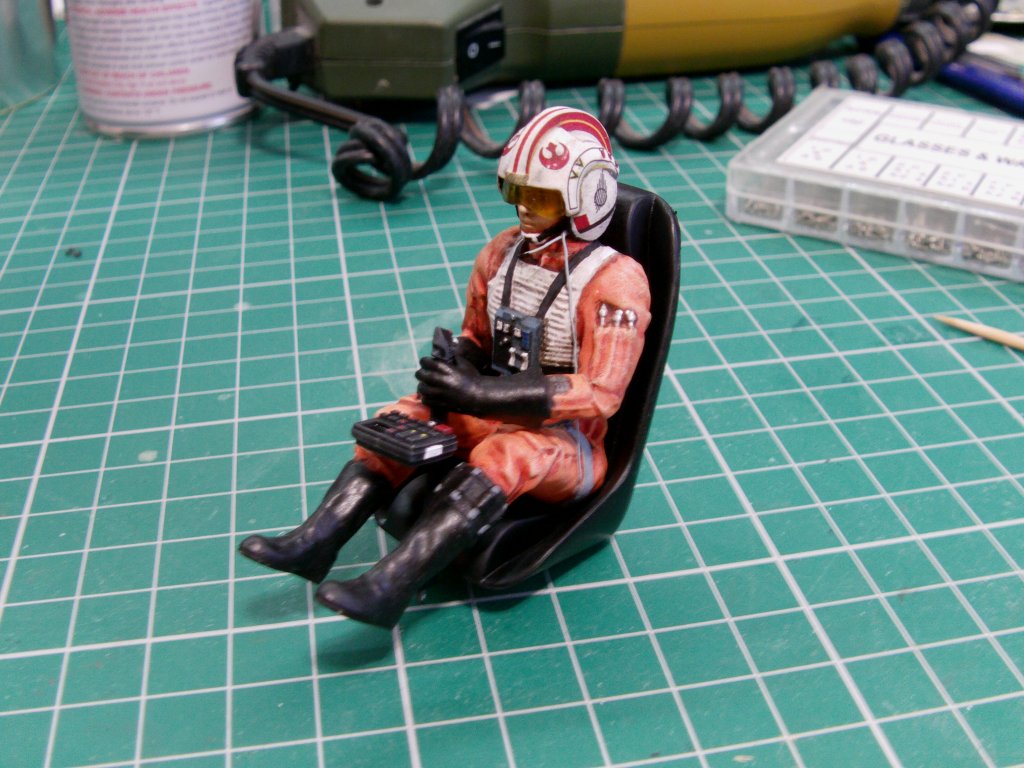
Joystick painted, placed in his hands then pilot fitted to the seat.
Time for a lighting check on the cockpit with the DeAgo supplied LED setup.
Now the Falcon 3D parts upgrade supplied a clear part to help spread the light around.
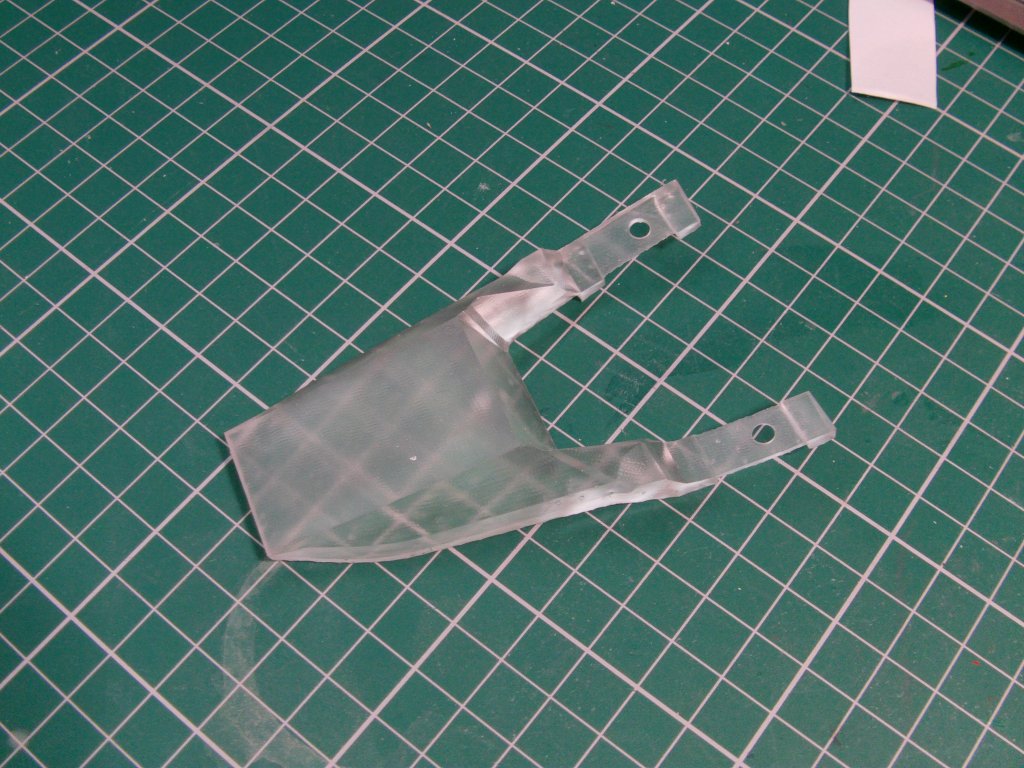
All well and good.
Here's the direction the lights fit in keeping with the stock cockpit bucket.
I had that horrible LED hotspot feeling coming on and sadly I was right.
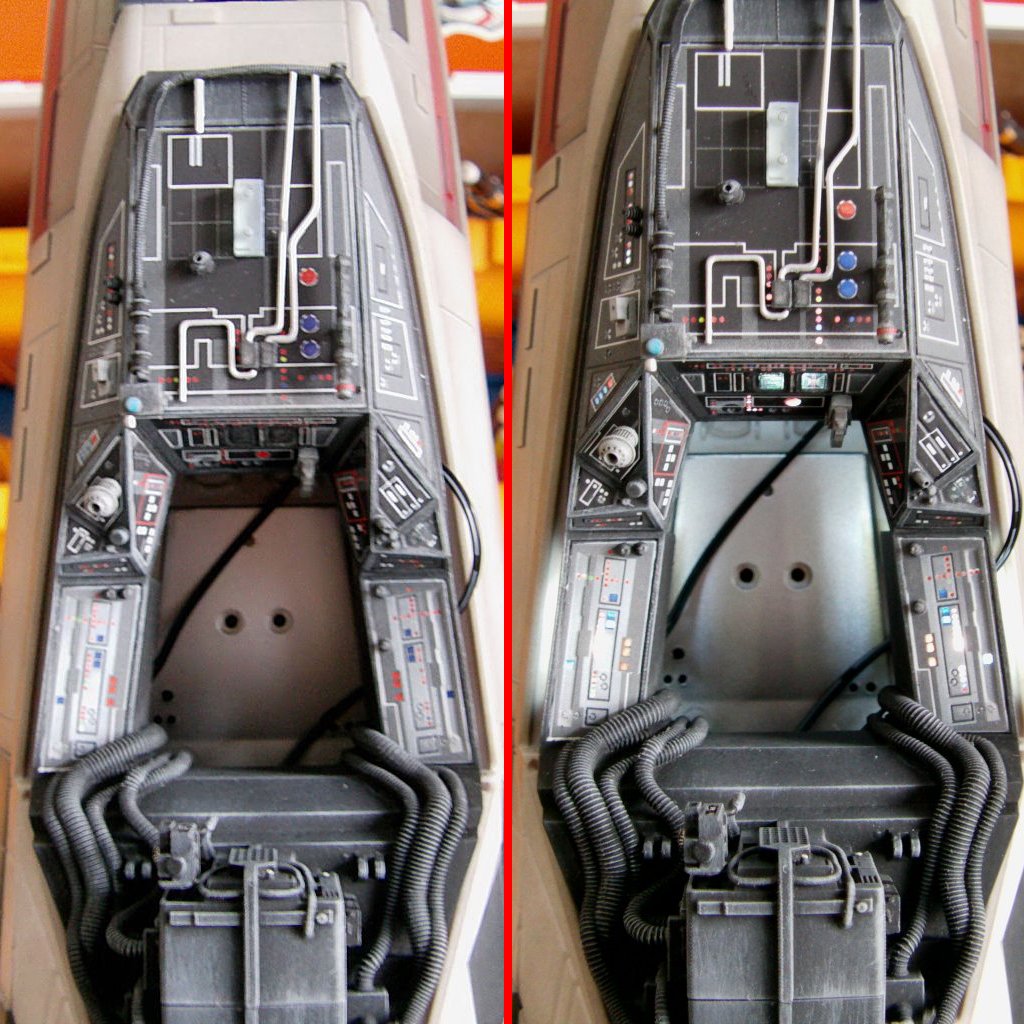
The side panels are particularly bad and the panels either side of the main instrument panel don't light up at all.
That simply will not do.
Light boxing time and it was done.
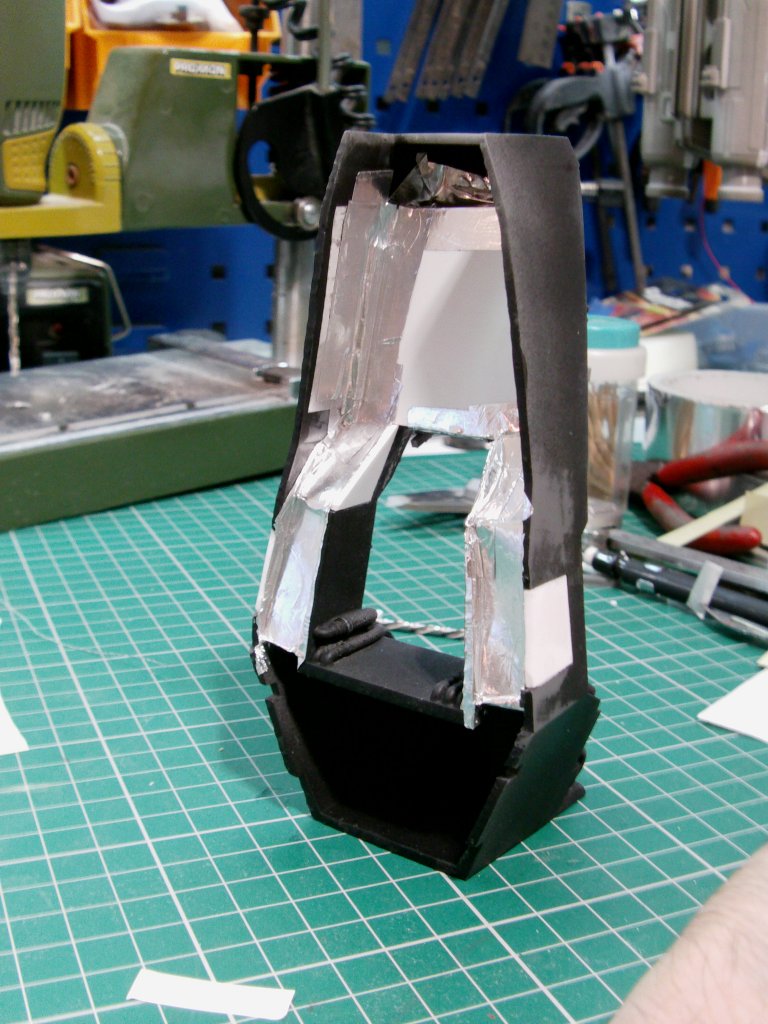

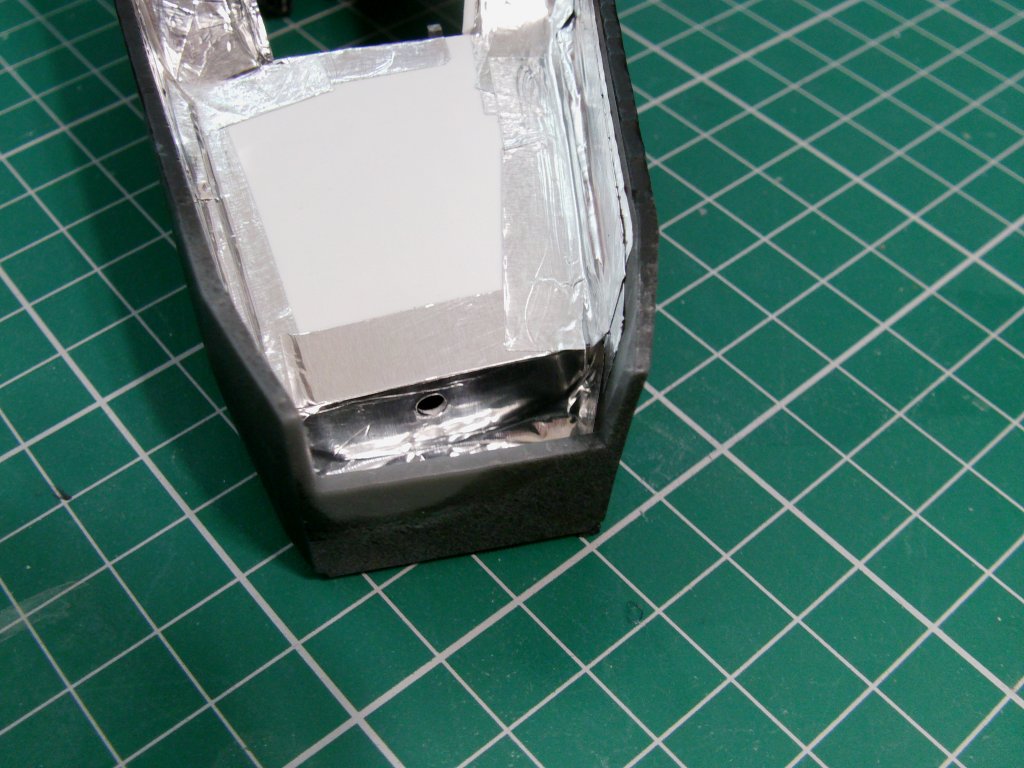
I grant you it doesn't look pretty but it will do the job.
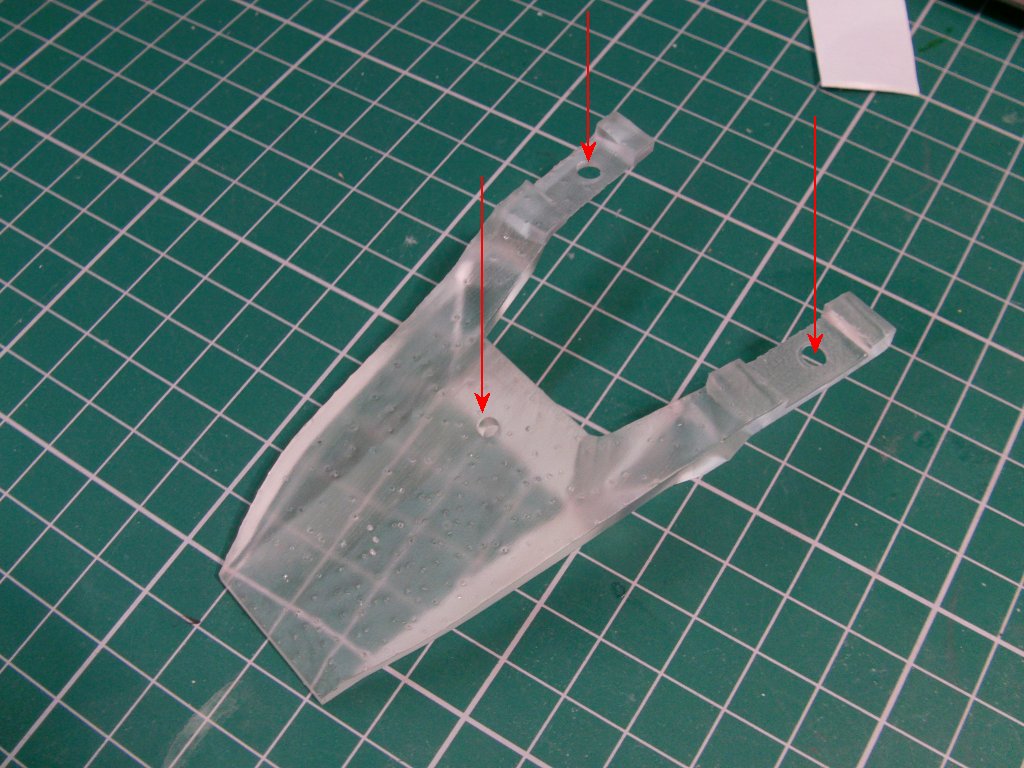
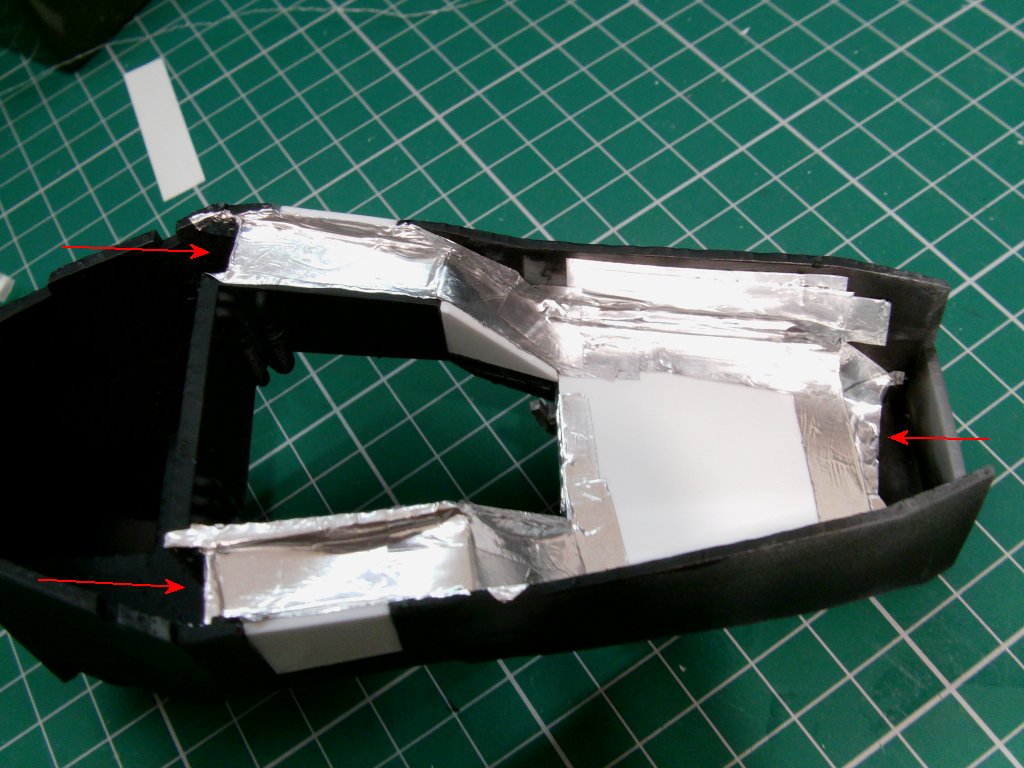
Holes were pre-drilled to take the LEDs but in an indirect fashion,
Direction of light indicated by the red arrows in the below pic.
And a try out was in order.
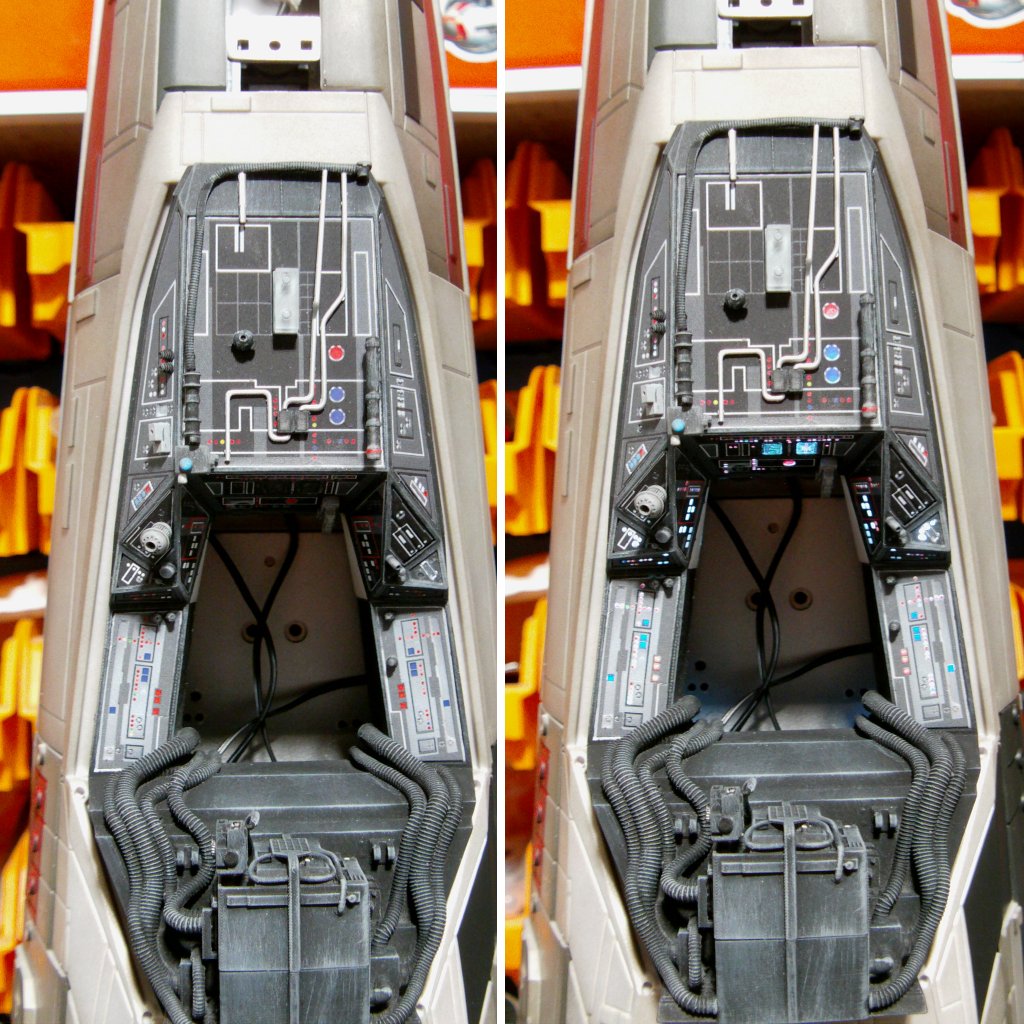
Better!
Even light all round and no bloody hotspots.
Onward to page 4!
Page Number