
DeAgostini Build Your Own X-Wing Partwork
1/18th Scale


 Page Number
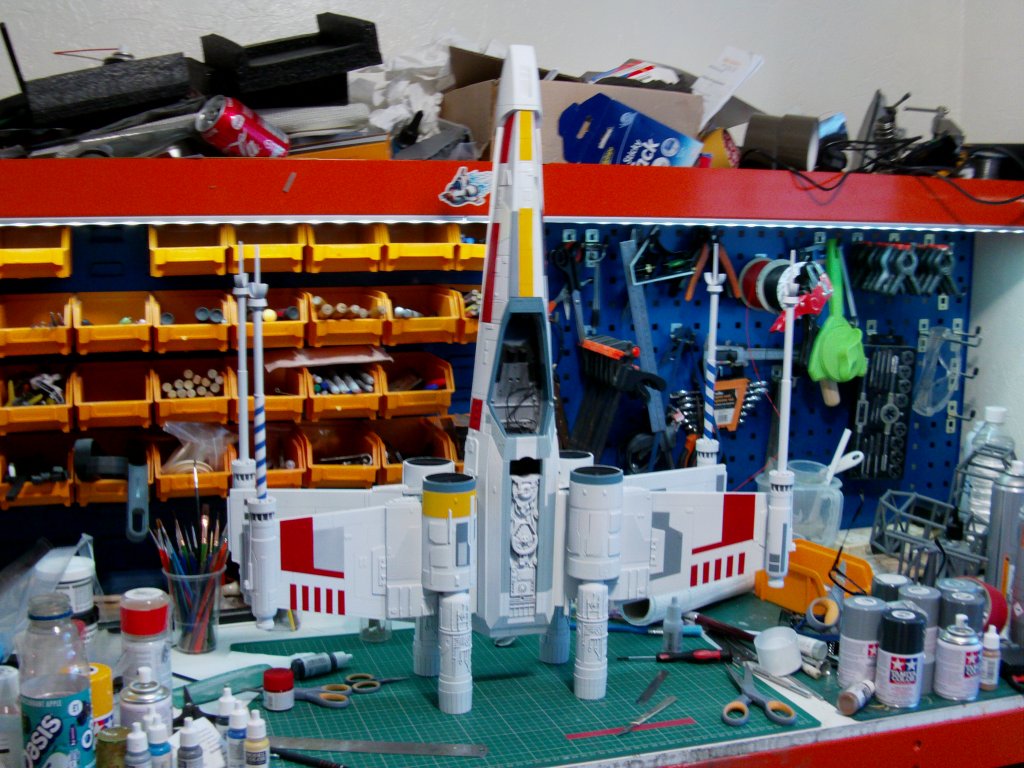
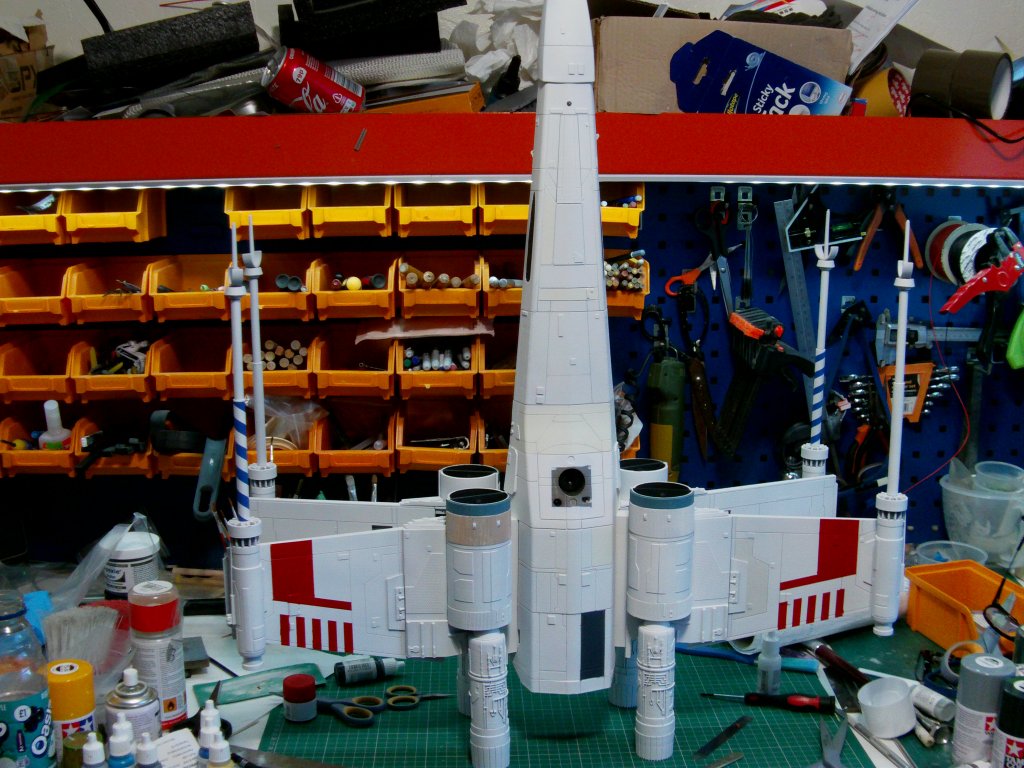
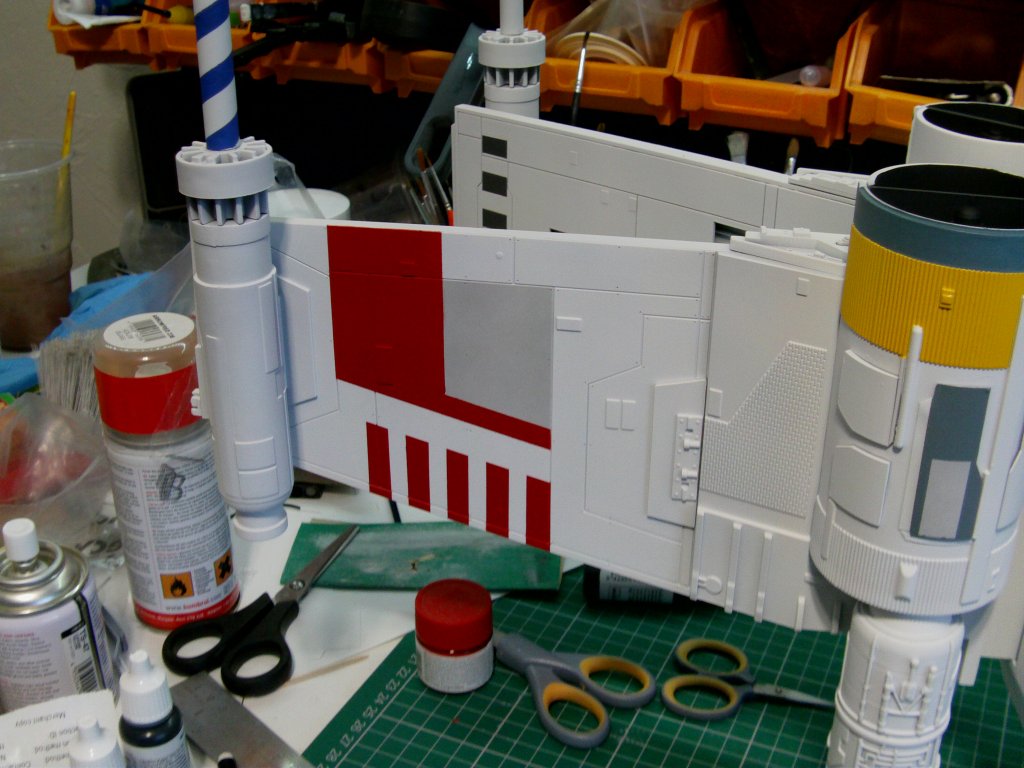
White, ivory, blue, grey...
And A Dash Of Red For Show.
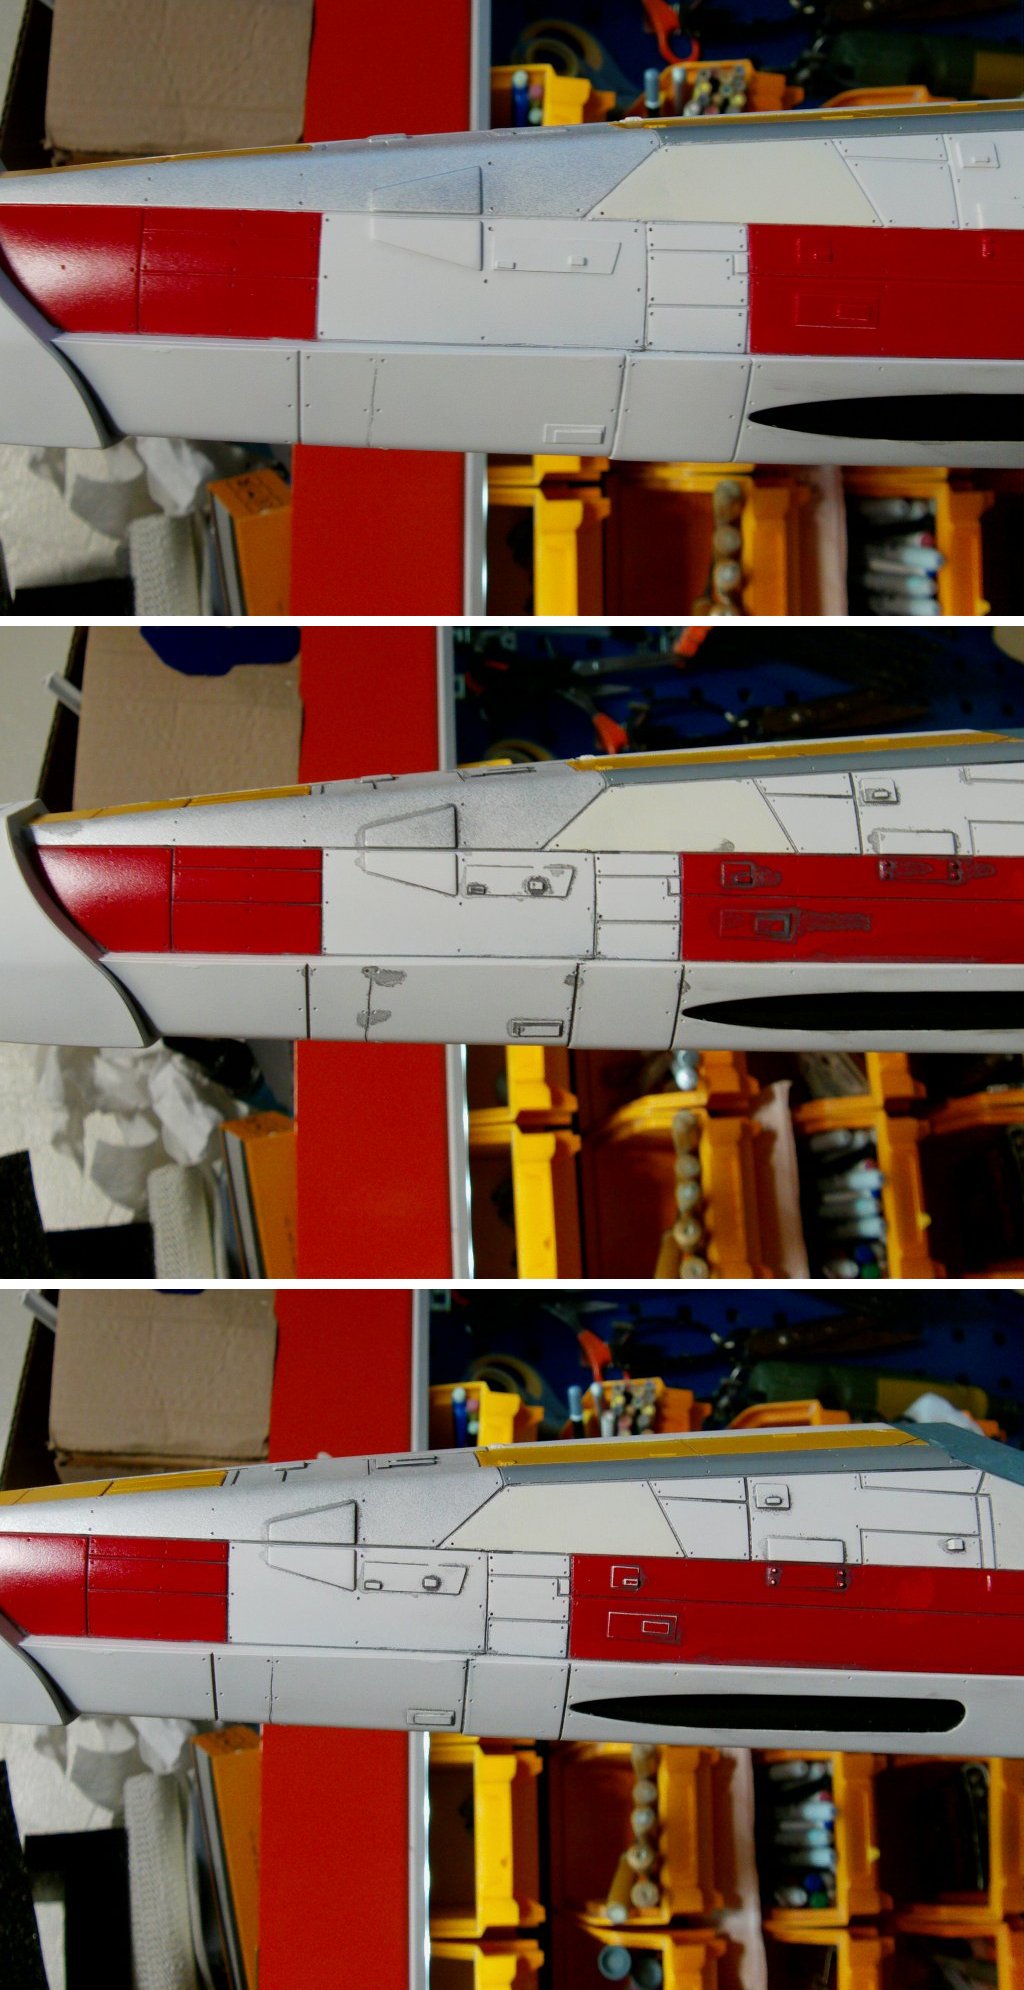
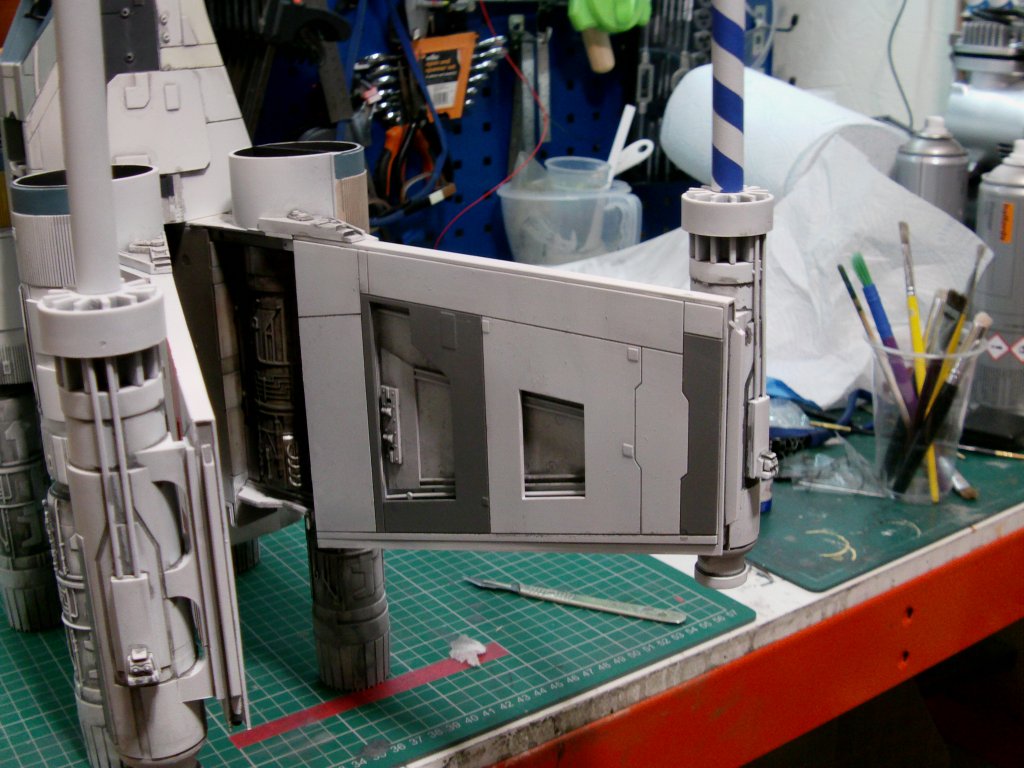
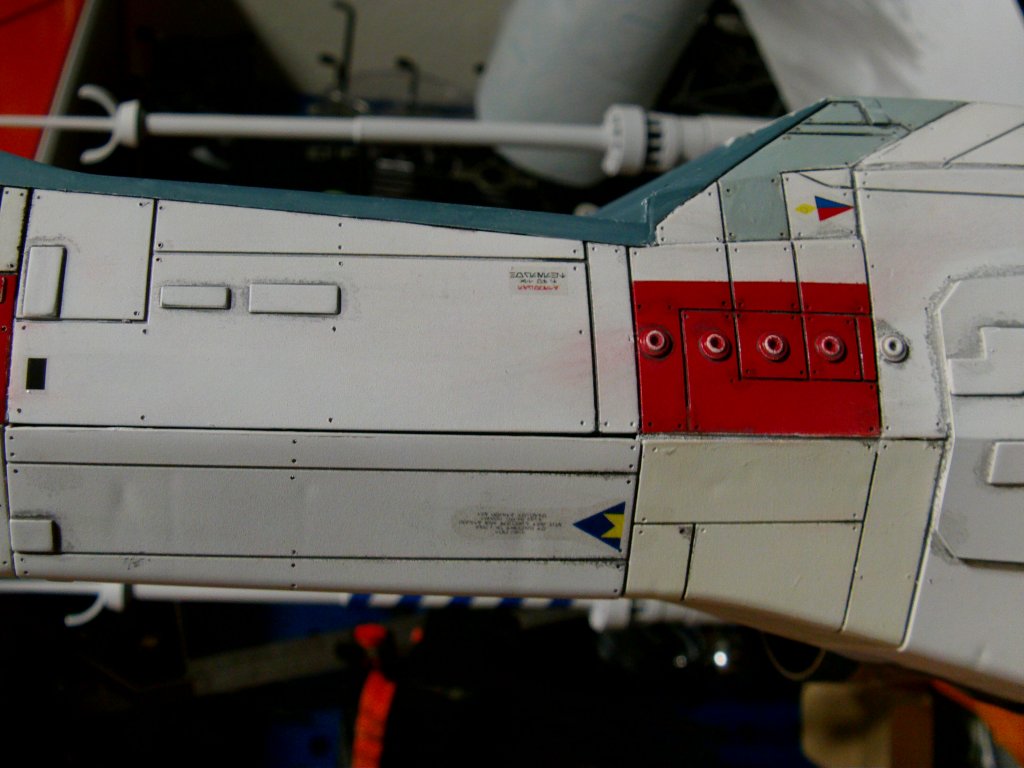
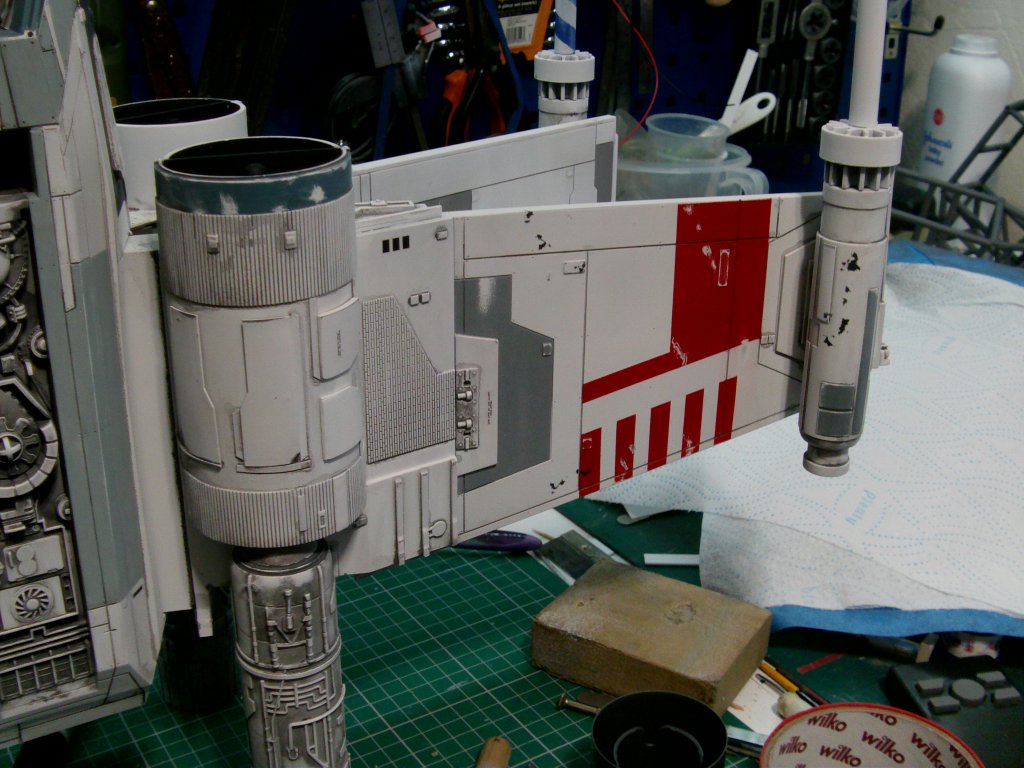
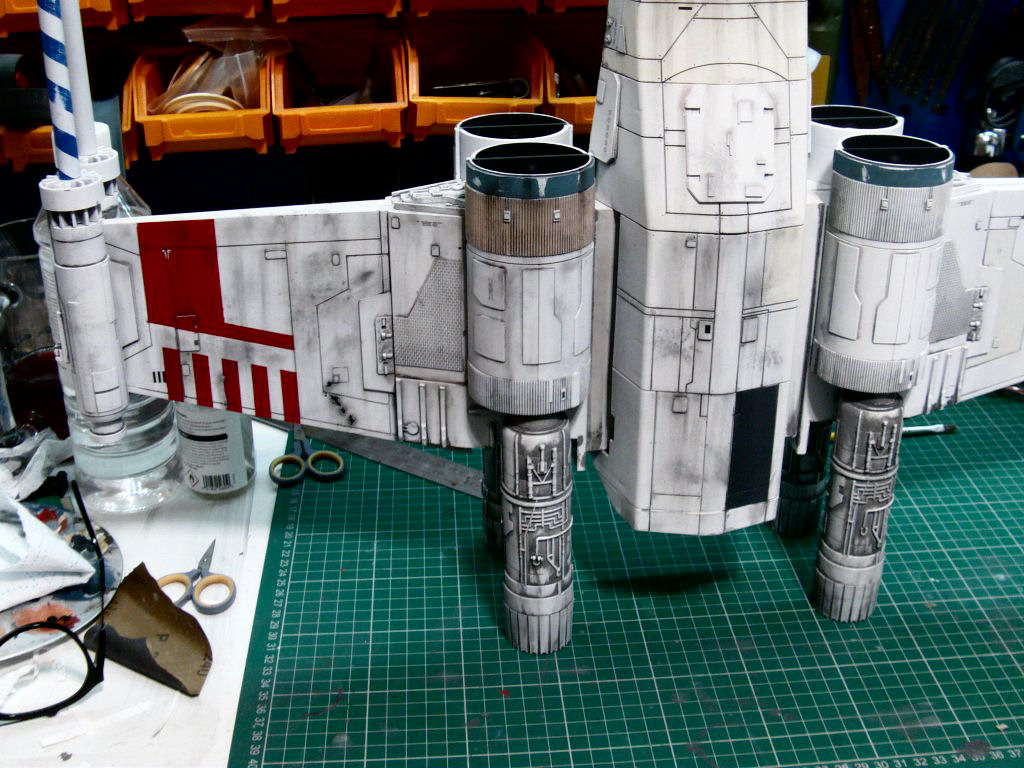
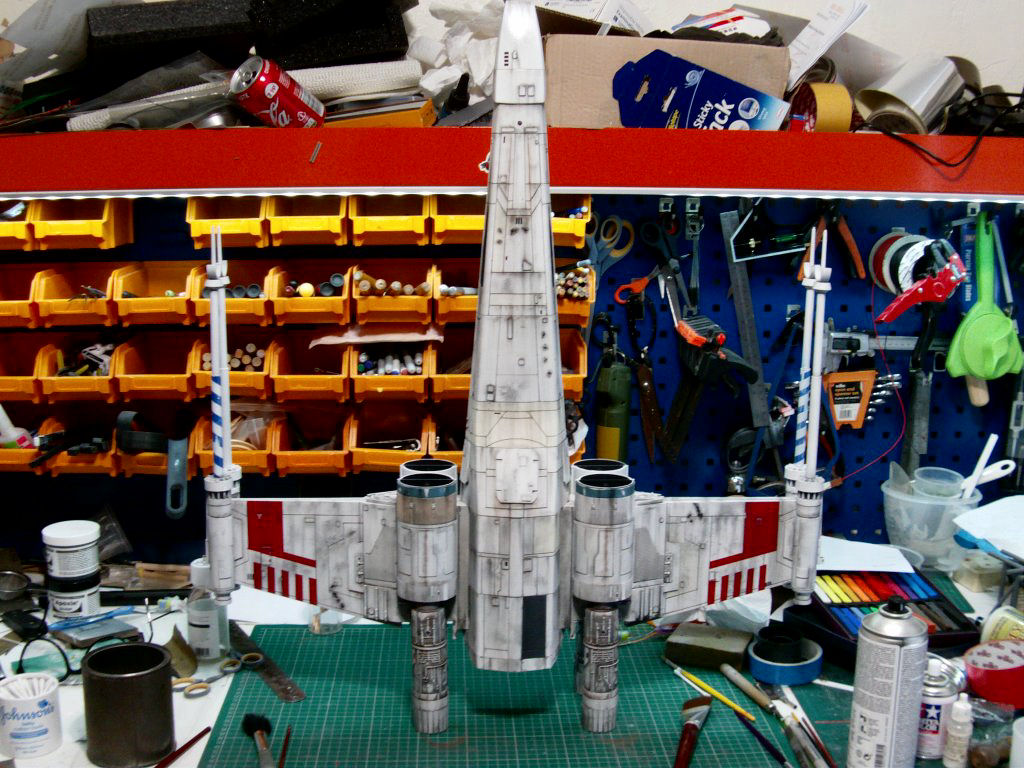
Right then, the paint palaver.
Started off with a base of grey car primer, then matt white.
Combo of Tamiya fine white and Car matt white primer.

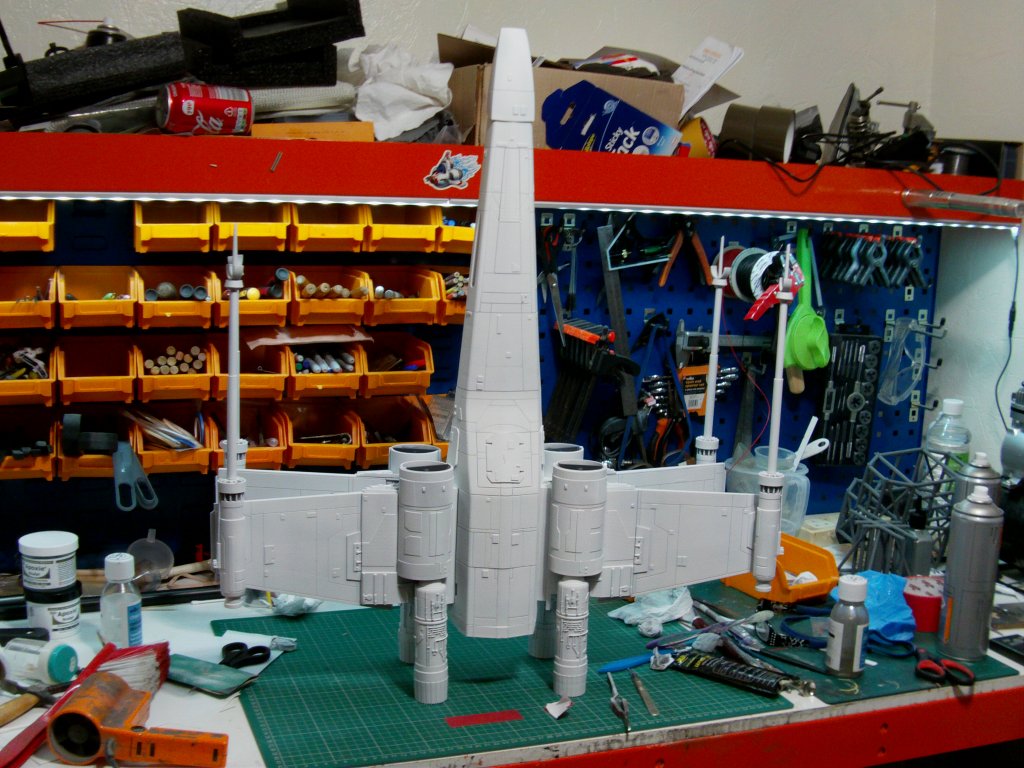
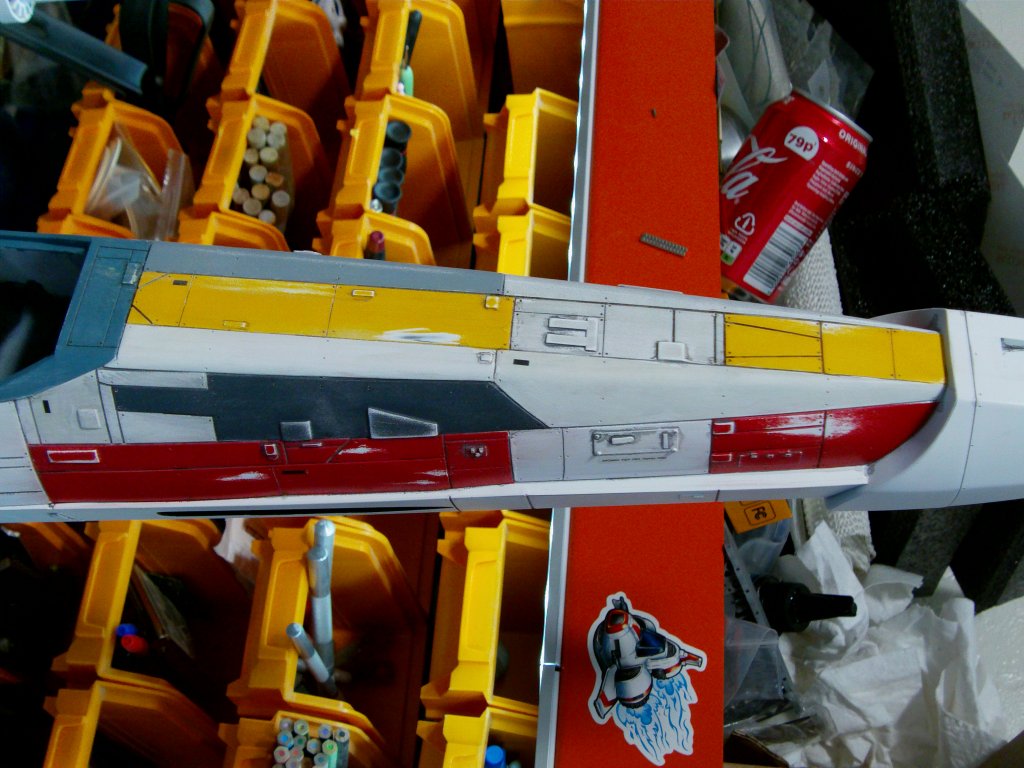
Multi coloured panels done with a mix of Tamiya rattlecan's/primer and mixed Vallejo acrylics.

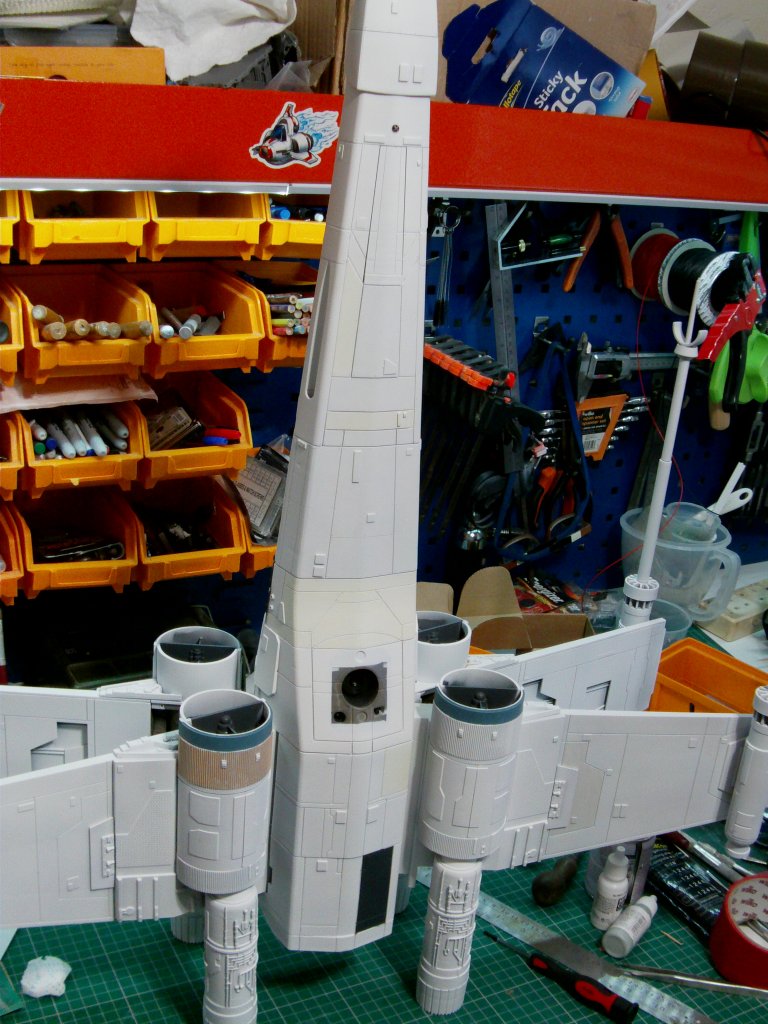

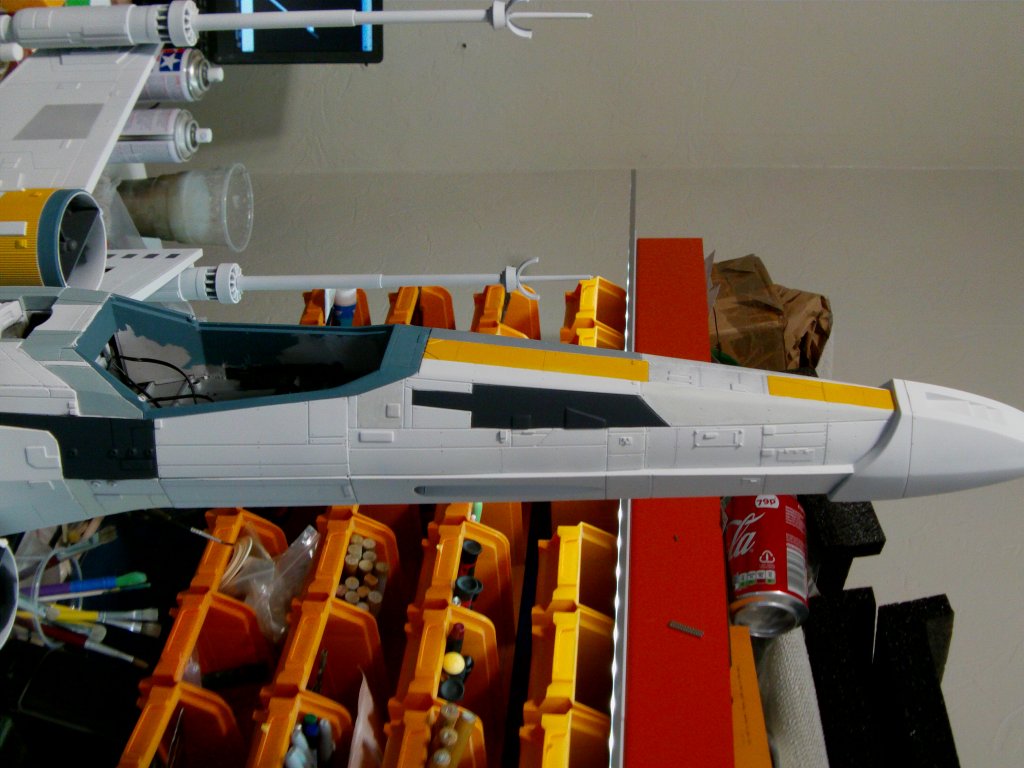
Red Squadron markings with Humbrol rattlecan gloss red.
Barber pole striping on the guns Vallejo royal blue.
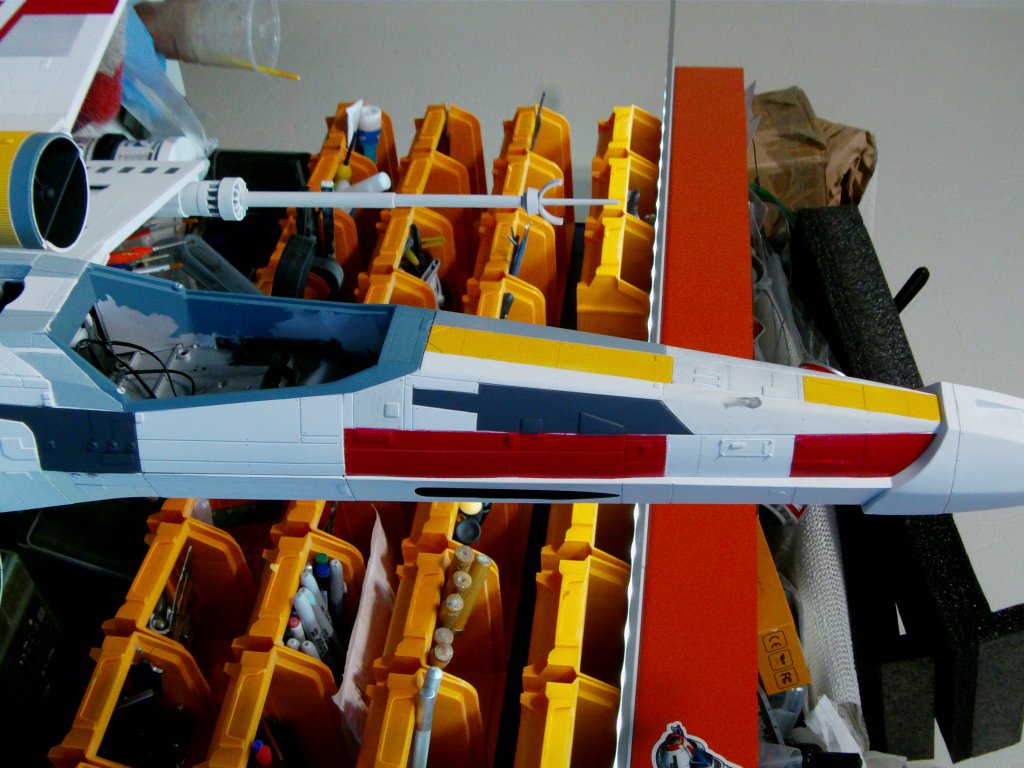
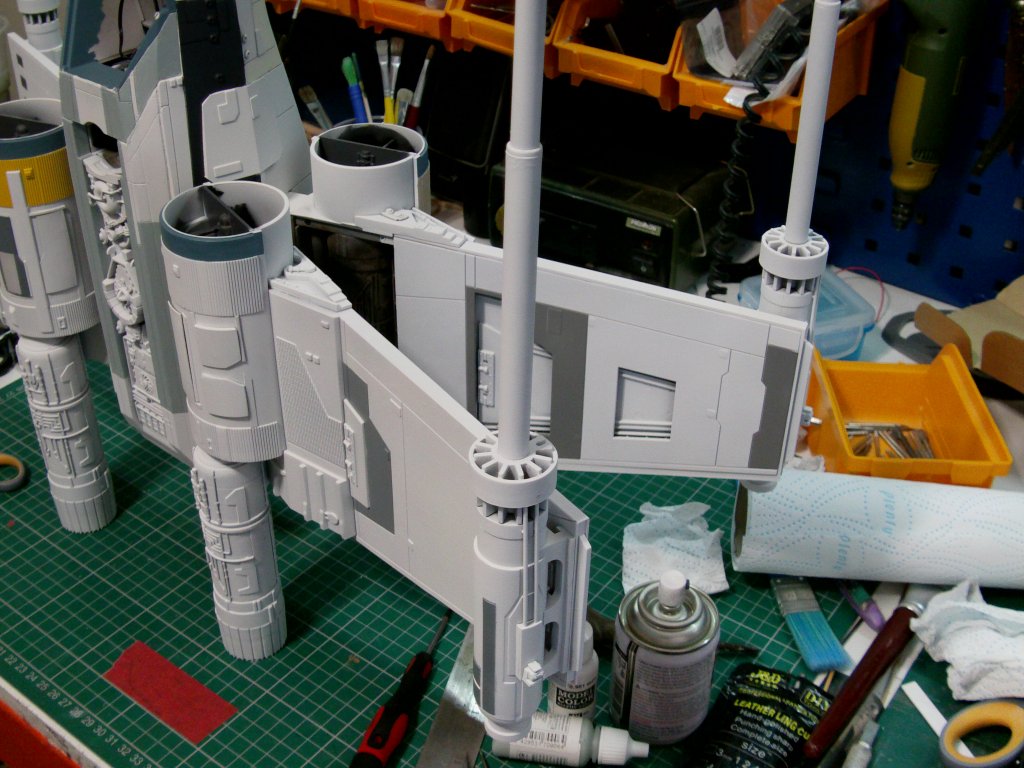
Once all settled, then the panel line accent.
Thinned humbrol enamel dark grey, about 4 parts thinner to 1 part paint.
Applied and left to run, then cleaned up with a thinner dampened rag.
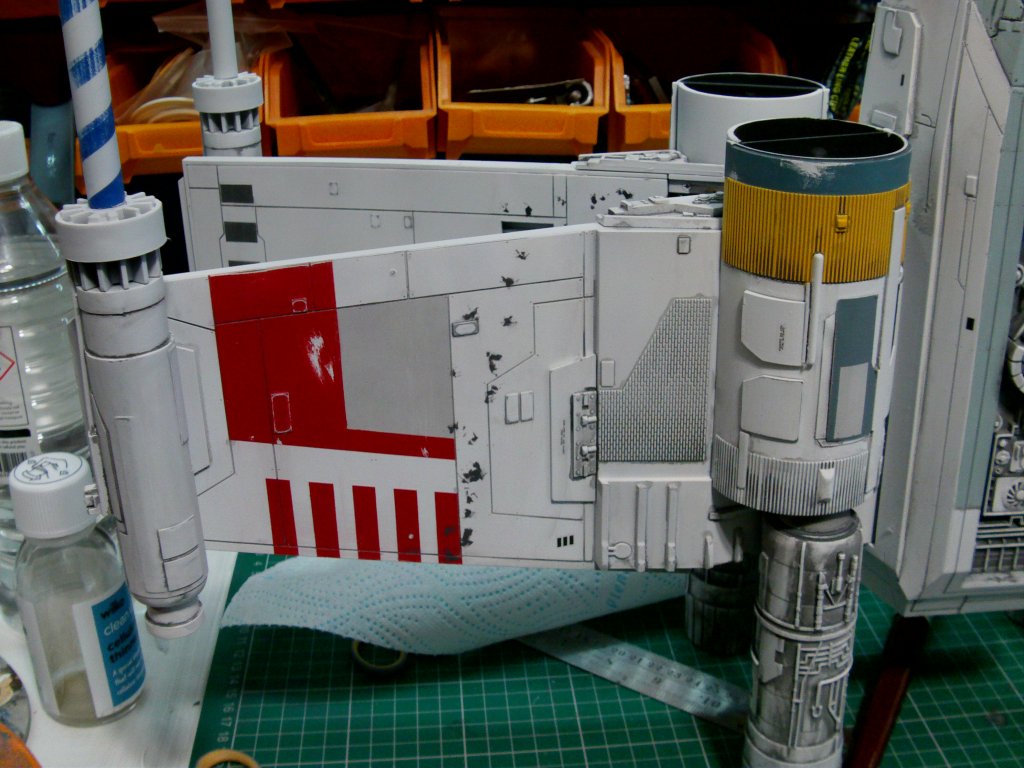
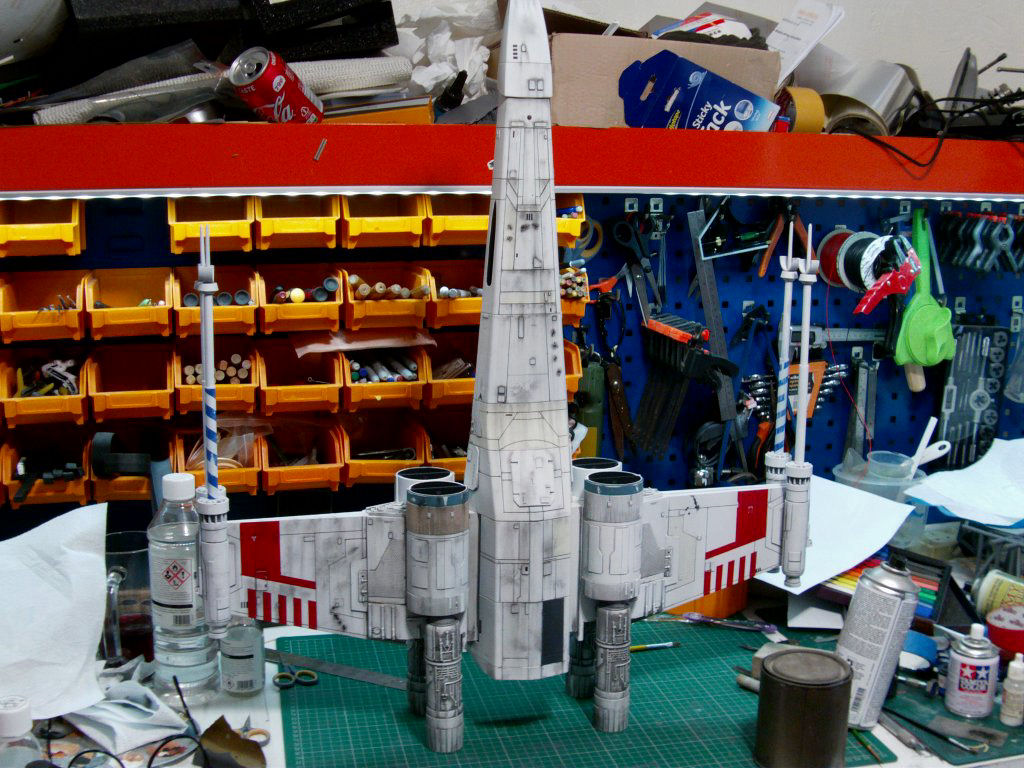
The result in stages below.
The overall look.
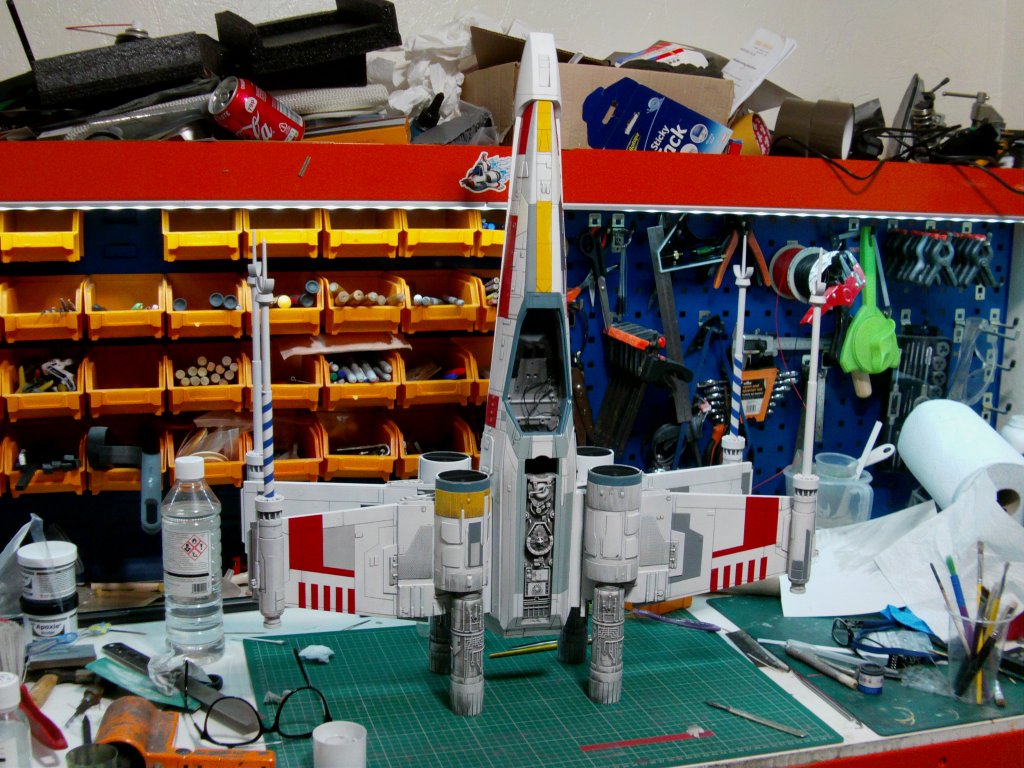
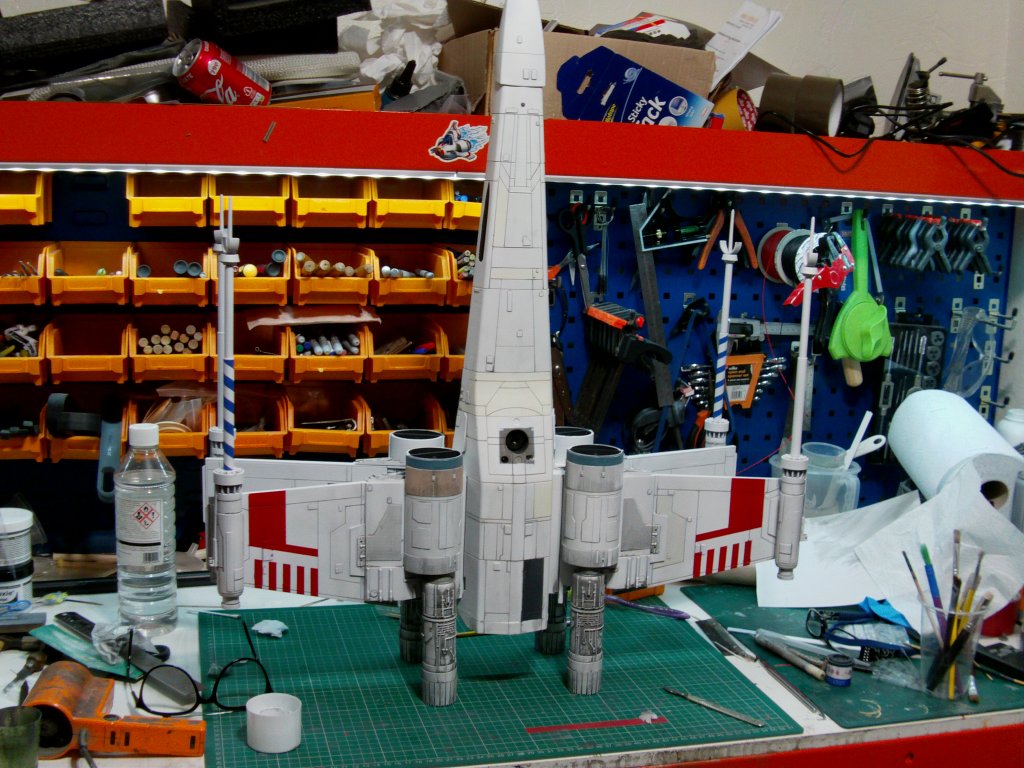
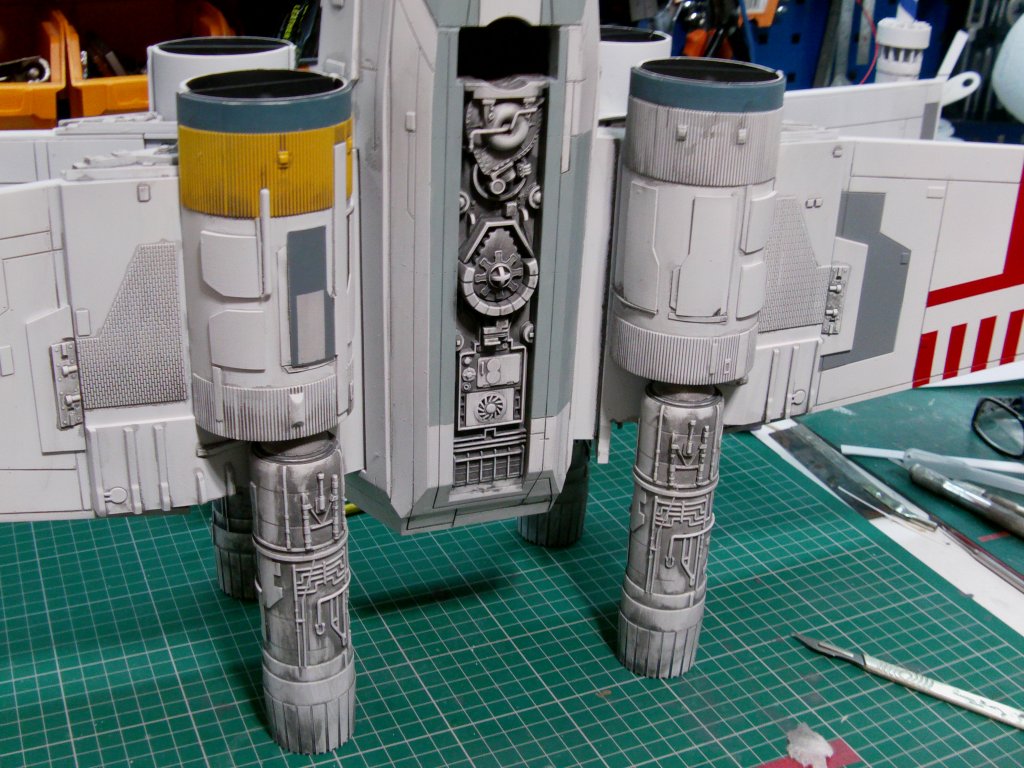
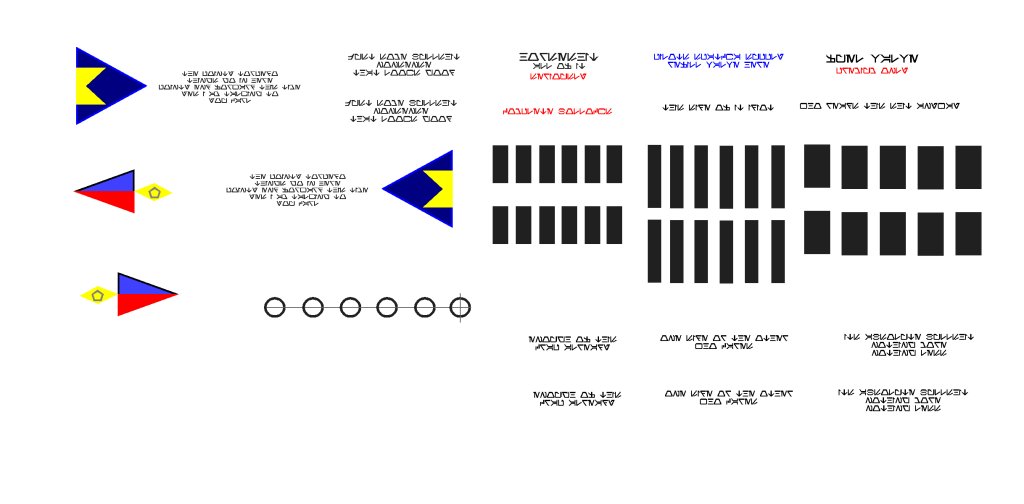
I made up some stencil decals to go in places because why not..
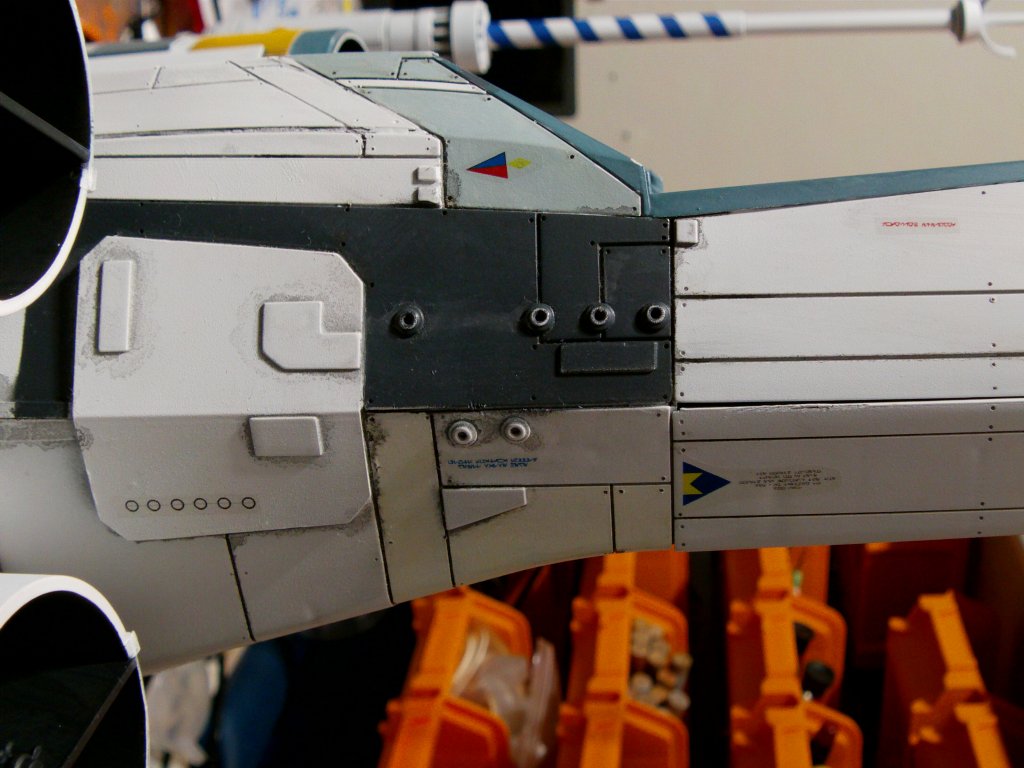
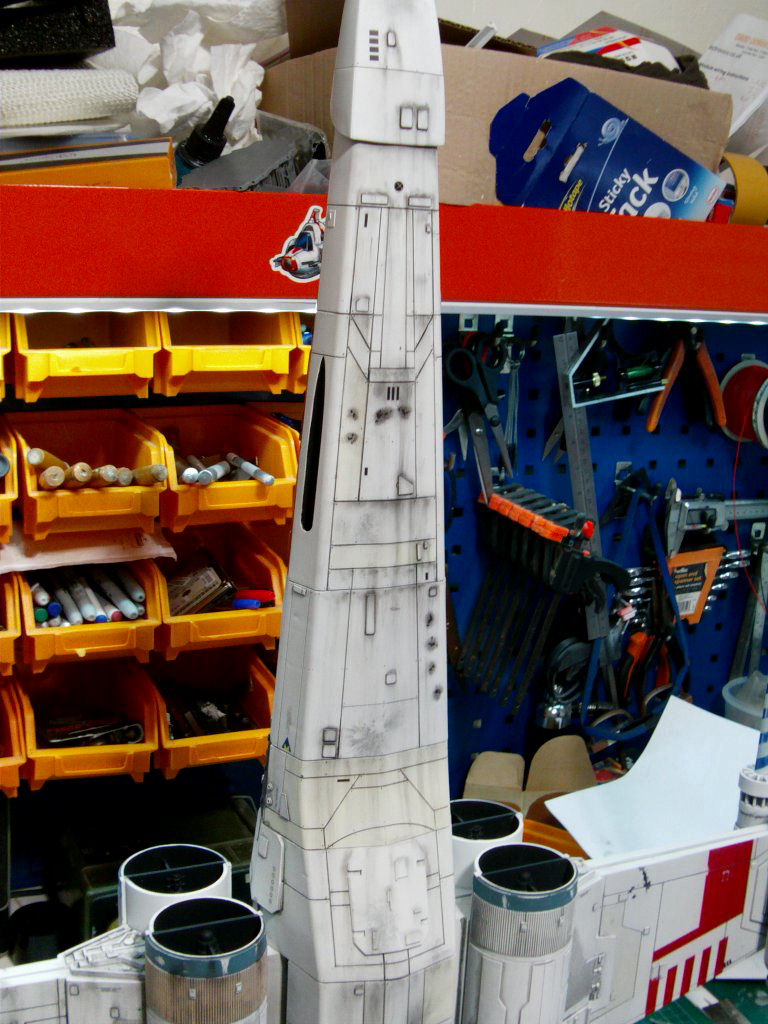
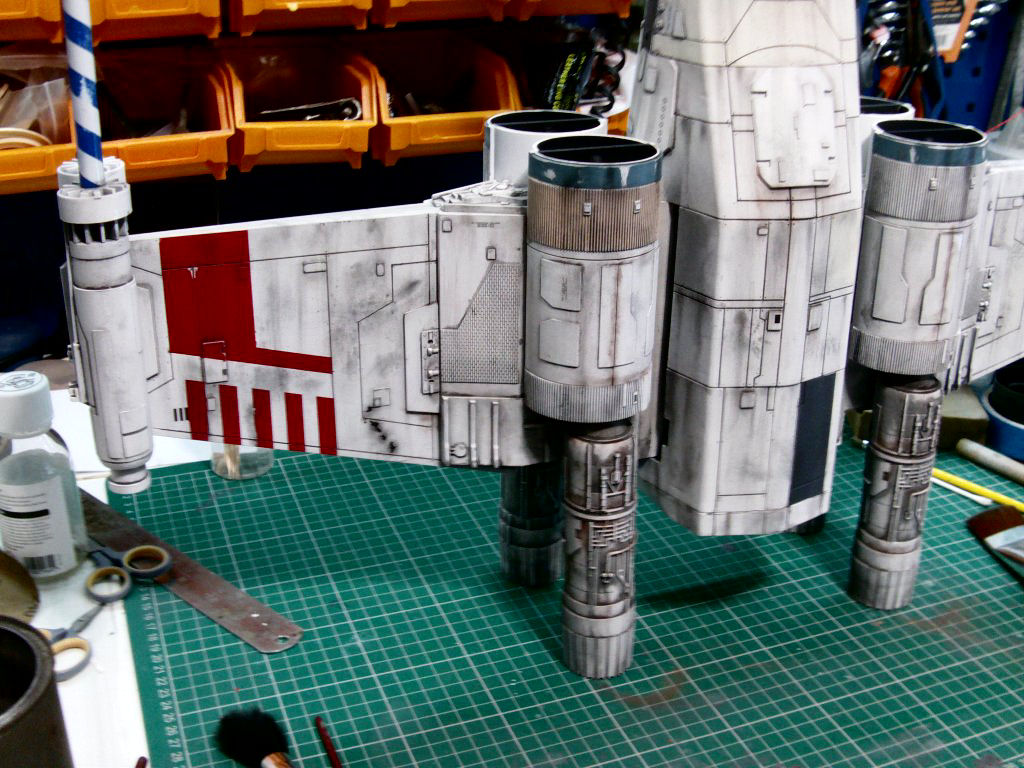
Once they had settled down, time to scuff up the paintwork.
A combo of scraping with a scalpel blade and small chisel,
then wet & dry paper used both wet and dry where required.
Placed splotches of german grey here and there to represent impacts.
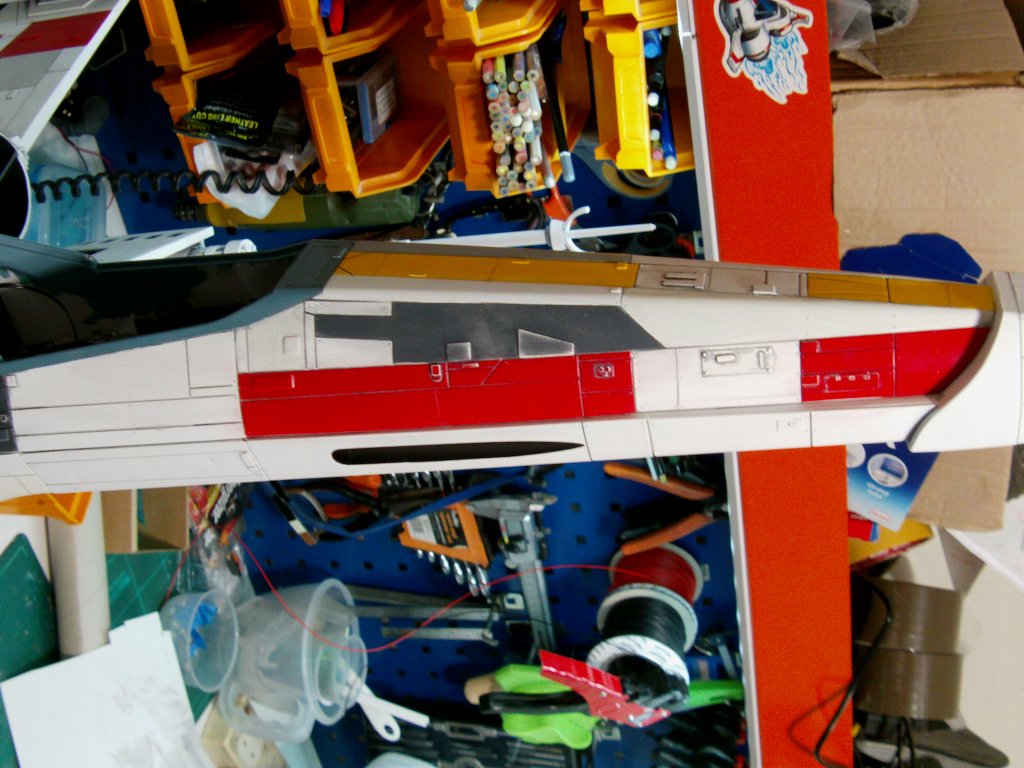
A decent coat of matt varnish to give the weathering powder something to grip and time to get started.
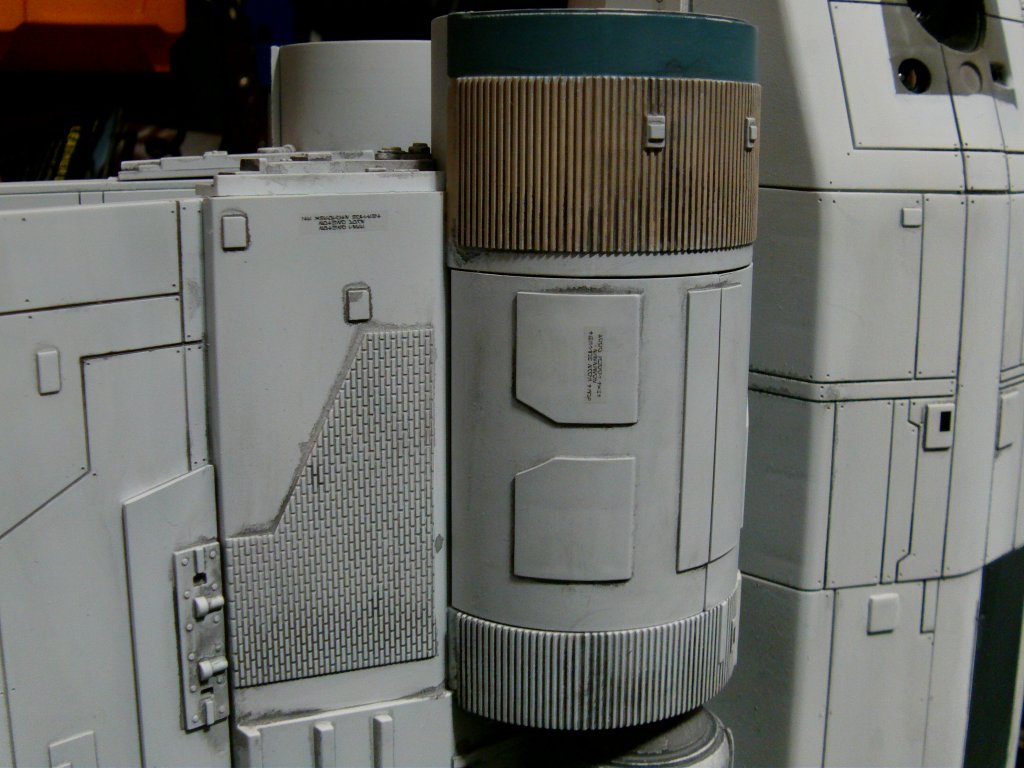
Ground down some black, grey and mid brown pastel chalks for this,
Also broke out my can of graphite powder.
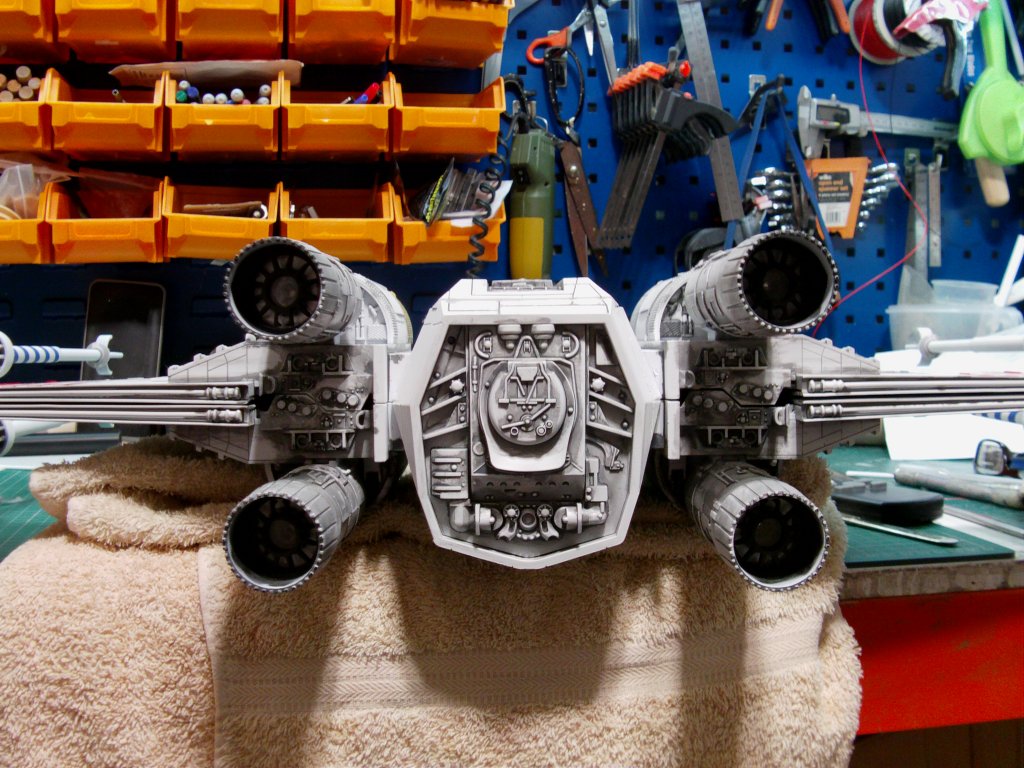
The fuselage bottom surface and one lower wing outside done with the first layer.
Underside first layer complete.
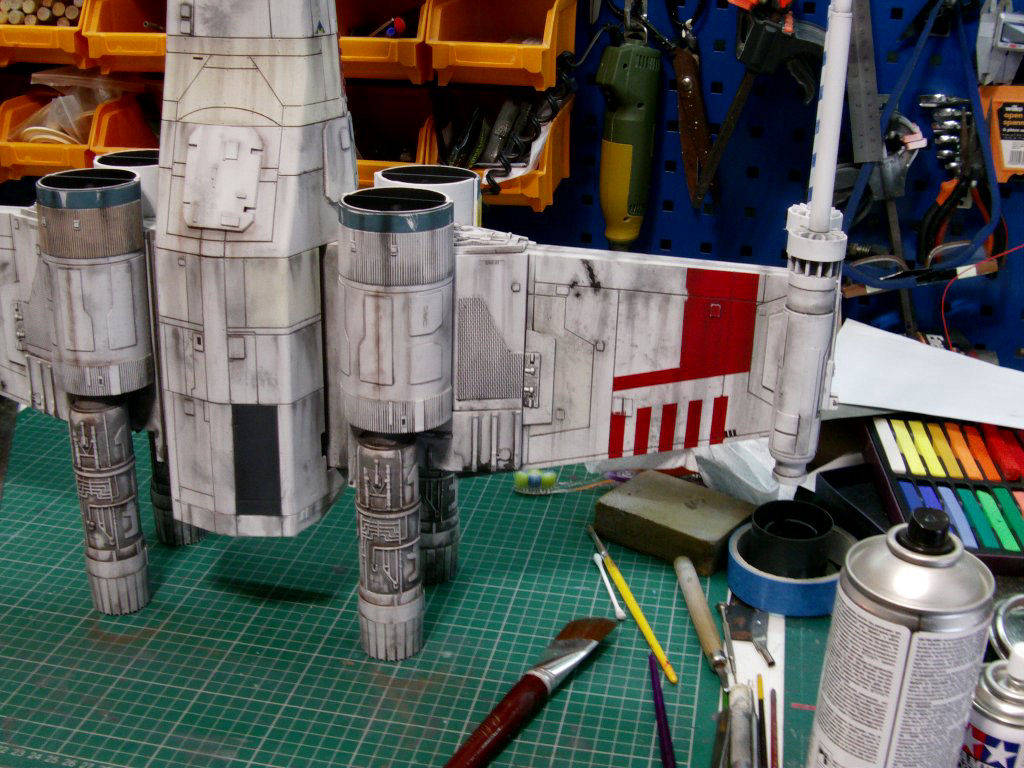
More of this lark to be found on page 6!
Page Number