#
DeAgostini Build Your Own X-Wing Partwork 1/18th Scale WiP Log Page 7

DeAgostini Build Your Own X-Wing Partwork
1/18th Scale


 Page Number
Just a few adjustments to be made...
And It's A Done Thing!
Welcome back!
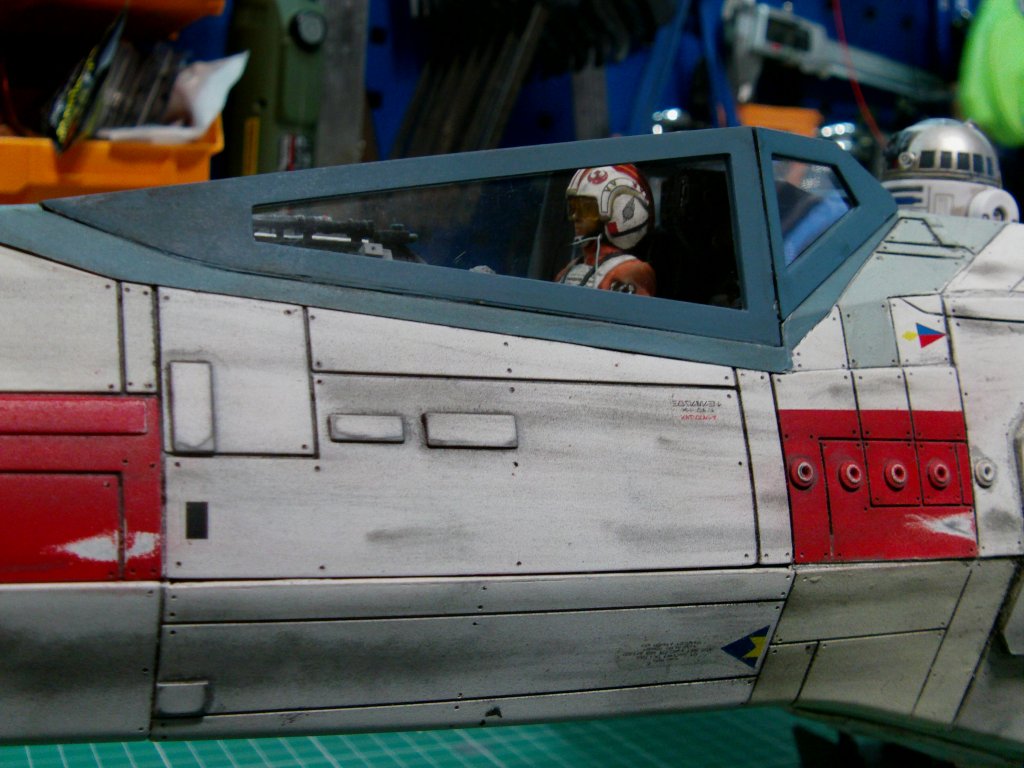
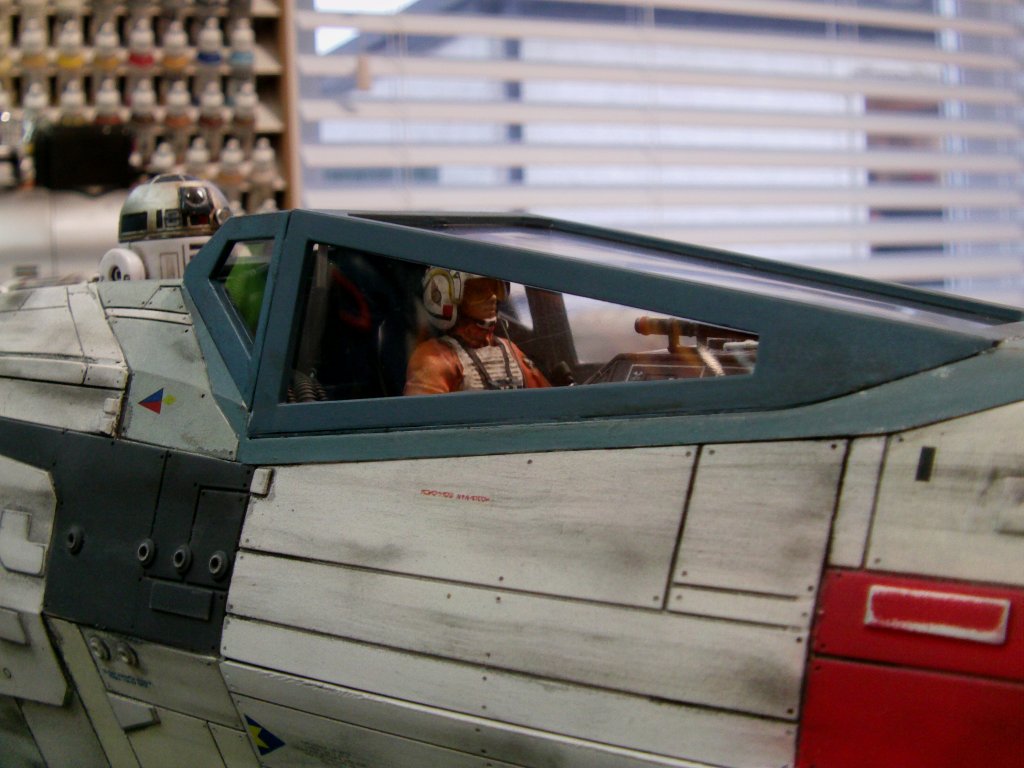
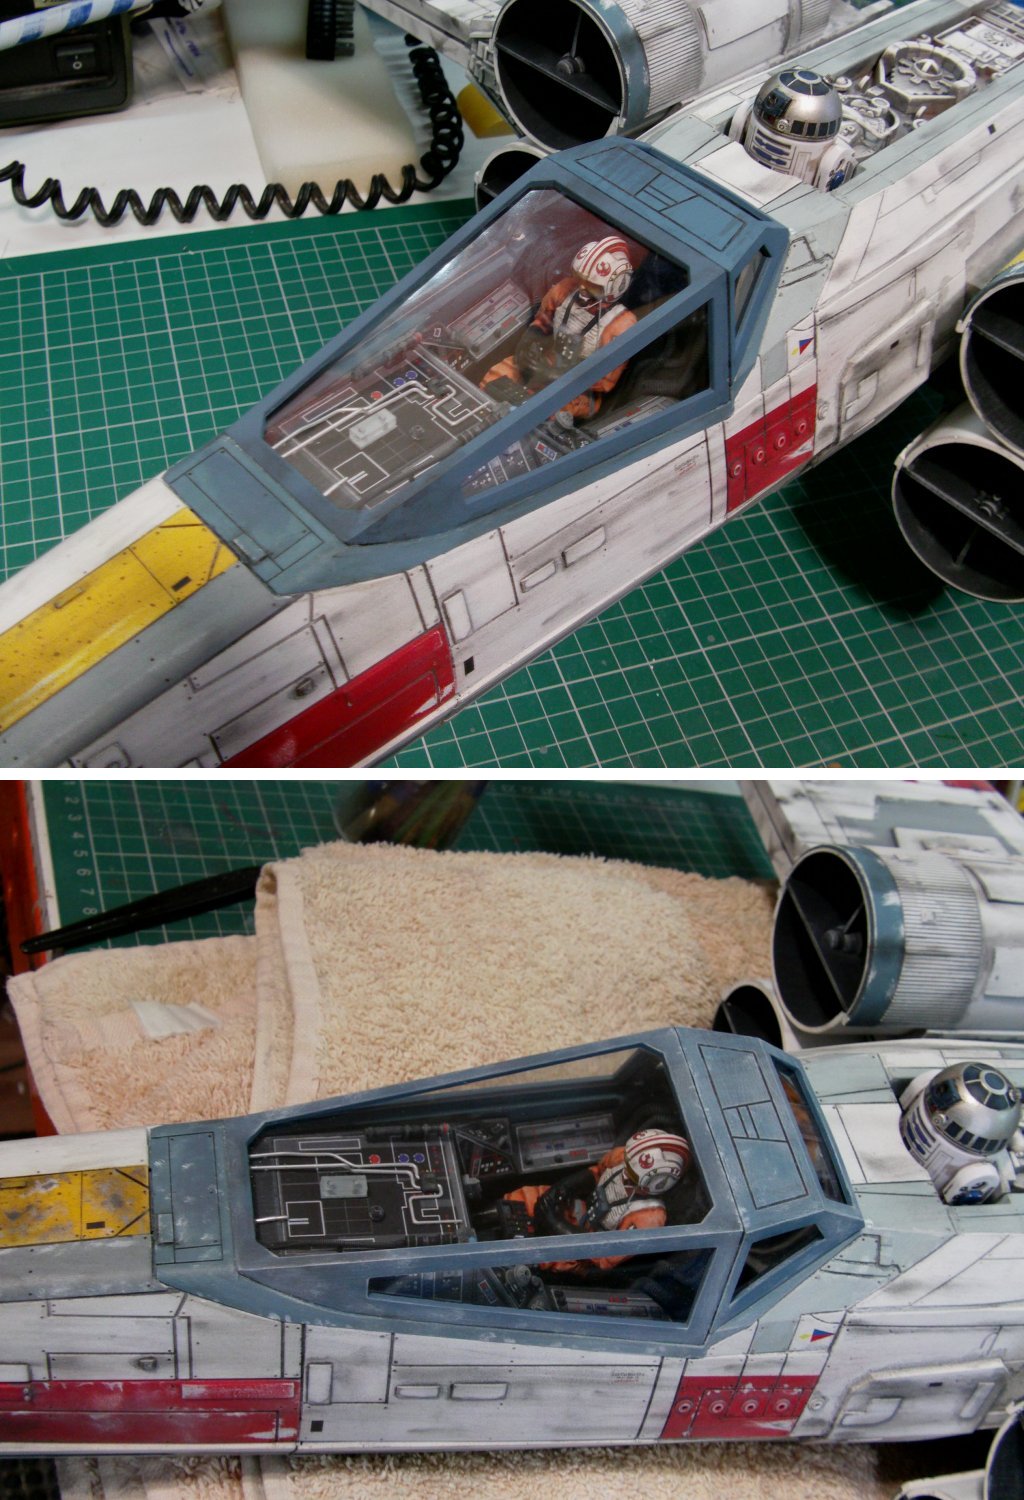
Last build job to get sorted, the canopy.
Hinge glued shut as the client doesn't want it to open.
Fair enough so the front end cut off then glued and filled it was.
Front end adjusted slightly so it actually fitted.
Glazing via 5thou" clear styrene.
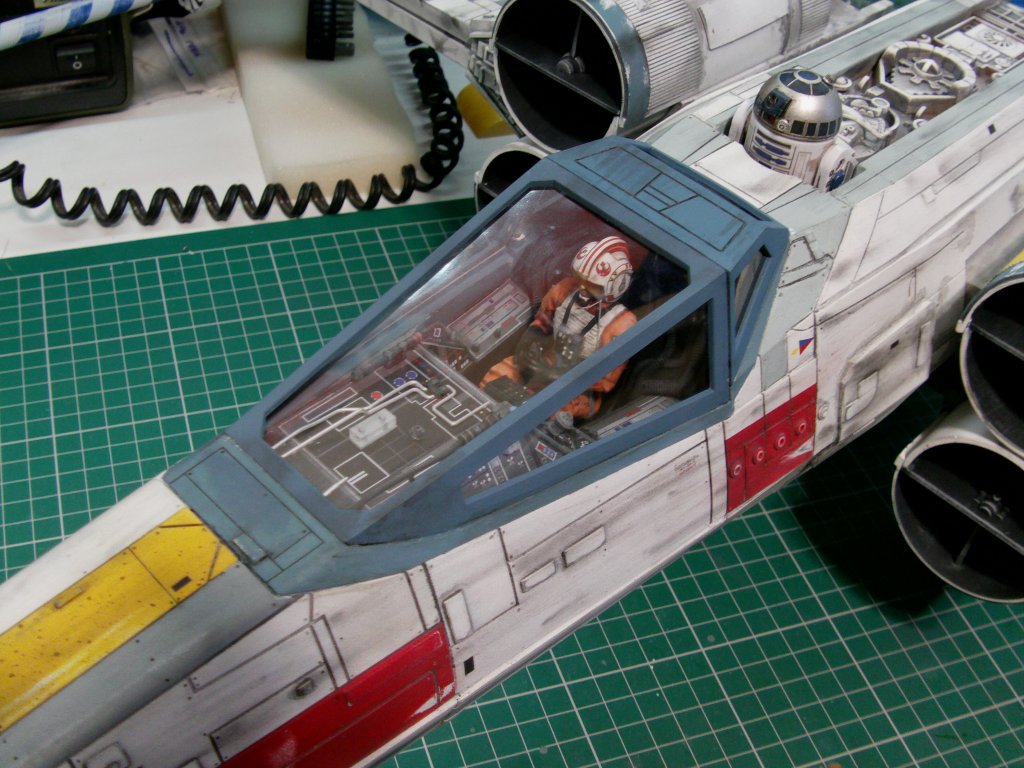
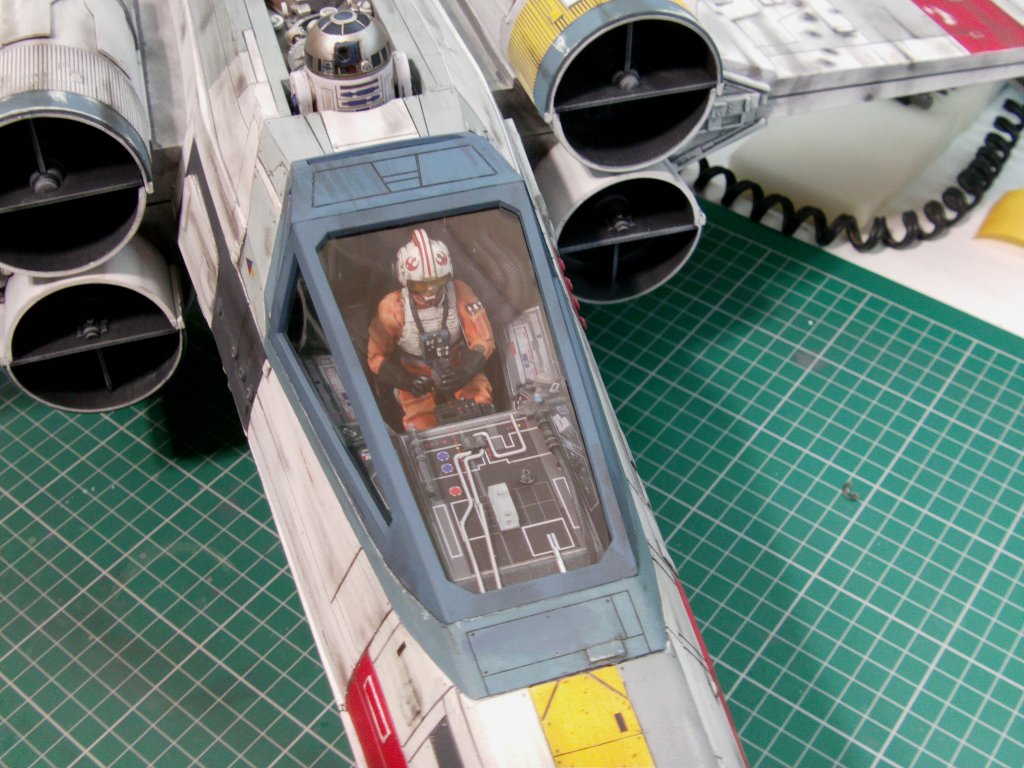
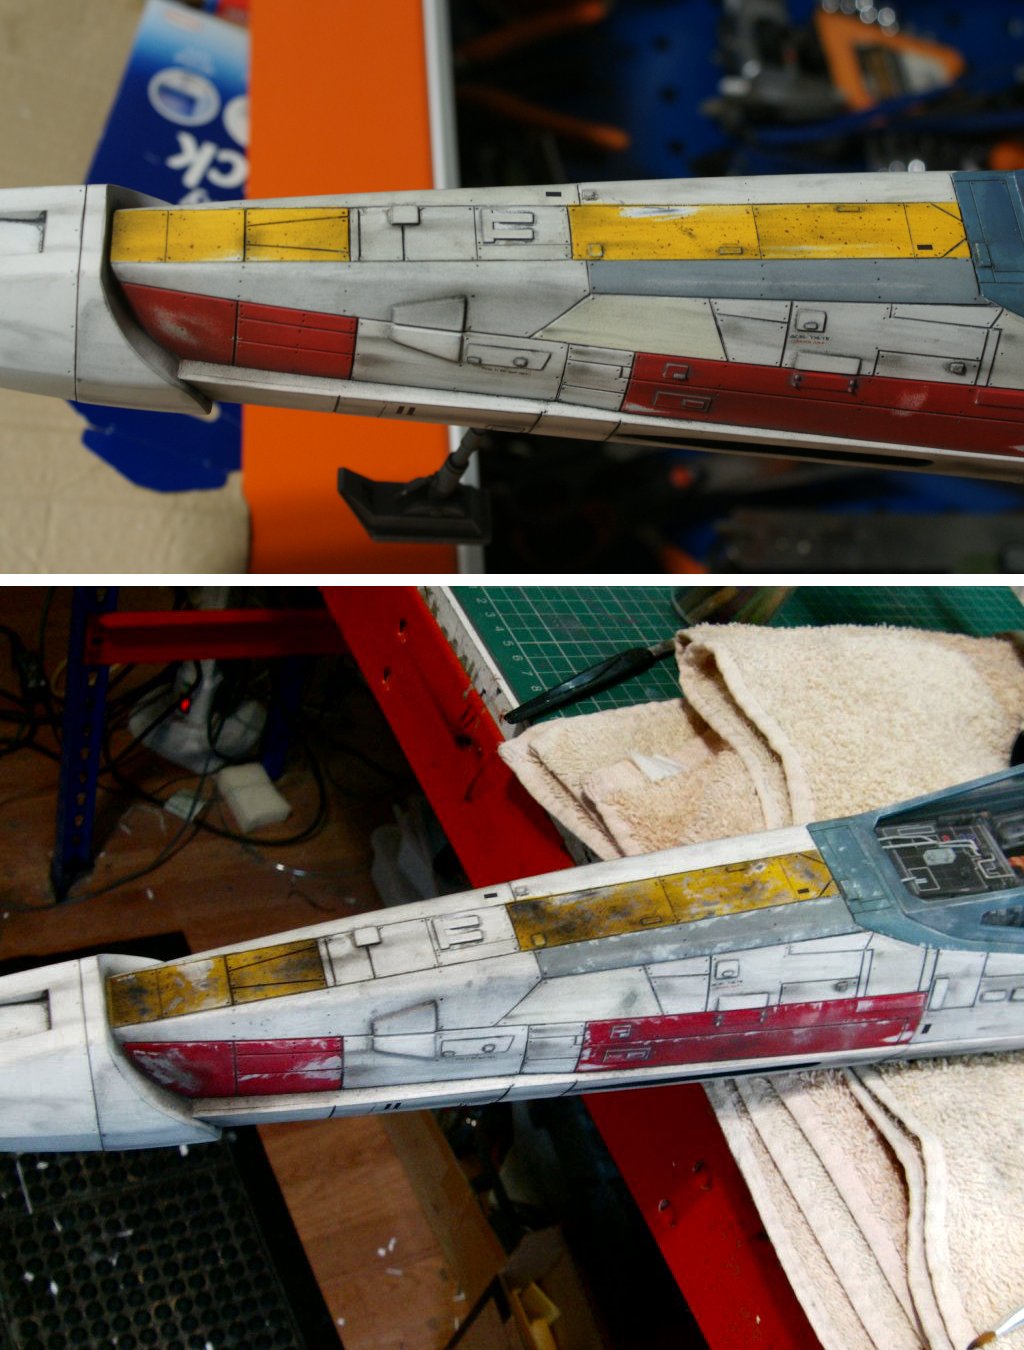
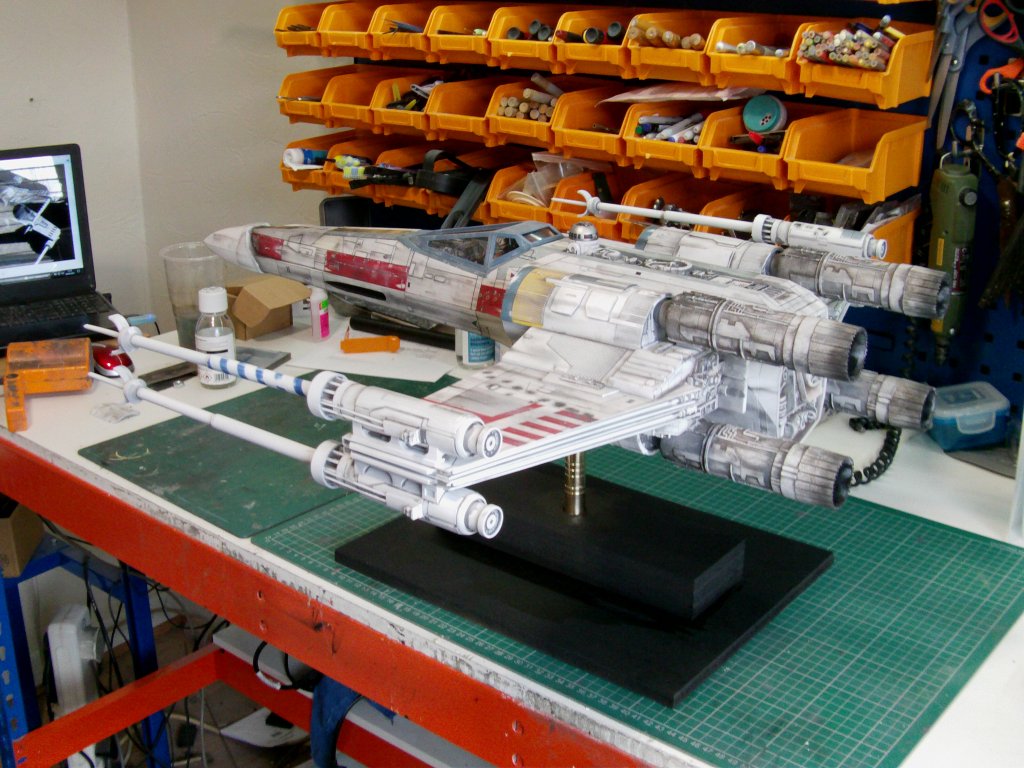
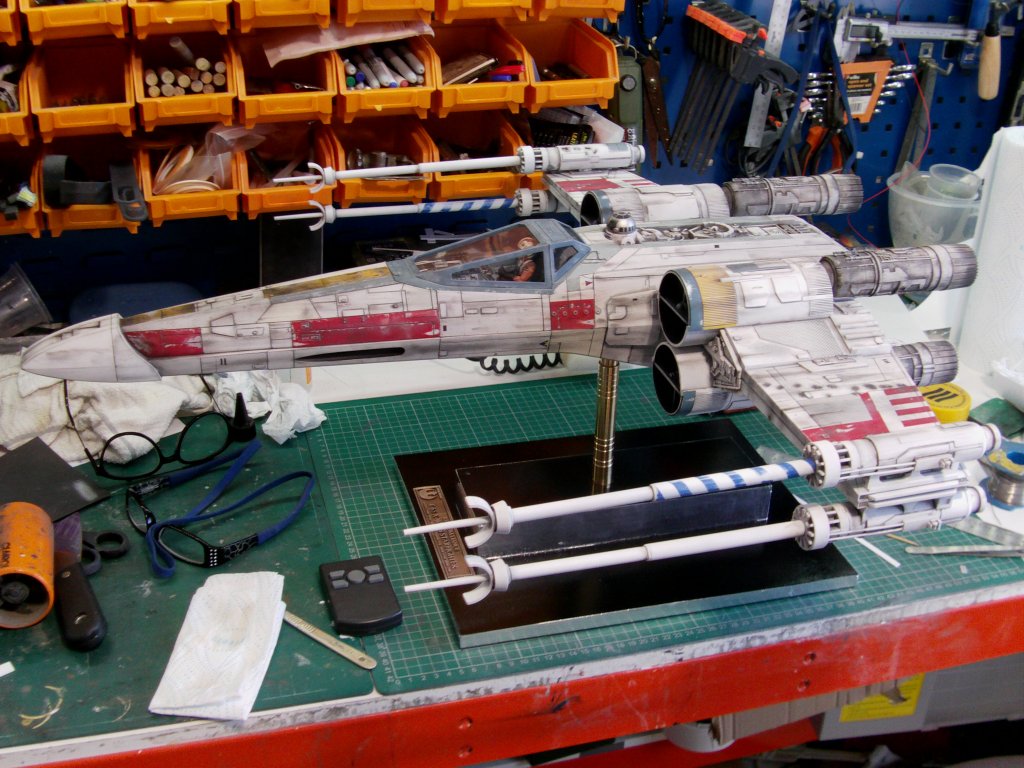
So the main bulk of the build done, client requested a bit more dirt.
When they pay, they say so here's to it.
The front yellow areas got a seeing to, along with some panel edge wear where required.
Canopy likewise.
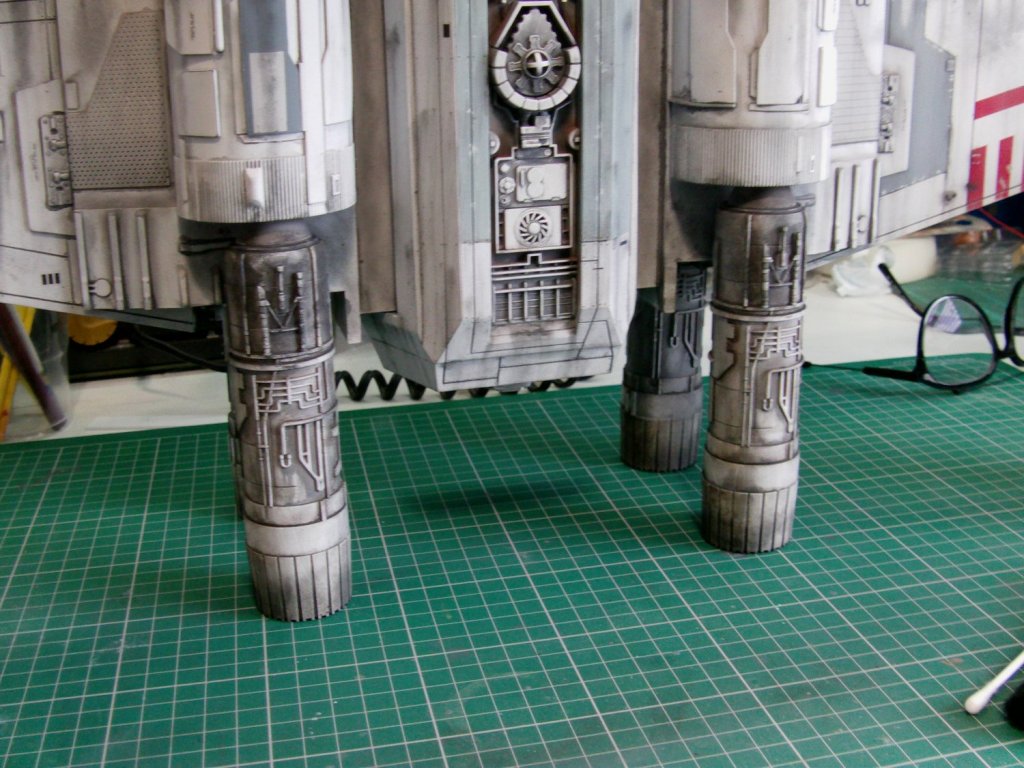
The wings got a bit of extra wear in small areas and a bit of fading to the red.
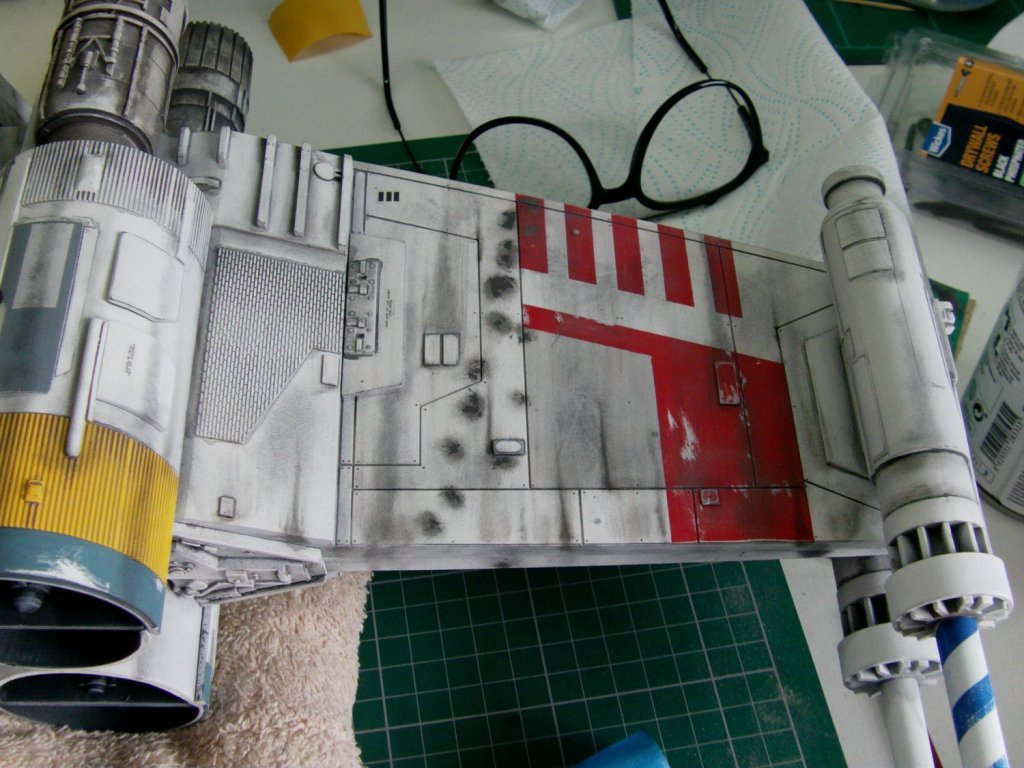
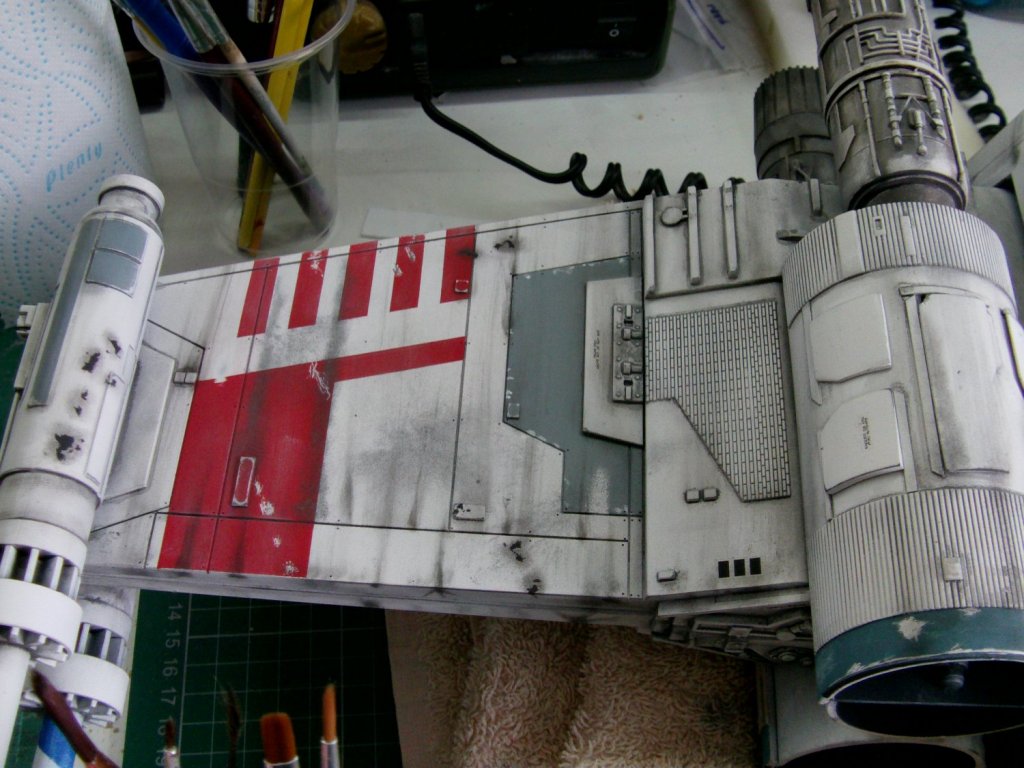
A touch of extra grime on the engines and sorted.
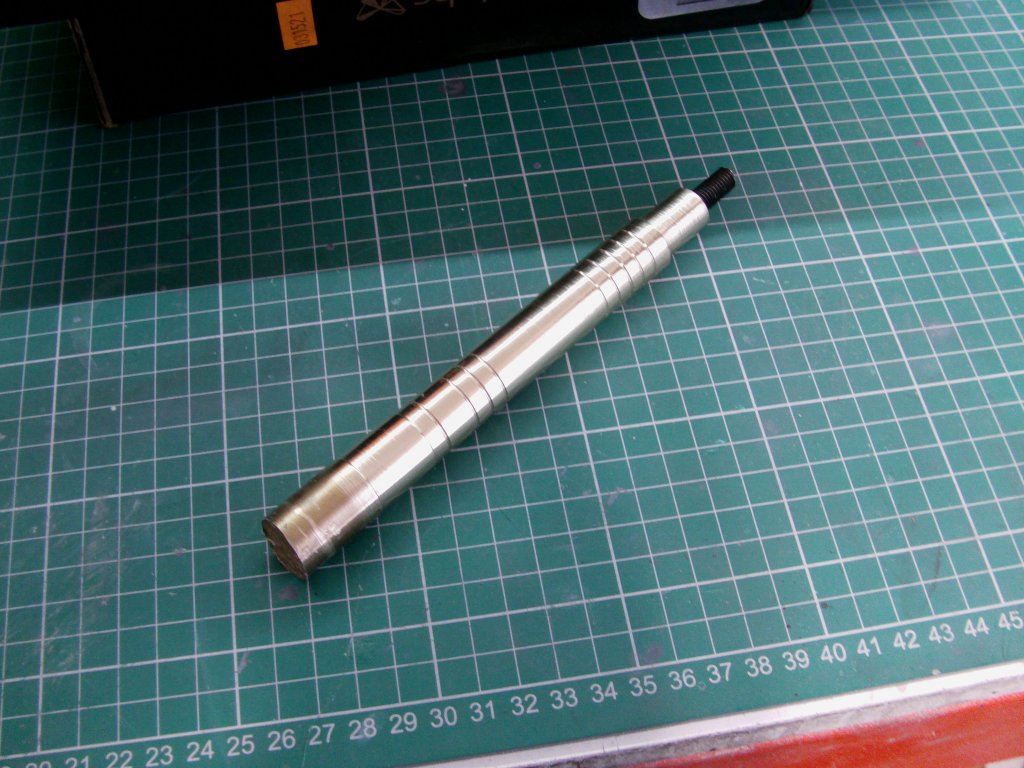
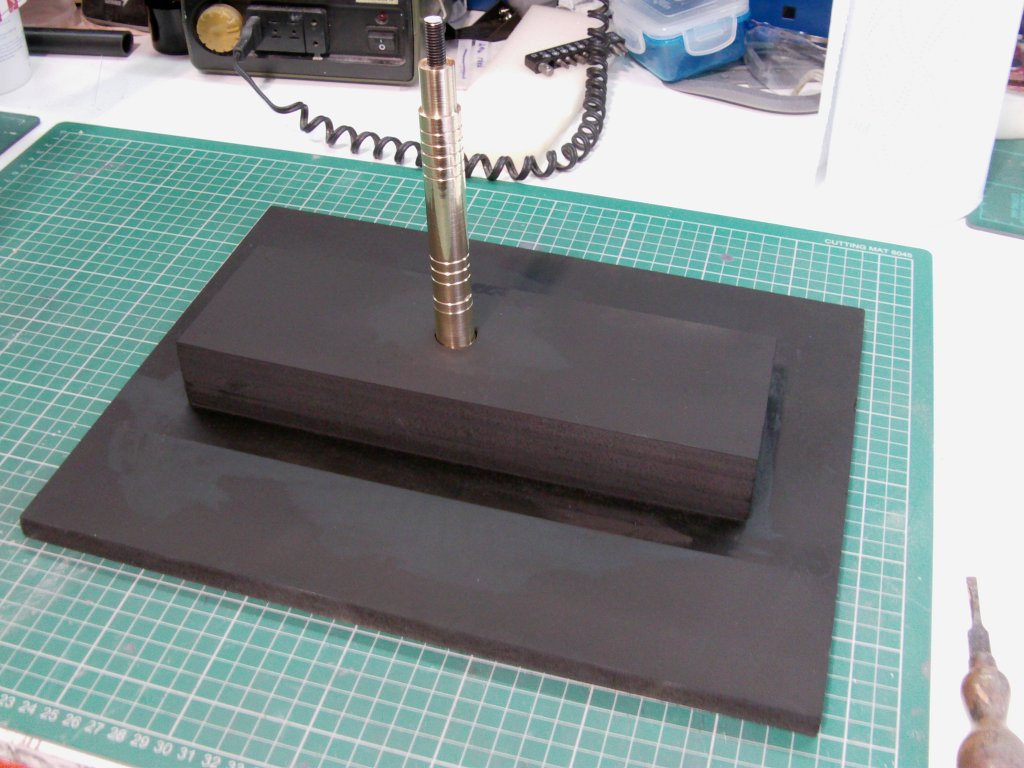
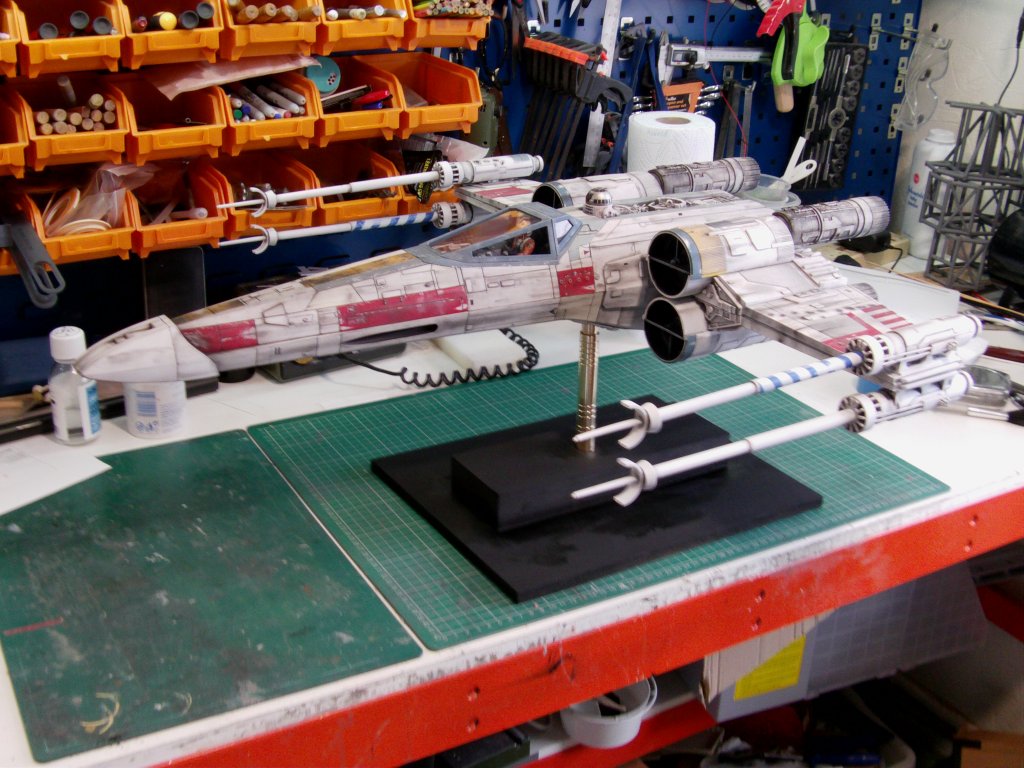
Now a stand to park this all on.
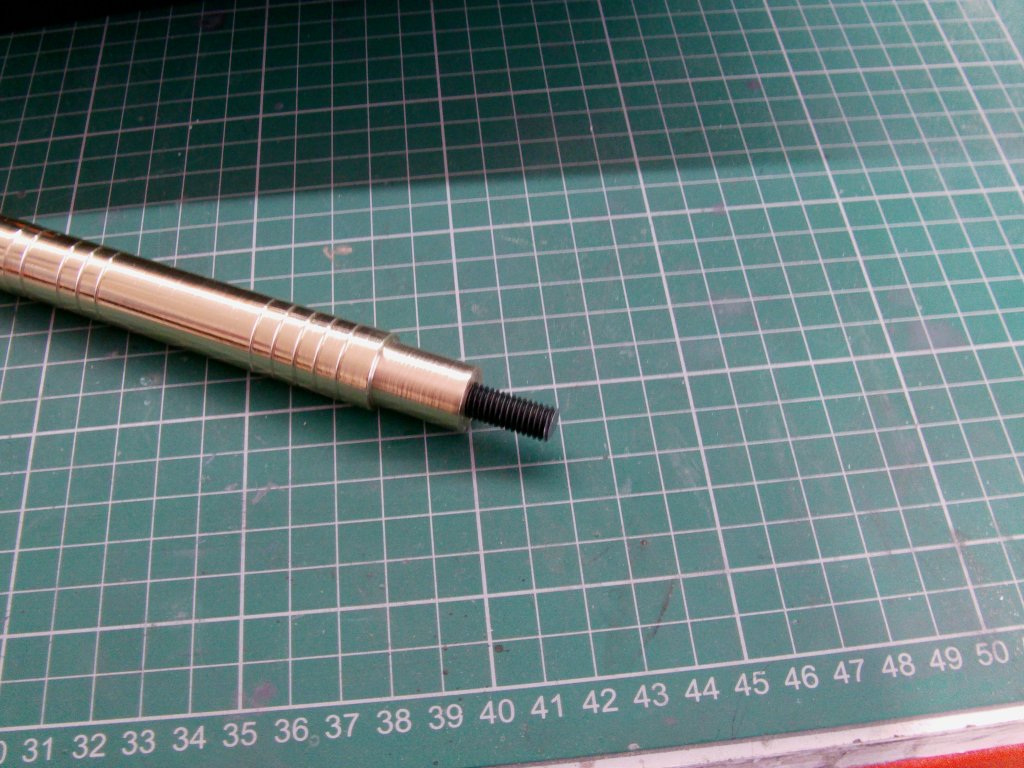
Started with the post, lump of 20mm diameter brass bar stock turned up on my lathe.
Used the 8mm bolt that came with the wall bracket.
Tapped out the top end of the post, drove the bolt home solidly and cut the top off.
Base is just 12mm MDF lumps glued and screwed together.
First coat of black on.
Pretty much has the simple look i'm after so onward!
Tryout looksee.
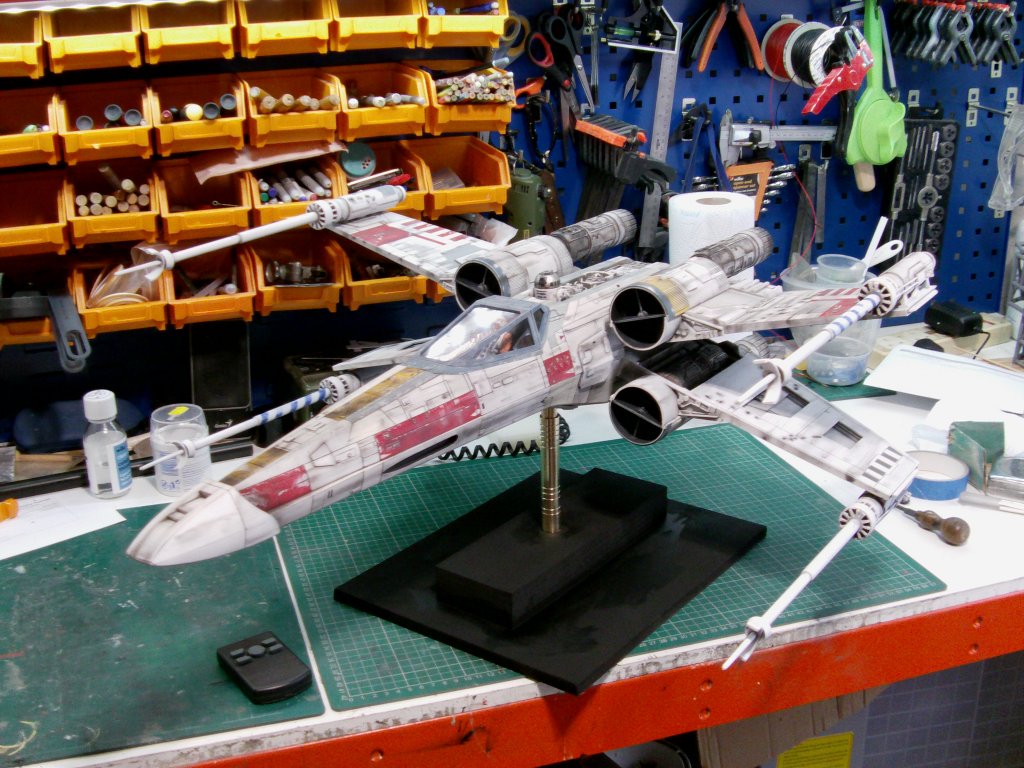
Yep, that'll do it.
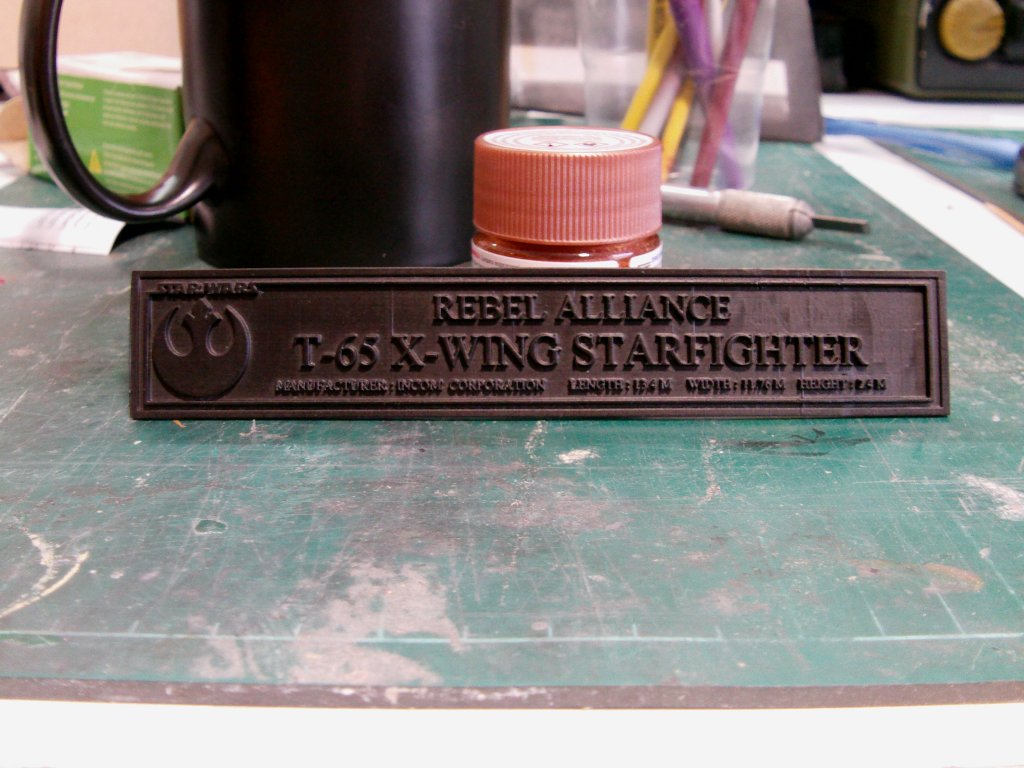
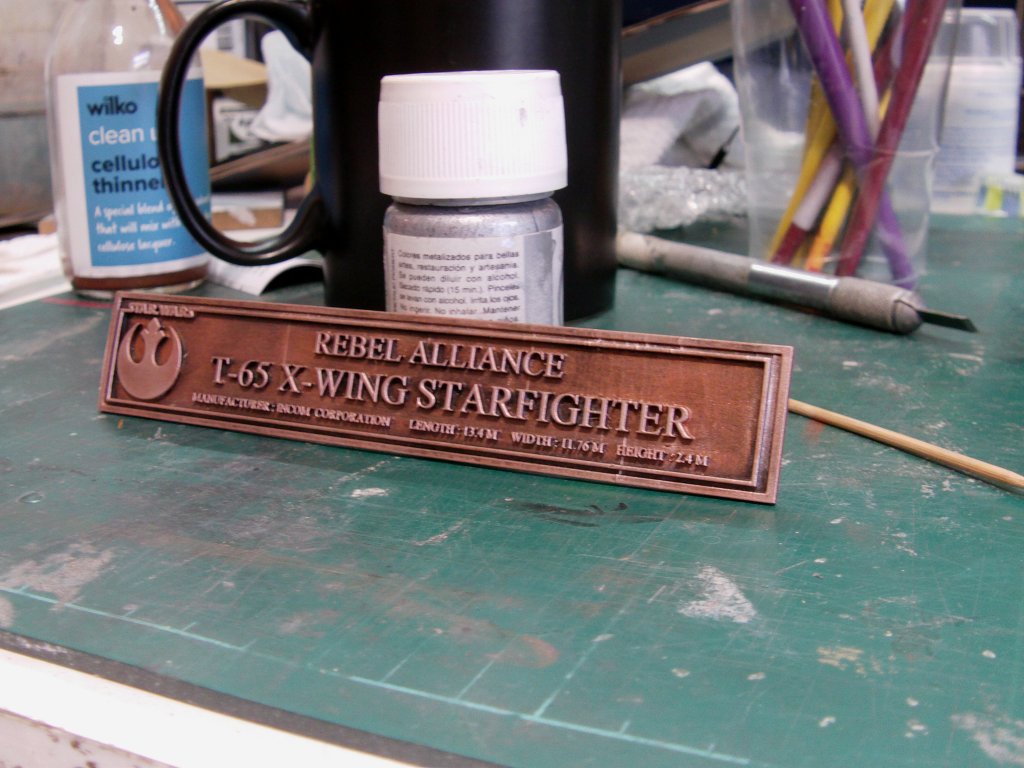
A stand embellishment required methinks, name plaque.
A bit of polygon pushing about got this render.

Good enough so printed.
A coat primer and then matt black after cleanup.
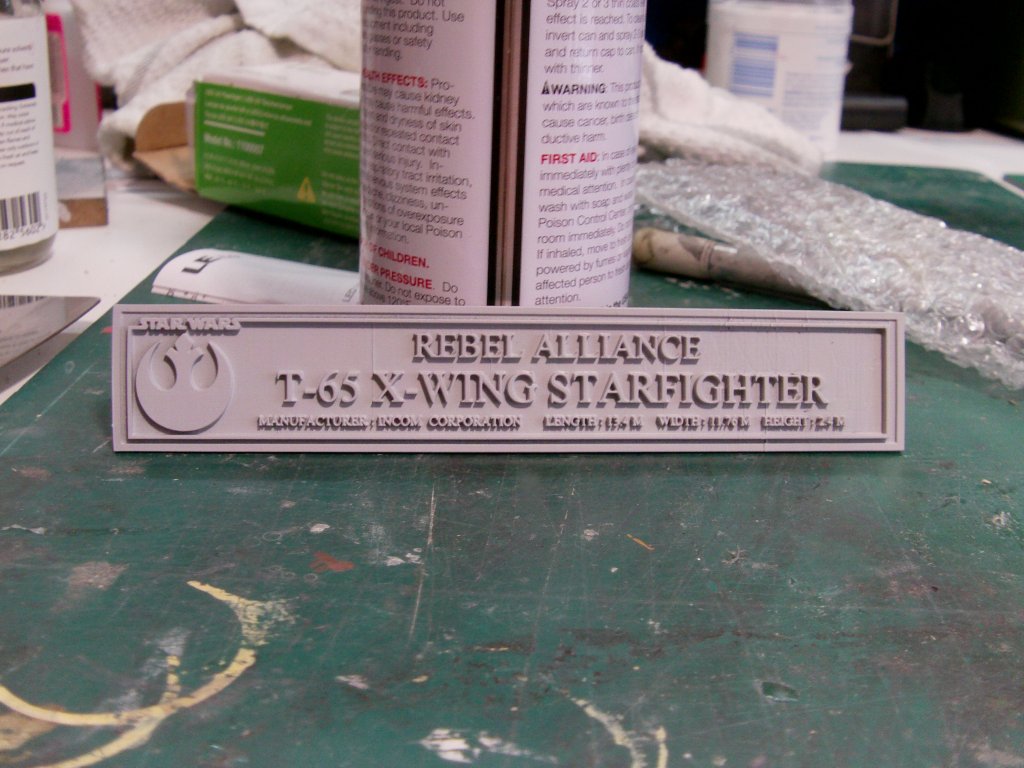
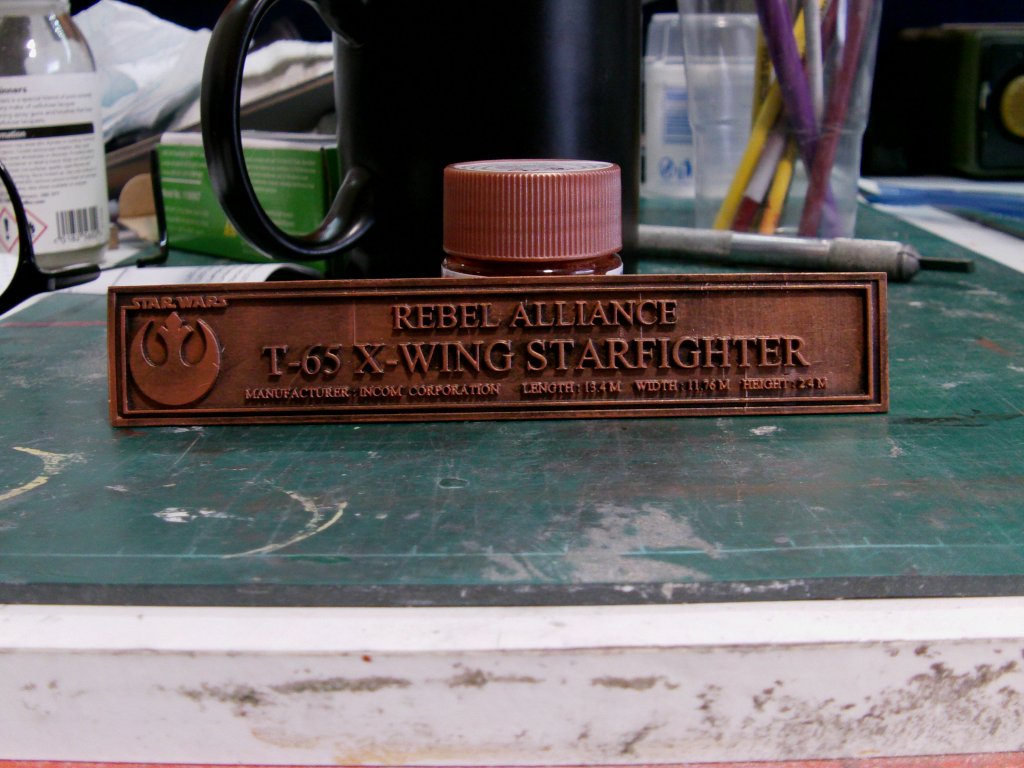
This was followed up by some drybrushed copper.
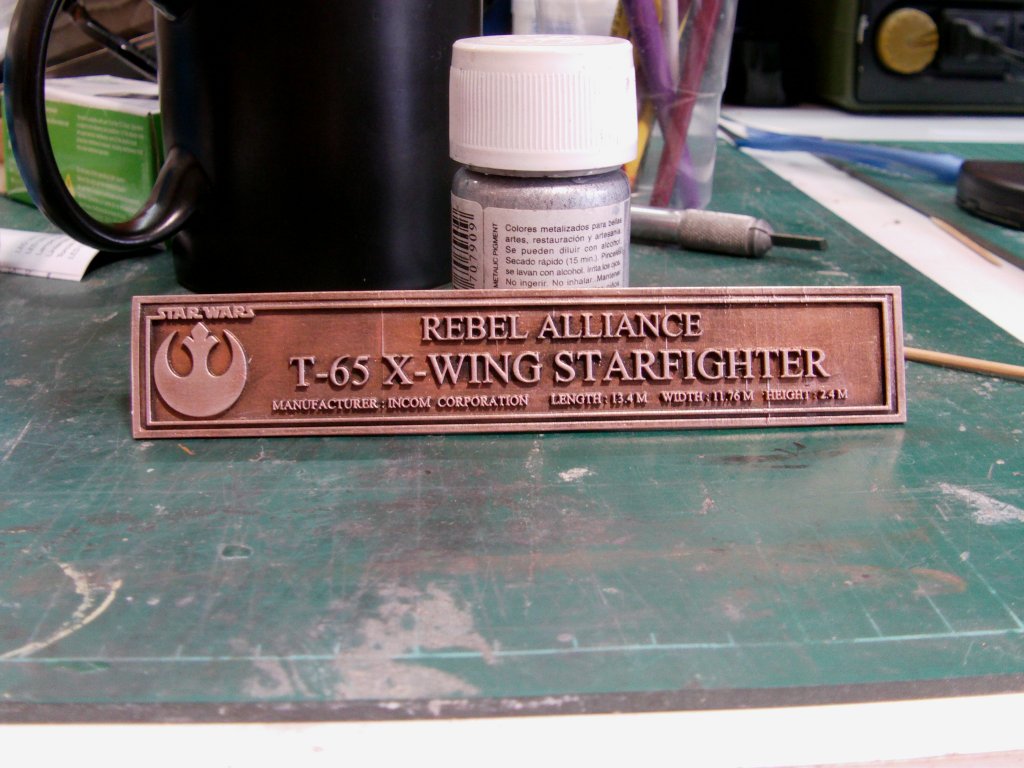
Last, a light dry brush with the same copper and a drop of silver mixed in.
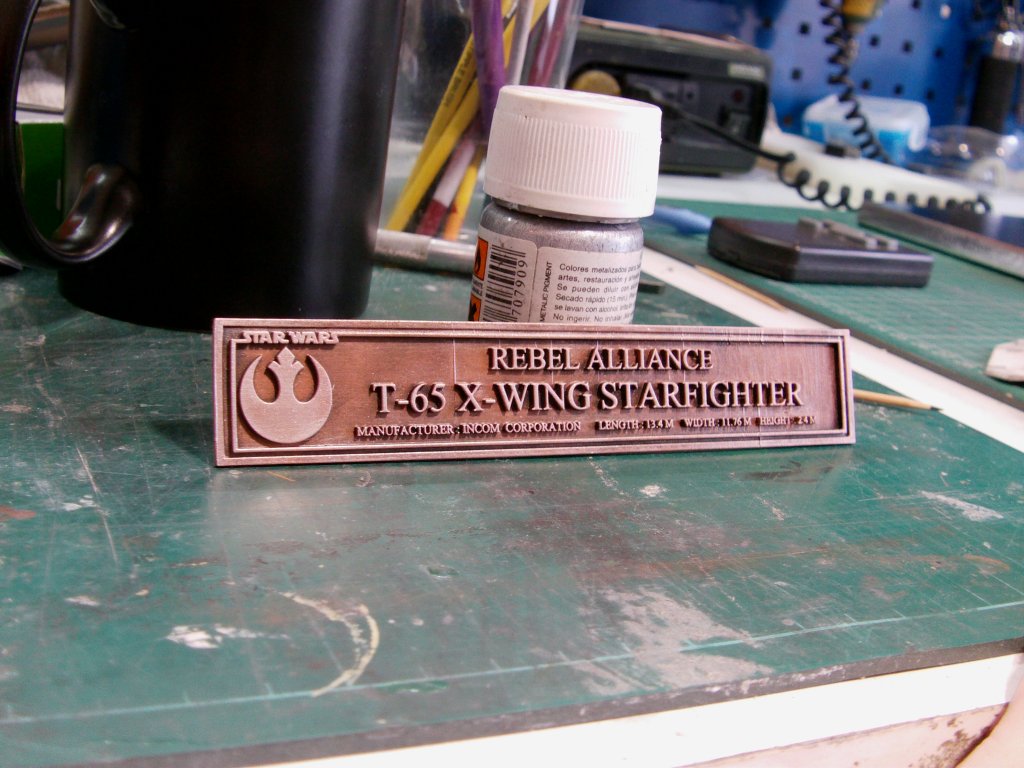
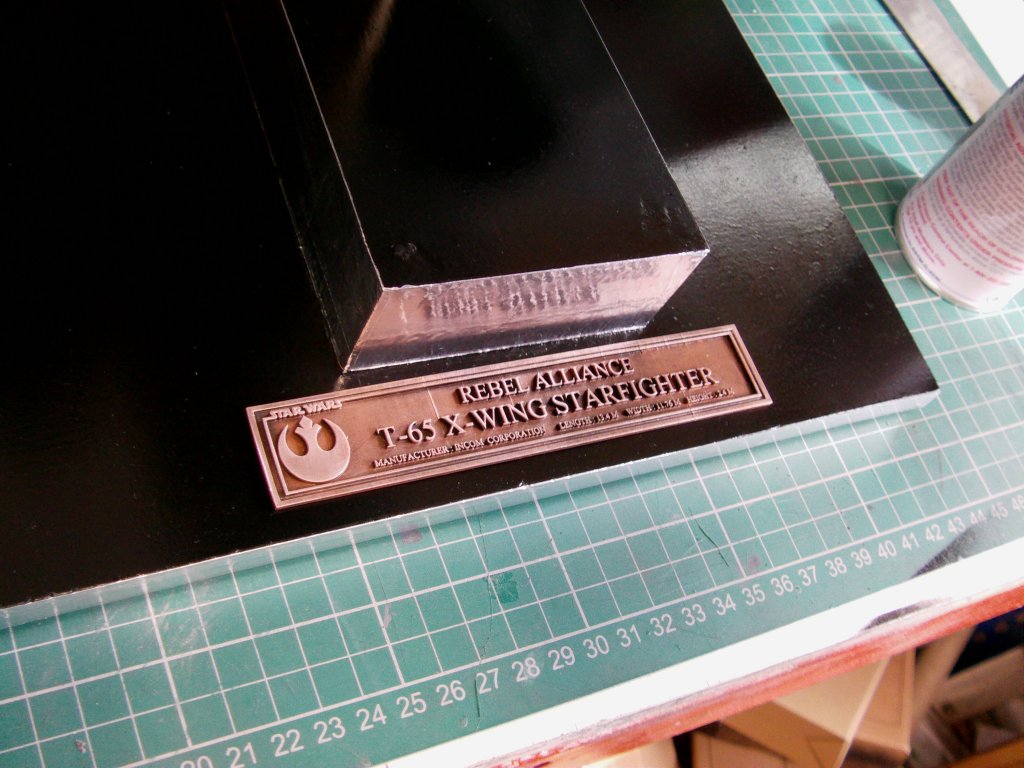
Stand itself was given several more coats of satin black and some self adhesive aluminium foil trim.
Plaque in place.
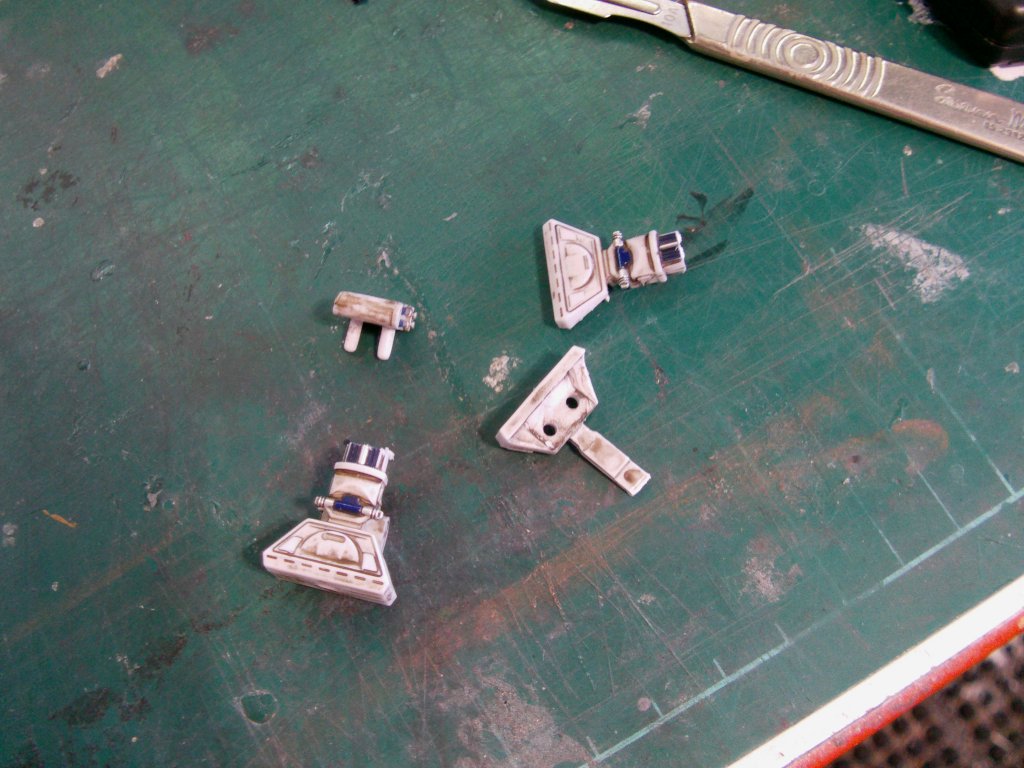
Fiberoptic in the wing cannons cleaned up and polished.
Last task, lowering the ride height of the R2 unit.
Required a bit of hacking and sadly, his feet had to go.
A bit if carving out and hardwiring the dome LED in was done and now he sits a bit lower and looks somewhat better to my peepers.
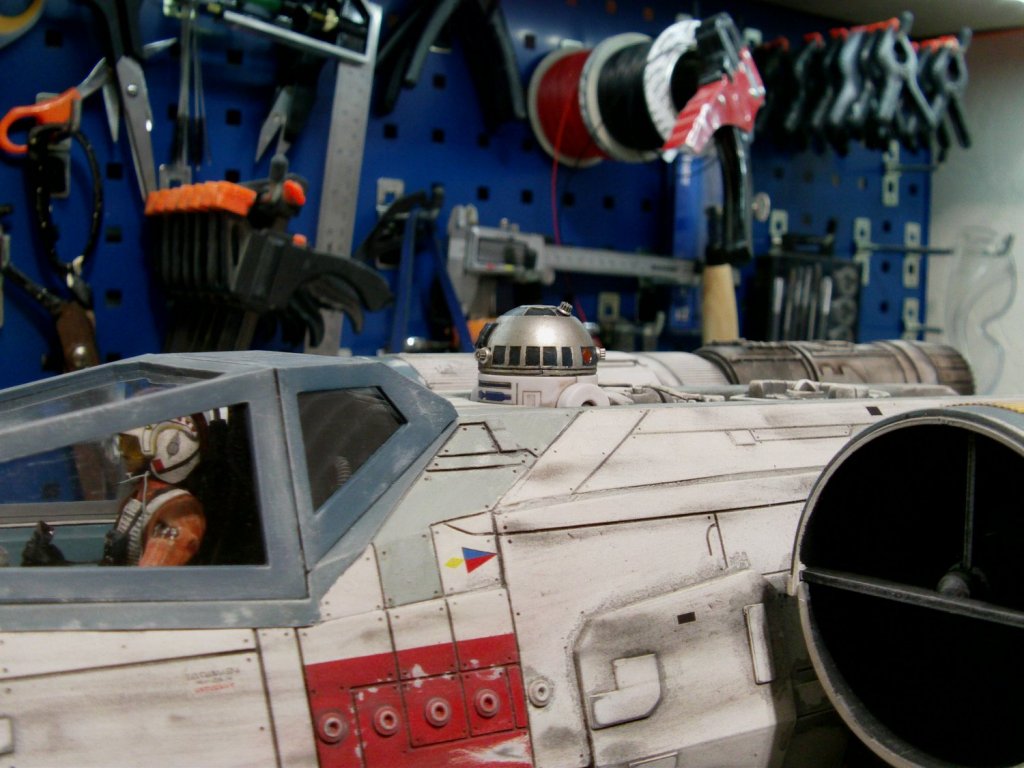
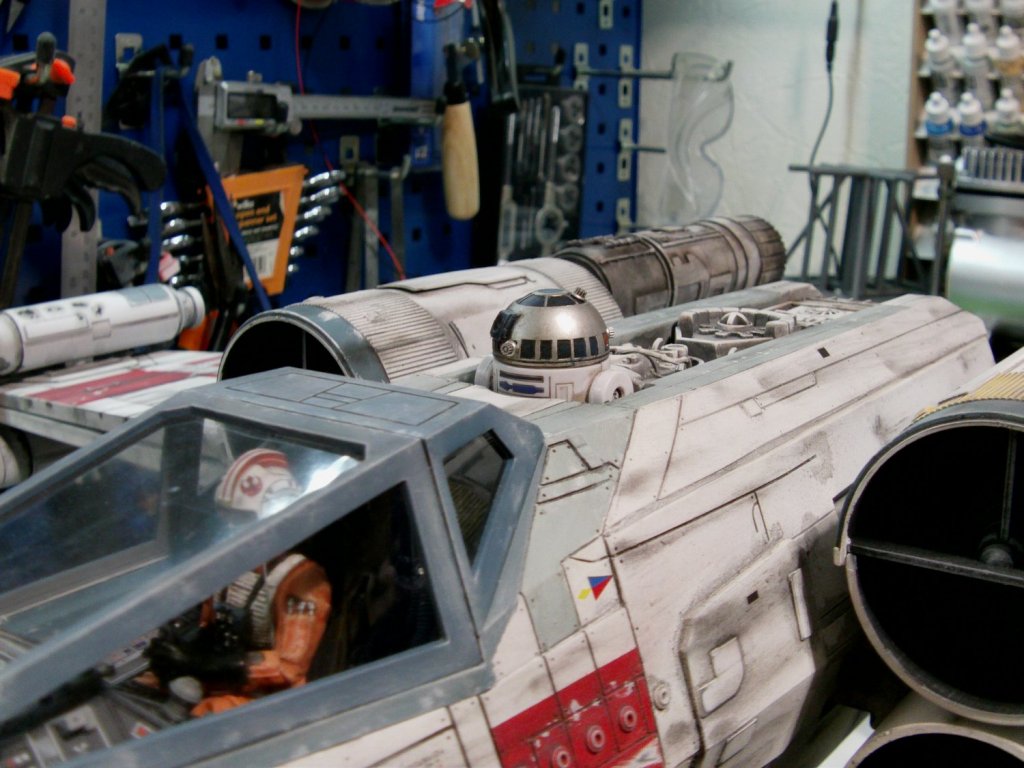
Methinks that looks a bit more like it compared to the stock fit.
And that's that!
Gallery with pics and vid proper can be got to by hitting the pic/button thing below.

And that's another spin around the hellhole done and dusted.
There will be more with other models later so untill that time,
You goodly lot take care and go easy out there.
Page Number