
Halcyon Aliens Dropship
1/72nd Scale


 Page Number
Get on the ready line!
Because We About To Cross The Finish Line!!
in A Jam Packed With Pics Kinda Fashion.
Oh yes friends and friendettes, we be there.
in honour of which...
Here's the final update.
So then, to business.
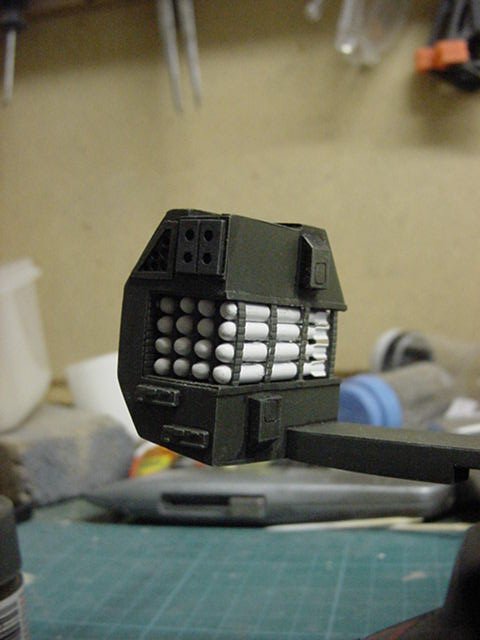
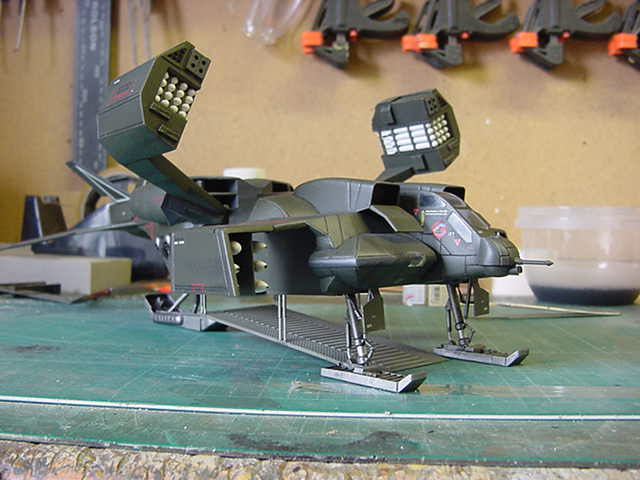
So the finishing touches to the Dropship.
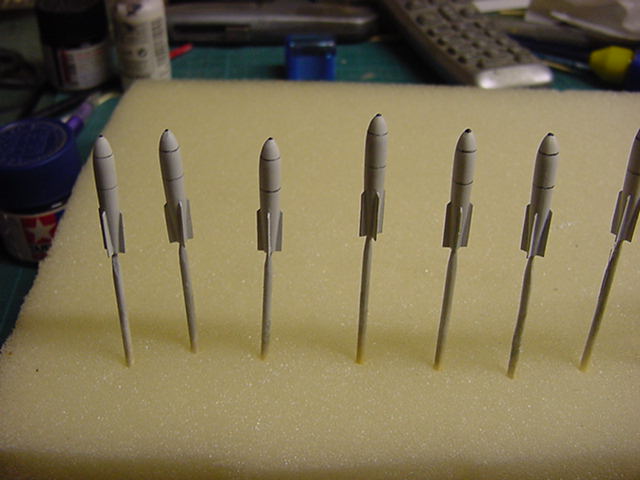
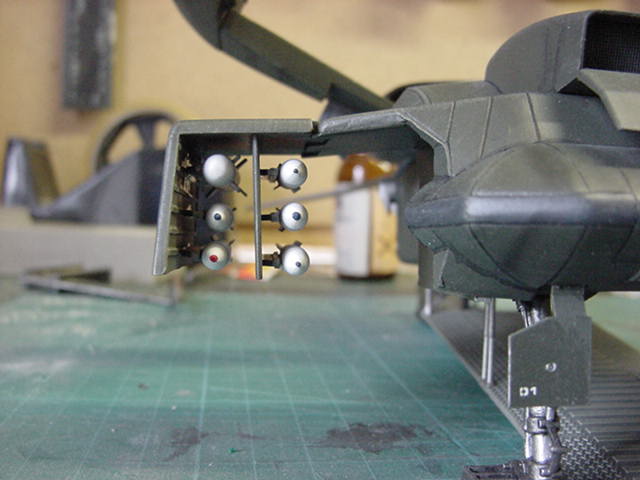
Much casting of missiles all done, cleaned up, primed and there was much laying on of white.
All of which done via rattlecan's ala auto primer.

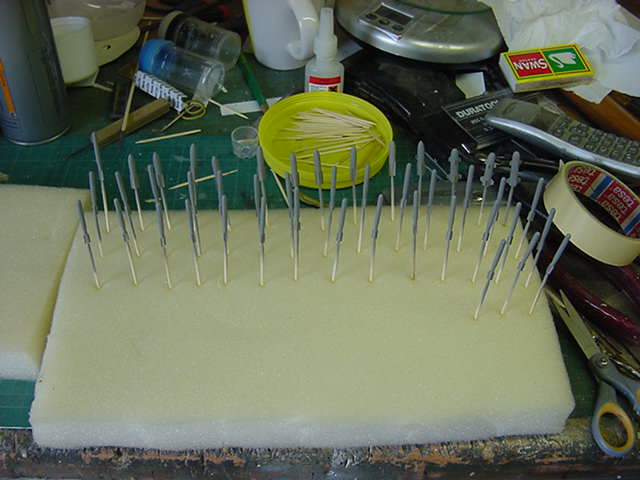

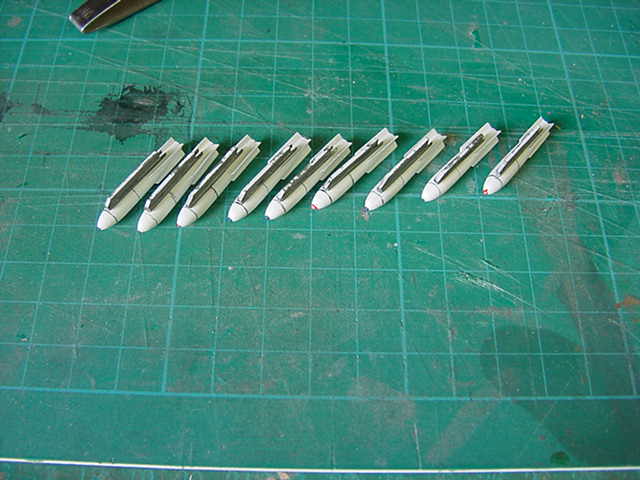
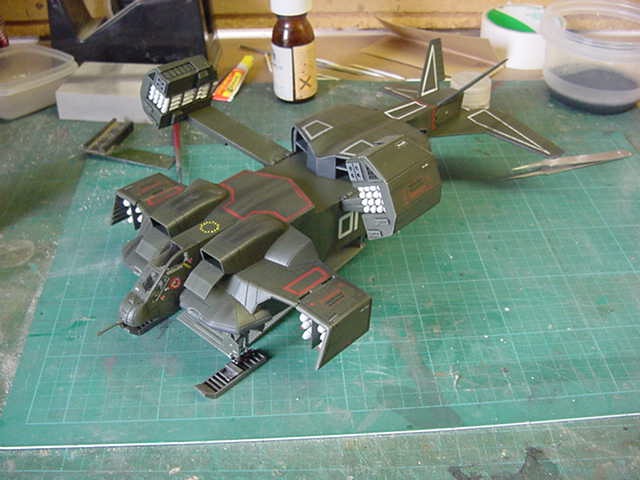
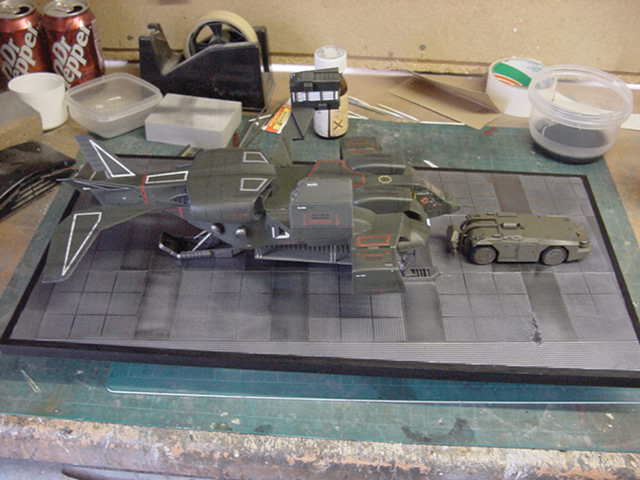
So first up and without any screaming and shouting, the torpedo like things put where they should be.
Fit was a bit tight but no dramas had so it's all good.
Must say, they do look none too shabby.
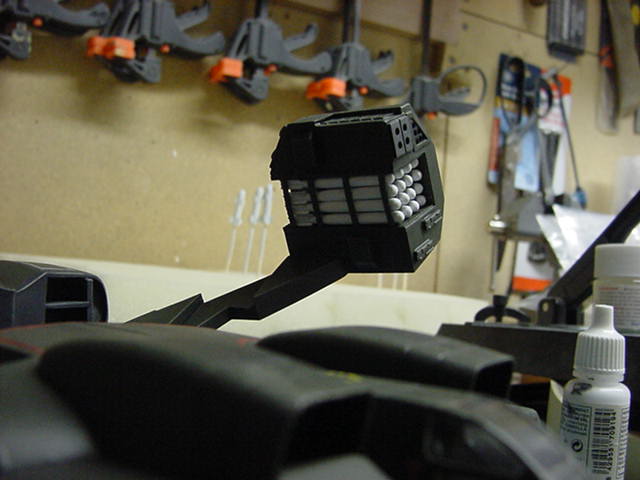
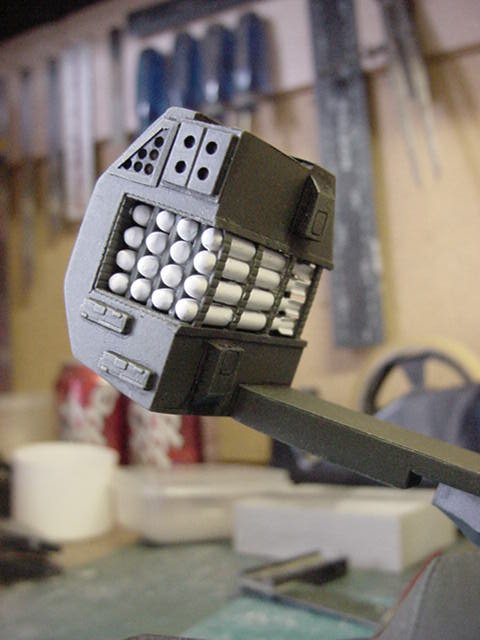
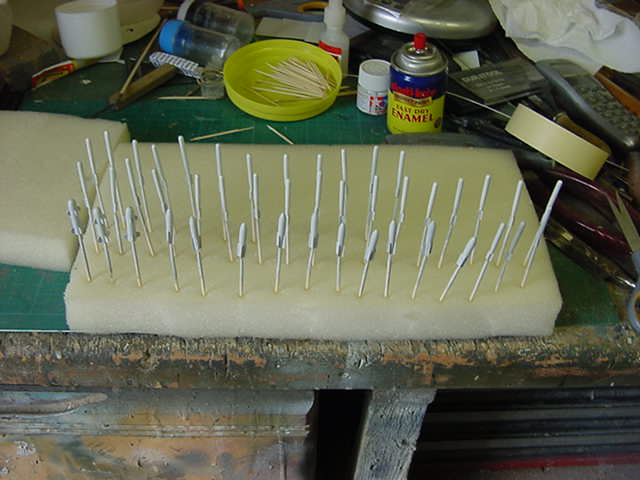
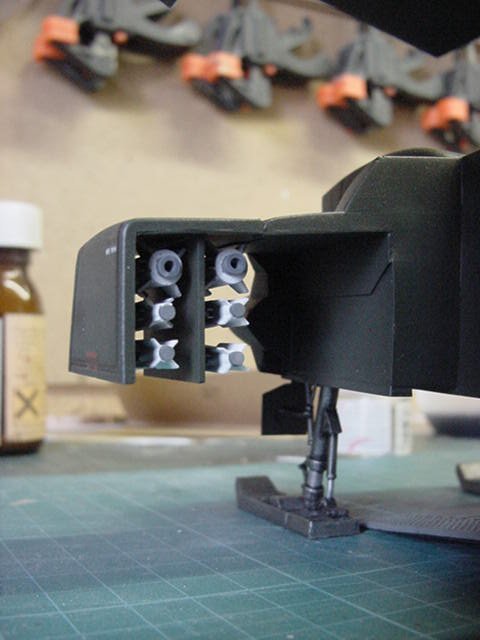
So that lot in place, some lining and a dab of colour to the rest of the armaments.
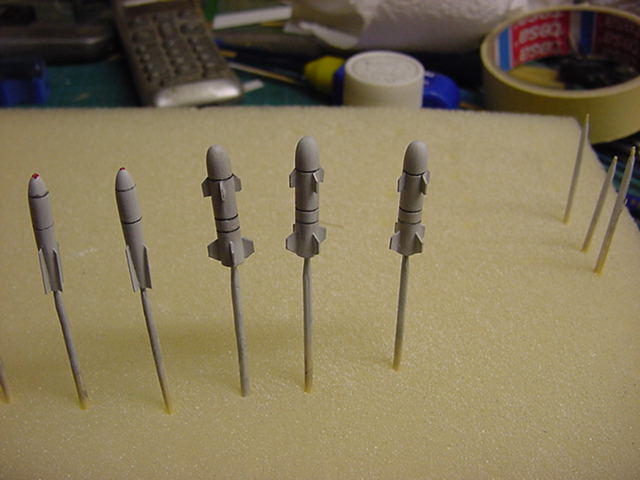
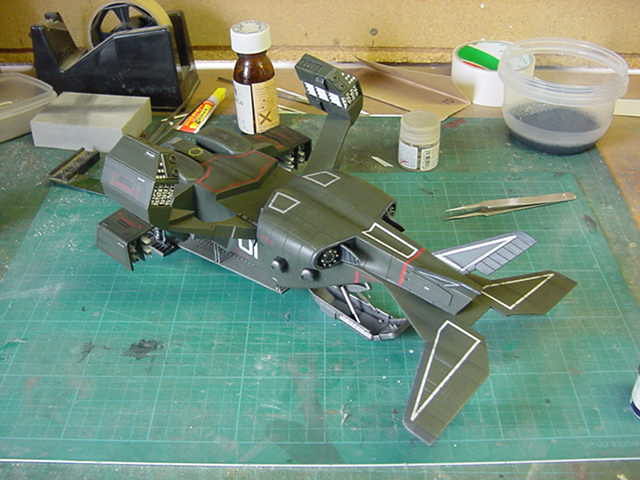
Pylons made up out of nothing more spectacular than some 15thou plasticard with some 5thou strips just for the heck of it.
A lick of Tamiya metallic gray then some cyano action.
The above pictured ones and the fat bob missiles as I call 'em all sorted.
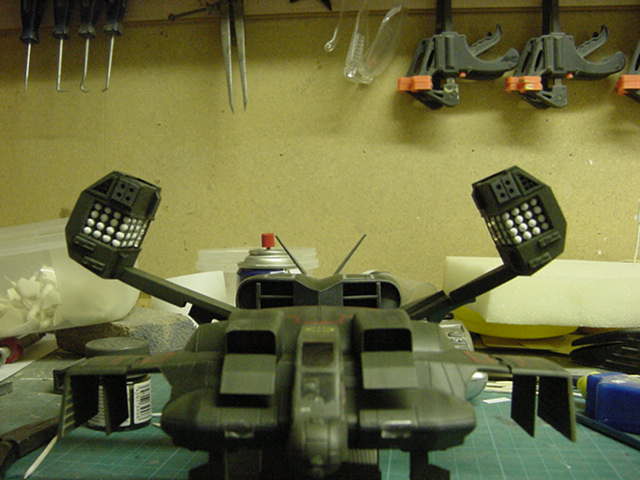
A wee bit of paint scraping and installation.
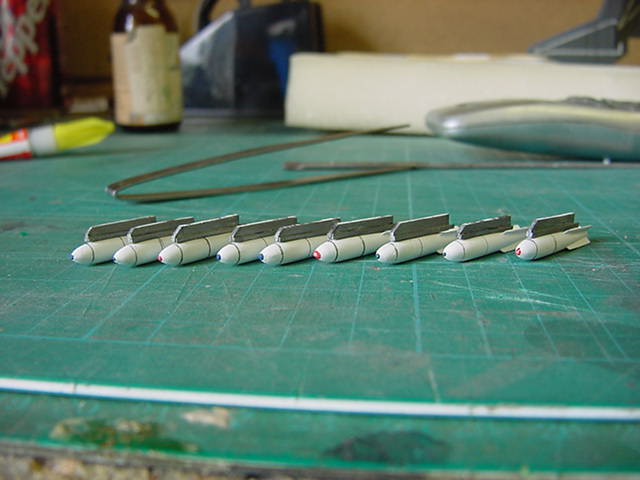
Some small additional bits to the back end of all 'whoosh and go bang' bits and a lick of grey to finish.
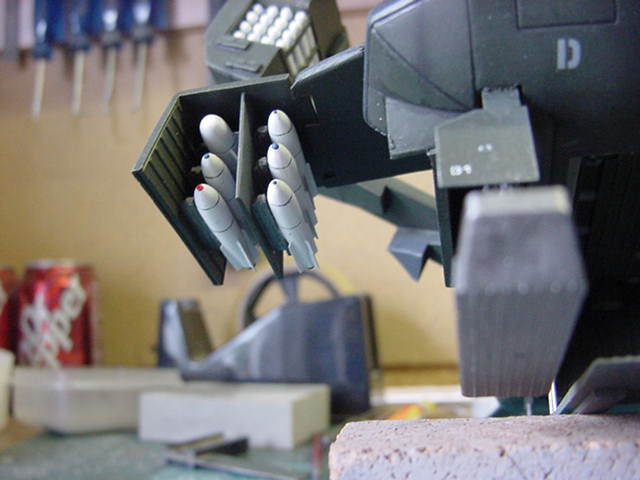
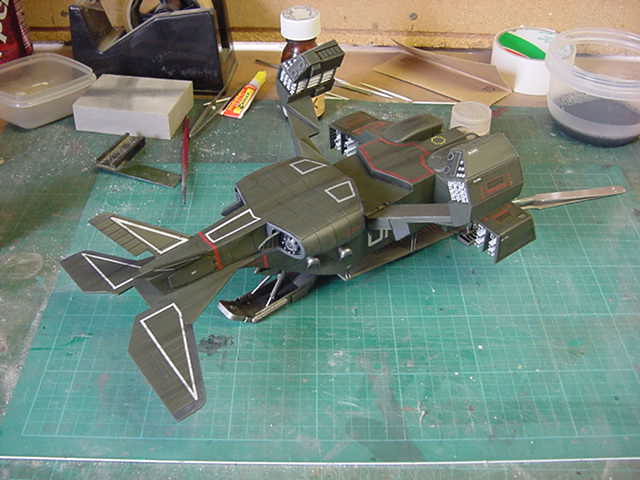

Nice!
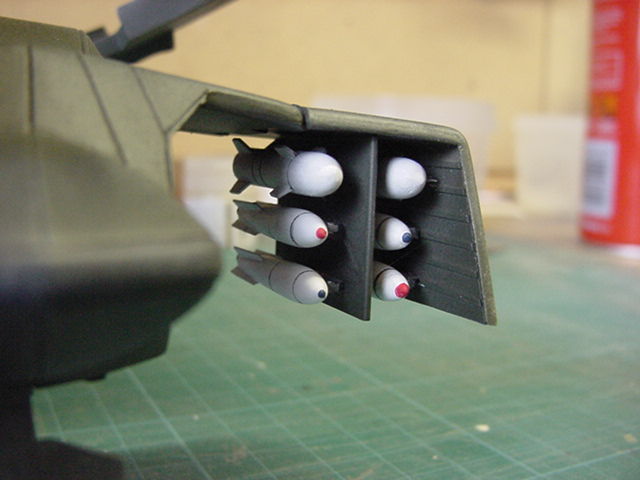
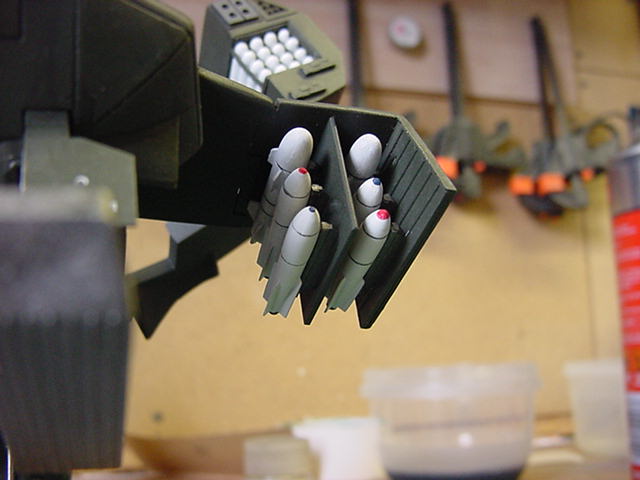
Decided not to bother with the thinner air to air (i assume) missiles as that just made it a bit too crowded.
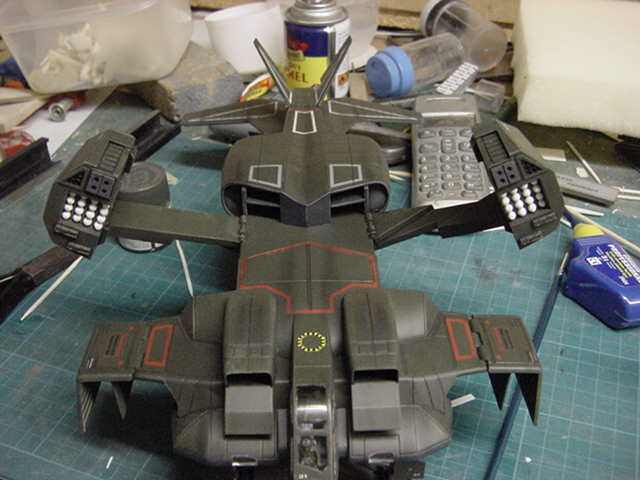
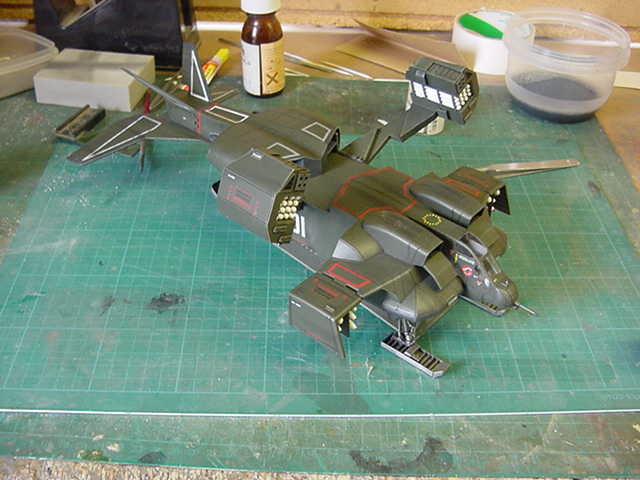
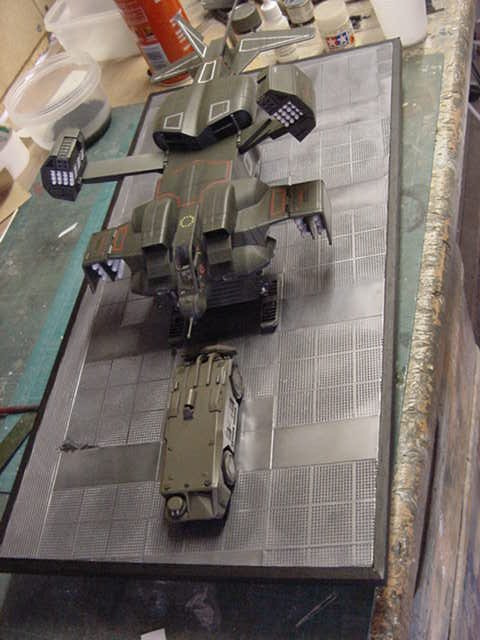
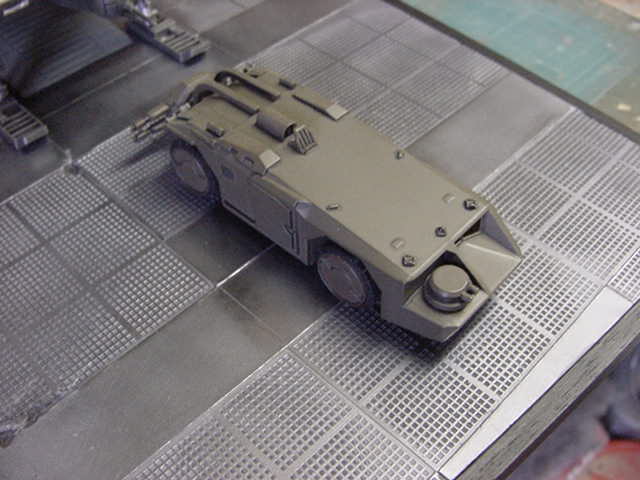
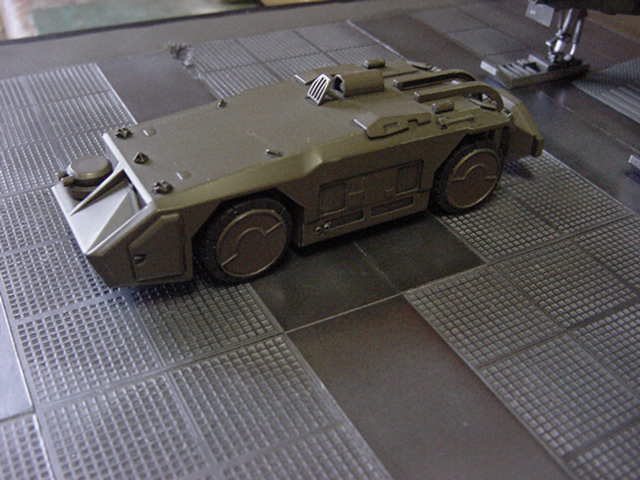
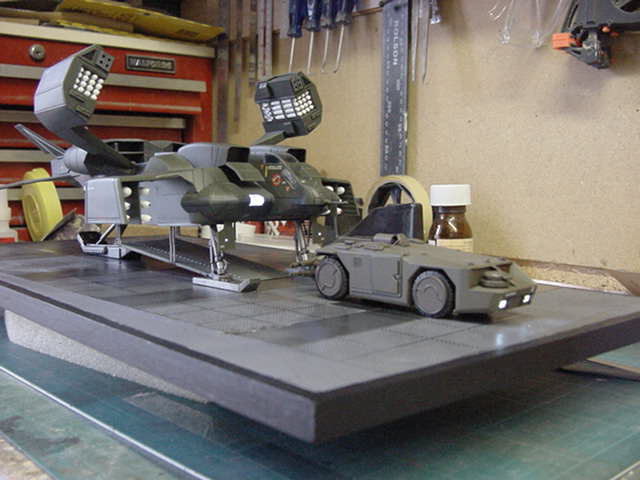
And that as they say is the build bit of both the APC and Dropship done.
Now to make something nice for these two beastie's to rest on.
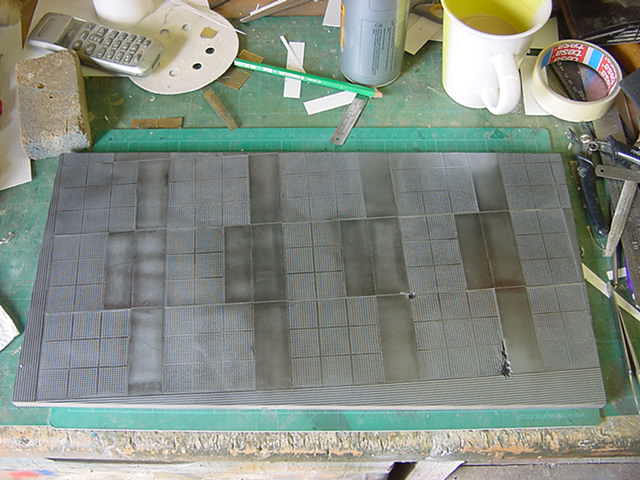
Well something resembling the Hadleys Hope landing grid was requested.
Now good ref being a little thin on the ground so to speak so a smidgen of artistic license got thrown at it...
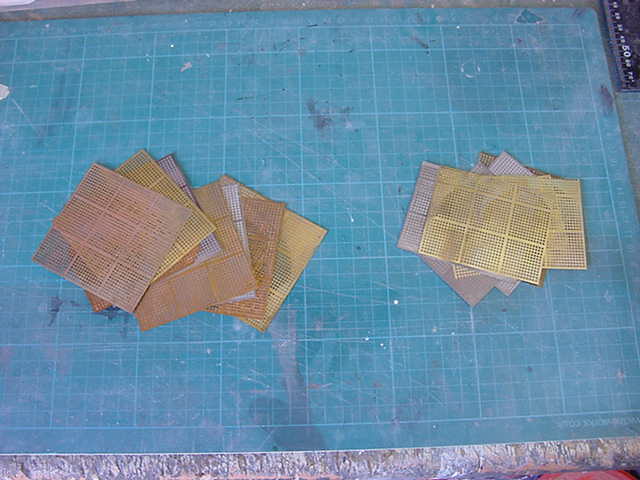
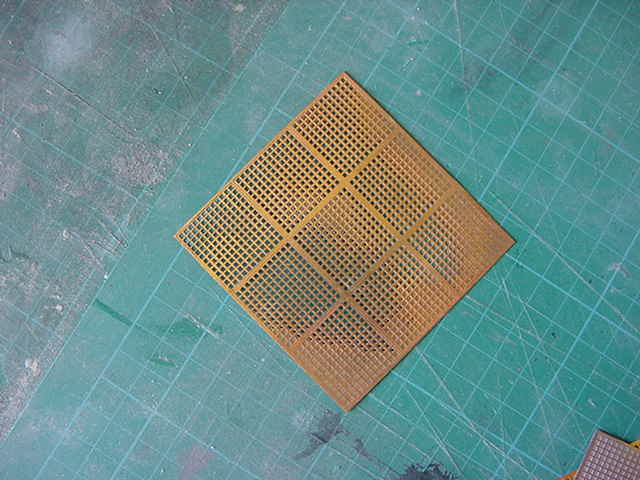
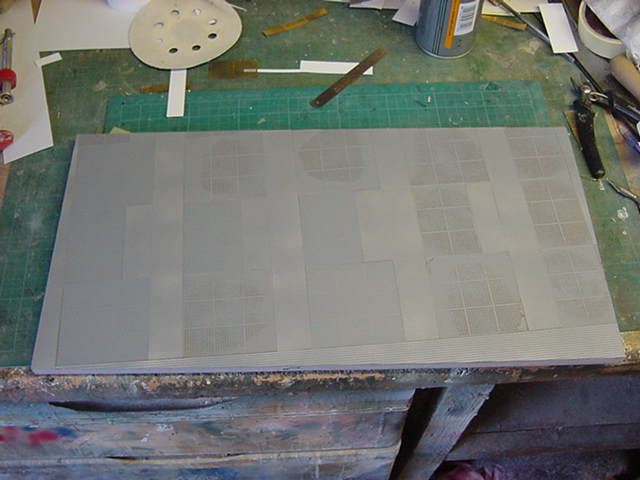
And we begin with some home brew photo-etch malarkey.
A simple graphic made up, a couple of sheets of 5thou brass hacked up...
And after some time spent hunched over an UV exposure box and etching tank.
We got this lot.
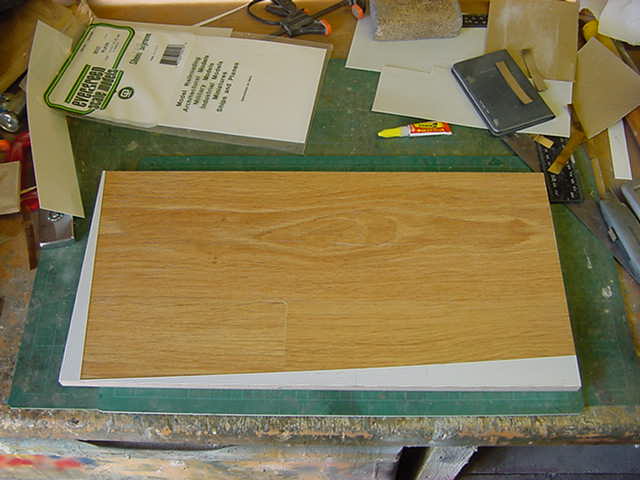
So some 1/2" thick timber bits assembled and the outer edge lined with some embossed plasticard sheet.
Gave the run a slight off set rather than square on to the baseboard.
Just makes it all look a bit less...staged I think.
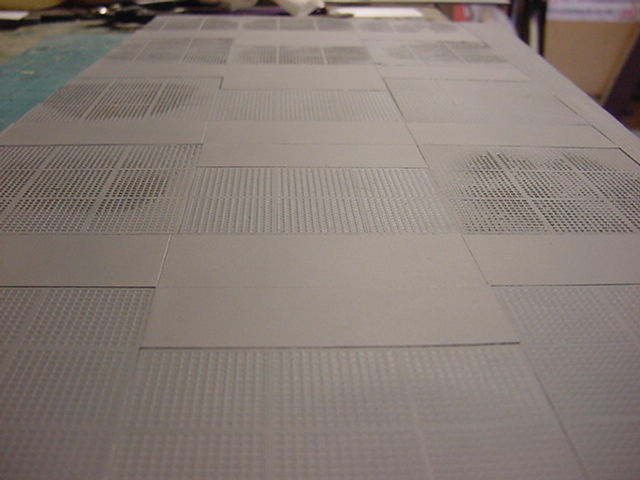
Once all set and glued up, the PE with some 10thou plasticard was glued on.
A spray can of contact adhesive came in handy here.

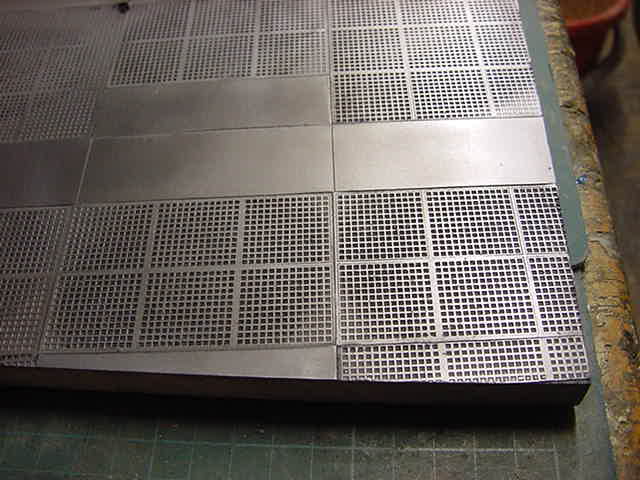
So a goodly laying on of grey auto primer was done and ready for the main paint.
Weapon of choice here, some Humbrol enamel metal cote polished steel.
When dry, some relatively furious buffing taking place.
Working it up from a moderate all over buff to working certain areas just to break up the flat bits a tad.
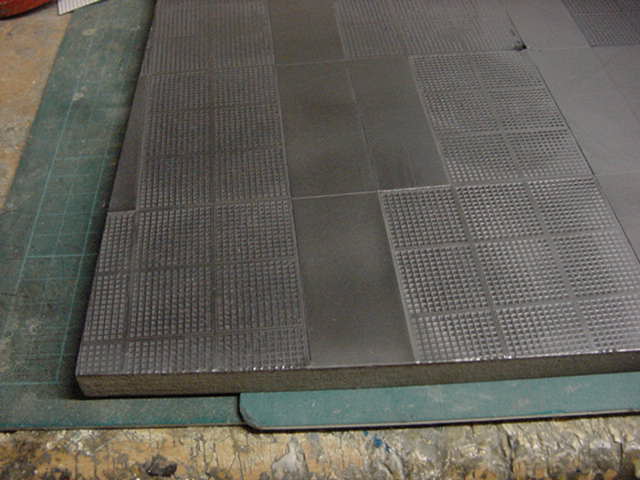
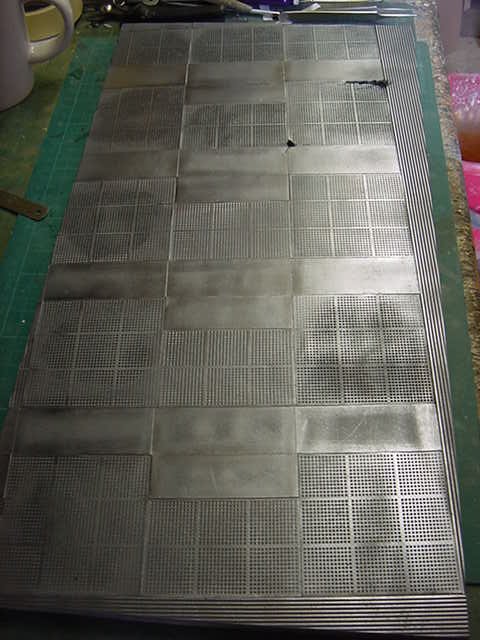
And maybe just a little bit of additional work to show that some clumsy xenomorph had been doing some bleeding in recent past.
They never clean up after themselves I tell ya.
Make lousy pets.

Once all sorted out, some 1/2" wide parawood strip came in to play.
After a smidgen of saw and grit paper action,
Some glue and panel pins got a look-in.
After that settled down, a good dollop of matt black in the form of two coats and some varnish applied.
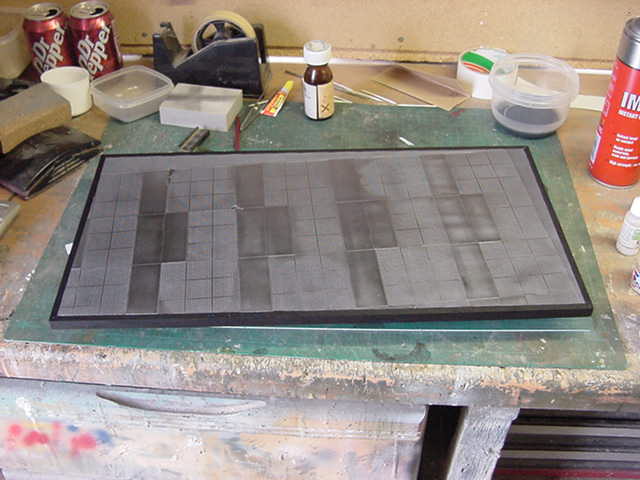
Sorted!
And that's the lot on the gluing it together gadabout.
So last but by no means least...
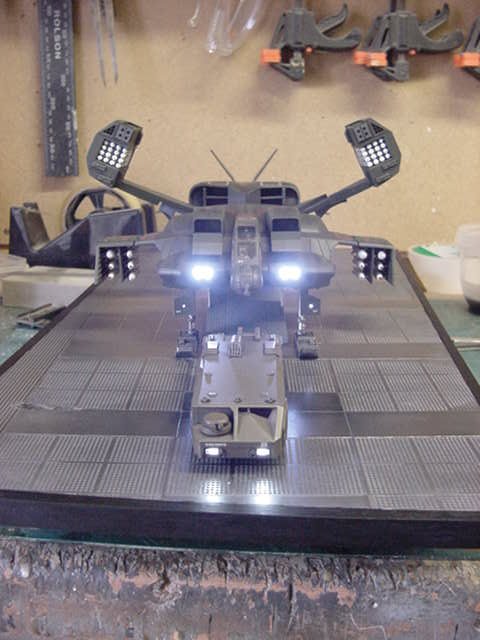
The photo finish.
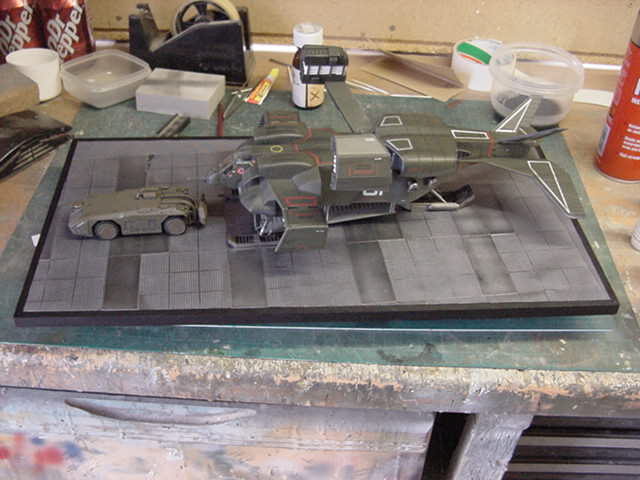
And of course, the very obligatory lighting test.
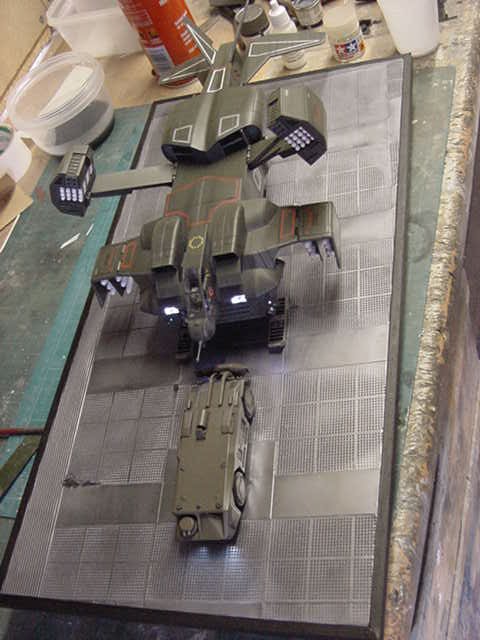
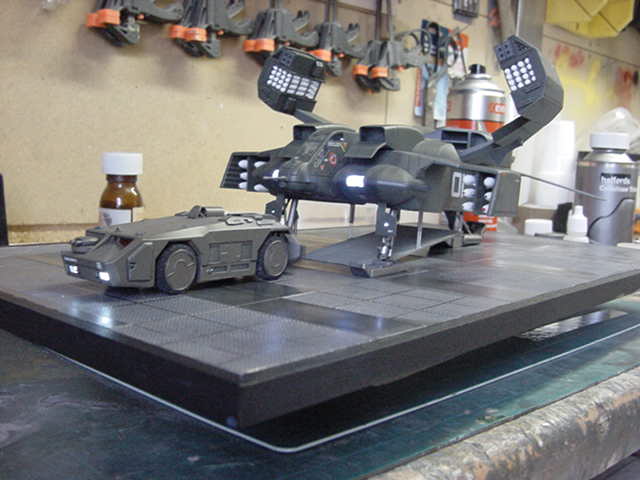
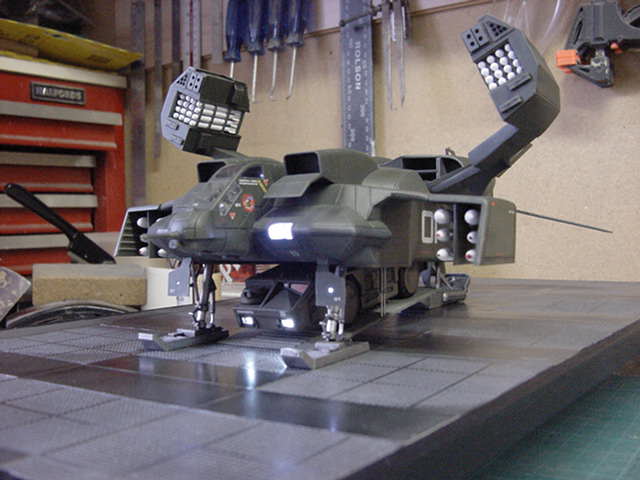
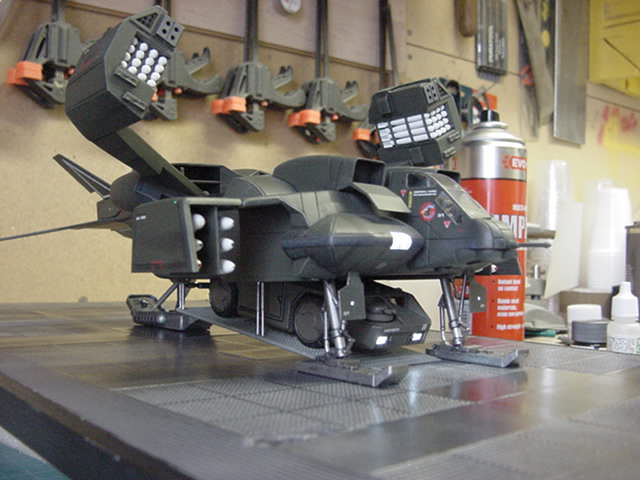

Well still have to get the final yea or nay from the client but for now, me be done pretty much.
For what it's worth, this one has proved to be a near constant serious pain inducing discomfort in the gluteus maximus.
And that's putting it mildly.
That said, it looks the part thus far so no harm, no foul.
To be honest, this kit would not come within a mile of the top of any 'easy ride in kit building' list.
That said, it is what it is untill something better comes along so you have to do what ya can with what ya got.
Even if what ya got is this thing.
Gallery proper can be a got to by clicking the pic button thing below:

You merry lot go easy out there now
Page Number