
Halcyon Aliens Dropship
1/72nd Scale


 Page Number
Some small stuff...
Ejection Seat Extras You Might Say.
And in this case, I do.
Greetings fellas and fellerettes!
Welcome back for another round of hellhole happenings.
Ok then people, to begin with, some additional seat bits and then something to go in said seats.
Here's the tiny fret of photo etch I think I mentioned before.

And that red thing above it is a bog standard 9v battery.
I said it was small didn't i.
Small but perfectly formed though.
Shame the only thing needed is the top seat ejection handle loops but the spares box has now got some additions so a win all round.
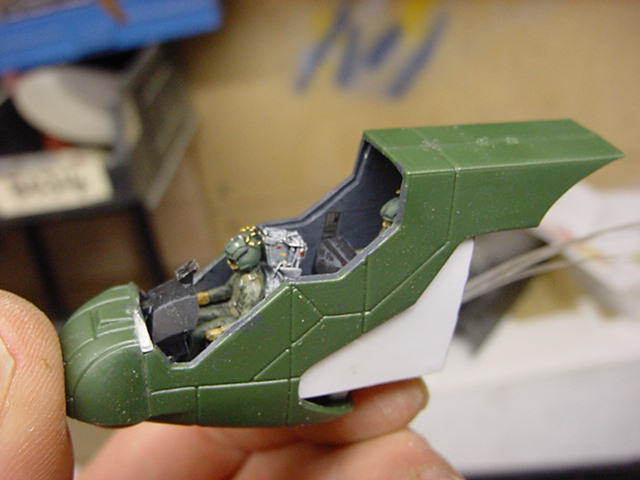
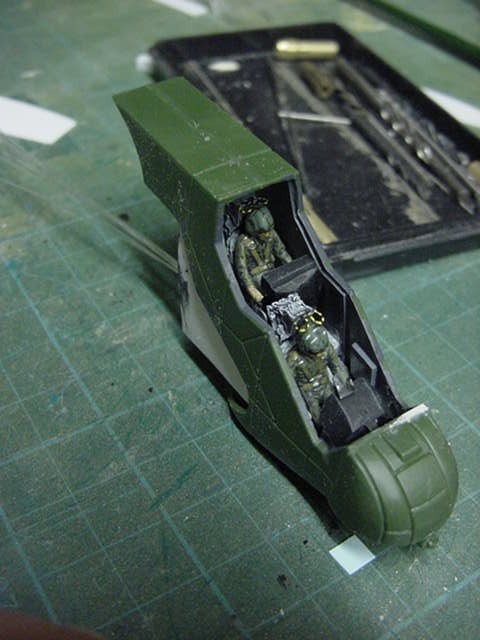
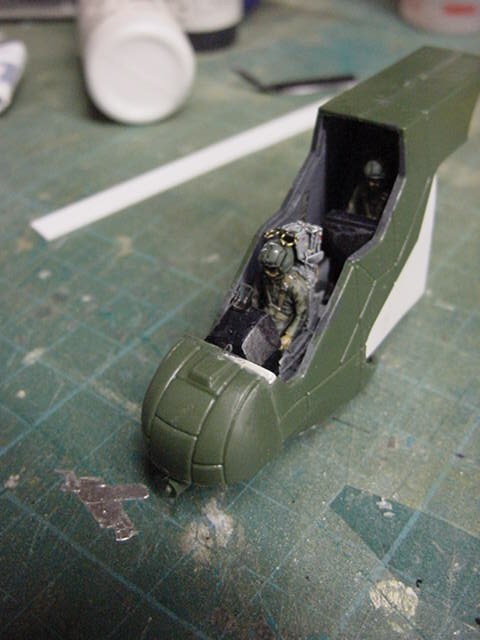
So these were extracted, glued on and painted and then the figures painted and glued in.
The figures if I recall correctly, were from a 1/72nd Hasegawa AH-1something or another Cobra helo.
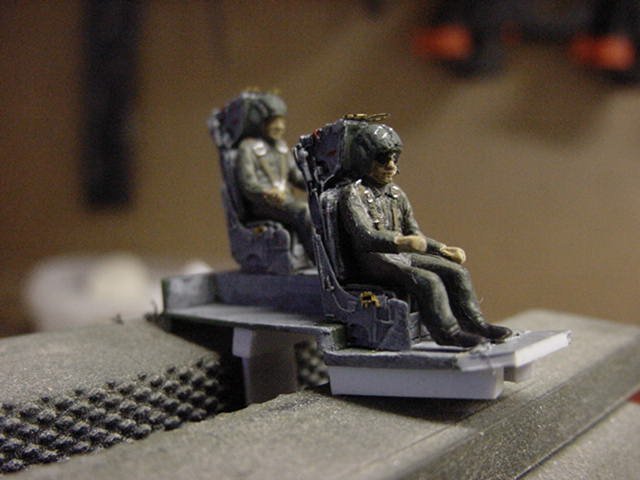
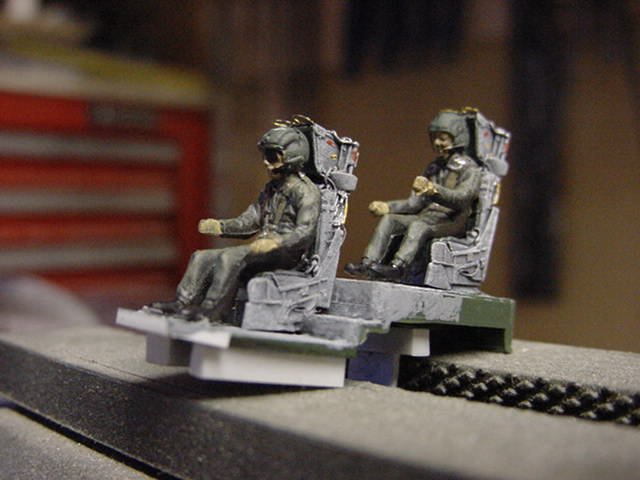
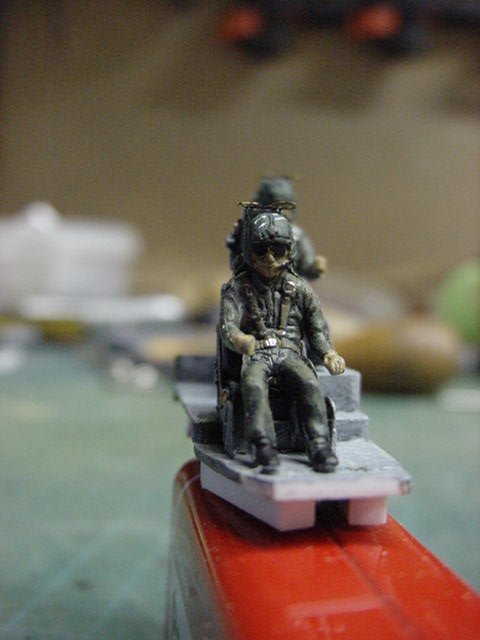

Works for me!
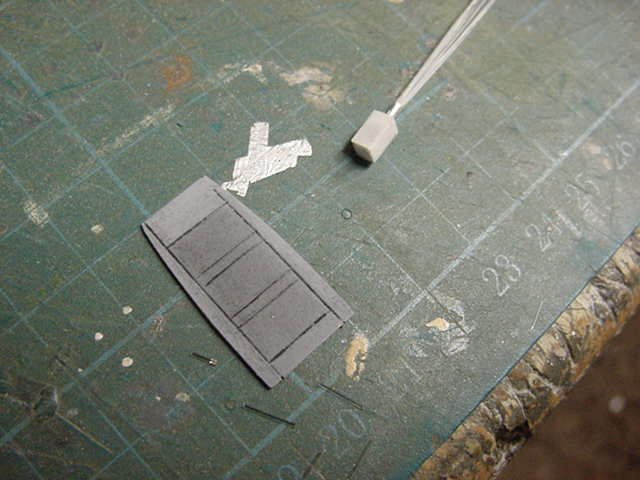
Now time for some instrument panels.
A dip into the spares box and said panels were got a grip of.
From the same Hasegawa kit I believe.
Now here's one of them.

All very nice, also too big for the purposes intended of where it has to fit.
Space is at a serious premium in the 'front office' on this beastie.
So some hacking up later and multiple test fitting and faffing about got me these two.

So a bit of hole drilling for fiber optic strands, some paint, a dab of decaling and a test LED later...
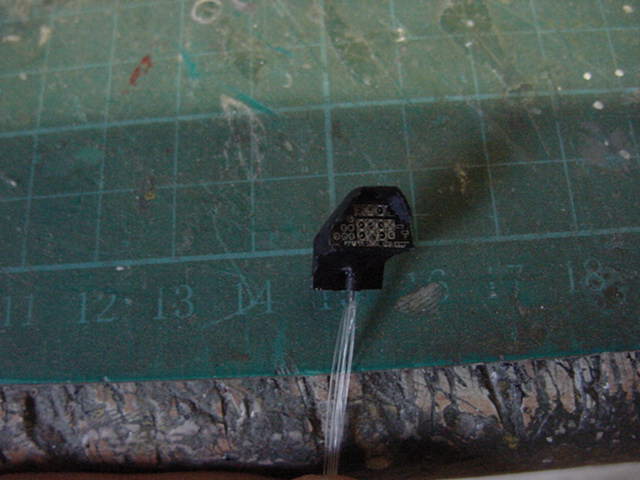

Not too shabby, just enough to cast a bit of light so that'll do.
The smaller panel didn't get any decals on it because there is no way to see it.
This is due to the seats having to be placed where they are to make enough room for everything.
Such is life as they say.
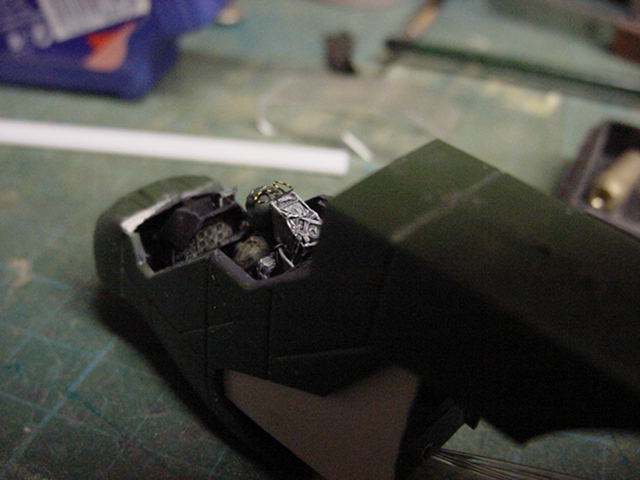
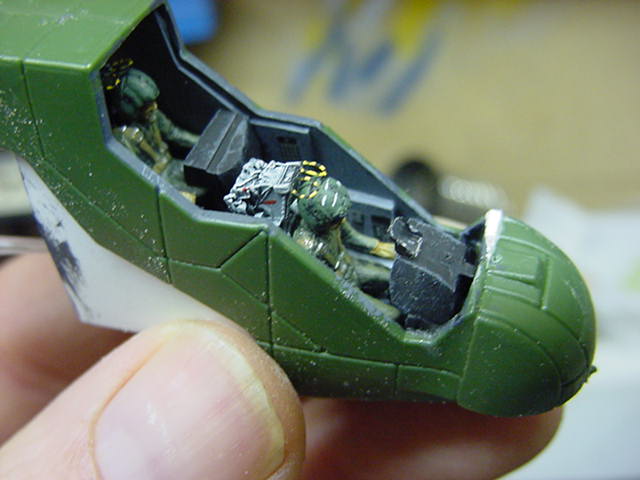
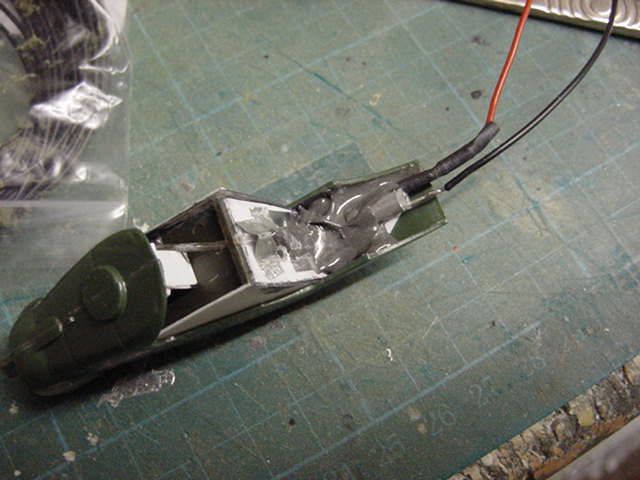
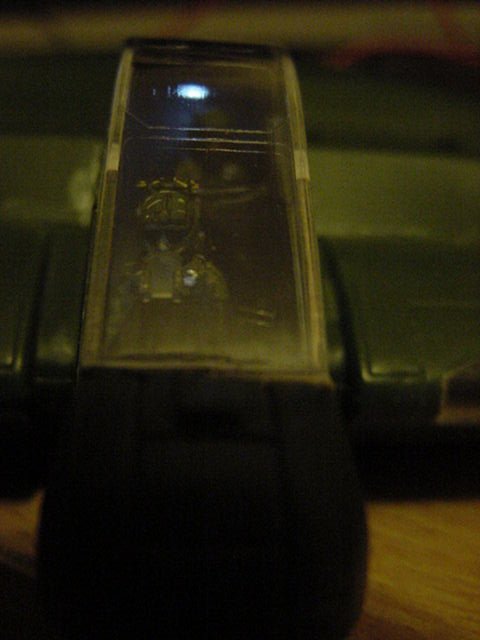
So panels sorted, installed and the whole shebang shoved into where it should be after some additional plasticard and a dab of paint for the interior.
Once in, the HUD glass also fitted where it should be and some additional decals for the side walls.

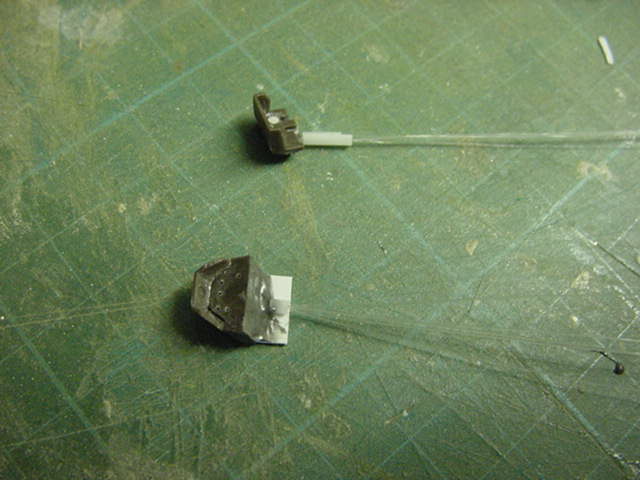
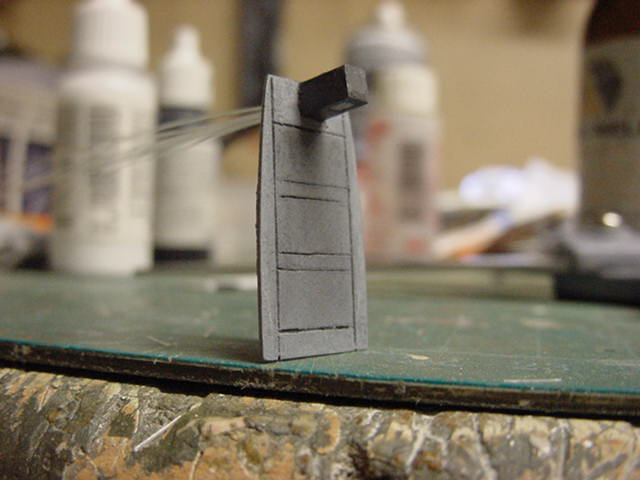
So last bits, a rear bulkhead wall and top light.
The wall just some shaped and scribed plasticard and the top light just a hollowed out styrene square strip scrap end.

The rear wall painted and the top light cut to length.
Some FO strands inserted and a slip of diffuse clear stuck over the hole, fitted and painted.

Back wall put where it should be and told to stay there, FO bundled and made all tidy like.
The end fitted with a 3mm diffuse white LED.
A dry fit and test was then done.

Okedoke so far.
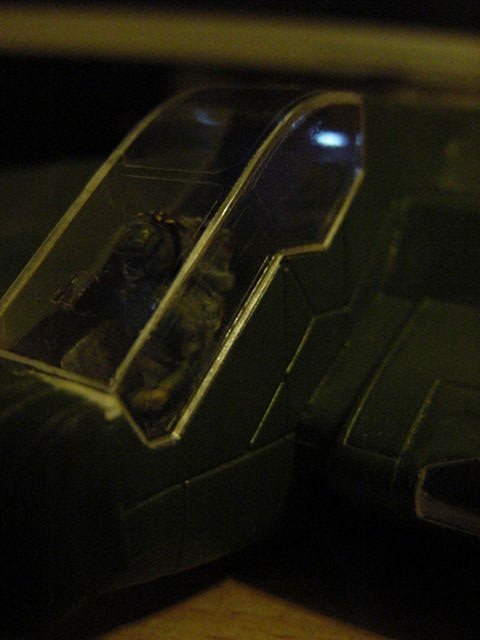
Cockpit glued on in a permanent fashion then the canopy given a goodly polish up and dry fitted for a looksee.
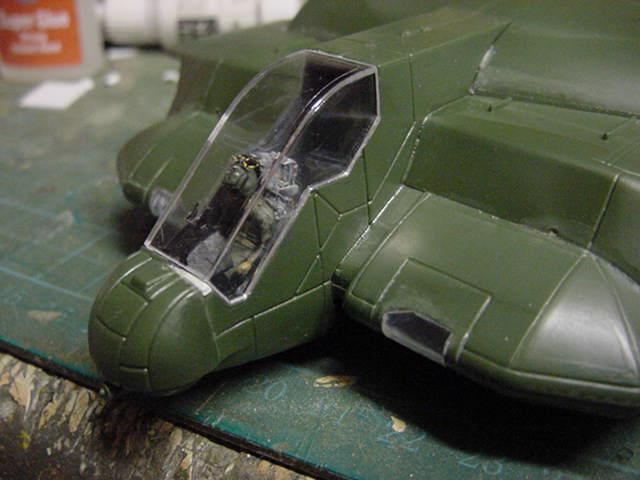
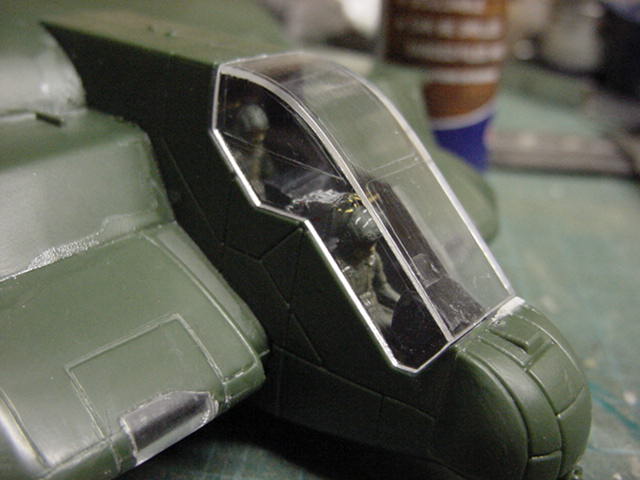

Will still need some more polishing but it's getting there.
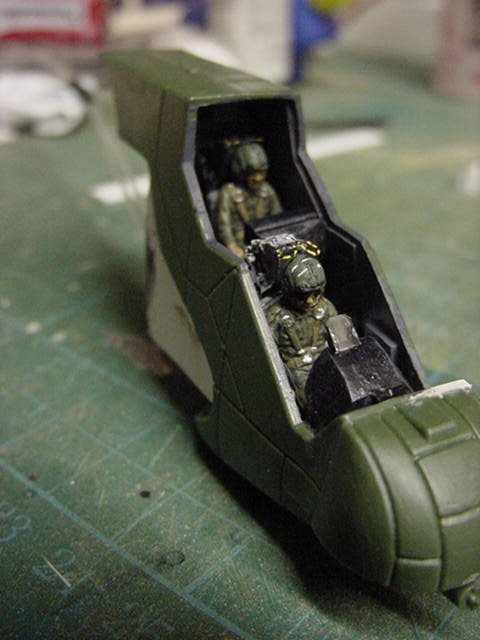
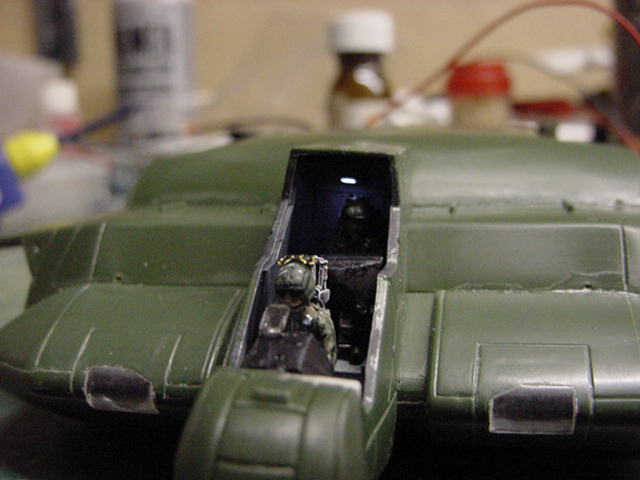
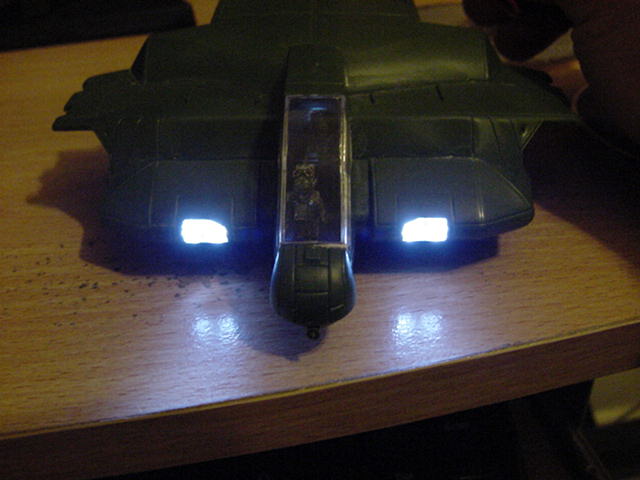
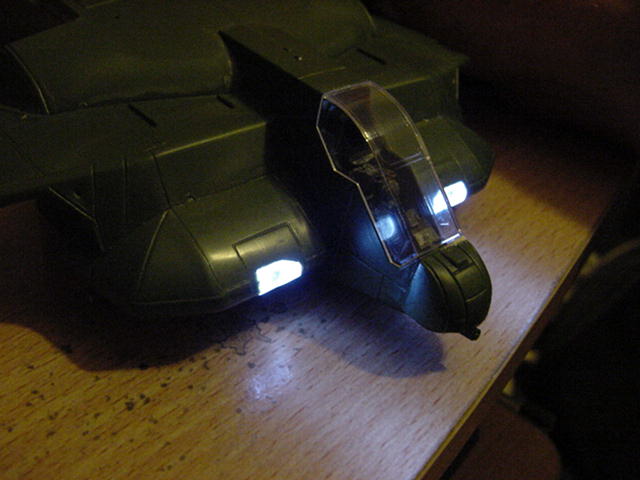
So to some light test shots.
The lighting is just supposed to give a glow cast about the place rather than harsh light.
it also makes it a bugger to photograph properly but here's some shots.
They are split types, left hand side of the pic is lights off, right hand is lights on kinda thing.
Taken with and without the canopy on, pics shot in my house as the hellhole lighting was far too bright.
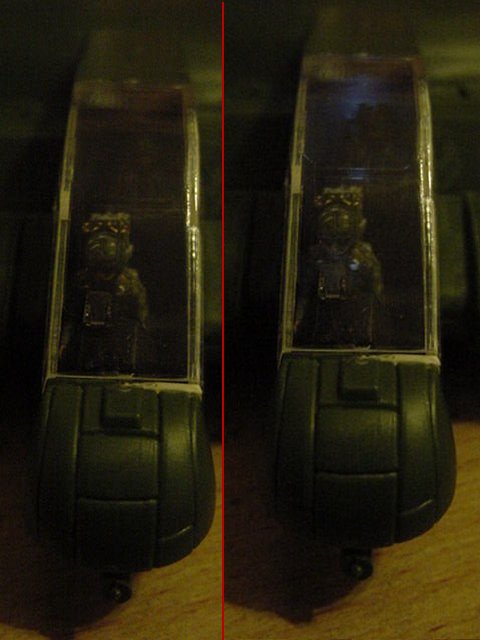
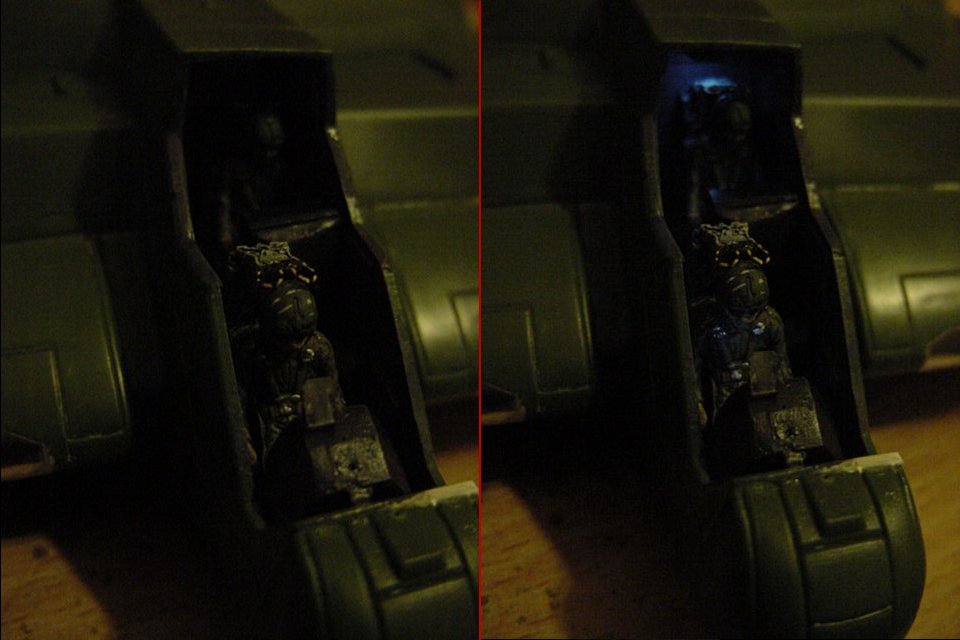

it does look better to the naked eye but you'll just have to take my word for that gang.
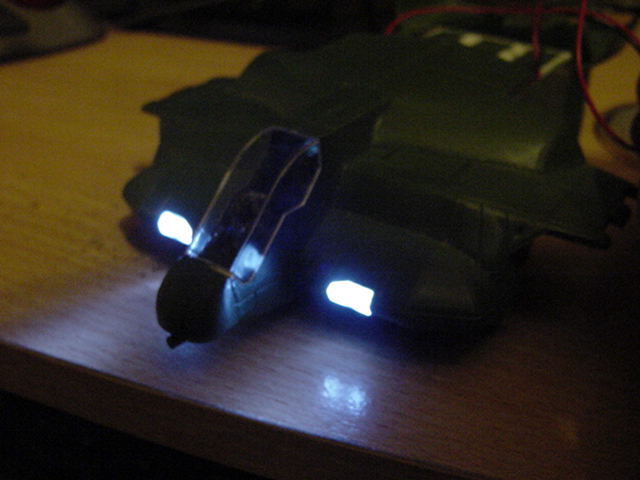
So finally, some shots mit der canopy on...
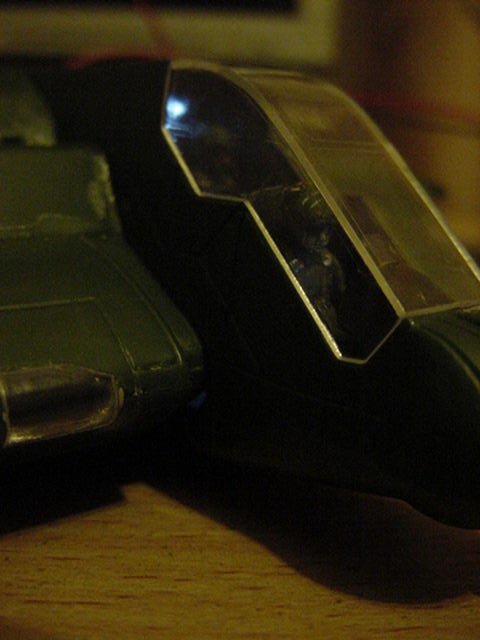

And of course, some wire twisting for the headlight hook up as well...
Well we be a getting somewhere so the fun stuff continues and more next update.
Which will be along soonest...or as soon as I can get the courage up for the next round.
You merry lot go easy now, see thee next time!
Page Number