Howdo folks and folkettes! Well fast closing in on my short but required Christmas hibernation at this time of large waffle scribbling but no harm in getting some prep work and 'let's see if this works' work done... as it were!
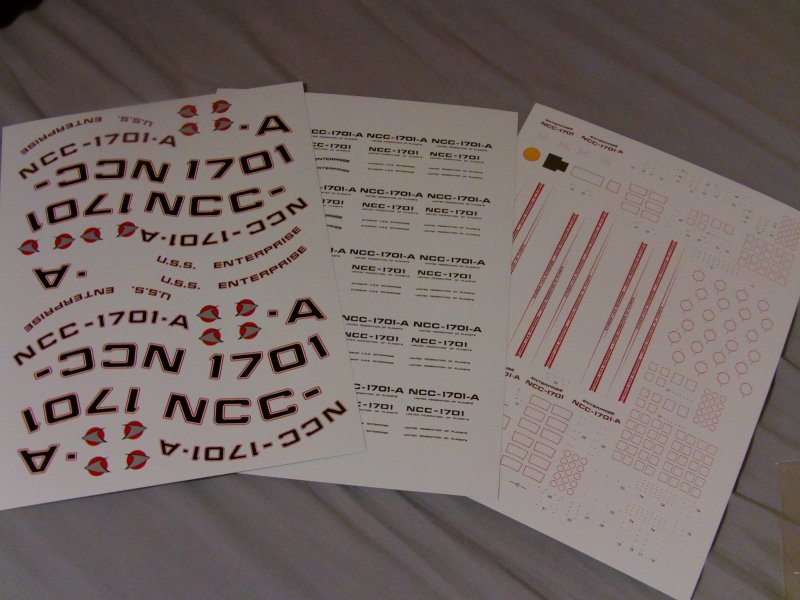
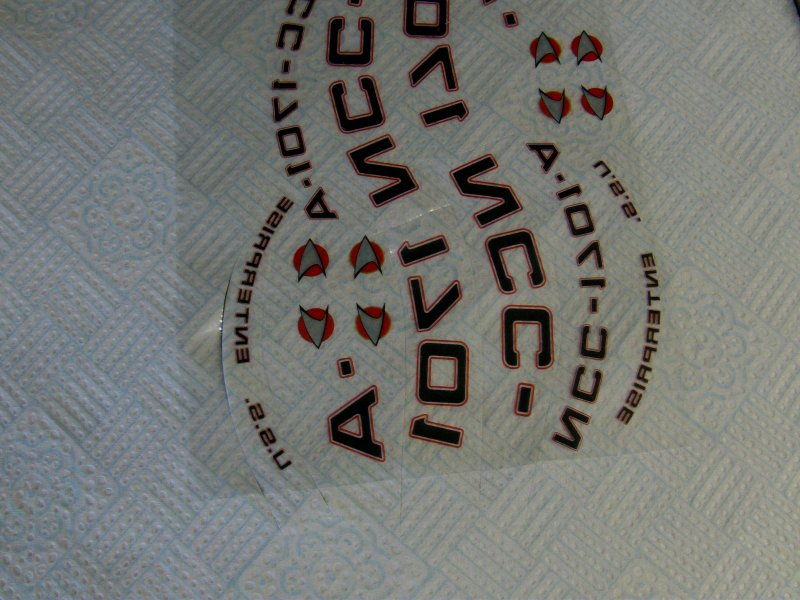
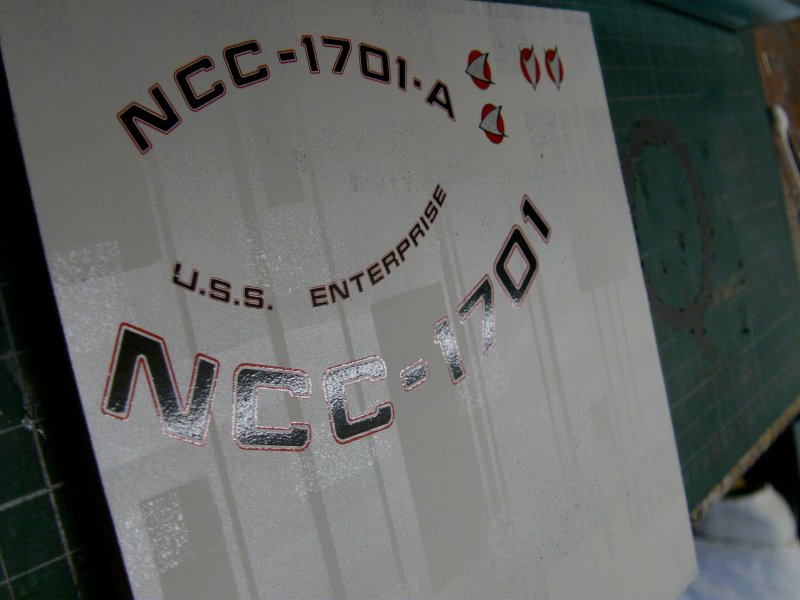
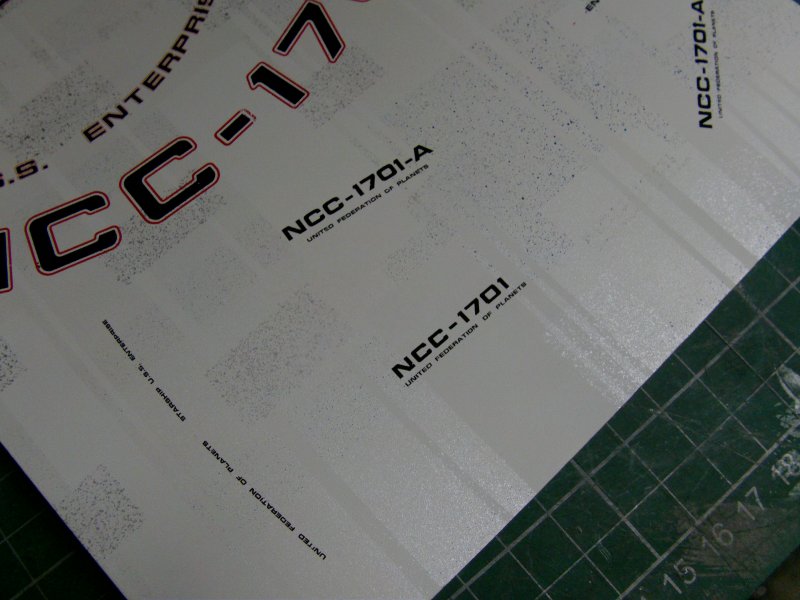
Now first up, a bit of hoo-ha in the decal dept. Here's the thing, the movie Enterprise is covered in pearlescent paint which gives her that unique and rather beautiful look.
So looking at the registry and other markings that go on this lass, the water slides are ok but a bit of a problem. Problem being from my limited perspective is that you can't exactly matt coat them to even the finish and hide the carrier film in the normal way without doing some disservice to the pearlescent paint and bringing the effect down.
Not what one has in mind so a bit of 'how to get around that brain thinking in the head thing' did take place.
Rub down decals are the easiest answer but how to get the right fonts of the correct size and let us not forget the red line surrounding the letters/numbers on the registry and so on.
After some faffin' about I came across a piece of kit called 'DecalPro FX' by Pulsar Professional FX from Florida. Put simply; with a laser printer, a good pouch laminator, a hot air gun and a bit of time,
one can produce your own rubdown decals in any colour and even metallic's.
More than just a little bit up my alley so dosh paid out and kit got from a vendor on my own landmass of England.
info on what you get in the starter kit and how this lovely stuff works
can be seen in detail on their site which can be got to by clicking the link thingy below...
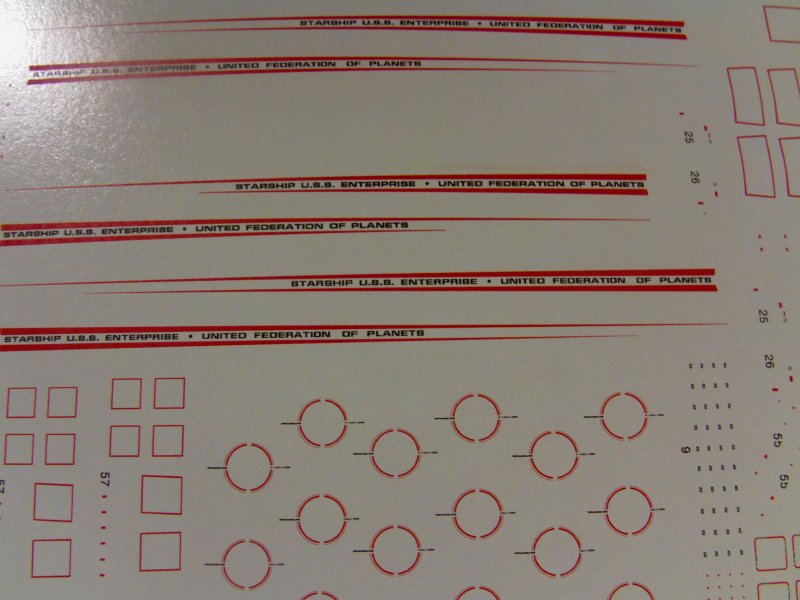
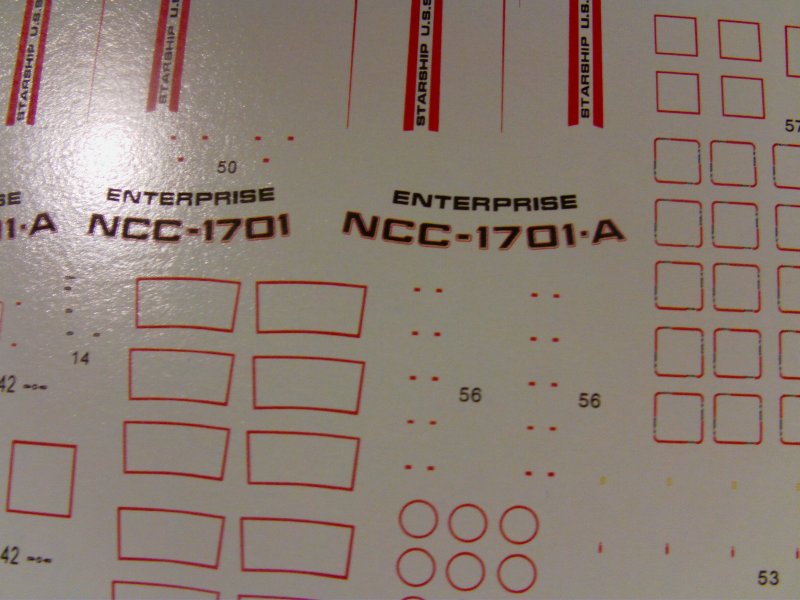
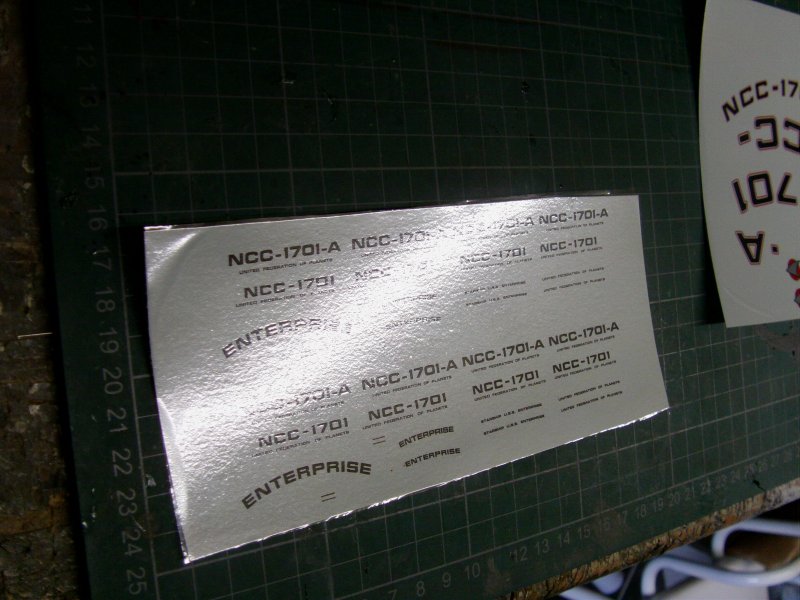
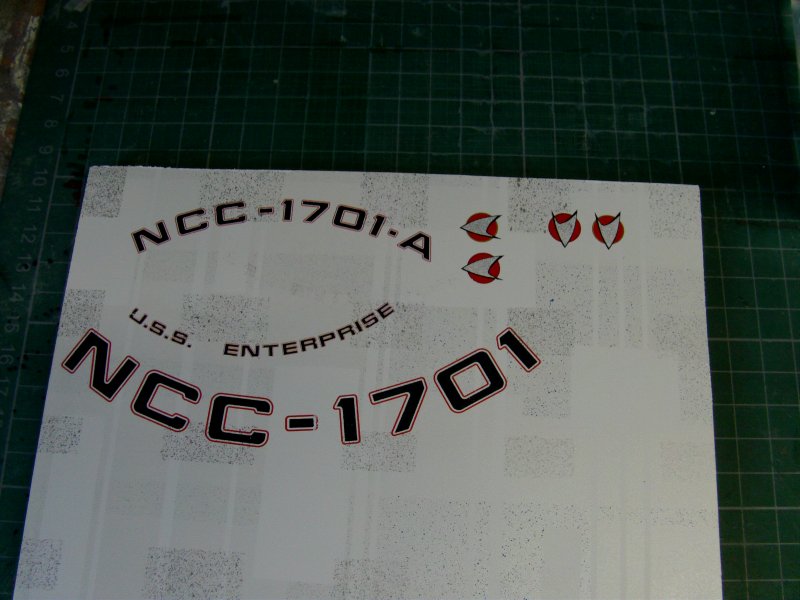
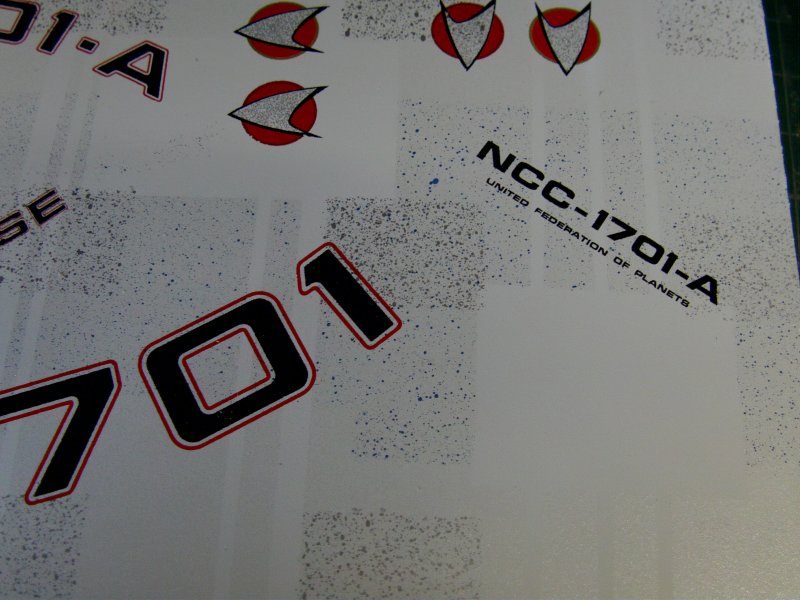
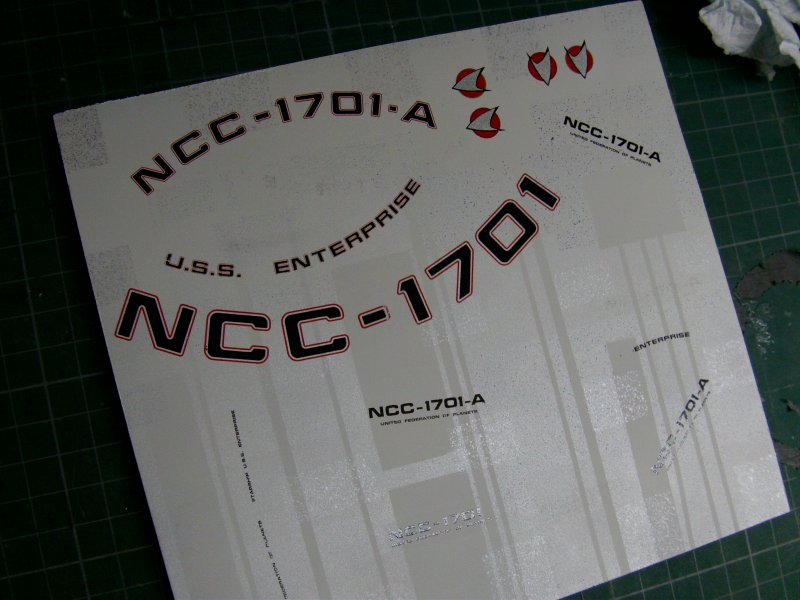
So long story short, the original waterslide decal sheet got scanned at 1200 DPi if memory serves and the whole damn thing got redrawn
in PaintShop Pro 9, which took a few days to do.
And before the rabid "why don't you use Photoshop!" brigade start wailing, I have PSP9, it works just fine for me, does everything I need it to, I do not have Photoshop anyway so deal with it.
So ended up with three sheets of about A4 size coming mumbling out of the laser printer.
All very crisp in the printing which is nice.
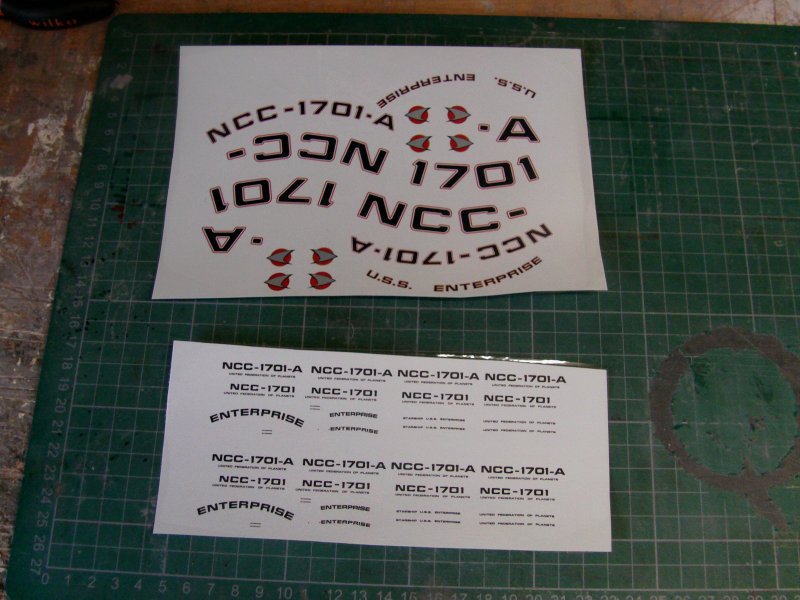
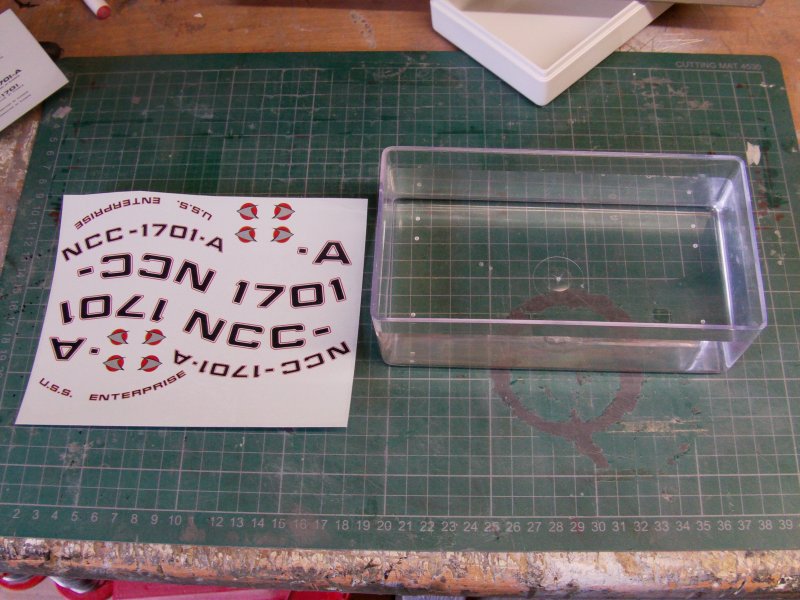
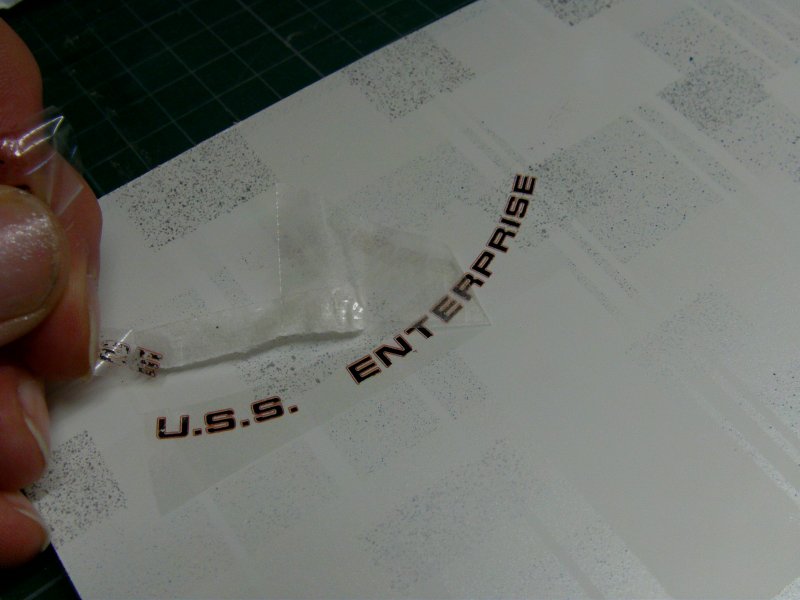
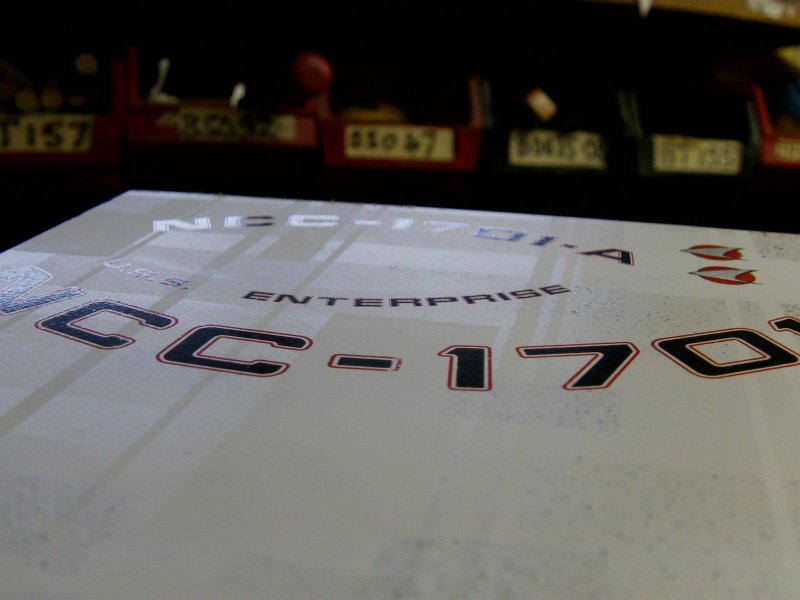
So then, grabbing a couple of test printed sheets for the sacrificial tryout, hacked up and shoved through the laminator with the mylar carrier film attached.
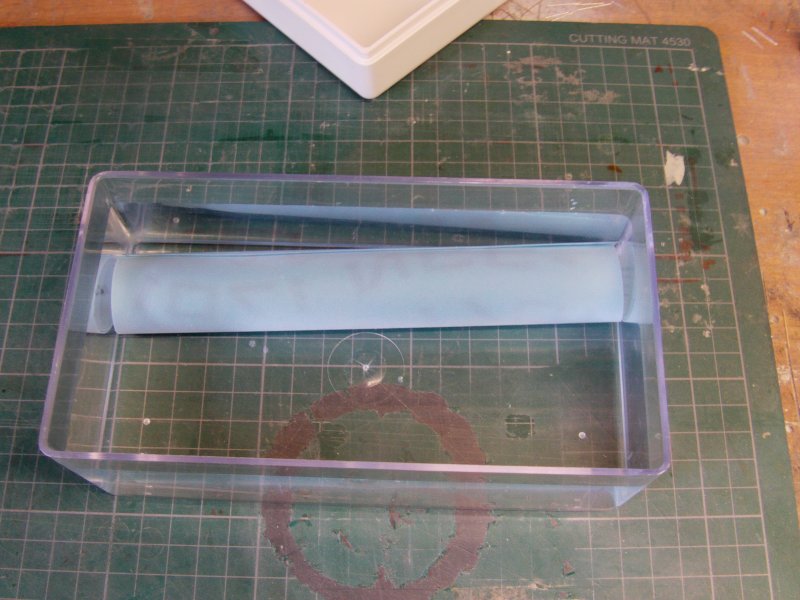
Now comes the fun bit! The sheet was dropped in to water and it curls up just like a water slide decal.
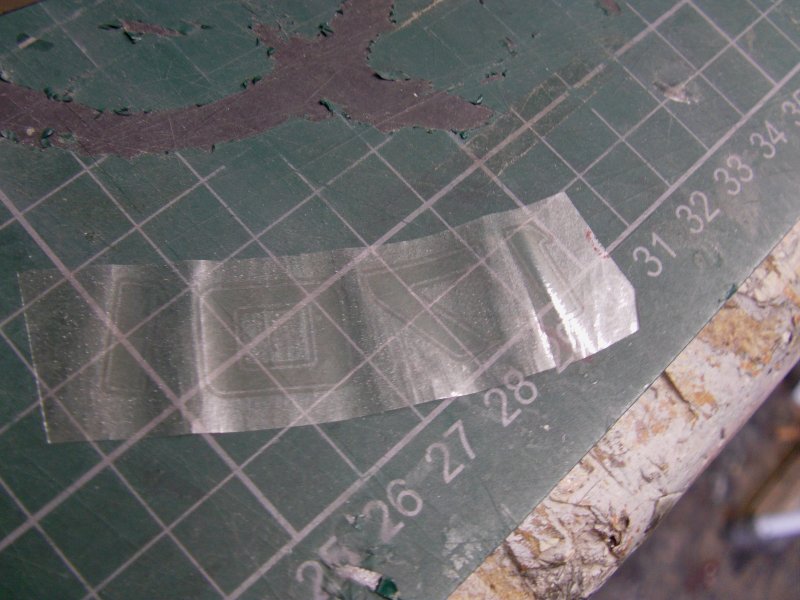
After a minute or so, the mylar releases from the paper and comes out in one sheet. So what you have is a clear sheet with the artwork attached.
Now i'm not going to go in to too much depth about trimming and stuff like that before soaking, each project will be different so after the initial learning curve is done then it's up to the individual how to best proceed.
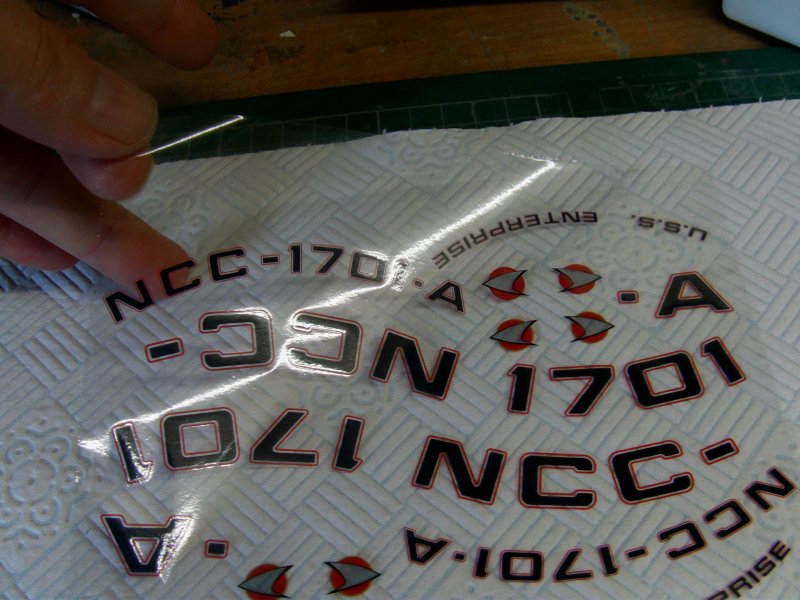
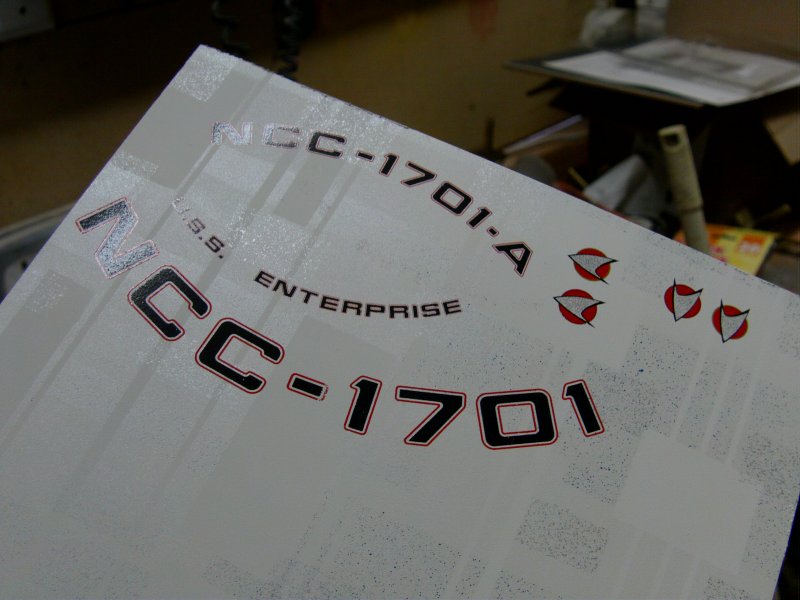
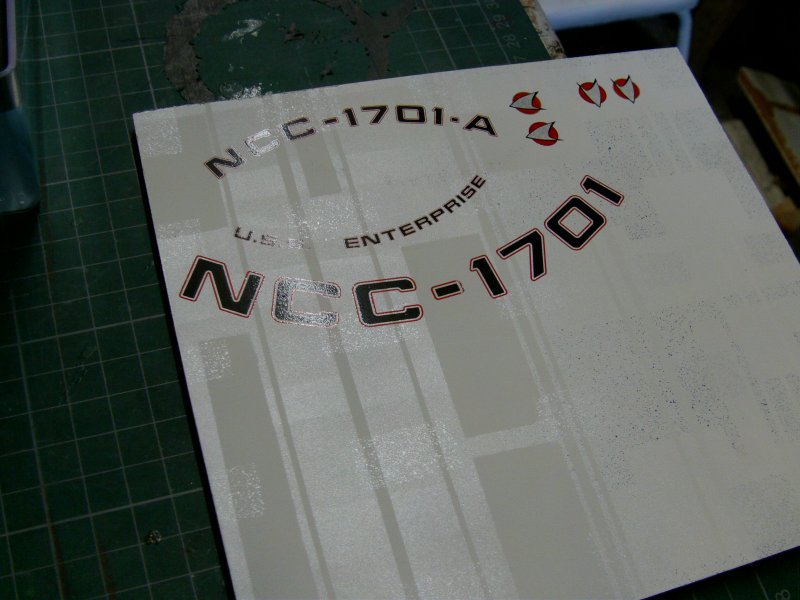
Right so, all dry and ready then.
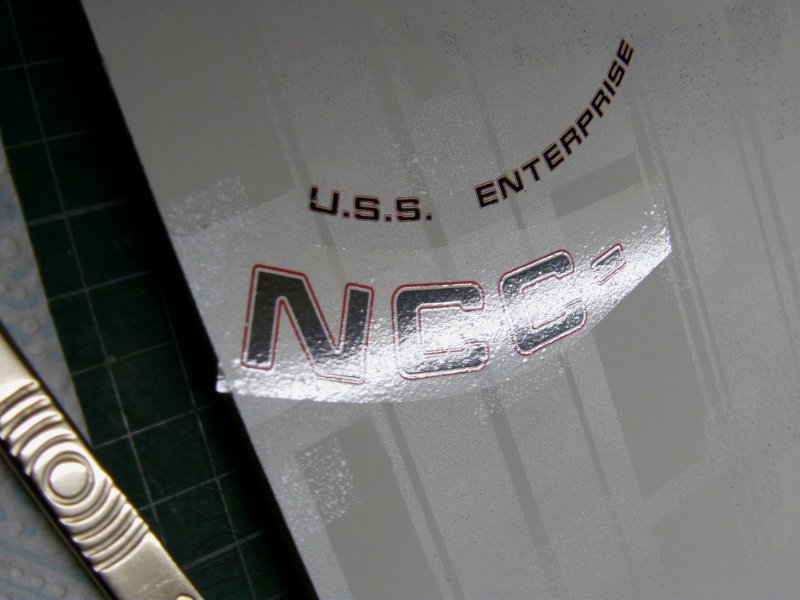
A paper towel sprayed lightly with the adhesive to hold the film steady then place film face down.
A proper coat of the spray adhesive on the artwork itself, then a fresh scalpel blade and a bit of trimming here and there and ready to go.
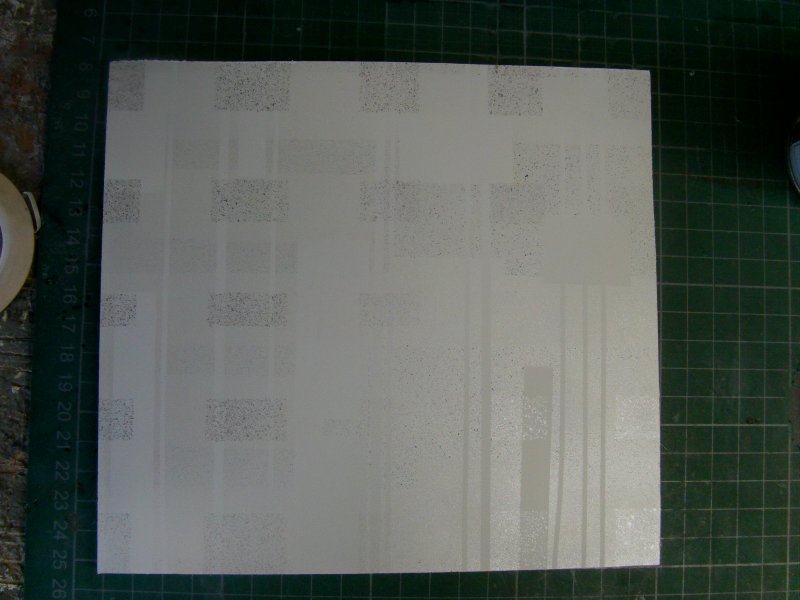
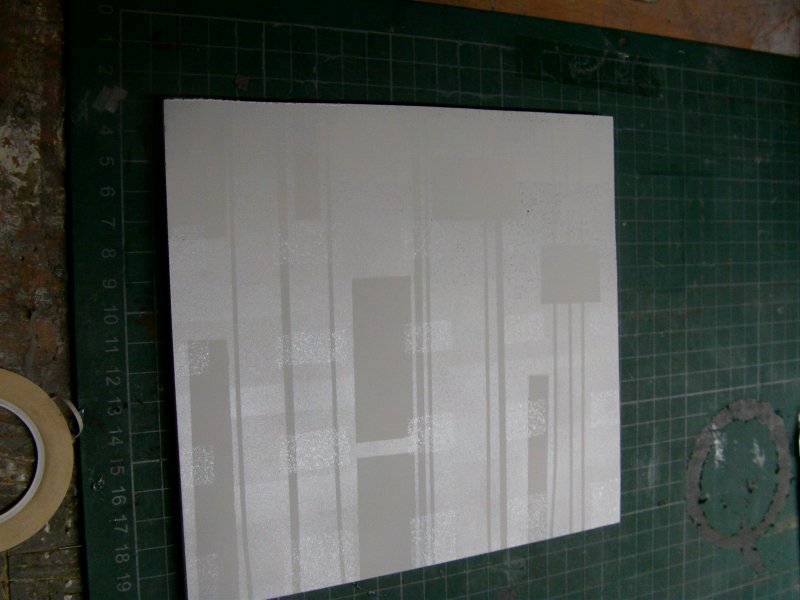
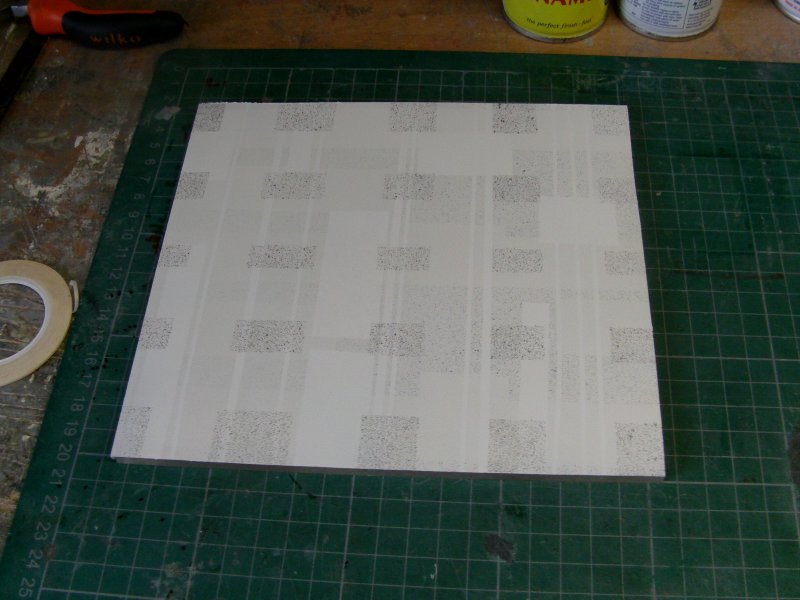
For testing purposes, a scrap slab of acrylic spry bombed in matt white,
some rough masking and bit more spray bombing
with pearlescent and metallic's.
Not going for style and it'll do for this test.
So to the decal application. Well just like a rubdown decal, Place, rub, peel. The spray glue is pressure sensitive so a little press after removing the film does no harm.
No carrier film to fuss over, no residue, no worries!
And the all black decals come out rather splendidly as well.
So as a test I have to say it looks bloody promising. A bit shiny but that can be dealt with.
This will first get tested proper on another 1/350th Refit model to be painted and finished, around which there is a slightly amusing tale that
i'll regale you with another time.
Right, that bit complete, on to the next prep job... Lighting things.
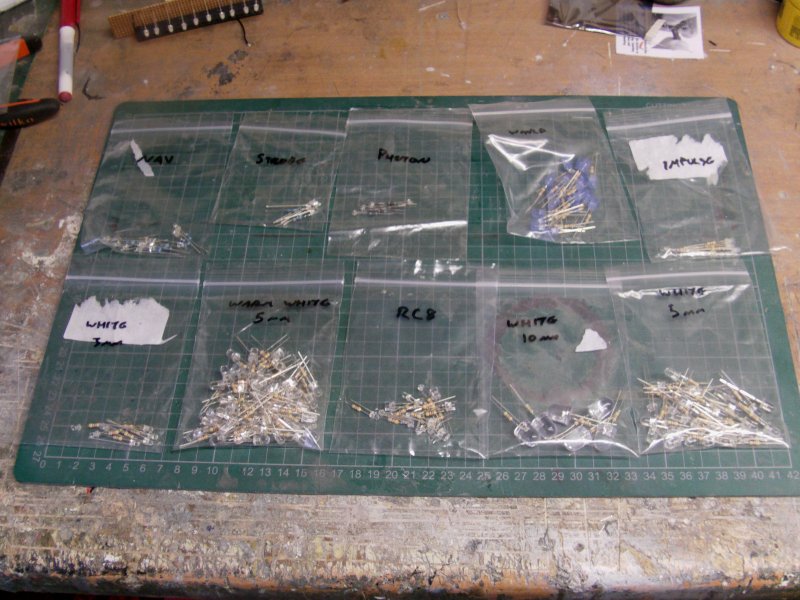
Oh yes, it's the LED lambada again! For this turn out, i'll be using warm whites for the windows, whites for the spotlighting, yellows for the RCS thrusters and whatever else is
required for the rest of the flashy/blinky dept.
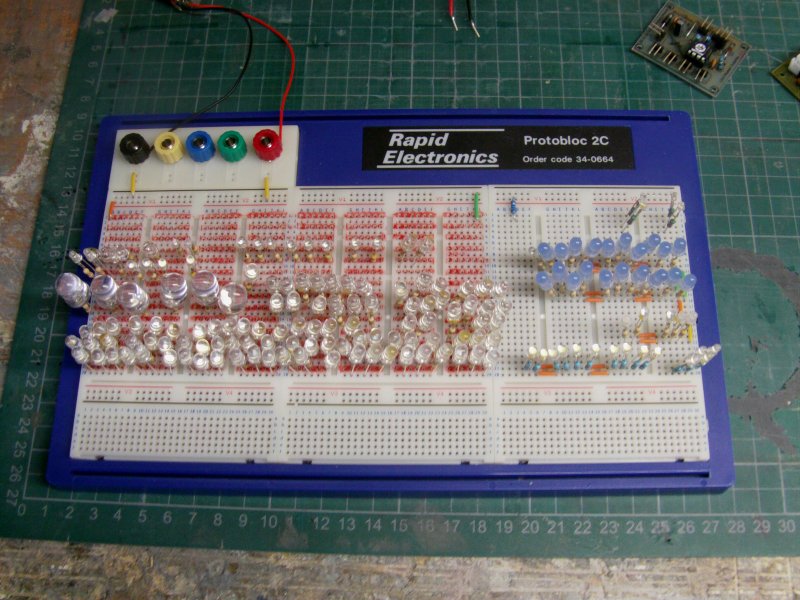
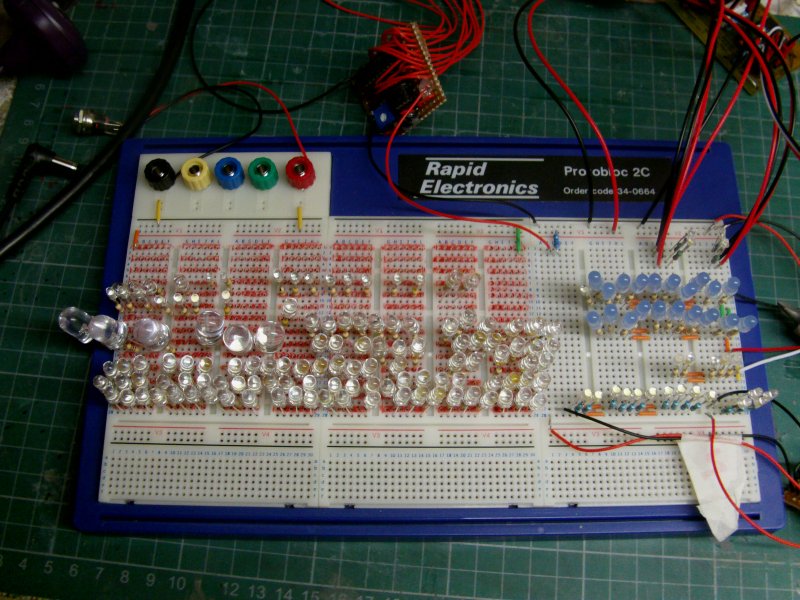
A rough workout of the numbers required,
a bucketful of resistors
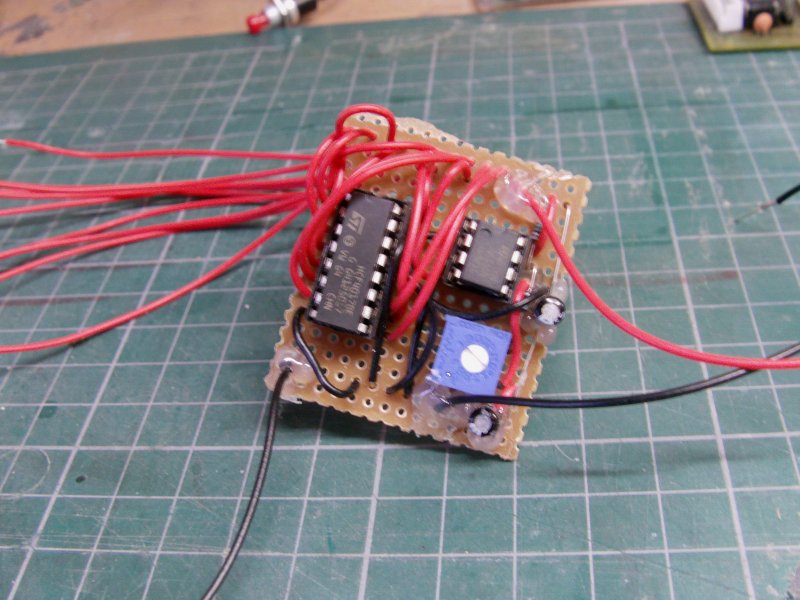
and a slightly modified solderless prototyping block later...
The count is about 150 or so. Enough to do the job with a few of each over to compensate if needs be.
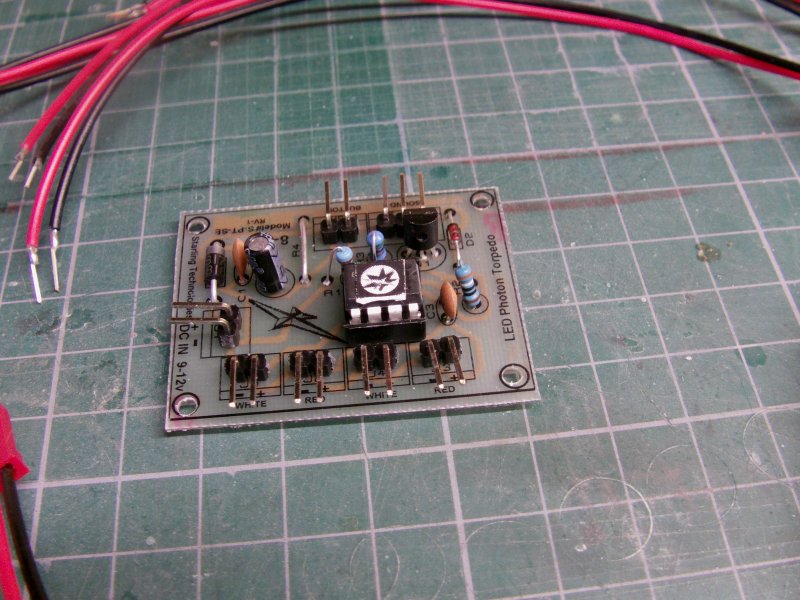
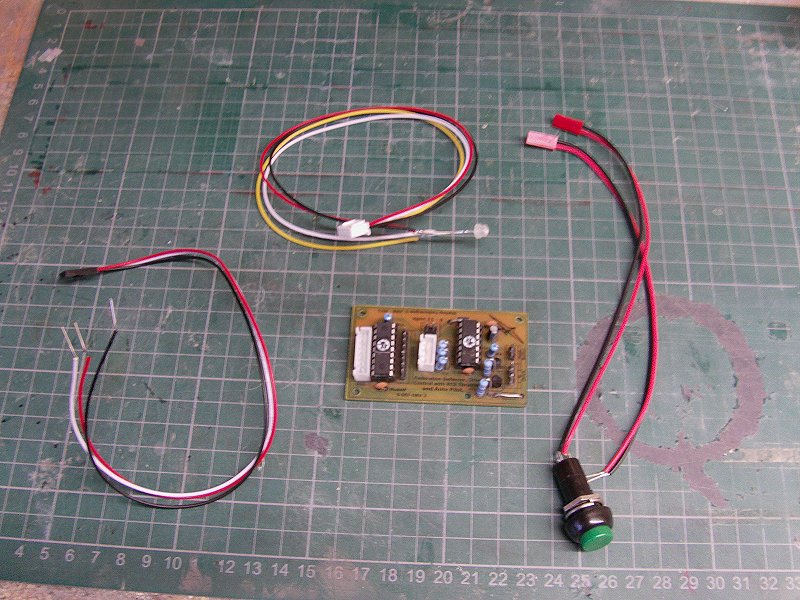
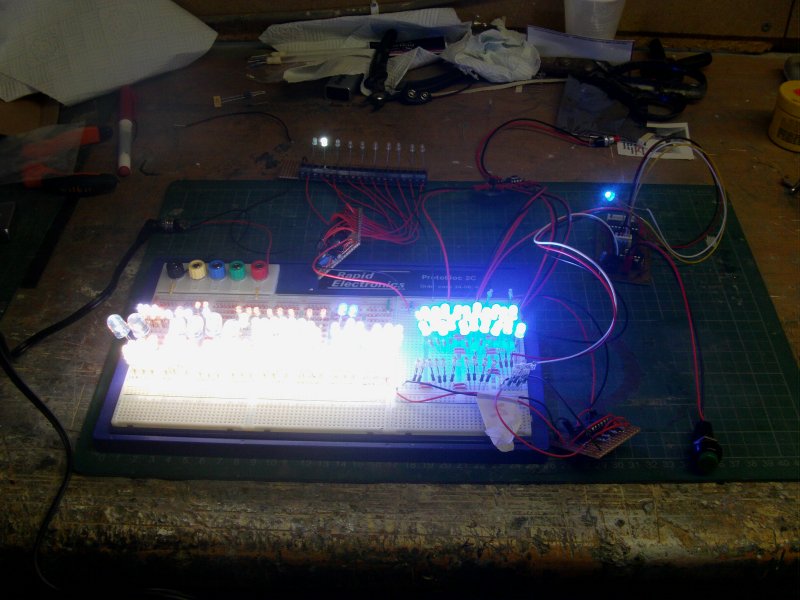
Now to the flashy/blinky gear stuff... For the nav and strobes, a simple 555 circuit found online and soldered up by yours truly, likewise a chaser circuit for the hangar bay, and two modules from Starling Technologies in Colorado.
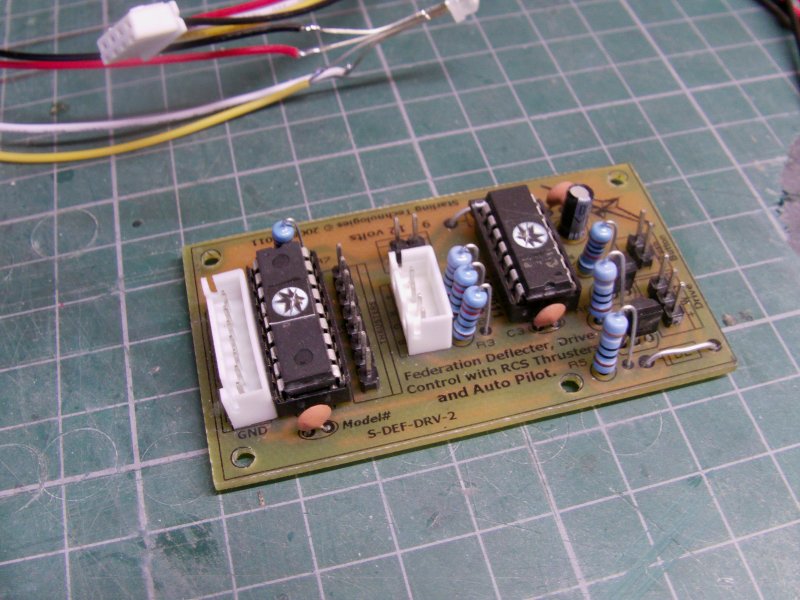
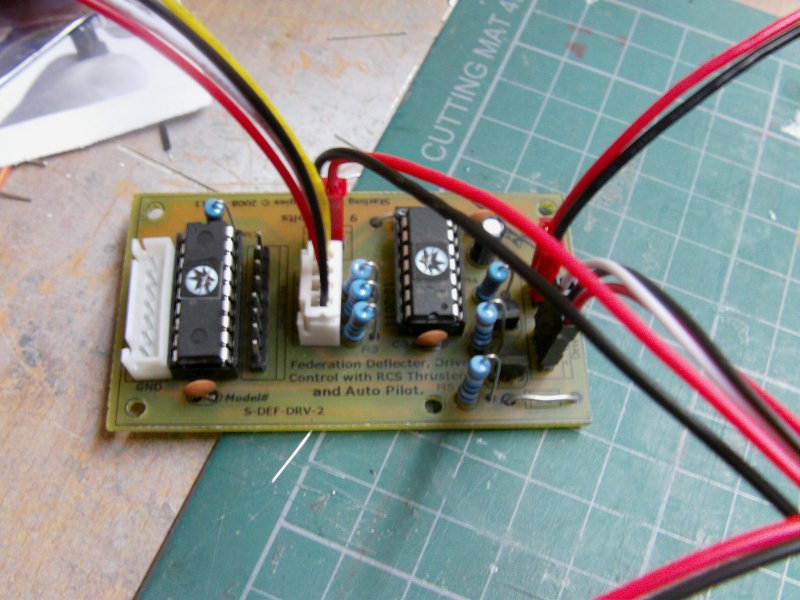
One is a photon torpedo driver unit, which has an optional sound unit available. The second is a module that handles the deflector, RCS, impulse and warp drive lighting.
I am not sure if i'll be able to use the RCS part of the deflector/engine board because if the amount of wires required to run down the support tube that will be holding the Enterprise.
The only other way around it is to break my personal rule and put the board inside the model rather than under the display base. Something I rather wouldn't do because if the board goes then it's chisel time on the model to break it open to replace the board and that's more than a bit of a no-no to me.
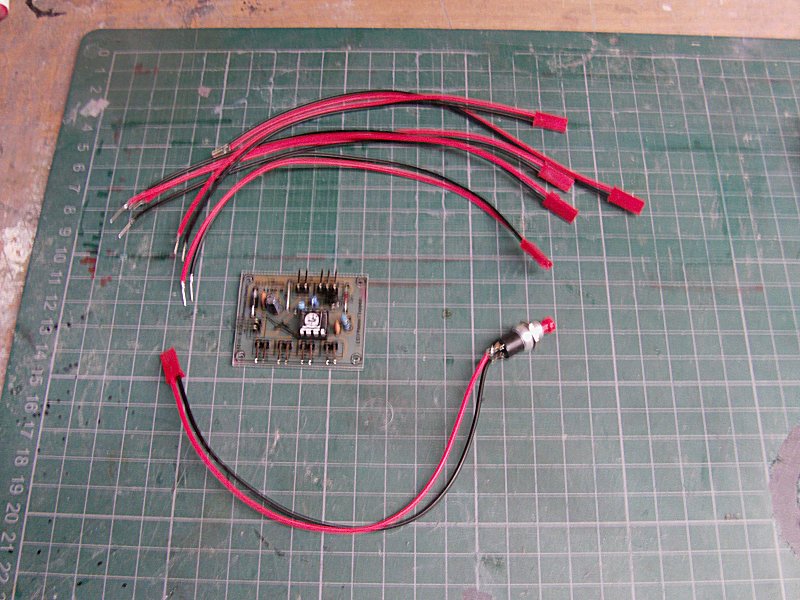
The modules are dead simple to use and sort out as long as the manuals are stuck to.
The Starling modules are almost plug and play,
the only soldering required is to attach LEDs, power lines
and switches but that's about it.
Like so...
Both the modules have multiple modes of operation, to find out more, clicketh da link below to get to the relevant site if you will.
Ordered both modules at the same time,
took about 14 days to get to my door in the UK. Seller kept in touch and all was handled rather efficiently so no complaints here!
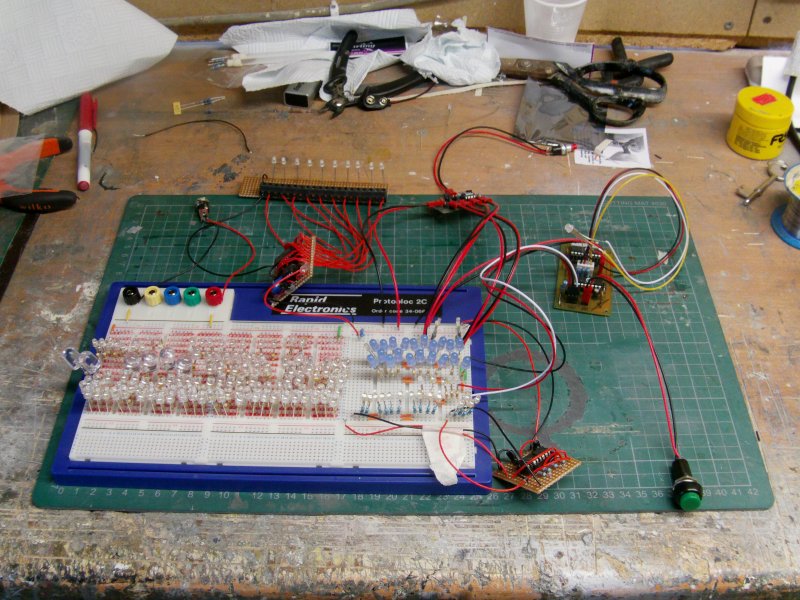
So to the whole deal. Modules wired in to the board as they should be...
And the whole thing wired up to a switched mode power supply running at 12 volts with a maximum of 3.5amps output.>
And this was one of the few times i've stood in the hellhole, at night with the lights on and wearing very dark wrap around sunglasses.
Not for no reason that measures like that mean a bloke like me is nearing 50 still doesn't need glasses for anything.
Look after your sight people! it can go quicker than you think. Especially standing in front of potentially several thousand candle power of lights.
So then, this lot was given a good soak test for several hours constant and delighted to say I only had two LEDs go out on me. The rest carried on without fuss, electronics likewise so all good and then some.
The LEDs were then removed from the board and bagged up,
modules squirreled away in anti-static bags and the
lot put in kit the box untill some time early new year.
Finally, a short vid of the lighting set up and the deflector/engine lights working. As a note, the impulse drive lights will be tied to a blue LED that will light up the clear dome above the impulse drive on the dish, when the warp drive kicks in, the clear dome will light up white.
if the above video it is not playing then by all means do the right click and 'Save Target As...' thing on the link below to download the movie. 4.05 MB file size, 42 seconds long so no need to get the popcorn or visit the bathroom before viewing methinks.
And enough with da waffle already, next update some time in the early new year. You lot go easy out there now!