
Moebius Models Flying Sub
1/32nd Scale


 Page Number
it's the final update...
So Time For The Final Finish Thing
Part 1.
Welcome back to the hellhole gang.
Part one of a twofer final update.
Okedoke then, last time the main parts were altogether and finally sorted so on mit der final paintwork.
First things first, the top and bottom hatches.
Simple enough deal.
Some enamel aluminium applied with the air powered paint spitter and a follow up with some dark silver black wash.
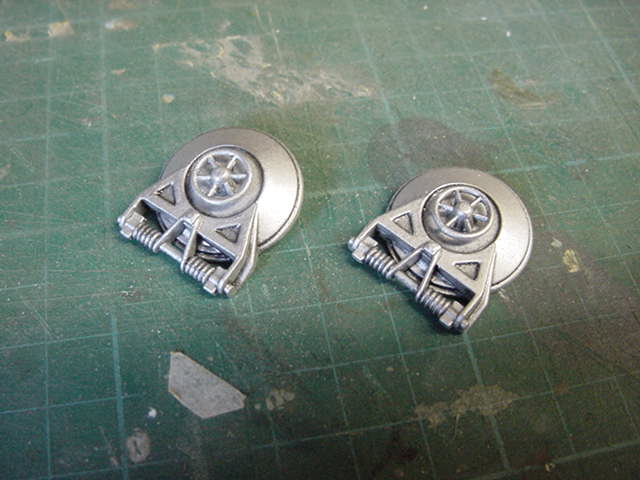
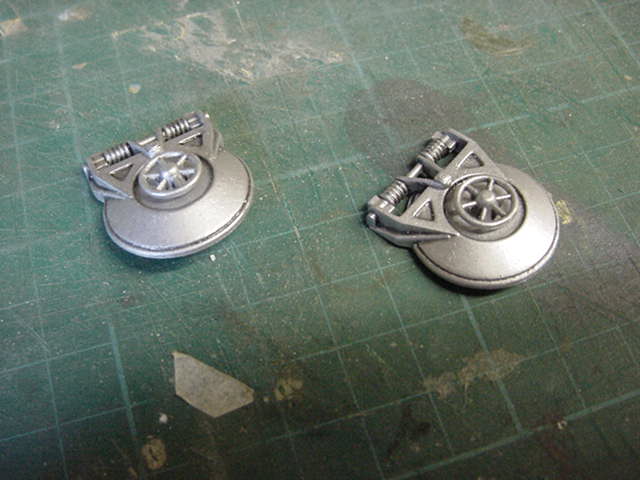
So them readied up, on to the main lump.
The whole sub had a fair encounter with some filler and more than a few brisk wet & dry grit paper moments.
But finally all the lumps and seams that shouldn't be there were made to go away.
A dab of epoxy putty on the nose to rebuild the sharp point on the underside.
Something that had got a bit rounded off during the sand down dance.
So that done, some masking and a goodly going over with some Gunze Sangyo 1000 surface primer ala rattle can.
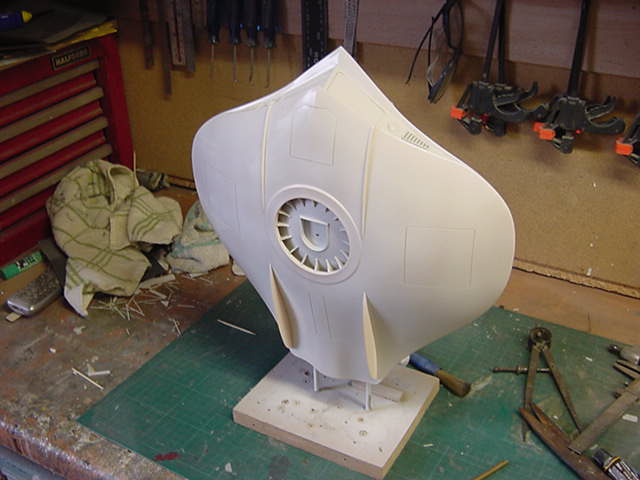
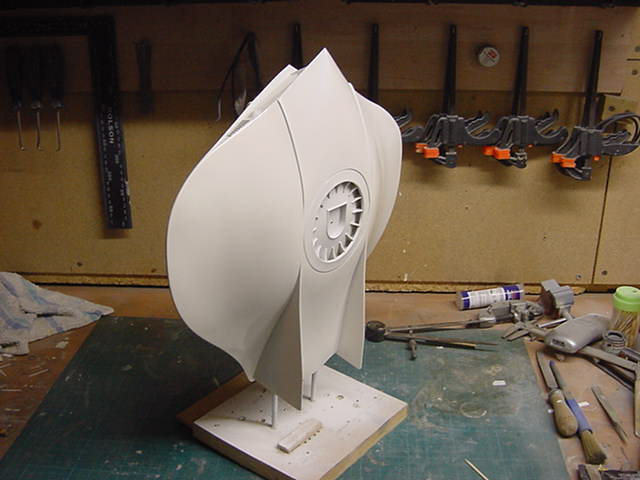
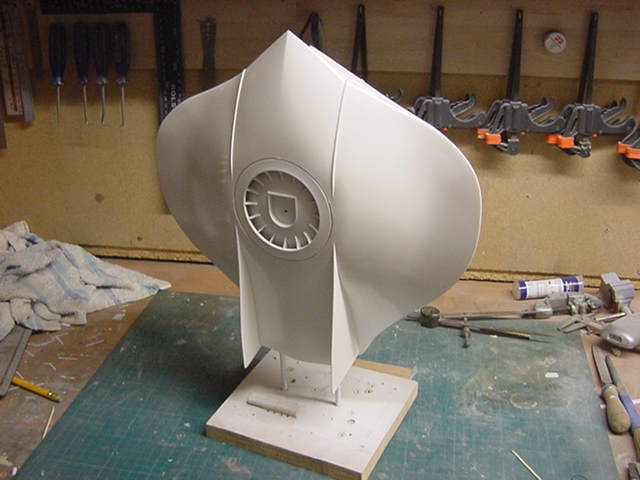
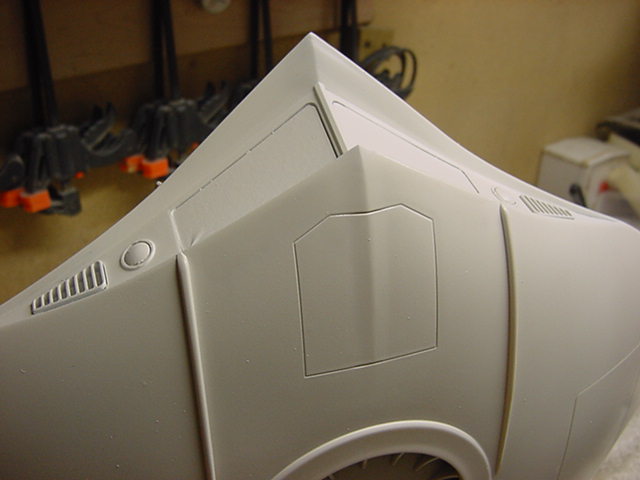
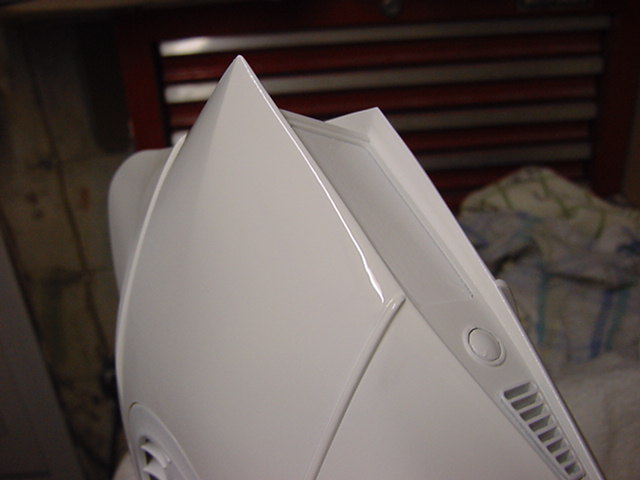
So that was left overnight.
Next day the whole thing was attacked with some 1200 grit wet & dry for final smoothing.
Done and done, on to the main colour proper.
Now at clients request, this was a sort of 'chrome yellow but not quite chrome yellow' as such.
The aim being a not too orange yellow as chrome yellow is.
So a mixture of approx 60% chrome yellow,
Some 30% ordinary yellow or there about's added
And finally somewhere in the region of 10% or so white.
All enamels just so's ya know.
So slung in the airbrush and two coats applied with some surface defect sorting between coats.
The result as follows:
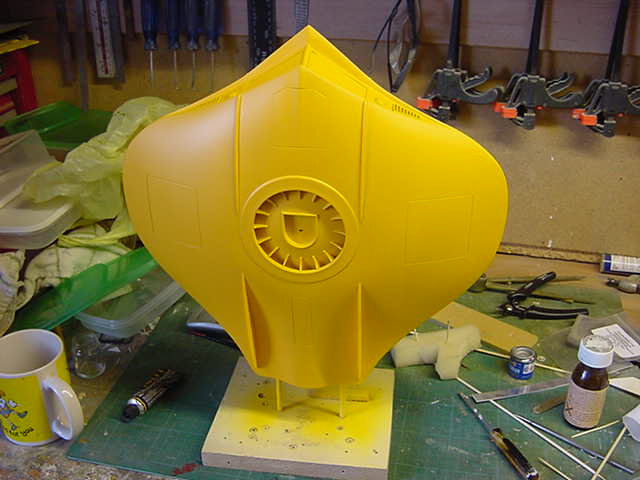
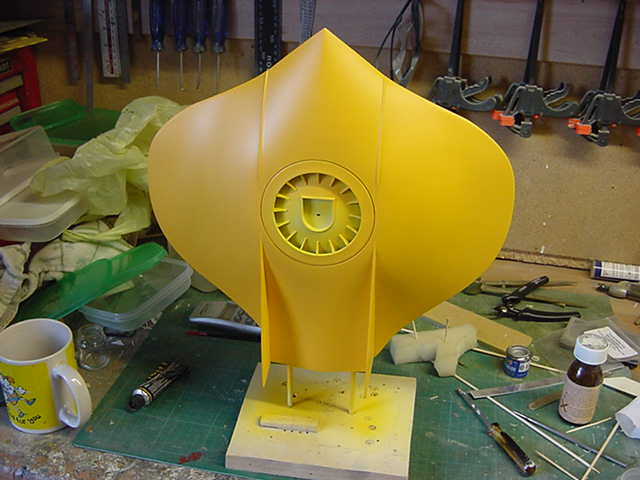
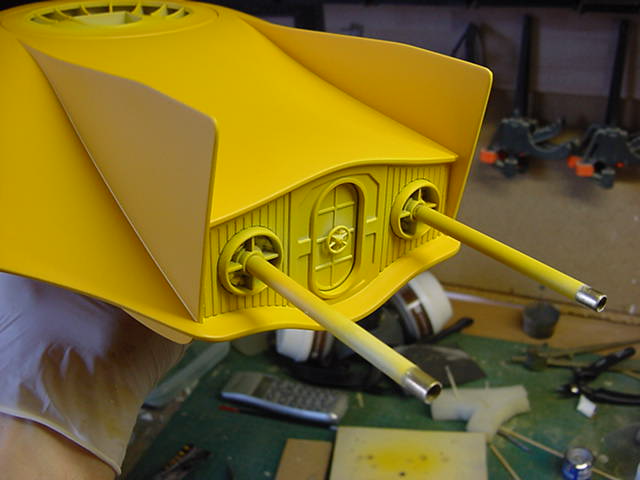
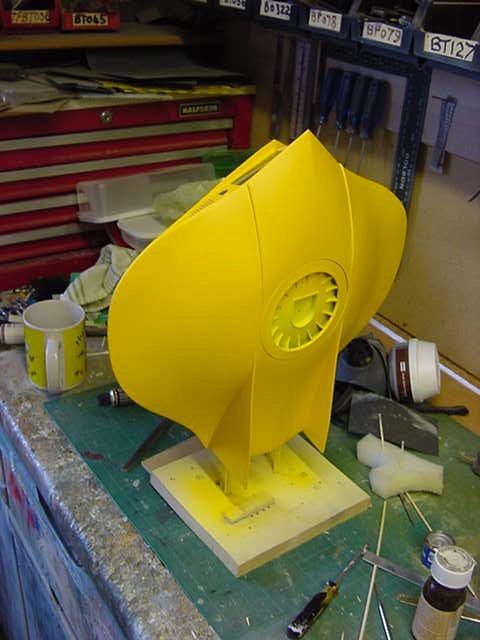
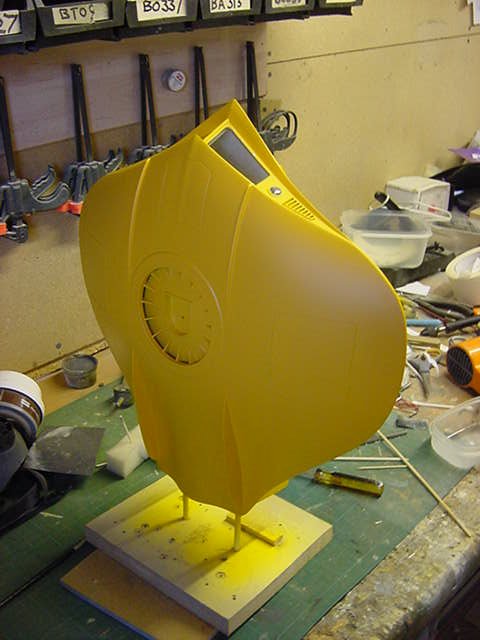
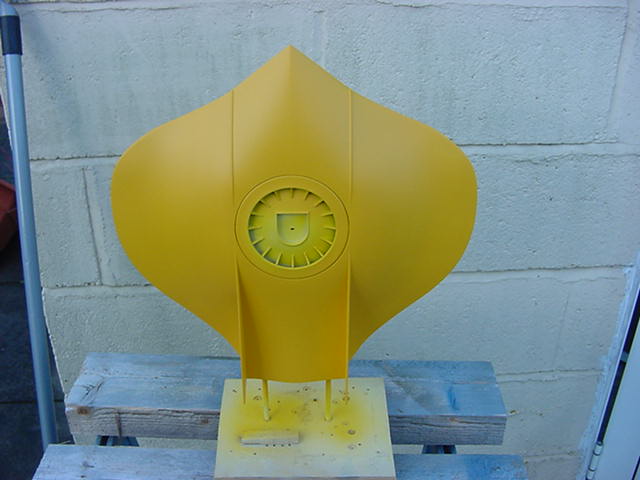
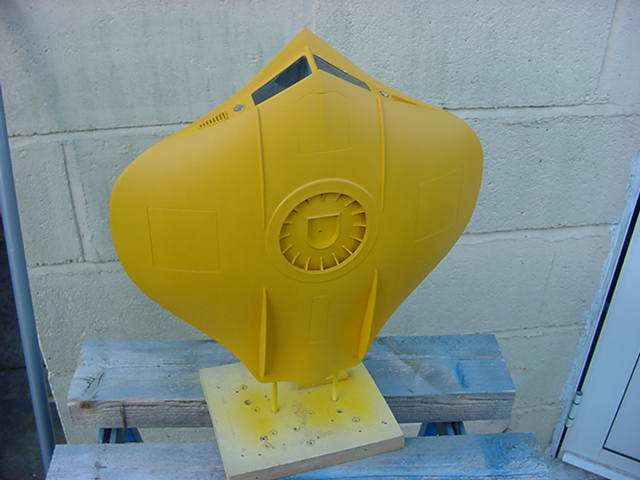
And this was left alone for three days to sort itself out and cure fully.
.......
.........
...............
Well that was a quick three days so onward!
Rightyho!
Decided on a little detail punch up for want of a better phrase so out came the pastel chalks and a little mix of grey black.
Duly applied to the beastie in areas of the underside ring and where the fins meet the fuselage.
Just for a bit of definition so to speak.
Also some light wash in the panel lines of the underside.
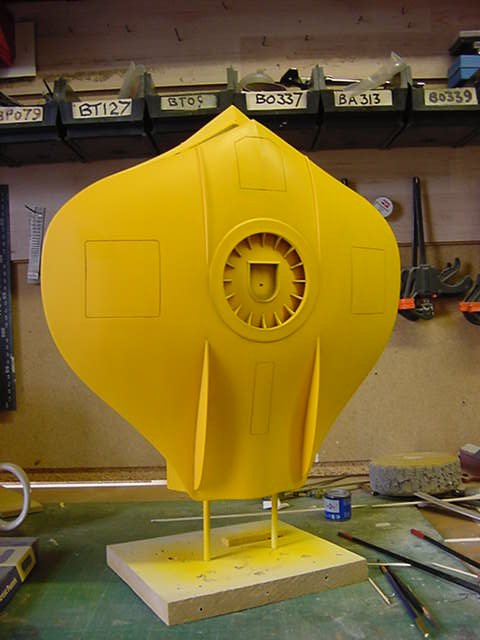
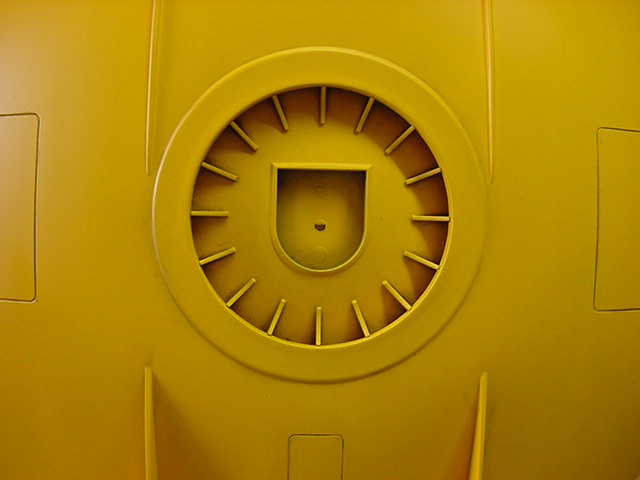
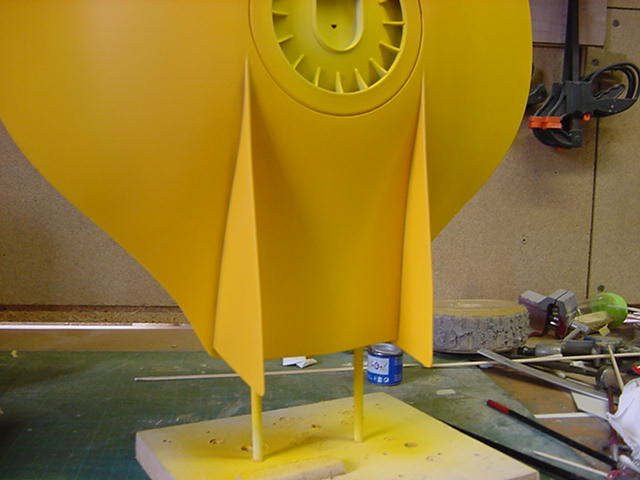
That'll about do it.
Next up a goodly coating of acrylic satin varnish.
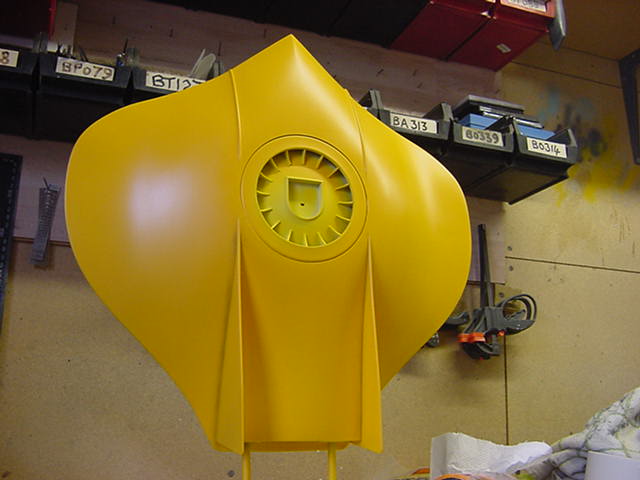
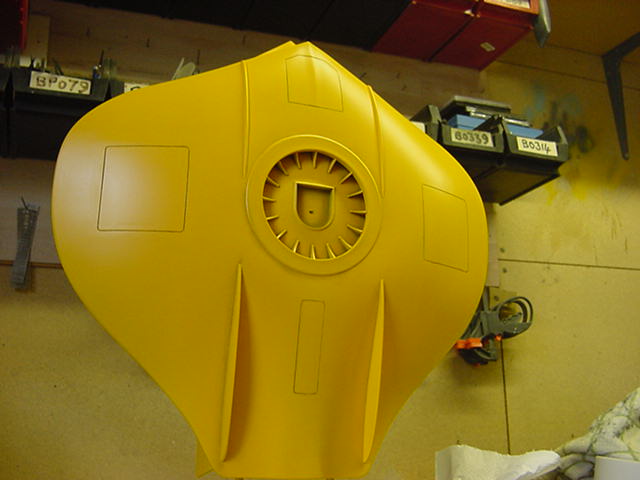
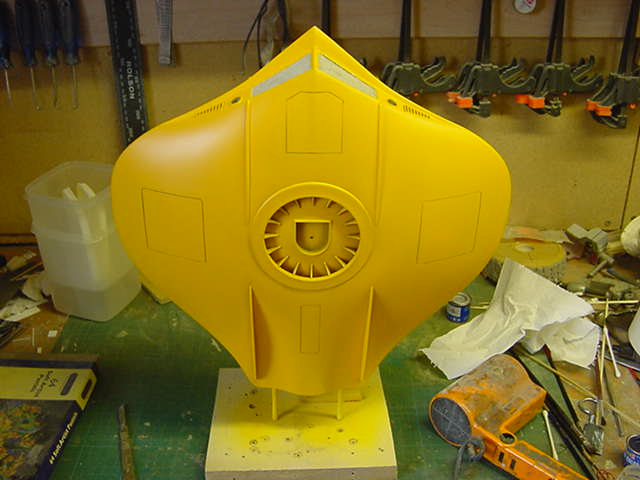
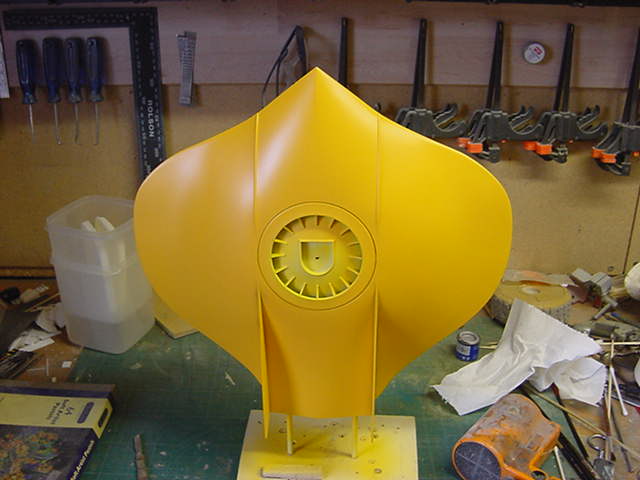
Nice!
So that sorted, just a few subtle streaks of weathering here and there and the lower hatch put where it should be.
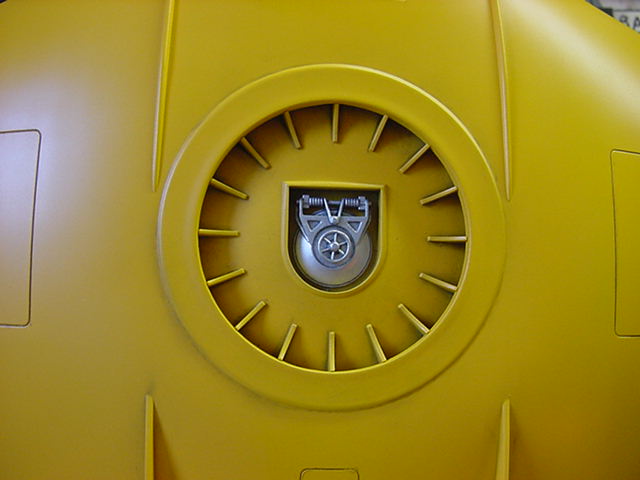
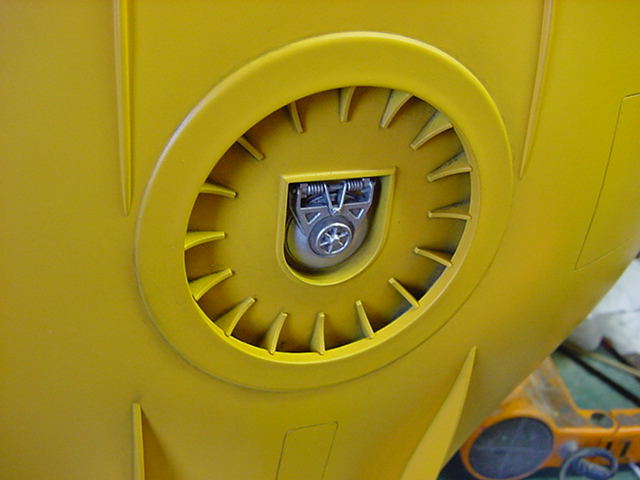
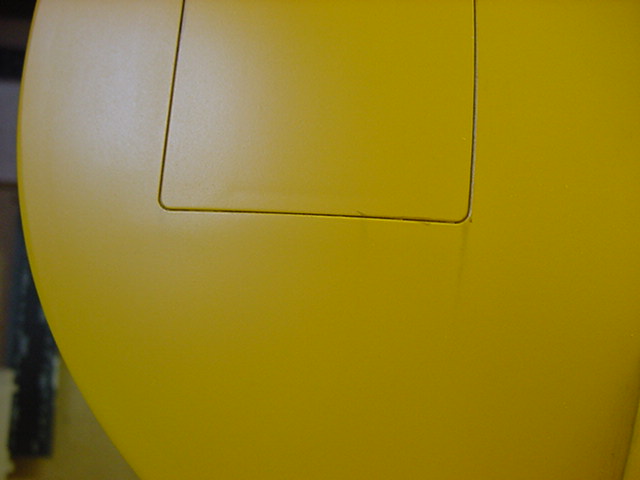
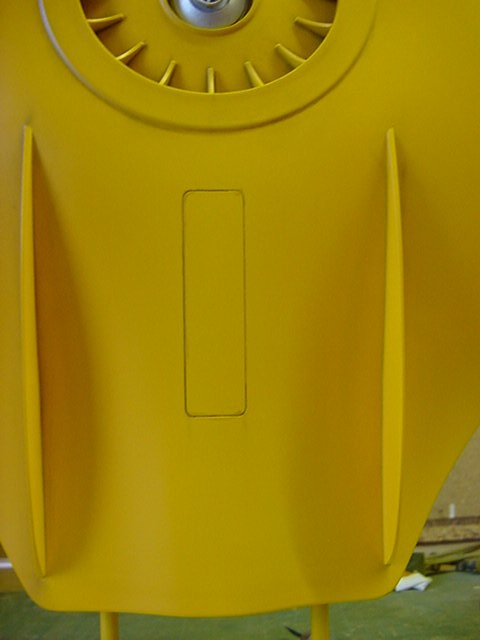
And that's it for this piccie packed page so outward and onward to the next one
See ya there!


 Page Number


