
Moebius Models Flying Sub With Extras
1/32nd Scale


 Page Number
Crewman in a rack?..
It's Just Kowalsky Doing Some Eyelid inspection.
Welcome back you merry mob!
Well I didn't think i'd need more than one page to show just one bit.
Wrong again so here's a twofer update page deal part 1.
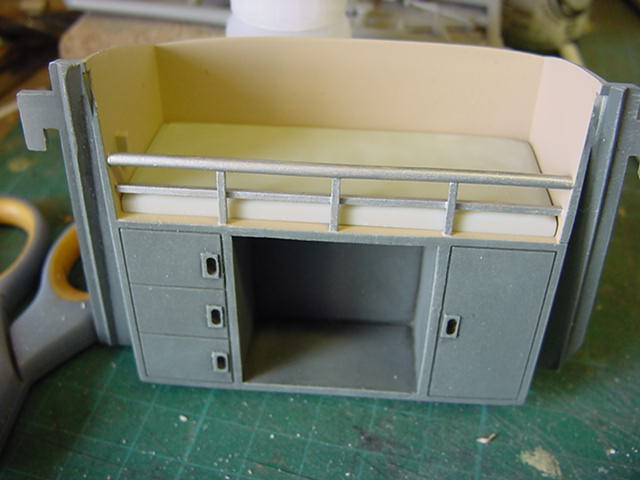
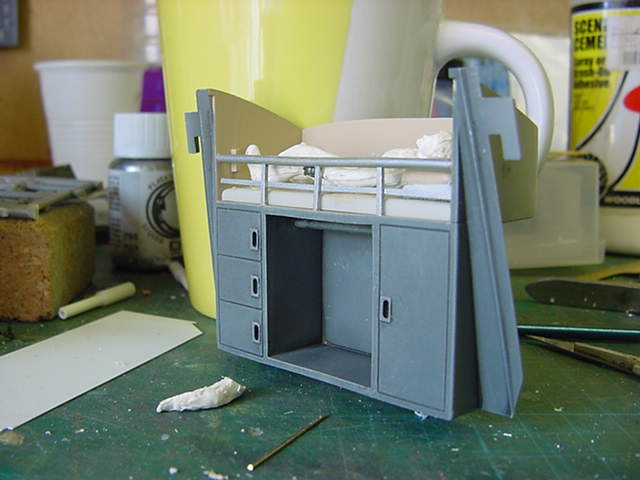
So the bunk bed wall part.
To refresh the memory kinda thing, request was for someone kipping in the bunk and some gear in the open cabinet.
A doable thing so let's be a gettin' to it like.
Well Kowalsky took shore leave on the last turnout, not quick enough with the leave request this time around.
Sorry fella.
Right, grabbing said figure from the spares bin and time to re-work.
Now the thing to remember here is that this part will only be seen from certain angles.
Hence a full on paint job is not really required as such.
So if it looks a bit poor in places, it won't when sorted and in position trust me.
Onward!
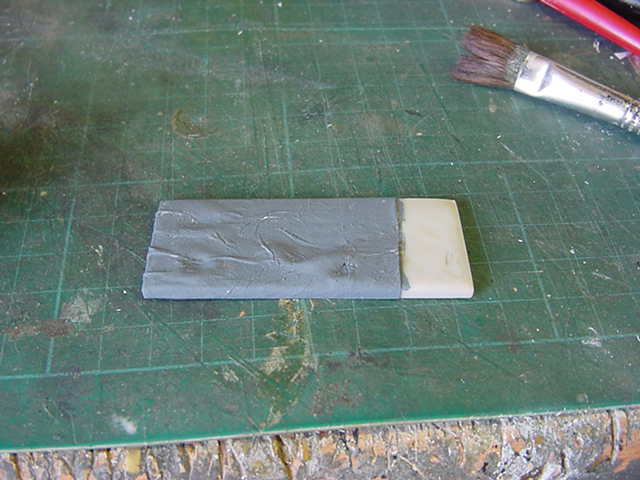
So the figure and the stock mattress got, the mattress needed a bit of trimming to fit.
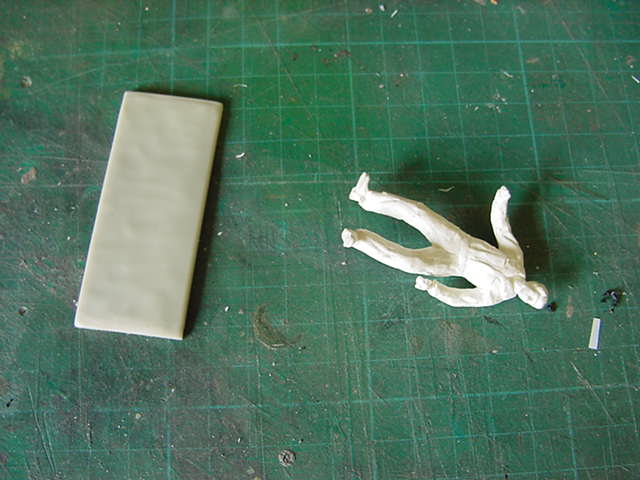
So a bit of reposing as such, a few additional parts as the casting was not that great.
The mattress was ground out in certain places to make the figure rest a bit flatter.
Some quick curing epoxy putty laid down ad some of the same putty for the pillows.
A bit of squeeze and shove action and good to go.
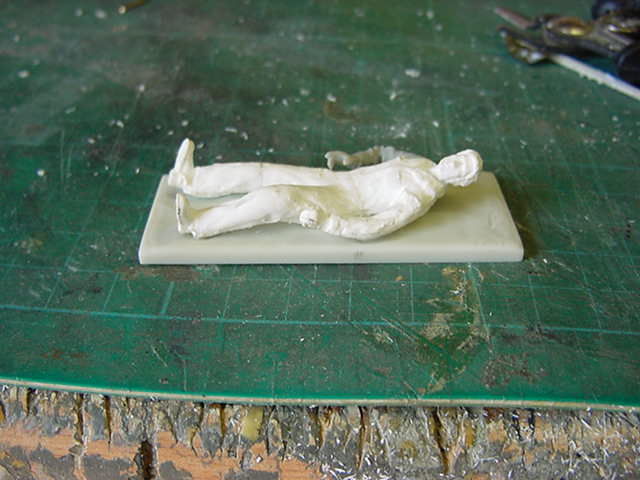
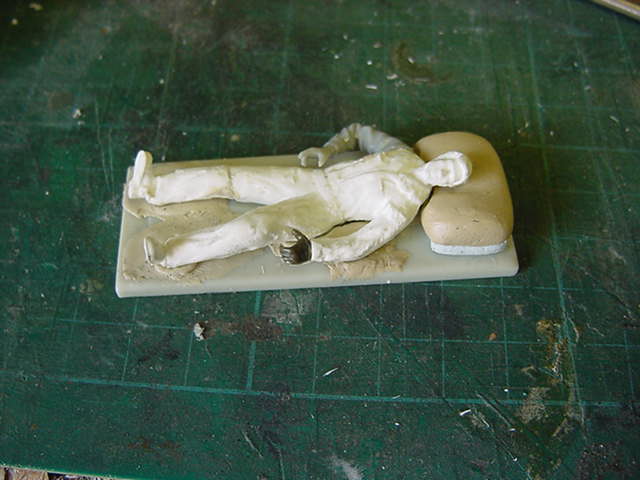
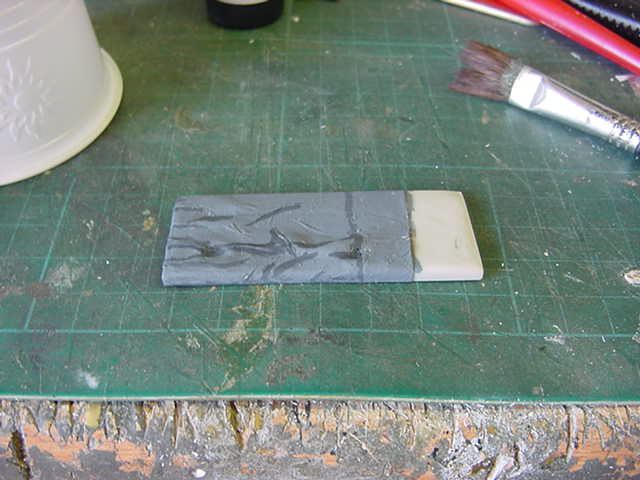
The mattress was then given a covering of some standard tissue paper and stuck on with some model railroad scenic glue.
This was then given a coat of acrylic grey.
A dash of shading and drybrush action followed.
Some acrylic ivory to the mattress and white for the sheet turndown.
Pillows just grey with white primer.
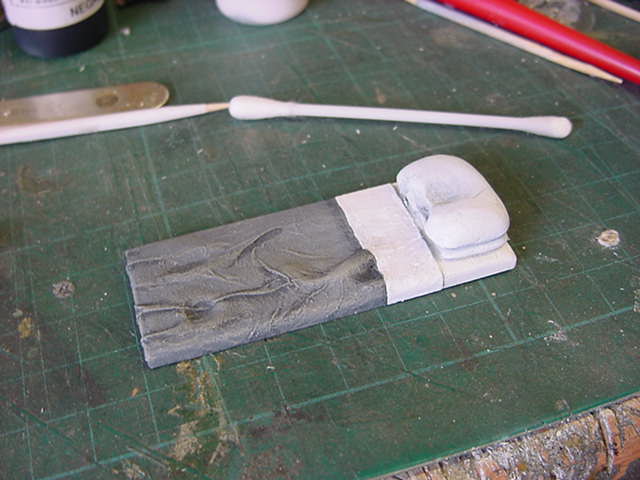
Yeah I know, had to remind myself this won't be seen as such.
Looks nice though.
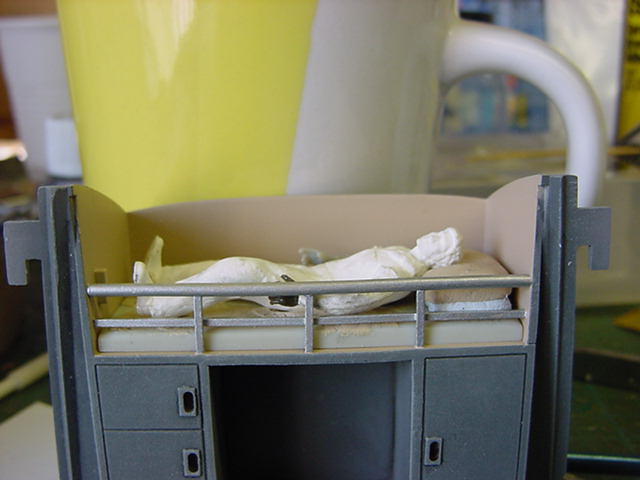
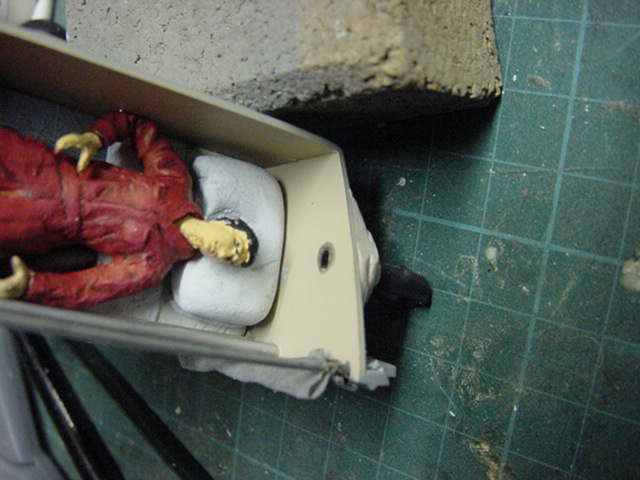
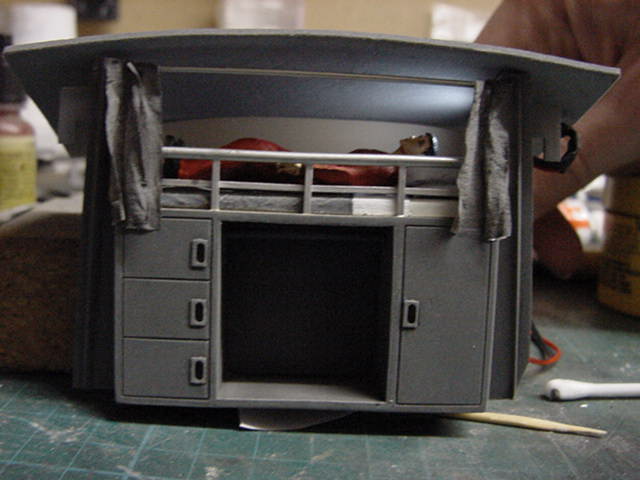
Mattress and pillows in position.
Test fitting of the rather basically painted figure in the standard red crew boiler suit

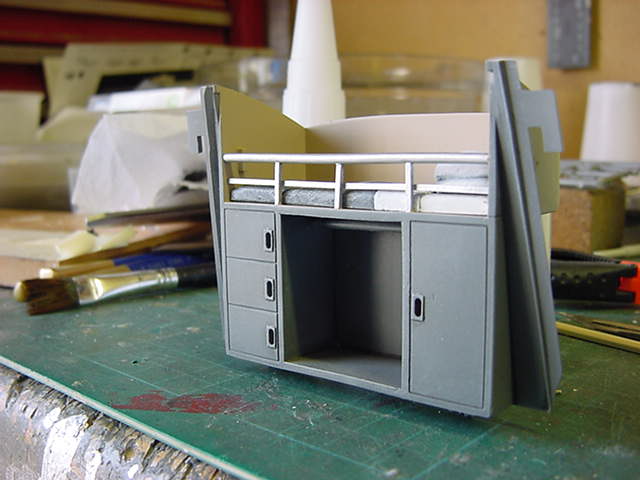
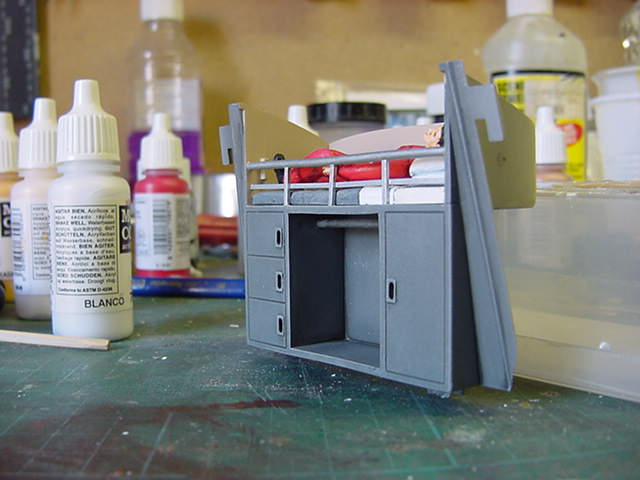
Looking about right so far.
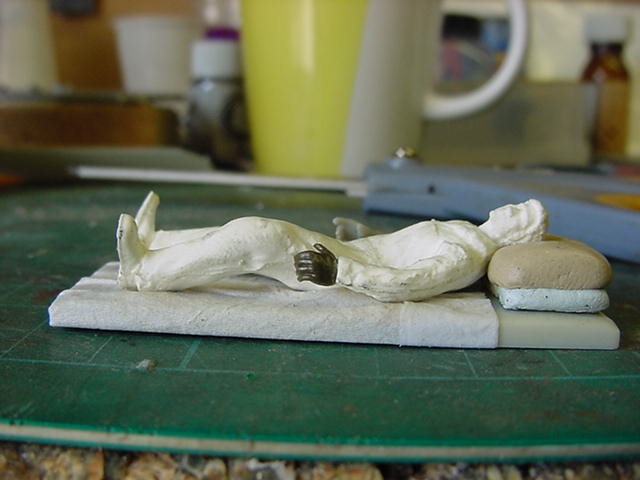
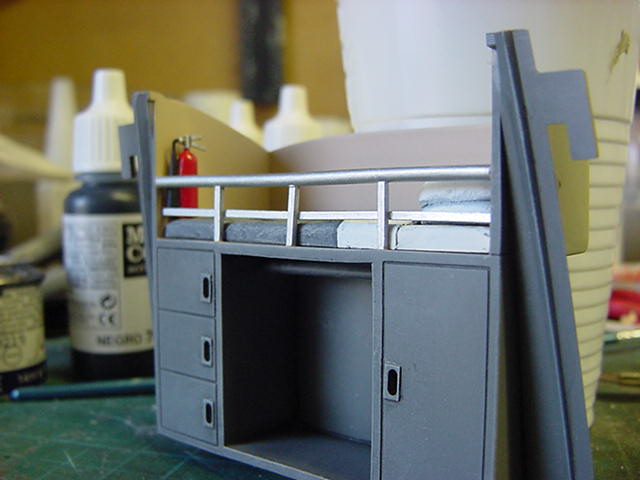
Figure removed, fire extinguisher painted and positioned.
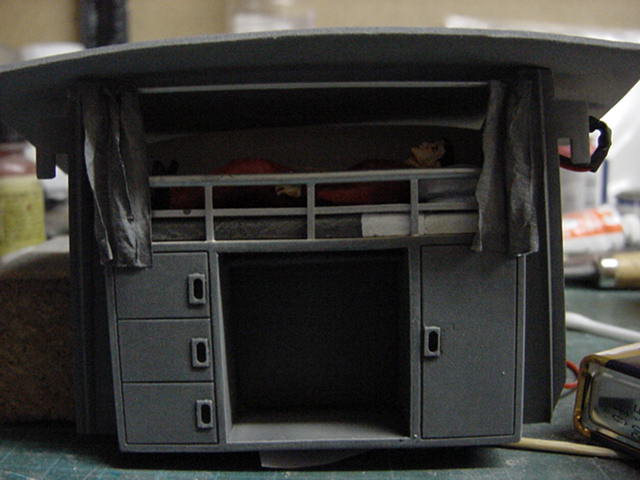
Okedoke then, figure glues and pinned in proper.
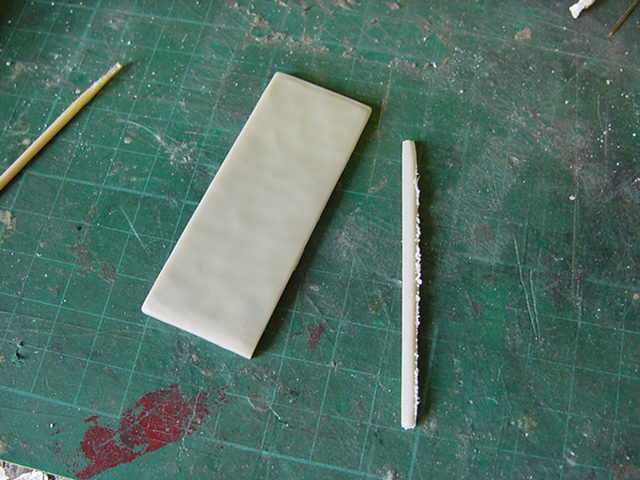
A length of brass rod and some privacy curtains made up from tissue paper.
Some glue and paint applied to secure and stiffen the paper up.
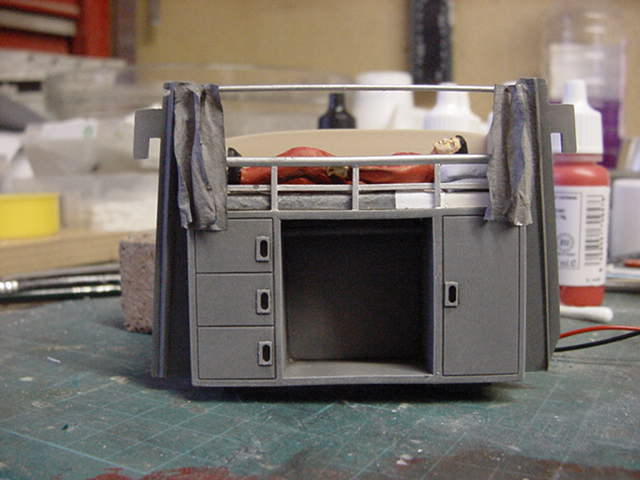
So far so good.
The client did request a low level light source as such for the bunk area.
A small rectangular hole was drilled in one end of the bunk recess.
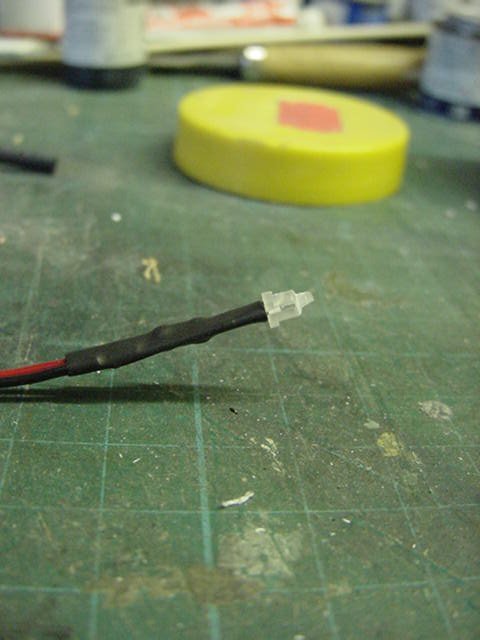
A 3mm white LED was resistor attached and wired up.
The end was filed down to match the hole and this was fixed in with a glob of epoxy putty.
The hole was then filled with some clear epoxy glue, some Tamiya smoke added to cut down the light output.
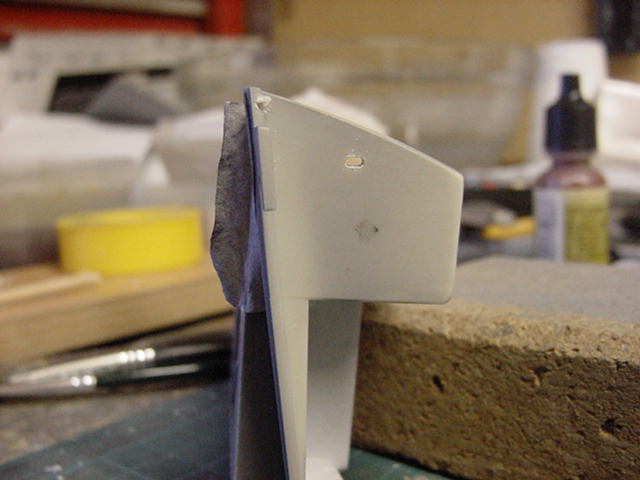
So a small piece of foam over the top and a view check.
Then a 9volt battery applied.
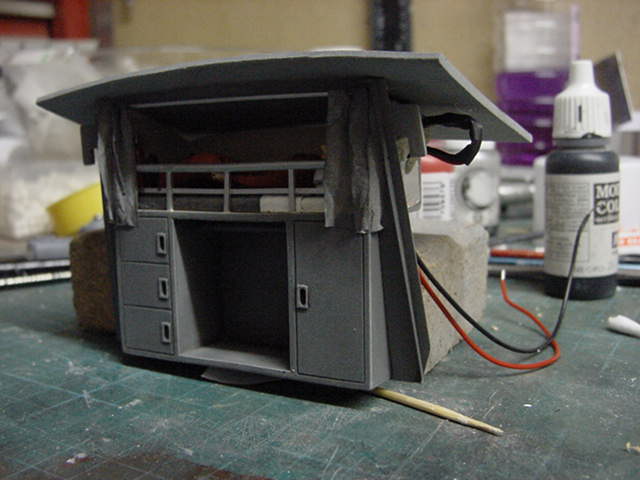
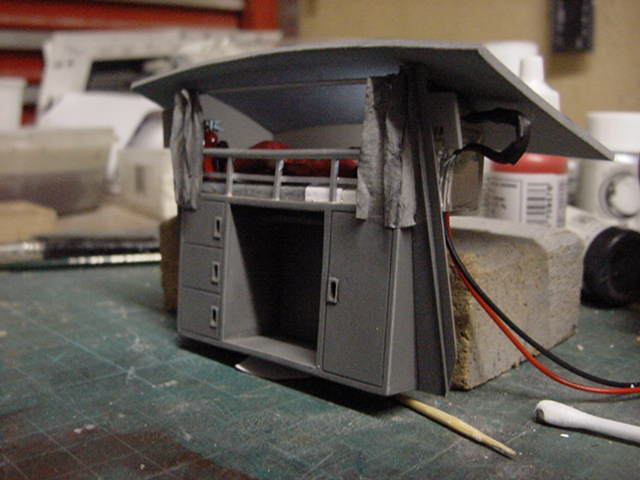
Ok, getting there.
Well now to the gear to go in the open cabinet now.
That's on the next page so see ya there!
Page Number