
Moebius Models Flying Sub With Extras
1/32nd Scale


 Page Number
Some tube, some putty, some wire, some paper, some sculpey...
Some Time Or Another i'll Get Finished!
So then, onward with the equipment elaborations.
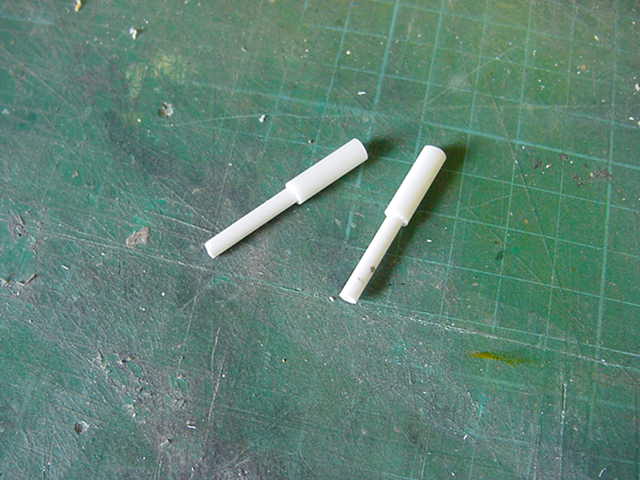
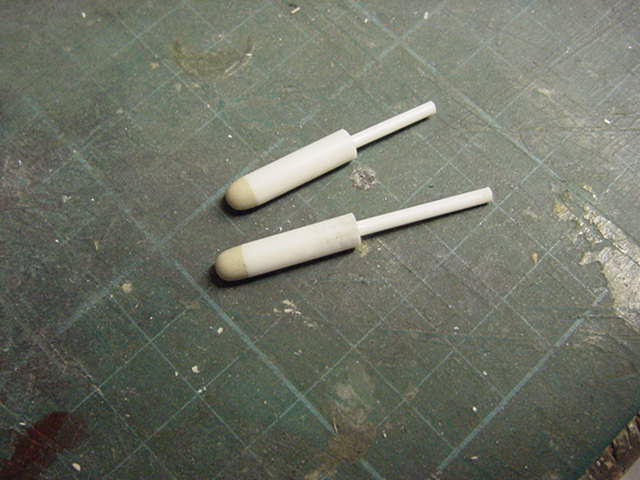
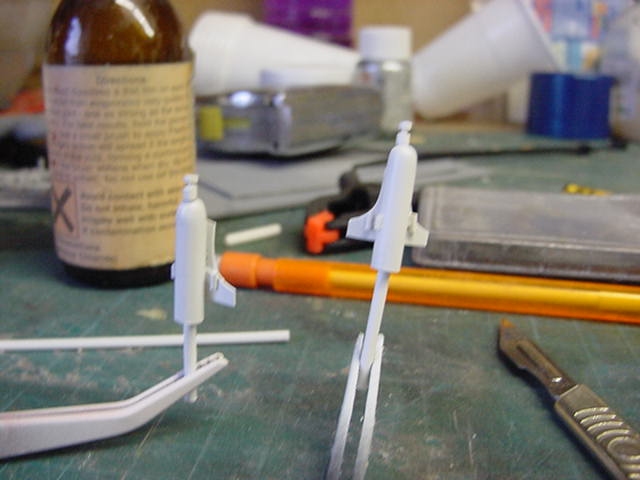
First up, a couple of SCUBA tanks wouldn't go amiss methinks.
Small lengths of 5mm plastic tube with the next diameter down glued inside.
Some quick cure epoxy putty slapped on top.
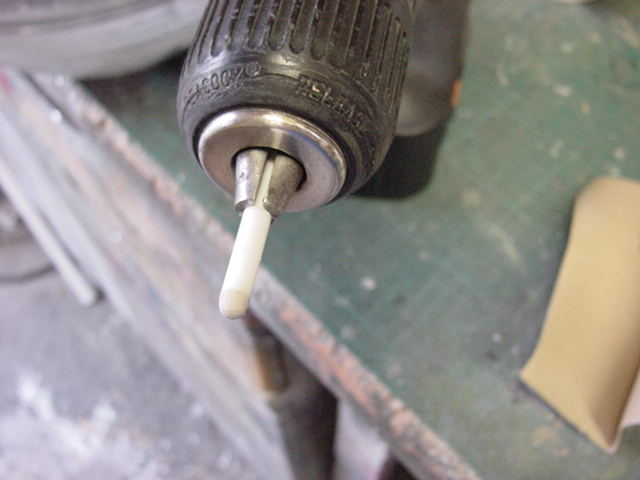
Locked one at a time in a cordless drill, spun up and the putty taken down.
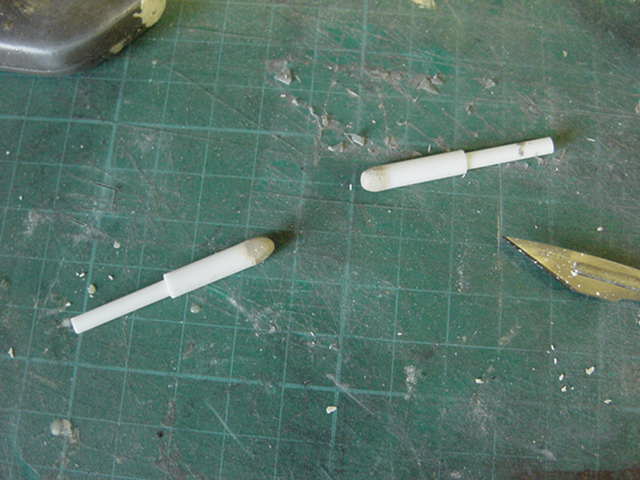
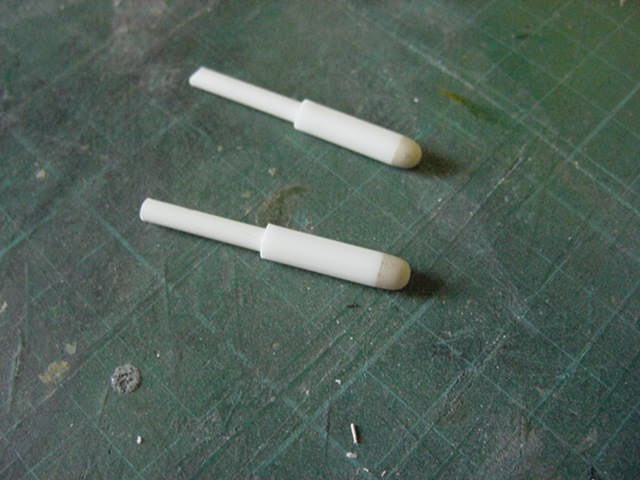
Bottom ends trimmed and some 2mm plastic rod glued in.
This will be cut down to make stubs to glue into holes yet to be drilled.
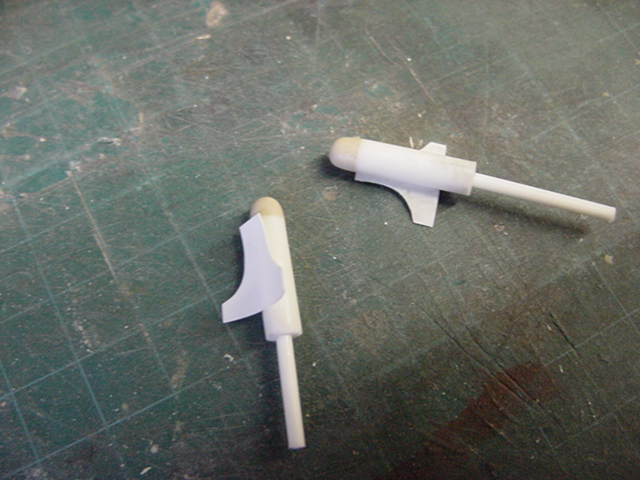
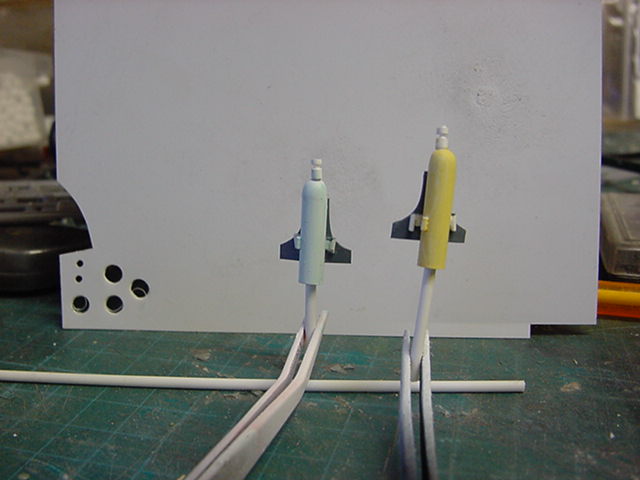
Some thin plasticard bent slightly to make the back pad thing.
Some scrap plastic bits to make up the tank frame.
A few bits of plastic rod sliced about to make the tank regulator tops.
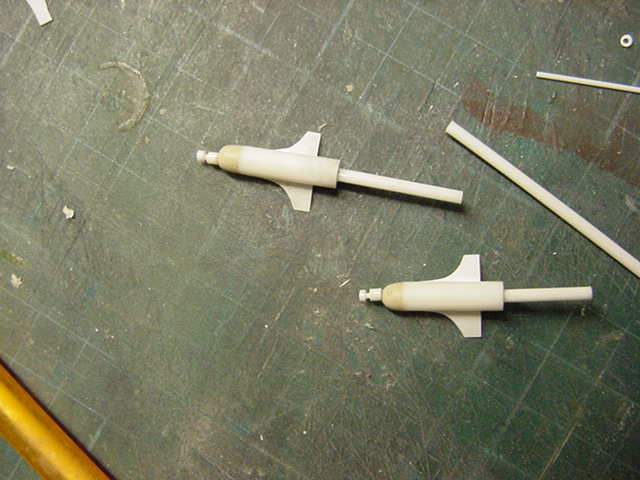
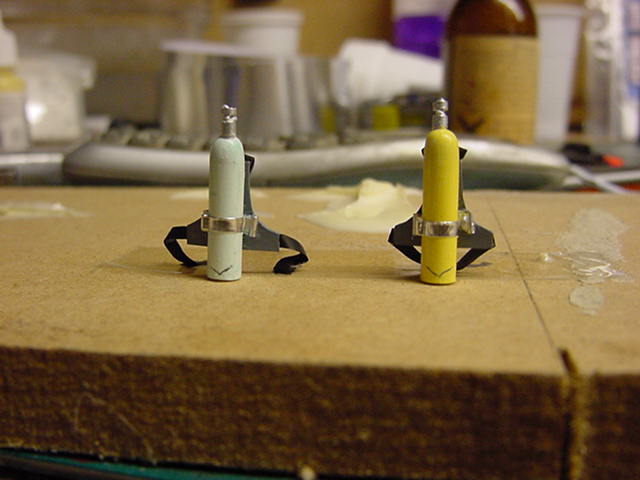
A going over with primer white to start.
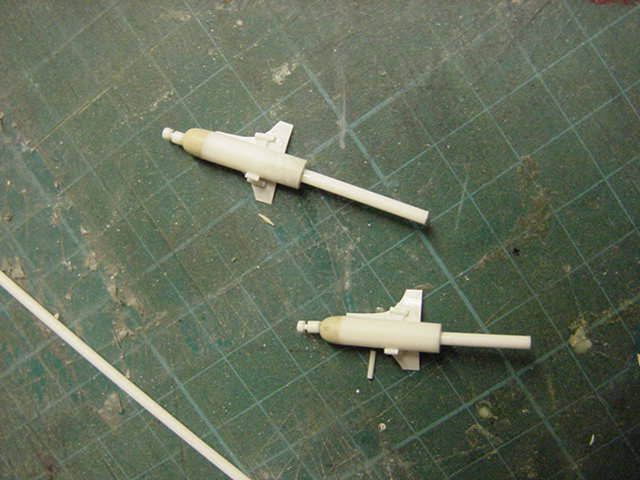
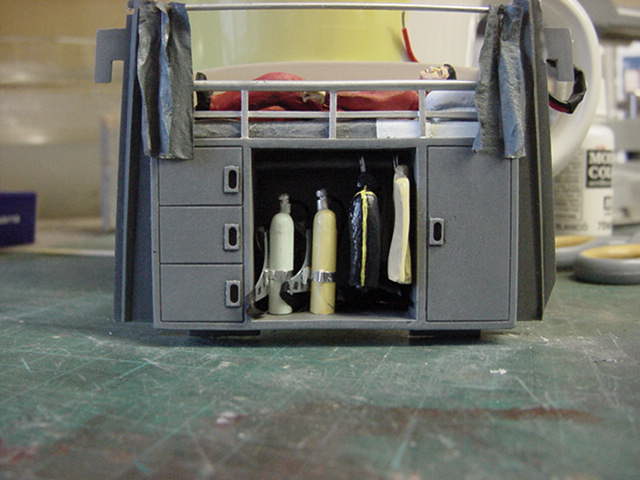
One tank painted light blue, the other sand yellow.
A dab or three of silver to finish.
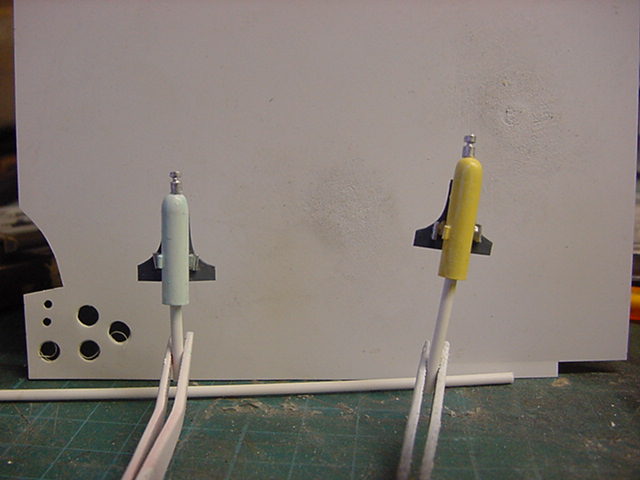
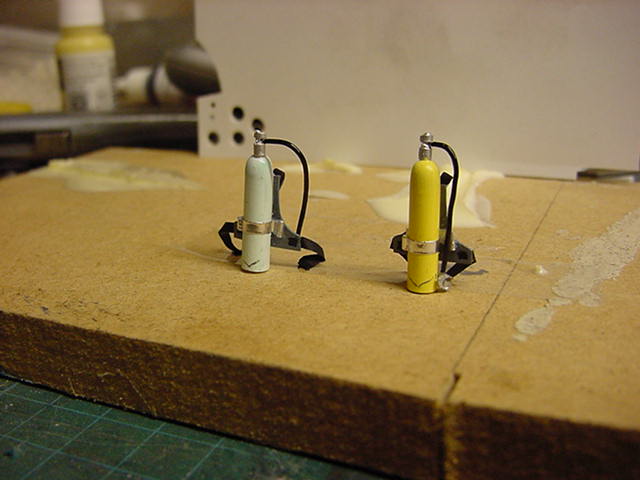
Harness straps made from ordinary paper.
A tiny amount of cyano to secure them to the back pad.
The straps then wetted with scenic glue and formed, then touched over in matt black.
A band of aluminium foil tape to each.
A broad 'V' marking to the bottom of each tank.
No idea what it is but it's there on the screen cap so it's on these tanks.
Air hoses via some 10 amp fuse wire.
Matt black and then given a semi gloss varnish.
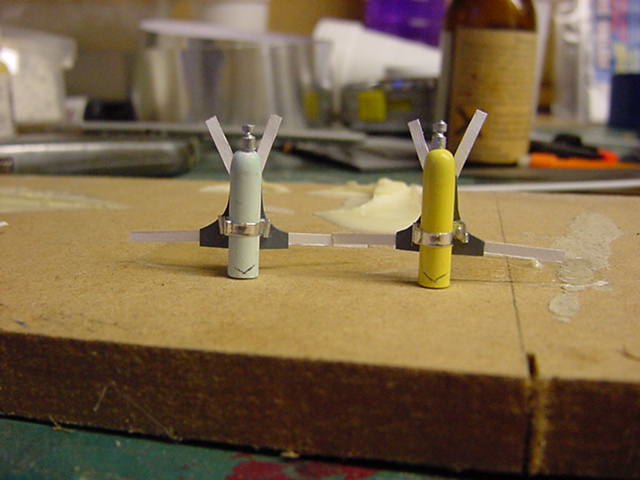
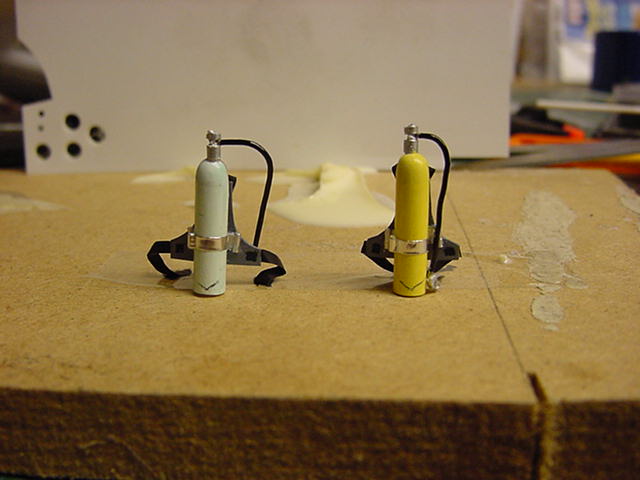
Looks about righteous to me.
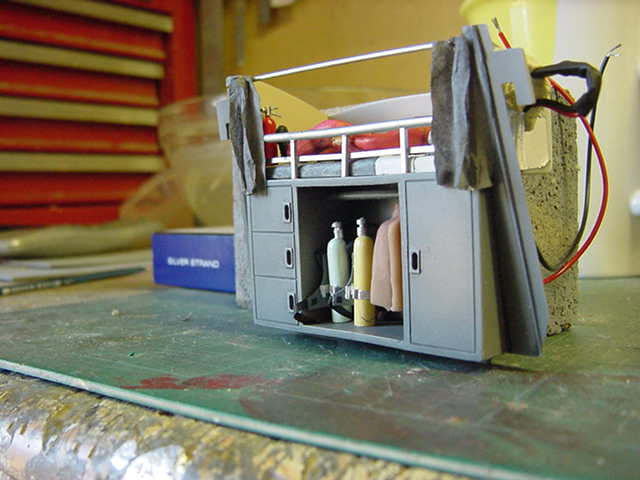
And said tanks in position.
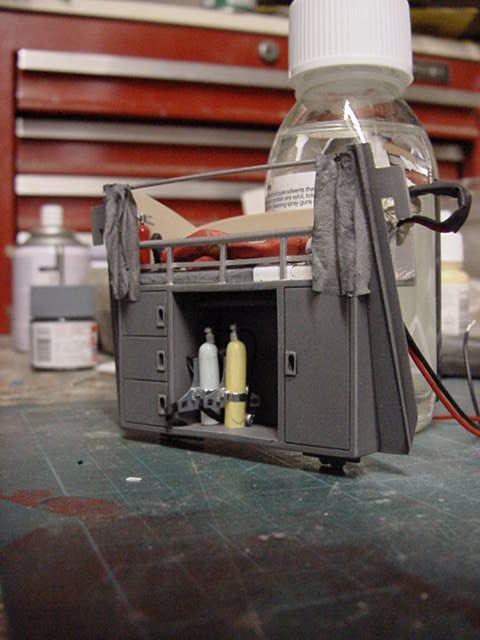
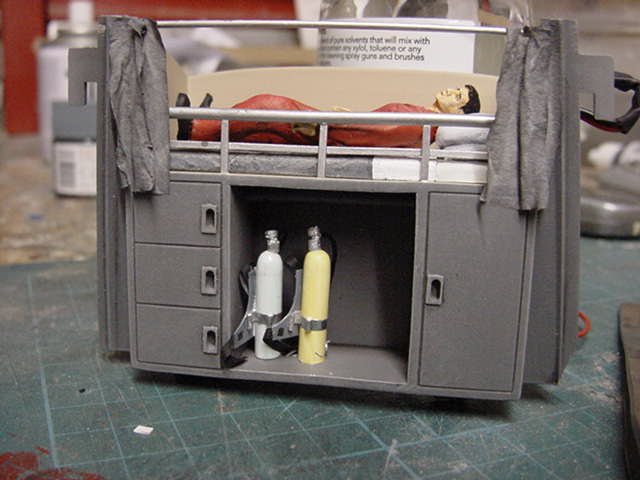
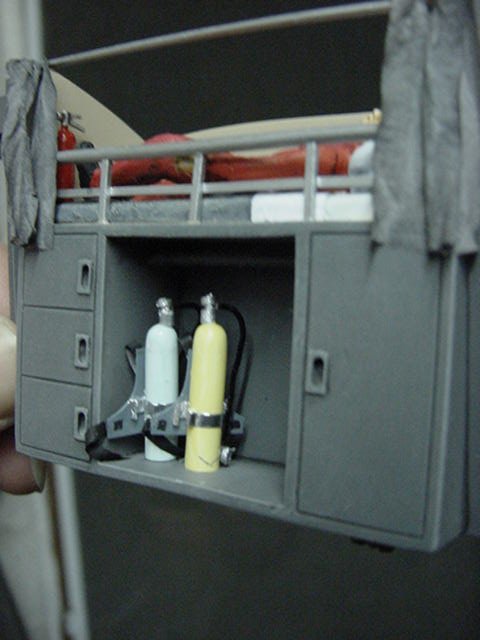
Two bits down, two bits to go.
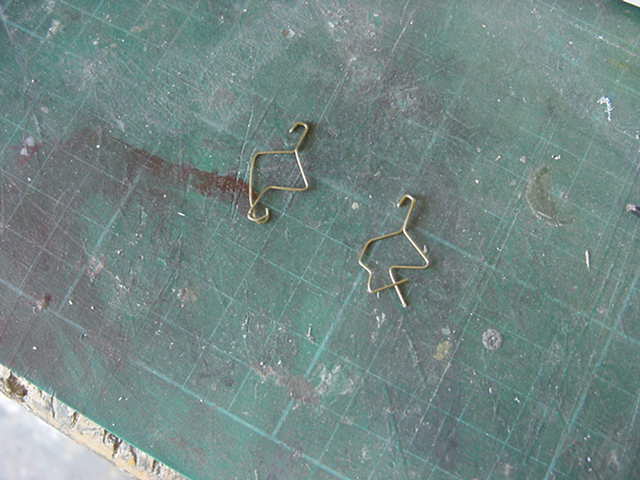
Well with SCUBA gear comes wetsuits so here we go.
Simply put, some thin brass wire bent up as needed.
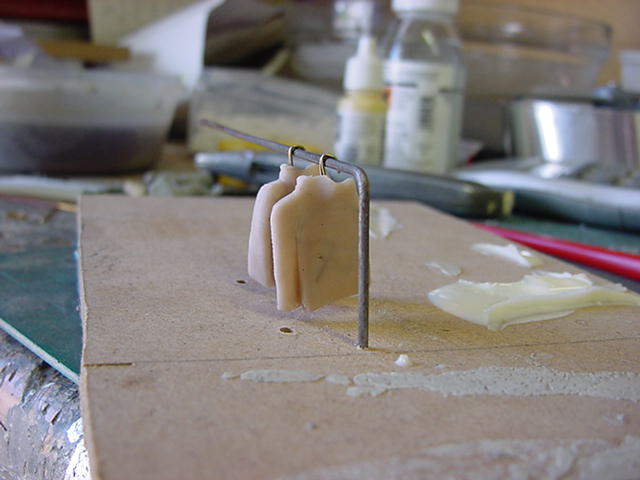
Some Super Sculpy slapped on and formed to make a an approximation of a two wet suit jackets.
Pretty much single sided but more would have been a waste.
A bit of trimming and the lot smoothed down with lighter fuel.
Made a rack up and they got some oven curing treatment.
Hellhole style at 130 degrees for that home baked modeling flavor, accept no substitutes!
Cooled, trimmed and test fitted.
One got a matt black with bright yellow striping, the other just plain pale yellow.
A touch of drybrushing and some satin varnish sorted them.
Installed and epoxy glued into place.
A touch of silver on the coat hanger tops and done!
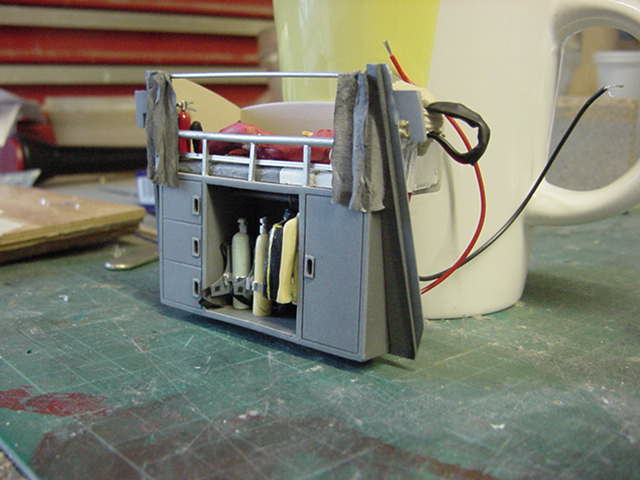
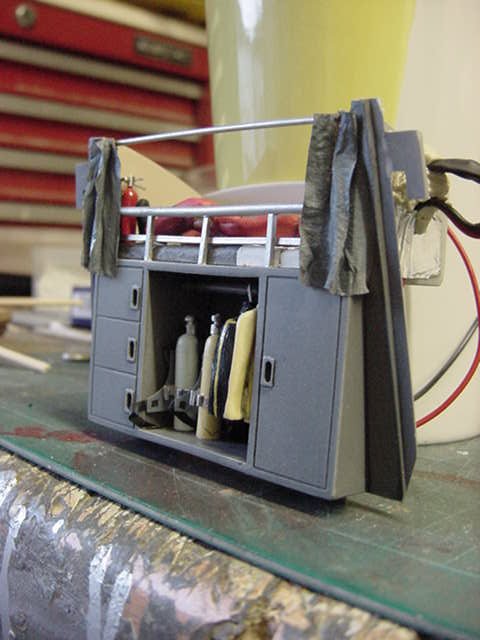
The last pic is a shot from the approximate final viewing angle.
Don't look too shabby to me at this stage.
And that is about that for the wall parts and for this twofer update.
Next up, the redoubtable test fitting of the interior to see how it all looks the onward to the lighting lunacy.
Oh yes!!
See you for the next update gang.
You lot go easy now.
Page Number