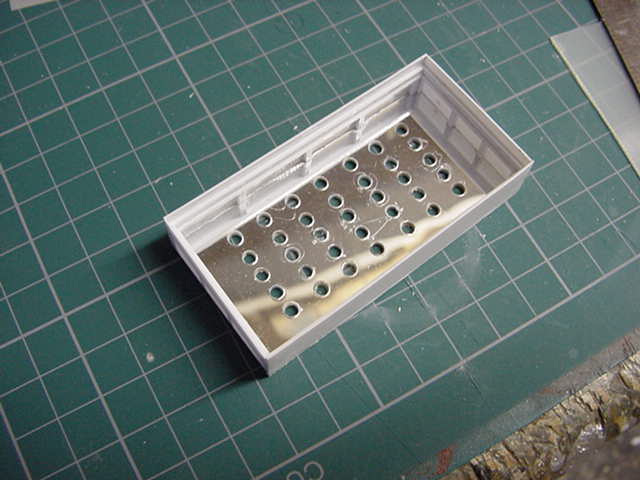
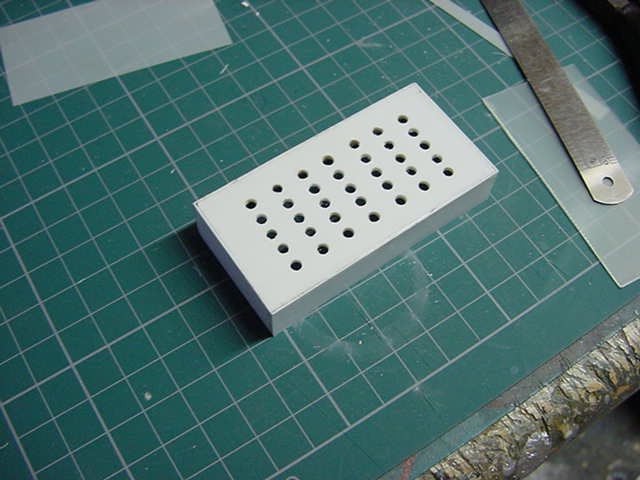
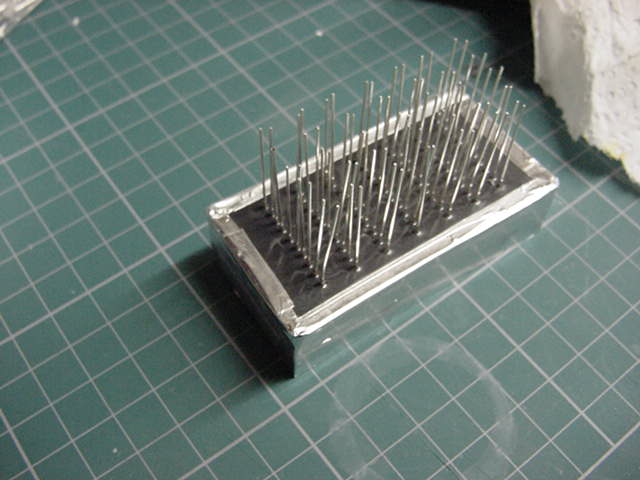
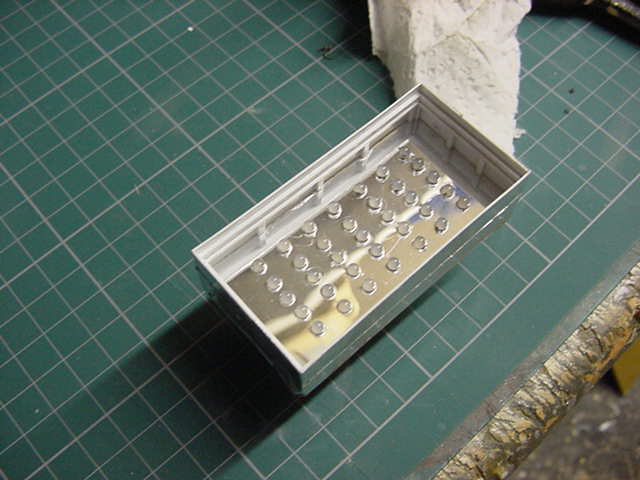
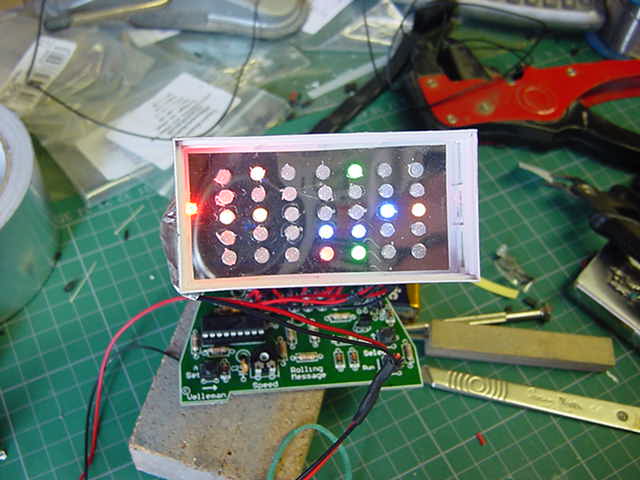
All sitting comfortably? Right then, let's get stuck in. So a light box got made up. Some 1.5mm plastic sheet with a mirror effect was used for the backing. A rough internal frame edging built in for mounting any diffuser material should it be required. Holes for the thirty five 3mm LEDs all drilled and sorted. The lot covered in aluminium foil tape.
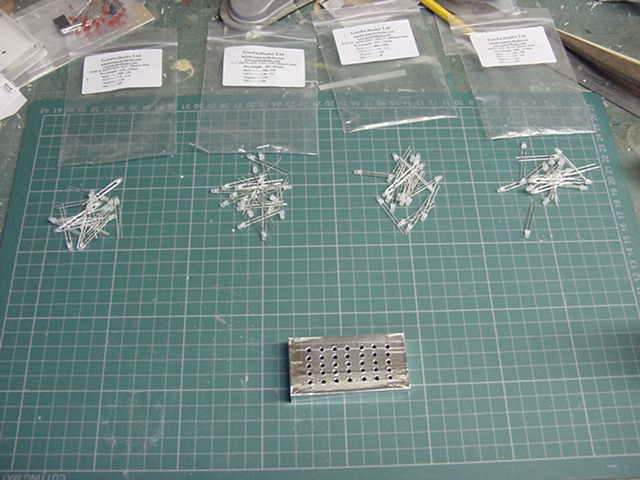
So the box sorted and the LEDs pulled kicking and screaming out of hiding.
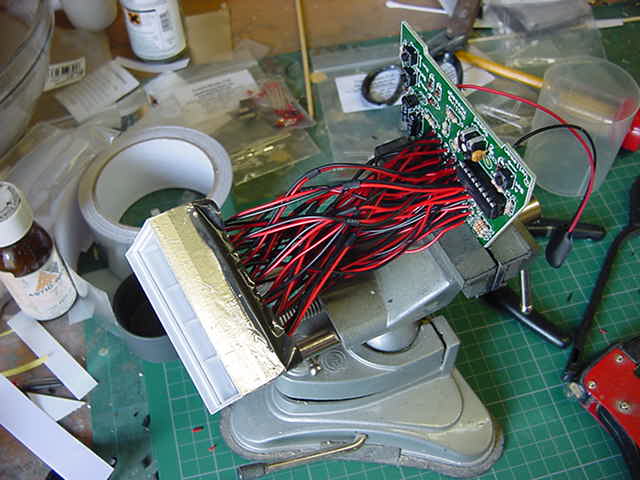
Now 35 of those have to be fixed in and wired up to this...
With me so far? Excellent.
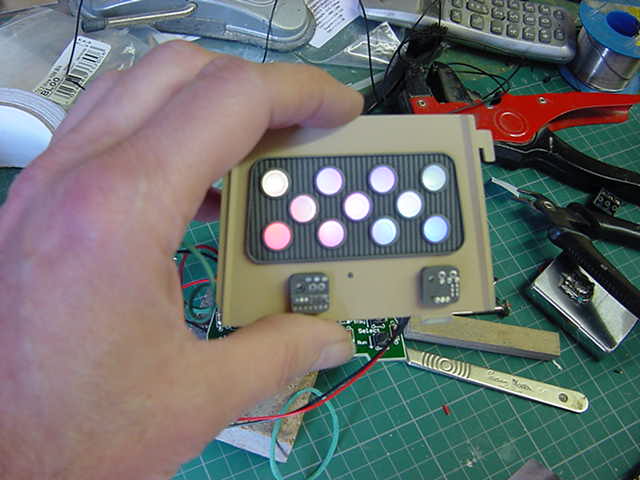
Now below should be playing a small vid of what one of these things looks like normally. That is to say assembled and done in the correct fashion. PLEASE NOTE: This vid is from the first build of the FS-1 in the way back when, not this build. Only on this page for the sake of example.
Ok then, onward!
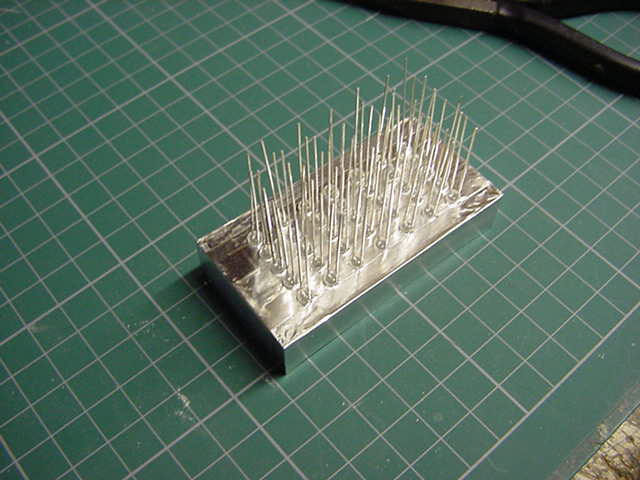
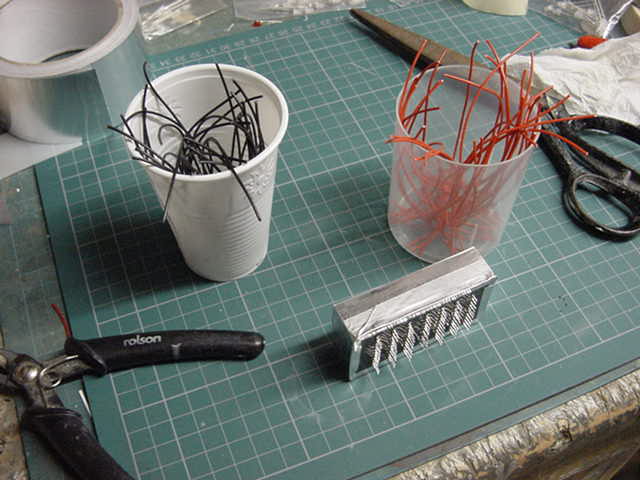
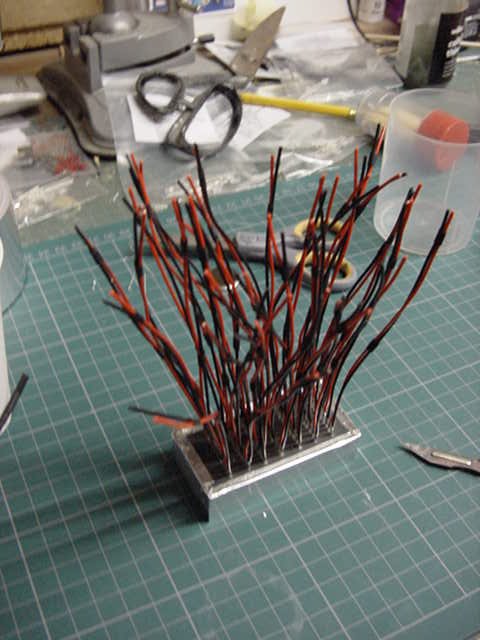
The colour's for the LED's are red, blue, green and yellow.
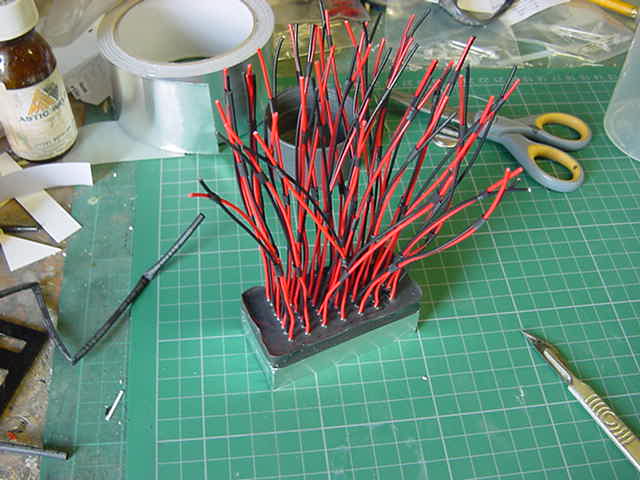
Just a touch more red and blue was requested so not a problem. LED's all fitted in a semi-random fashion. A run round of masking tape and some urethane resin with black pigment poured in to fix and make light tight. This was trimmed and foil wrapped for freshness and stay put...ness. All the legs cropped ready for the soldering grind.
Yeah I know all the LED's look white but trust me, the colour comes out when they are lit. Bear with me gang.
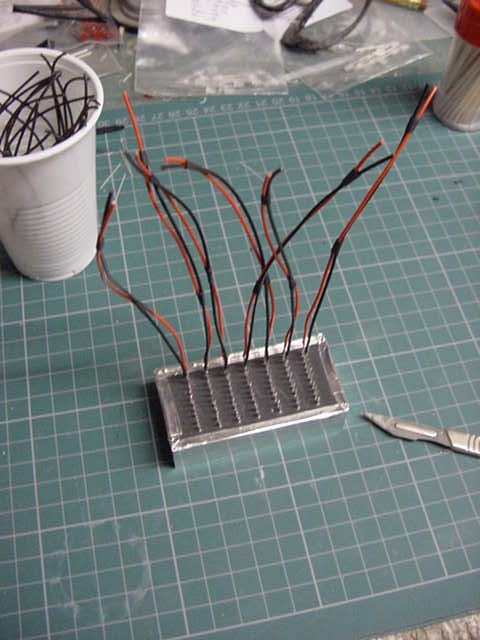
So then, 70 bits of wire, all about 5" long hacked up off the reel. Each pair soldered on and two bits of heat shrink sleeving to make 'em behave themselves. One line of 7 pairs soldered on, repeat 5 times.
Oh my aching back.
Once done, a bit more tape and urethane to finally seal the deal.
That lot done.
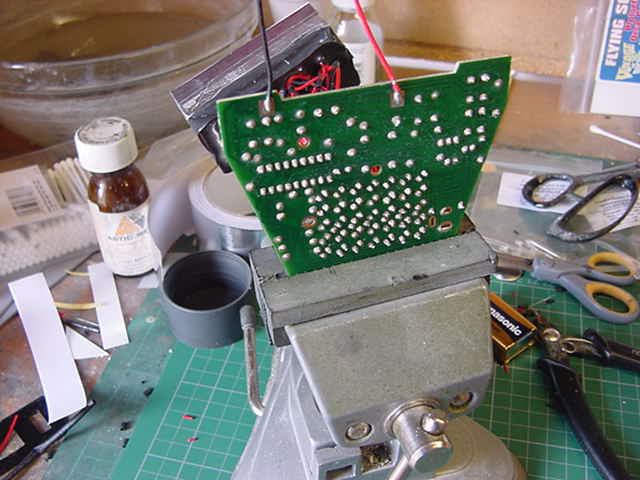
So out with the module, set up and solder all the wires in.
With a slight twist this time. Last time I put all the wires in as they should be so the LED's light up right to left. Just for a change, the top lot wired to light right to left, the bottom lot to light left to right. Just mixes it up a bit more.
A single constant on 3mm red LED wired in and sorted.
Well I expect you're wondering how this thing looks 'in Action' Well below should be a short vid in rough setup of just that. Enjoy!
If for some reason it is not showing...entirely possible,
Then feel free to download by doing the right click and 'Save Target As...' thing on THiS HERE LiNKY THiNG!
Well that's it for now people. Just waiting on the nod from the man then we'll get into the interior assembly proper like.
Much fun, fiddling and electro luminescent sheet shenanigans to take place next update.
See ya then, you lot go easy now.