
Moebius Models Flying Sub With Extras
1/32nd Scale


 Page Number
Not the last thing by a long shot...
But At Least The Last Of The Sub-Assemblies For This Sub.
Welcome back all!
Well now, pretty much the last of the bits and pieces before we start to bring it all together proper.
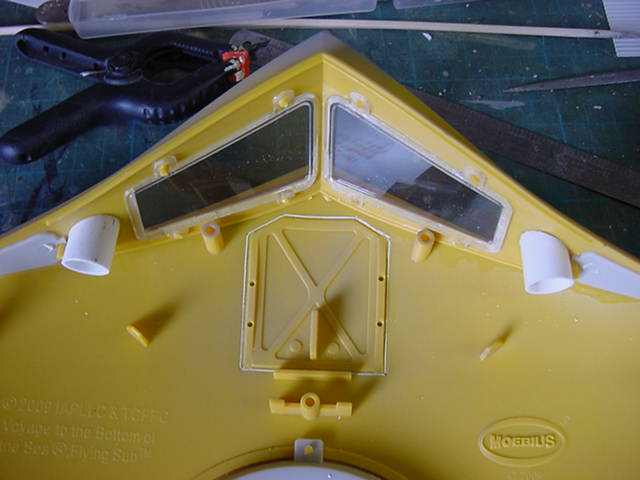
First up, forward bulkhead parts.
The intake grille like thingies fixed in, some putty laid on and all cleaned up.
Then the clear parts for the front lights and the large windows installed.
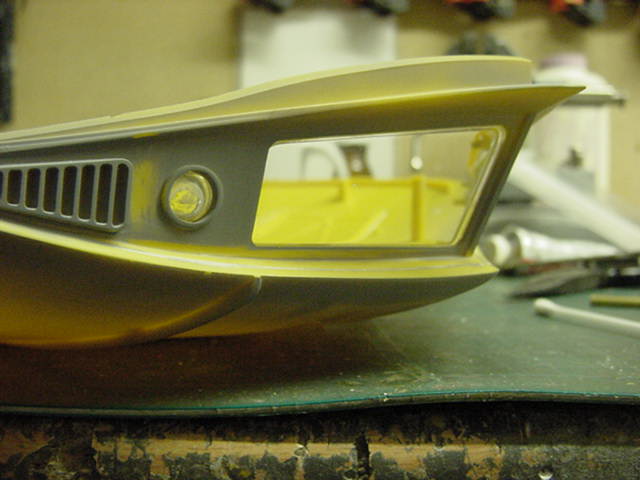
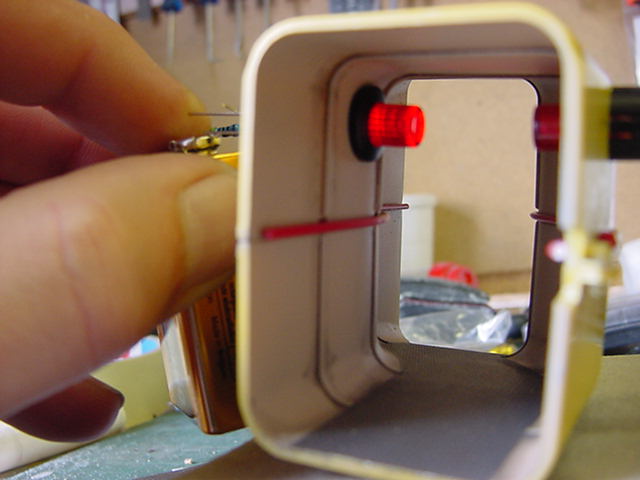
So to the forward lights installation.
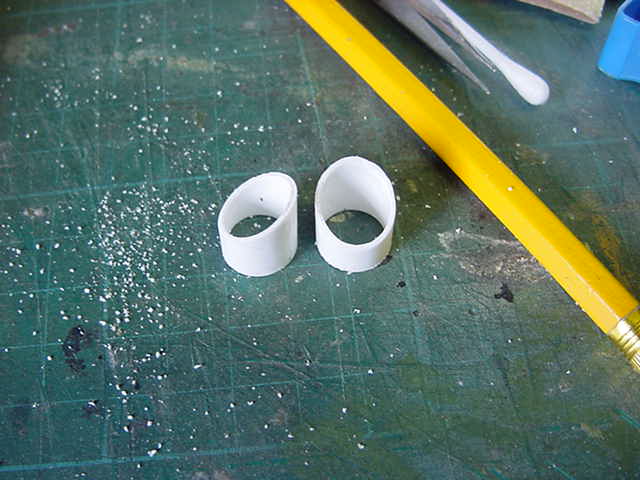
Two bits of 13mm plastic tube hacked up and trimmed to shape.
The outer stubs of the clear parts ground away.
The tube fits nice and snug over the clear parts.
The back ends of the tube got some 10thou plasticard covers made up with a 5mm hole in each to take a 5mm 12000 mcd warm white LED.
Both LED's resistored up and wired, heat shrink tubing insulated and fixed in with a dab of fast cure epoxy putty.
A quick test of the 'lights off & lights on' thing.

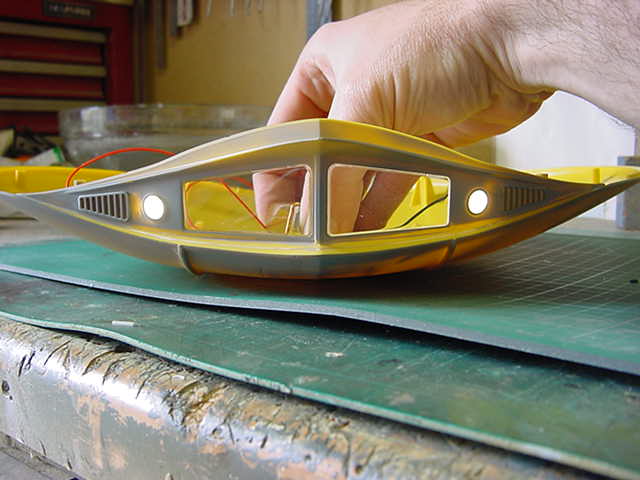
Yep, that about does for that.
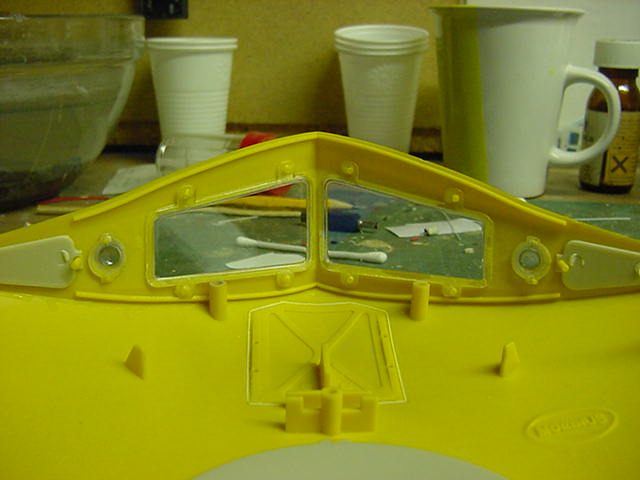
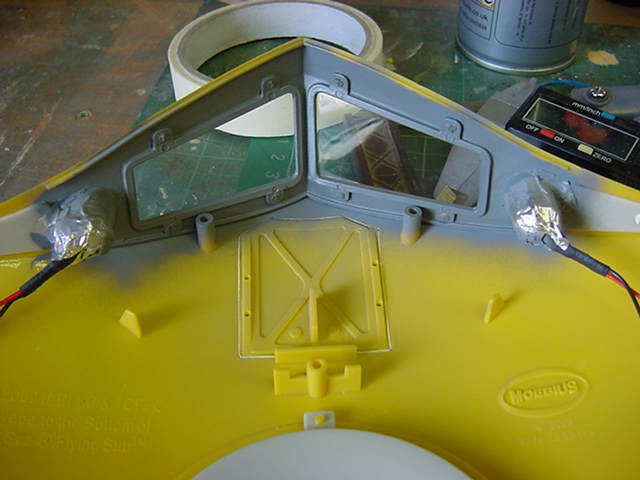
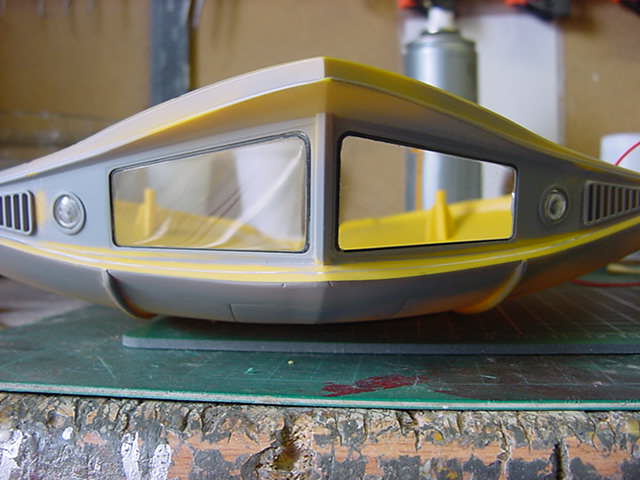
So the lights secured proper with some foil tape to do the light bleed stopper thing.
The the inside of the windows masked and a goodly laying on of Tamiya RAF medium grey.
Let dry, remove tape and dealt with!
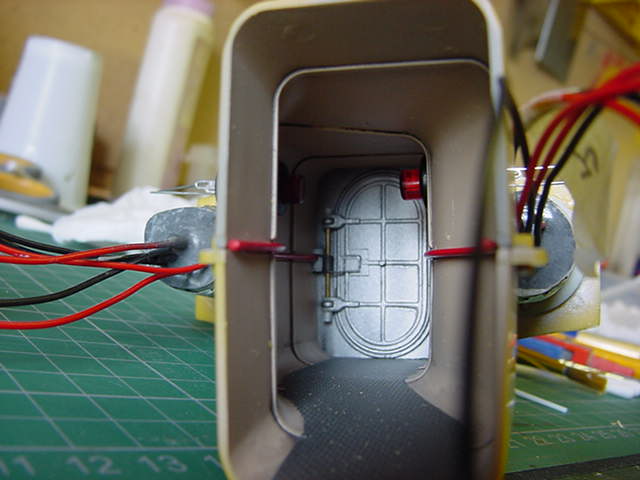
Outward and onward to the rear hatch hoo-ha as it were.
Same as last build with a spring loaded affair required.
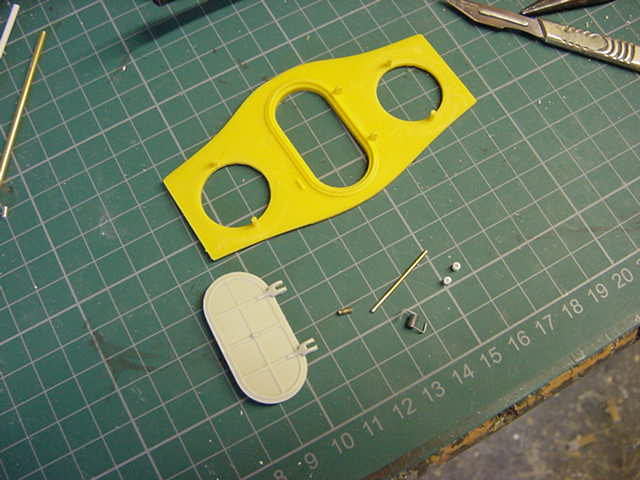
Parts for this bit, the rear bulkhead,
Rear hatch,
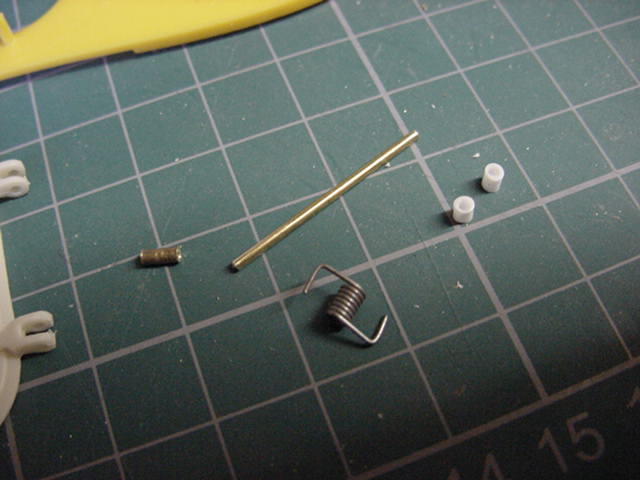
A short length of 1.5mm brass rod.
A very short bit of 2mm brass tube drilled out to slip over the rod.
A small coil spring and two small caps done from partially drilled out 2mm plastic rod.
Here's the bits...
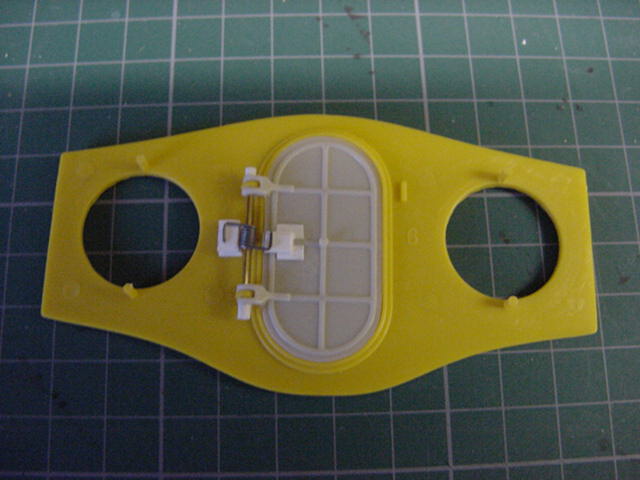
So the hatch trimmed very carefully so it would not stick around the edges and placed where it should be.
The brass rod slipped in the top hinge.
The brass collar fitted and spring slid on to said collar.
Rod pushed through the bottom hinge and end caps pushed on.
After painting, these will be glued on to make sure the rod doesn't slip out.
Plastic shims glued to the back of the hatch and frame to put the spring under slight tension and hold the hatch shut.
And a view check.

Sorted so the hatch removed, a lick of primer and some enamel aluminium airbrushed on and left alone to sort itself out.
Now while it was doing just that, time to look at a request thrown my way from the client.
Now he asked if a switch could be installed to turn the internal ceiling lights and engines on and off.
Now I wanted to limit the wires running out of this beastie to just the positive and negative power feeds.
This just means a tidier display stand.
So the only place left is the rear corridor.
After a quick leaf through the electronics gizmo, greeblie & gadget catalogue, I spied what may do the trick.
Latching push button switches with a built in LED.
Small, neat and doubles as a lighting source.
Sorted, ordered up and arrived in short order.
Now space is at a premium back there so a bit of careful measuring and some holes drilled.
The switches just snap in.

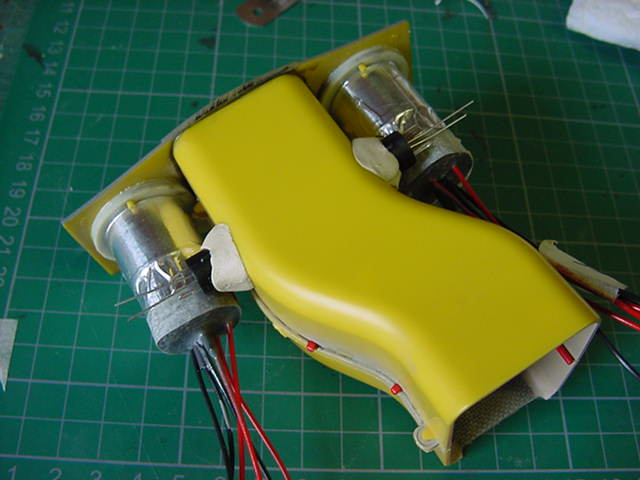
After this time, the aluminium paint had cured nicely so the hatch got situated in permanent fashion.
Engine cans glued on and corridor likewise.
Switches got a dab of epoxy putty for added for extra 'don't you dare bloody fall out' insurance.
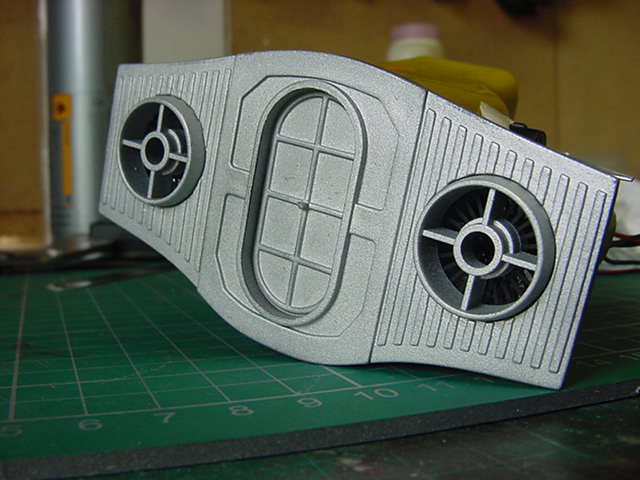
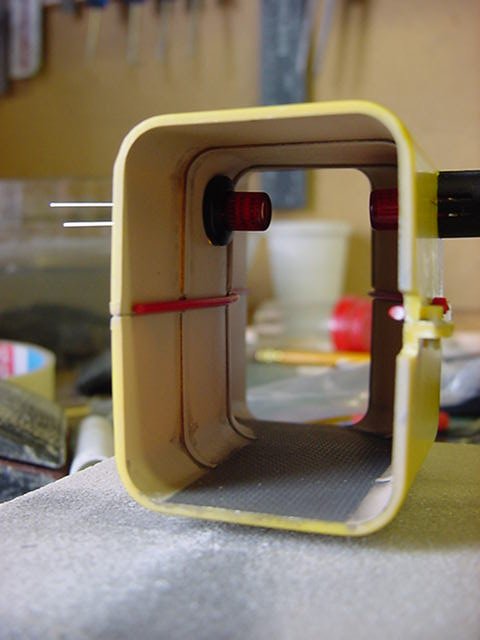
For demo purposes, the switches look like this in the off state...
And in the on state...
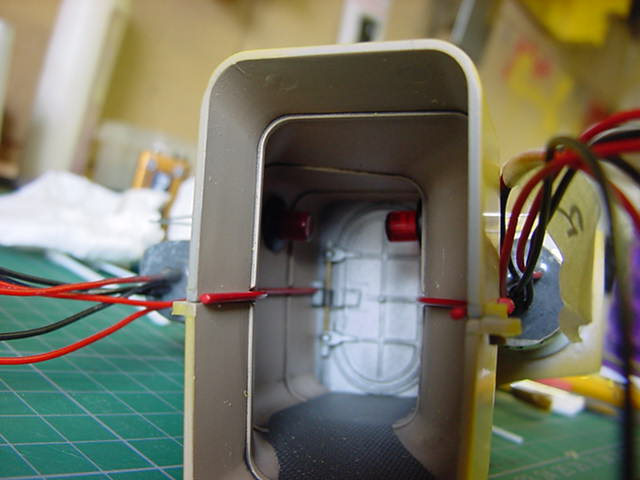
So when all wired up, the red LED will light only when the switch is in the 'on' position.
That way they will look like two red lights rather than obvious switches.
It'll become clearer once it's all sorted trust me.
I installed two switches so that one can be slaved to the ceiling light/engine thing.
The other I have in mind for the front lights.
Reason being that when photographing and just having a look as I am sure the client will,
It will help not to have to have a damn bright light straight in the peepers when doing so.
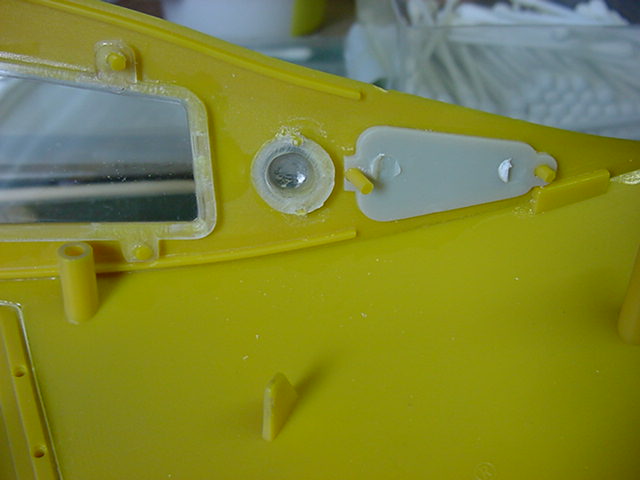
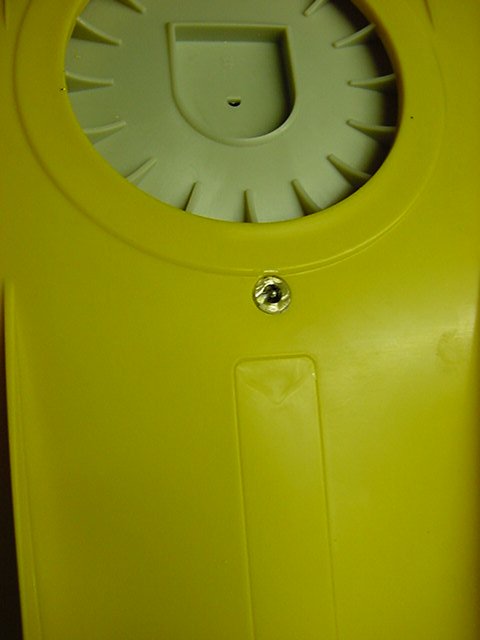
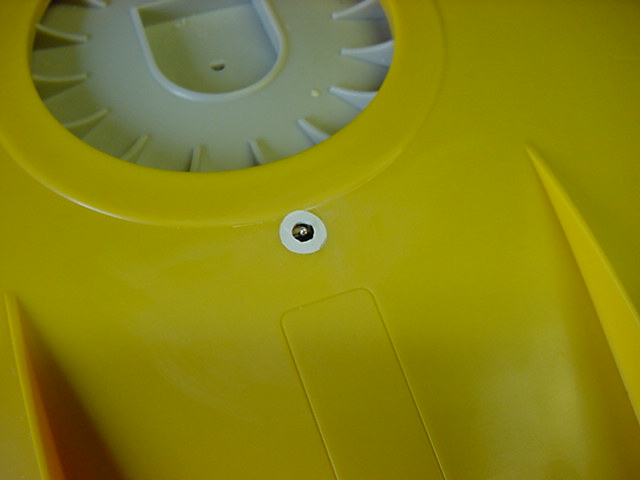
So to the main juice hook up.
A 3.1mm socket was fitted to the underside at the rear of the docking ring outer collar.
The unnecessary thread was filed back.
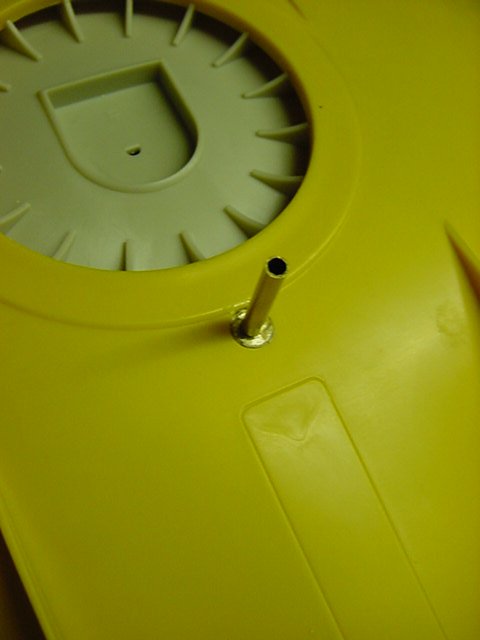
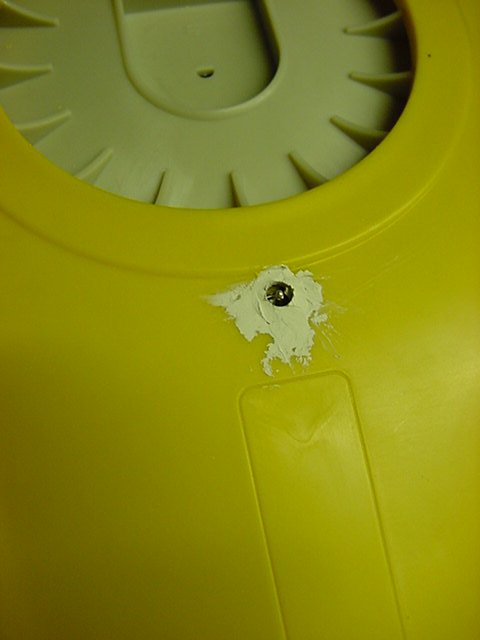
A small length of brass tube was pushed in and some white milliput plastered around the socket.
Brass tube removed and the milliput left to cure.
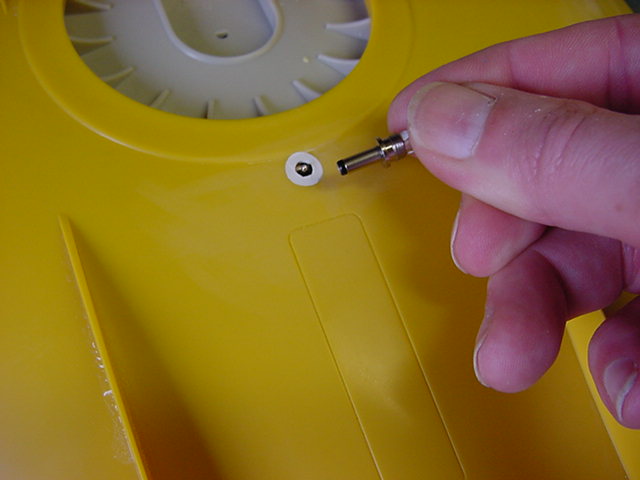
Once sorted, the socket cleaned up.
The plug will be fitted to the as yet to be built stand.
Second to last bit.
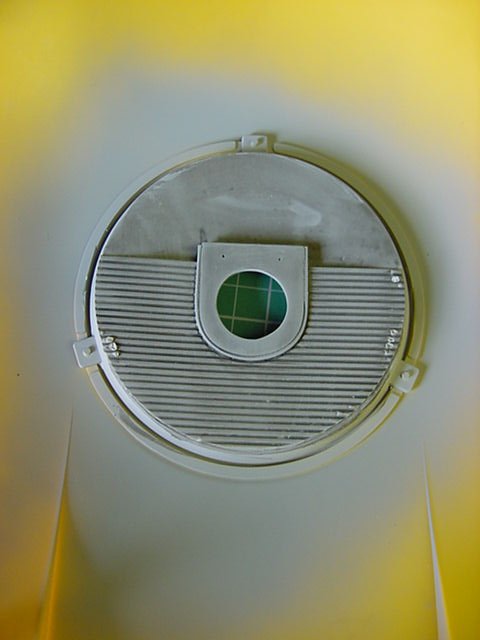
Some of the inner top hatch docking ring can be seen from inside so a bit of partial dressing required there.
Embossed plasticard, grey paint, dark dirt wash, acrylic matt varnish and done.
So to the last bit 'fore we get stuck in to bringing it all together.
The client did ask if I could add the throat mikes to the pilot figures.
And also fix extensions to the harness to connect them to the rear top rings on the seat backs.
So out with the pre painted and assembled by someone else pilot figures and away we go.
The throat mikes in question you can see on this screen cap...
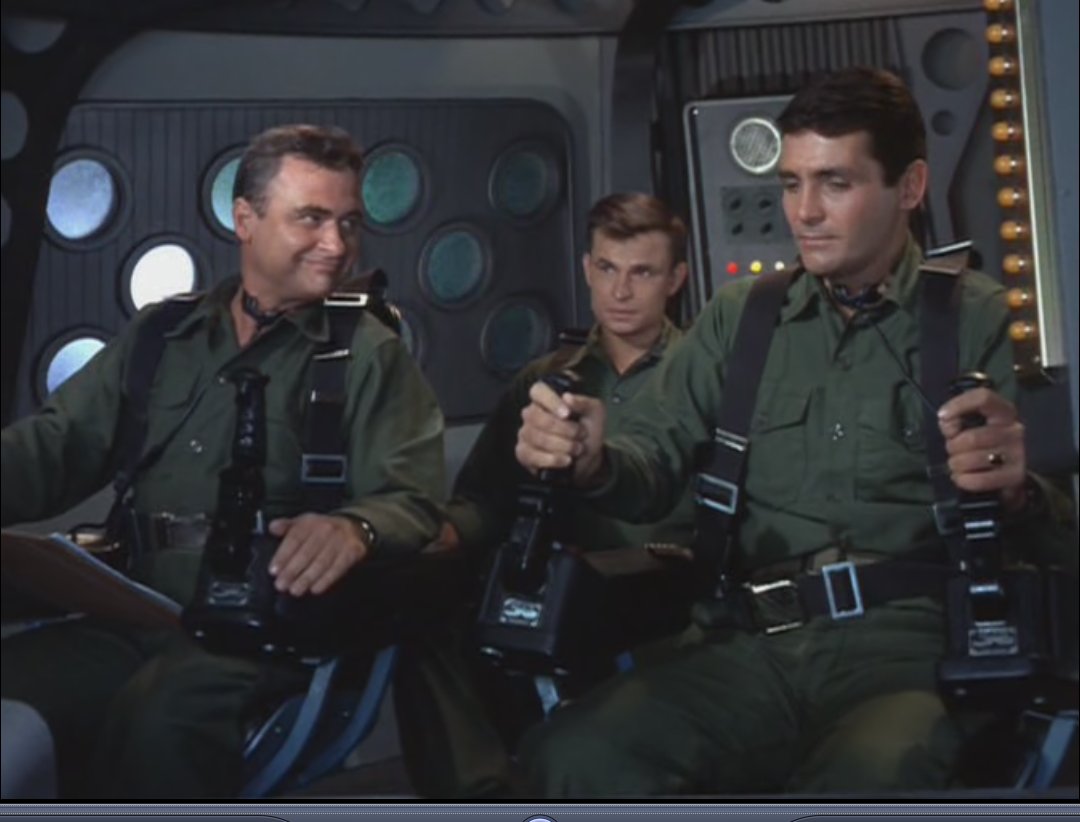
Oh, by the way, if you want to have a look at a some 19 screen caps for the FS-1 interior for reference purposes, here's a page of 'em I posted for the previous build.
Flying Sub interior Ref Pic Page
So some tiny pieces of 5thou plasticard cut out and given the cyano treatment to some very thin width masking tape.
A dab of paint or three later and done.
Peeled off the mat with some care and placed where they should be.
Some 2thou wire for the...wire painted black.
The ends of the masking tape around the back of the neck secured permanent with the tiniest drop of cyano I could muster.

The seat harness extensions also done with painted tape.
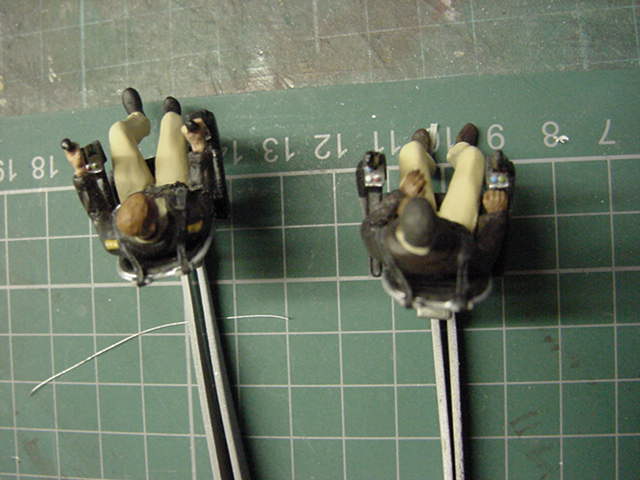
One of the pilot seats had some brass rod already glued in to the bottom and one did not.
The rod already present was just a short stub though so that got replaced after a deeper hole was drilled.
The one without the rod got sorted as well.
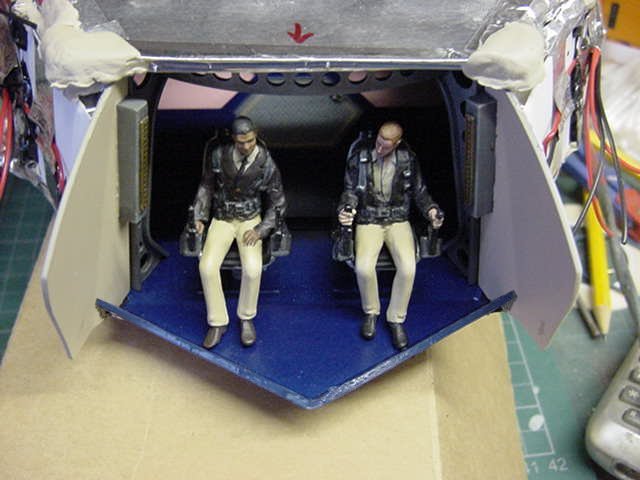
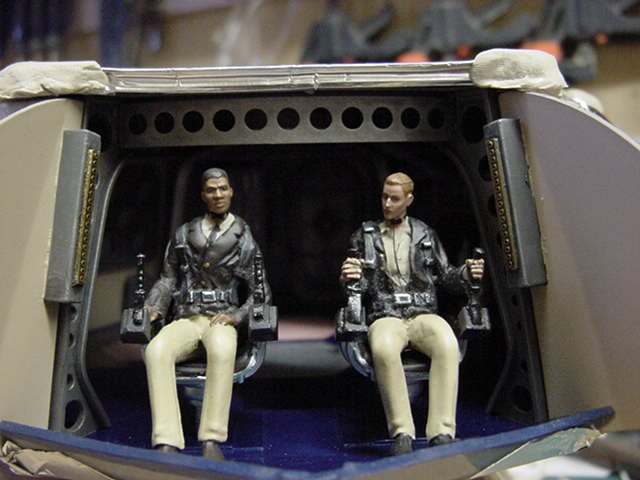
And with just a minor bit of fiddling about, said pilots placed in position.
Cyano and epoxy assisted holding added of course.
Well that about wraps up the sub assembly lark.
Soon as word from the man is acquired then with luck, on to putting it all together.
And there will be much soldering and squinting of eyeballs my friends!
Join me for the next update folks and folkettes but until then, you mob go easy out there.
Page Number