Welcome back to the hellhole people!
Yes it is indeedly the final update thing.
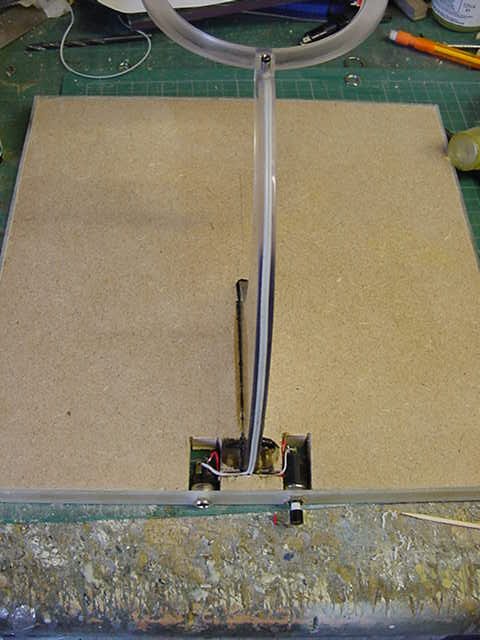
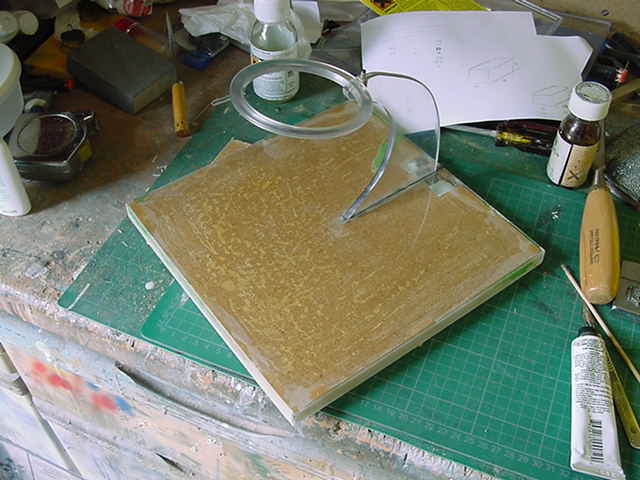
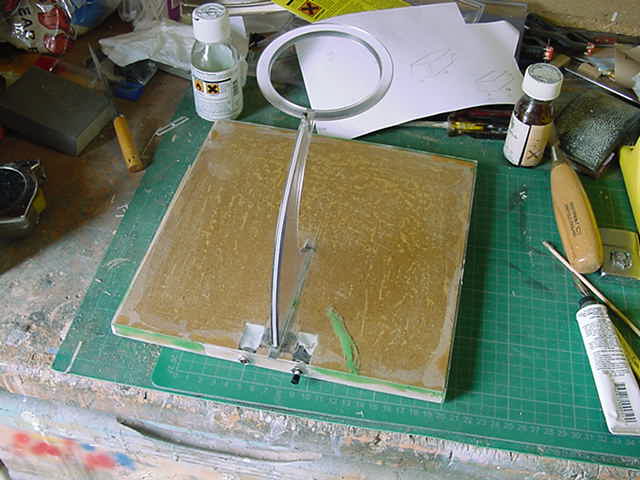
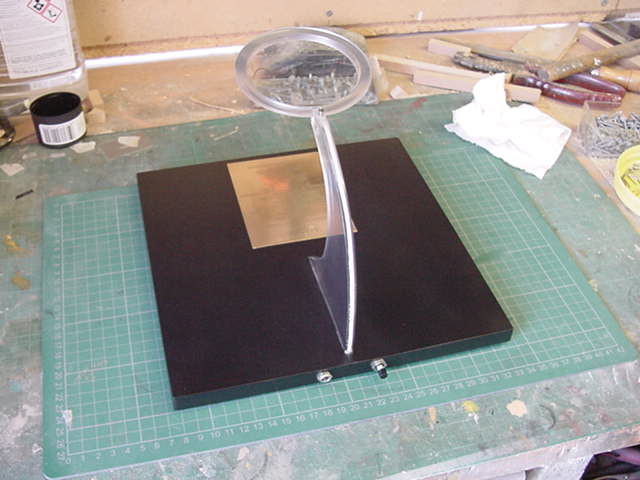
So to business now, since the main event is a done deal it's time for the stand to get sorted. So the sliced up acrylic was placed in position on a permanent basis with the help of a 1/8th" brass pin. And a dab or three of epoxy stay put gunk of course.
Once that had sorted itself out, the plug at the top of the stand got fitted up with some wire from a redundant IDE cable.
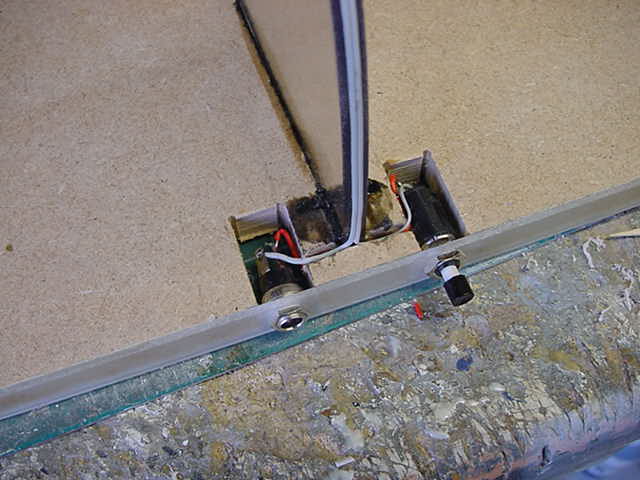
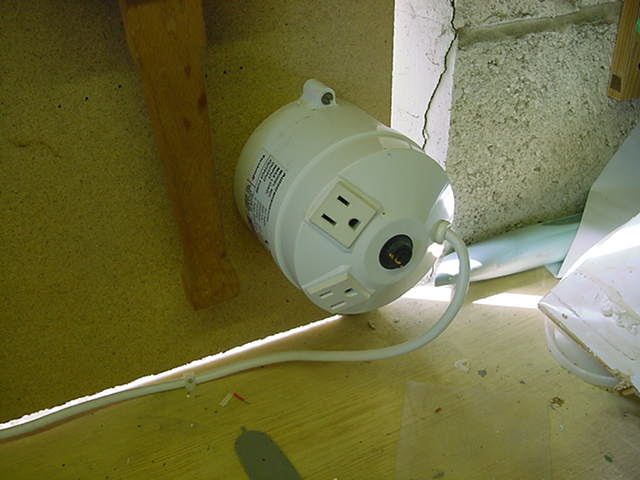
This was glued to the back of the stand upright. Then the power socket for the elastictrickery feed and push button switch installed and wired up.
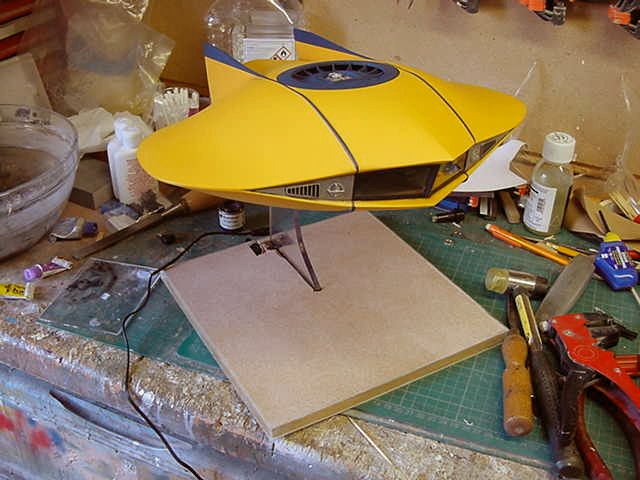
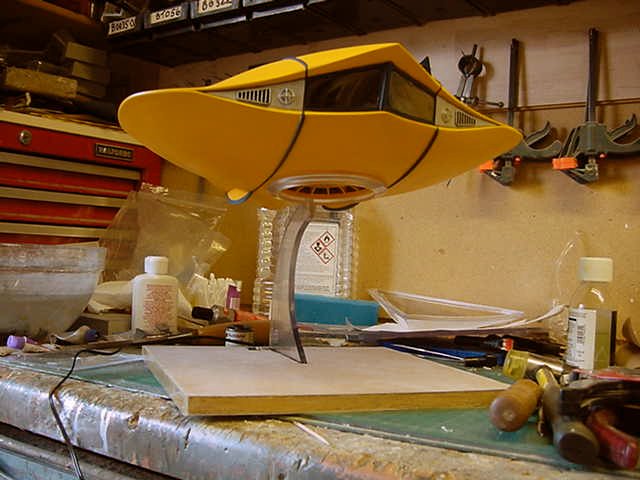
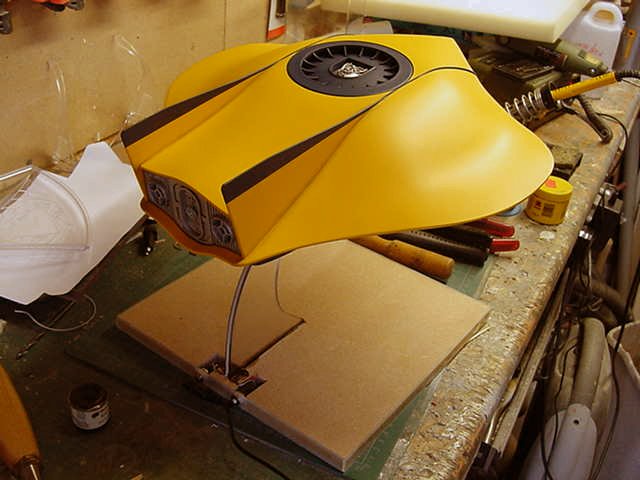
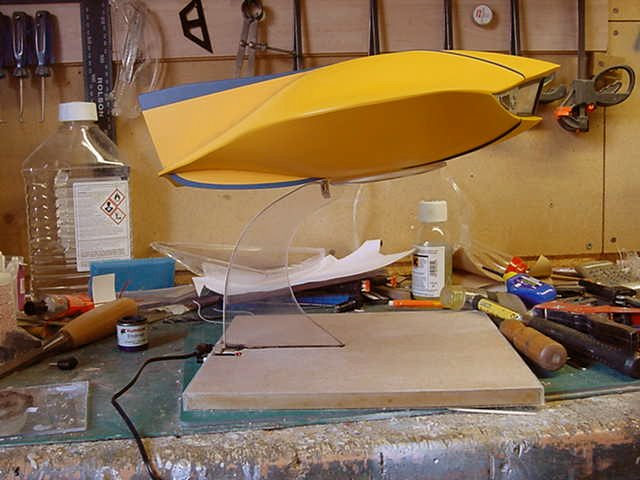
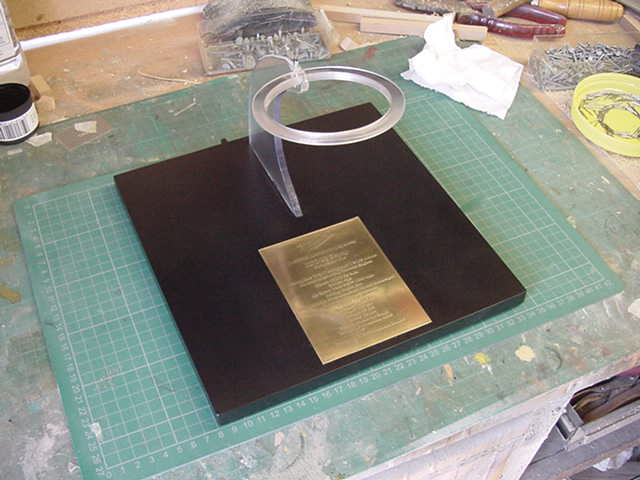
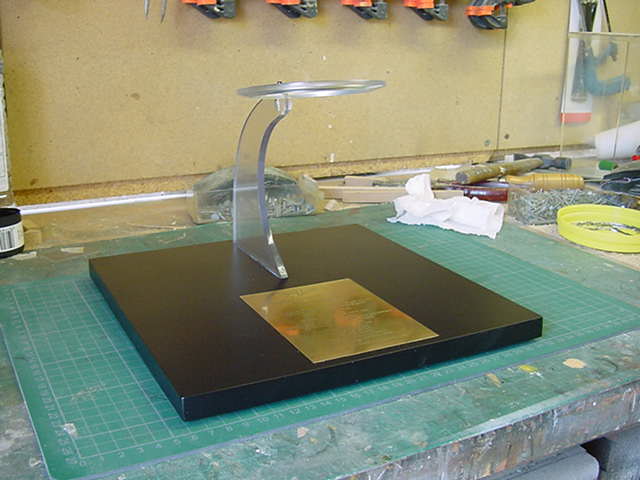
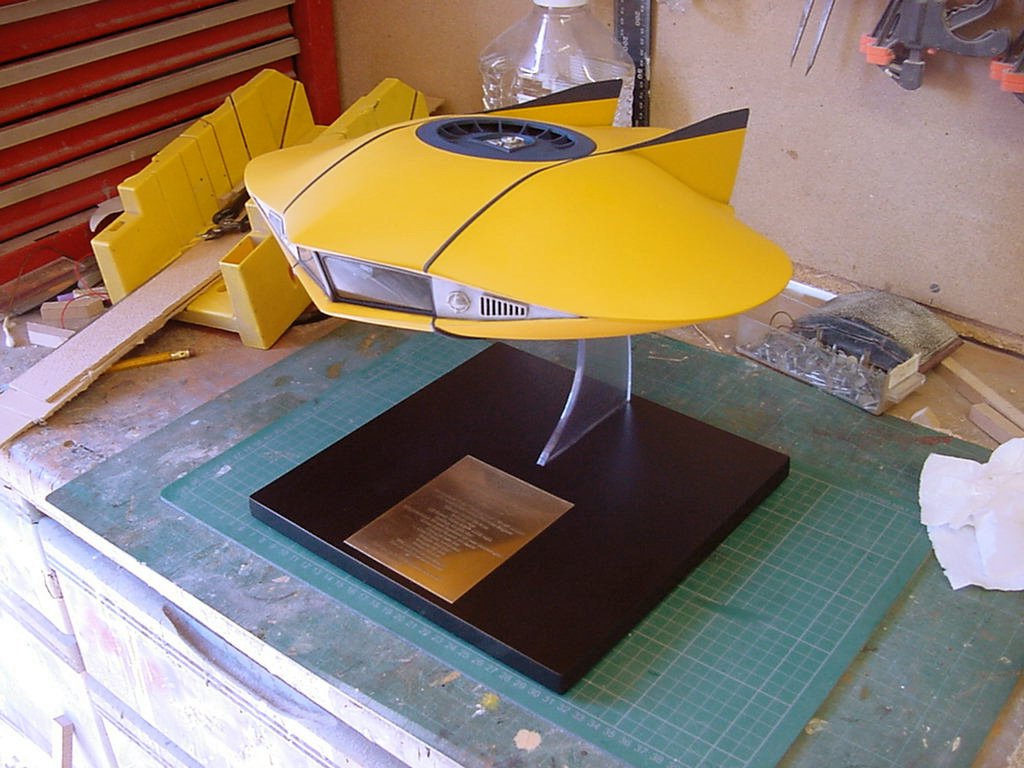
So that all taken care of, time for the bad motor scooter to go on it's perch like an oversized canary. And not forgetting the power up looksee as well
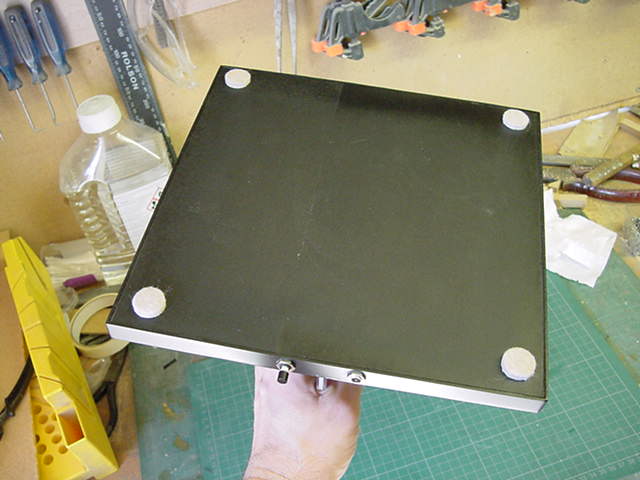
So the base sides and top clad in 2mm clear styrene, sanded, filled, sanded again. The grey plastic primer got a look in as well. After which, a bit of masking where the plaque was supposed to go. Some masking around the upright, switch and socket and in with the semi matt black. Once all cured, masking removed, plaque glued on.
The underside got some black paper stuck on and four felt self adhesive feet attached to finalize that bit.
So with that looking rather spiffing, it got shoved somewhere safe and time to think about how this whole shebang is going to get transported.
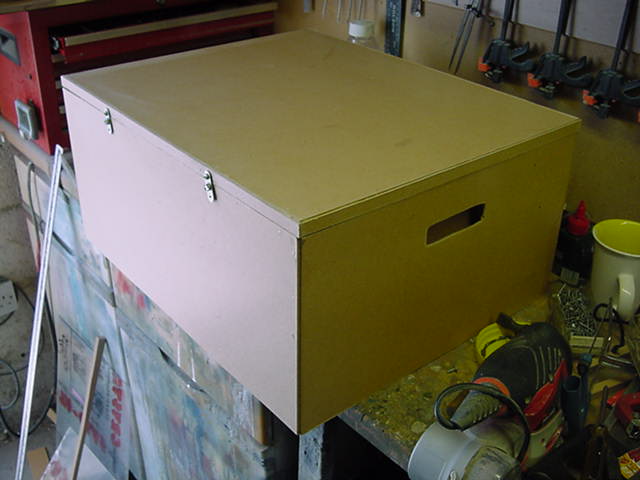
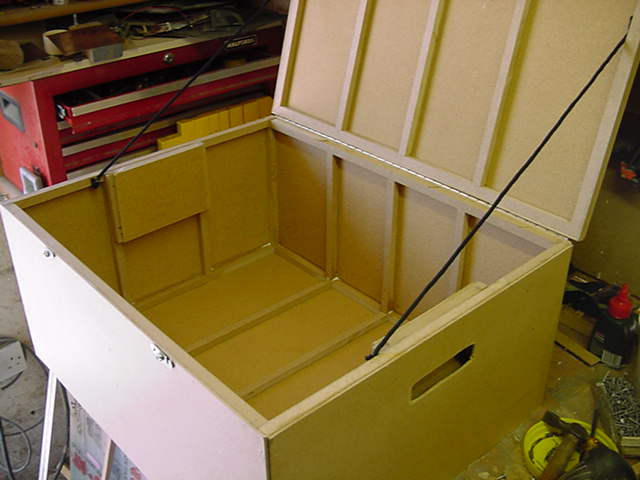
Well after a head scratch or three, some 1/8" and 1/2" MDF was gotten hold of.
This got introduced to a tape measure and a table saw. After which the pile of bits was gone at with gusto. Also gone at with a hand saw, miter block, nails, emery cloth, glue and hammer. And after that lot, we got this...
This will get lined with 2" of foam on all sides then the FS, PSU and stand will be packed in with 1" foam sheet. This will be cut to shape to hold everything still and secure. Lastly the thing will be taped shut, wrapped in a cardboard box.
And then attached to the biggest carrier pigeon I can find and pointed in the direction of New York.
Or I may let UPS or Parcelforce handle it, not decided yet
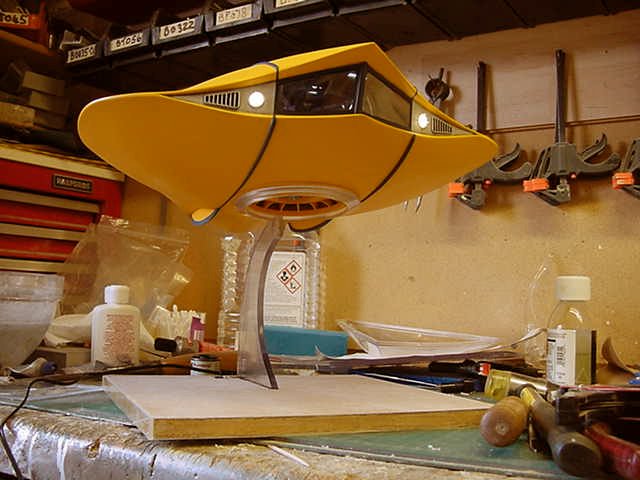
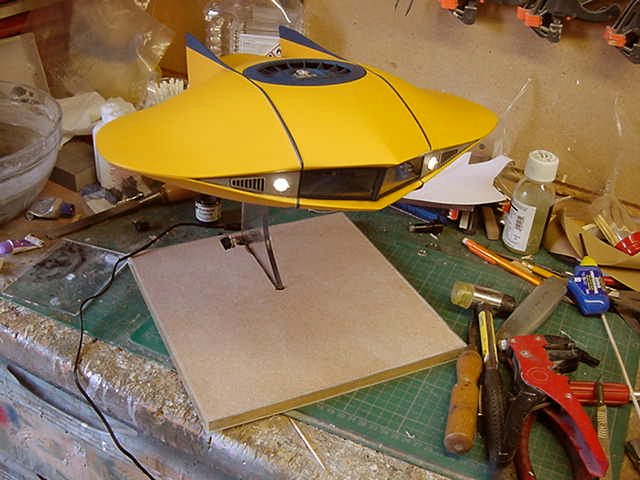
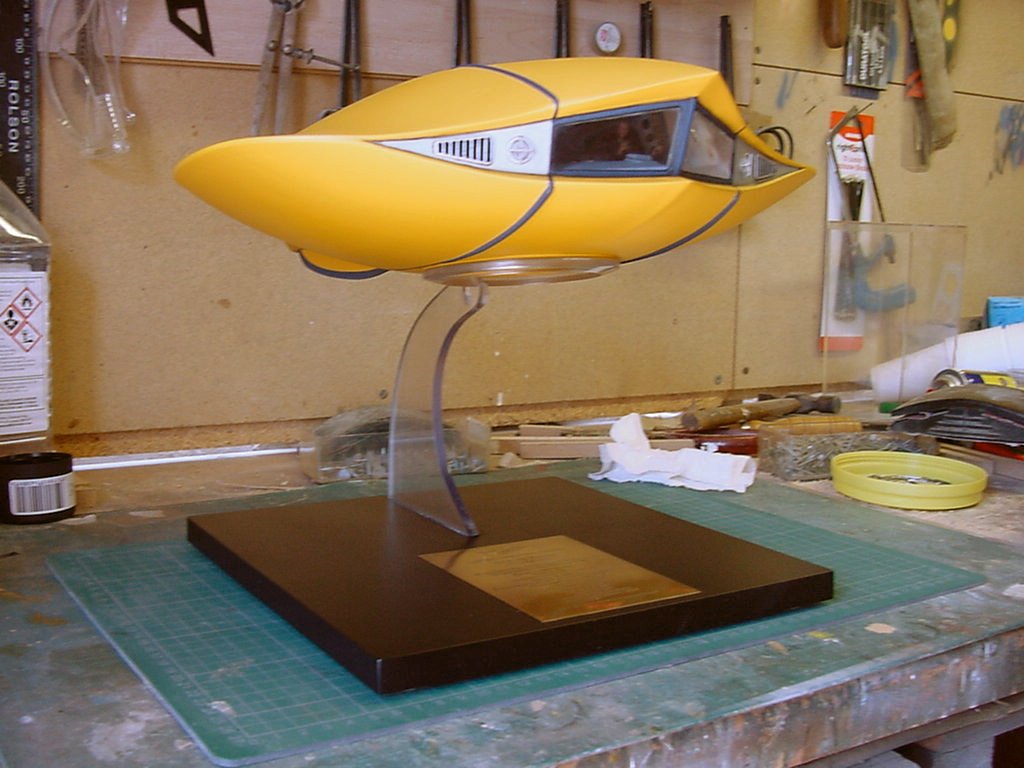
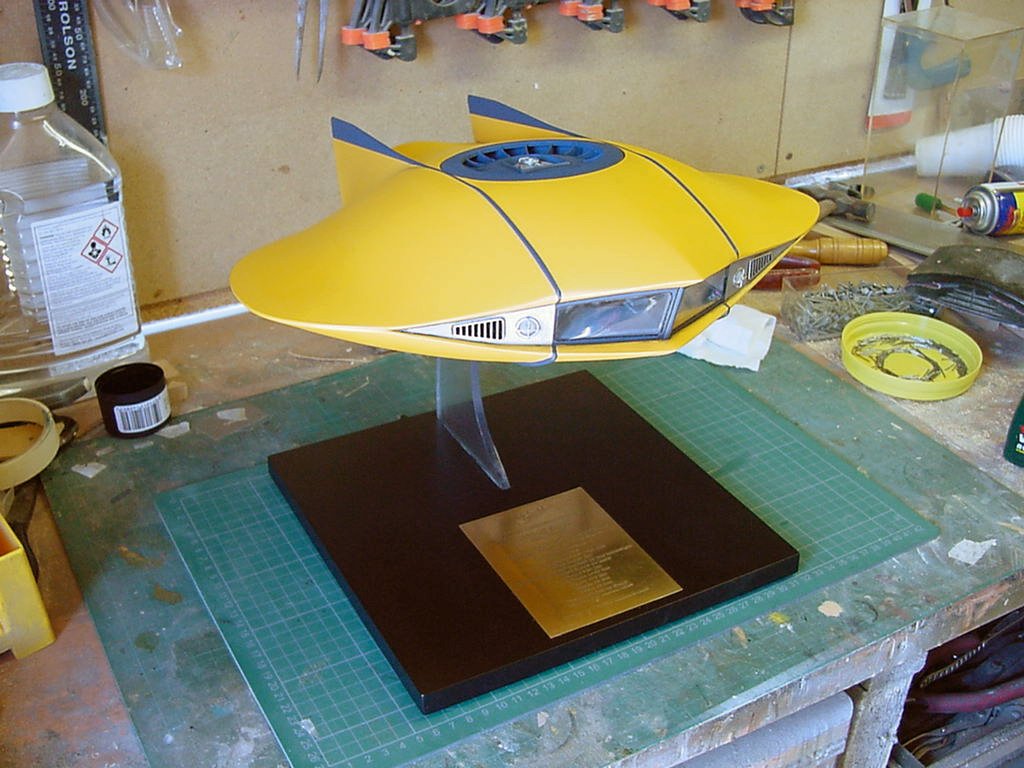
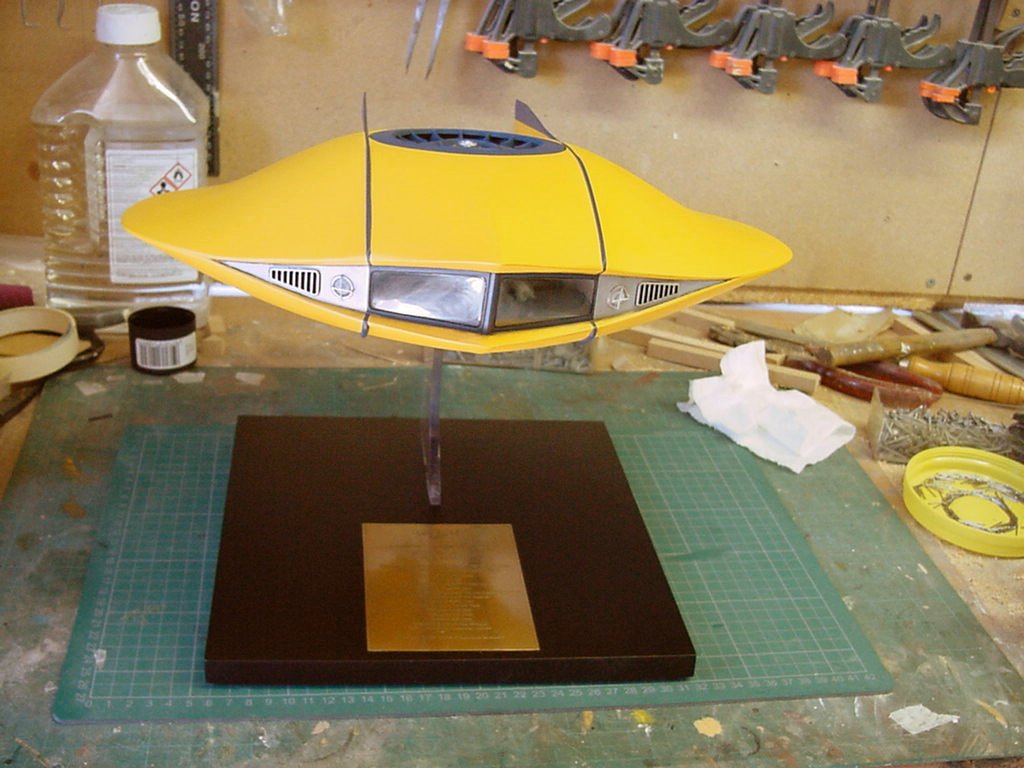
So then, a final perch of the FS and some slightly larger res pics.
Well the only thing not shown is a small plaque i've yet to finish off and attach. This is the client requested 'made by, for whom and when' sorta thing and that'll be shown in the final gallery. So to almost close this particular WiP, the usual and standard Crap-O-CamTM video, this done with the lighting of course. This time around, the lighting should be done with the voltage at the lower level going into the PSU for US rated voltage. of course for this kinda thing, a torridal transformer to step down from 240 to 110/120 volts screwed to the wall of the hellhole would be of help...
That's handy...think i'll use that one then!
If you can't see the vid or it's not playing then by all means feel free to download the file, It's 16.4 MB in size, movie is 2 min 31 sec in length and 640 X 480 resolution. Download by doing the right click and 'Save Target As...' thing on...
Well there's good and bad in every model kit, this one being no exception. That said, the only bad I can really say with hand on heart is that there's no pilot figures in the kit as stock. This may be off putting for those who are still on the fence about getting one.
YES, YOU LOT AT THE BACK LOOKiNG SHEEPISH!...IS MEAN YOU!!...CALL YASELVES MODELERS!?! WHAT ARE YA, MODELERS OR MICE?... AND DON'T YOU DARE START BLOODY SQUEAKING!
Ahem.
anyway 1/32nd figures are not that difficult to come by and some outfits do the aftermarket upgrade thing so no big deal if you want 'em.
The good is pretty much everything else one could say about it. For my money, at 14" X 13 & 3/4" it's certainly in the 'just about right' size category, neither too big or too small.
Well engineered and moulded.
The styrene for the main part is a bit soft so susceptible to damage and scratching but not that big of a deal.
For the interior, well this here WiP is one example of what the aftermarket mob like Paragrafix can do for you.
So no excuses not to go berserk there.
All in all, if built stock, you will get a decent sized model of a classic design that just never get's old. Series fandom aside and i'm no fan, like the Seaview it's still one of the best designs ever and i'll argue that with anyone. Built straight out of the box, assuming your not some nutter like me, I don't think it will be of any trouble to be honest.
You'll end up with something that just looks as righteous as I think you can get in a fictional subject sense.
As far as lighting is concerned, either you can go at it in the silly fashion I did, Or use the aftermarket lighting kits available out there, a mix of the two or whatever pleases your good self This WiP is certainly NOT the only way to do things but I hope it's shown what can be done. I'm no modeling genius or anything, far from it so if I can do it...
What in the hell are you lot sitting there reading this for if you want to build one?
Away to the work place with you now and don't forget to post stuff on your favorite modeling BBS whatever that may be.
Well as far as i'm aware, that's me about done, gallery proper at the pic link below.
I hope you have enjoyed this little spin about the hellhole gang.
See ya next time and in another WiP for more hellhole happenings on a different subject.
You merry mob take good care of yaselves and go easy out there.