
Moebius Models Flying Sub With Extras
1/32nd Scale


 Page Number
Lick o' paint, holes dug, some bits ripped out...
And Some New Bits Put Back...
What A Life!
Greetings all and welcome back.
Just a smidgen of an update here, running a bit behind with posting these updates.
But catching up.
Slowly.
Outward and onward!
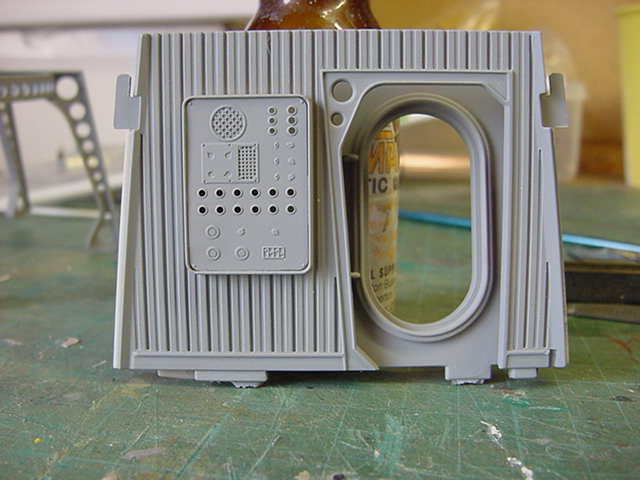
So the framework nicely settled and a few dabs of filler to get shot of any unwanted holes/dips/defects and the like.
A godly squirt of primer was in order.
Here be the result of that.
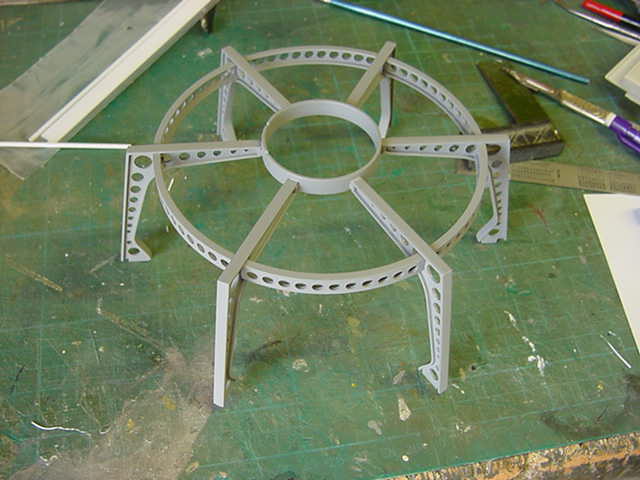
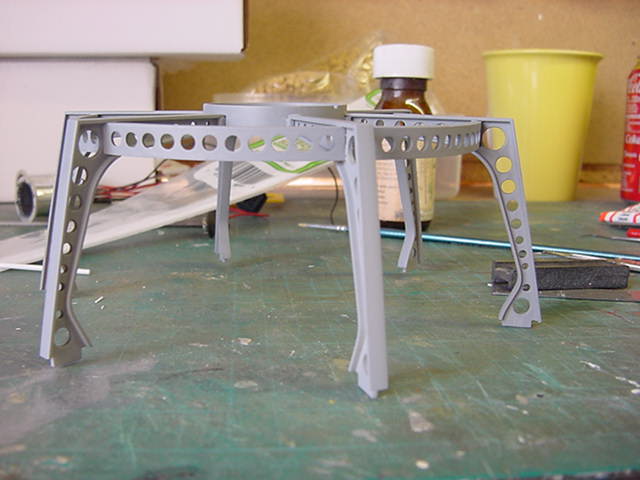
Looking about righteous to me so away to the next bit.
The radio panel wall bit has a back piece with a hatchway in it.
And a few moulding disc marks a bit too close to visible for comfort.
So them little buggers got a putty and wet & dry talking to, a dab of primer and a looksee.
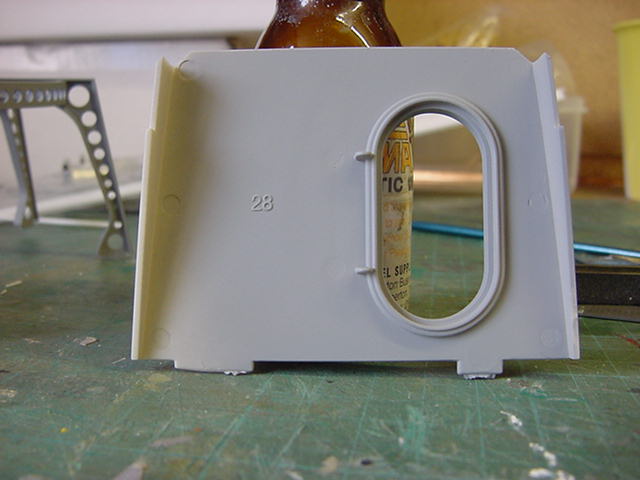
Sorted and sharp so...
Next!
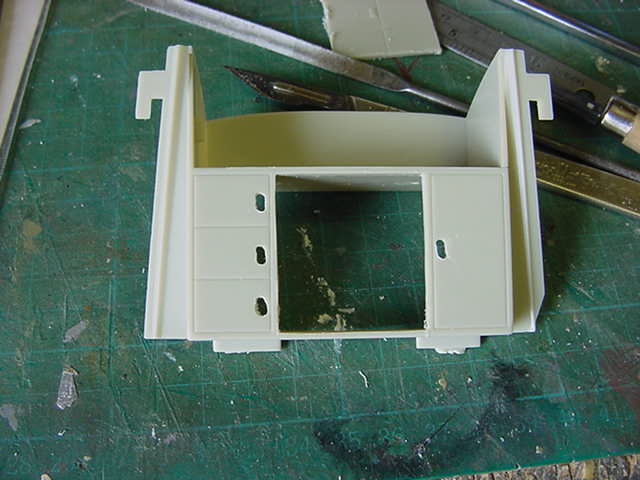
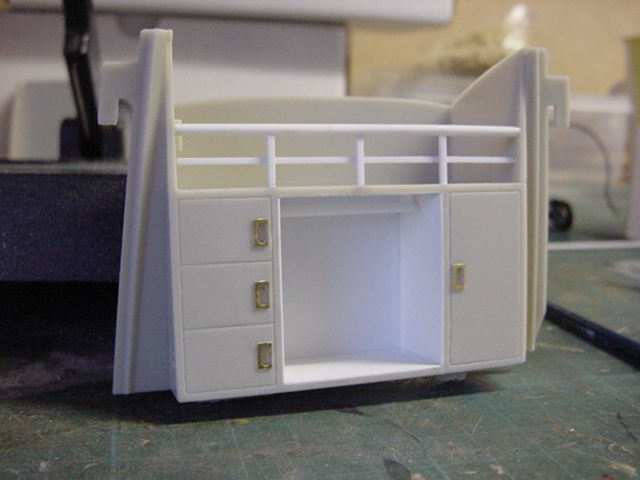
Now part of the brief was to rework the bunk bed wall part a bit so leteth us get stuck in me hearties!
Well the destructions on the Paragrafix PE set do give you an idea.
Here's the part as is.
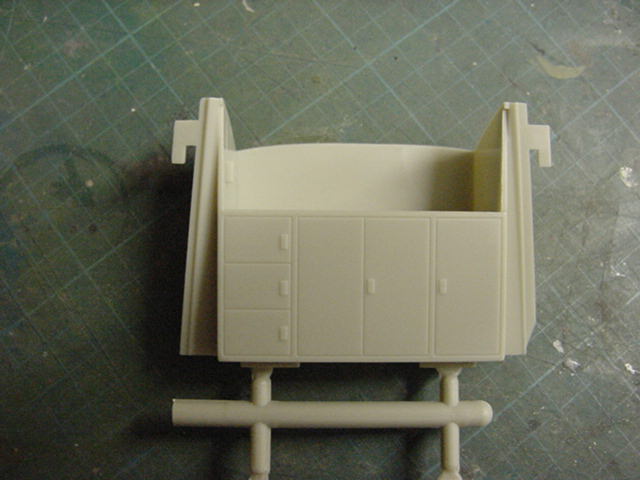
Now the idea is to chop out the three larger cabinet doors and do an open area.
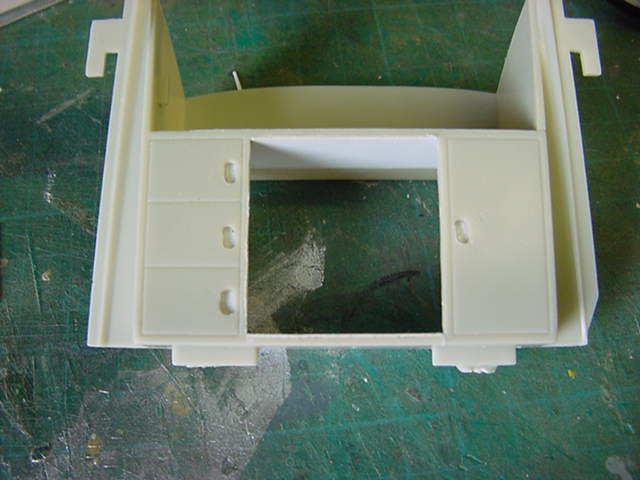
A place to start but after having a run through the ref, I came across this pic from me archives.

Now you can see where the ladder is latched up, just behind it there seems to be a cabinet door.
Well decided to just go with removing the two larger center doors instead of the lot.
It just seems to look a bit better to me but there ya go.
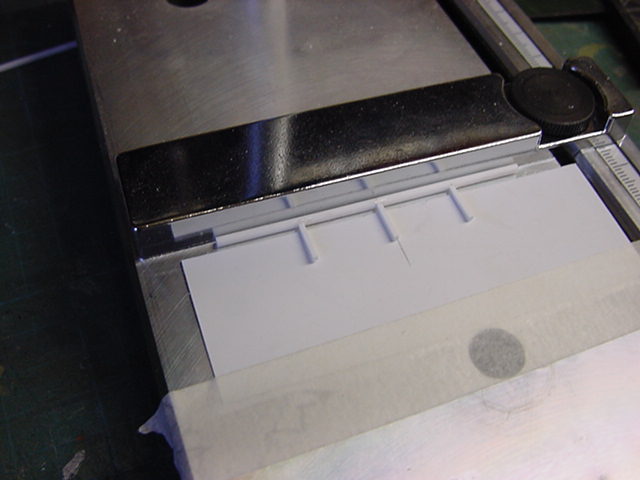
So then, a bit of scriber scratching...
And in with the razor circular saw blade on the motor tool.
A smidgen of careful slicing later and...
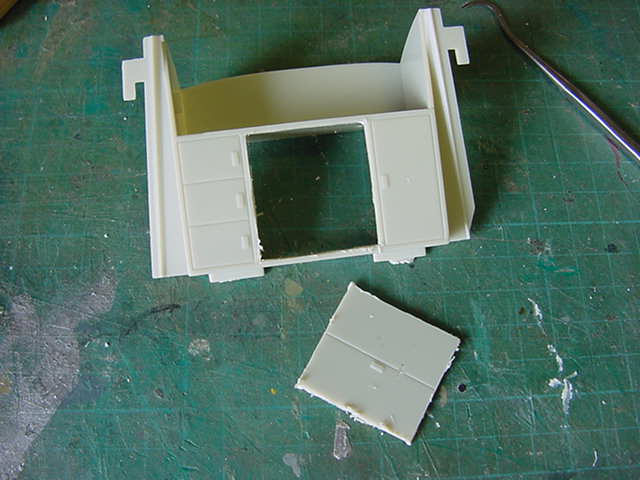
So the inner edges were shown a needle file or two to straighten them out.
Then the handles on the remaining cabinet doors were drilled out.
This was just to create some depth and the PE handle plates would be glued on top.
With that in mind, it went a bit like this.
Holes drilled.
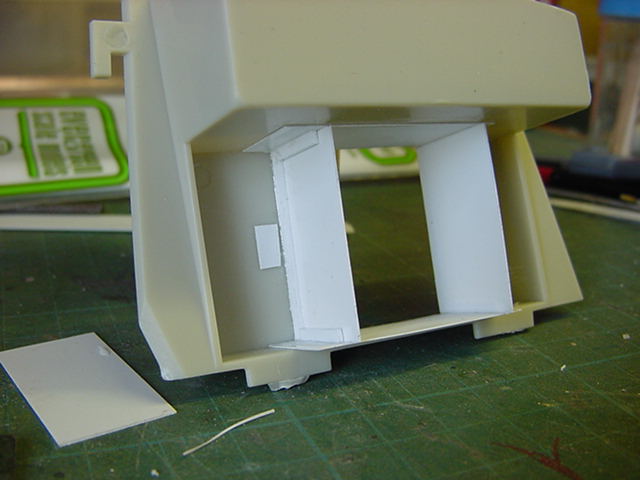
Then some thin plasticard on the top and bottom to make the start of the storage recess.
Also some plasticard scrap bits to fill in the handle hole backs.
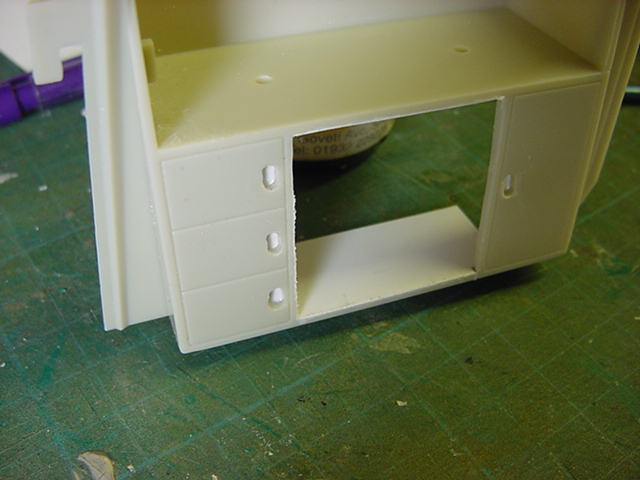
Some thin plasticard strip to the back faces to keep it all square as the sides are installed.
Then the back plate cut and slapped on, some stick it together stuff liberally applied.
A hole drilled in each end of the recess and a hanging rail from some plasticard rod put in place
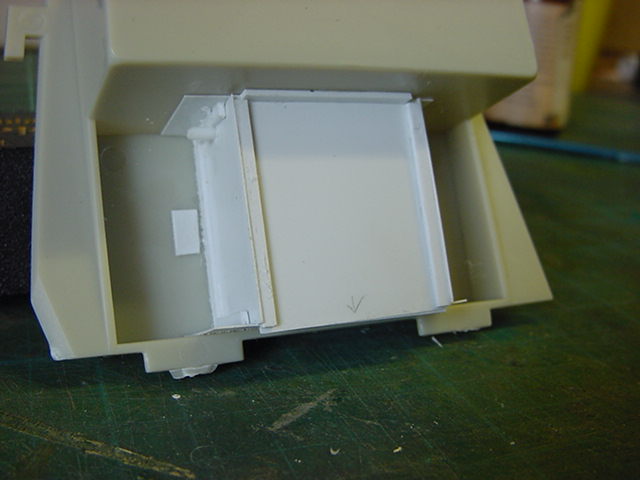
The front edges of the plasticard are left slightly proud of the front of the part so it can be sanded back all flush and proper.
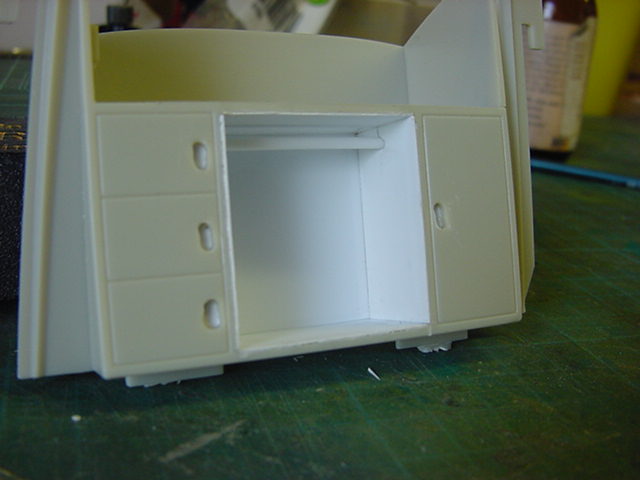
And after a bit of putty got slapped on and left alone, the sanding didst happen.
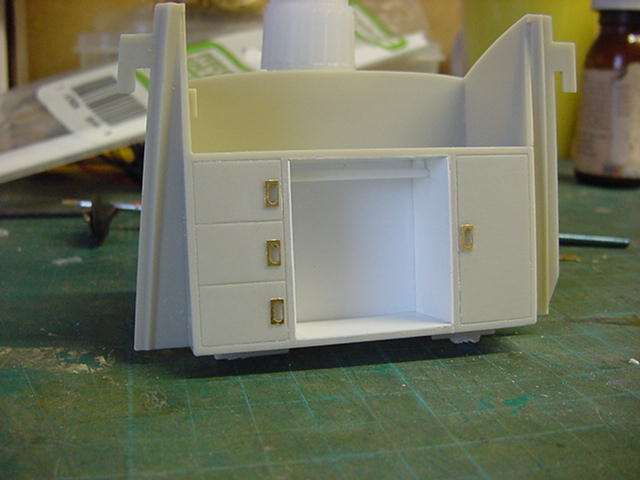
After that got sorted, the PE handles got glued in place and told to stay put.
So last bit for now, the bunk area had a railing/cage type thing made and fitted as part of this upgrade.
Just seemed a good idea to help stop the planned sleeping crew member from falling out.
Not that it wouldn't happen for dramatic effect in this weeks episode but still.
A quick rough jig/measuring thing was made up courtesy of my mini drill press base and some plastic rod of round and square type got brought in.
A last long stringer piece added and the piece glued where it should be.
So that done as much as needed for now, some primer laying on methinks.
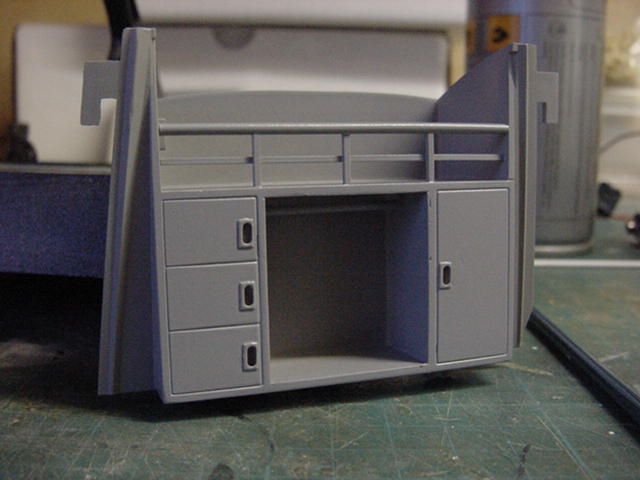
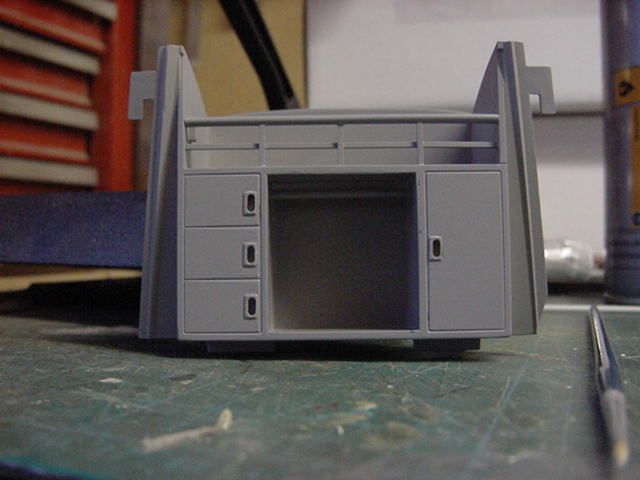
Well not too shabby, a couple of small holes to fill but getting there.
To this, the recess will get some wet suits on hangars,
A couple of SCUBA tanks and maybe a metal box with the 'gadget that will save the day this episode' in it.
The bunk will have the required mattress, pillow, blankets, kipping crewman/shifty looking civilian bloke who, it turns out, works for 'the other side'...
Or this weeks female guest star surprisingly playing a top nuclear physicist that's way too cute to be one...
Oh and the fire extinguisher, a bulkhead lamp (lit) and the privacy curtain and rail.
All that, the wall panel and other bits paintwork coming next update!
See you lot then so take good care of yasleves and go easy out there gang.
Page Number