Moebius Models Flying Sub With Extras
1/32nd Scale


Page Number

Airbrushes on alert...

For Some Paintwork Pandemonium!
And Other Things As it Were...

Welcome back to the hellhole people!
Right then, wall panel paintwork ahoy so let's get at it.
So the main bits and bobs as such are these...


So to begin with, the lot of 'em were given a going over in the appropriate places with some Xtracolour dark sea grey acrylic.
Duly applied by air powered paint slinger of the single action variety.
To keep it as simple as possible, we'll stick with one panel so I don't overload ya peepers with pics.

This panel to be precise.


So dark sea grey applied and dried.
Next up, some Promodeller dark dirt weathering wash.
Simple gear to use.
Apply liberally, let dry, wipe over with spit dampened cloth and sorted.
Here's the page of the mob that sells the goodly stuff!
Promodeller Weathering Washes
Link thing should open in a new window.

So goodly gear slapped on and let dry.


And then a wipe over with the spit dampened paper towel.


And after airbrush sealing the part with some Vallejo acrylic matt varnish, a smidgen of dry brushing in ordinary enamel paint shades of grey didst happen like.


The main point of the paintwork with this beastie, at least from my humble perspective,
Is to punch up the detail as much as possible without doing the weathering bit.
That is to say the details should pop but no weathering to make it look used and grubby on purpose.
The FS-1 never really did in the show so there's my benchmark.

So the same sort of procedure for all the wall panels and the front instrument panel.


Now the main instrument panel parts have decals to go on them so most of the shading will not be that apparent.
But the panels themselves will stand out a little from the 'background' and that's the key to me here.

So then, the secondary colour on the FS-1 interior is either a grey or beige.
Personally I think the beige is a better contrast than all shades of grey.
So some Vallejo acrylic was mixed up specially for this job.
Mucho masking and some less than deft airbrush work later we get this...


The railing bit on the bunk bed wall was given a lick of enamel silver just to top that off.


Now the client did specify he wanted the corridor from the rear interior hatch to the rear bulkhead hatch left in.
Not a problem so some Tamiya metallic grey for the floor and the beige for the rest was airbrush applied.
Looked a bit bland as is so...
Some weathering wash slapped on and wiped.
Handrails done in airbrushed acrylic matt red and then acrylic gloss varnished.
Once all cured and sorted, parts assembled and yea verily, they were glued together.
And it doth look the part if I do say so meself.


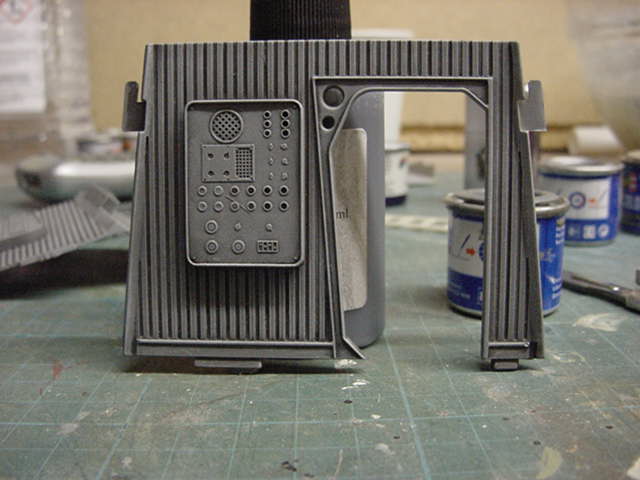
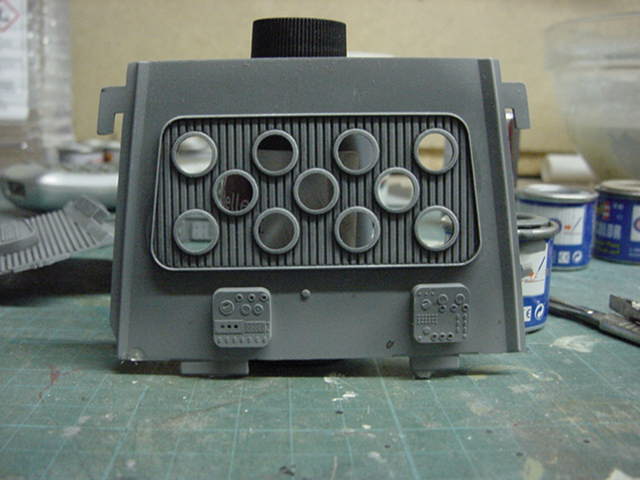
I'll be using the clear bulkhead lamps in the kit and doing a bit of LED & fiber optic frippery here.
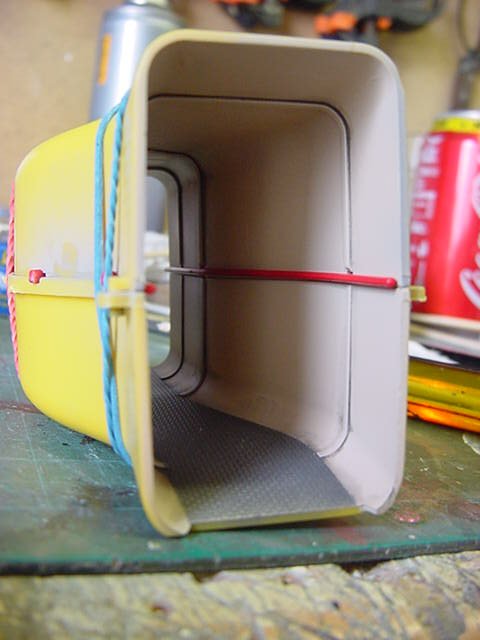
if for no other reason than when the rear bulkhead hatch is opened, something of the details can be seen.
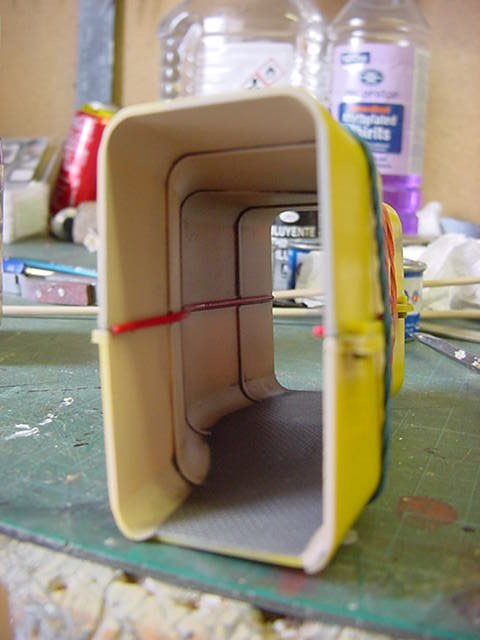
i'll spring load the rear bulkhead hatch as I did in the last build so at least the corridor can be seen.
The hatch into the interior proper will remain shut as a bit of a safety precaution.
Nothing to do with water ingress you understand but if left to swing free it could break at the hinges.
Which would not be a good thing I believe.
Well that and getting something in there to close it would be a difficult problem so best sort that 'fore trouble arises.
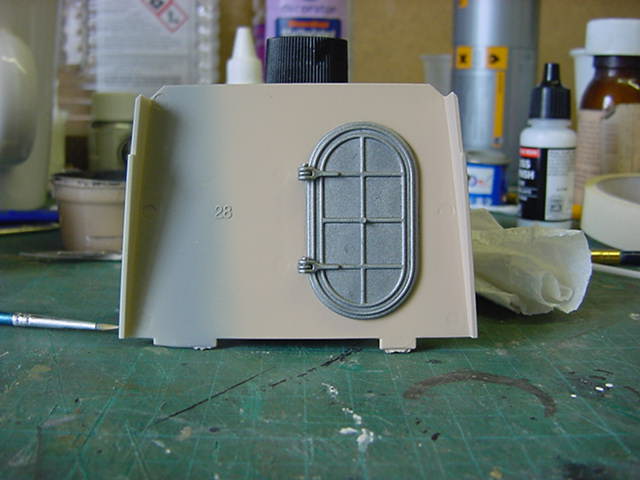
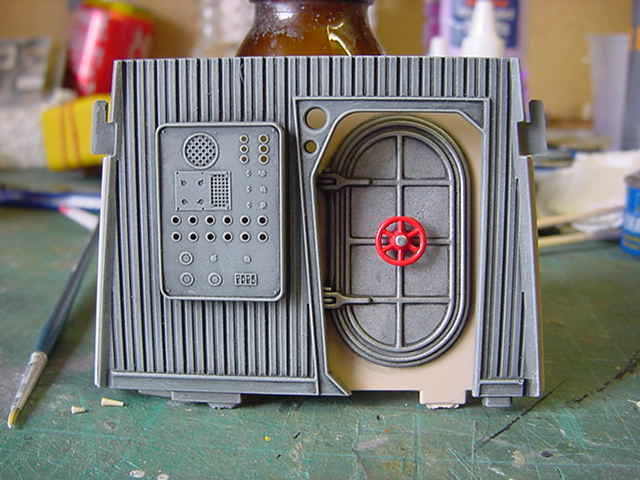
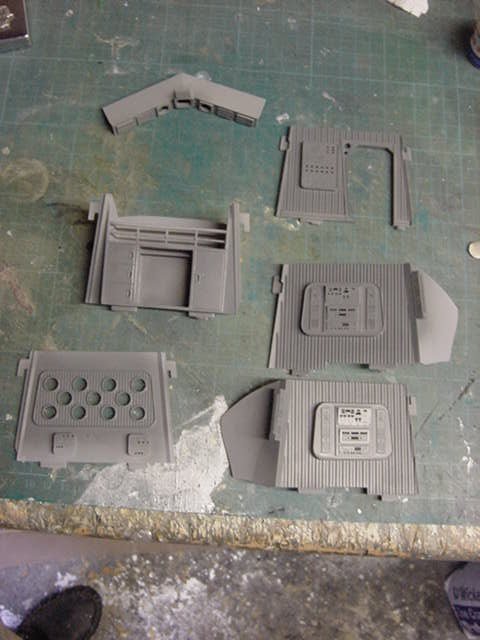
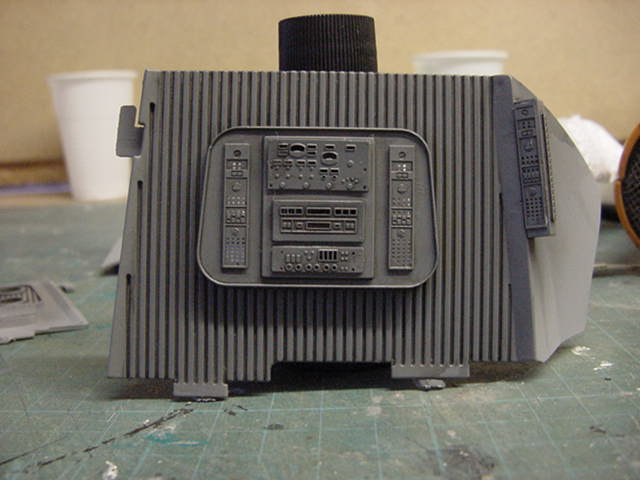
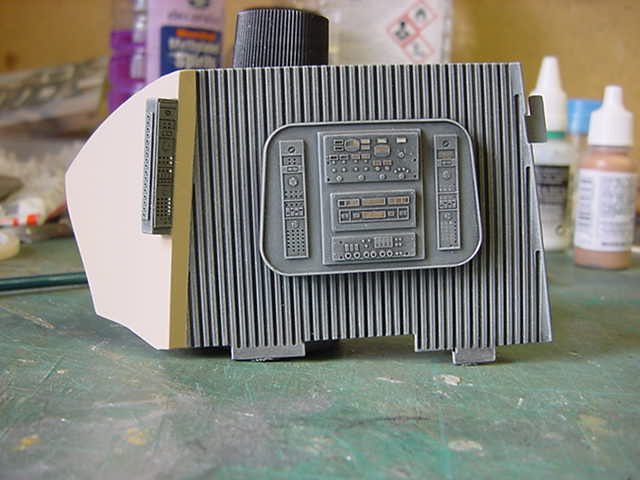
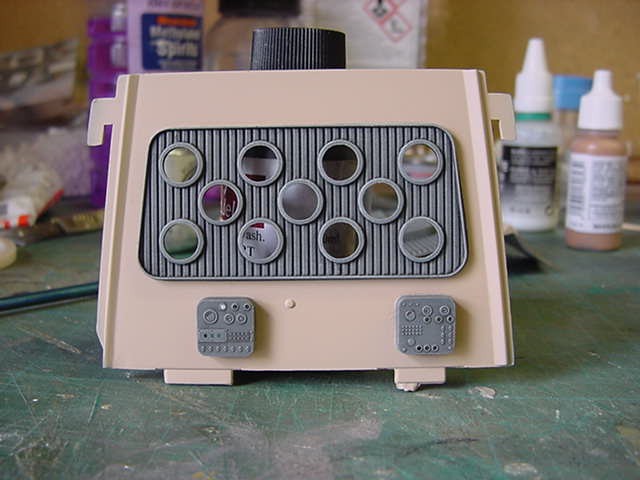
Speaking of the interior hatch...

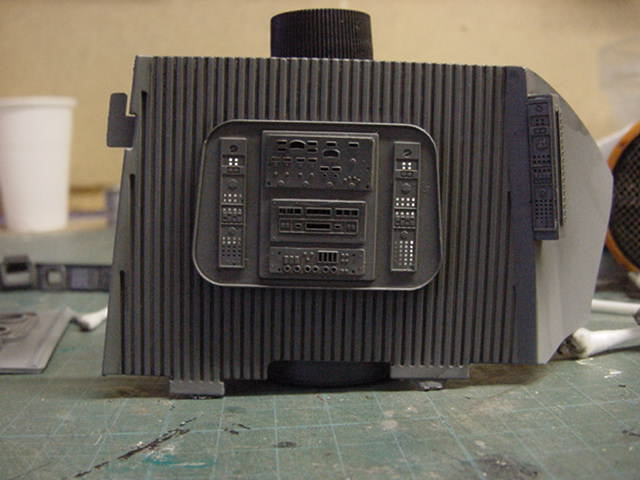
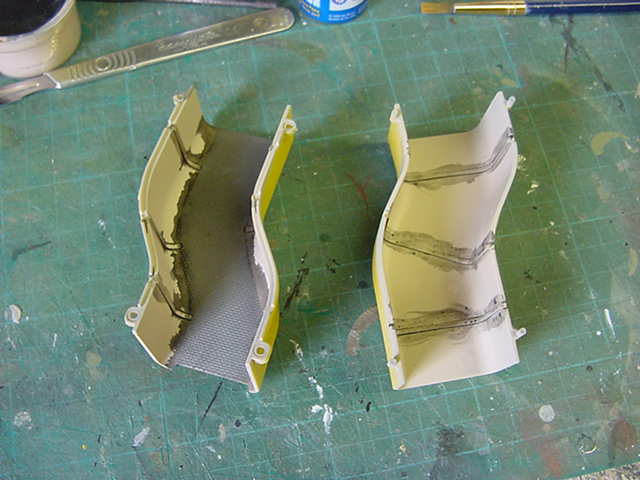
The wall panel had some of the special beige airbrushed on.
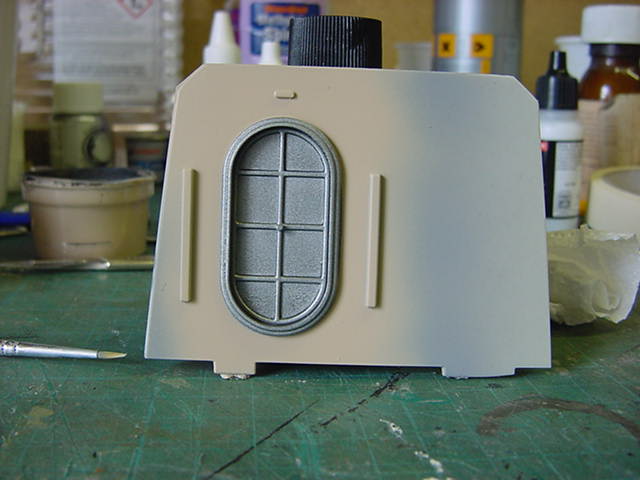
The hatch and surround painted with Tamiya metallic grey.
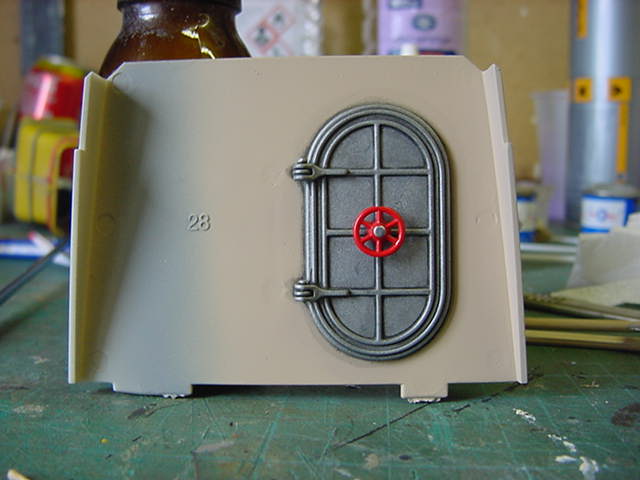
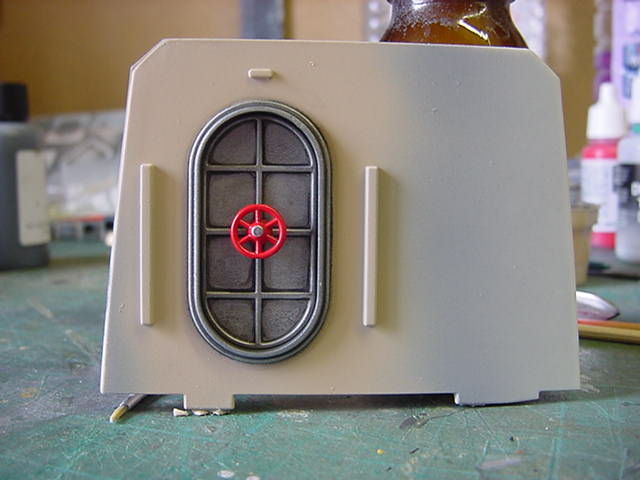
Both hatch sides given the dark dirt wash/wipe/varnish routine.
The red hatch wheels done in the same manner as the corridor handrails.
And a dab of silver in the center of the hatch wheels to finish.


Not forgetting the dry fit looksee with the radio panel wall.


Yep!, me likey.
And last but by no means least, the front panel got a paint plastering.


Shame it probably won't be see as such but there will be some decent pics 'fore I seal that bad motor scooter up I assure you.

So last gasp bit for this update...
The interior framework part.
The ladder had to have an extra rung stuck on the bottom to go in the thoughtfully provided PE bracket on the Paragrafix upgrade set.
The center ring of the framework had a couple of shallow notches filed in to make a snug glue fitting.
This done so the ladder will stay put especially during shipment over the pond to the client.


So that sorted, the whole shebang given the Tamiya metallic grey, dark dirt wash and seal treatment.


So this marks the finish of the wall panel main painting.
There's some small area old school brush work to be done but that will wait untill after the decaling is done.

Which will be on the next update along with some floor panel painting frippery, panel lighting prep,
Light boxing & LED larking about and not forgetting the wiring whathaveyou.
See you lot then, go easy troops and troopettes!


Page Number