
Moebius Models Flying Sub With Extras
1/32nd Scale


 Page Number
Drill a few holes, shove something in them...
Apply Glue, LED, Wire, Battery And Hope it Works.
Whatcha folks and folkettes!
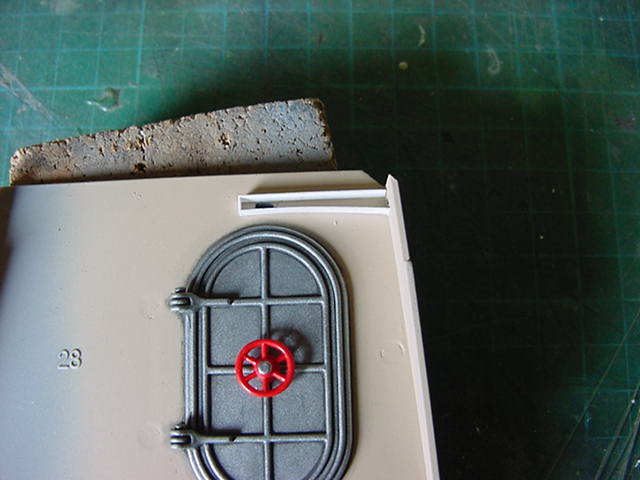
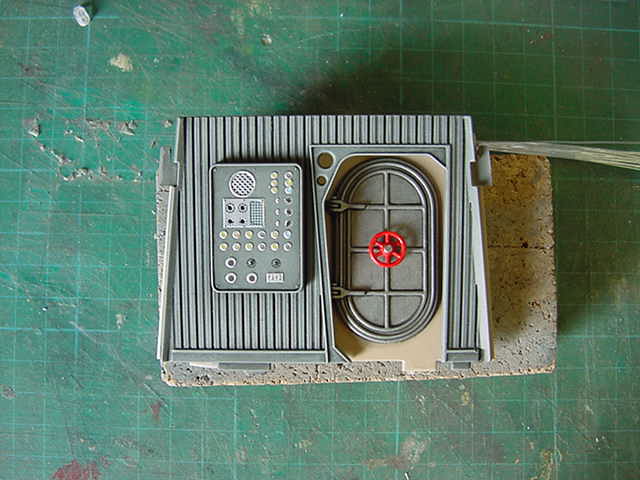
Time to get stuck in to sorting out the wall panels prior to assembly.
To begin with, some lighting lunacy.
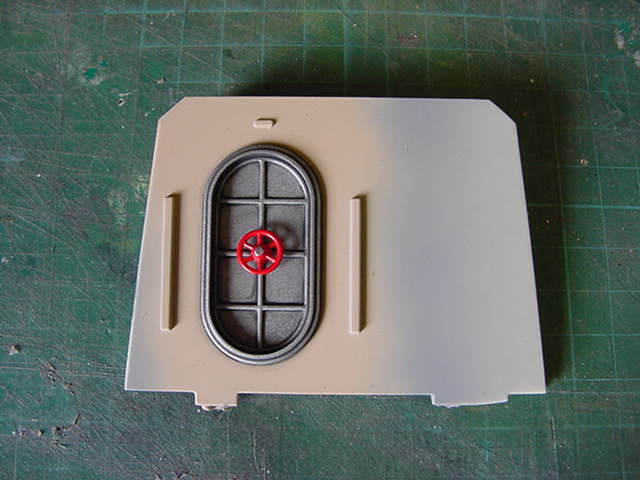
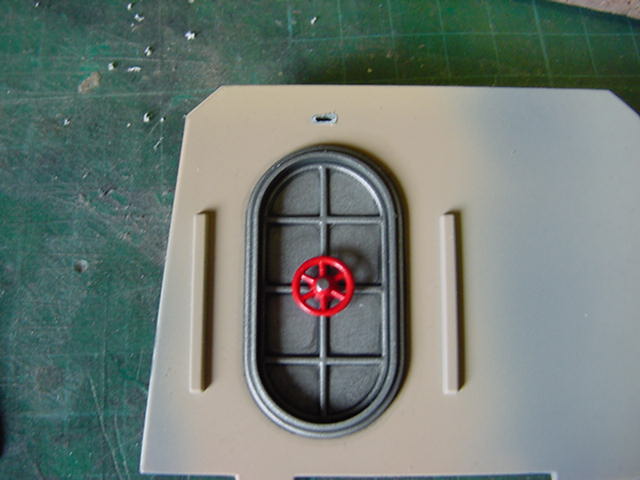
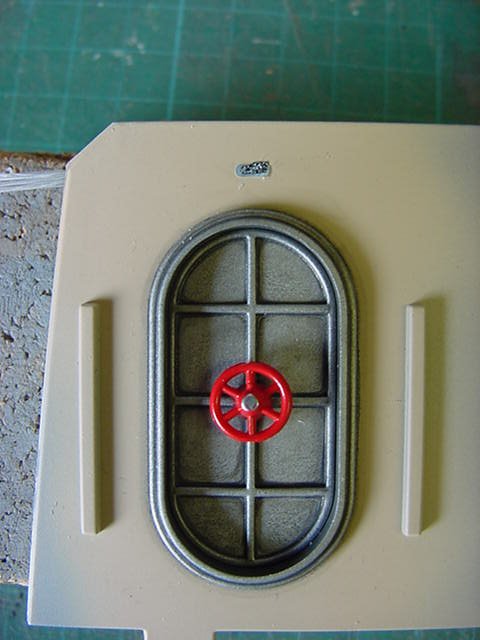
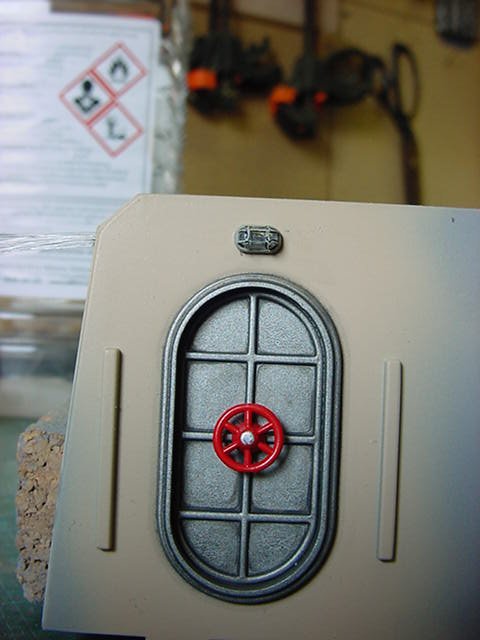
Now the rear corridor or more precisely just above the hatch to the interior is the thing here.
There's a bulkhead lamp of some description that goes there so best light it up.
Another one will be installed above the rear most hatch inside but that's for later.
Now I did consider filing down a LED to go in there.
Fact is that if it blows during the soak test,
That is to say putting all the lighting on and leaving it for a long while to see if anything goes paff,
It will be a major ache in the gluteus maximus to replace it.
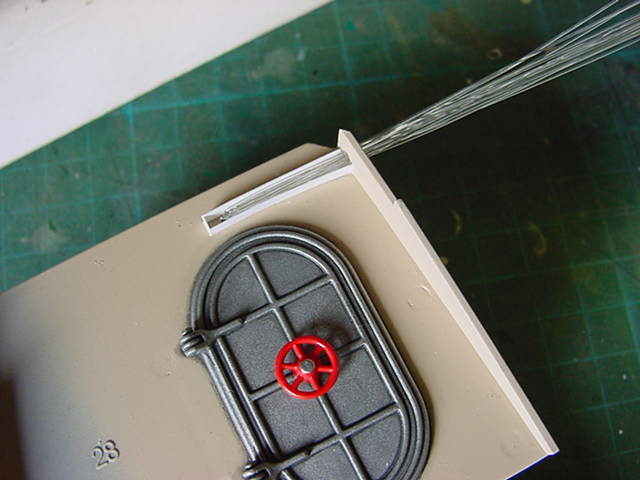
That in mind, some fiber optic is the order of the day here.
First things first, here's the part in question and again with a hole drilled and carved into it.
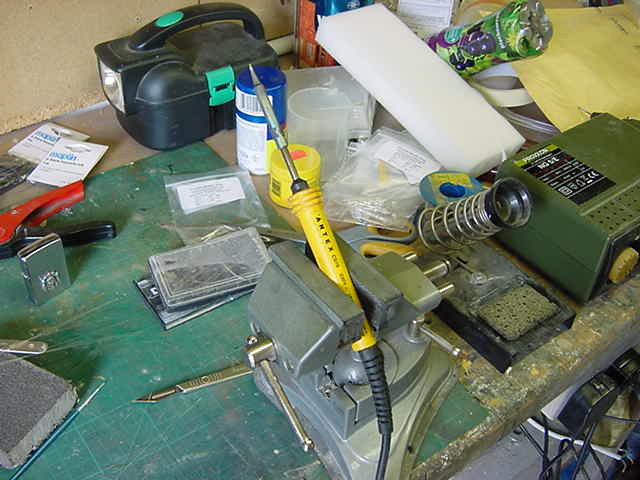
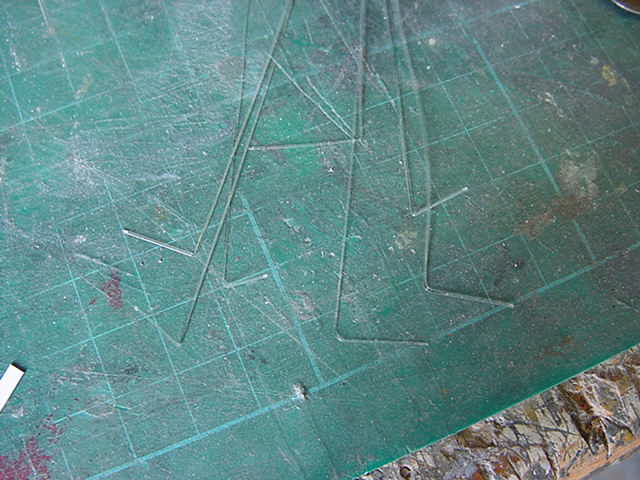
So taking about 18 strands and the soldering iron was set up for some bending action.
Simply put, the strands were gently bent one by one and held very close to the iron tip.
After about 5 mins you get loads of FO strands with a 90 degree bend.
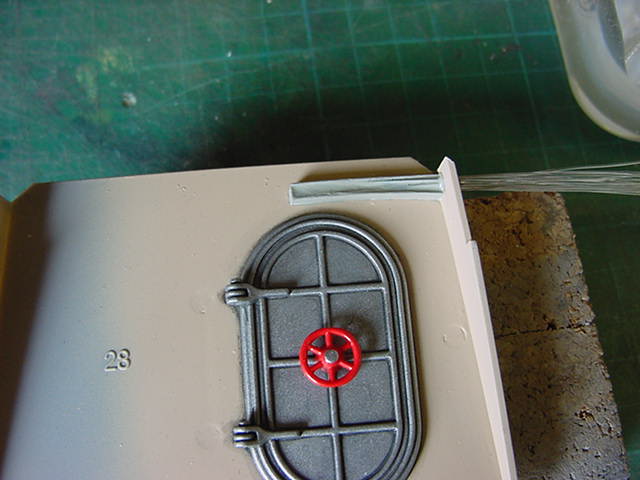
A thin strip plasticard trench was built up and the FO shoved where it should be.
Lovely.
Then some clear epoxy glue mixed with enamel matt black got laid on
Oh, one thing here to note.
Due to an email I recently got from one sterling individual, a bit of clarification.
The clear epoxy I used for all the back filling on the wall instrument panels.
It's nothing spectacular, just some off the shelf bog standard ordinary two part clear epoxy glue.
Brand doesn't seem to matter, at least not for all the years i've been using it.
Just the ordinary fast curing stuff.
By fast curing, I mean the 5 minute gear, the cures in 90 seconds stuff is a bit too quick for the use that I normally have.
Right, where were we?
Oh yes.
The FO in the trench all sealed and secured and this was just given a lick of grey enamel paint.
No big deal as it won't be seen when the radio panel is on but there ya go.
The bundle sticking out the light side was simply trimmed off.
The epoxy had soaked through nicely so all secured.
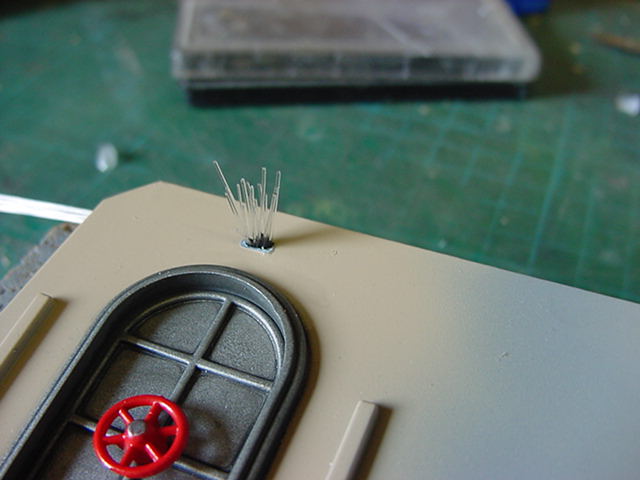
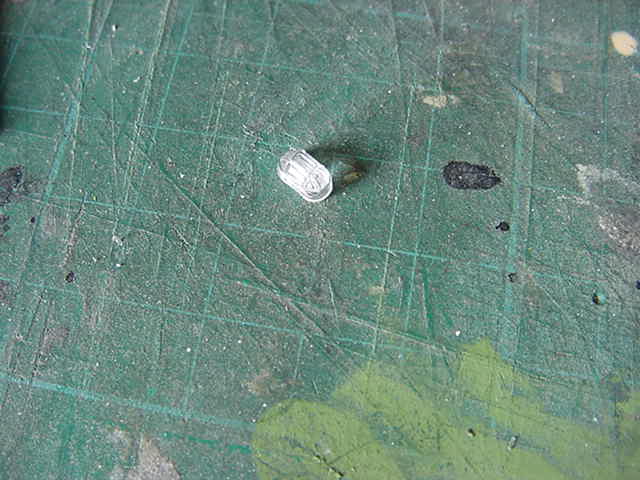
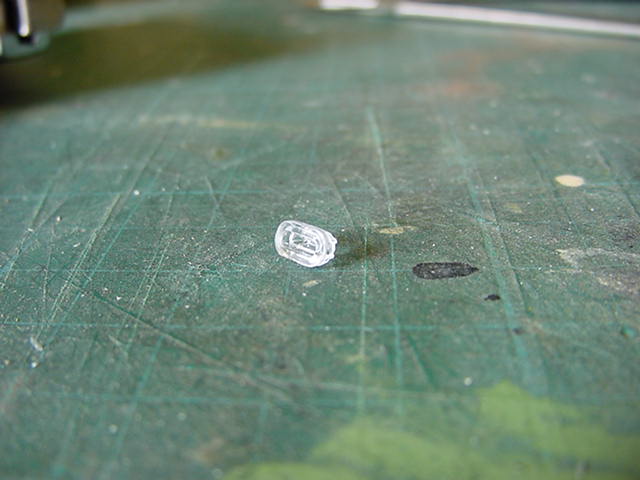
So that done, the small clear lamp part was removed from the sprue, cleaned up and the inside was opened out just a bit more.
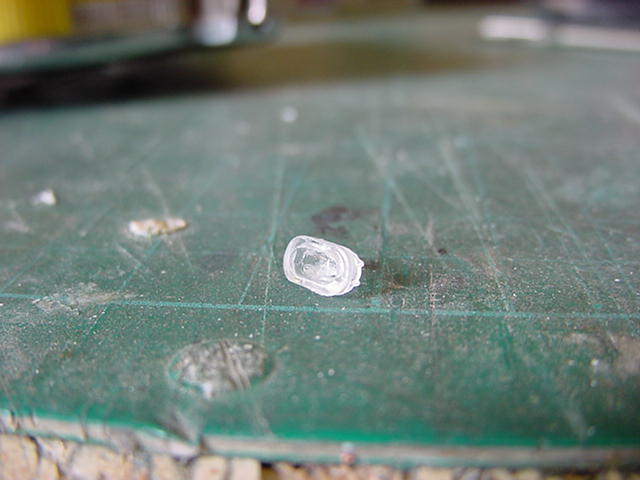
Stuck in position and painted with flat black and a lick of grey over the top.
The FO was trimmed back and a 3mm white LED fitted with a resistor for the eventual 12v power.
Some aluminium tube to keep it all lined up proper was fitted.
A 9v battery applied and a look see.
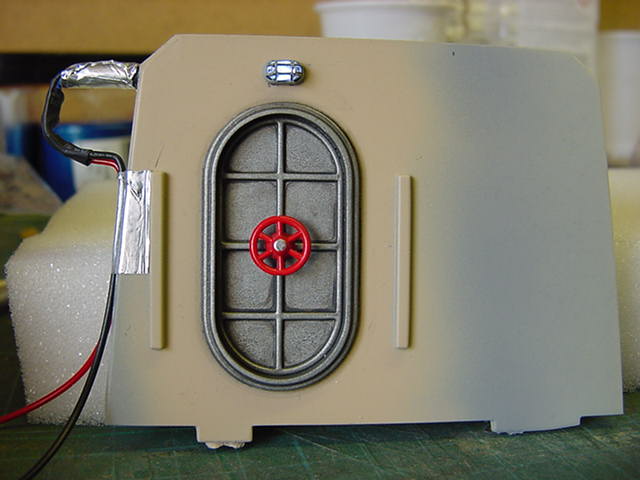
And again with the corridor piece taped on for a test.

Yep, not too shabby methinks.
Also I can still get at the LED with ease if needs be.
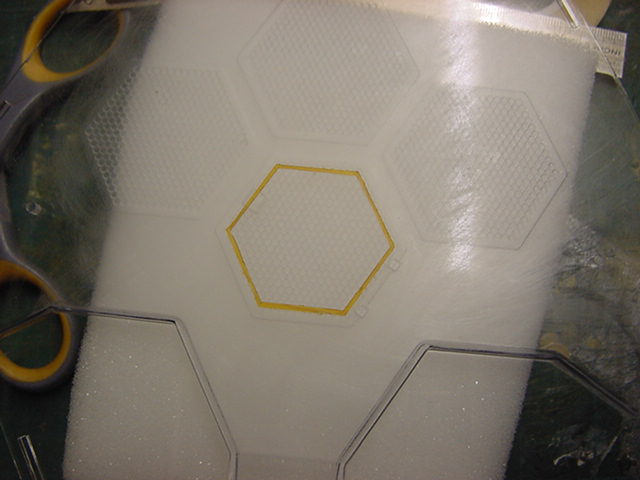
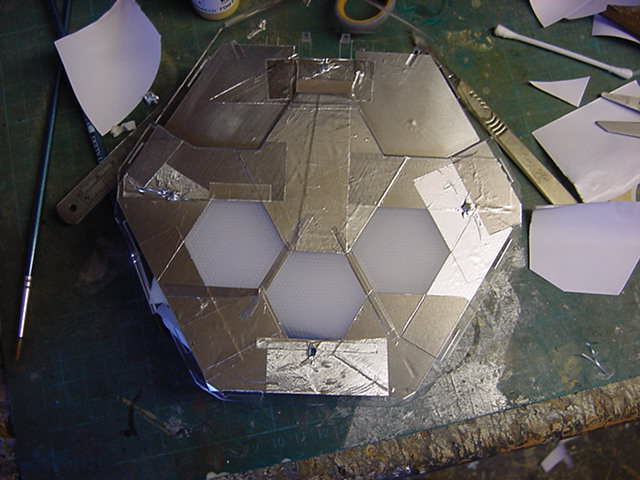
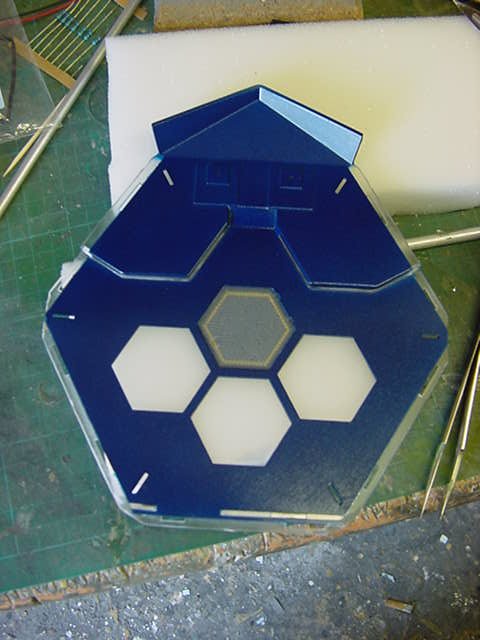
That done, on to the clear deck flooring.
Now this was a bit warped but a bit of heating and spending a week clamped to a 1" thick lump of MDF soon cured that.
So in order, a brisk rubdown to the underside just to diffuse it a wee bit.
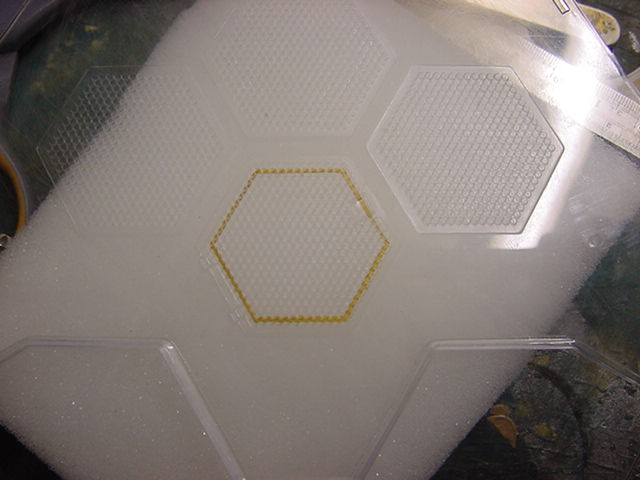
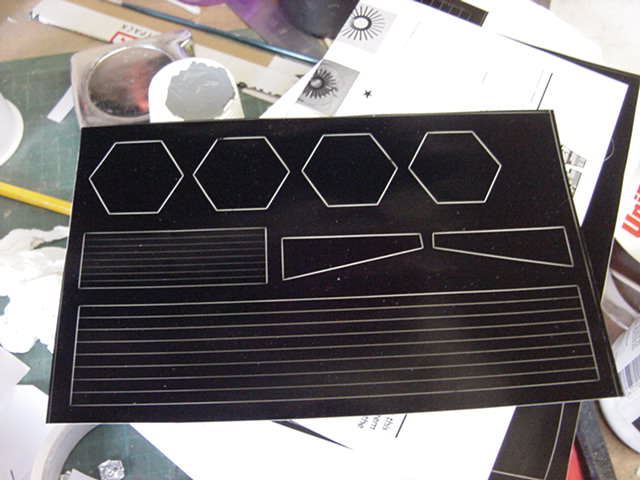
Then in with the Jammydog masking tapes and the hatch hexagon got it's yellow ochre stripe round it.
A decent slapping on of grey and that's that done.
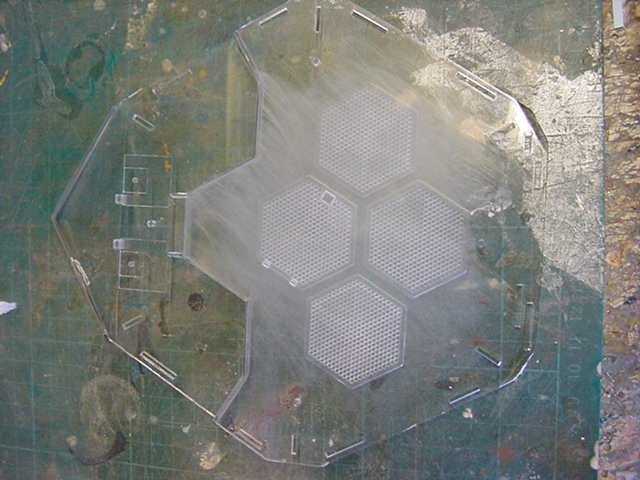
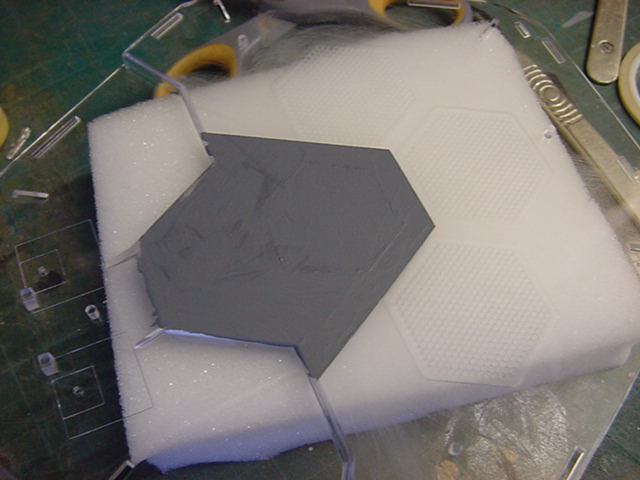
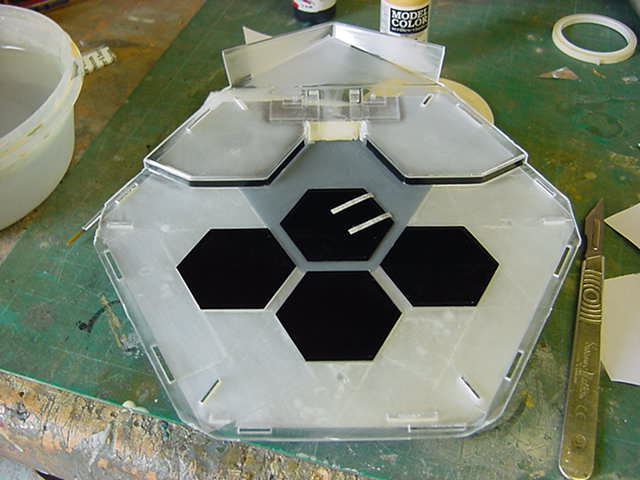
Tidy enough so next up, mucho foil tape for the light blocking routine as it were.


Which would be about what me be after.
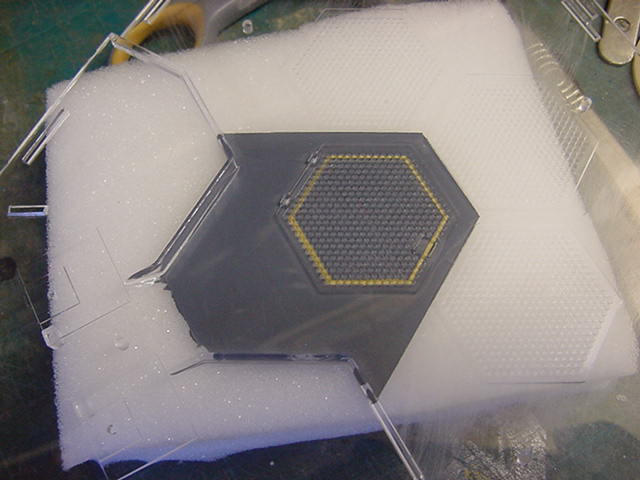
A light going over with some 600 grit on the top surface and a wash down then out with the rather splendid Aztek Dummy vynil masks.
Nice one Lou!
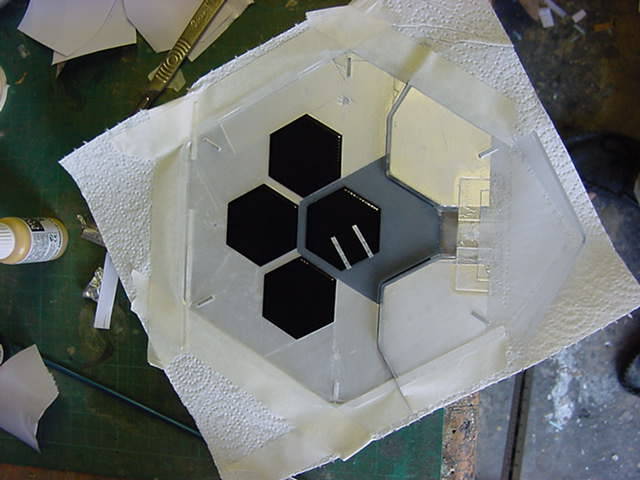
After that, in with the grey primer and a couple of coats of plasti-kote metallic blue via rattle can did follow in reasonably swift succession.
All cured nice so away with the masking and tape.

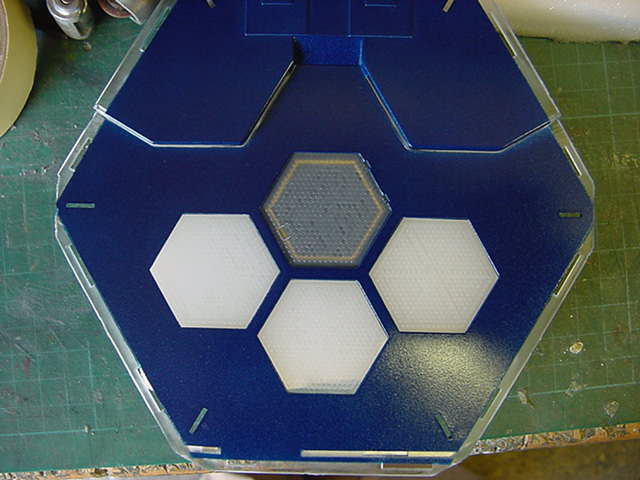

Sharp and clean, me likey!
Some further detail paintwork to do and it will be I assure ya.
Well that wraps up this update page.
More to follow fairly shortly so see ya soon you merry mob.
Go easy now.
Page Number