
Ghost Rider Resin Figure WIP log
'Animated Style'


 Page Number
Chains, MDF, Plastic...
Lava, Rinse, Repeat!
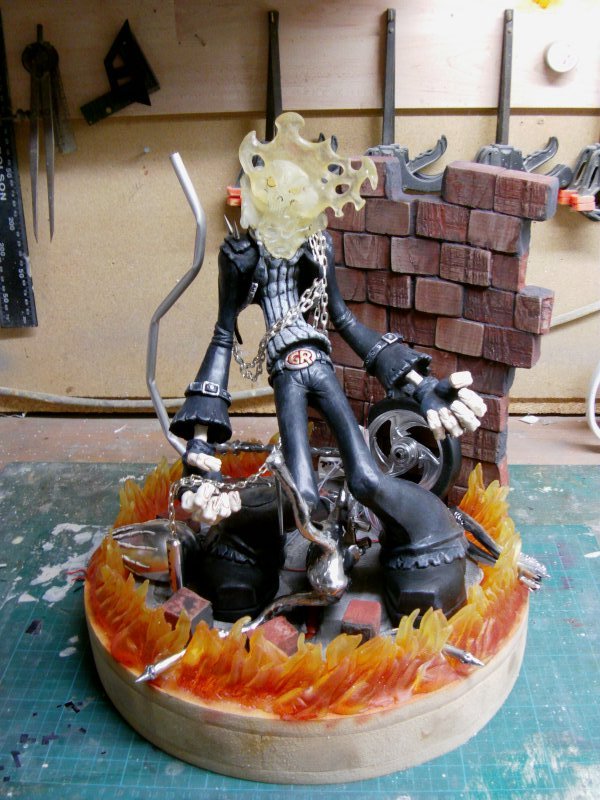
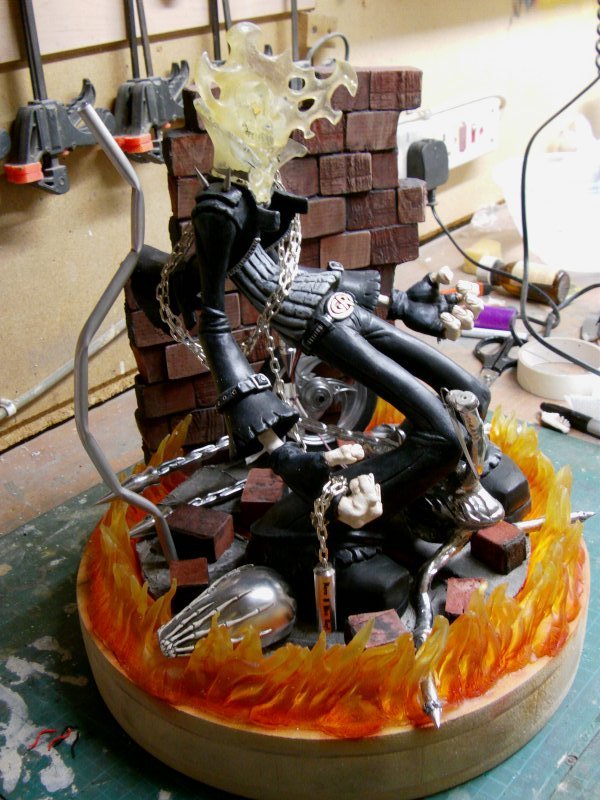
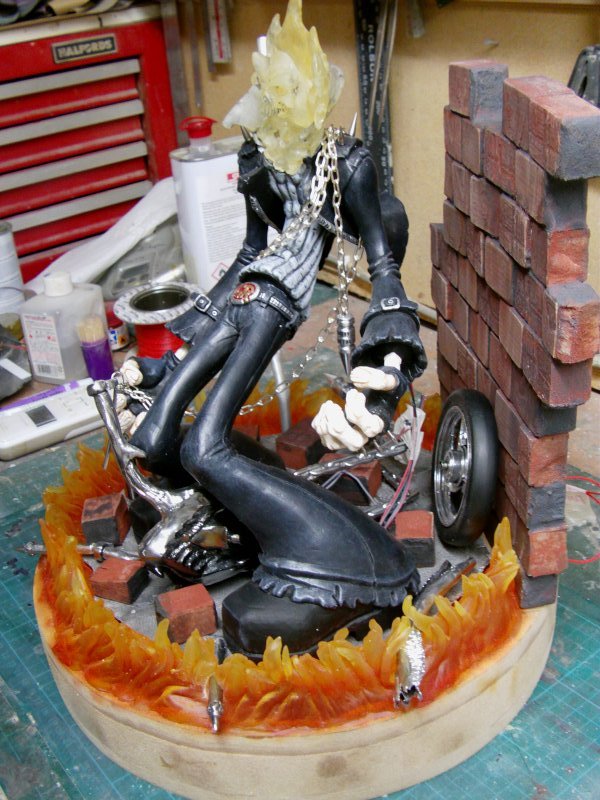
Welcome back gang!
Well now, some fiddling about as it were.
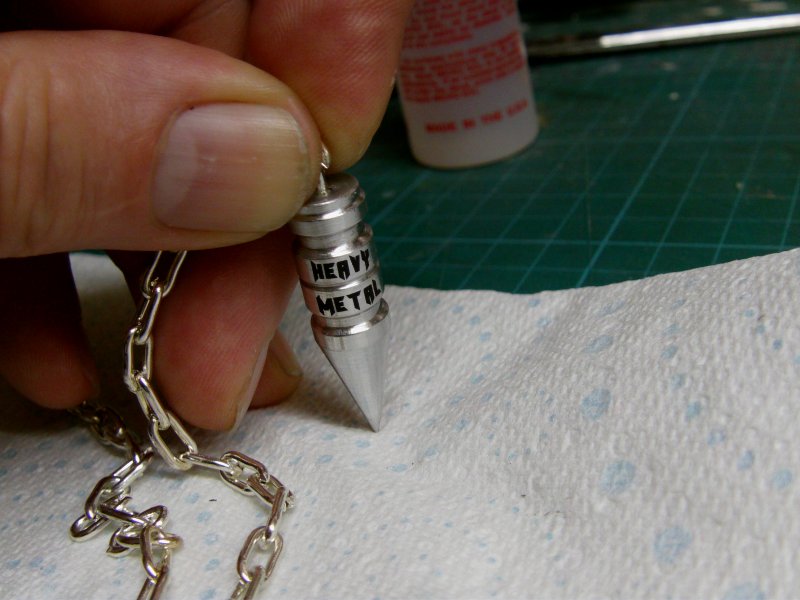
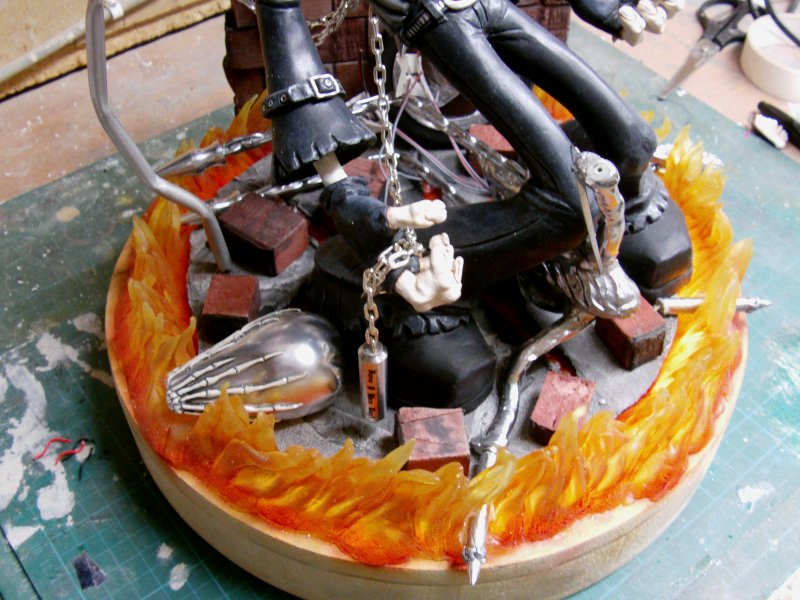
First up came the chain thing.
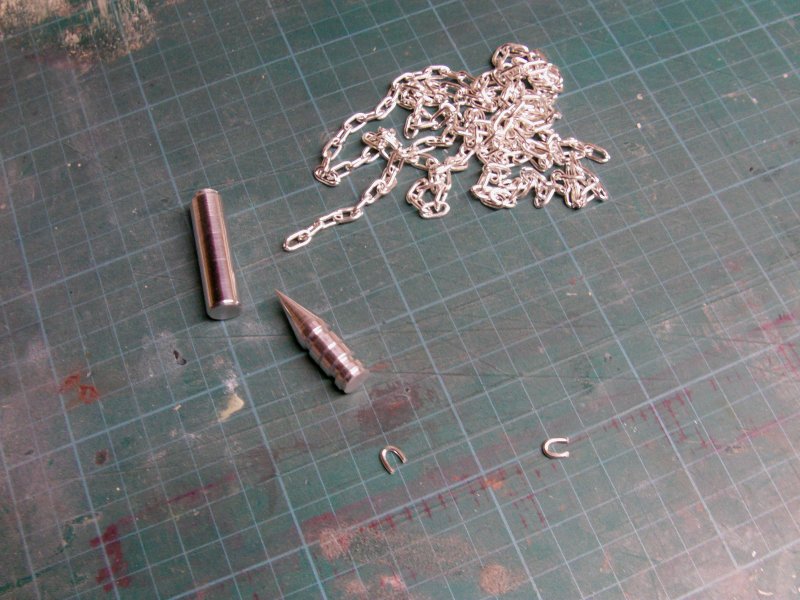
Said thing being a length of chain with a metal billet on each end.
Now the chain was the thing here and it took more than a few tries
to get the sort of thing required.
The closest one that could be got looks like this...
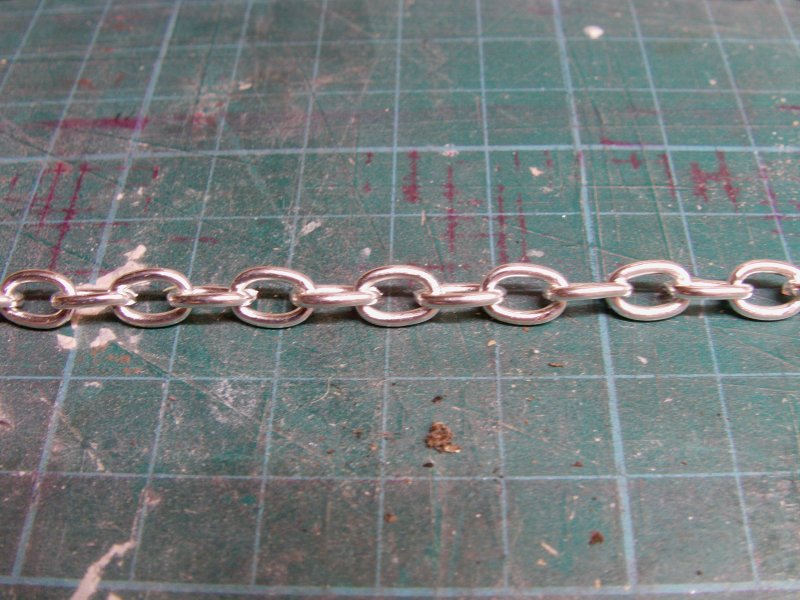
But the links were a bit too...well...round.
So in came a small pair of pliers and some link squeezing took place.
Squeezed links to the right, untouched to the left.
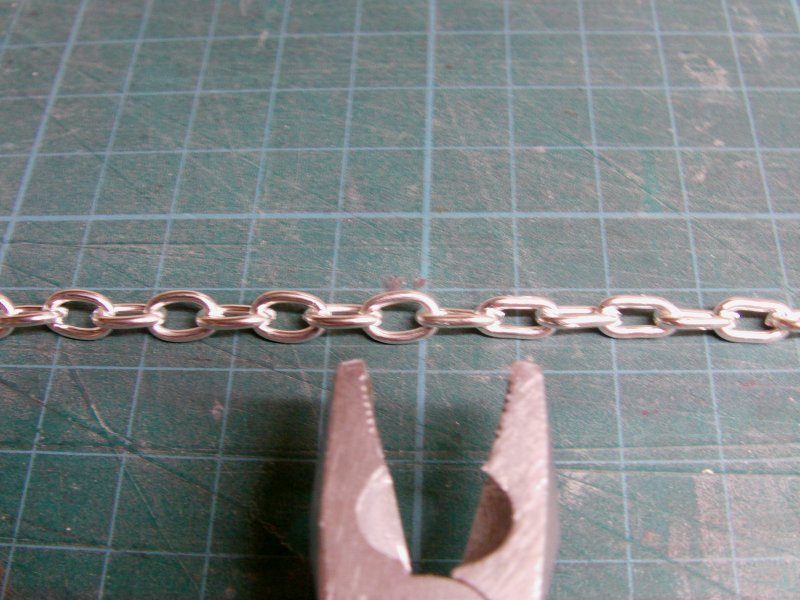
And between me and Brother Spike,
It was given the thumbs up so a requisite length was cut and all the links
got some grunt and manual pliers violence done unto them.
One by bloody one.
Once sorted then two billets of the agreed shape for each end
were tuned up in the redoubtable lathe.
Two 'U' links made to attach the billets.
Some epoxy stay put gunk later and we had the thing done and done.
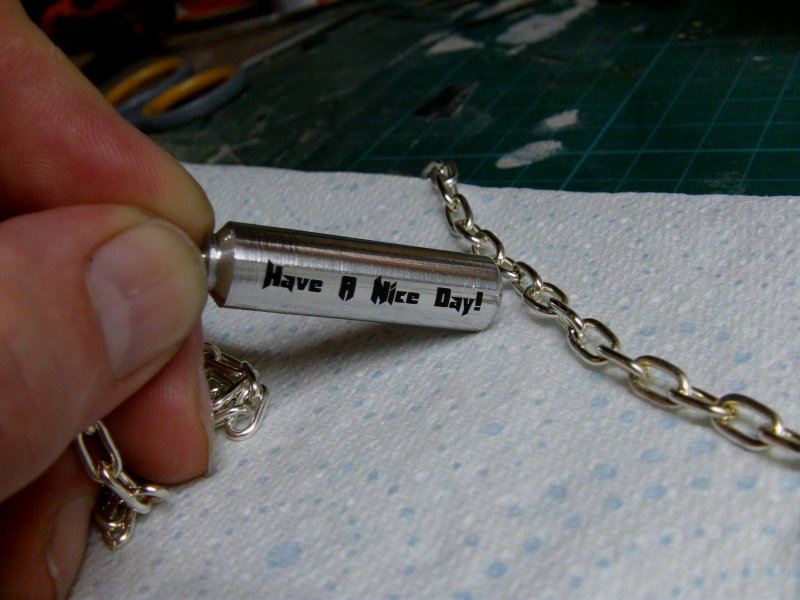
Some wording on said billets was asked for so this is duly got...
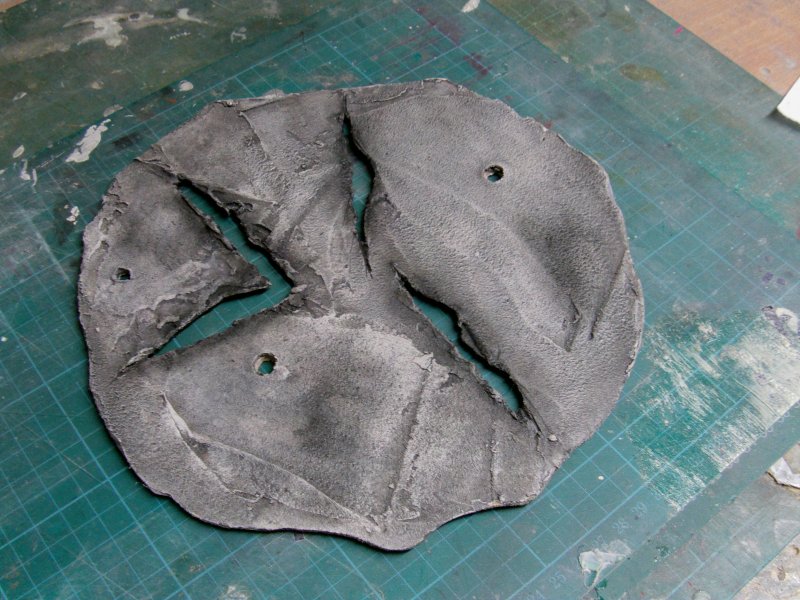
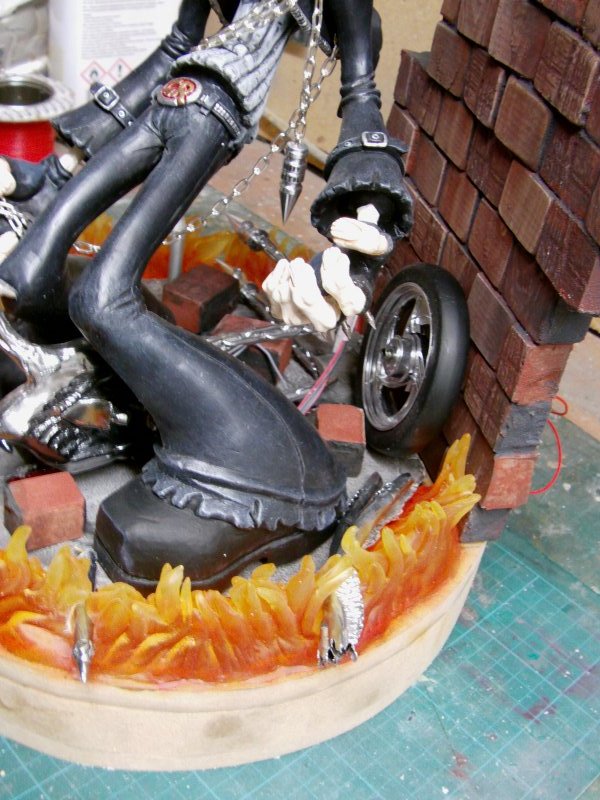
So then, a bit of base work buggering about.
Sort of copying the Sideshow base was requested,
namely cracked stonework with a sort of lava like thing showing through.
Okedoke says me and this is what happened.
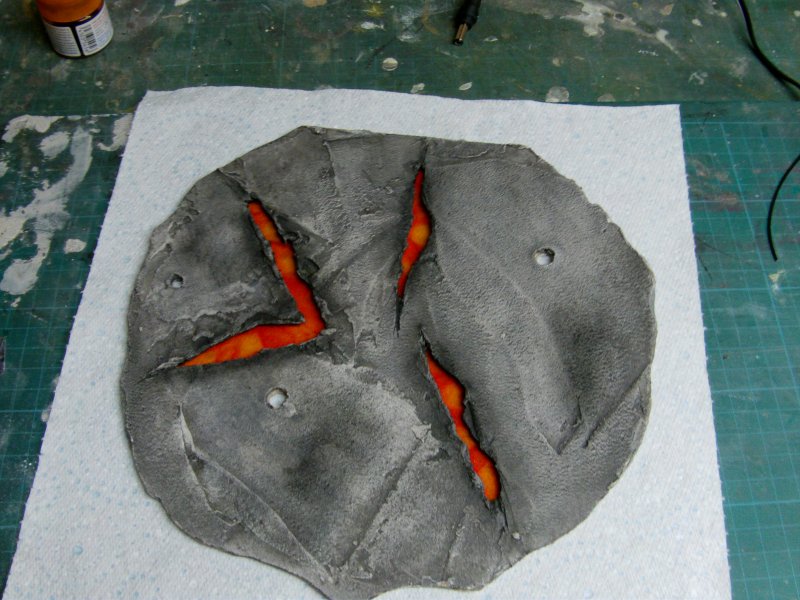
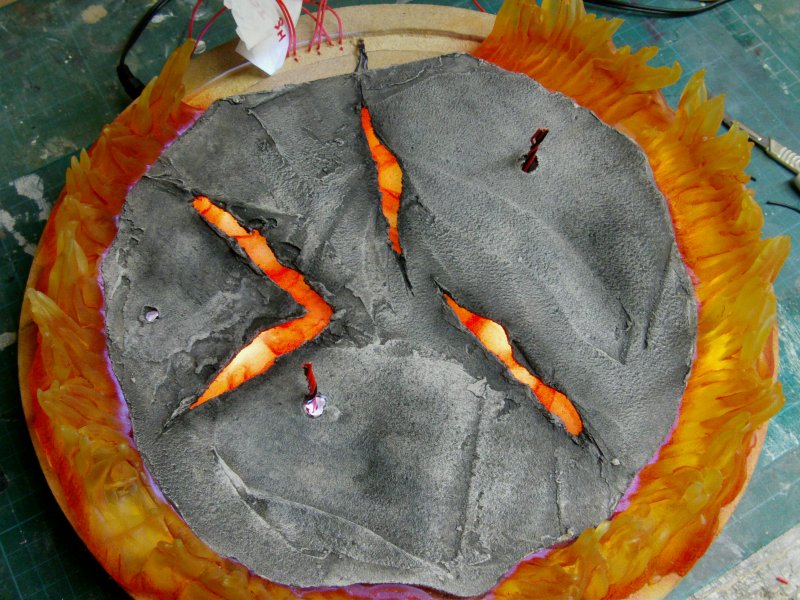
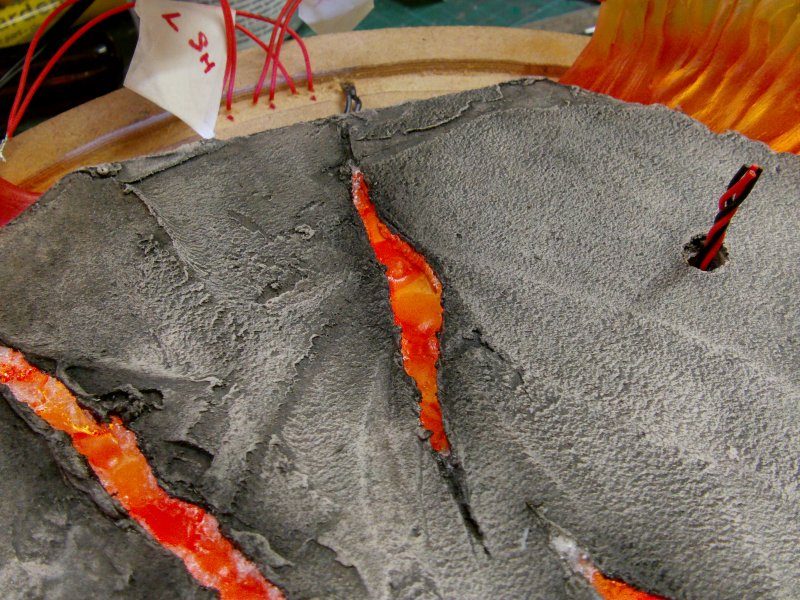
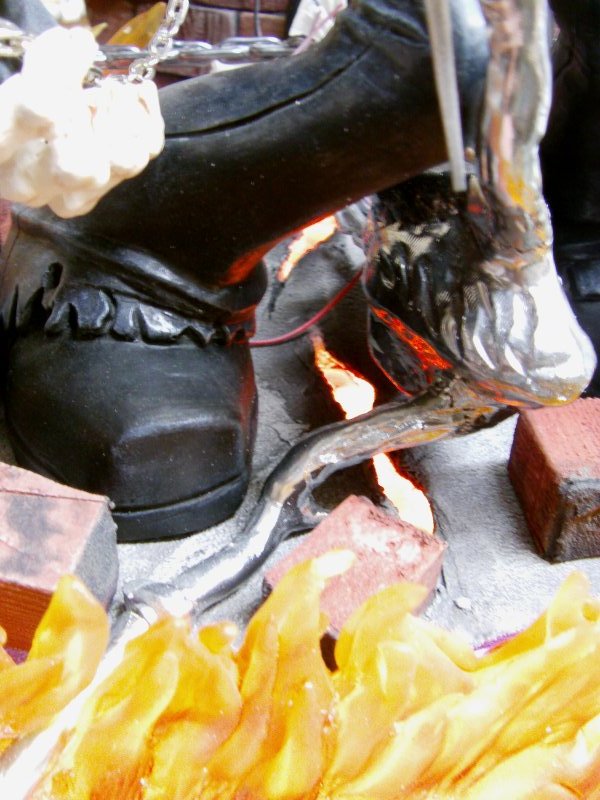
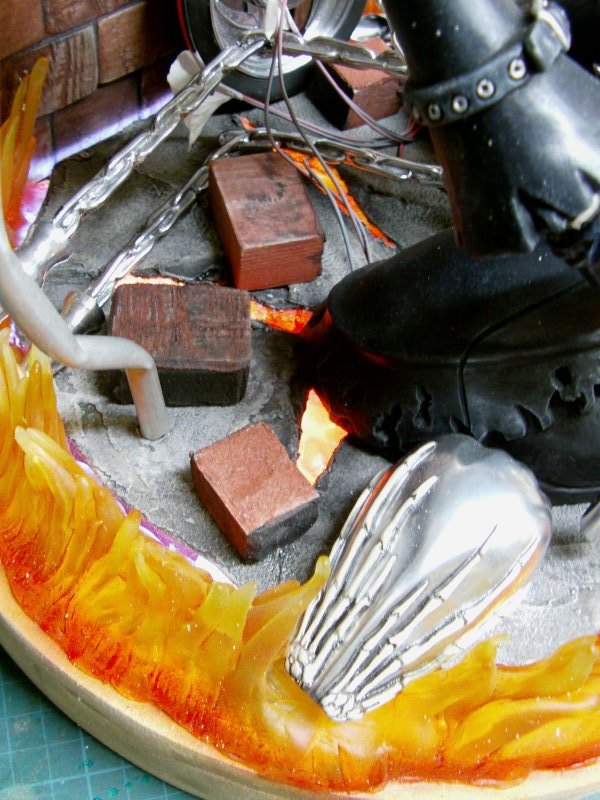
Fist off a lump of 3mm thick MDF/fiberboard got sliced up and shaped to the inside of the flame ring.
This then got some saw and grinding naughtiness slung at it for the cracks.
From here, a mix of auto body putty with just a dab of grey paint with some Fillite mixed in
was spread about on the board.
Once settled then came the concrete and dark dirt wash in that order,
followed by black pastel chalk around the cracks and finally a goodly dollop of
acrylic matt varnish got shot at it
and lastly some matt black on the inside surfaces of the cracks.
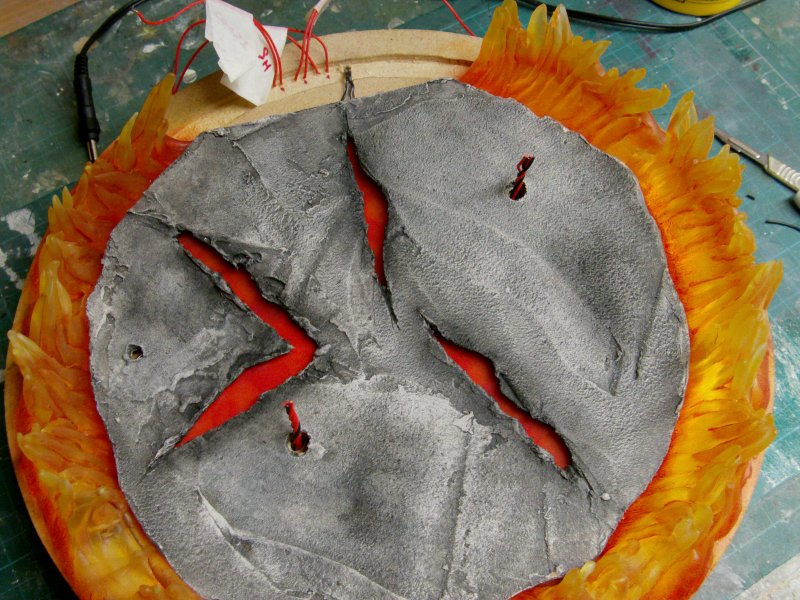
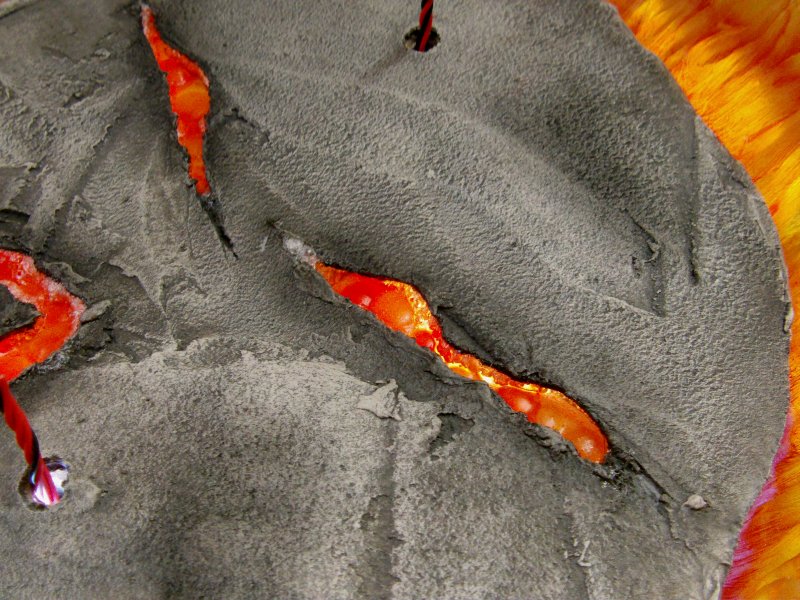
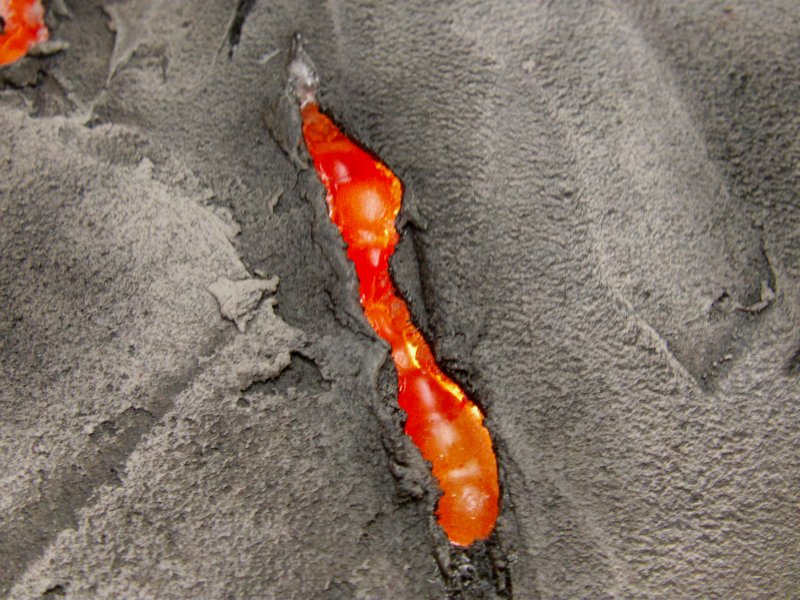
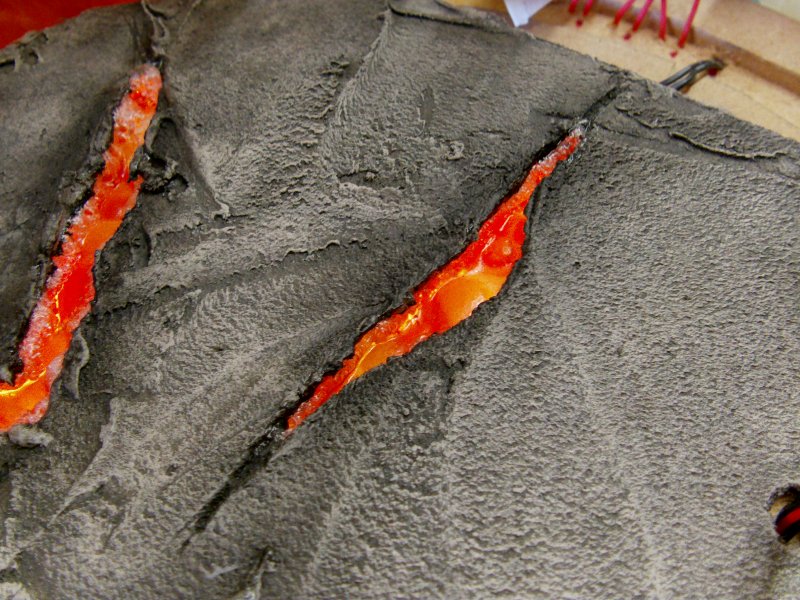
The result...
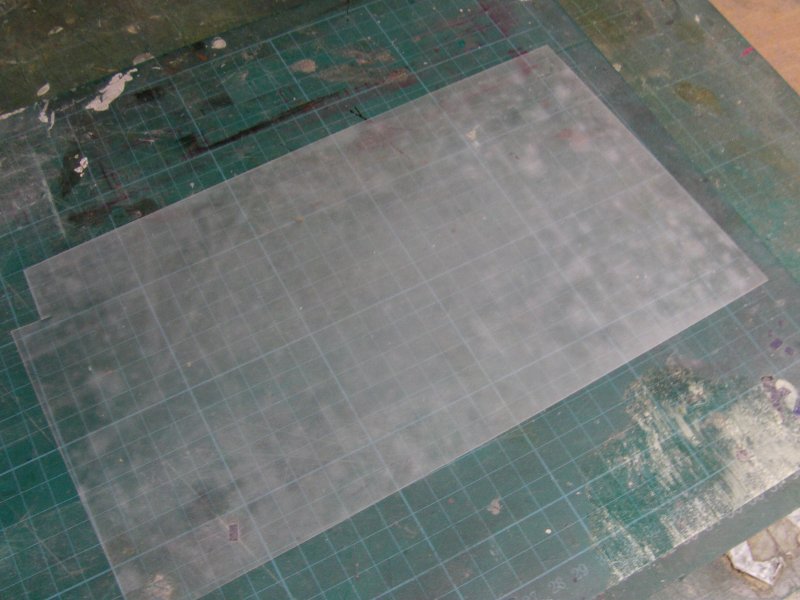
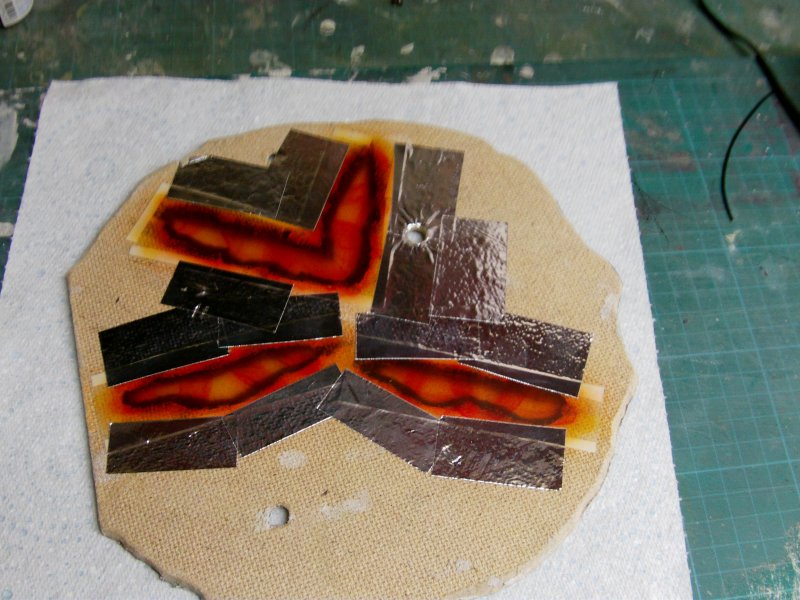
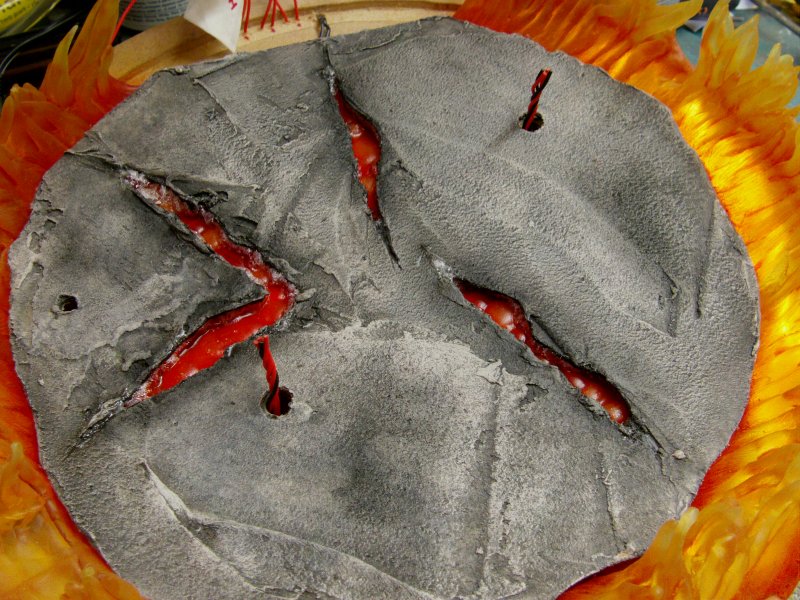
From there, we go to some lightly sanded 5 thou clear plastic sheet
which got sliced up and put in the as near as dammit appropriate places.

So after all that hoo-ha, we get to the airbrushing of the Tamiya clear yellow, orange and red.
in that order would you believe.
The light sheet got sliced up, rewired and shoved in to place,
clear orange plastered and an additional six 5mm white LEDs lobbed in
to give it a bit more glowing oomph
Foil tape additional stuff to aid the light bounce.
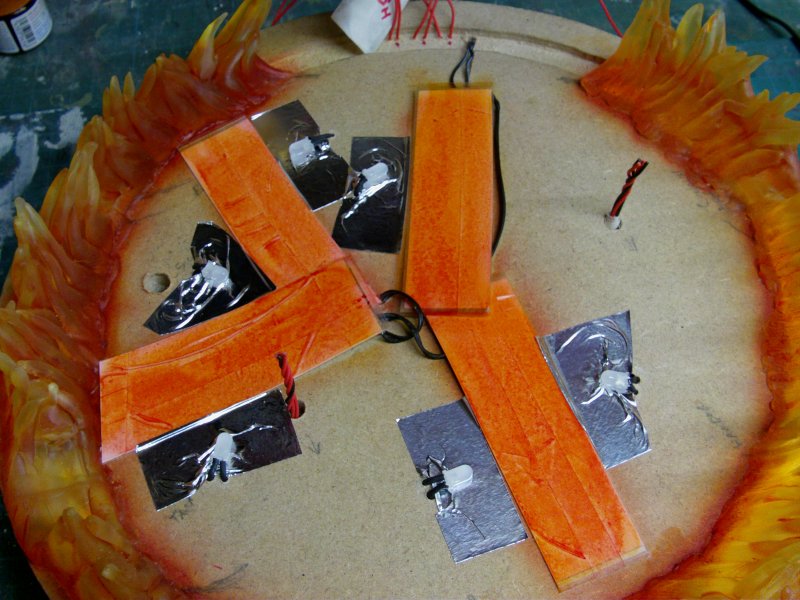
And a test fit/light up doodad thing.
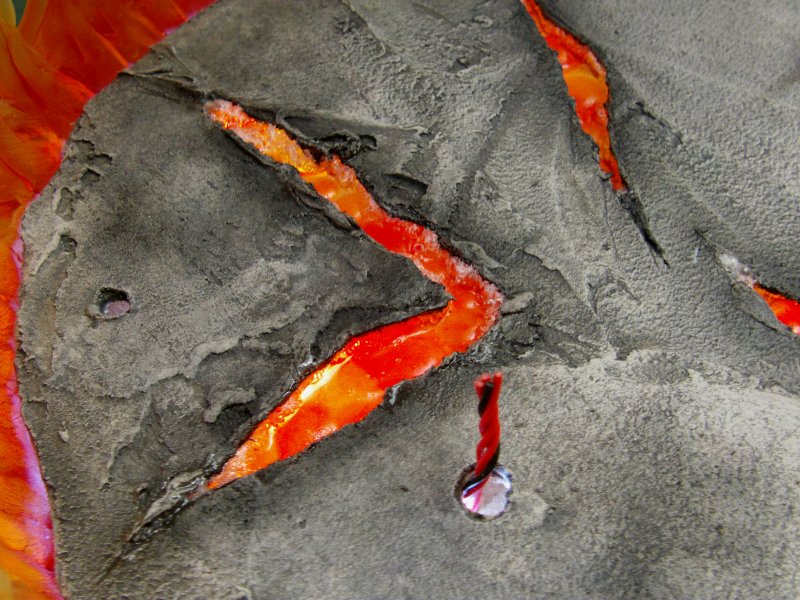
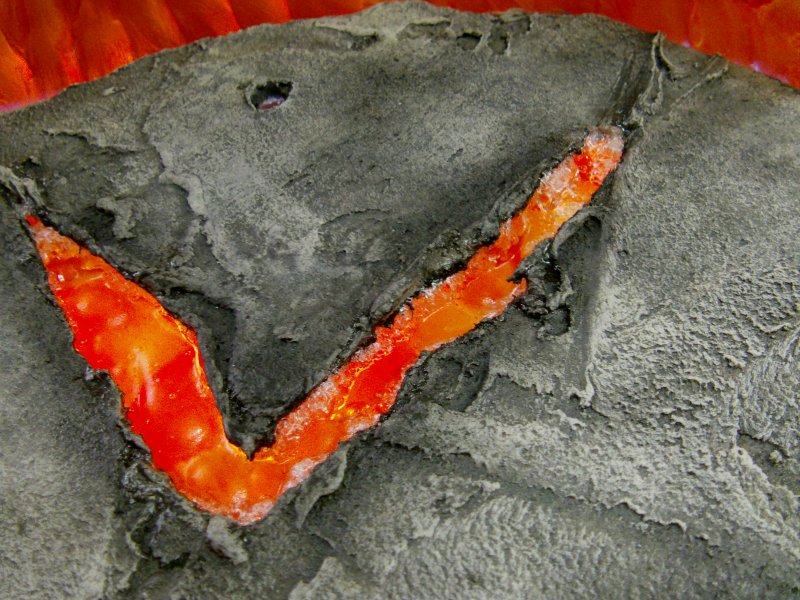
So not bad but Brother Spike didst say that the Lava looked a bit flat.
Fair comment so out with the clear epoxy and clear urethane stuff.
Some largish drops of epoxy and once cured,
in with the clear resin and left alone to sort itself out.
And sort itself out it did.
A touch over of the matt varnish and we got some bubbling/wavy lava dontchaknow!
And a lit up look see was in order.
Time for a bit of a dress rehearsal/test...thingy methinks.
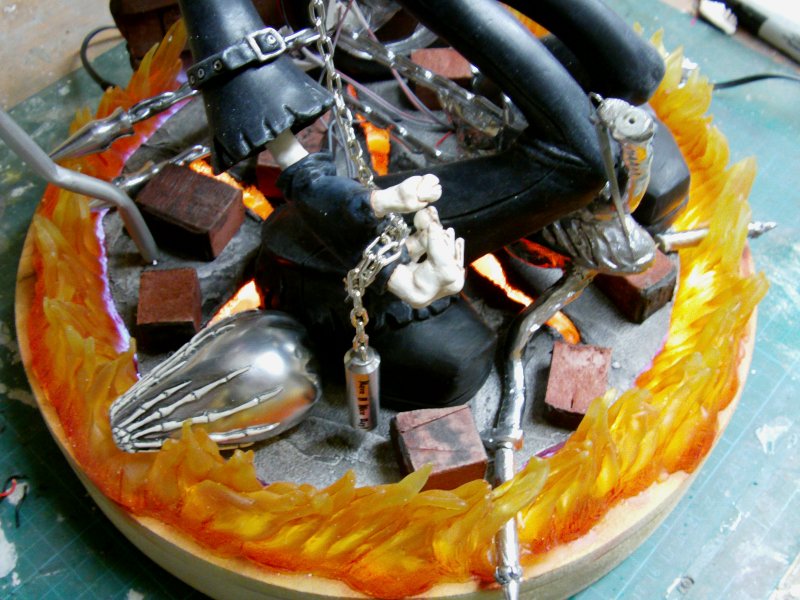
And the lit up flame bit of course.
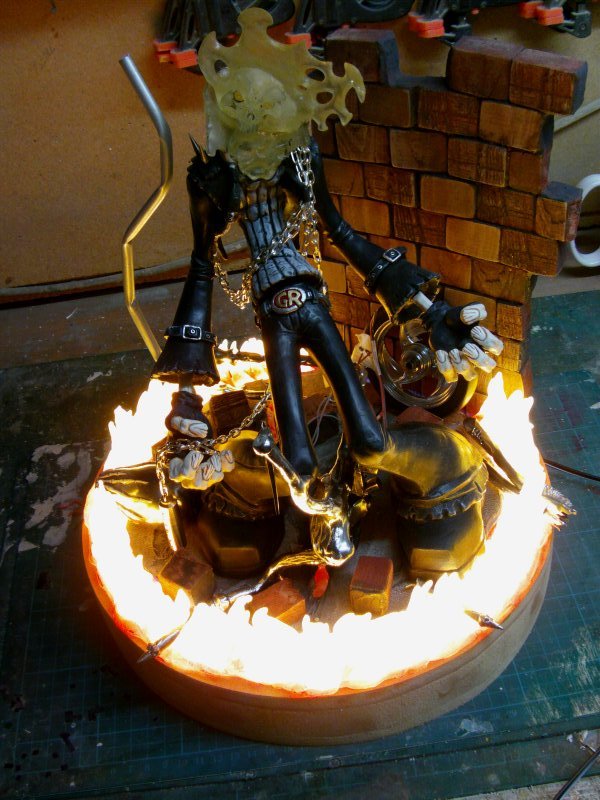
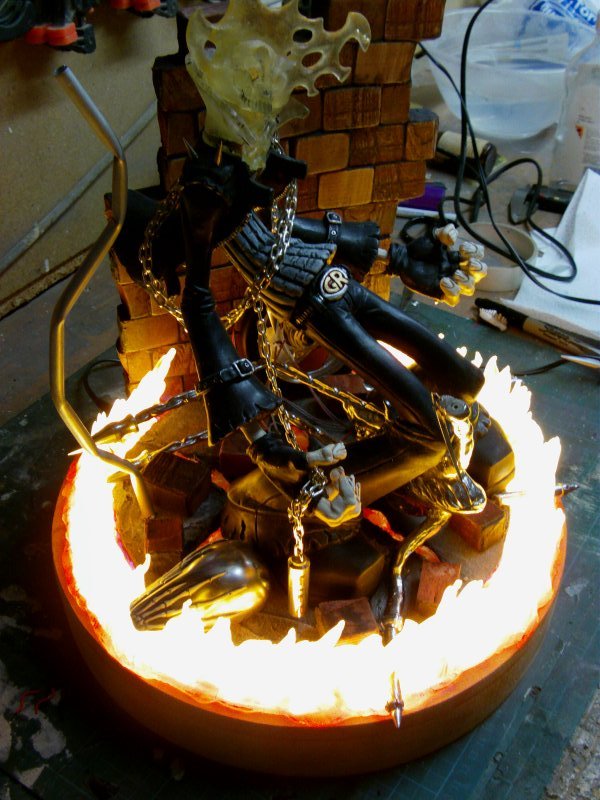
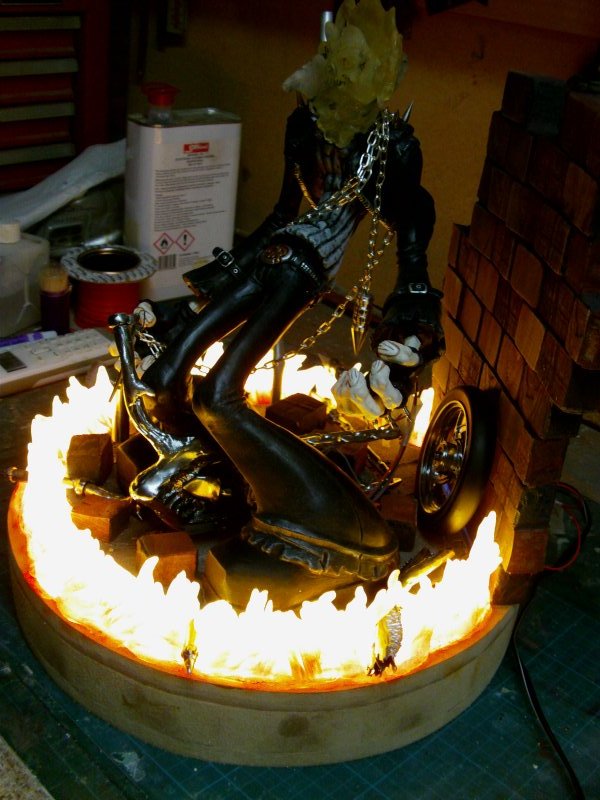
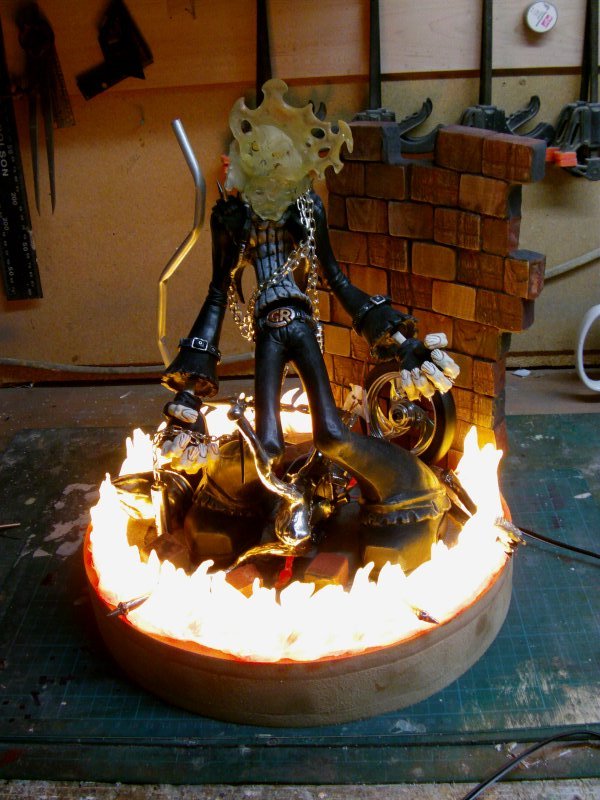
So getting somewhere.
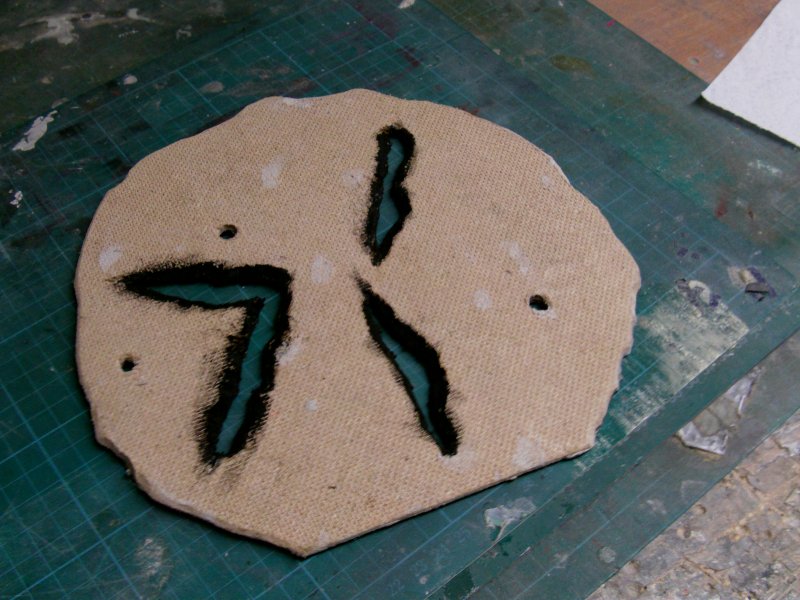
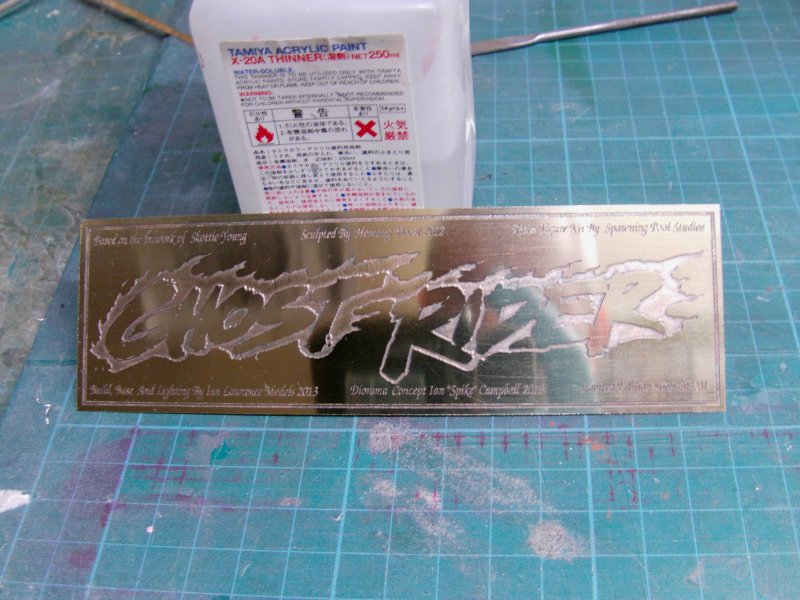
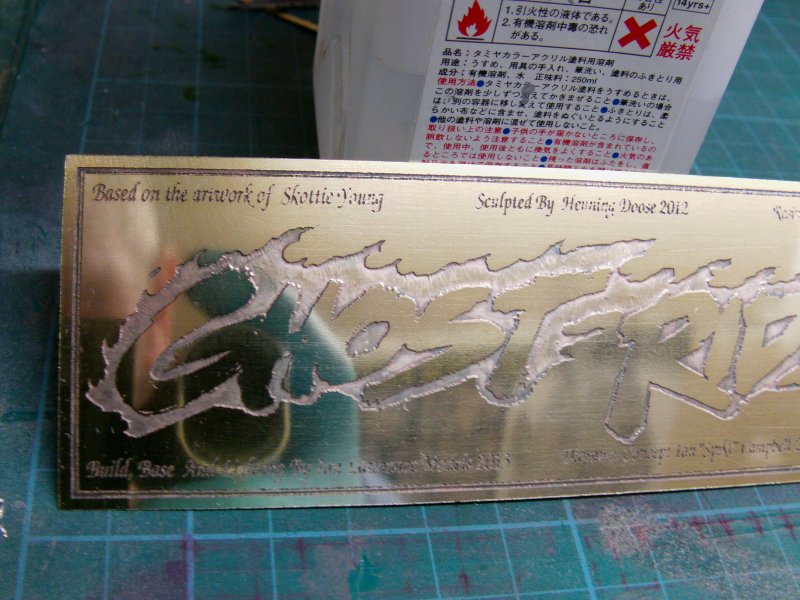
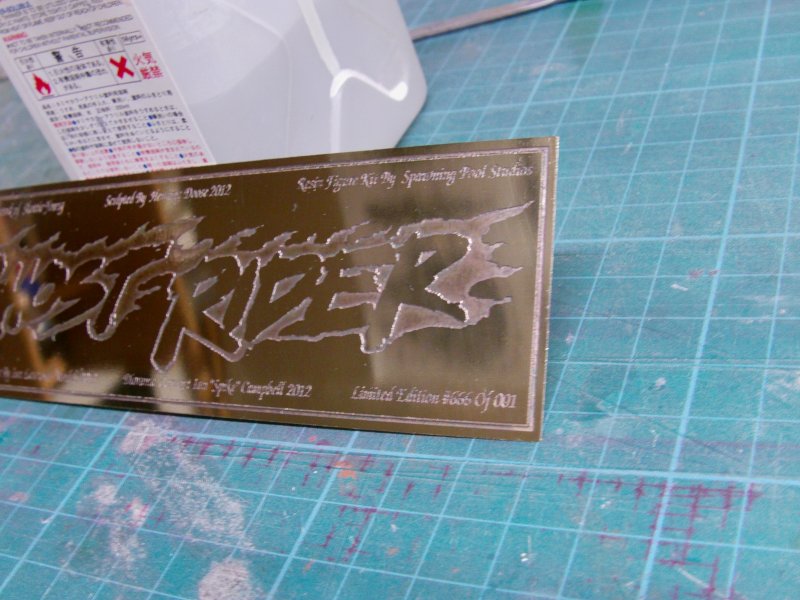
So last for this turn out, a bit of brass photo etch.
Some discussion between myself and the Brother Spike did
eventually arrive at an idea for the base plaque.
Some foul chemical sodding about stuff later got us this.
And it's sod to photograph properly I can tell you!
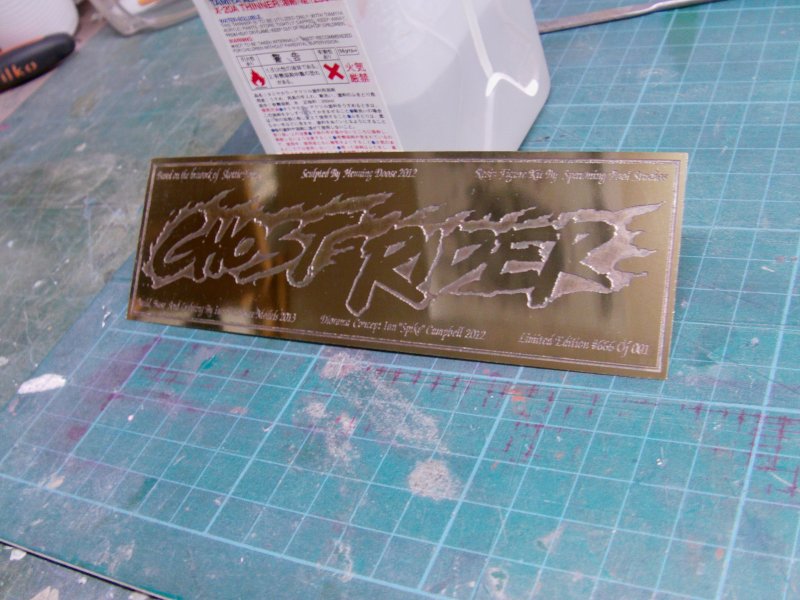

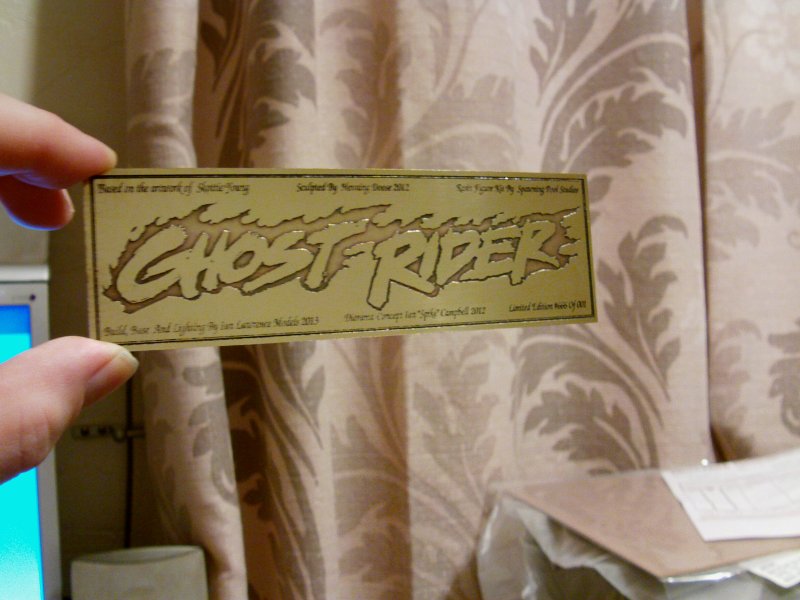
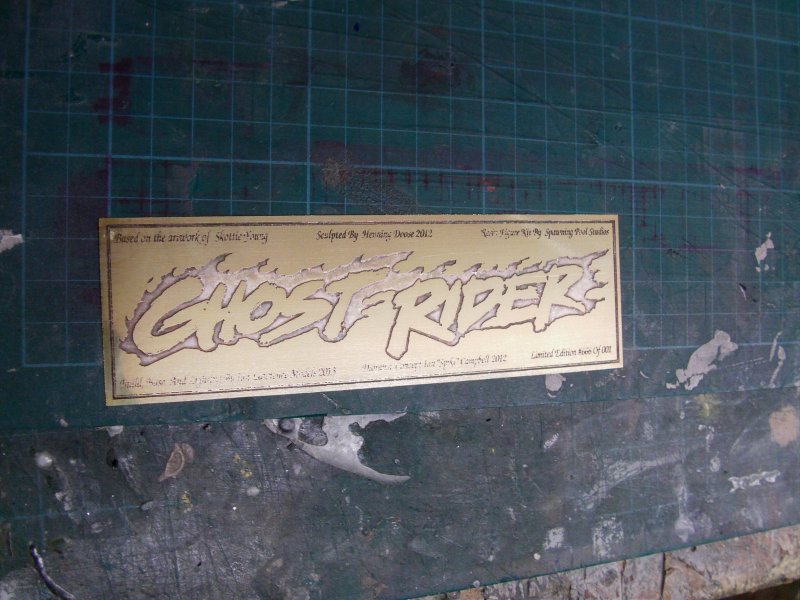
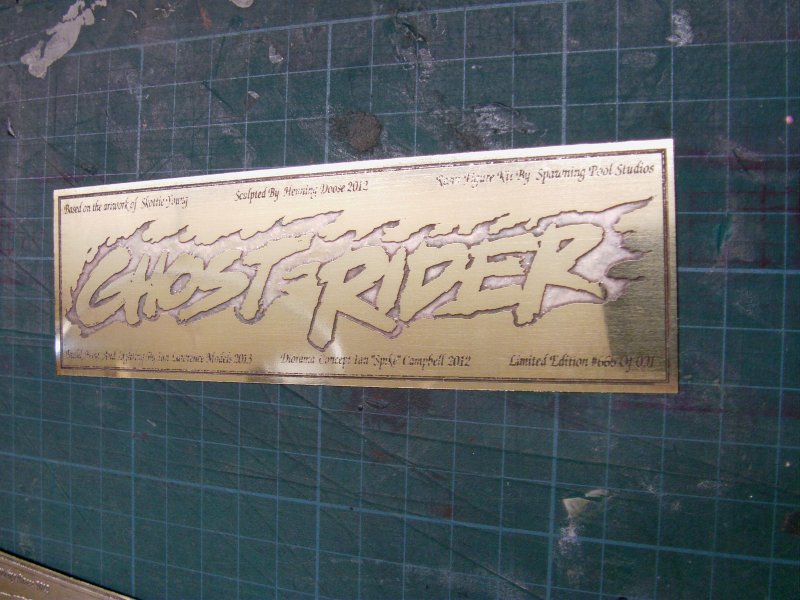
This has been given the mutual seal of approval so onward with the rest next update.
Or as soon as my supplier get's their act together and ships out the
extra rubber and clear to get the head flames and skull cast out.
Well other things as well but that's for other projects lord save us all.
You merry lot go easy out there now!
Page Number