
Ghost Rider Resin Figure WIP log
'Animated Style'


 Page Number
Bits and bobs...
Odds And Sods A Plenty
And Way More Pics Than Usual!
Welcome back all!
Right then, a penultimate update before the final bits finishing and assembly thingy as it were.
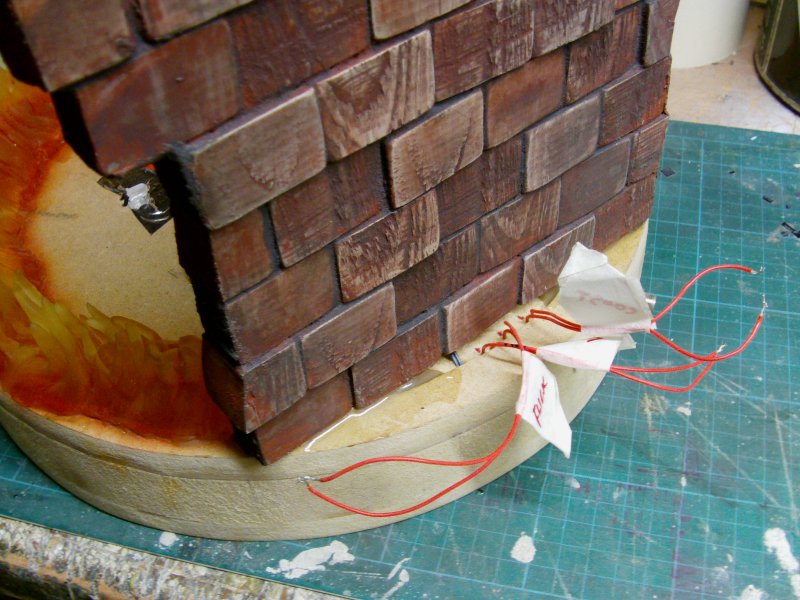
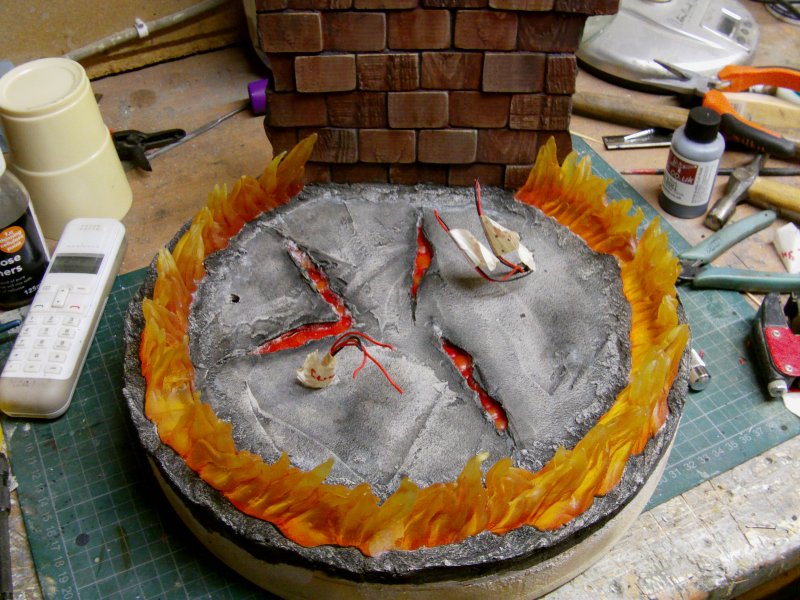
First up, the wall part got three brass pins inserted,
those ran up to the second course of badly laid bricks and about 3/4" in to the base.
Then came much epoxy stay put ya bugger gunk and it was a done deal.

A bit of putty pandemonium now.
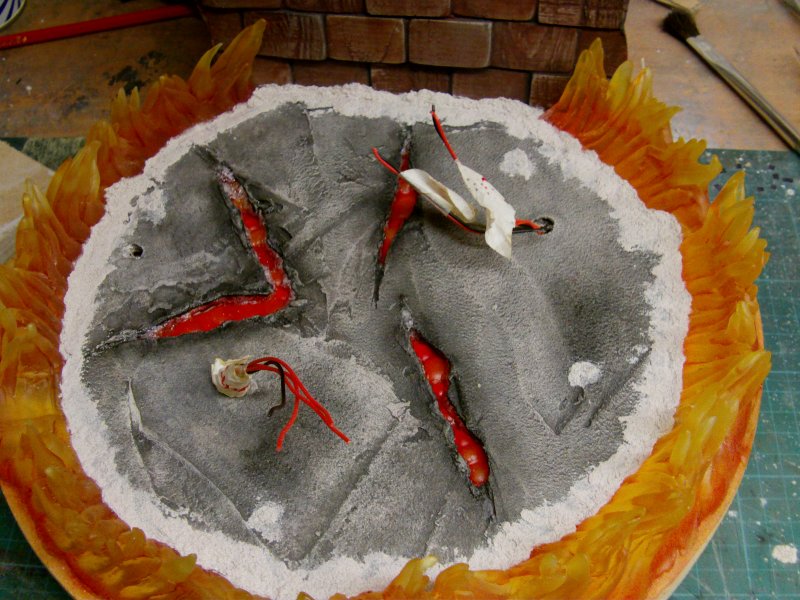
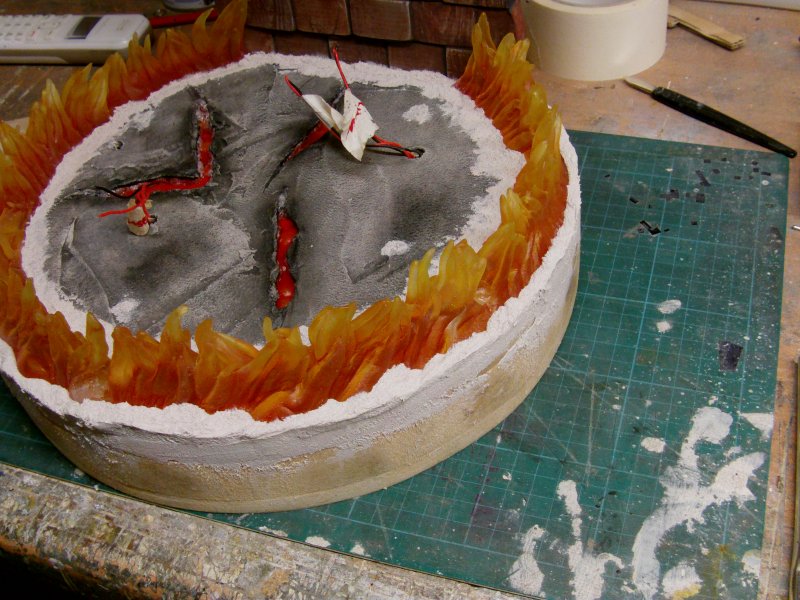
The lava plate on which our flame headed hero will stand was fixed down proper
with a generous application of 'No More Nails' and four small screws
just to be on the safe side like.
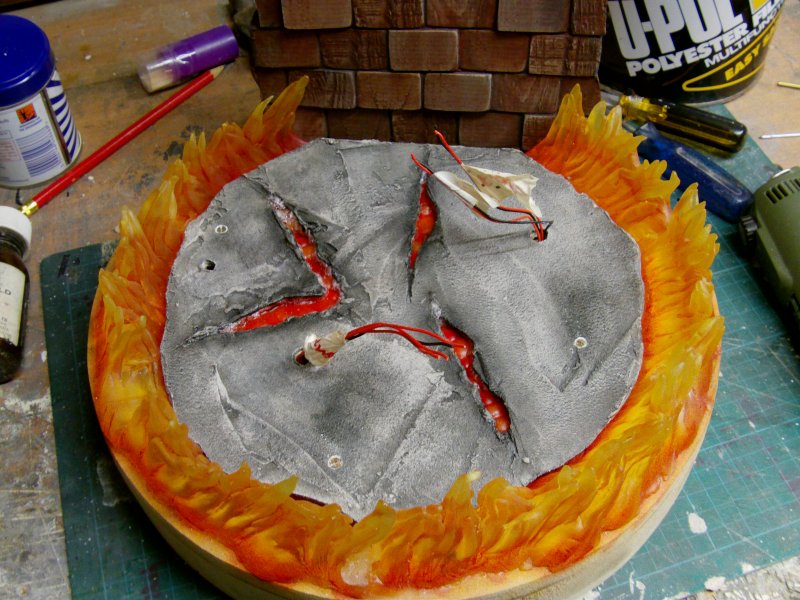
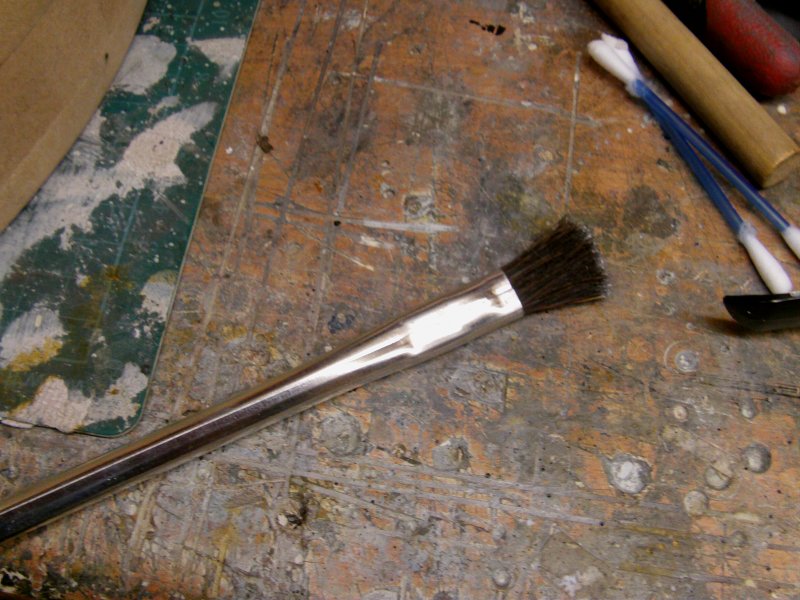
Then out with the auto body filler mixed with some Fillite.
A small amount at a time was taken, catalyst added mixed and applied.
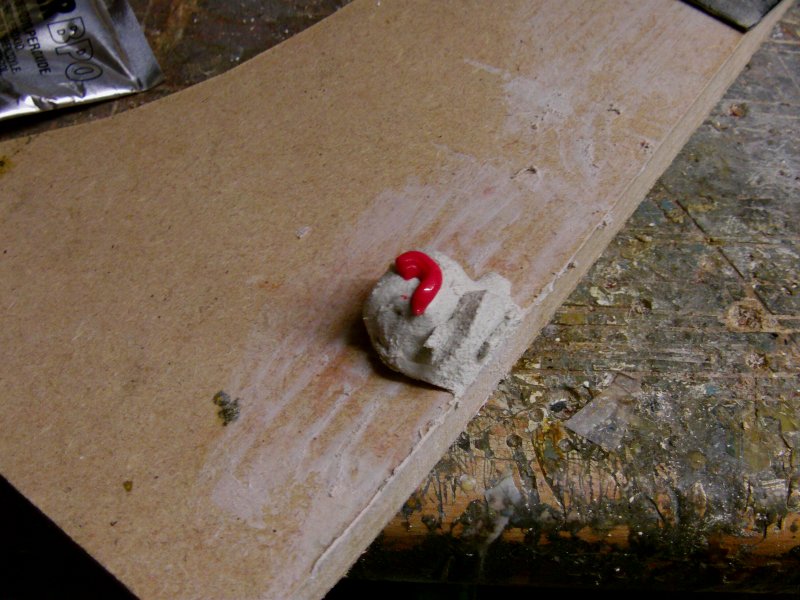
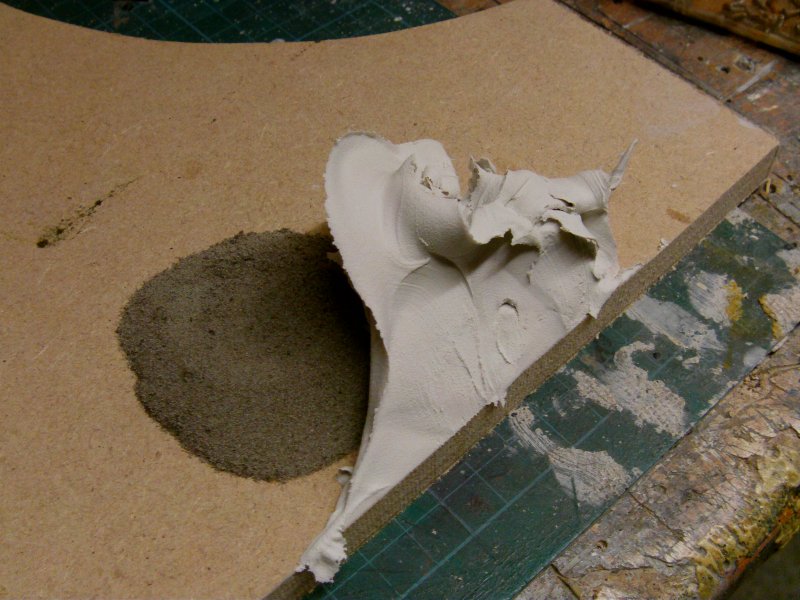
Now this stuff cures pretty quick but a stiff bristle brush
was stabbed at it to straighten things up.
Like so

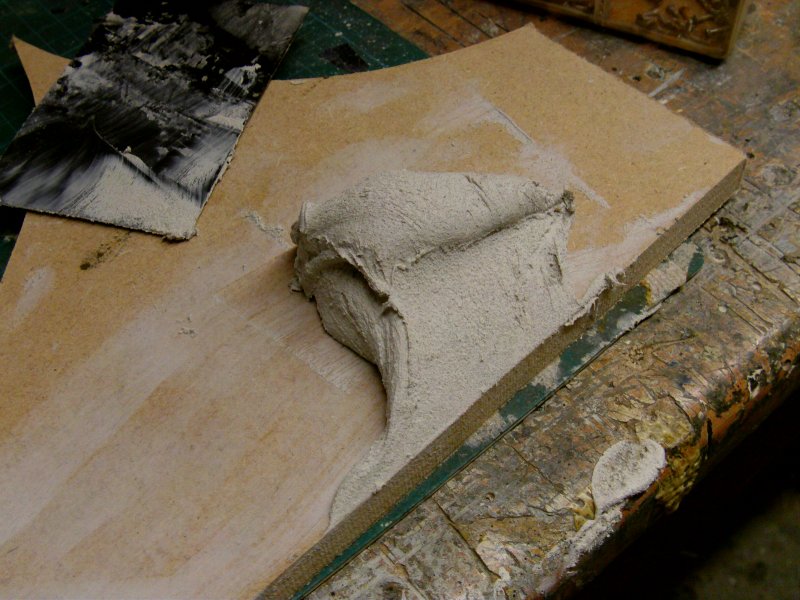
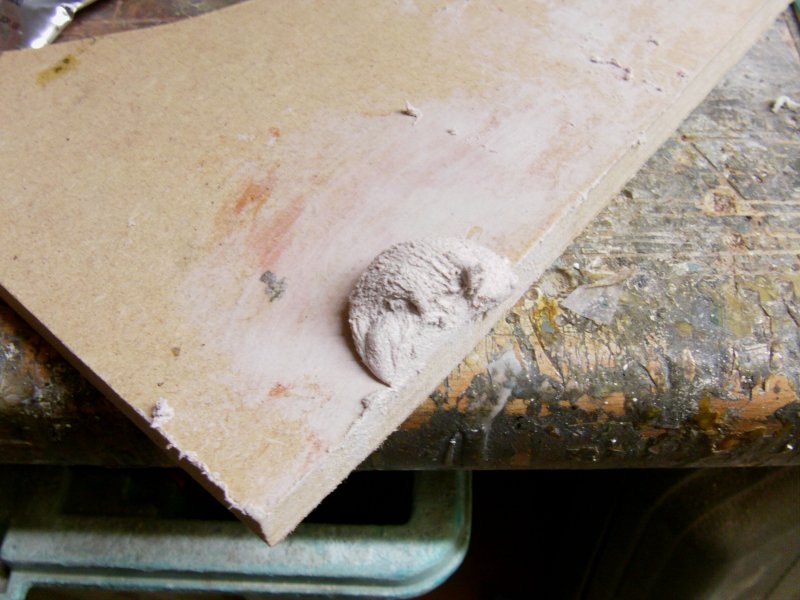
Same again, bit by bit for the rest both inside and out.
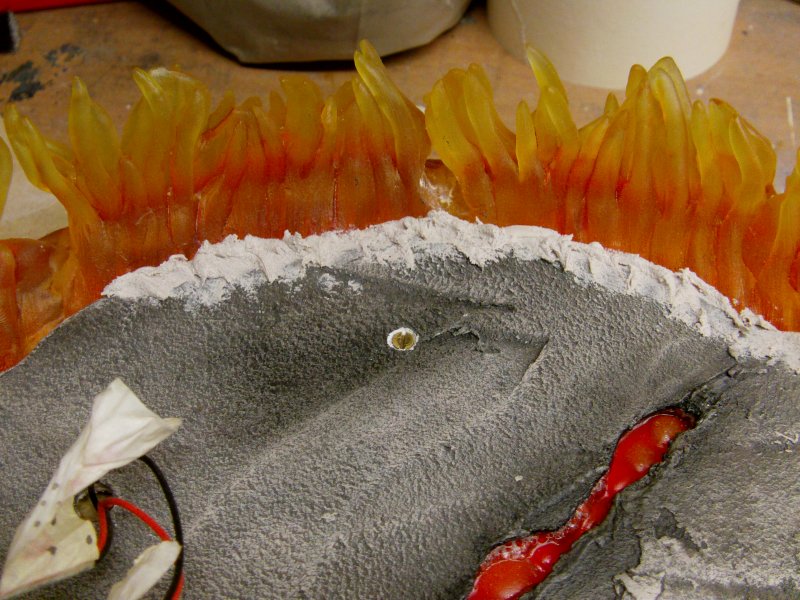
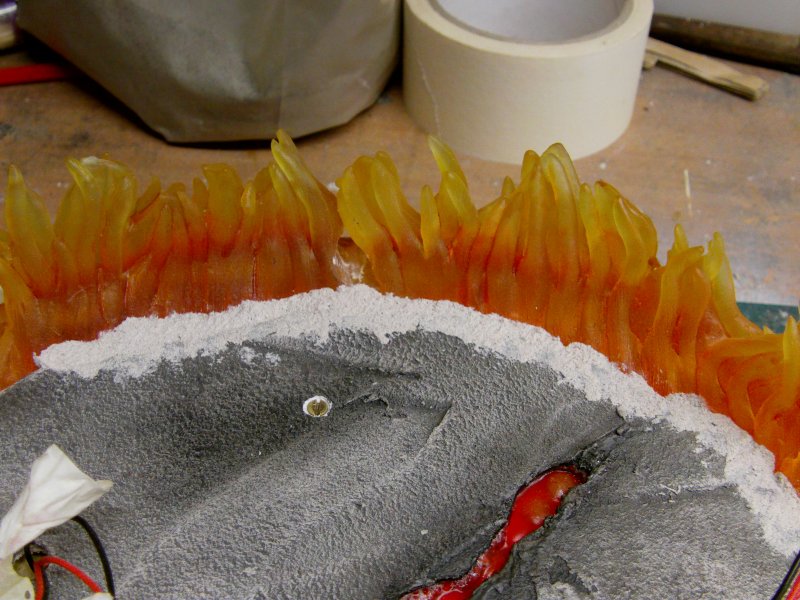
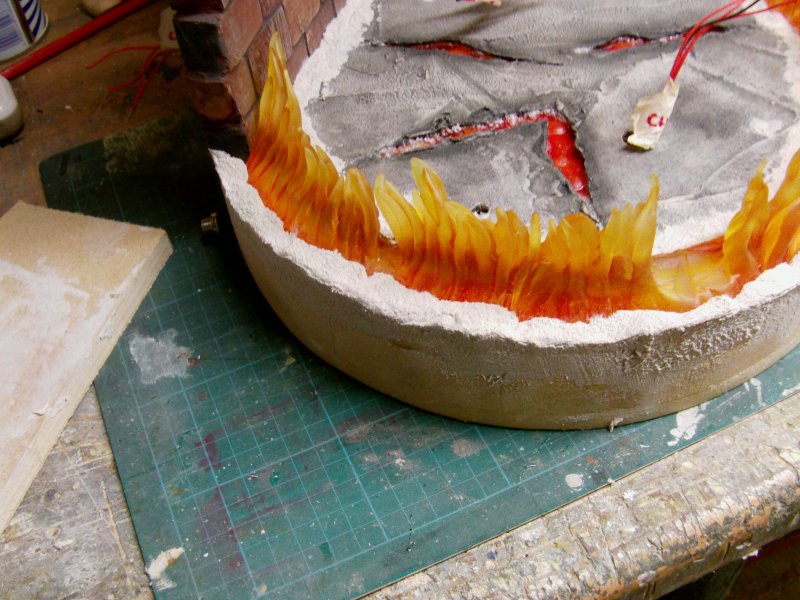
In mit der concrete and dark dirt washes.
A blast of acrylic matt varnish between coats and one to finish.
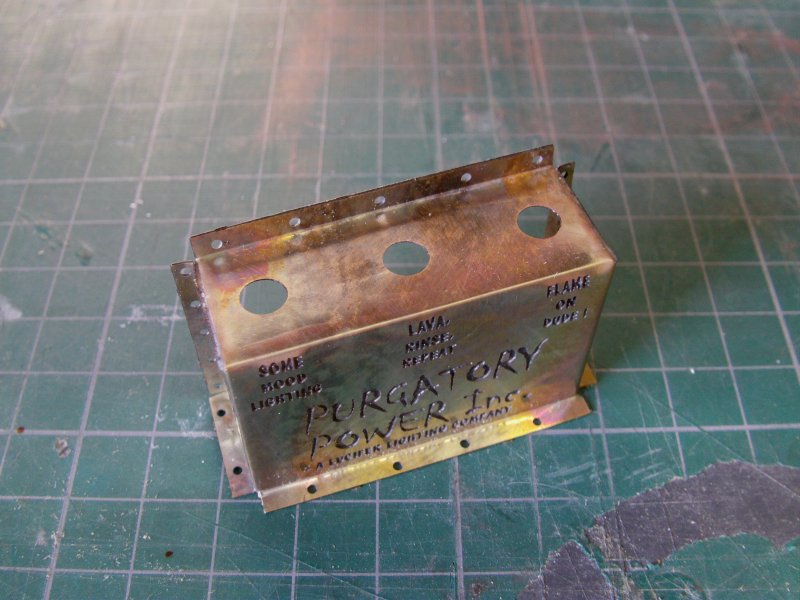
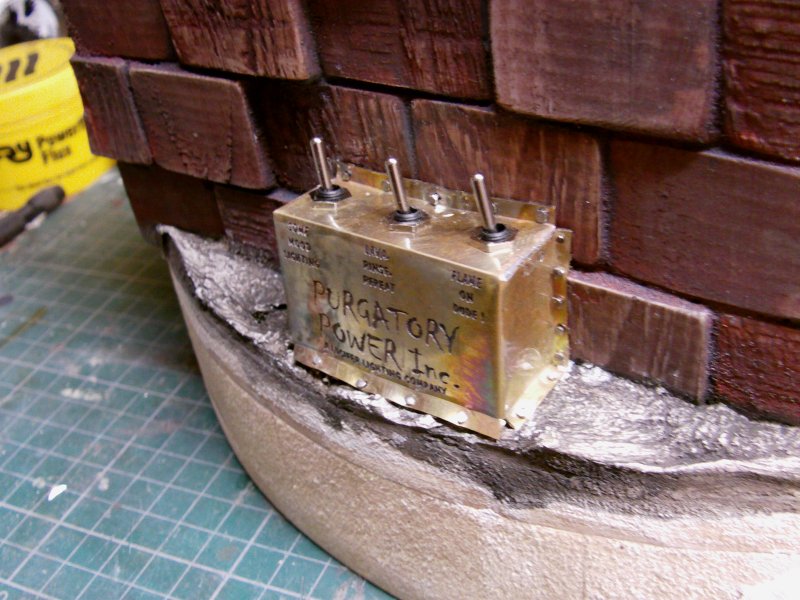
So to the switches to turn the all important lighting on and off.
Now I had a little think about this and came up with an idea, said idea was a switch box.
A little photo etch mask was made up and applied to some 10 thou" brass.
This is the aforementioned mask severely reduced in resolution to fit it on this page.
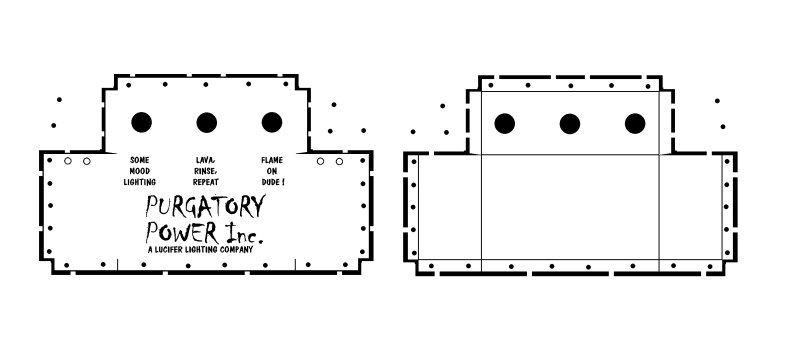
Two got done, a spare is always handy and this was the result after some folding and soldering.
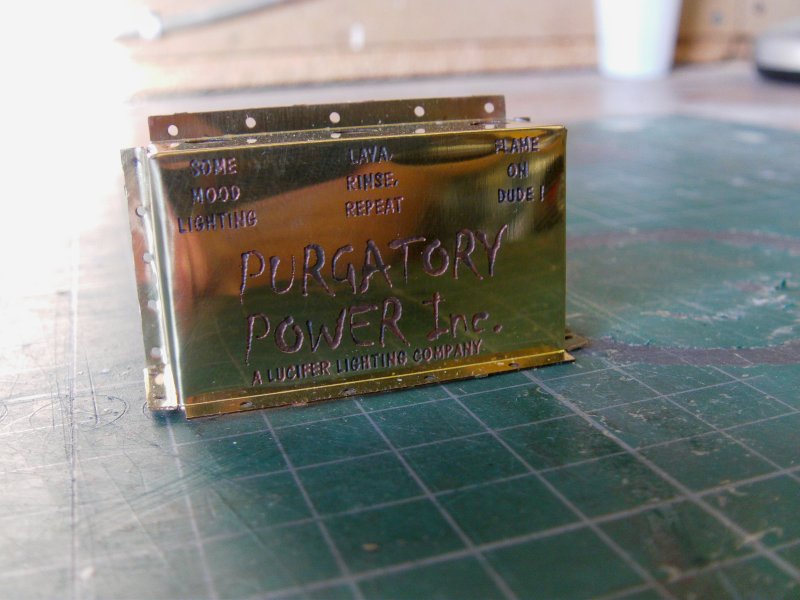
Nice enough but a bit too shiny for this turnout.
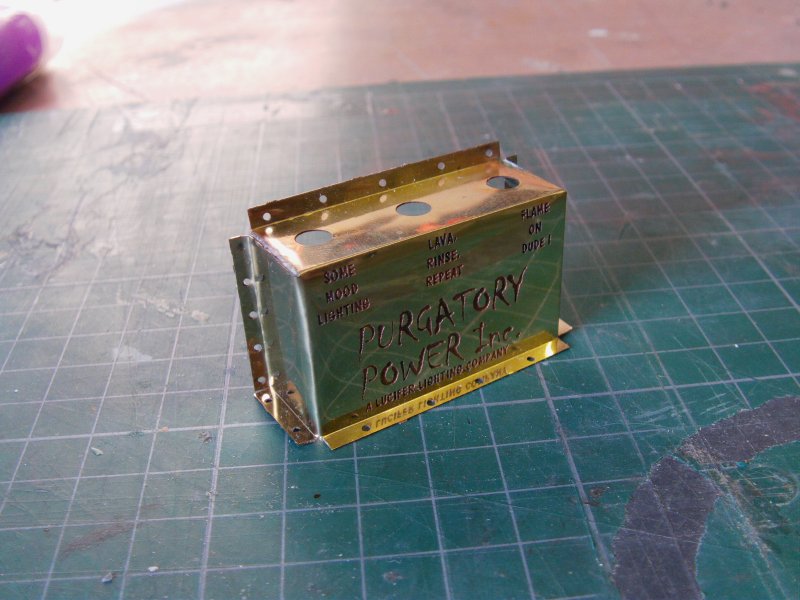
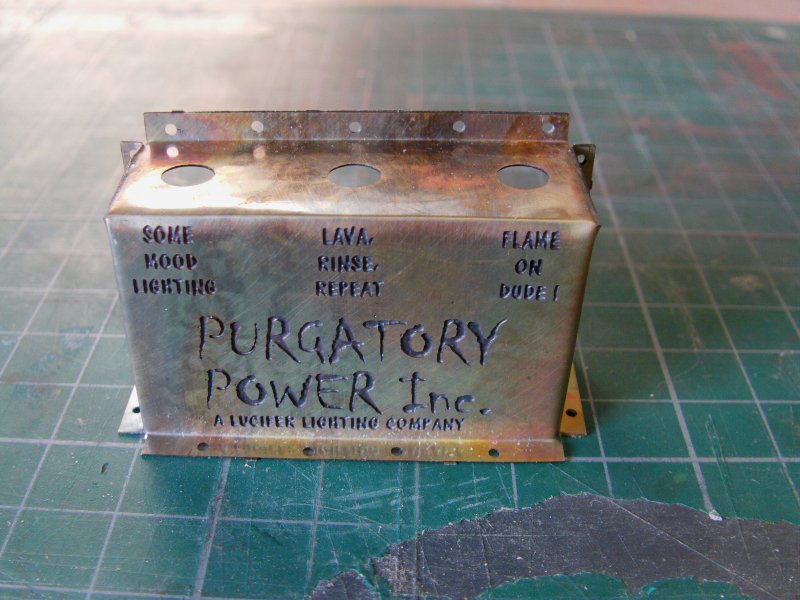
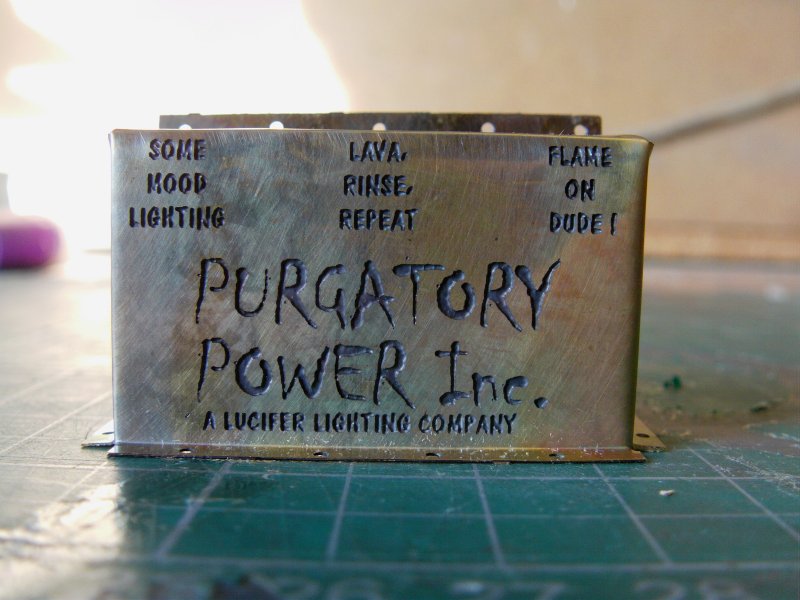
The spare was cut from the fret and had a blowtorch
waved all over it to discolour the brass.
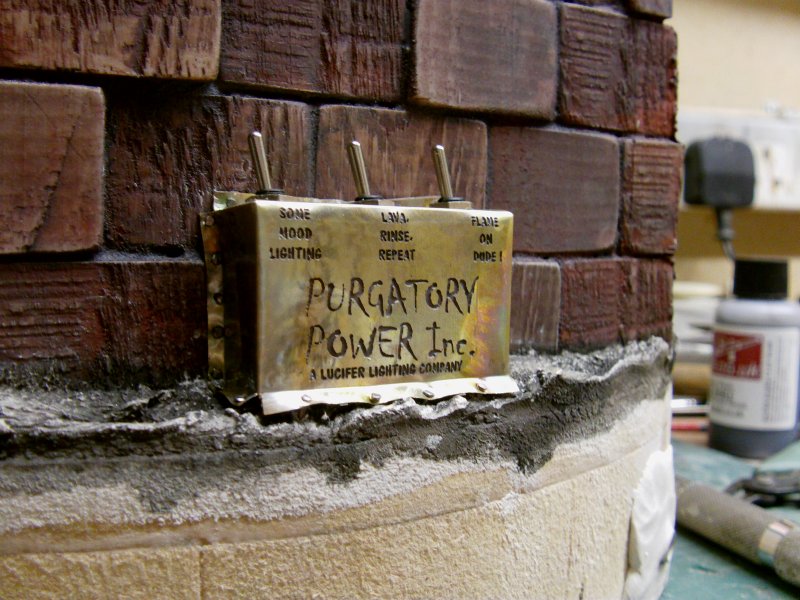
This is a bit more like it for the theme methinks!
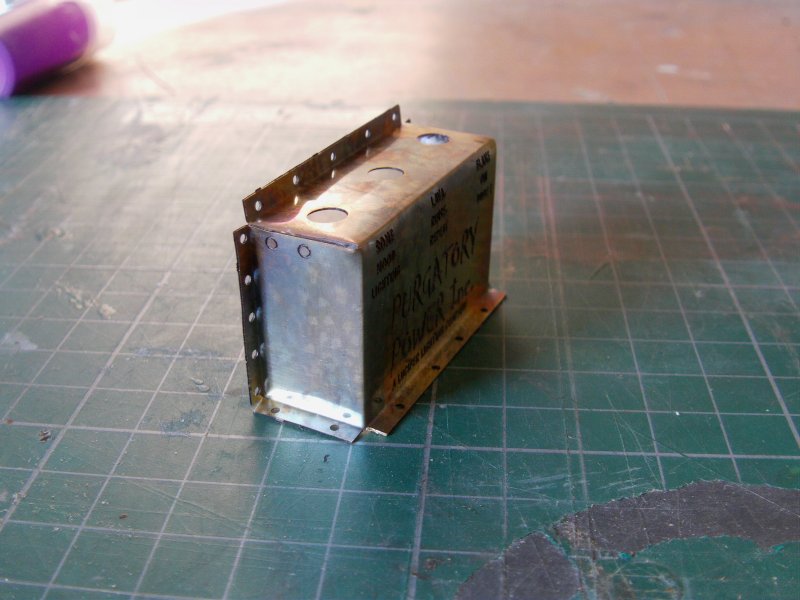
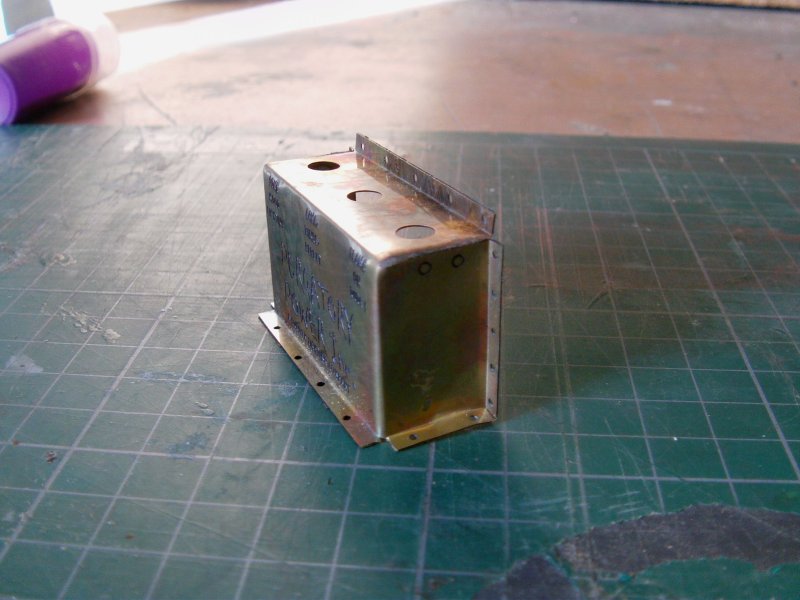
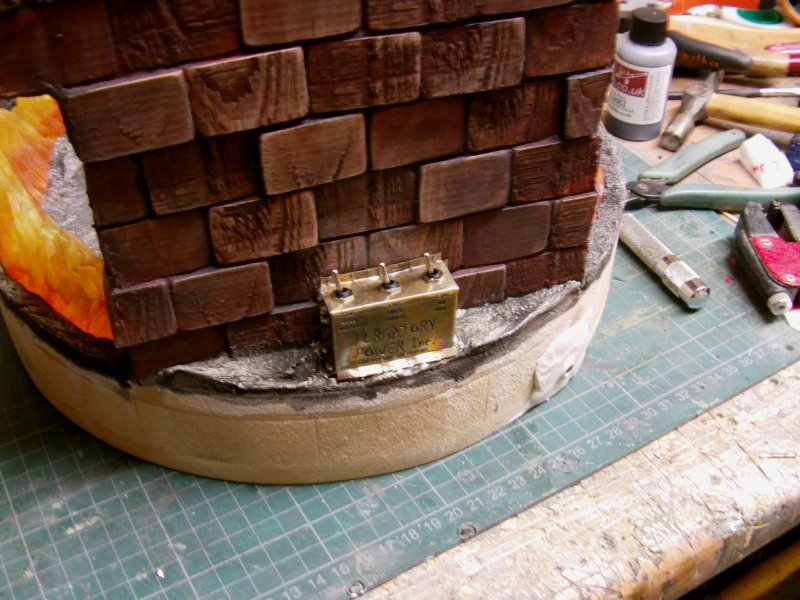
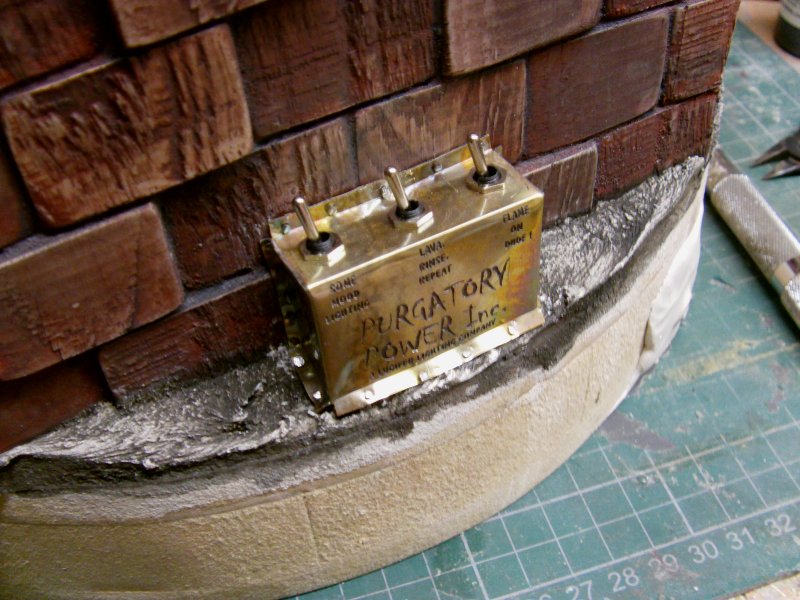
This got fitted out with three toggle switches, wired up and then
the underworld work crew got to it in less than technically perfect fashion.
Well if they were any good, they wouldn't be where they are now would they?
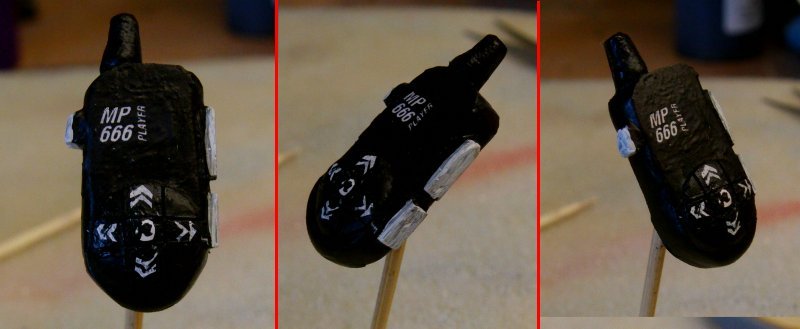
That done so on to the parts for the MP666 player.
Resin bits for the player and ear buds cast out.

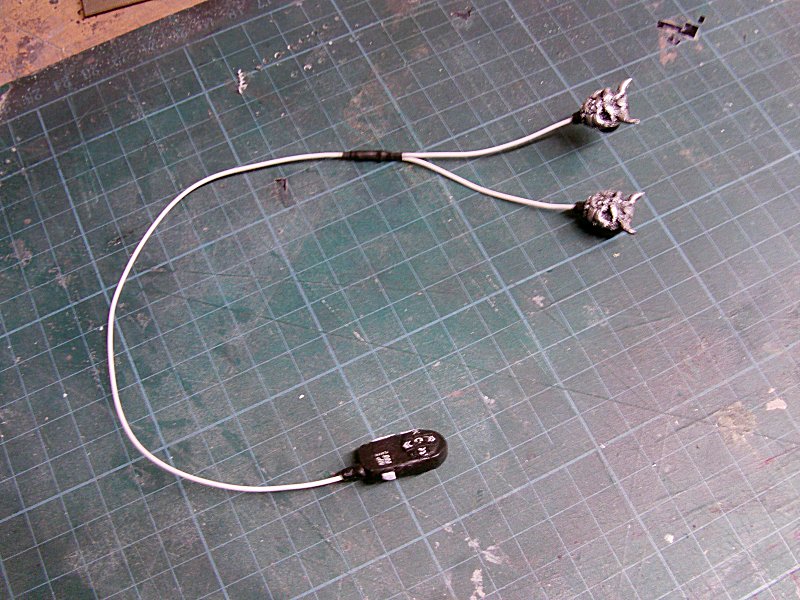
Some paint, decal and glue work later gets us these bits.

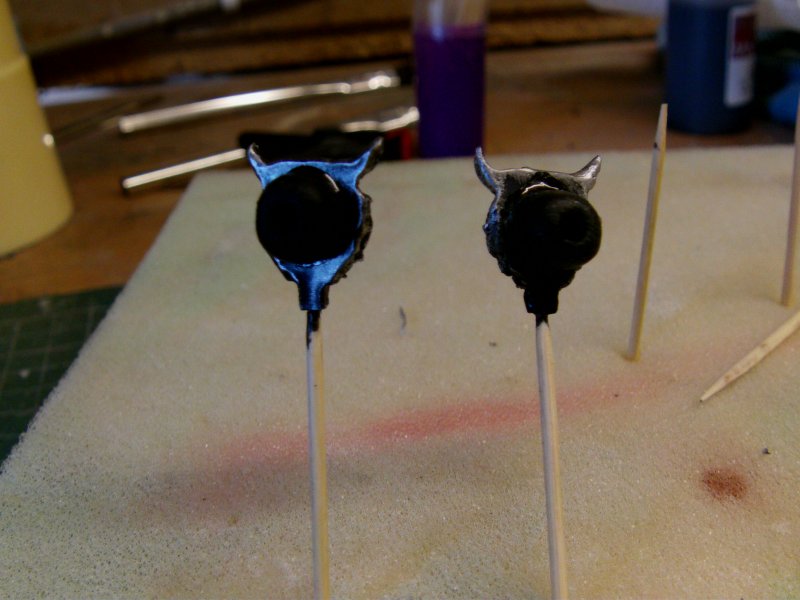
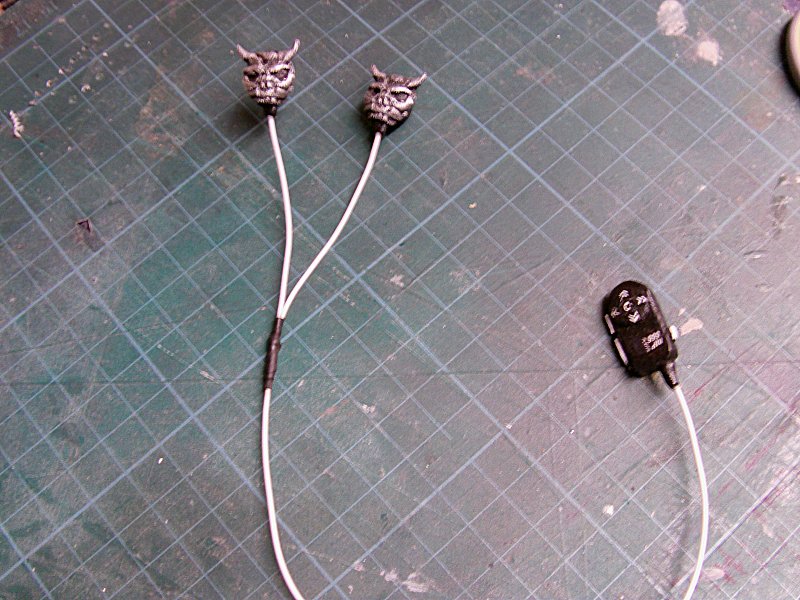
These were then joined up with some copper core wire so they can be placed by
Brother Spike and fiddled about with to his taste.
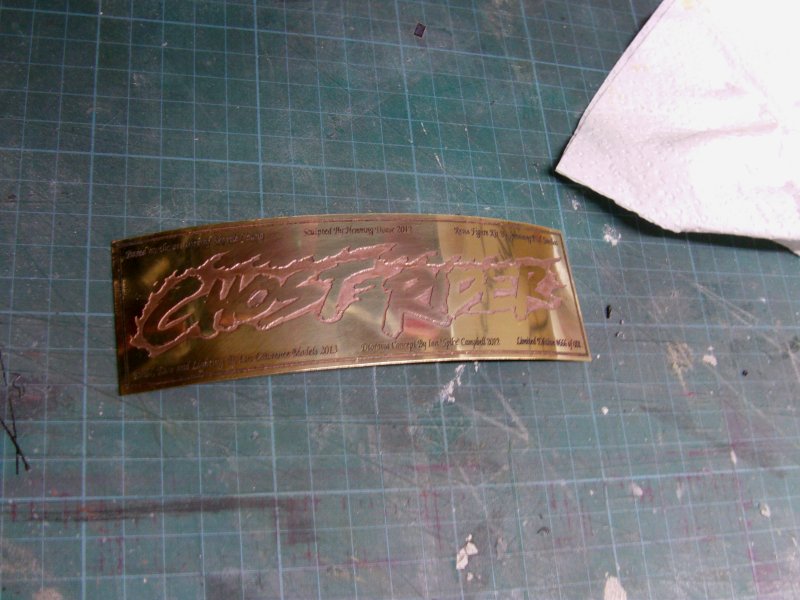
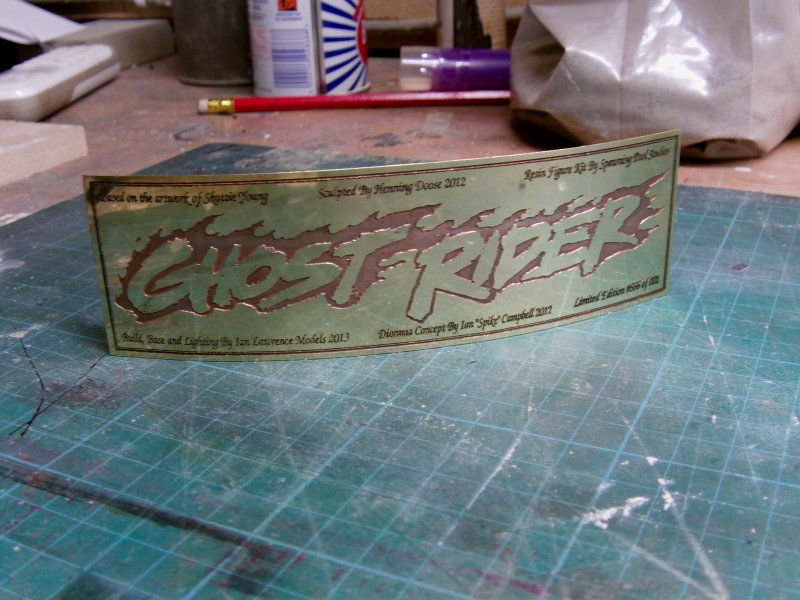
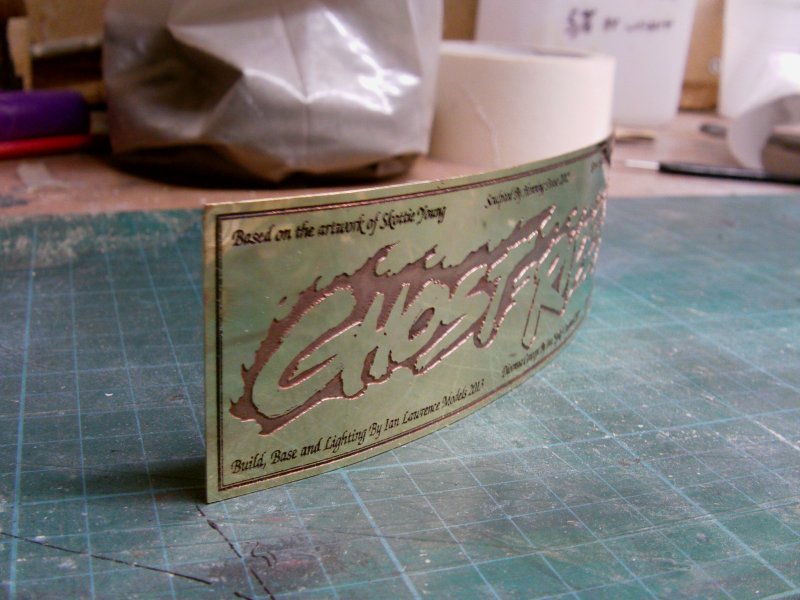
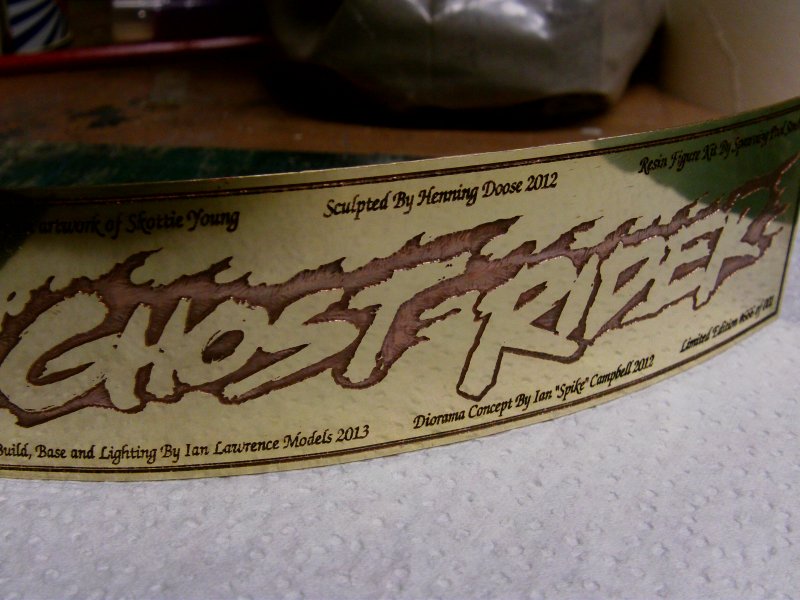
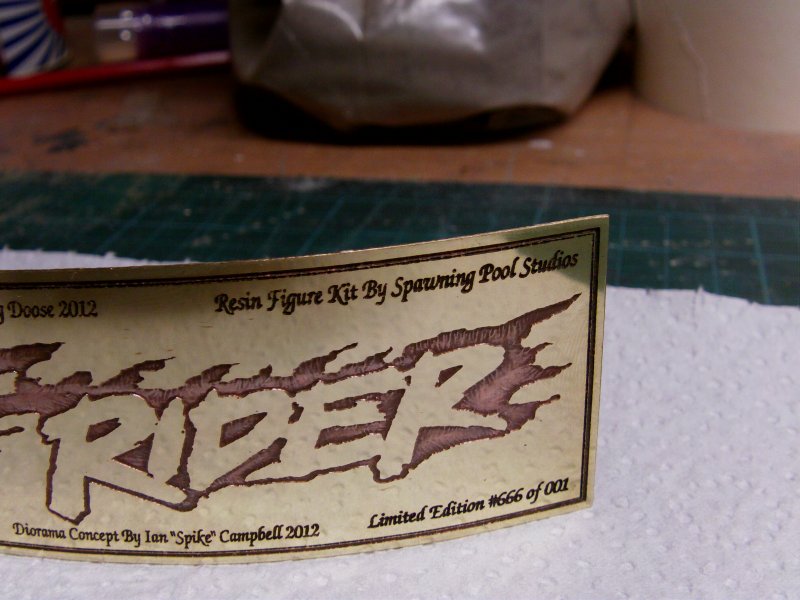
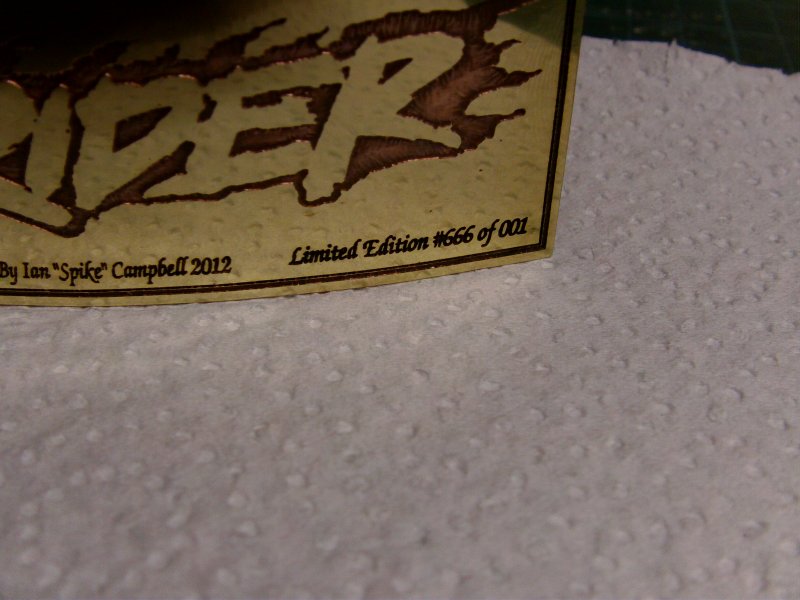
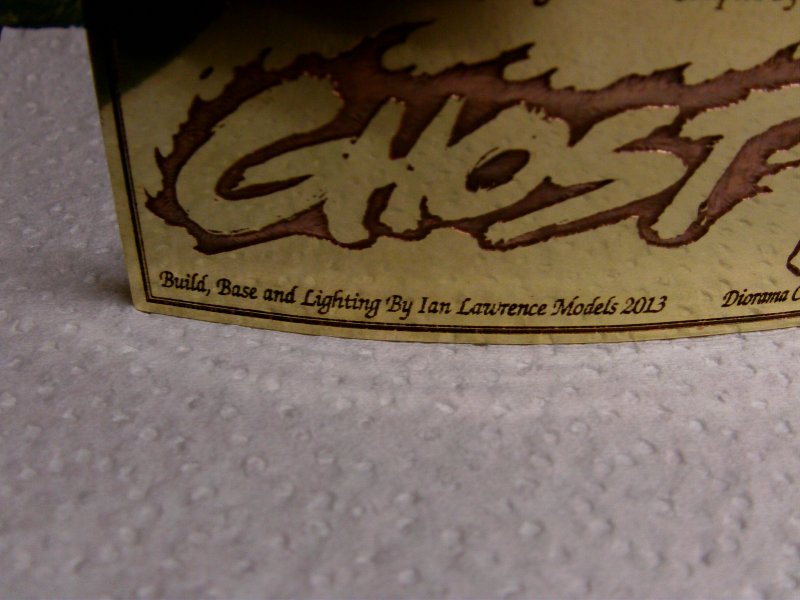
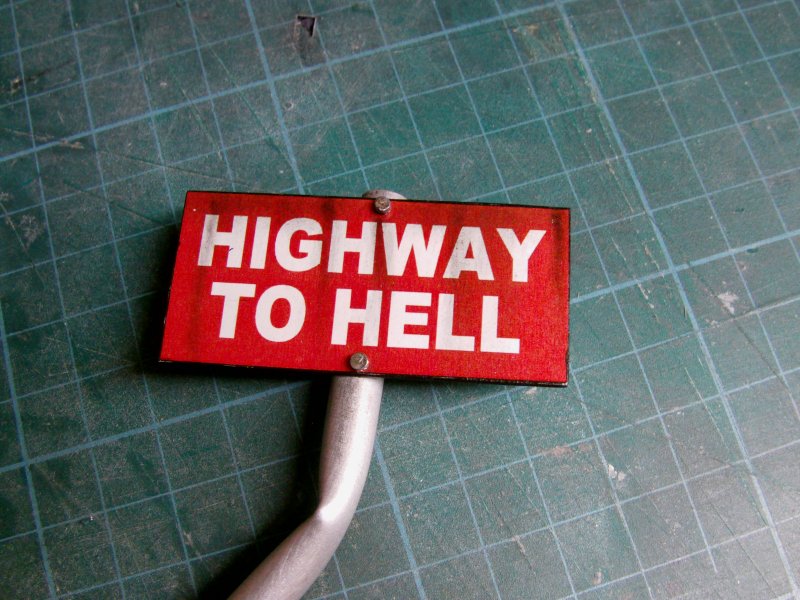
Next up, made a fresh plaque with the small lettering made a bit more obvious as it's rather important.
Shaped to wrap around the front of the base when that lark is done with.

And the last bits and bobs for this page now.
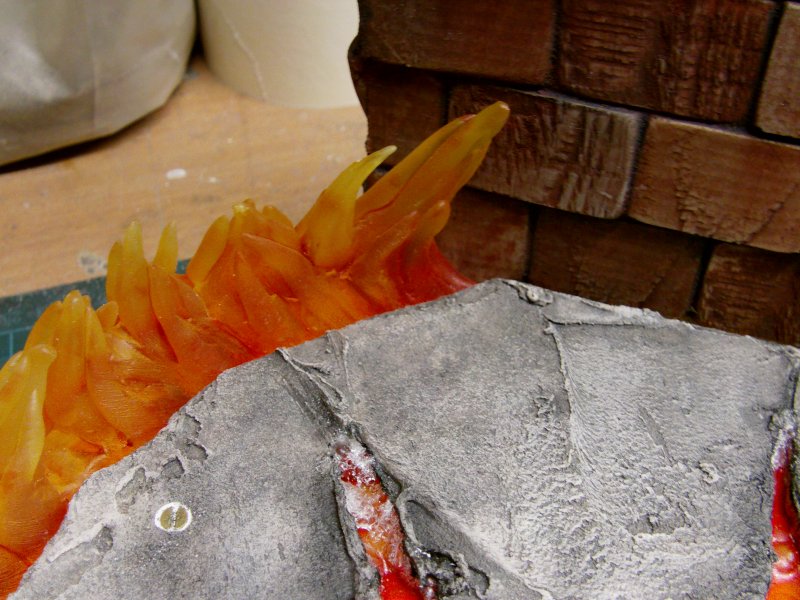
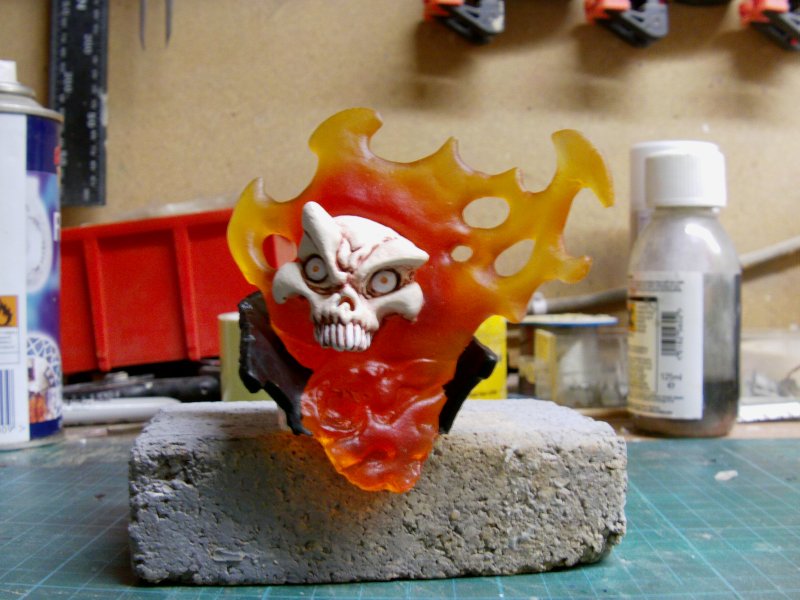
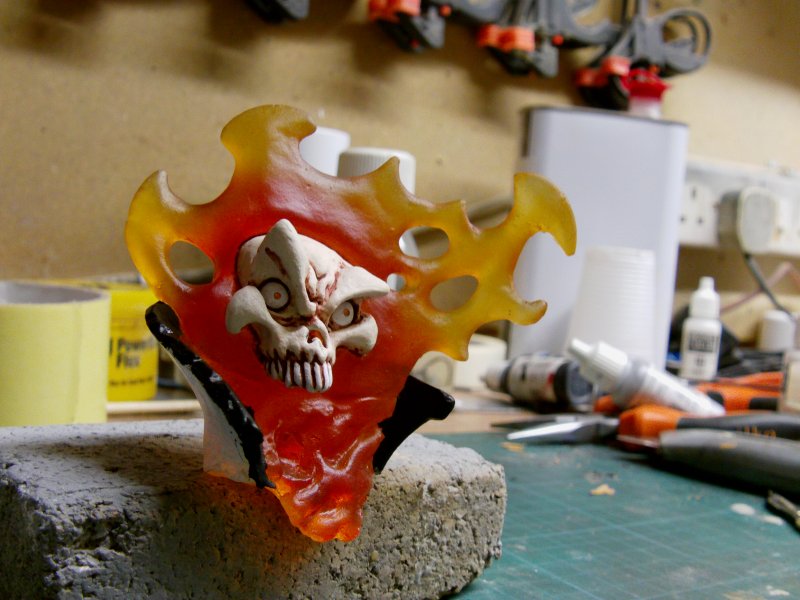
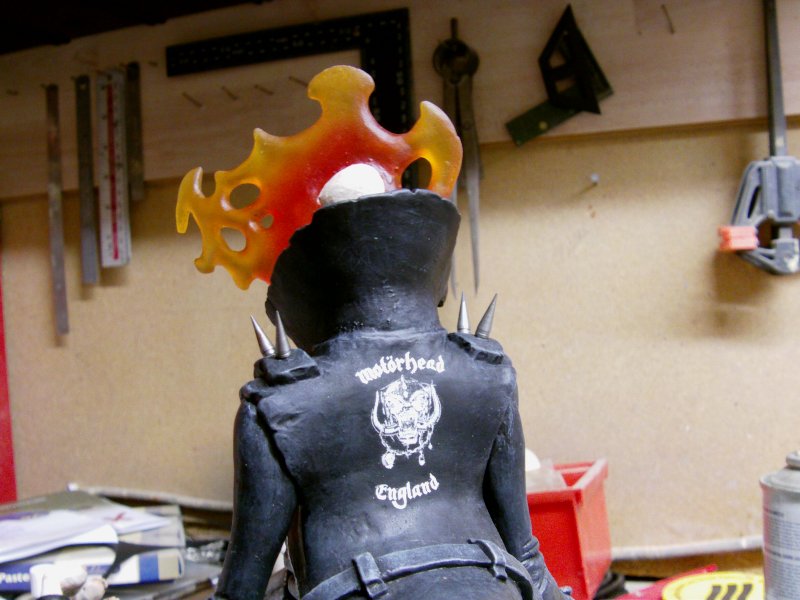
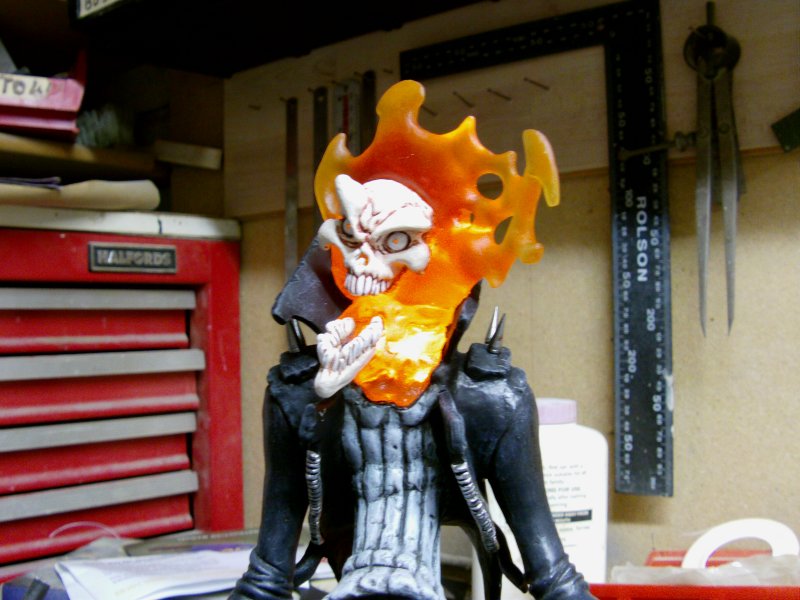
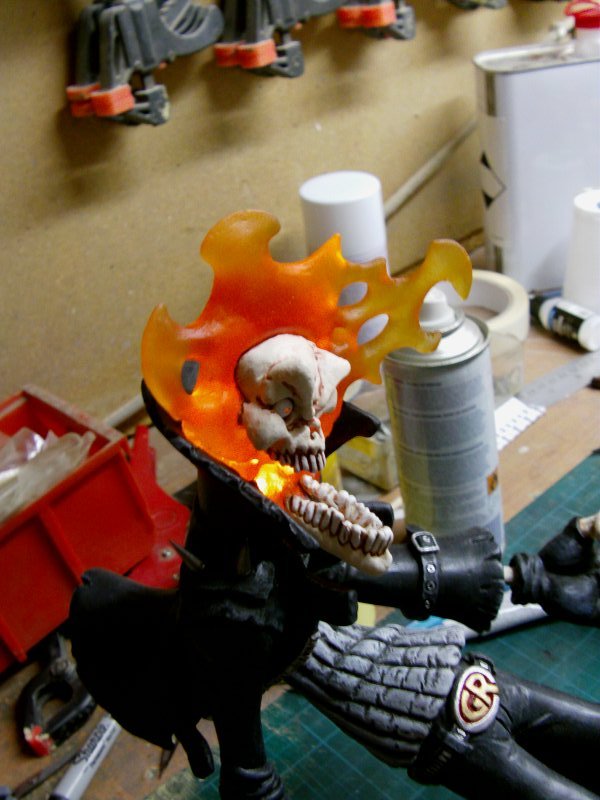
The recast one piece clear head and flames came out in rather
acceptable fashion I am happy to report.

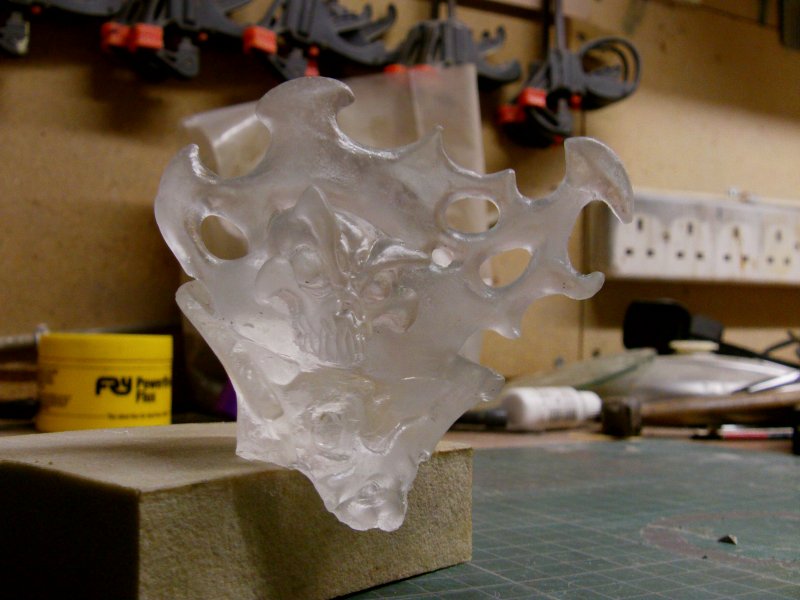
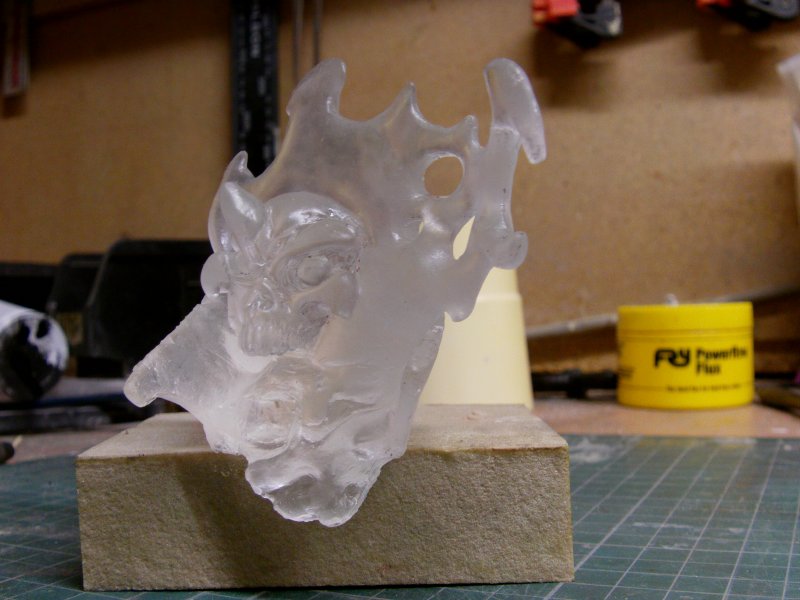
No more join line stopping the light.
Lovely!
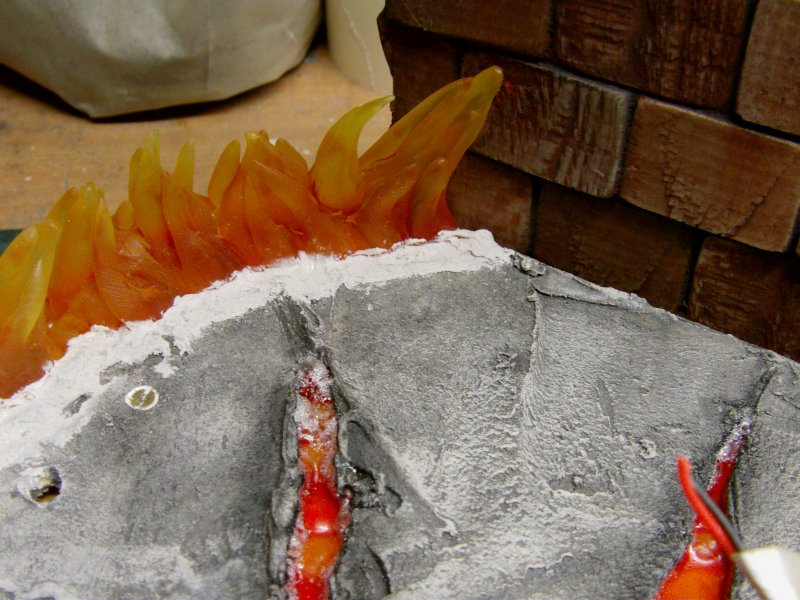
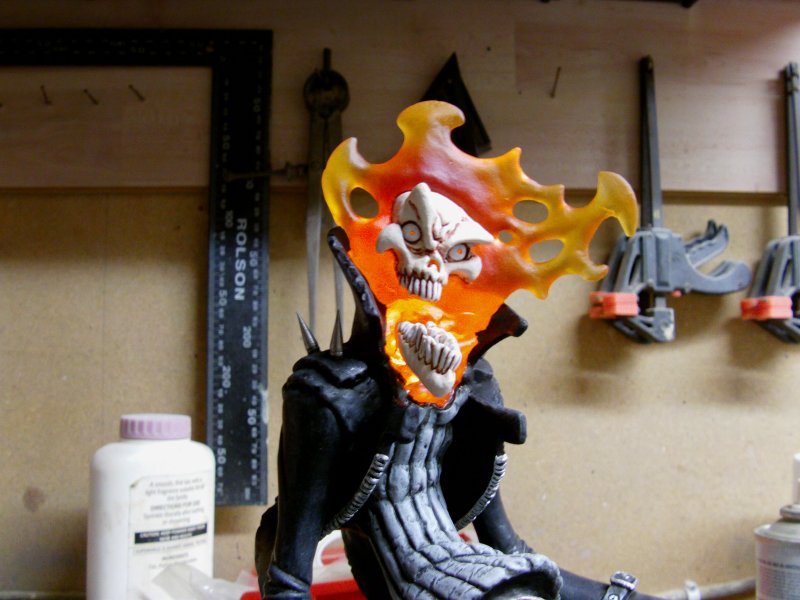
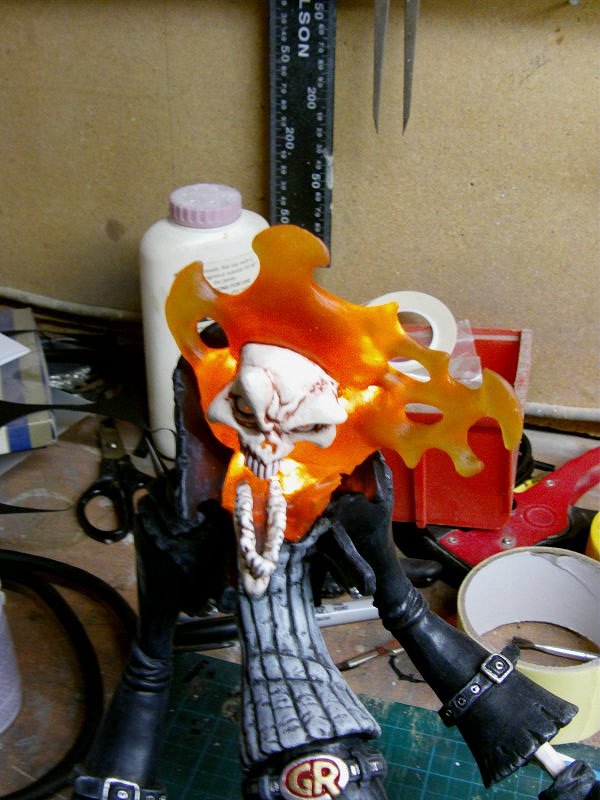
A bit of airbrush clear orange, yellow and red later
and then paint plastering for the skull and collar stuff as you do...
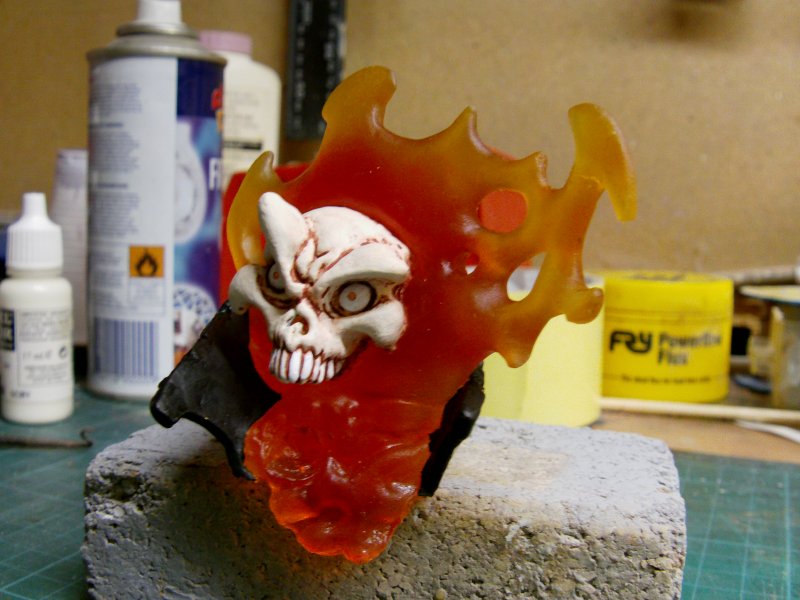
And settle in to it's righteous place with the clean up, paint and making good like stuff!
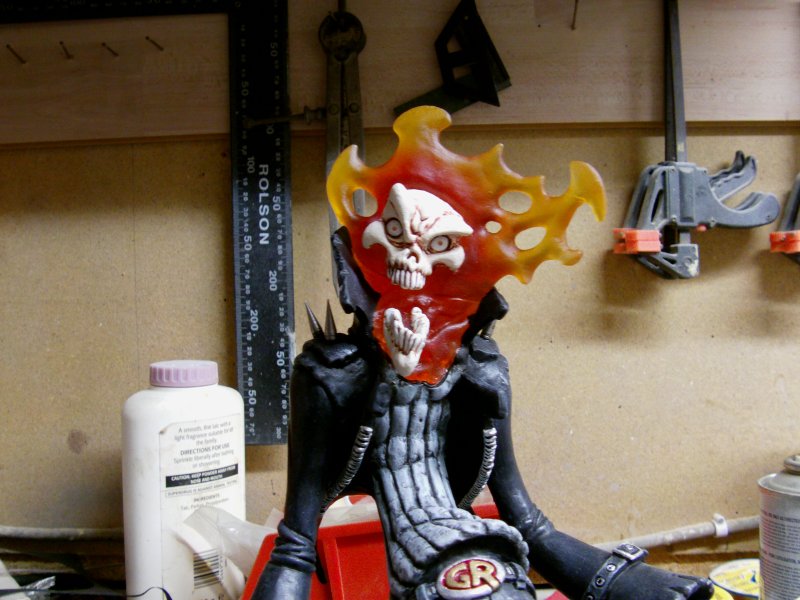
And a final quick attachment of the small block of 9 volts.
This is lighting only the constant on LED's but it will do for this demo as it were.
Lastly, the requested 'OZZY' tattoo as such to the left hand digits.
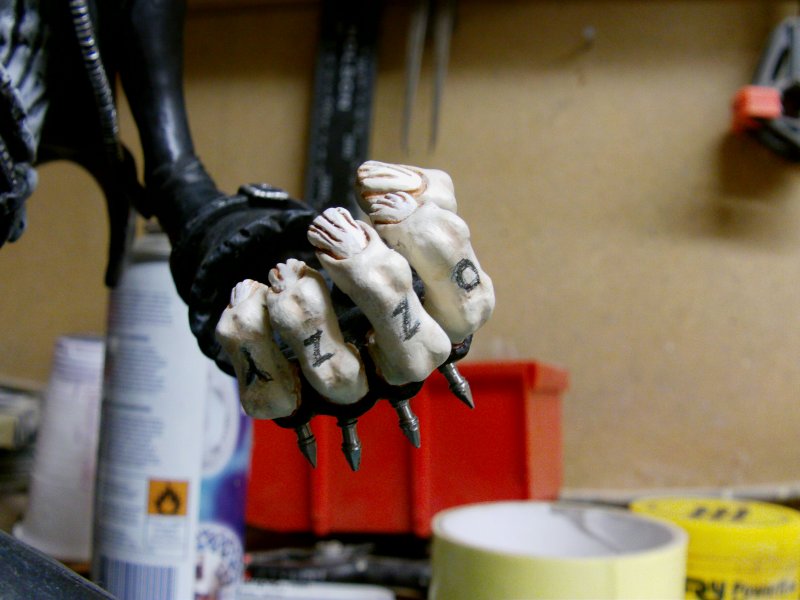
That's the main man sorted!
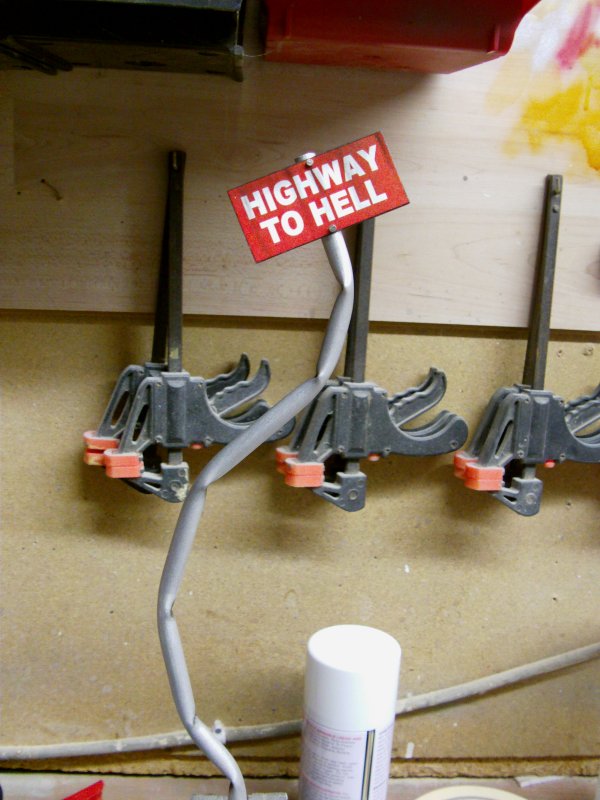
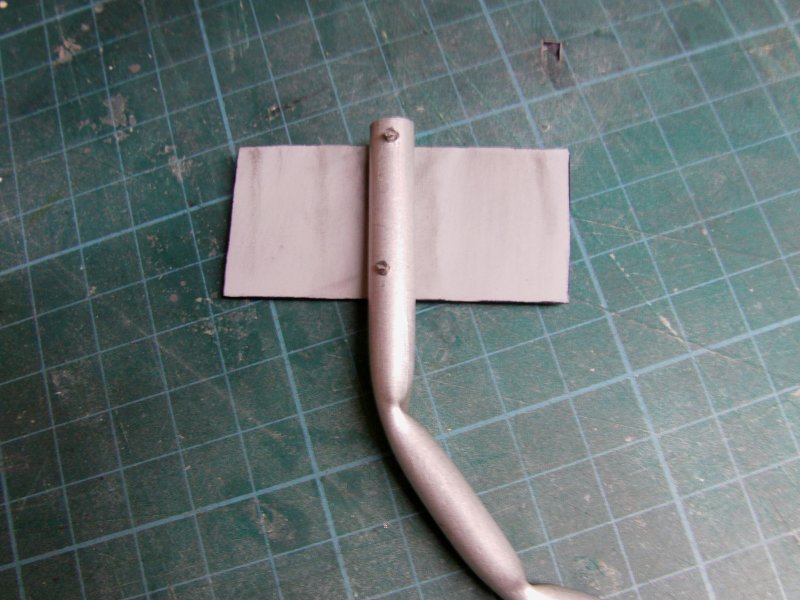
The sign and post finally a done thing.
Laser printed decal and a piece of white and grey painted styrene sheet,
Drilled out and nailed to the suitably bent up aluminium tube.
A smidgen of weathering dirt and 'twas a done thingy!
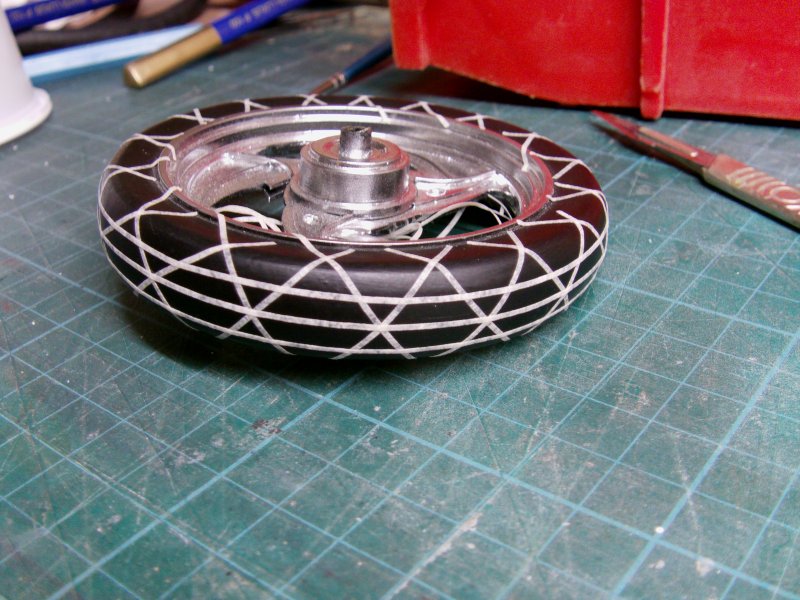
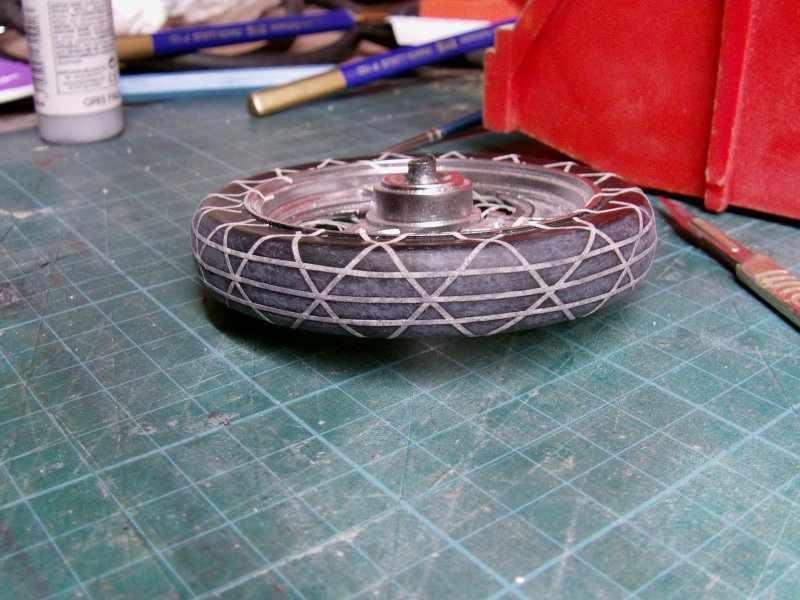
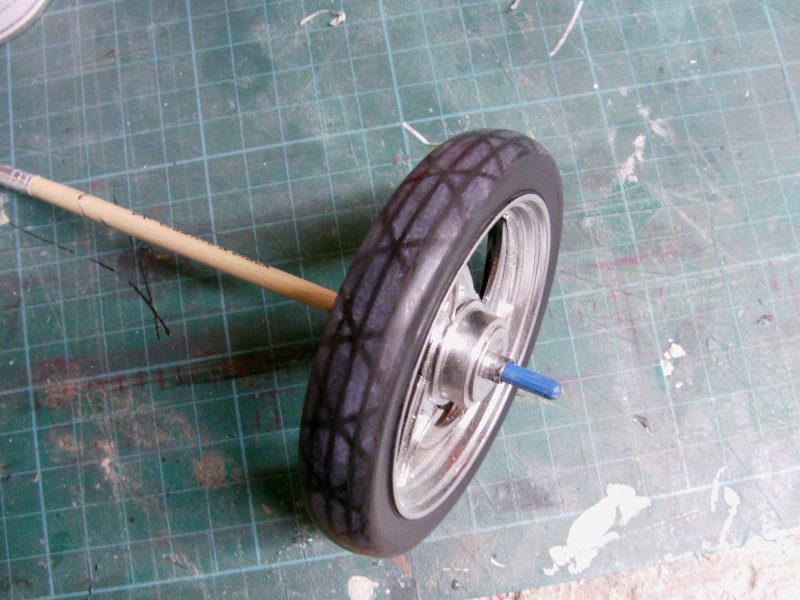
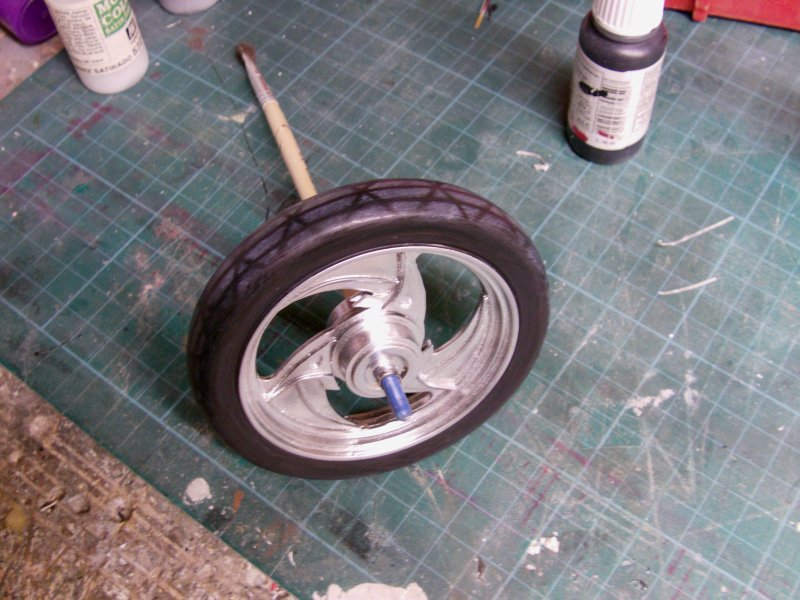
The tread for the front tyre done in short order.
Some thin masking tape applied, a smidgen of drybrush action and remove tape.

So then, just awaiting some info from Brother spike and the next update will have the
base sides done and then it will be time to bring everything together for the long awaited
and needing to be seen done finished article.
Oh yes!!
More next time so i'll see you merry mob then.
Take care and go easy out there now people!
Page Number