
Ghost Rider Resin Figure WIP log
'Animated Style'


 Page Number
Getting my act together.
Figure Likewise As it Were!
Welcome back folks and folkettes.
Short and sweet update for you this time around.
So let's have at it!
So all parts given a clean up then a damn good scrub up and prime,
I used acid based self etching primer for this turnout.
Clings to just about anything and is a good fault finder paint.
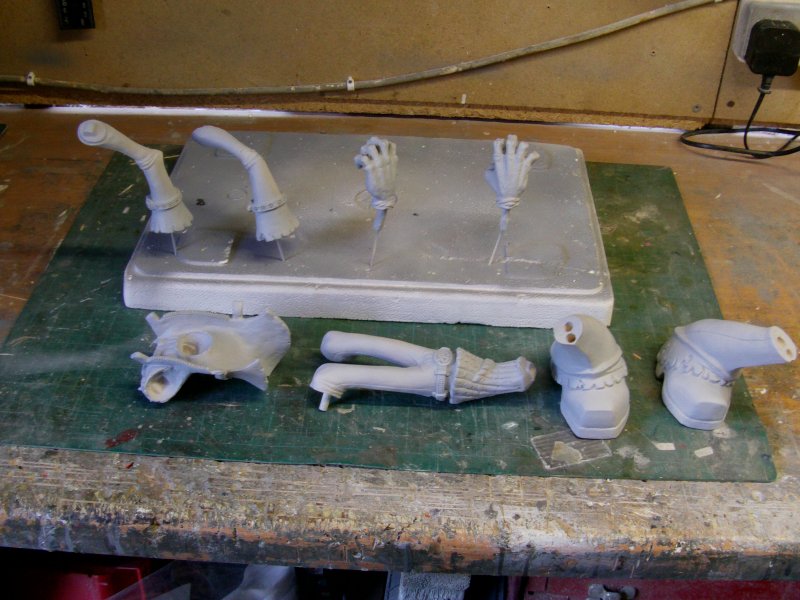
Found a couple.
But no big deal.
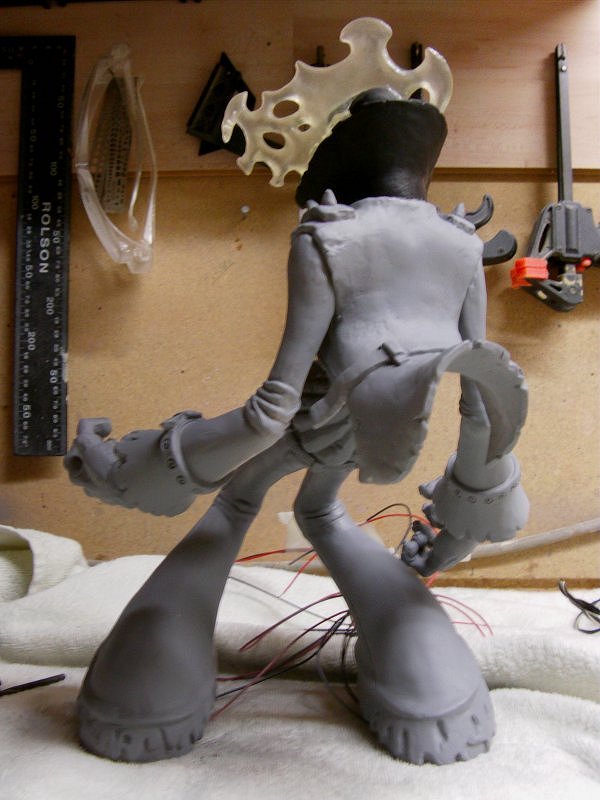
All dealt with in short order and the fella himself finally got his main bits put together...
with some wiring run through him of course.
Joints all held together with my usual combo of epoxy stay put ya bugger gunk and brass pins.
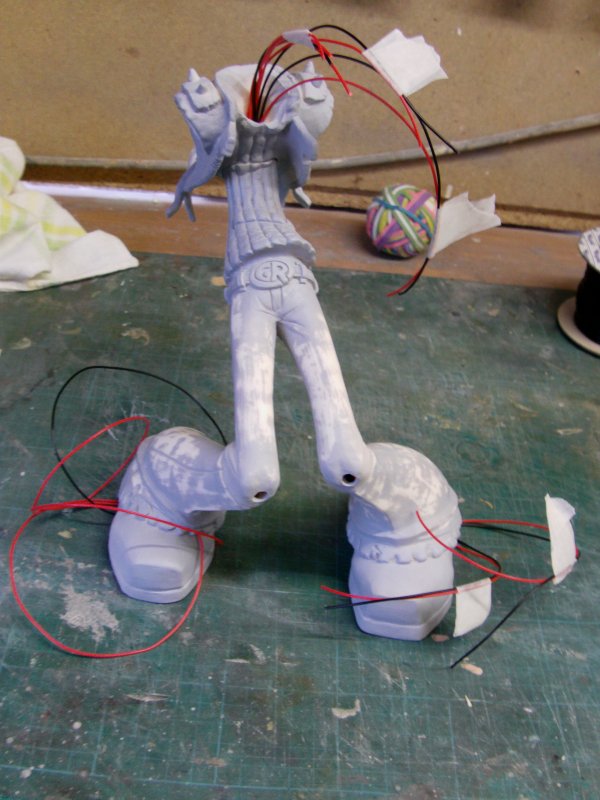
Wiring tagged up then LEDs fitted with resistors where required
and the lot insulated and shoved in to position.
Duly sorted and tested out, on to the head.
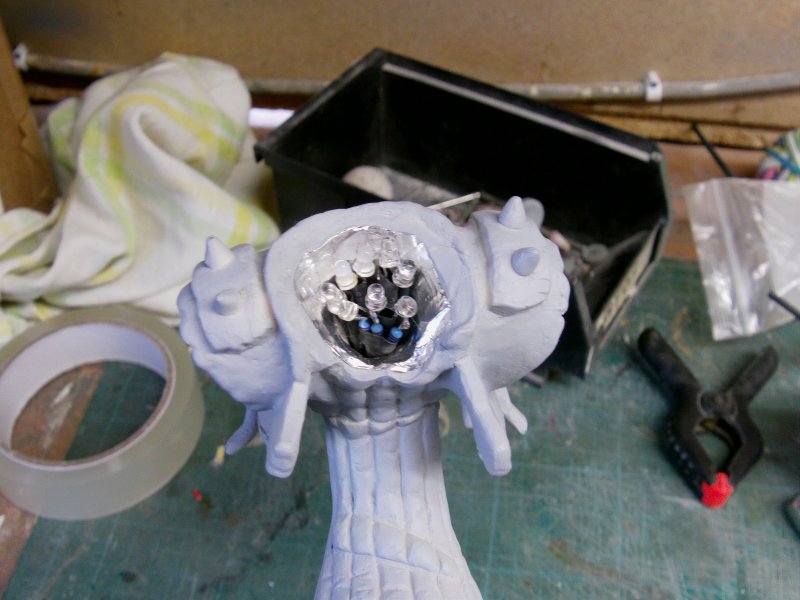
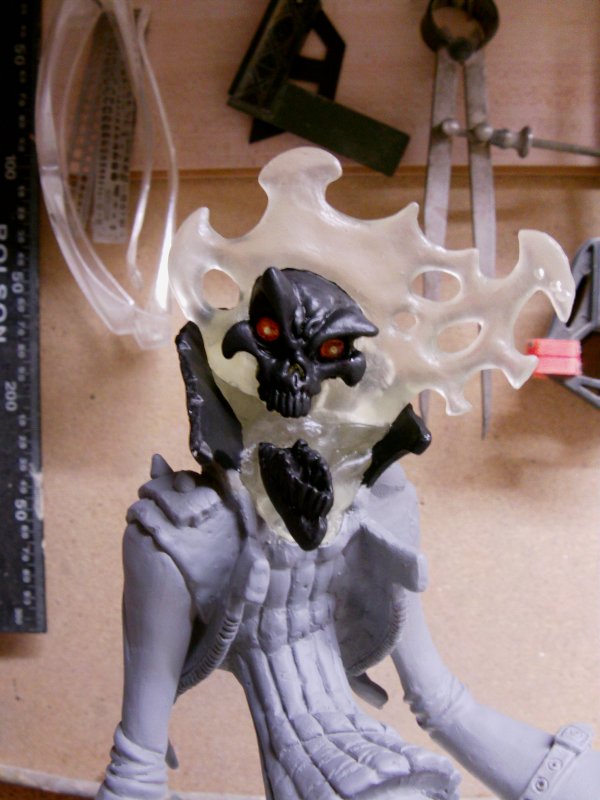
Now the light transmission could be better so I opened up
the head part with some fairly severe grinding work
from the bottom up.
Once done, a lick of Tamiya gloss varnish evened things up in there surface wise
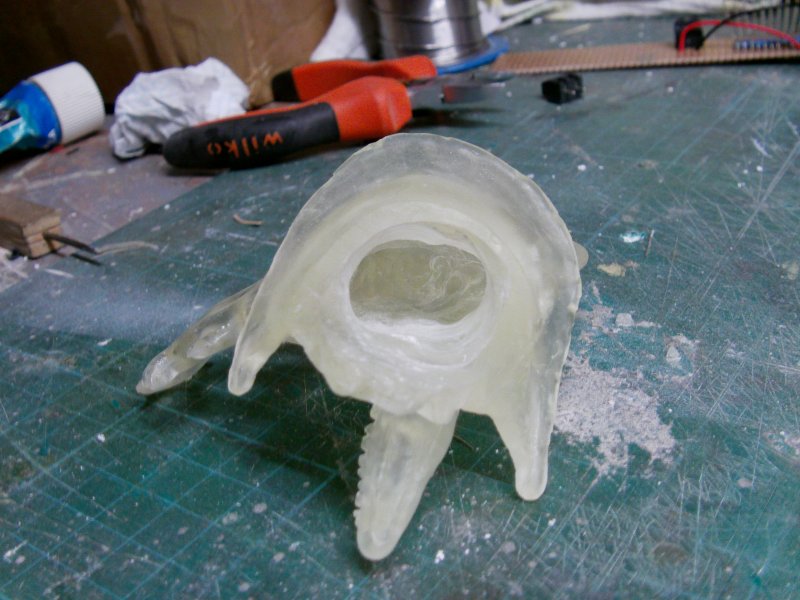
And from the outside.
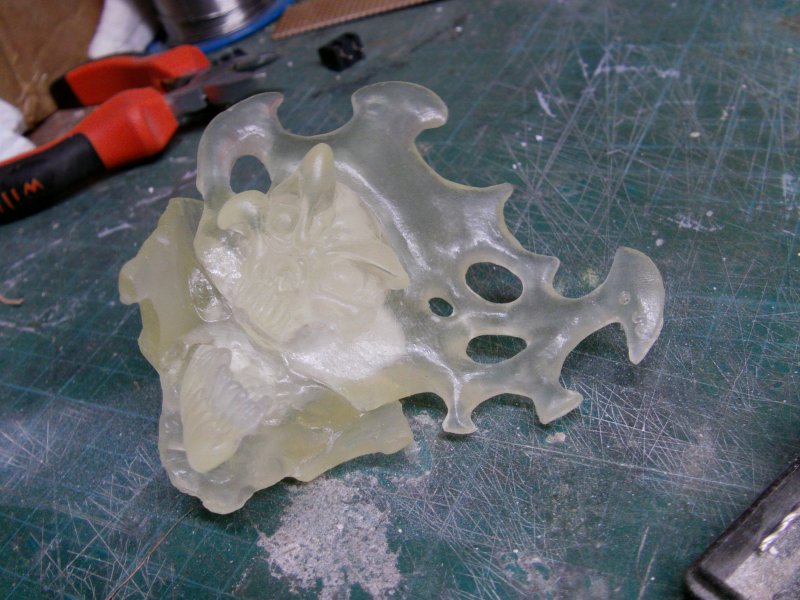
So that sorted then in with the matt black on all
the not supposed to let light through bits.
At this point I found that painting black around the outside of the jacket collar
made it just too dark in there.
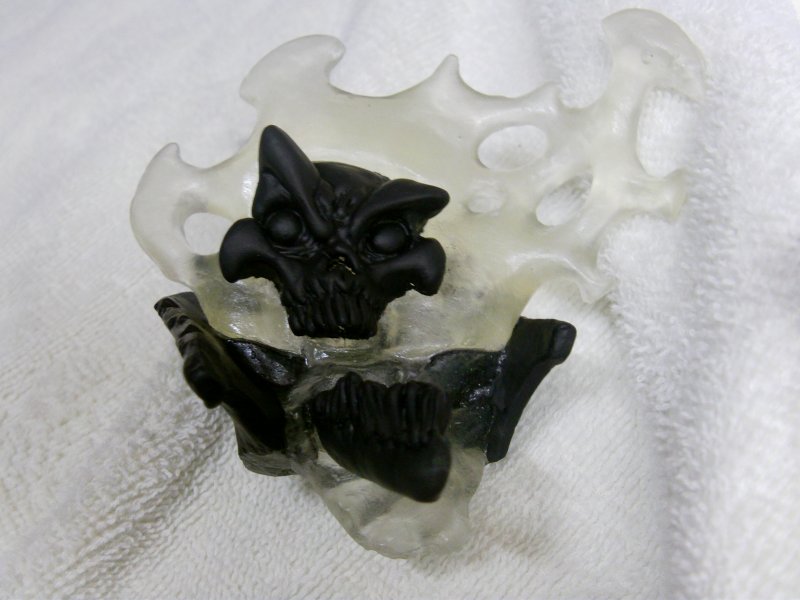
Quick rethink in the form of sanding the black off the outside
of said collar followed by two coats of Vallejo foundation white
and a coat of matt black.
Sorted!
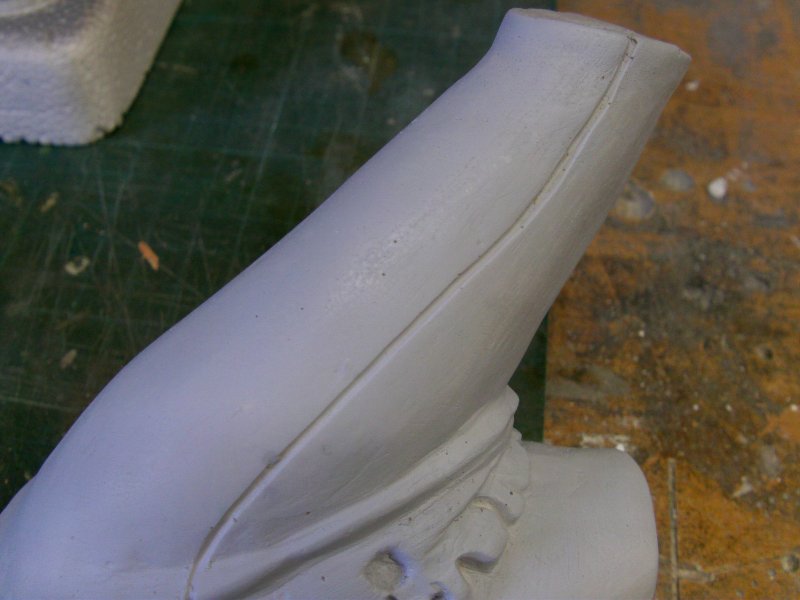
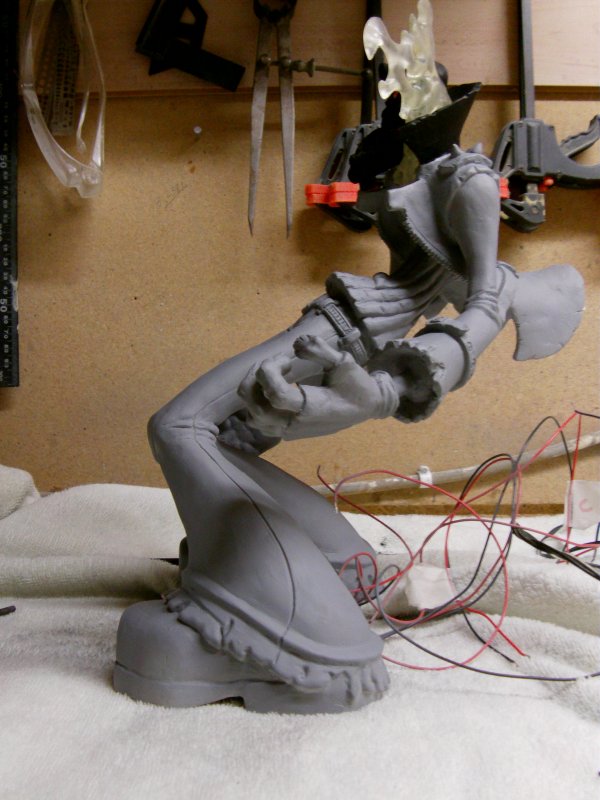
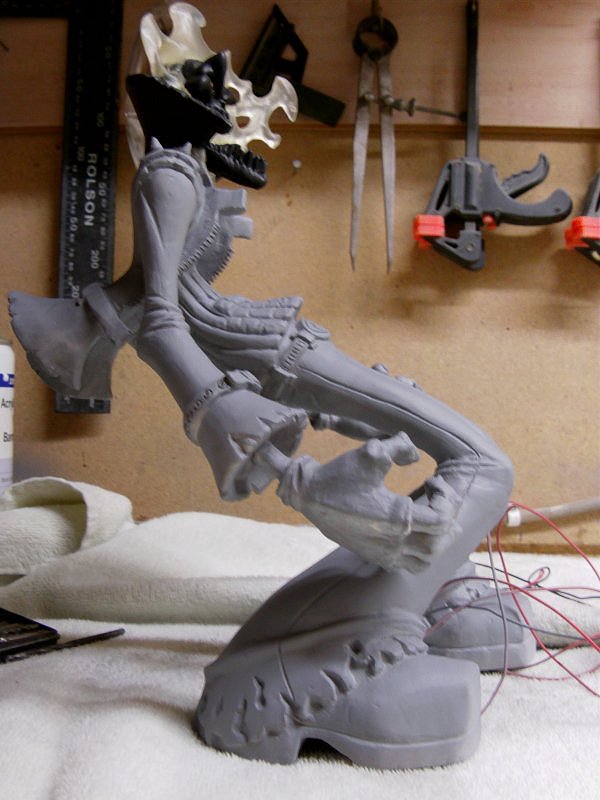
So to cut a long story short, arms attached, figure body joint seams filled with Aves, made good and whole thing primed.
Once the primer had sorted itself out,
the head got situated proper.
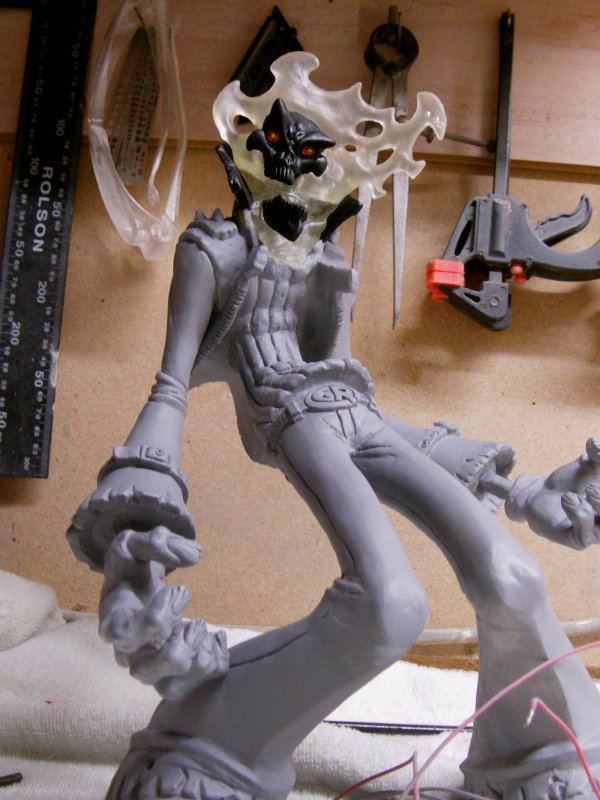
The eyes on the skull got the black paint removed,
coated with Tamiya clear red then what would stand for the pupil was drilled out
to a very shallow depth and a lick of Tamiya clear gloss applied to said shallow hole.
This is how we are looking at this time...

Well that's the figure construction pretty much a done deal.
And so's this here update apart from the very necessary crap-o-cam vid
done as a quick and rough short test to show the client
what things looked like with the flashing gear wired up and going.
If for some obscure reason the Youtube video isn't playing...
and it wouldn't be the first time, feel free to download it by doing the
right click, 'Save Target As...' thing on This Here Scribble Wordy Thing
And there ya have it
That's all from me for now people!
Next up, figure painting to get sorted
and the base to get to work on.
All good fun eh?
You goodly gang go easy out there now!
Page Number