
Ghost Rider Resin Figure WIP log
'Animated Style'


 Page Number
It's how it should be methinks...
Marking Up Malarkey And Some Metalwork Mayhem!
Welcome back all!
Hope you all had a top notch Christmas/Hanukkah/Kwanza/Holidays/New year...
Or what ever it is ya do to make merry like.
Well it's cold and snowy, Hell has sorta frozen over...
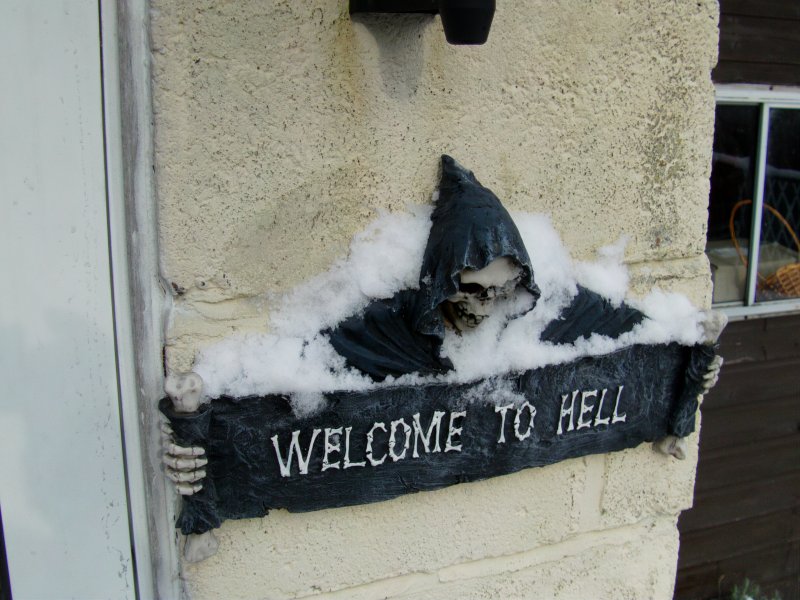
That's the sign out side the Hellhole by the way.
Well Christmas hibernation is but a dim memory so here we do go...
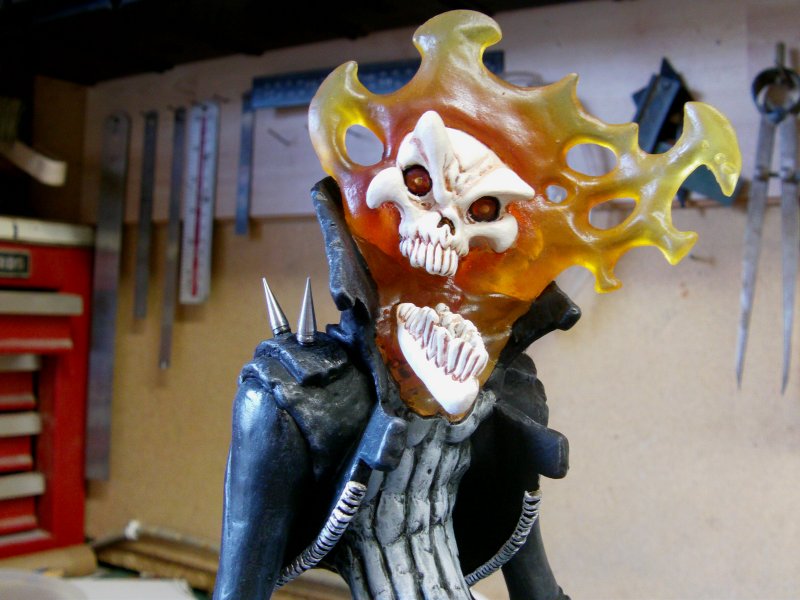
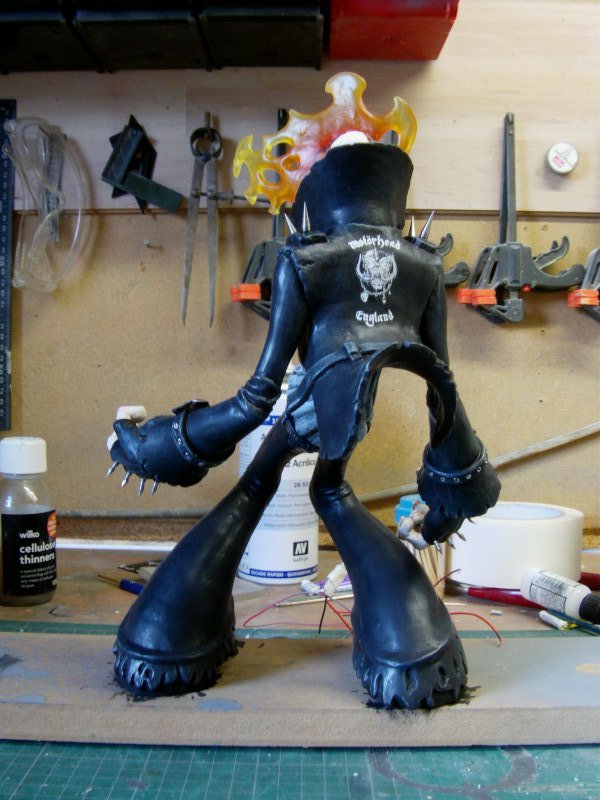
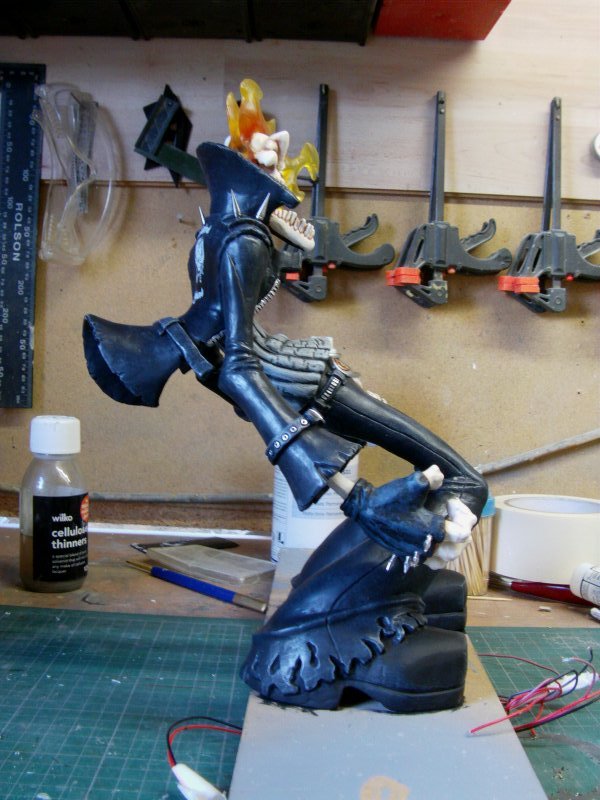
As per client request, a bit of faffing about with
some markings on the back of the jacket.
Using that new handy dandy laser print dry rubdown kit from Pulsar FX
said markings were sorted and cleaned up in short order.
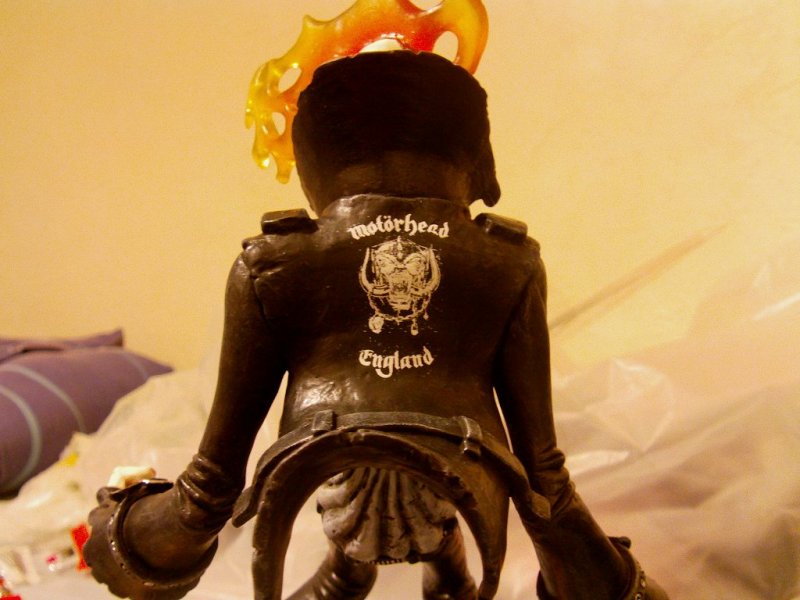
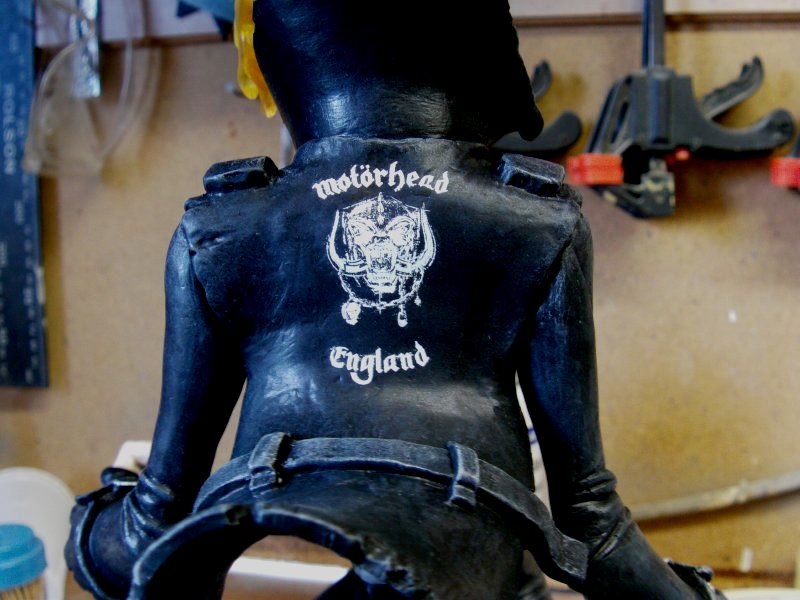
Anyone would thing the client was a metal music fan...
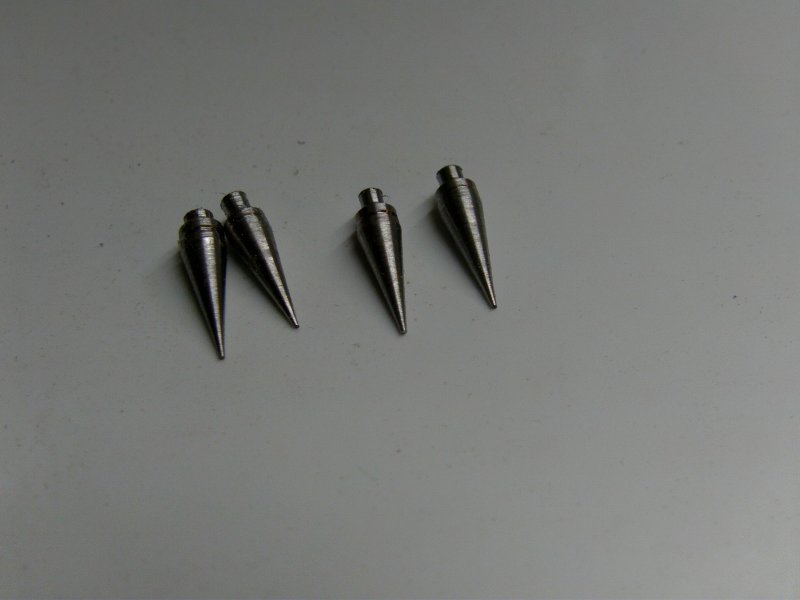
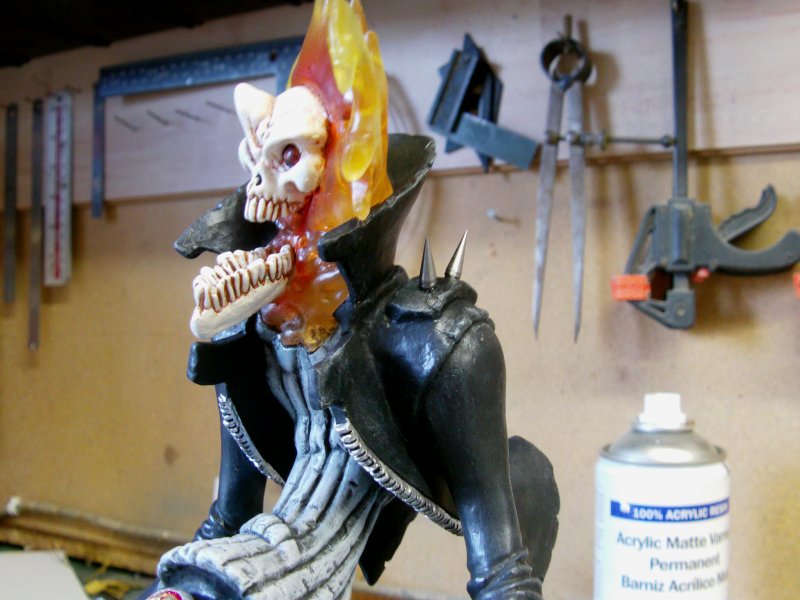
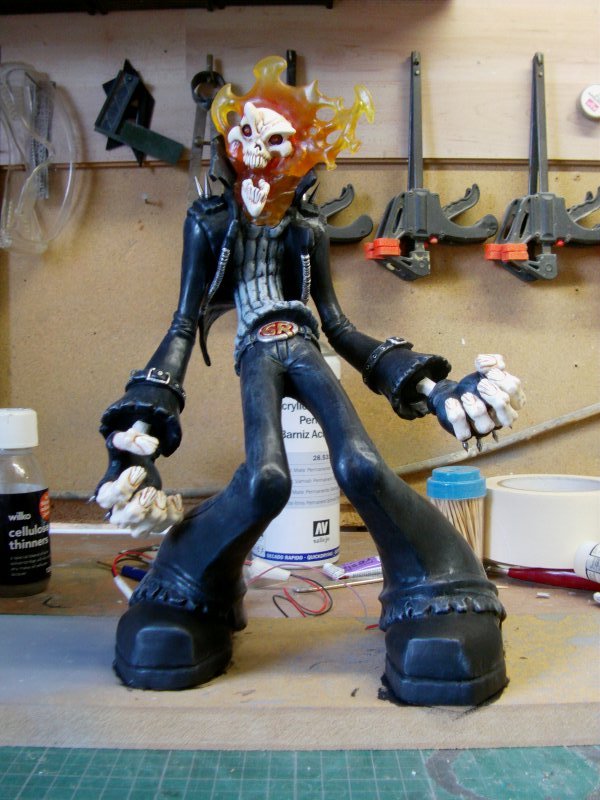
Right then, that sorted and some metallic additions to the fella himself.
Spike replacement was requested so with a bit of faffing
about of the lathe and steel rod sort,
we got these for the shoulders.
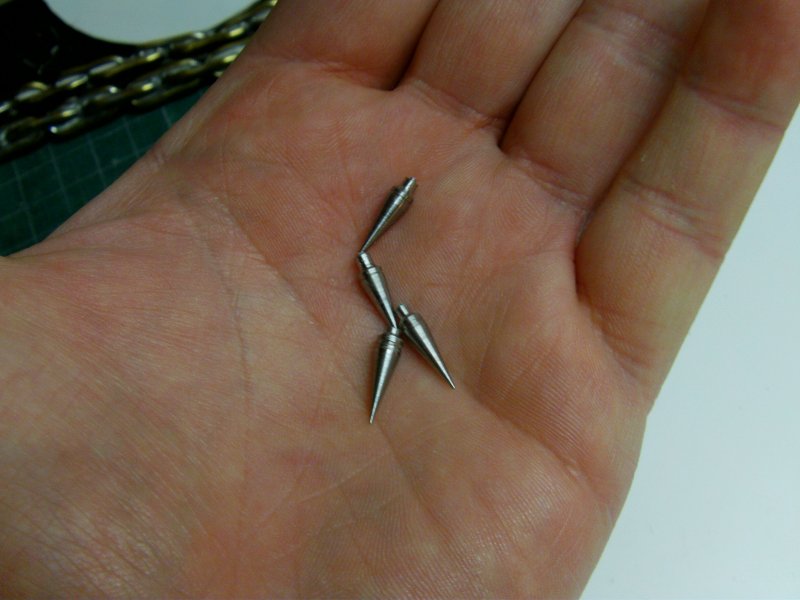
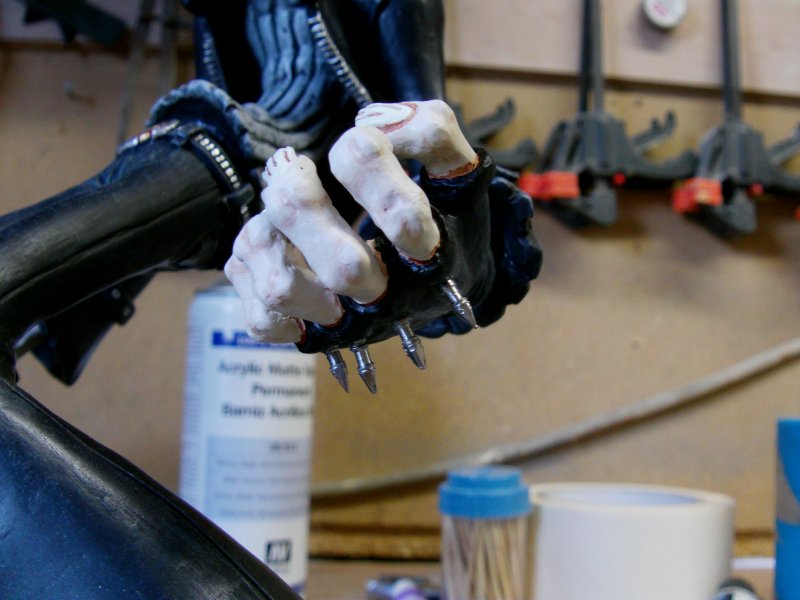
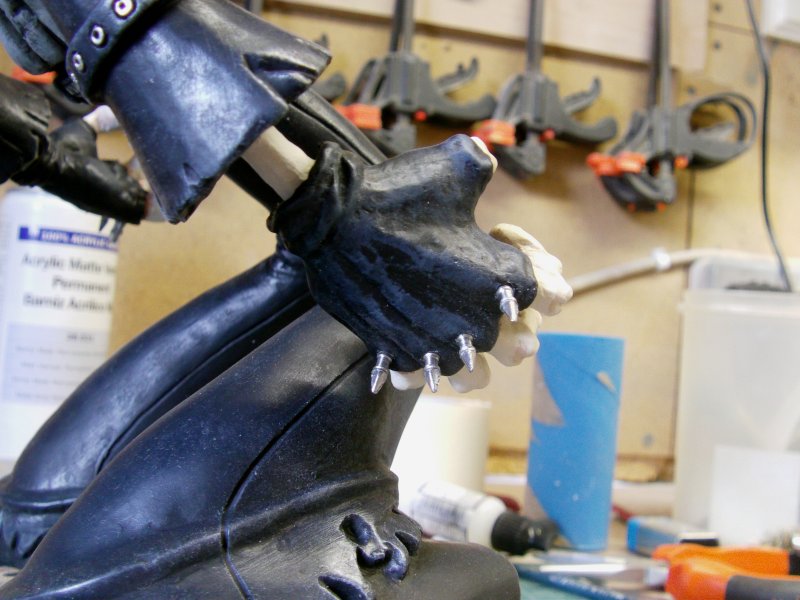
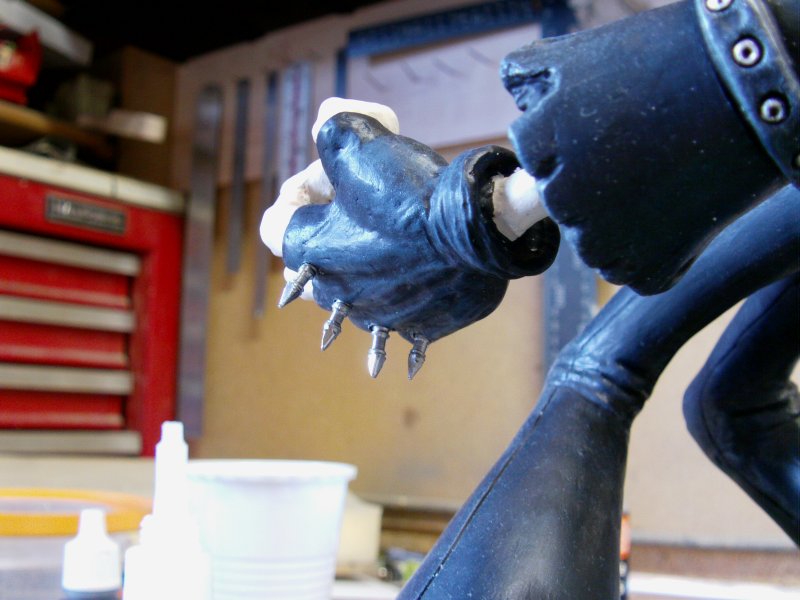
Which along with these gothic like things
for the knuckle points on the gloves...

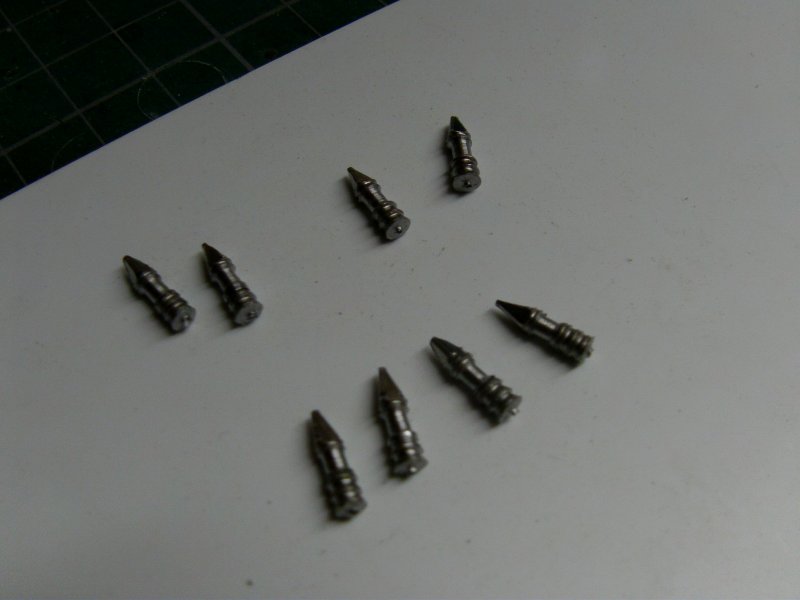
Got duly put in their proper places,
namely drilled holes and held fast with the able assistance
of the epoxy stay put ya bugger gunk.
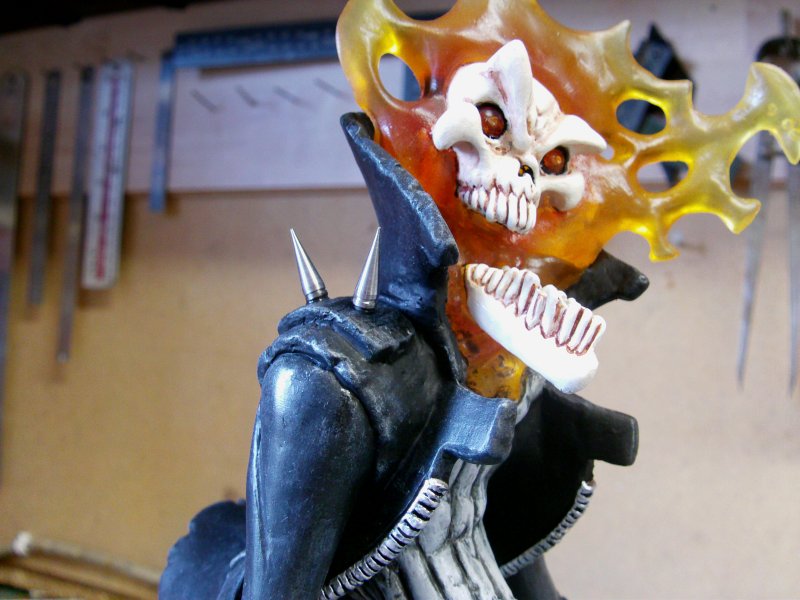
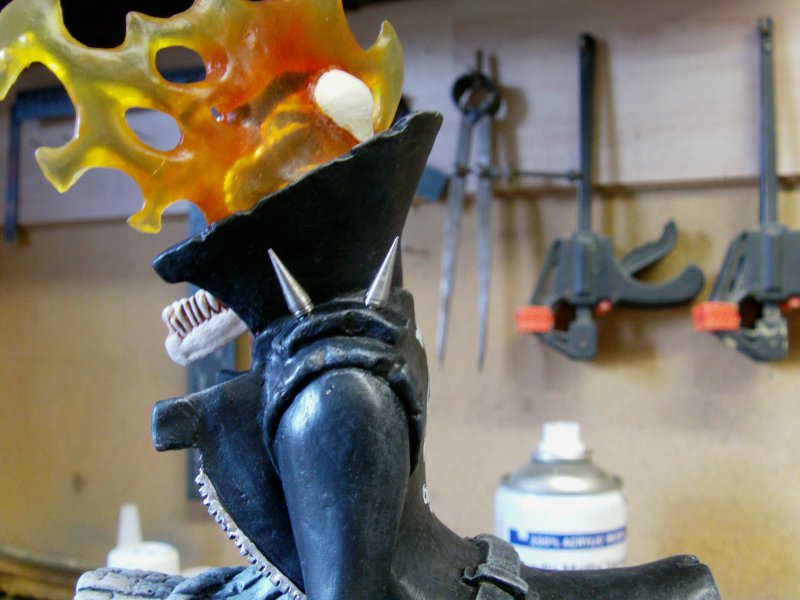

So apart from some additional detailing parts
like stuff to be made up, that be the figure done!
So onward with a start in to the bike wreckage.
The plan here for the front wheel, forks and handlebars
to be a bit bent up and laying on the deck/
Later will come the fuel tank and exhaust pipes but for now,
It's in to this bit.
Here's how the on screen bike looks.
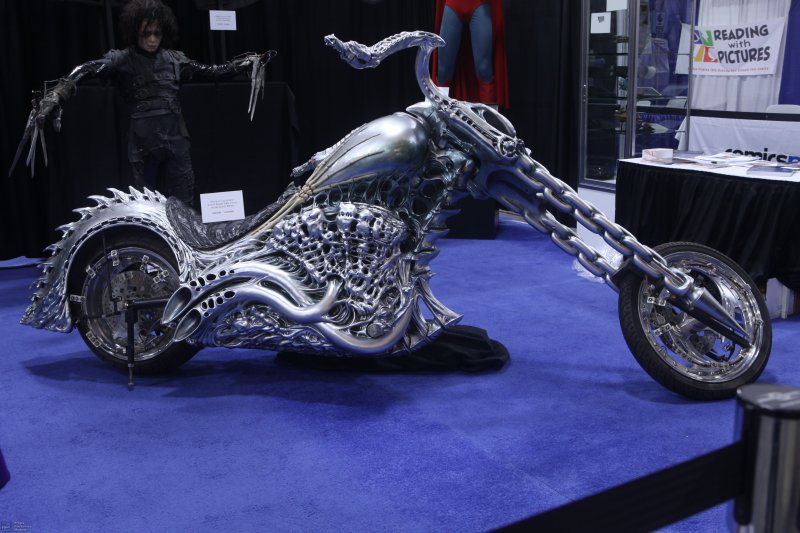
One will note the forks are done like chains and the front
of said forks are large metal pointy things.
Okedoke then!
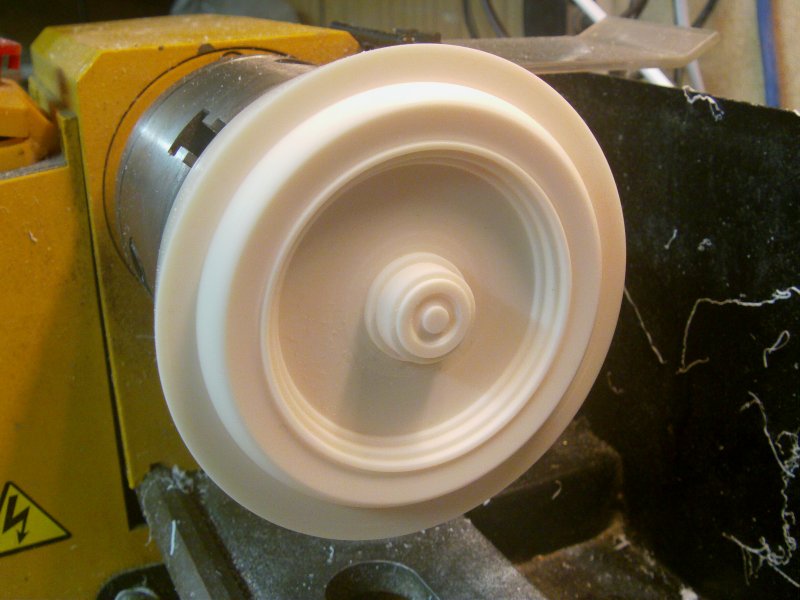
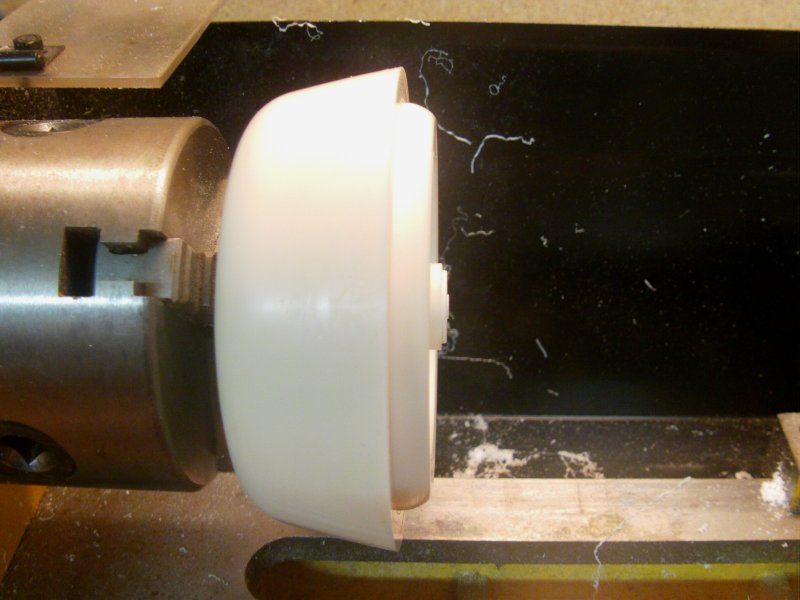
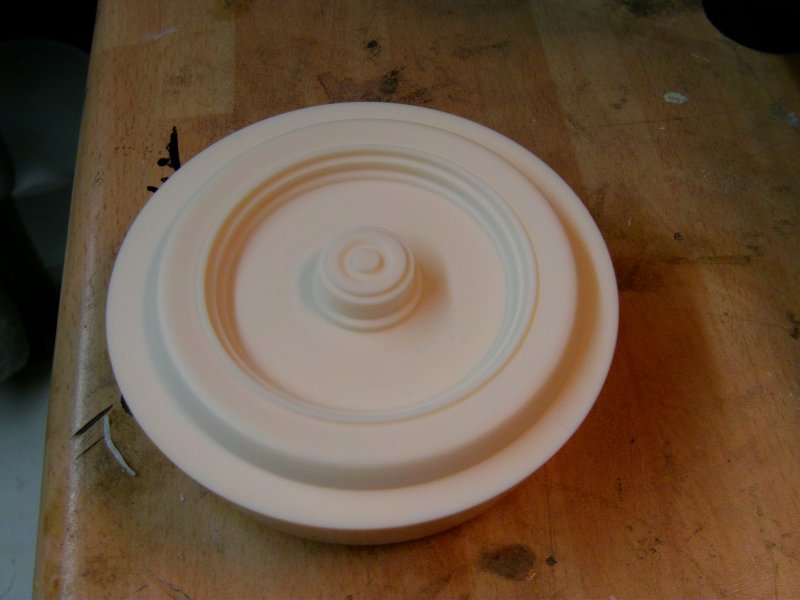
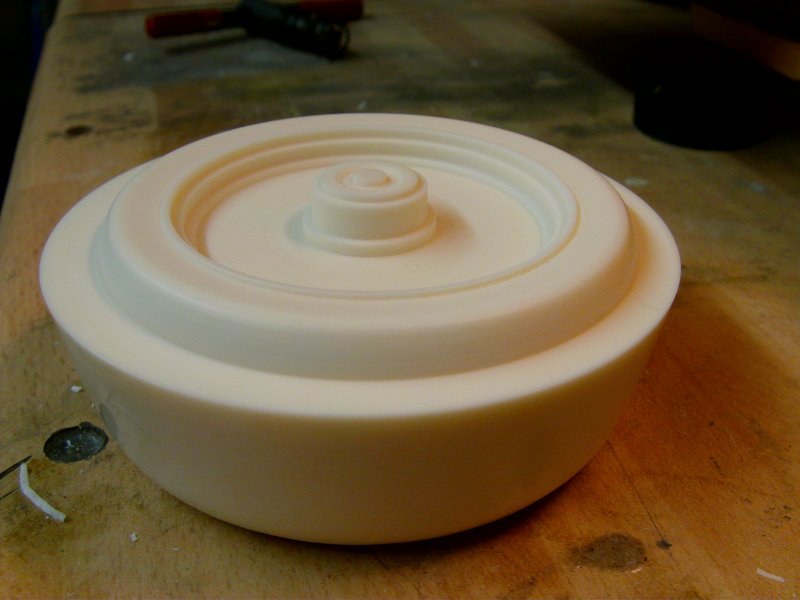
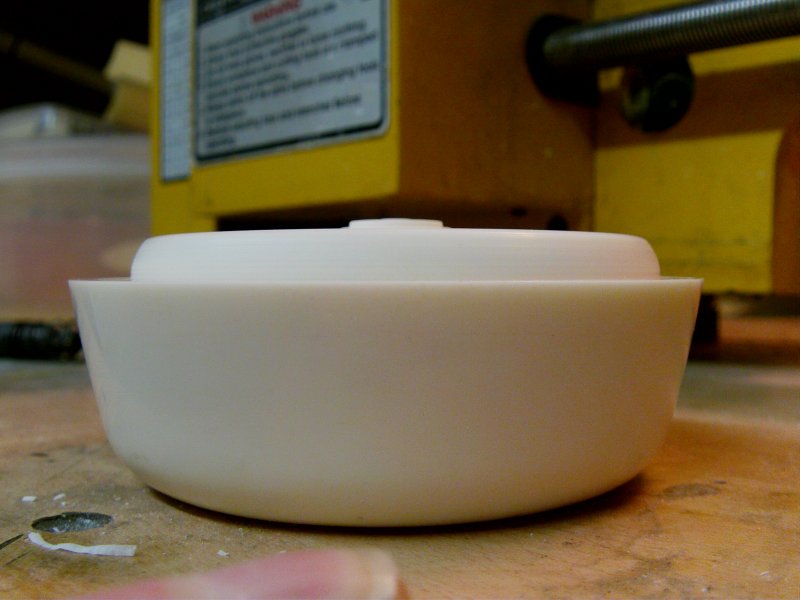
To start with, the tyre and wheel.
A large nugget of resin slapped in the lathe.
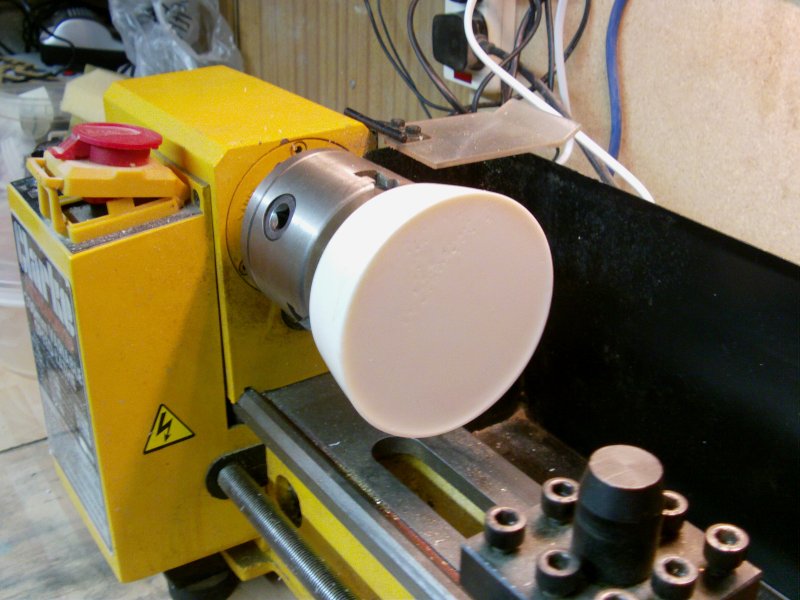
This got some serious spinning action so we end up with
half a tyre and half a hub.
Like so.
Surround with tape, pour in some rubber.
Wait untill cured then peel off.
And that will do nicely to cast off two tyre halves and two hub halves.
Or it will as soon as my slightly overdue re-supply of resin arrives.
During the mean time, the wheel center got made up.
Just a thickish piece of plasticard marked out and some violence done unto it.
This will be what the yet-to-be-cast-at-this-time-of-writing tyre
parts and hub will be eventually glued to to make the wheel proper.
So then, that done and on to the fork fronts.
Some 1/2" aluminium rod in the lathe and let's have at it!
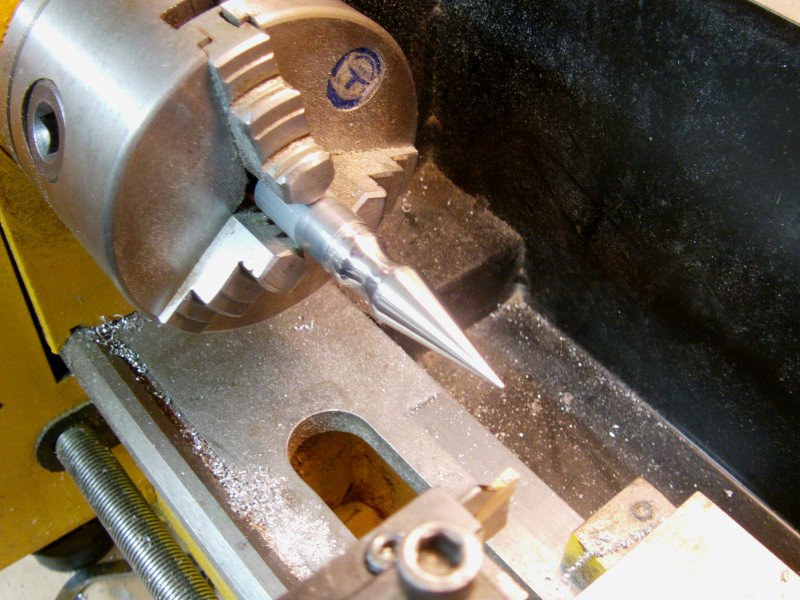
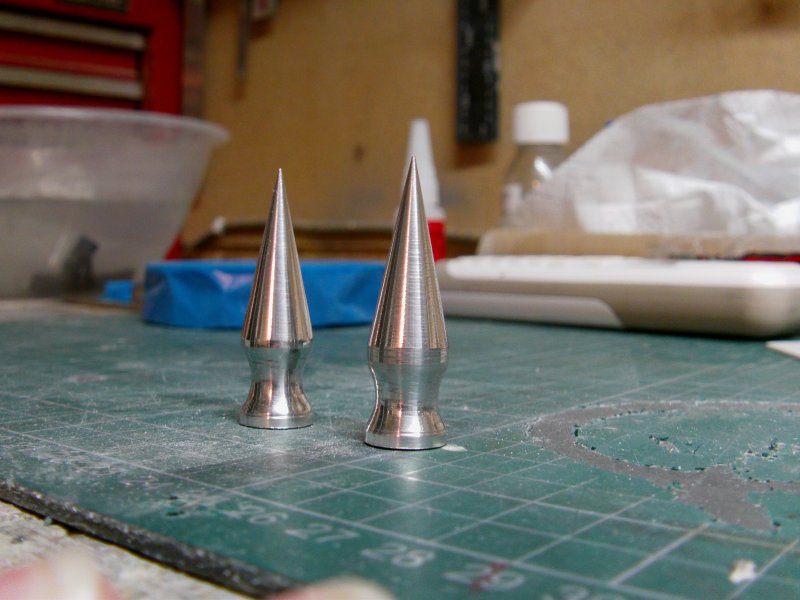
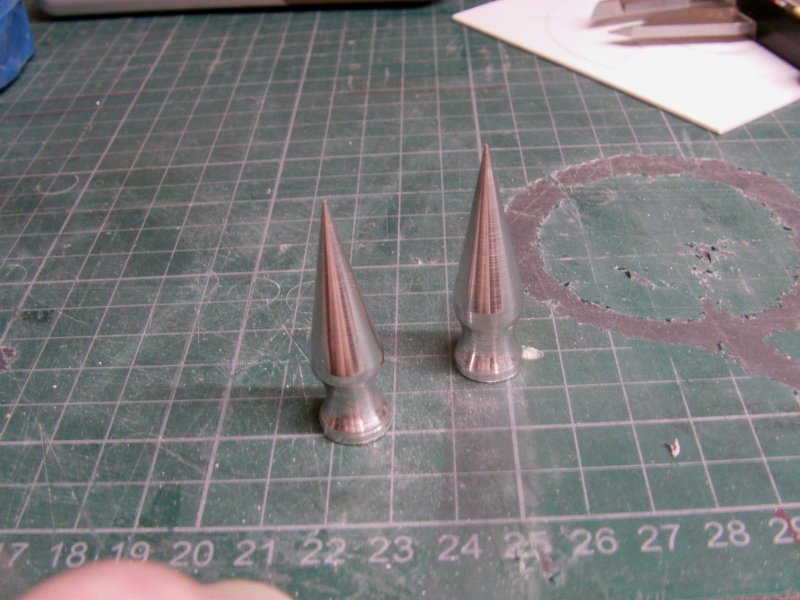
Done and done.
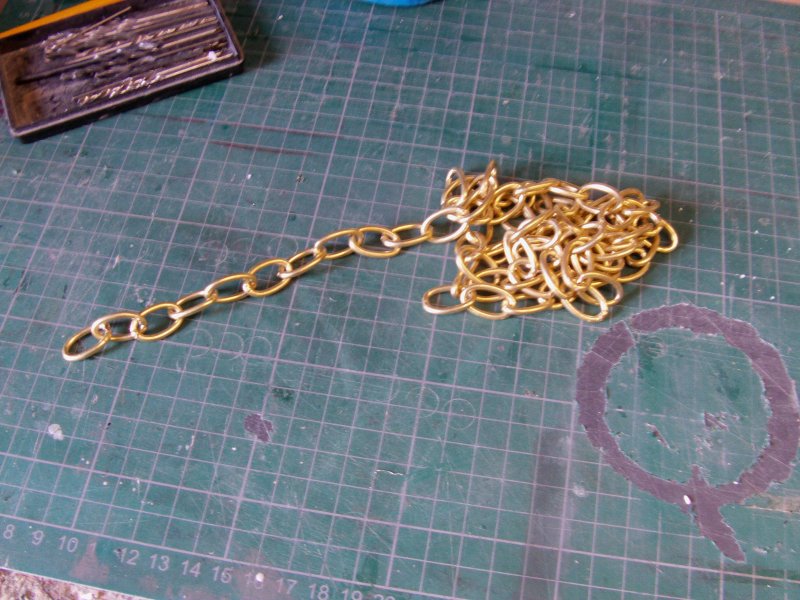
The forks now...
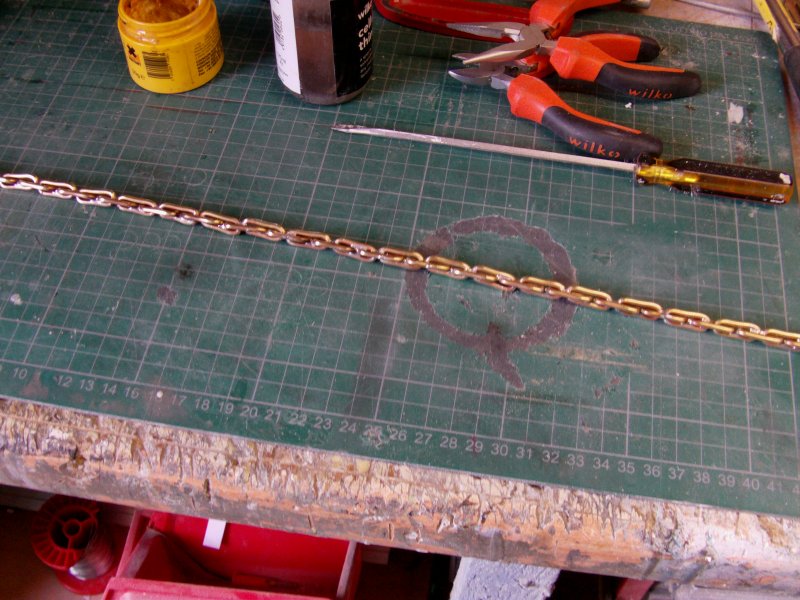
After a bit of a think, some brass chain was got hold of.
This is solid brass, not brass finished steel or iron.
Reason for that is it's easier to solder.
This is said chain.
Soooooo,
a pair of mole grips with the jaws set to nut crushing width and
away we go on each link in the chain to get the right shape.
Or as near as dammit.

Taking a slab of MDF and routing a slot along the length,
the chain was slotted in and closed up to about
the right configuration and much laying on of the blowtorch,
flux and solder did happen.

After a goodly clean up to remove flux residue,
the whole chain was coated in automotive body filler and wiped down
with a lacquer thinner soaked rag to clean up.
Once the filler had cured, in with the rotary wire brush.
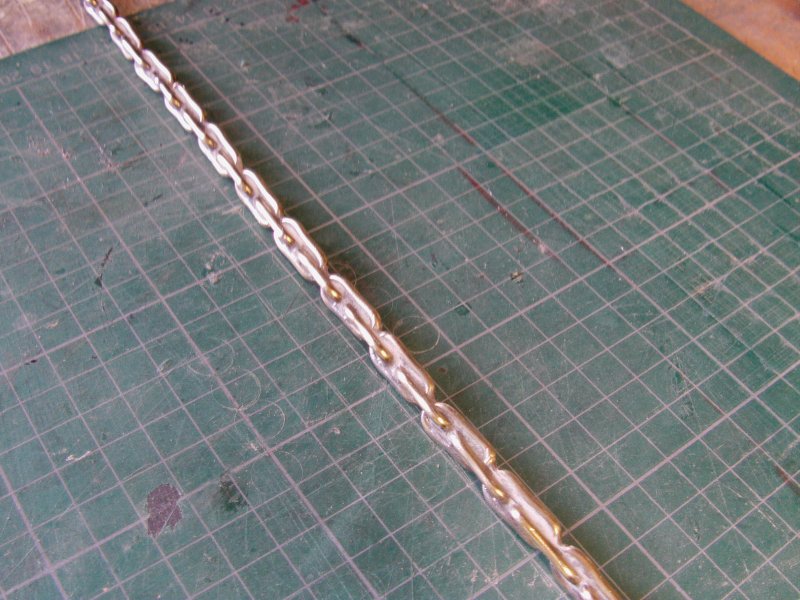
It's not perfectly lined up but this thing is supposed
to be cartoon like so it got left as it is.
The length was cut in to two and after some drilling
out of the aluminium turnings, got glued on.
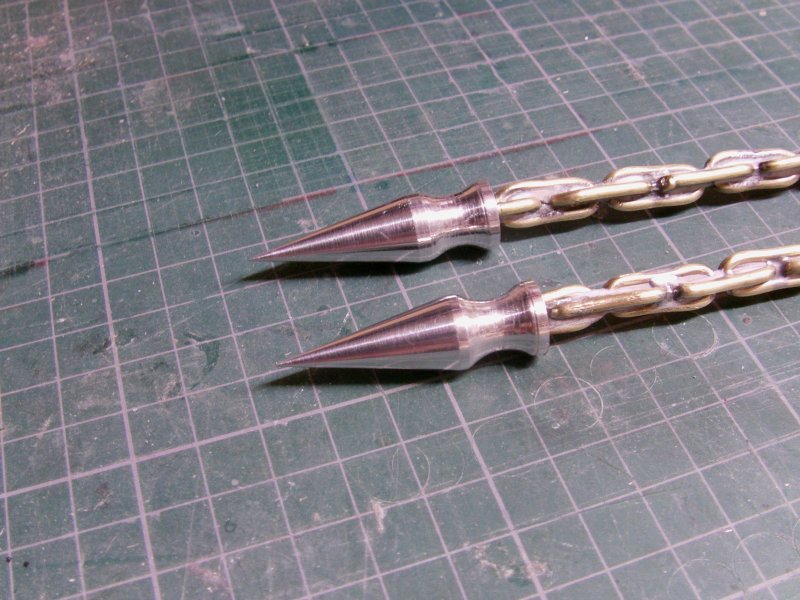
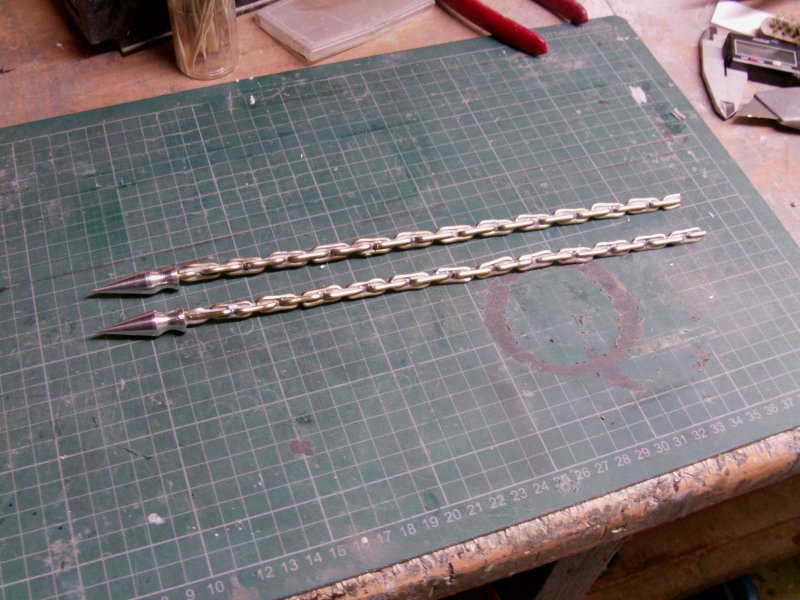
So that's the basis of the forks sorted!
Well much still to get done and some more frivolity to show next update my friends!
Untill that time, you merry mob go easy out there now.
Page Number