
Airfix Hawker Harrier GR-1A
1/24th Scale


 Page Number
From the way back when files...
And Maybe i'll Do A Better Job This Time Around
Greetings Gang and welcome along to some old school/new school stuff.
Now back in the distant days of 1976ish or there about's I had this kit and built it.
As one may expect I didn't do what could be considered to be a good job on it.
Not even close if I recall correctly.
So then, seeing one of these beasties just in a bag going for not a lot on evilbay,
I decided it was time to put something to rights.
Or if you like, another one to cross off the list of 'That was then, this is now so let's do a better job' builds.
Now I have it in mind to build pretty much as is in a GR-1A sort of deal with some upgrades here and there.
And by upgrades, I do not mean a rake of resin/PE stuff.
Granted there's more than just a few splendid bits out there but only if you are doing a later mark of Harrier.
As near zero as makes no odds for the GR-1 or -1A add on/upgrade wise.
And oddly enough, good reference is a bit thin on the ground as well so
the artistic licence card is going to get fairly heavily played.
This is pretty much the first one in service so this is how it'll be.
Also call it a homage to the first since the Westminster based 1st Dingbat & Moron div.
...Otherwise known as the current UK government...
Decided to take the Harrier out of service.
i'll not be going in depth kit review, there are plenty of sites about that do kit reviews
so this turn out ain't going to be one of them.
Onward then!
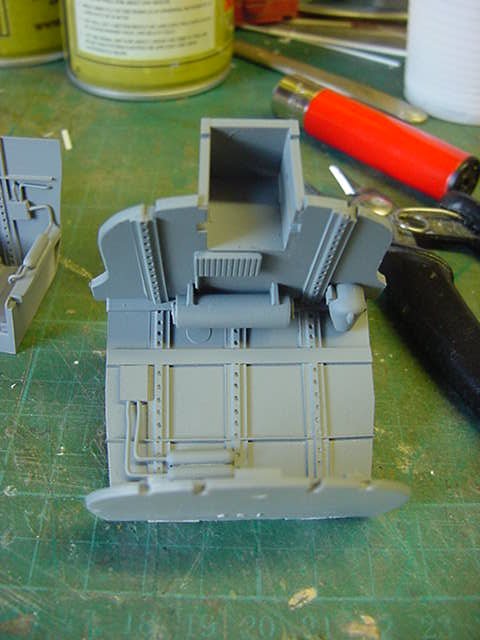
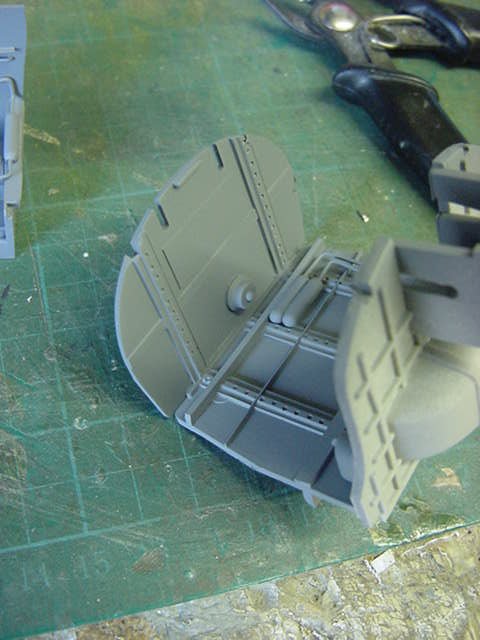
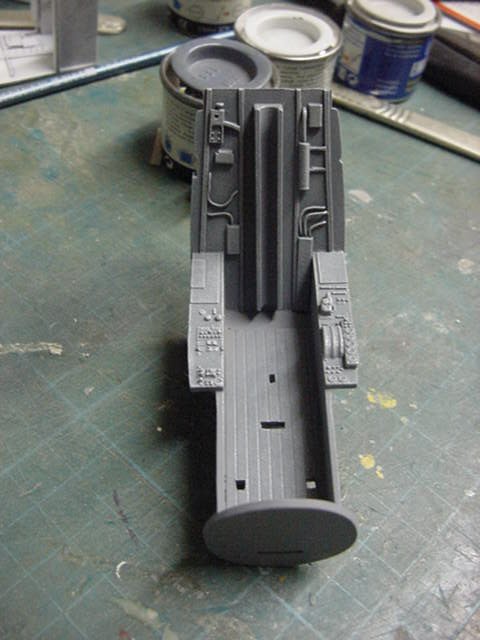
So first up, some detailing to get thrown at the cockpit.
Some styrene sheet of the plain and scribed type along with some wire got lobbed thusly...
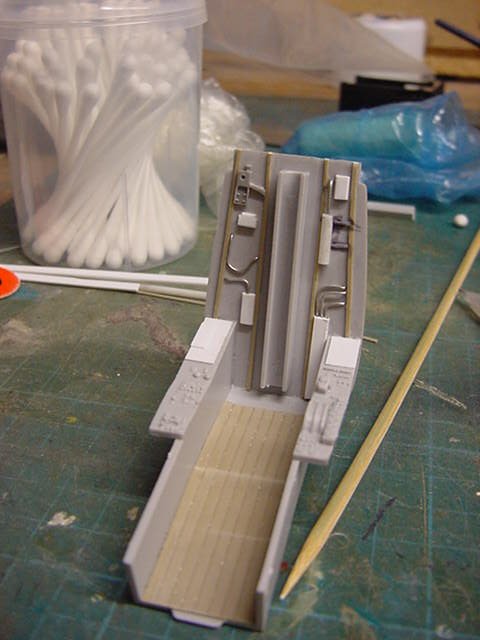
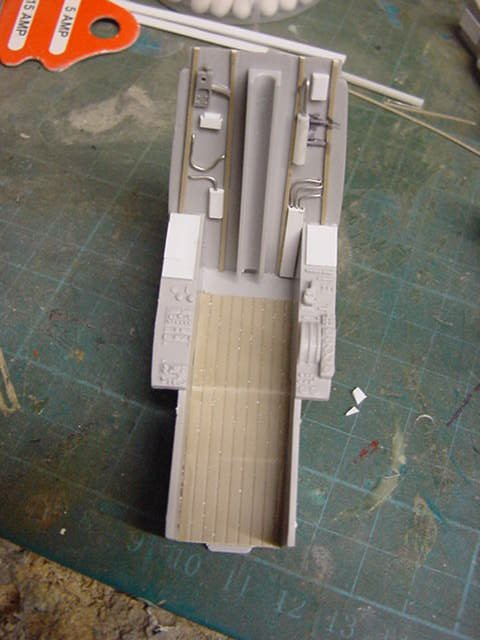
Nothing too drastic, pilot officer whatsisface will occupy the front office anyway so mega overkill not required as such.
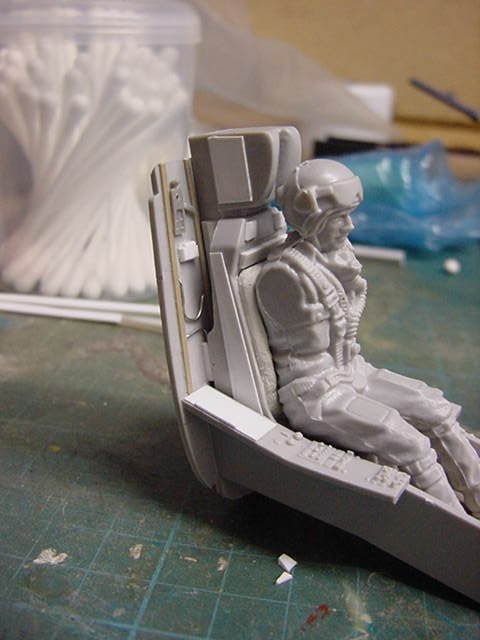
Speaking of which, just some styrene sheet bits added to the seat.
And a trimmed and shoved Milliput lump for the seat chute pack.
Bottom seat cushion not required as once the pilots in you can't see it so skip that one.
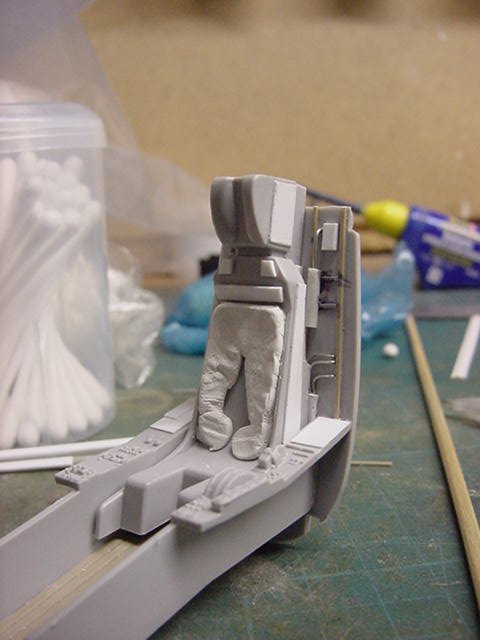
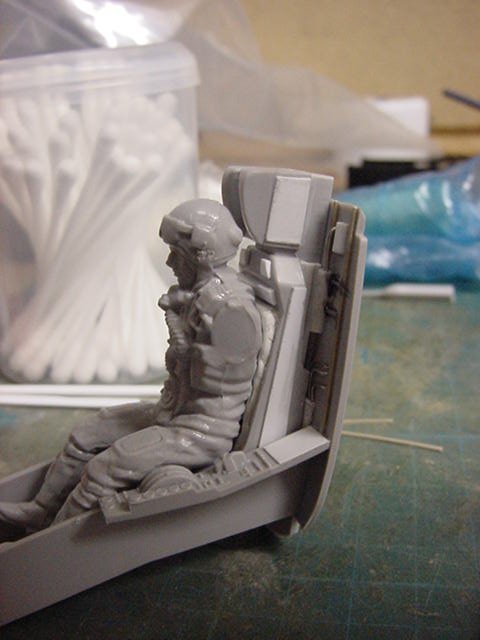
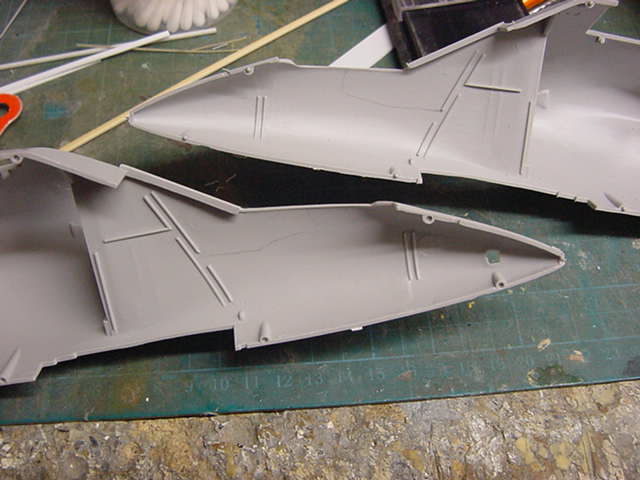
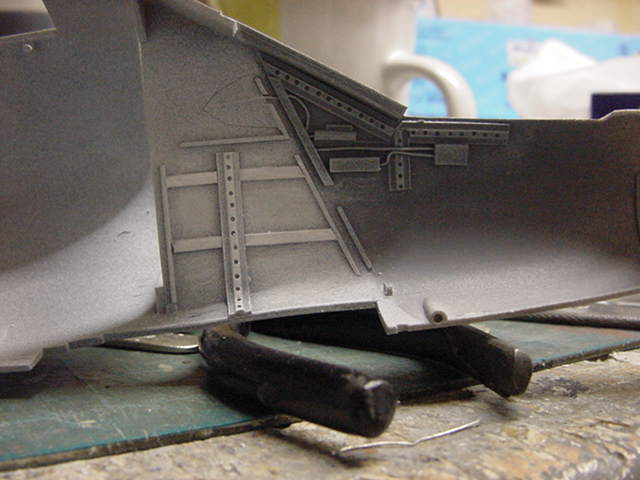
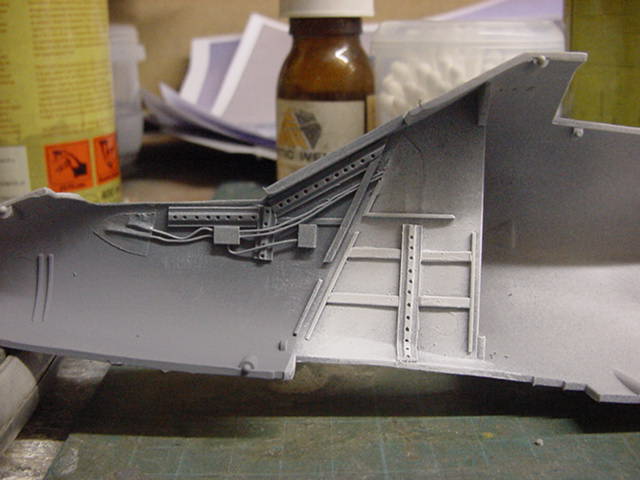
Cockpit sides done out as the stock sides are just blank.
Some styrene sheet strip with a little drilling action.
styrene sheet blocks and fuse wire stuck here and there.
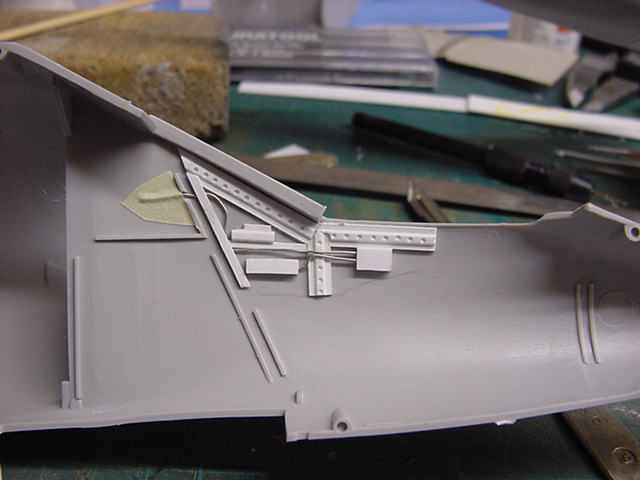
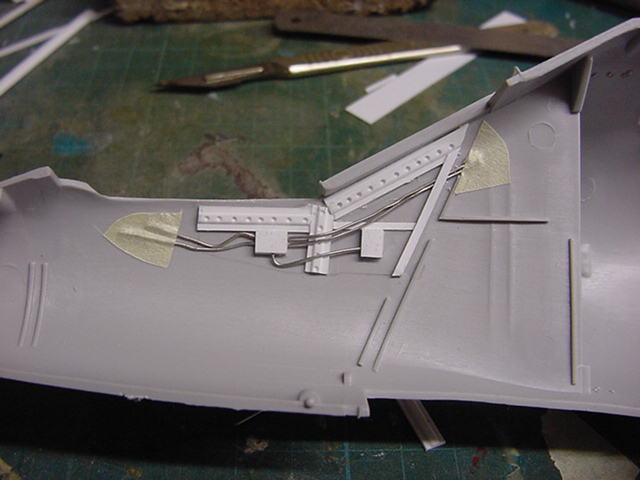
A dry fit test with the help of some masking tape to stop it falling part.
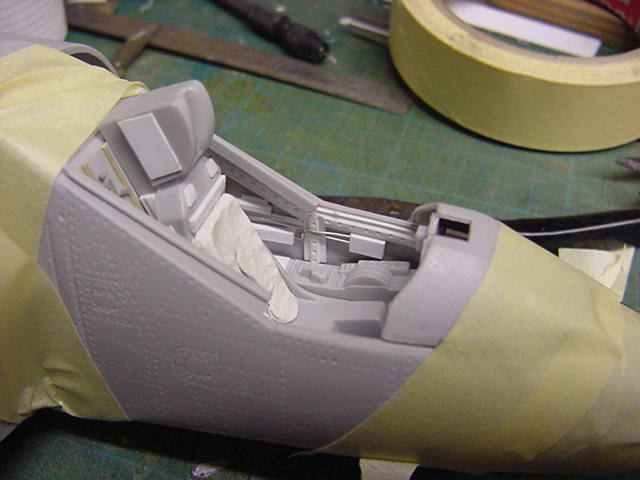
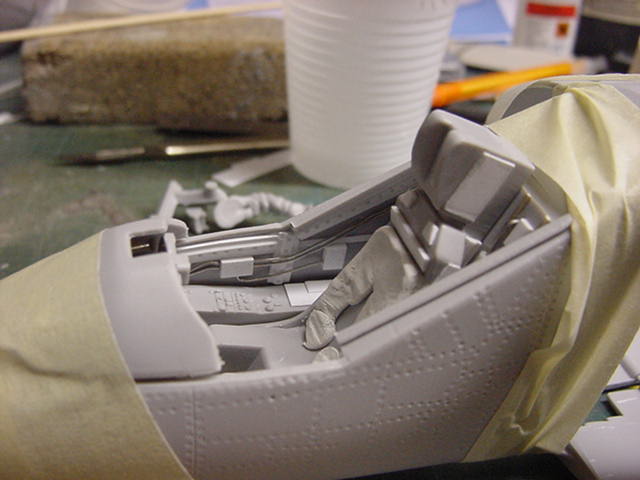
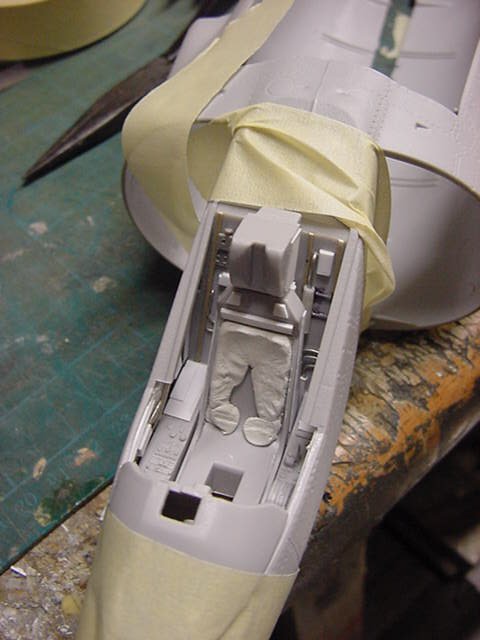
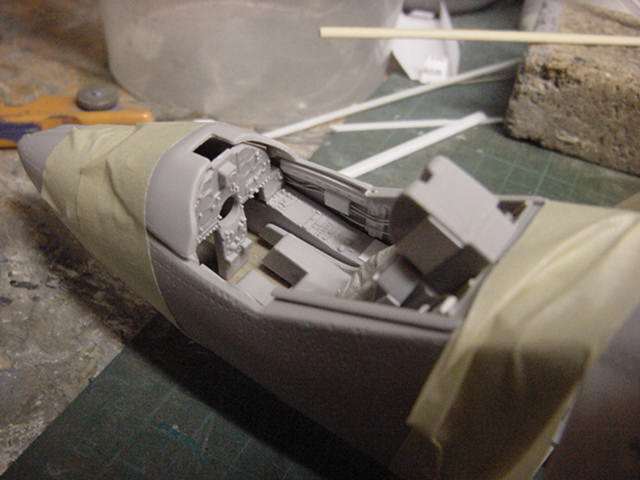
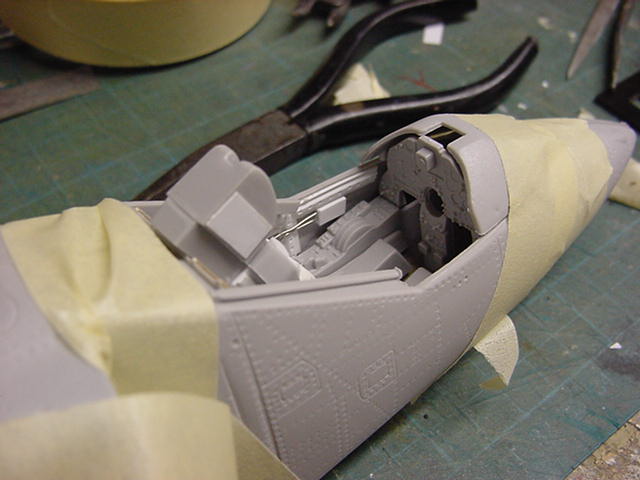
Not looking too shabby at this point methinks.
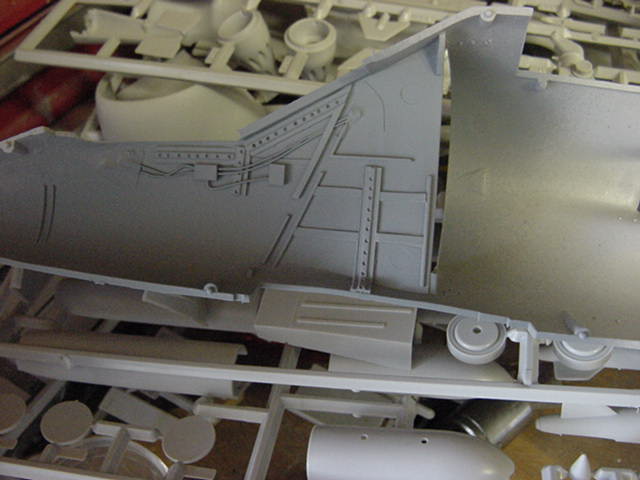
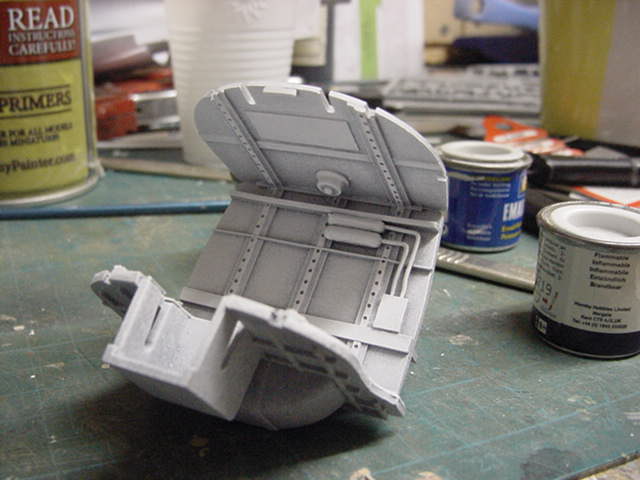
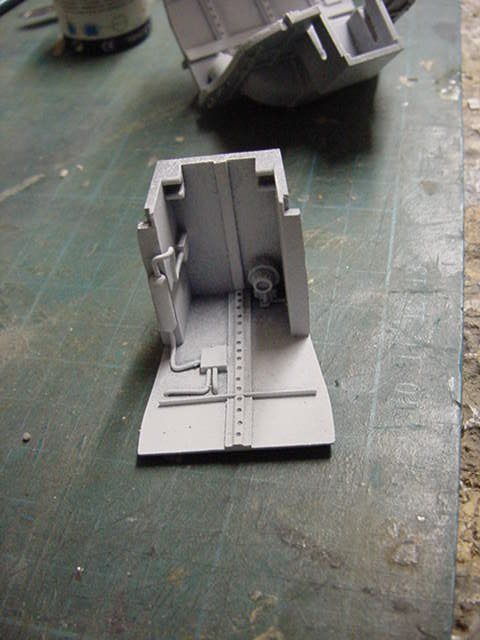
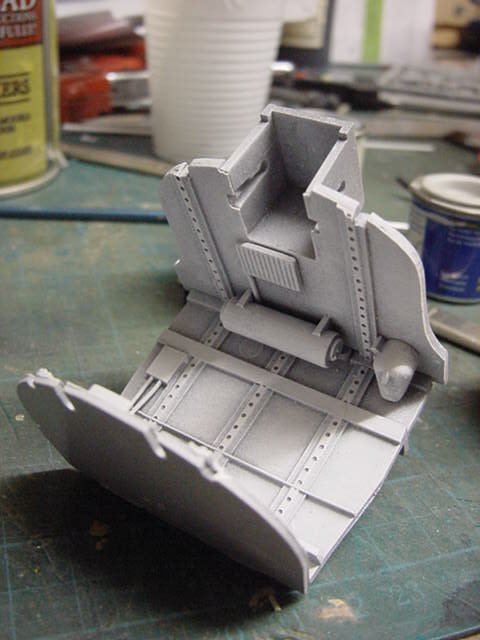
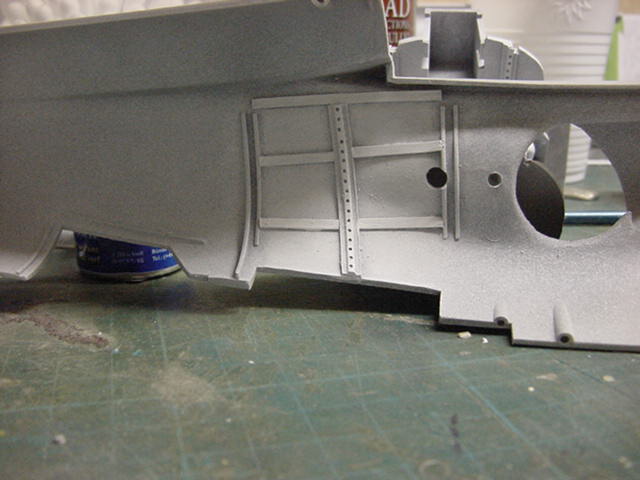
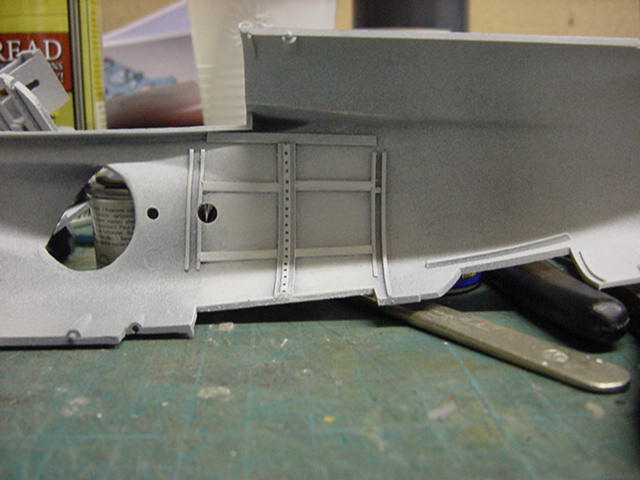
Applied pretty much the same sort of thing and thinking to the main landing gear bays.
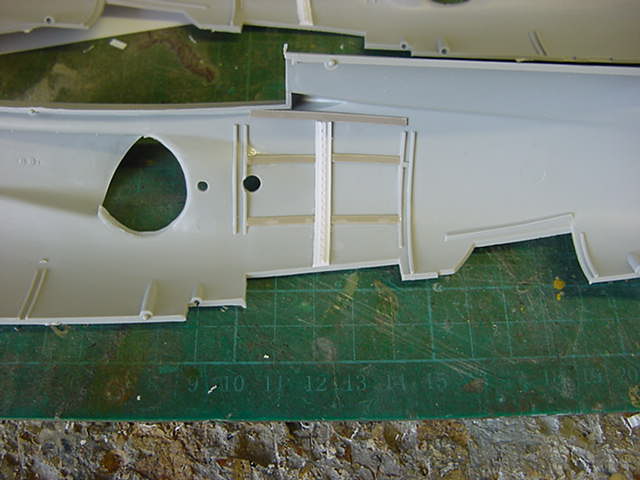
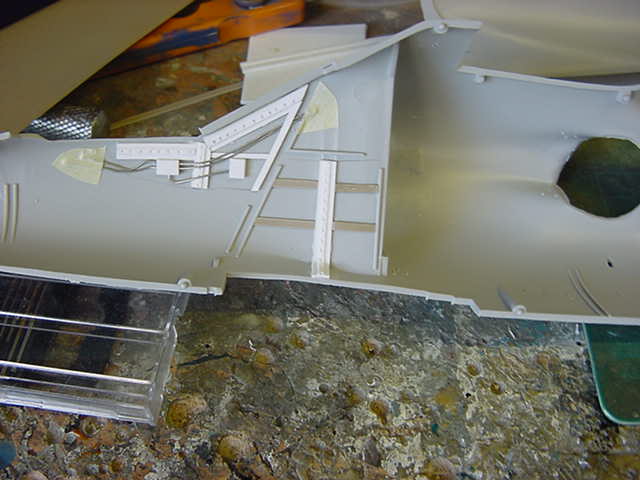
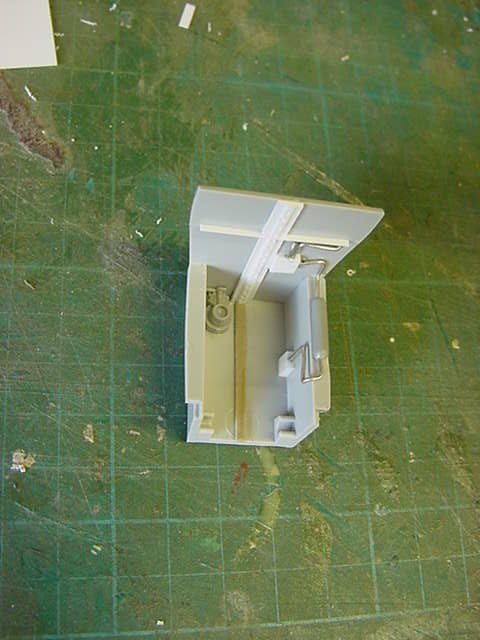
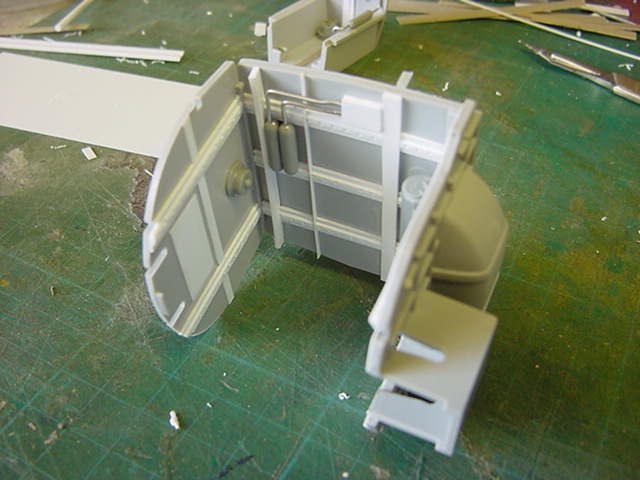
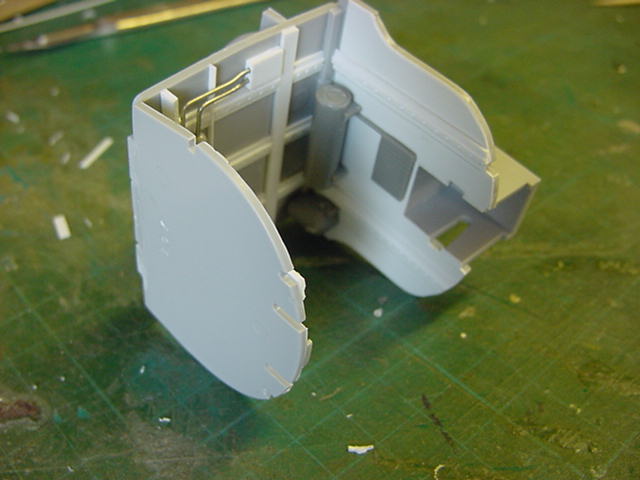
Didn't go too berserk here, just a bit of work to pretty them up rather than just blank faces.
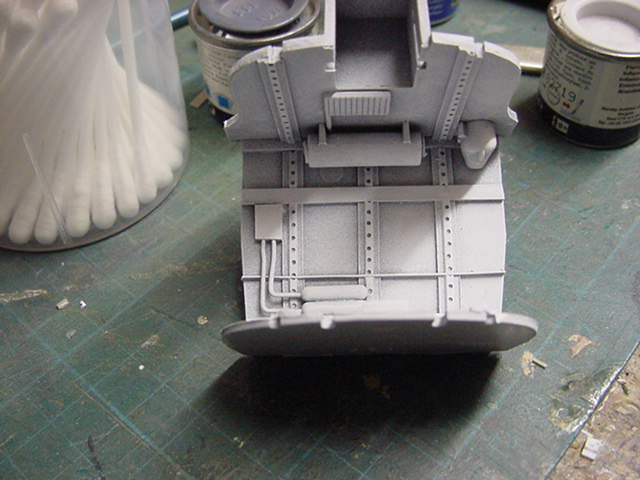
So then, a goodly dose of primer applied after parts given a decent scrub down.
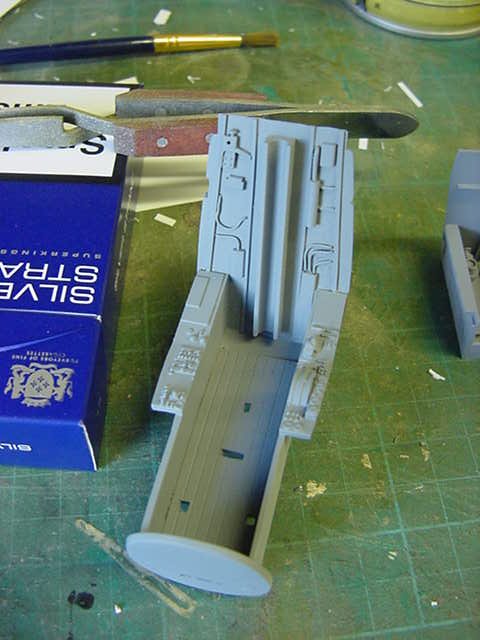
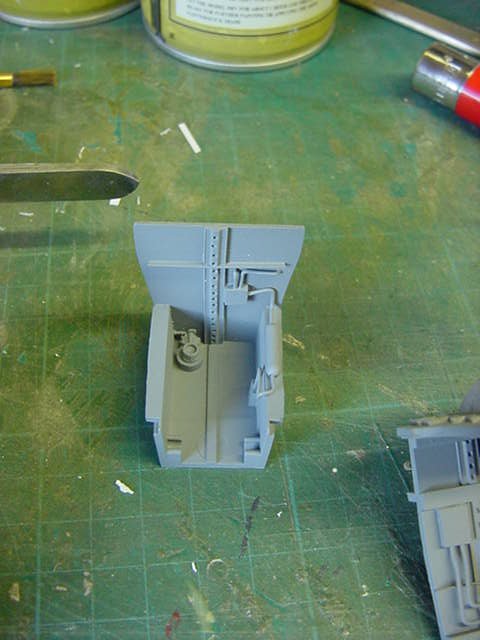

Then for the gear bays came much splashing on of white and shades of grey for the cockpit.

And that'll do it for this page, more on the next so away with thee and i'll see ya there!


 Page Number


