
Airfix Hawker Harrier GR-1A
1/24th Scale


 Page Number
A few little jobs to do...
And All Somewhat Necessary...Honest
Welcome back all, let's have at it!
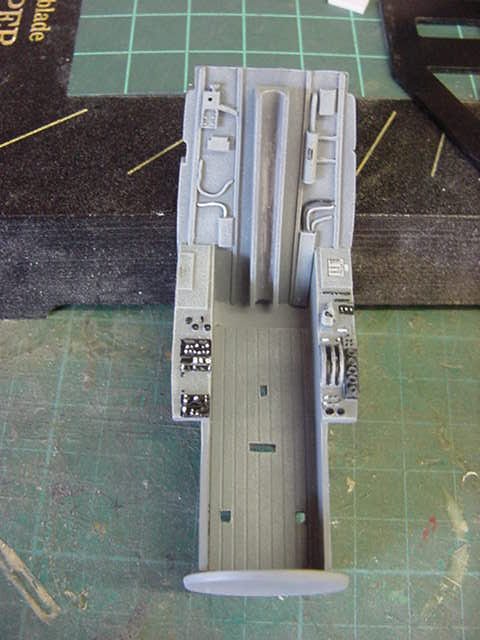
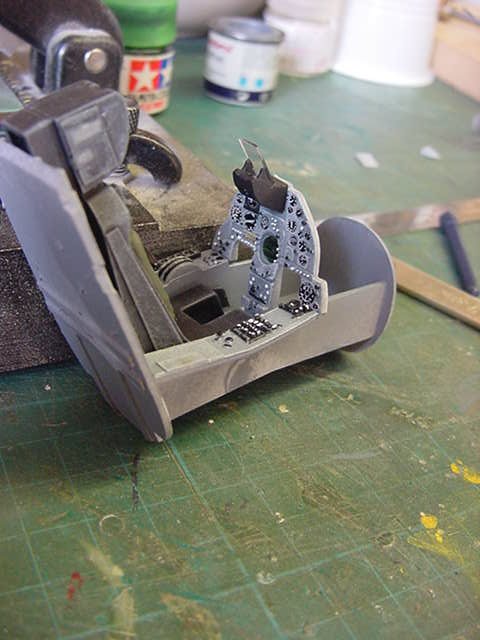
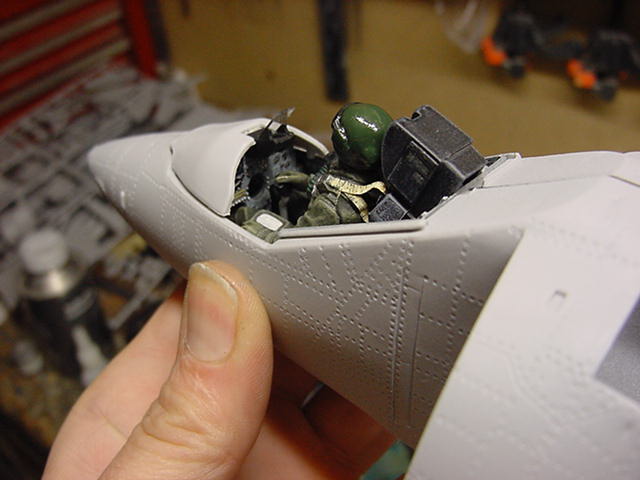
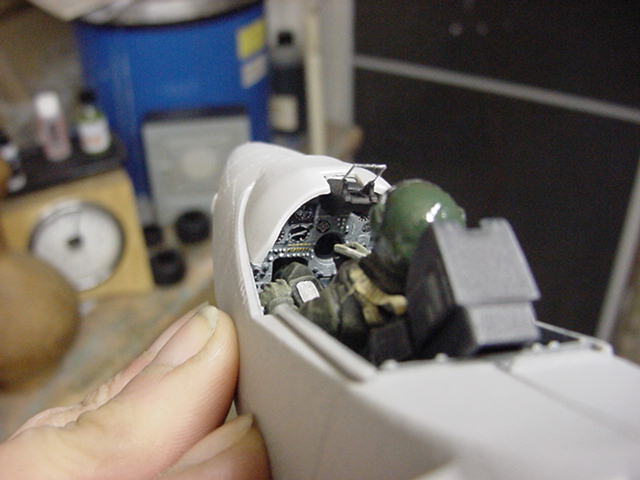
So paint and shade on the cockpit and gear bays done.
Time for a looksee like.

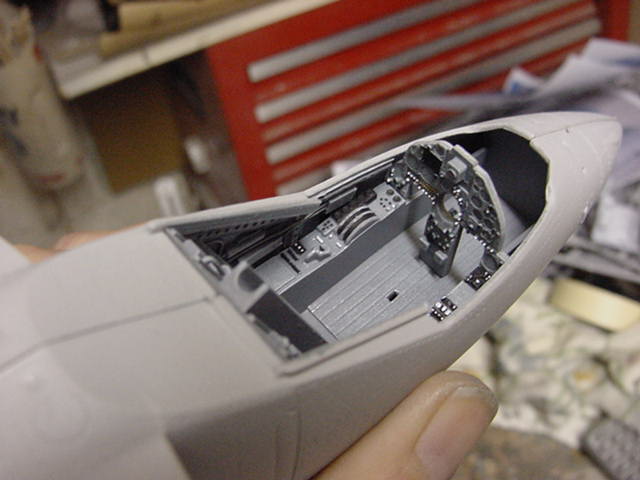
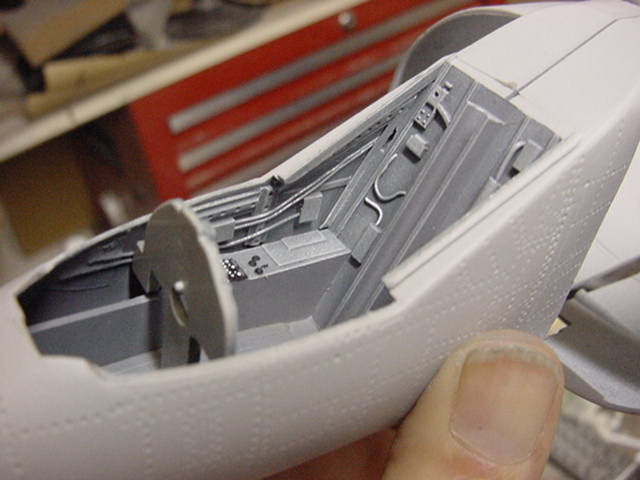
All looking acceptable so in with the little details like decals.
Managed to find an original Harrier GR-1A stock decal sheet.
My kit didn't have one.
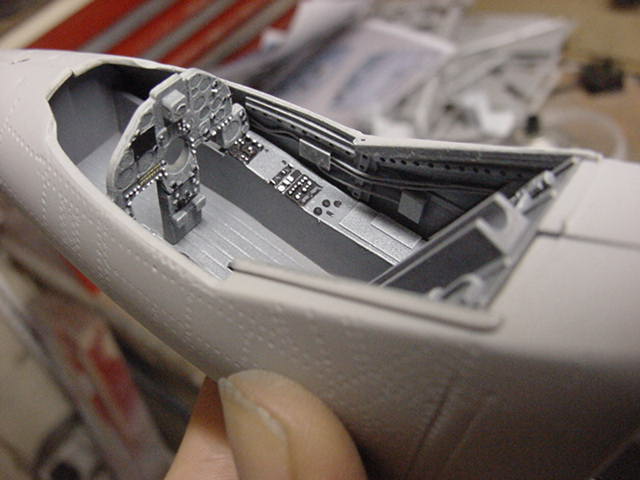
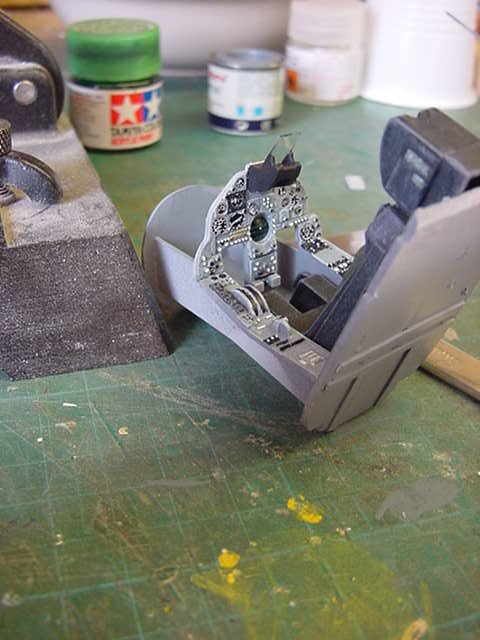
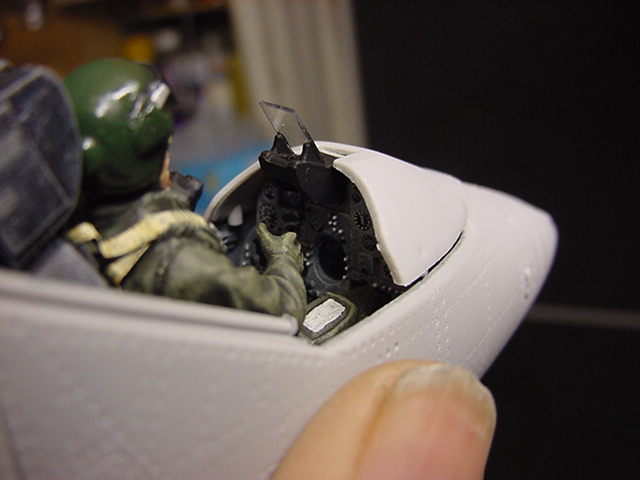
Now one thing of note, the old decal sheet doesn't have any instrument dials.
The aftermarket mob have that well covered and an outfit by the name of Airscale Decals to the rescue here.
Beautiful waterslide decal sheet of individual instrument dials was duly laid into and the main panel got a nice facelift.
A few scrap ones from the spares bin for the cockpit tub and we are sorted!
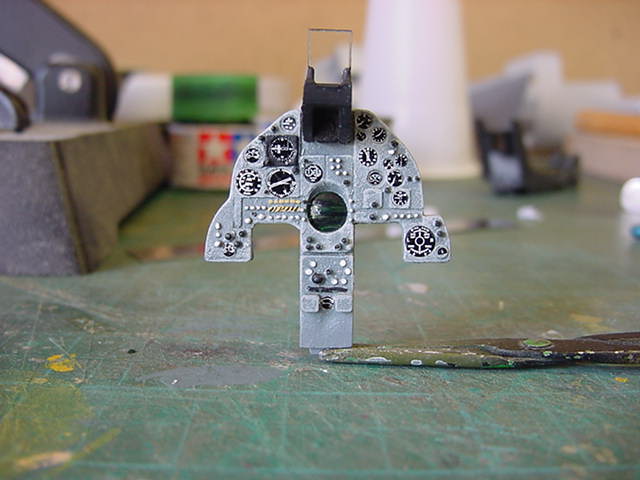
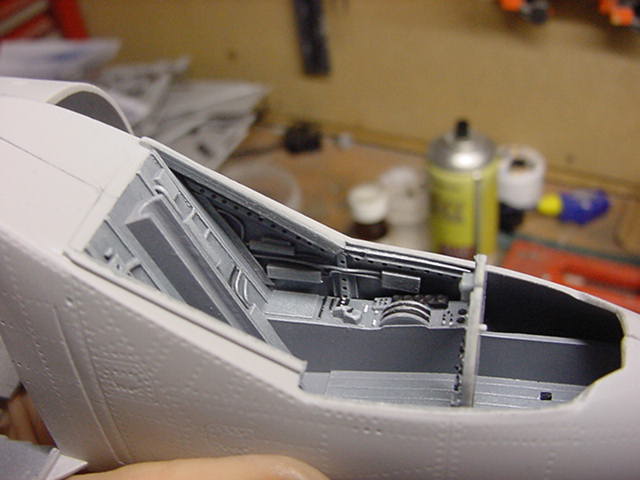
The HUD was the stock kit part except for the clear display piece.
Seat painted and prettied up, the lot slung together.
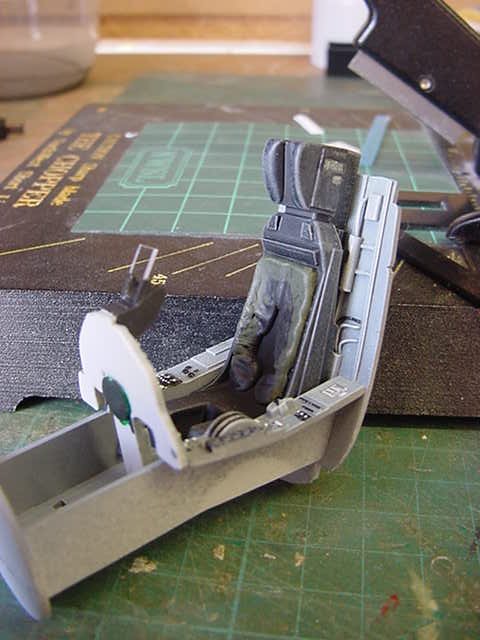
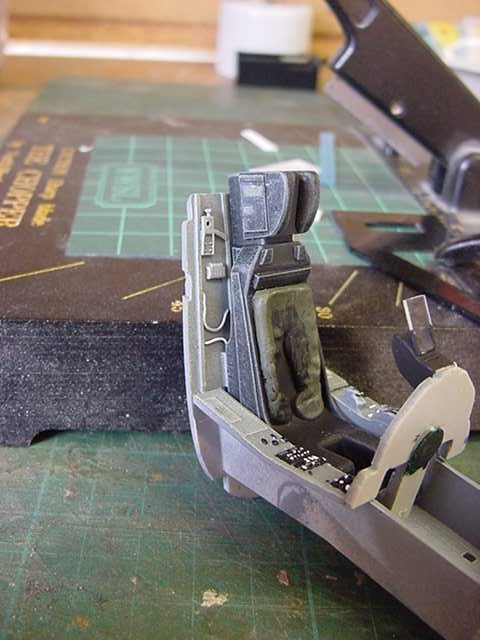
The pilot cleaned up and assembled.
Given the standard paint job and installed in his comfy chair.
A few strips of paper painted to finish the harness.
Dry test fit.
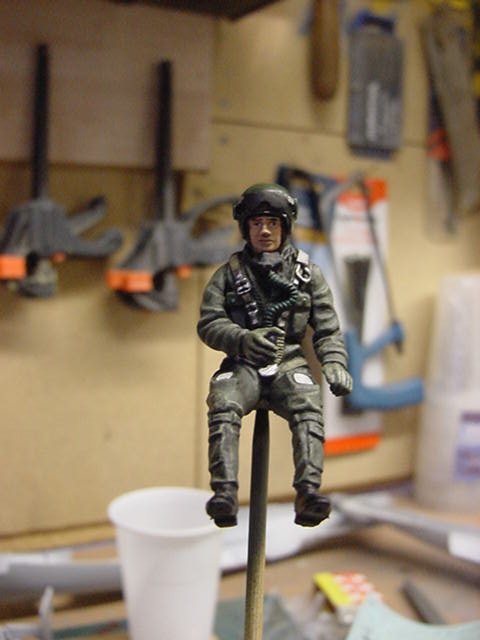
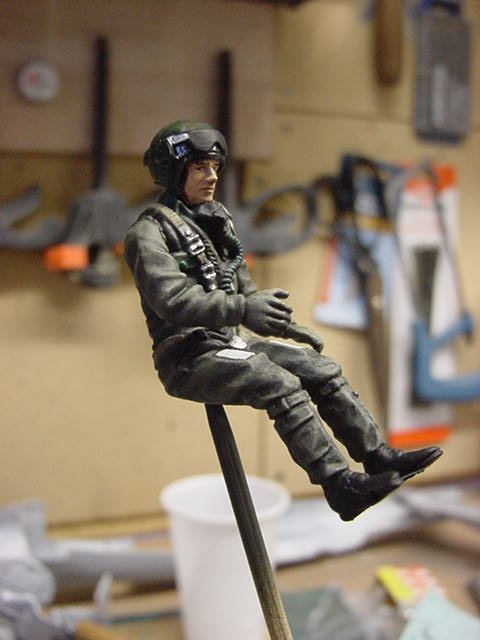
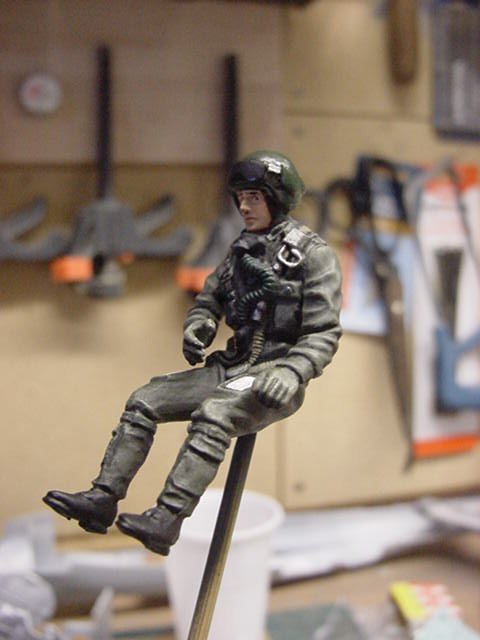
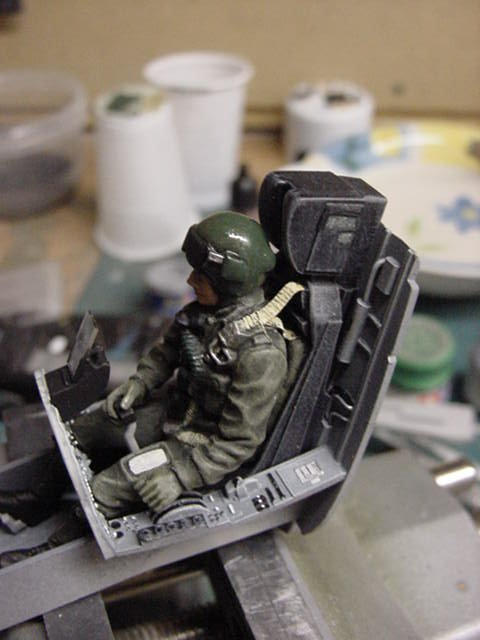

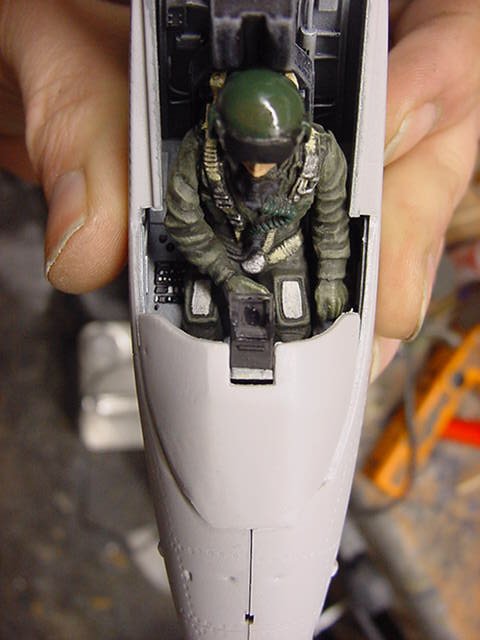
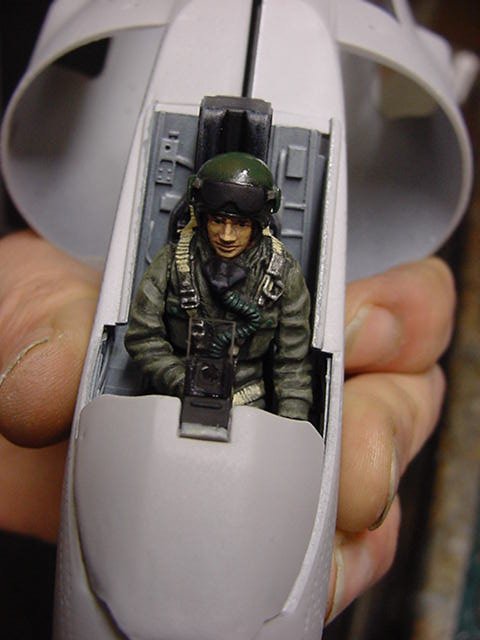
That'll do it for me.
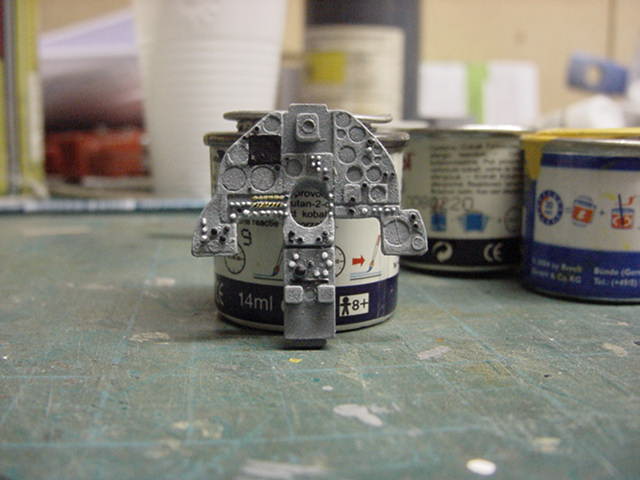
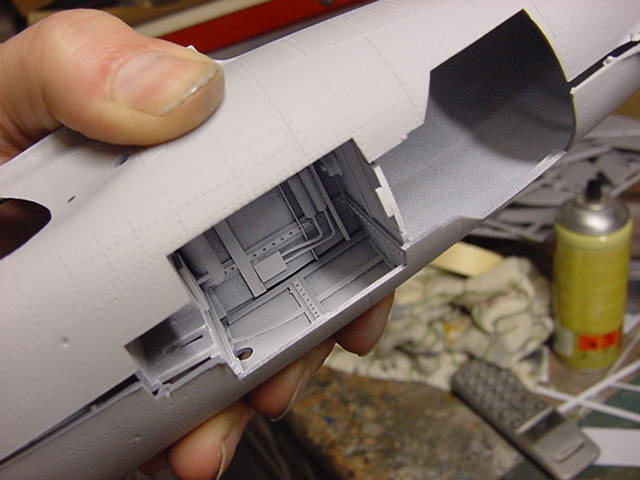
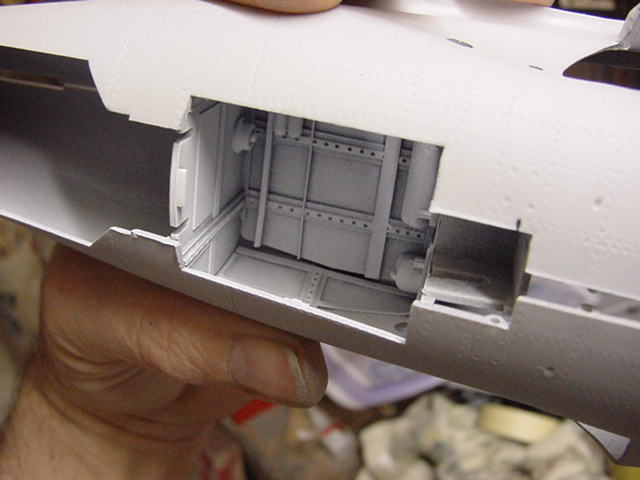
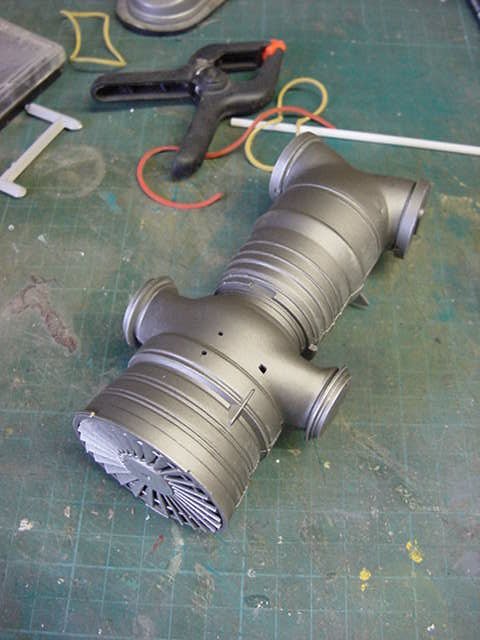
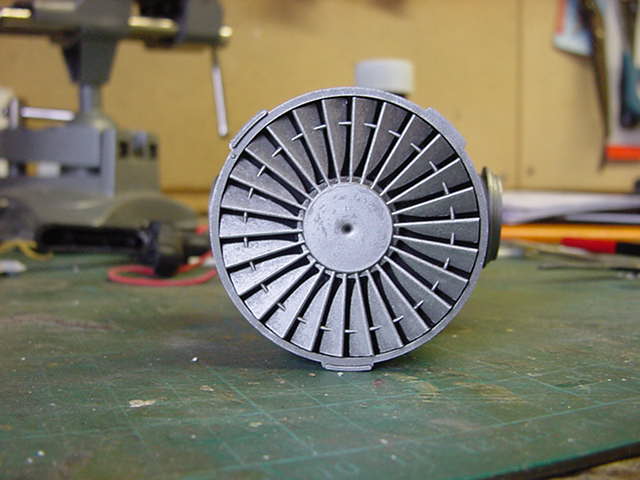
Engine assembled and sort of painted.
Just a coat of acrylic metallic grey with a bit of silver drybrushing.
Not having the lift off wing thing so detailing not required.

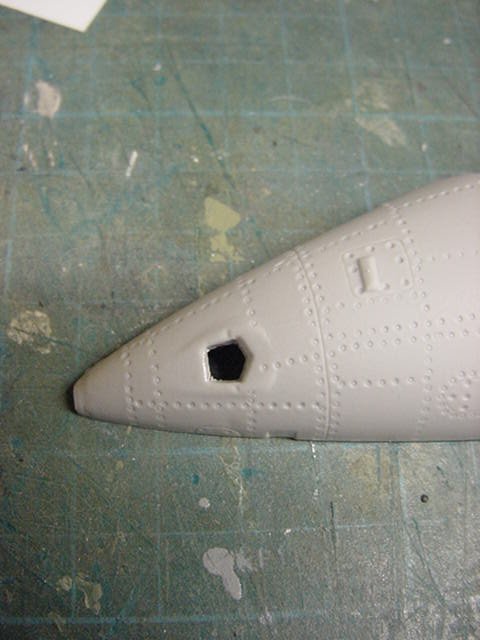
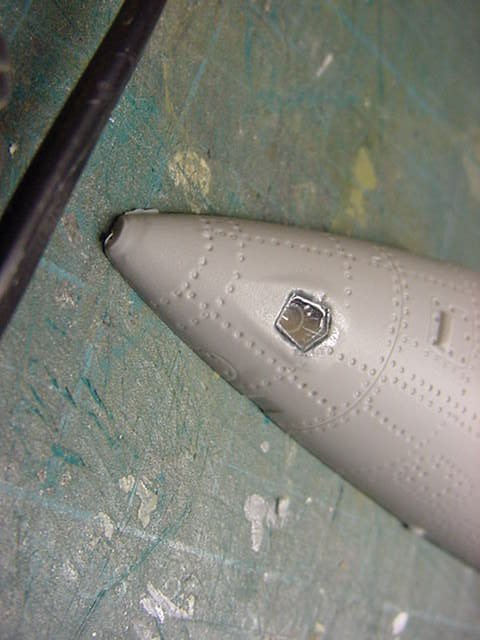
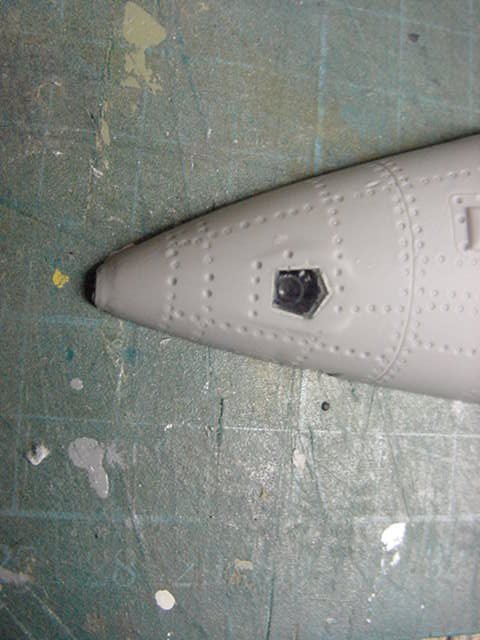
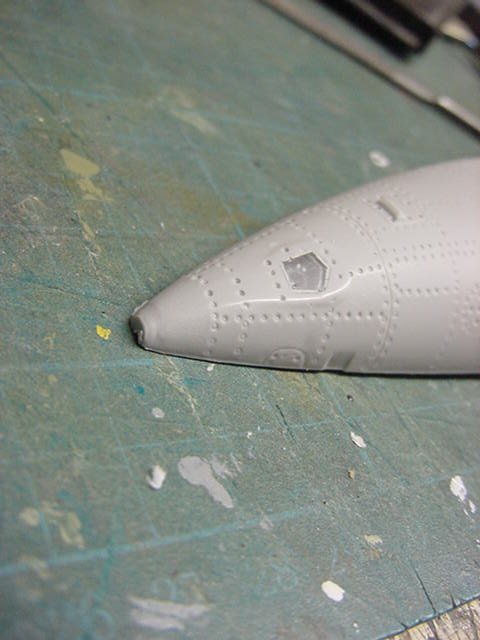
The side looking recon camera on the nose was just an open hole on the stock kit so a bit of a re-do hereabouts.
Straightforward thing.
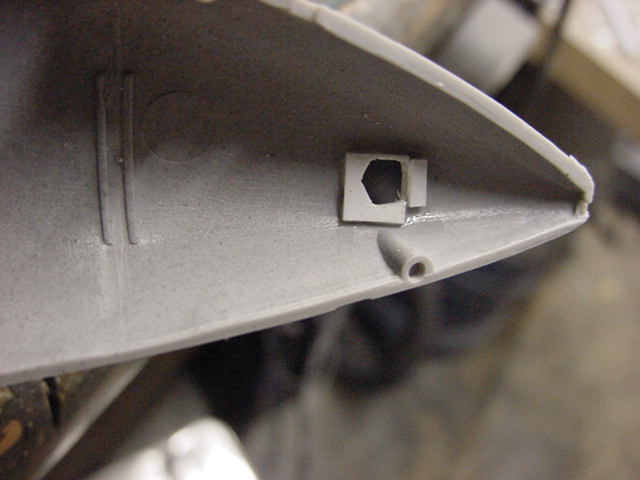
Back of said hole given more depth with some styrene sheet, drilled and filed out to shape.
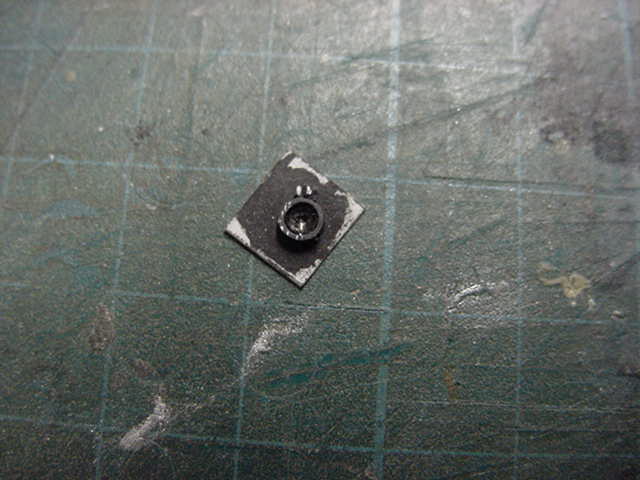
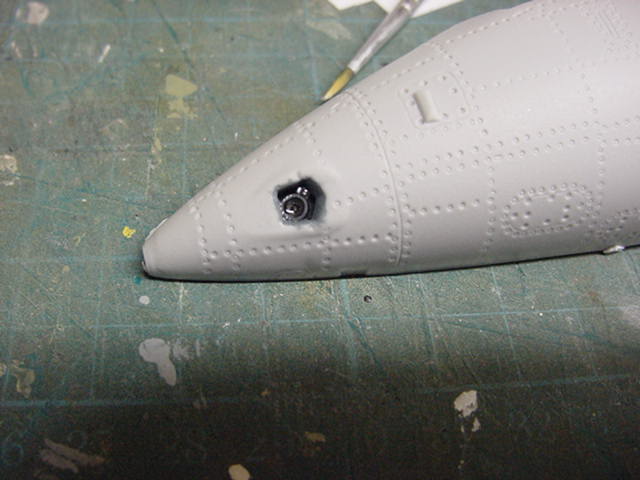
Camera lens front built and painted, installed.
Stock clear plastic cover piece glued in, puttied sanded and polished.
Done!
So on to the next bits.
Which oddly enough you'll find on the next page...
See ya there!
Page Number