
Airfix Hawker Harrier GR-1A
1/24th Scale


 Page Number
And now, a change to our advertised program...or to put it another way...
I Just Can't Leave Well Enough Bloody Alone!
Okedoke then people, changes with a slight twist.
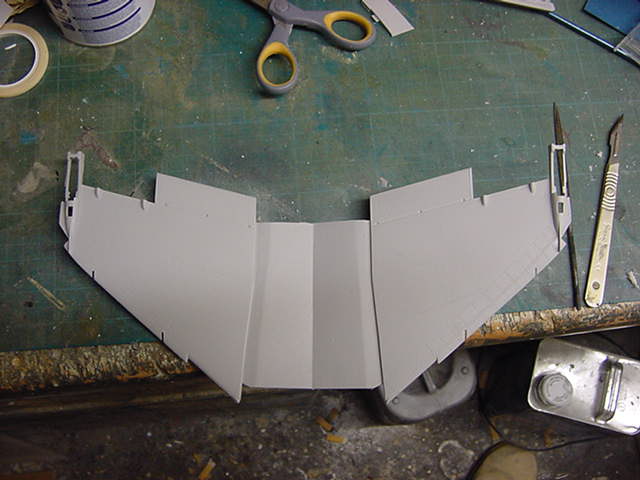
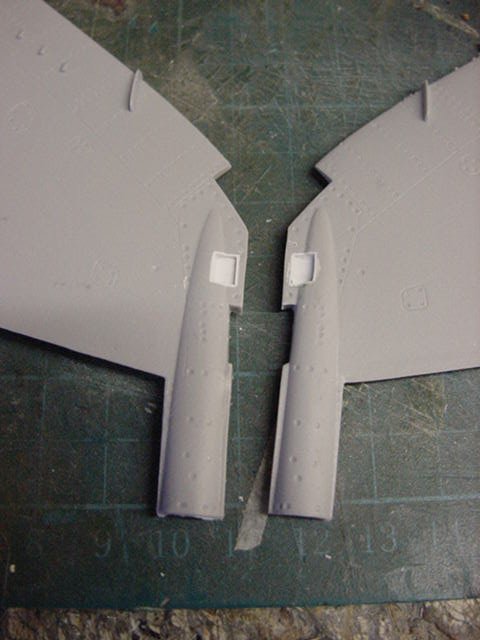
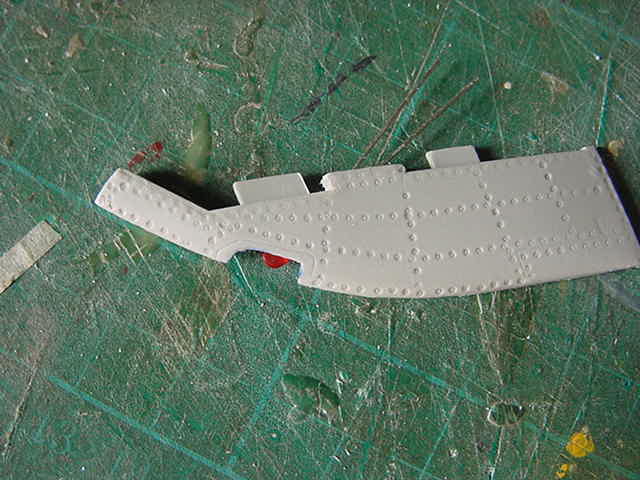
Now the wings are supposed to have the puffer vents for aircraft control during hover.
The wing undersides have them but for some unknown reason, the tops don't.
They should have so off we do jolly well go.
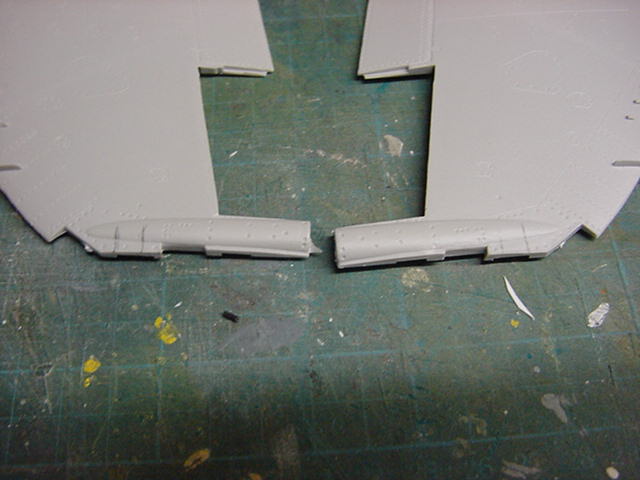
The underside ones were just cleaned out and a bit of shaped styrene sheet added.
This was to represent the (i think) spring loaded clamshell doors for the downward vent.

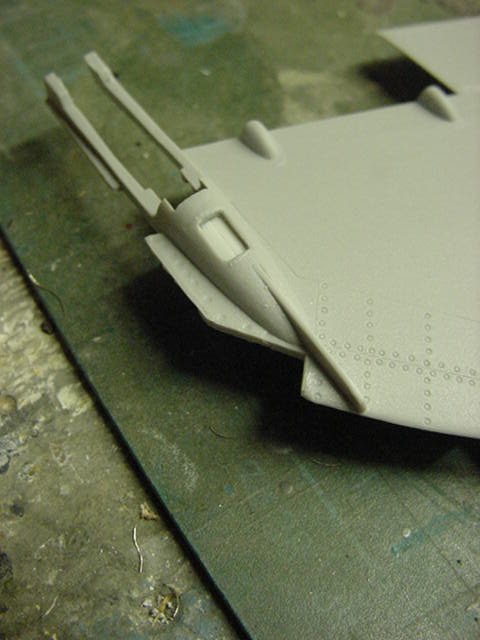
The top puffer vents were marked out, taped, drilled and filed then a thin walled styrene sheet box was installed.

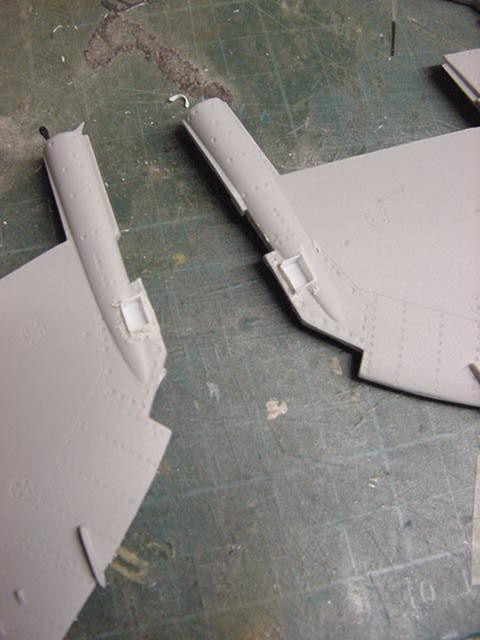
Once this had cured then a dab of filler here and there and the recessed box was filed and sanded to shape.
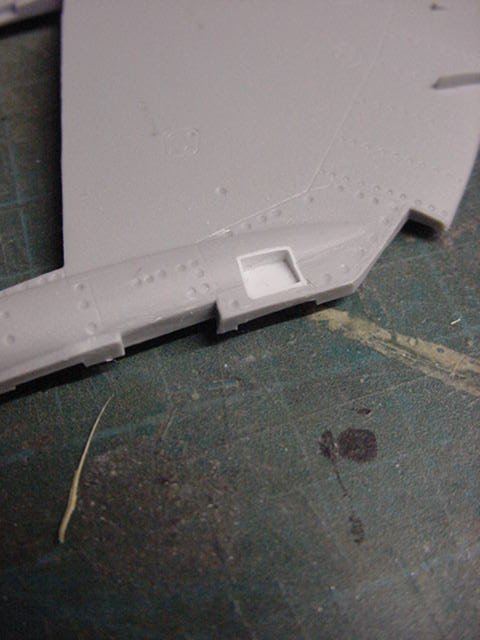
Sharp and clean.
The flap like thing will not be added untill after the wing tips have been attached and faired in.
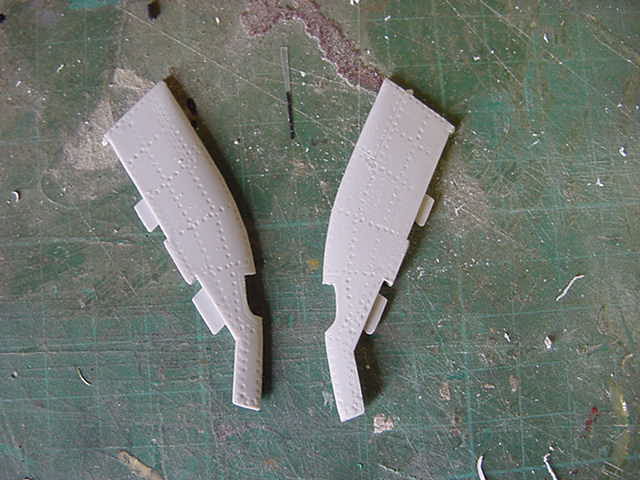
Speaking of wingtips...
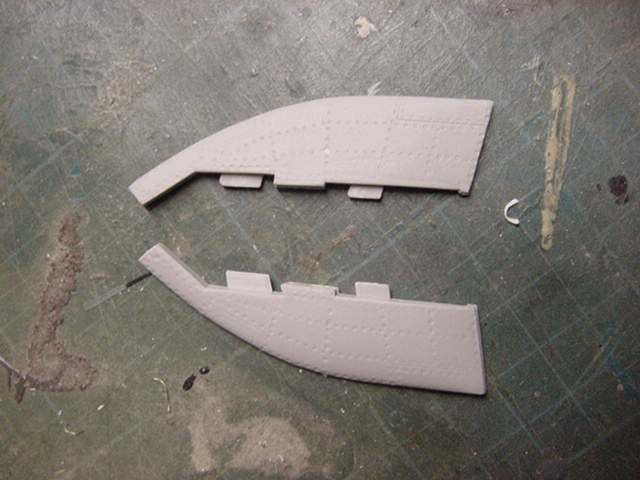
The first departure from intended here.
The area marked in red on the following pic got removed on both for the wing tip formation lights.
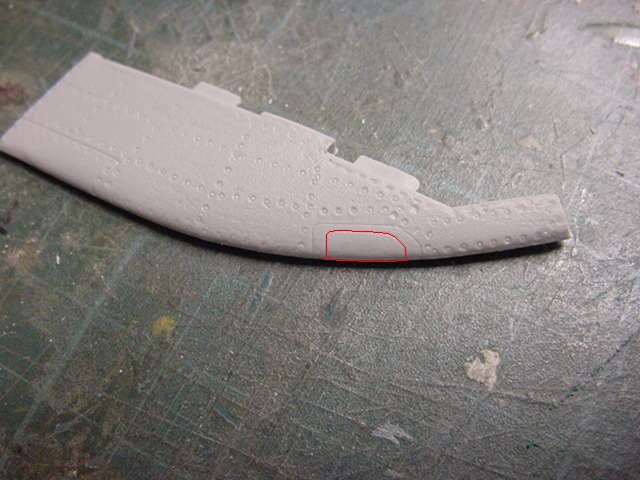
This duly got removed via drill and file shaping.
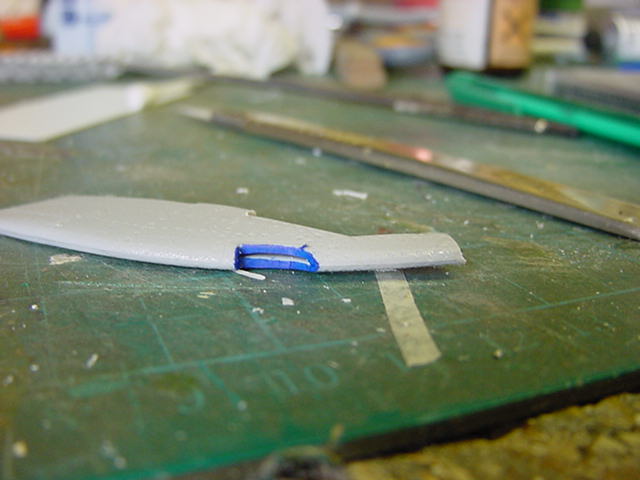
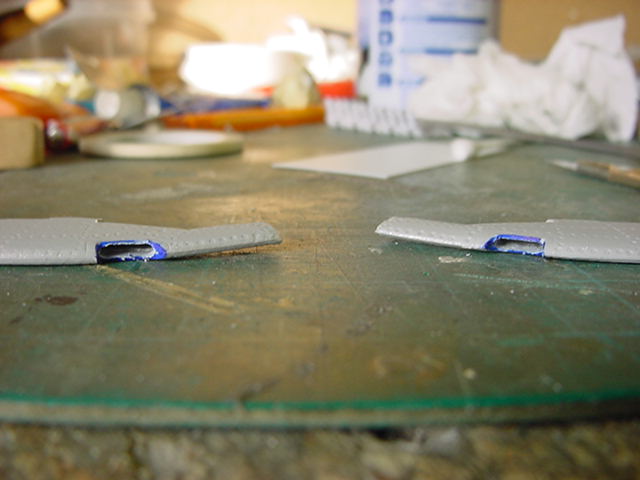
Then material removed from the inside to accommodate an red and green LED.
Simply out, the inside edge gone over with sharpie marker to make sure I didn't remove too much.
Then the 3mm LED's filed down to fit into the slot.
installed, puttied up to secure and tested.
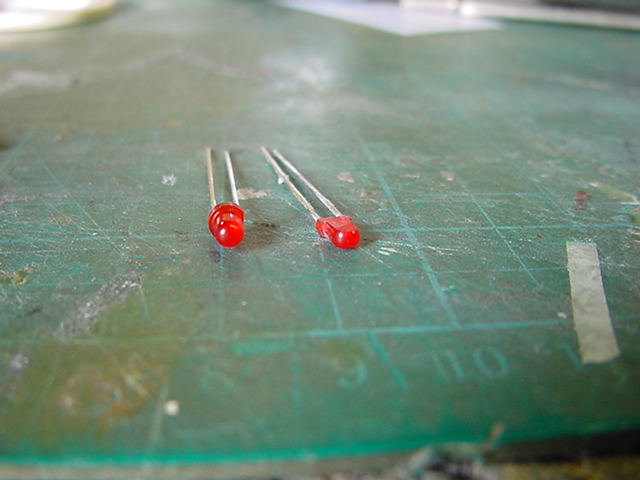
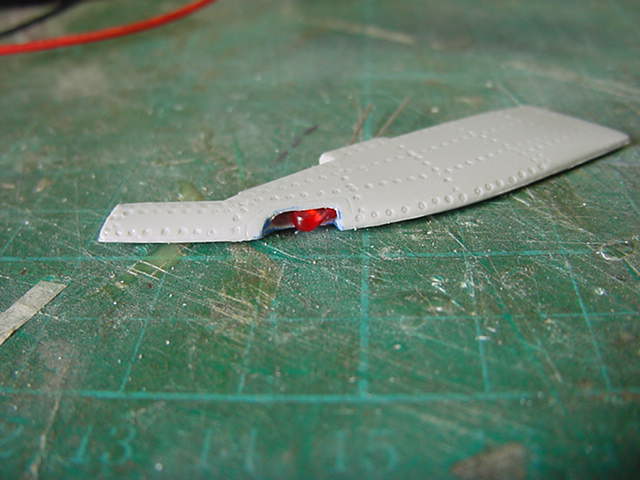
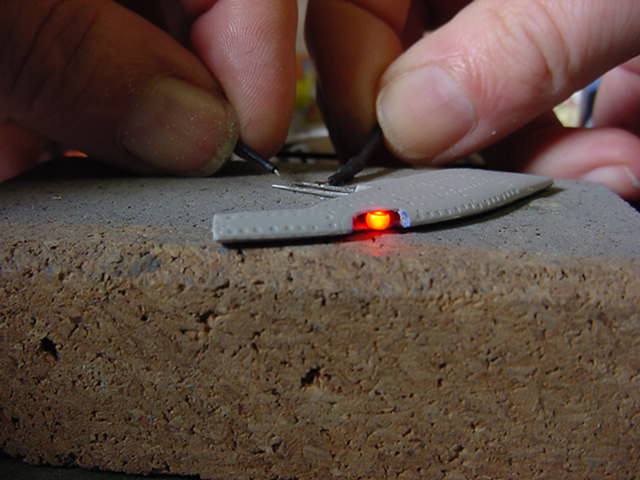
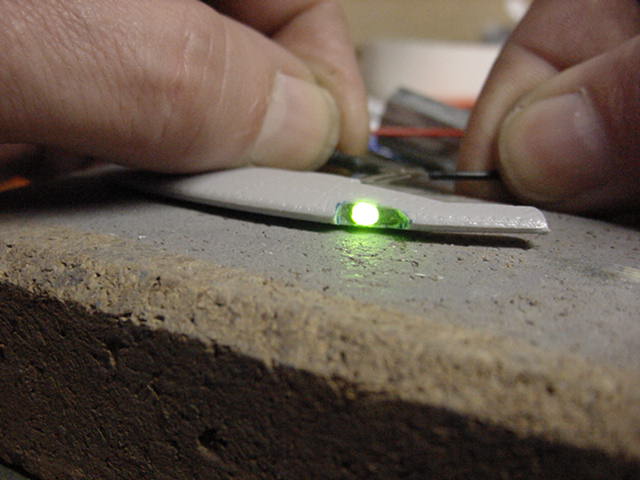
Yep, about what I wanted.
So last for this update but far from the last bit of farting about.
Had a wee think about the HUD.
Well more than a wee think and i'm sure i'm not the first to do this but...
Long story short, levered the HUD off, drilled a hole or two.
One at the back to let some light through from the back for a 3mm white LED.
One in the top, this was covered with a tiny piece of 5thou clear plastic sheet, painted black, scribed and the over coated with Tamiya clear green.
The LED was set slightly back to give some dull illumination to the large screen at the bottom of the panel.
This was also back scribed and over coated with clear green.
The LED was fitted to a light box and much epoxy stay put ya bugger gunk spread on.
Dull light to the bottom screen and just a smidgen of light bleed to sort so all good thus far.
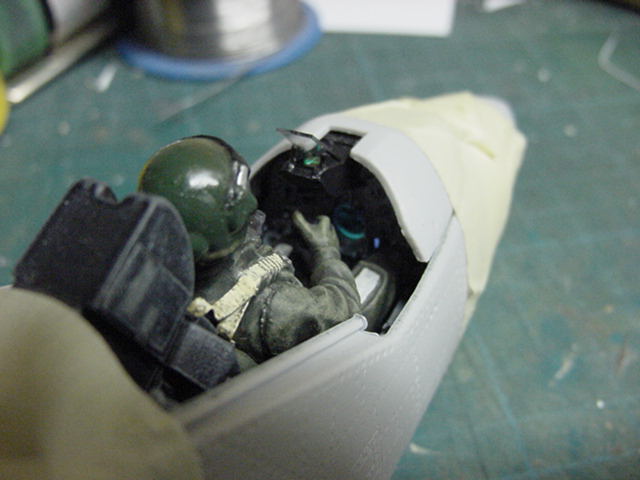
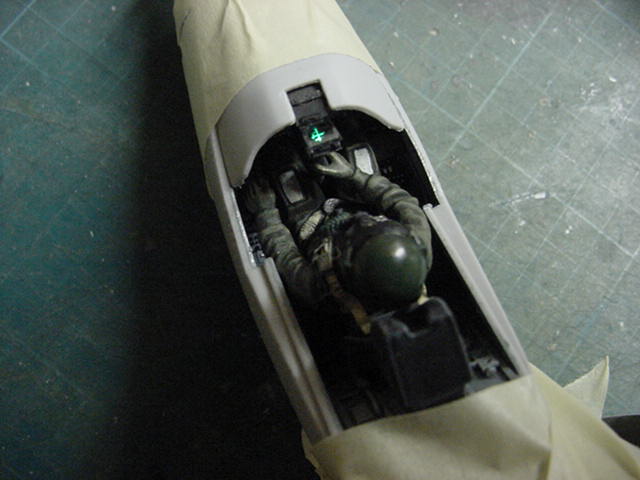
The HUD from the top...
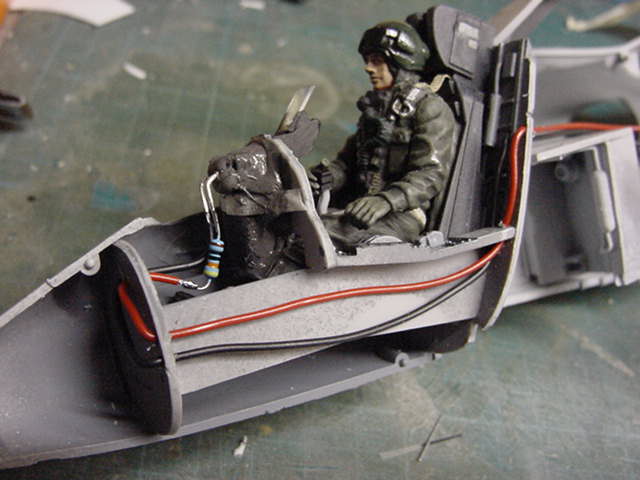
And a look over the pilots right and left shoulders...
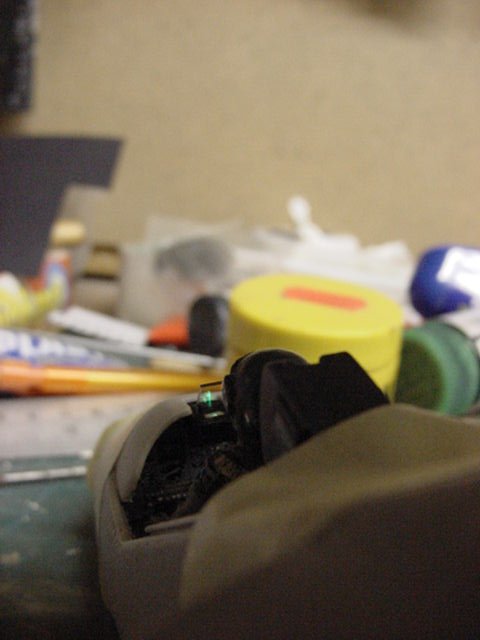
A nice wee cross hair projected in the HUD glass which oddly enough is what I was after.
And no-one more surprised than me it actually damn well worked!
Well that's all for now gang so i'll see you for the next update to this ongoing debacle.
Go easy out there now gang!
Page Number